We hated our RV steps since day one. Here's what we finally replaced them with.


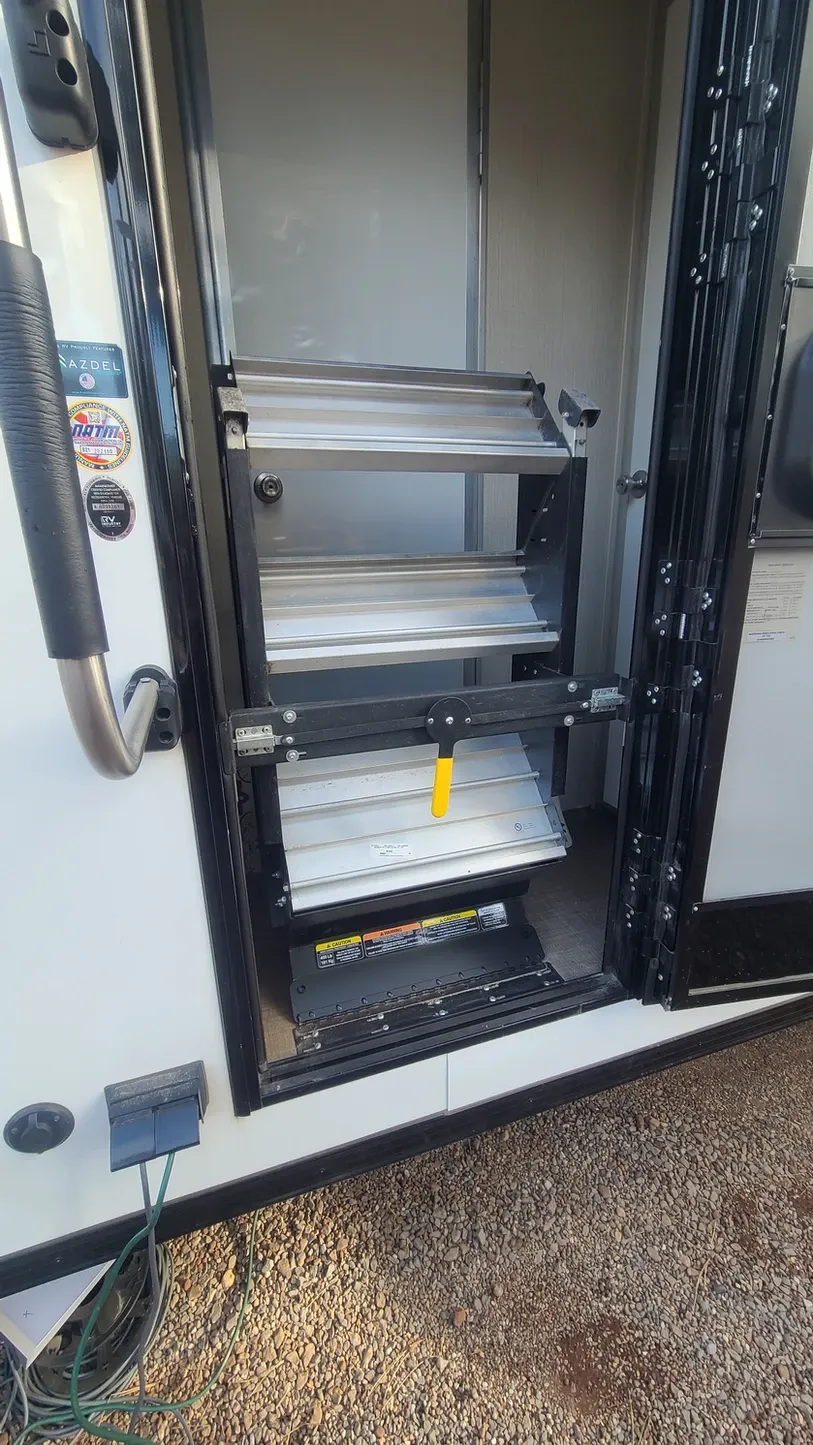
Our ATC Gamechanger toyhauler came standard with RV steps by Lippert called SolidStep. They're touted as the most stable steps on the market, with no bounce and easy folding. Right from the start, we read threads upon threads in the ATC Facebook groups that painted a very polarized picture of these steps. Some people loved them and some couldn't stand them. We were curious to see which side of the fence we'd land.

We picked up our trailer in North Carolina and had a week to get acquainted with it as we brought it back to MA. Immediately we noticed problems with the steps. If we parked on any uneven ground, the steps wouldn't fold out entirely and the base plate that folds over the door threshold wouldn't lay flush. This meant our door wouldn't close. The real hassle came as soon as we parked the rig in my parents' yard for the first time. We set up our home-base on their basketball court, which has an obvious, but not too steep, slant. No matter what we tried to do, our steps wouldn't stay flat on the pavement. One leg would remain about a quarter inch in the air, because this leg was further on the decline than the other leg. The legs are adjustable, but the notches were about an inch apart, which meant we couldn't adjust the hovering leg lest it overextend and - you guessed it - cause our door to not shut. We found some rubber drawer lining that we were able to fold up and shove underneath the leg. It wasn't pretty, but it at least stopped the hideously loud metal bouncing every time we went in and out of the rig. Even with our troubleshooting, the door still got stuck on the steps' baseplate. The amount of force needed to open and close it shook the whole trailer. Let's not even mention the slamming sound whenever we needed to shut the door!

We decided to wait until we launched full-time on the road before making a decision about replacing the steps. To start, we'd mostly be camping in resort-style RV parks, which would mostly have level sites. Maybe in level sites the steps won't be an issue.
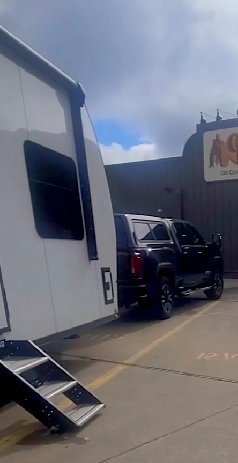
Common misconception. Our very first site was at the Philadelphia/Clarksboro KOA. We booked an easy pull-thru site because we were still getting used to maneuvering the trailer. Pulling in wasn't a problem, but our site was narrow and had a concrete pad for the picnic table, which was up a few inches from the dirt site around it. I couldn't get the steps to lay flat because they need to land on a surface that's the same height or lower than the rig itself. We had to spend about 20 extra minutes pulling the rig as far left as possible, to see if we could avoid the pad. Just look how close we had to pull to our hookups in order to get the steps out!

If we were having problems at a level, easy pull-thru site at a KOA, we knew we were in for a lot of struggles.
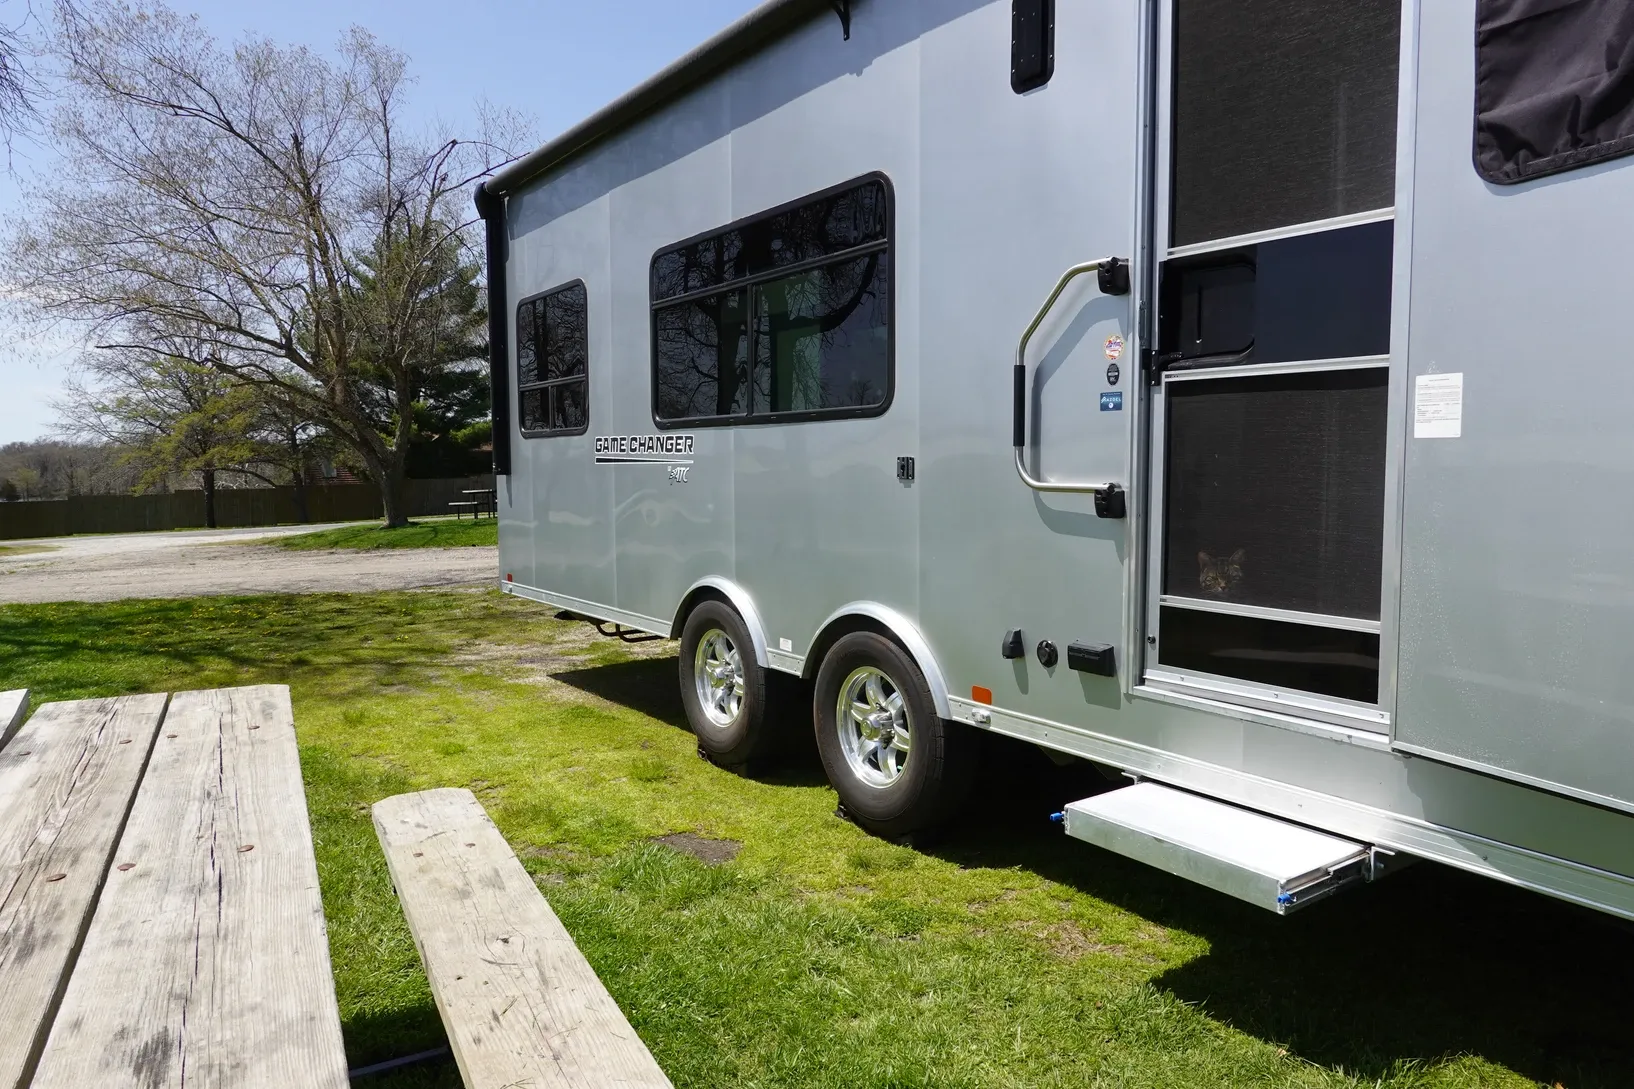
Some of the worst places were overnights at Cracker Barrels. We love staying at Cracker Barrel as a quick stop on a long trip, but many of their parking lots aren't at all level. We'd love to just pull into the spot, be unlevel an inch or two, and not worry about it for the night. But, if we're unlevel so that our passenger side is lower than our driver side, that means the steps would fold out lower than the rest of the rig, and - you guessed it - our door won't close. So even at Cracker Barrel, we need to pull out our levelers and make sure we're up enough to get our steps down flat. As if that's not a big enough issue, these steps come out insanely far. We don't fit in the normal Cracker Barrel RV spots when we put our steps down; the steps run into the next spot over. We were always worried that someone parking next to us would run them over or would be mad that we were taking up part of their spot. We eventually bought reflective strips so we could at least warn drivers that the steps were there. Nothing we could do about the steps otherwise.
It's amazing what you can get used to when parking at dozens and dozens of campsites over the course of a year. We just factored the steps into our set-up checklist. As soon as we parked, we'd need to make sure the steps had enough room to go down. Sometimes it seemed like they did, but we'd be really unlevel front-to-back, and we'd unhitch and realize now the steps weren't laying flat. On the rare occasion, we'd have to hitch back up again and move the trailer. Most times, we'd need to hack our way through the situation. We learned how to dig gravel from under the step legs like a dog frantically burying a bone. This led us to actually like gravel and dirt sites better than paved sites. At least this opened up the possibility of more rustic campgrounds once we got comfortable maneuvering the rig into spots. But even with these more nature-centric campsites, we still had our issues. Like, how about our mudfest at Fairview State Park in Louisiana when we were displaced because of flooding? The pavement was too narrow for the steps to land, and besides, they might not have even gone down all the way even if they were on the pavement. And so, we let our blocks take one for the team. The feet of the adjustable legs are hollow, so there was no way we wanted mud getting wedged in them. Which brings us to another point: adjusting the legs was really hard! You need to take out a pin, move the leg to the appropriate notch (all the while holding the stairs up), and then insert the pin back in. The pin would often get stuck on a good day, so we can't even imagine how bad it would be if it were caked in mud.

We researched other options for steps and came up with slim pickings. Our steps fold into our entryway and stow there during travel. Lots of other RVs have wells underneath their frames, and the steps stow into the well. We would love to have a set of steps that doesn't need to stow into the RV at all. This would mean zero chance of our door sticking, and it would also mean not having dirt scatter into the trailer whenever we pack up for travel.
When we spoke to other ATC owners, it seemed that the consensus was A, get a slide-out step installed that usually goes on a different ATC trailer, or B, buy Torklift Glowstep Revolution Uprising steps. We had a chance to look at a few of the slide-out steps on our 2023 blitz west, first in FL when we met up with our friends/fellow ATC owners Jessica and David, and then later at Boondoctor Ranch, as our solar contractor Boondoctor John has one as well. We learned that our frame looks slightly different from other ATCs and we don't know why, but adding any steps underneath the RV, whether they're in a well or not, seemed like it would not work. We also needed to think about Tanner, who is turning 12 this year and has arthritis in his rear legs. We want to make sure he can easily take the steps in and out of the rig.

Jessica and David's step solution | Geographically Free
Jessica and David's step solution | Geographically Free
Also at Boondoctor Ranch was one of John's friends and right-hand men, who had the Torklift steps. This was our first time getting to see them in-person. We got to see how they attached to the door frame, feel how heavy they are, and talk about their use for older pets. Basically, these steps would give us more flexibility in where we can park because, once the steps are folded out, the only adjusting that happens doesn't involve the base plate. The steps are connected by accordion-style hinges, so they can go out as far as needed, and no more. This means no more infringing on our Cracker Docking neighbors' space! The Torklift steps also allow for adding and removing extra steps. A 4th (and 5th) step can be added, but tucked away underneath the bottom step so it's out of the way unless needed. Like the SolidSteps, these too have adjustable legs, but unlike the SolidSteps, these legs don't affect the rest of the stairs when they're extended. The Glowstep name comes from glow-in-the-dark strips that they place on each step for better visibility at night. And, even though they take some getting used to to lift in and out, the steps were plenty light enough for both of us to lift with no problems. Torklift also has Glowsteps that mount to a well under the door, but we knew this wouldn't be an option. The "door mounted" ones - the Uprisings - were actually a newer iteration. This is why it was extra helpful to see them in action in real life.
We pretty much made the decision then and there to get the Torklifts. As far as other options for steps that stow away into the rig, there were only other versions of the type we already had. We knew we had to cover as many bases as possible, and the Torklifts were really our only option. It would still be a while, though, before we could actually purchase the steps. We'd need to be at a place that allowed us to get a giant, heavy package delivered. So we stuck a pin in the plan.
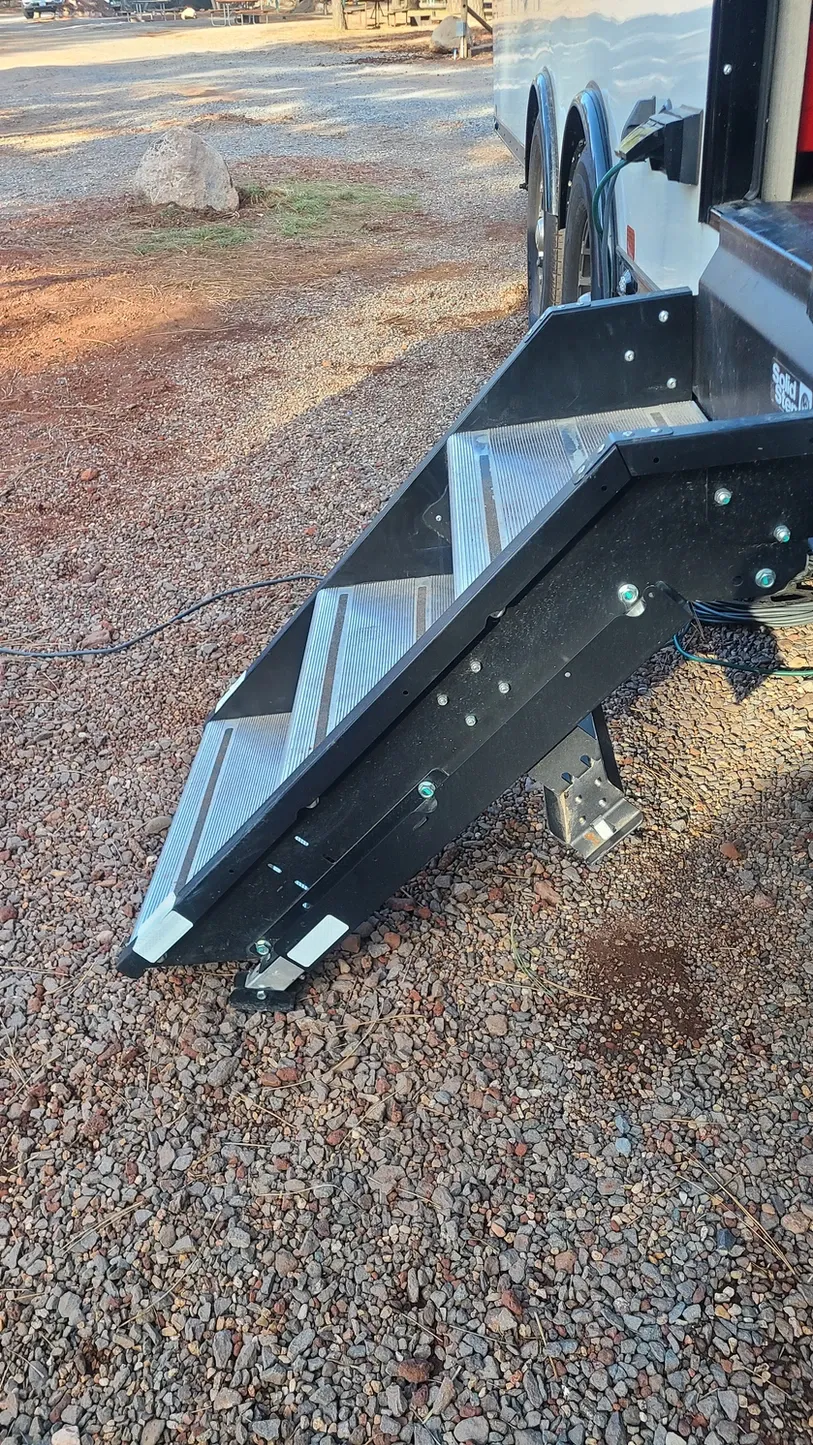
Our demonstration of the Torklift steps couldn't have come at a better time, because we had just come from our campsite at Gilbert Ray Campground in Tucson, AZ. This was our tightest site to date, and one of the biggest challenges we had was not having room to get our steps down. There was barely enough width for us to fit our truck to begin with, but then we needed to use an extra few feet for our steps. Then, when we finally got our steps out, the ground was higher than where the rig was stationed. So that meant - you guessed it - we couldn't get our door to close! We needed to dig a good 6 inches into the dirt in order for our steps to lay flat enough. You can see in the photo below how close we were to the edge of our site, and if you look closely, you can see the pile of dirt next to the steps from where we needed to dig.

Gilbert Ray was our final straw. We had dealt with these steps for so long, but now we remembered why we loathe them so. We worried about our future campsites where we want to disperse camp or be further into the wilderness. Even if we can finagle the steps down, the amount of extra time it takes has eaten away at so much of our set-up, like setting up after a long travel day isn't grueling enough. We were sick of it. That's why we took the timing as a sign, that right when we were at our wit's end, we were able to see the Torklift steps and get an idea as to whether or not they'd work for us...and we believed they would.
We saw a window of opportunity open about a month later. We booked a KOA in Williams, AZ for 2.5 weeks. Most KOAs allow packages and this one did, and we'd have enough time to get steps shipped to us. We needed to time it right, but we were ready. We planned to order the steps from eTrailer, a company that specializes in a lot of RV-related products and that we prioritize buying from whenever we can. They had GlowStep Uprisings in stock every time we checked...until came the time to actually place the order. Such a disappointment! So we scrounged around online to see if anyone else was selling them with a shipping time within 2 weeks. Anthony found a seller on ebay, and so we went with that.
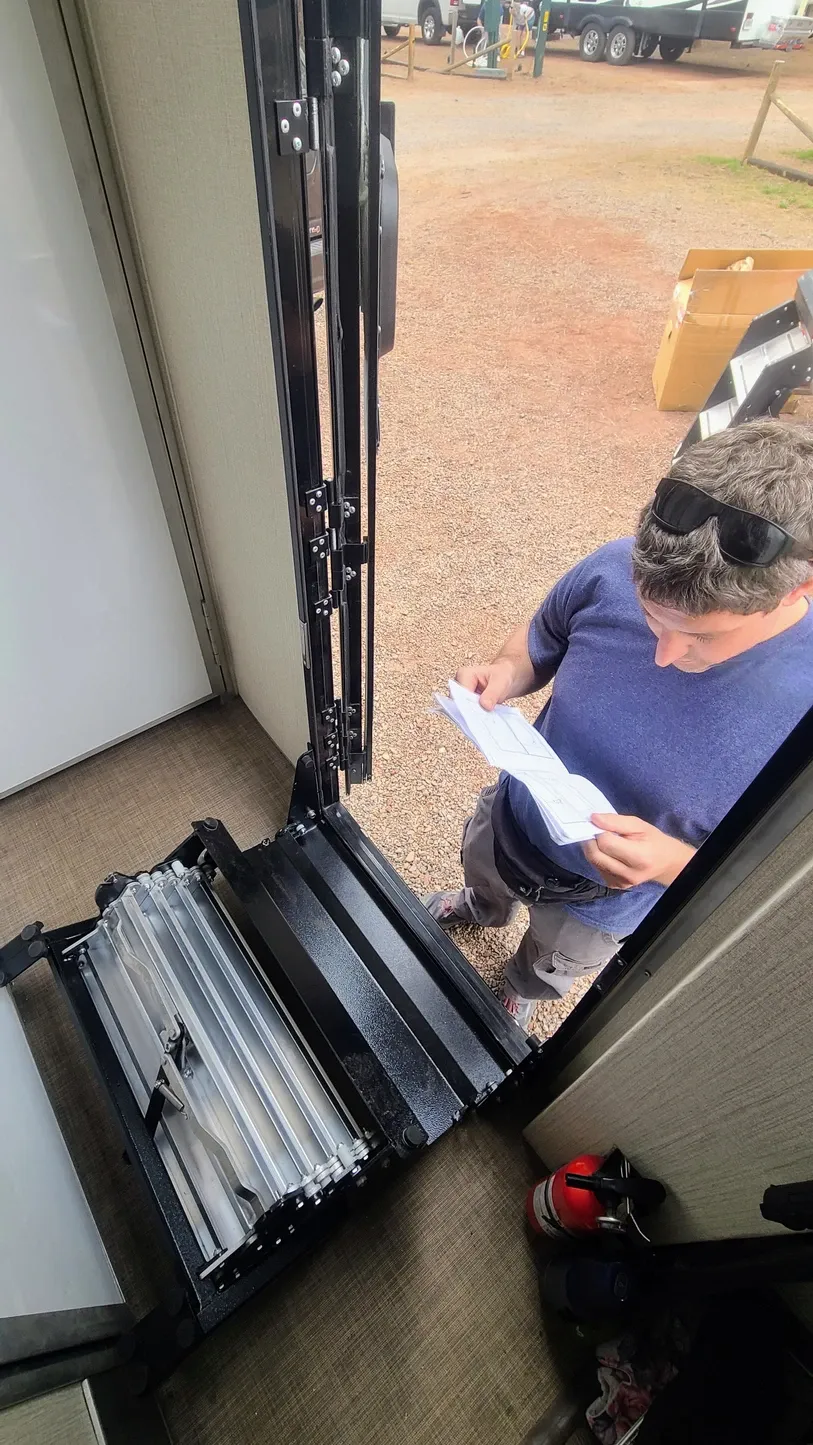
The steps arrived promptly, and on the next nice day, we eagerly got to work taking out our old steps...but not before we demonstrated what we were dealing with at this KOA:
Mind you, we were perfectly level left-to-right. It was a slight variation in gravel that left us needing to constantly shove more gravel under the left leg, only for it to settle and we'd need to keep shoving more and more underneath. Eventually we just gave up because we knew our new steps would be arriving.
You've probably noticed from our photos that we had more gripes with the SolidStep stairs than we've already mentioned. Like the bottom step being less than an inch from the ground. Not only is this completely unnecessary, but it also meant that we had campsites where the bottom step couldn't land flat! Also, underneath the steps had lots of grooves, making them virtually impossible to keep clean. Part of Nicole's checklist on drive days was to sweep and wipe off the steps before storing them away. There was never a way to get all the dirt off.

As you can presume, we must have been utterly distraught to finally get these steps out of our rig! Yeah, not so much.

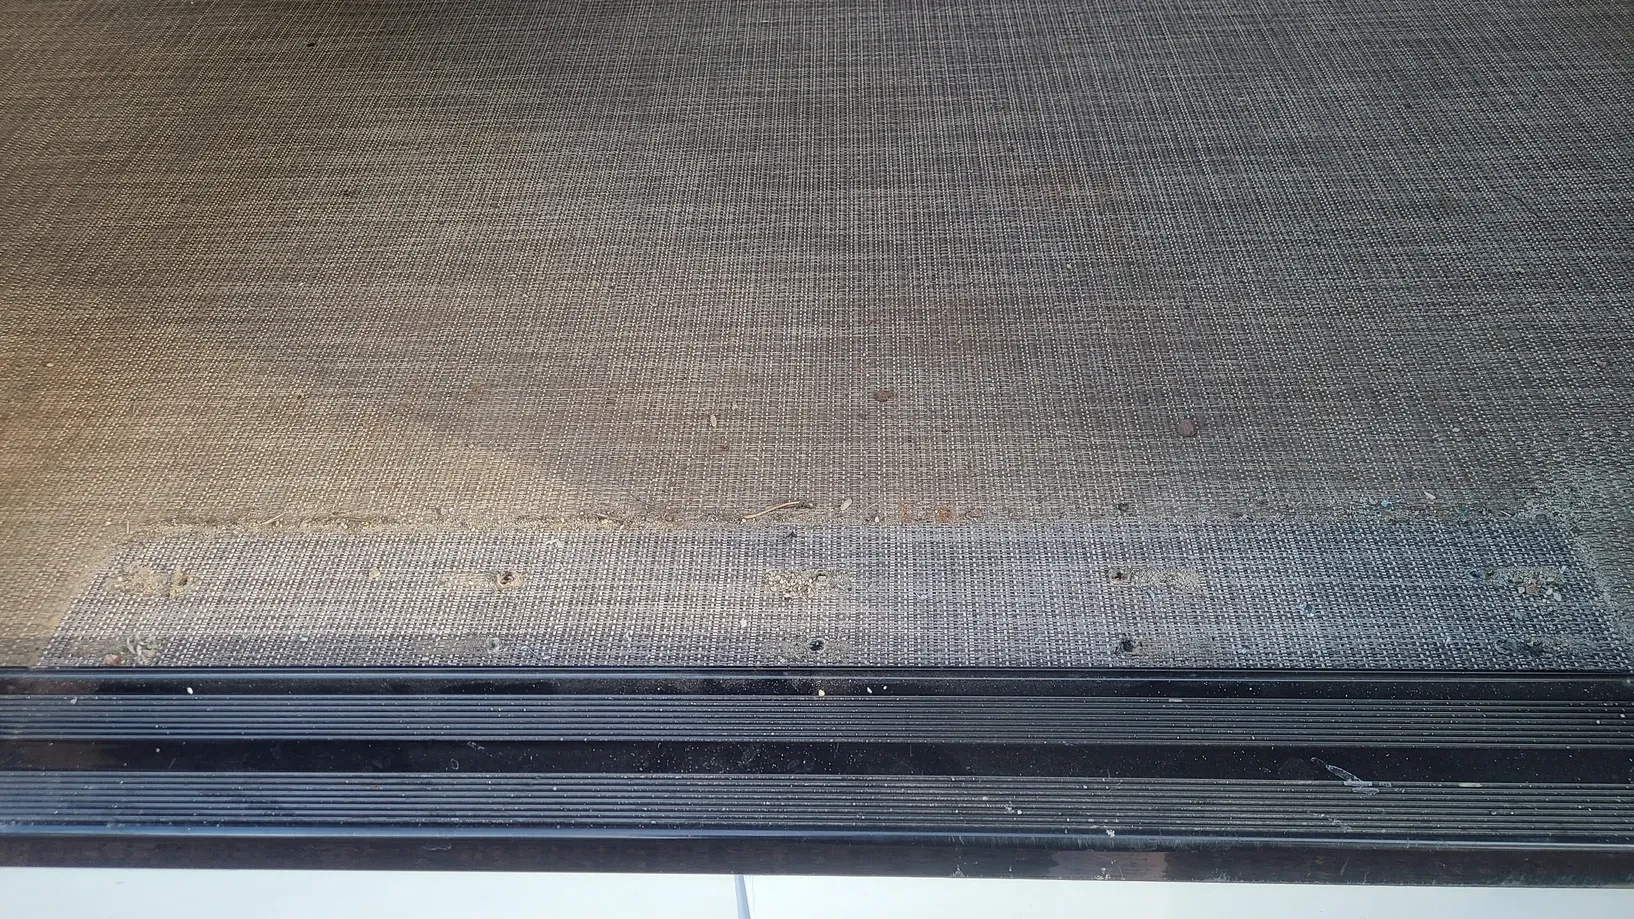
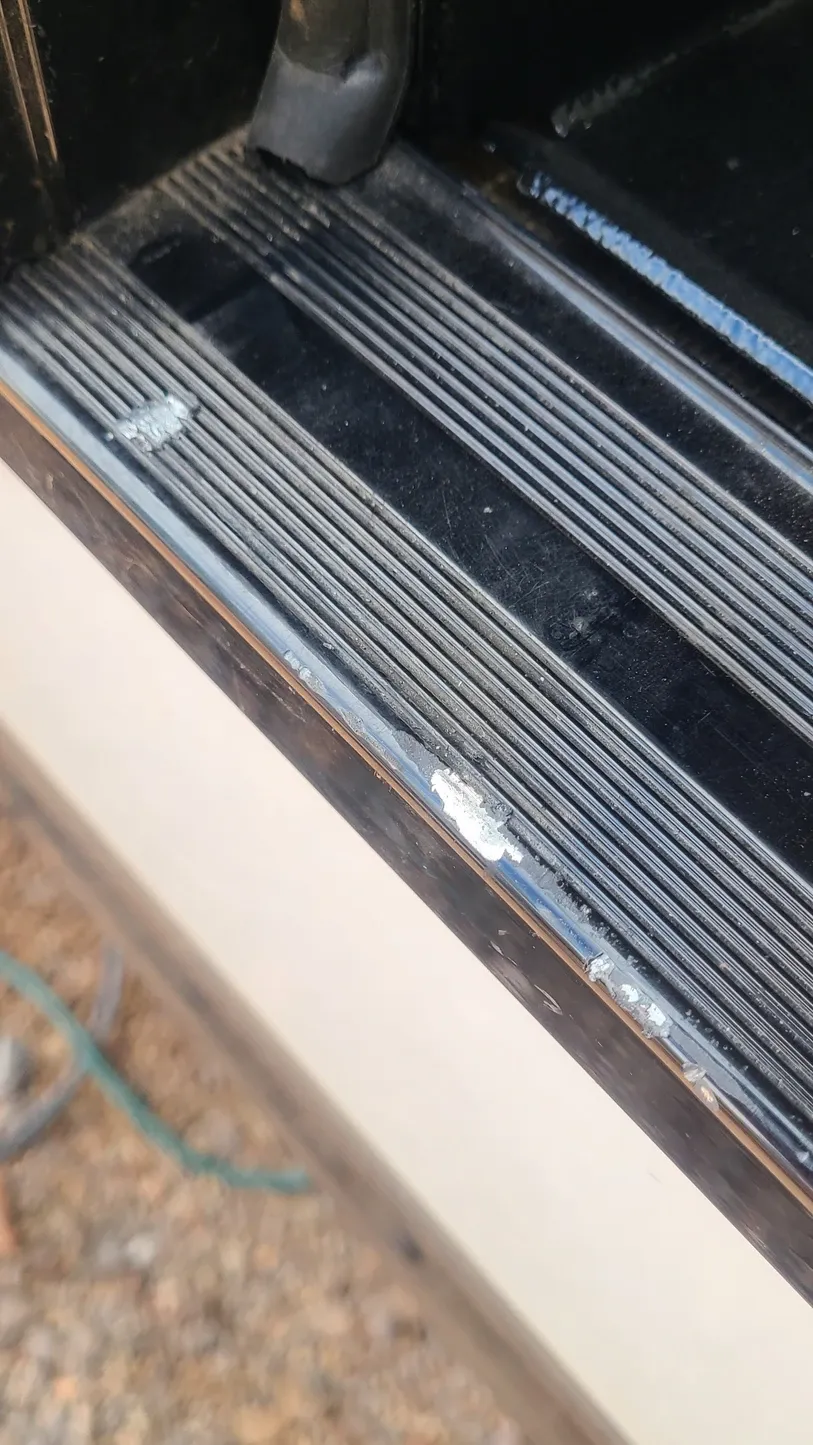
We assessed the damage after the steps were out and noticed that the dirt and grime in our entryway was pretty gross, but worse than that, look at the damage these steps did to our door frame!

We were so happy to be done with the SolidSteps once and for all...only, were we really?
Torklift does a really good job on their website, going so far as to list which size steps different RV models need. Only problem is, we don't have a common RV, so Anthony needed to measure our door and choose the right size. There are warnings everywhere to MAKE SURE YOU MEASURE! Well, apparently the correct measurement was supposed to be the inside of the door frame, but Anthony measured the outside. The instructions for measuring were unclear, and to make matters more confusing, the website said most standard doors fit the 28in steps. After all this time waiting and all the work getting the old steps out, we discovered that the 28in steps were too big, and we were supposed to buy the 26in. In retrospect, we probably could have gotten the answer on the ATC Facebook group, but we thought we knew what we were doing. So now came the added hassle of packing those steps up and returning them. Remember, they're not a small item!
We tried to figure out an interim solution. The last thing we wanted to do was bolt our SolidSteps back in. So we didn't. We rested them on the door frame and, while they shifted a little here and there, they were fine for the time-being.
The eBay seller didn't have 26in steps, so we needed to find another place to order them, and we needed fast shipping. At this point we only had a week left at our campground. Anthony found the steps for sale on an RV surplus store website, Johnson's Surplus, but we weren't sure if they'd arrive in time. We decided to place the order anyway and Anthony called them the next morning. They were very nice and let him know that our steps would be shipped out later that day. When we got tracking, the expected arrival was the following Tuesday. We were leaving at the end of that week. That timing was perfect.
While waiting for the 26in steps, we tried to get a return started on the 28in. First we were issued a USPS label, but USPS doesn't handle parcels that large and heavy. Anthony tried to get a FedEx label to no avail. This meant we'd have to pay consumer shipping on this very large item. The bright side was, the 26in steps were $200 less than what we paid for the 28in, so at least we'd be spending about the same amount either way.
That brings us to our next point: The Torklift steps are expensive! We normally see them retail for about $800. The SolidSteps typically retail for about $300. We just hoped they would be worth their price. After all, time is money, and we've wasted enough time on the SolidSteps.
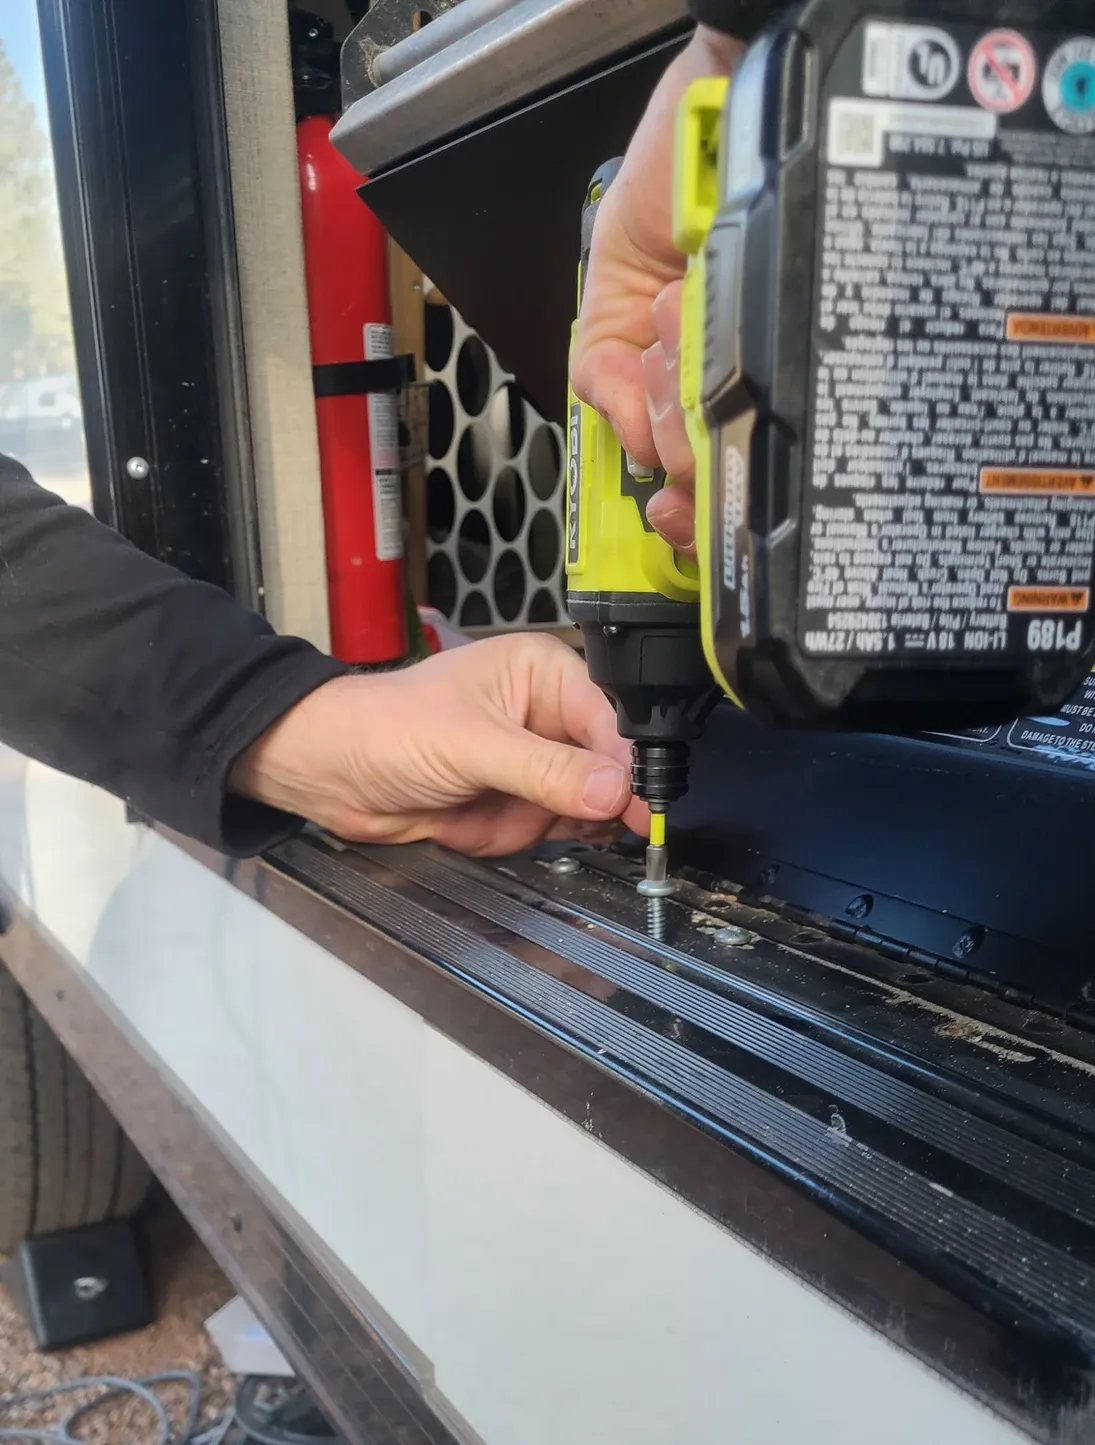
The new steps arrived on time, and we noticed right away that, while the box was damaged in shipping, Johnson's Surplus did a great job packing the steps. Only, the hardware was missing. We think it may have fallen out of the package when the box got damaged. Good thing we still had the 28in steps, so we just "borrowed" the hardware from those. Then we got to work installing the steps.
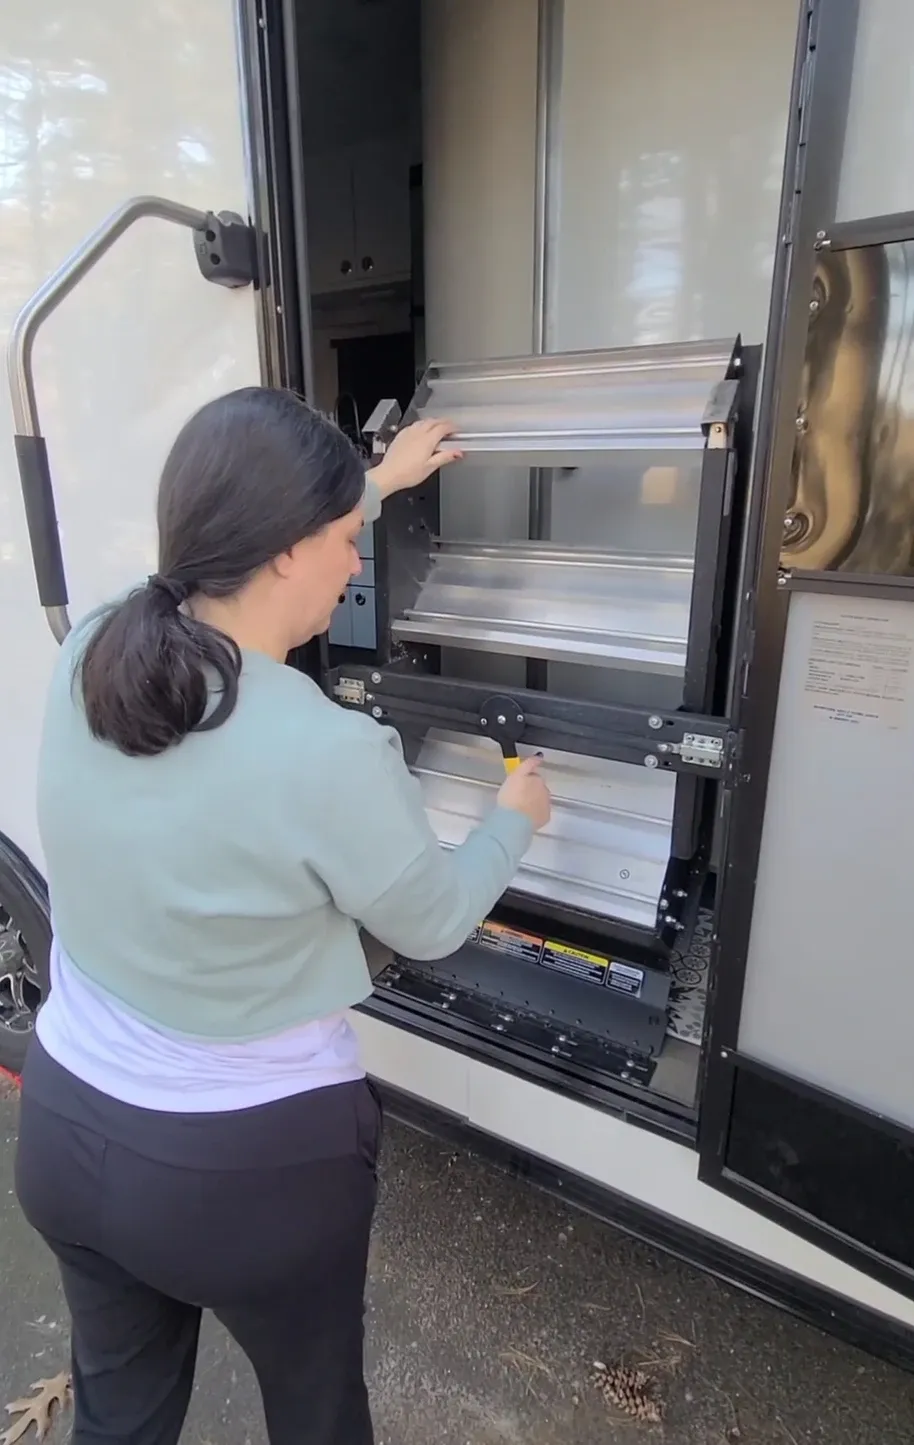
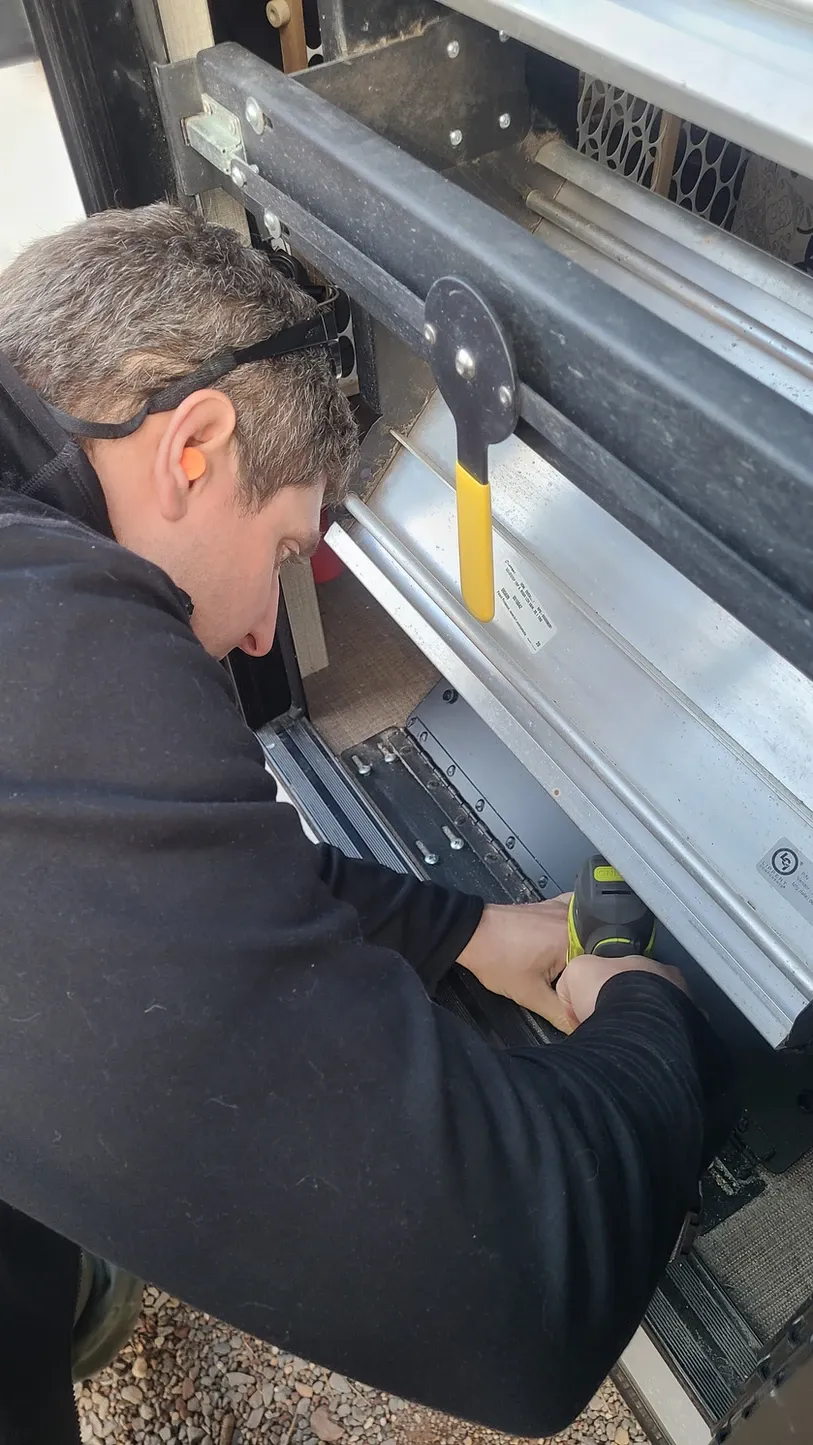
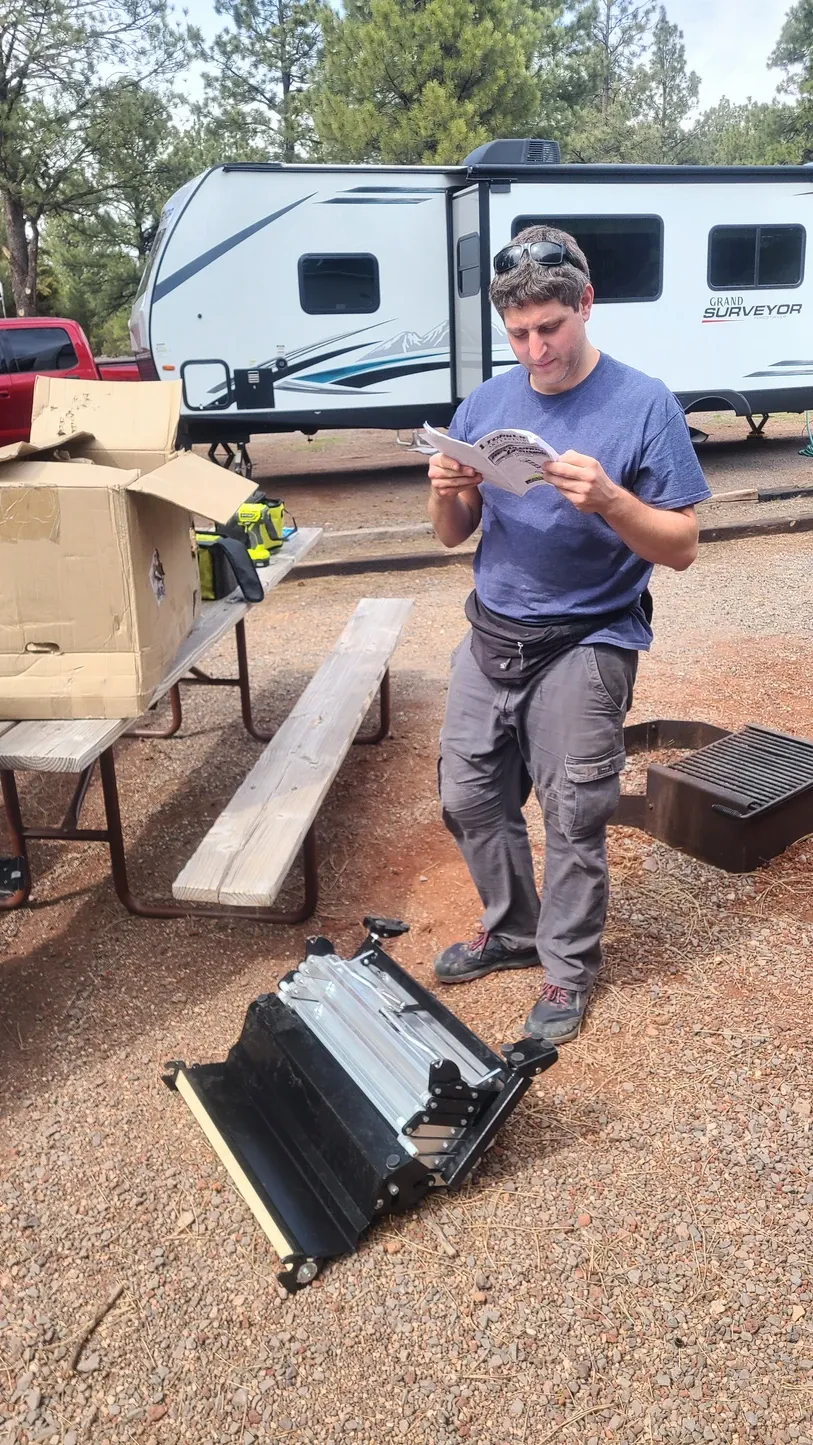
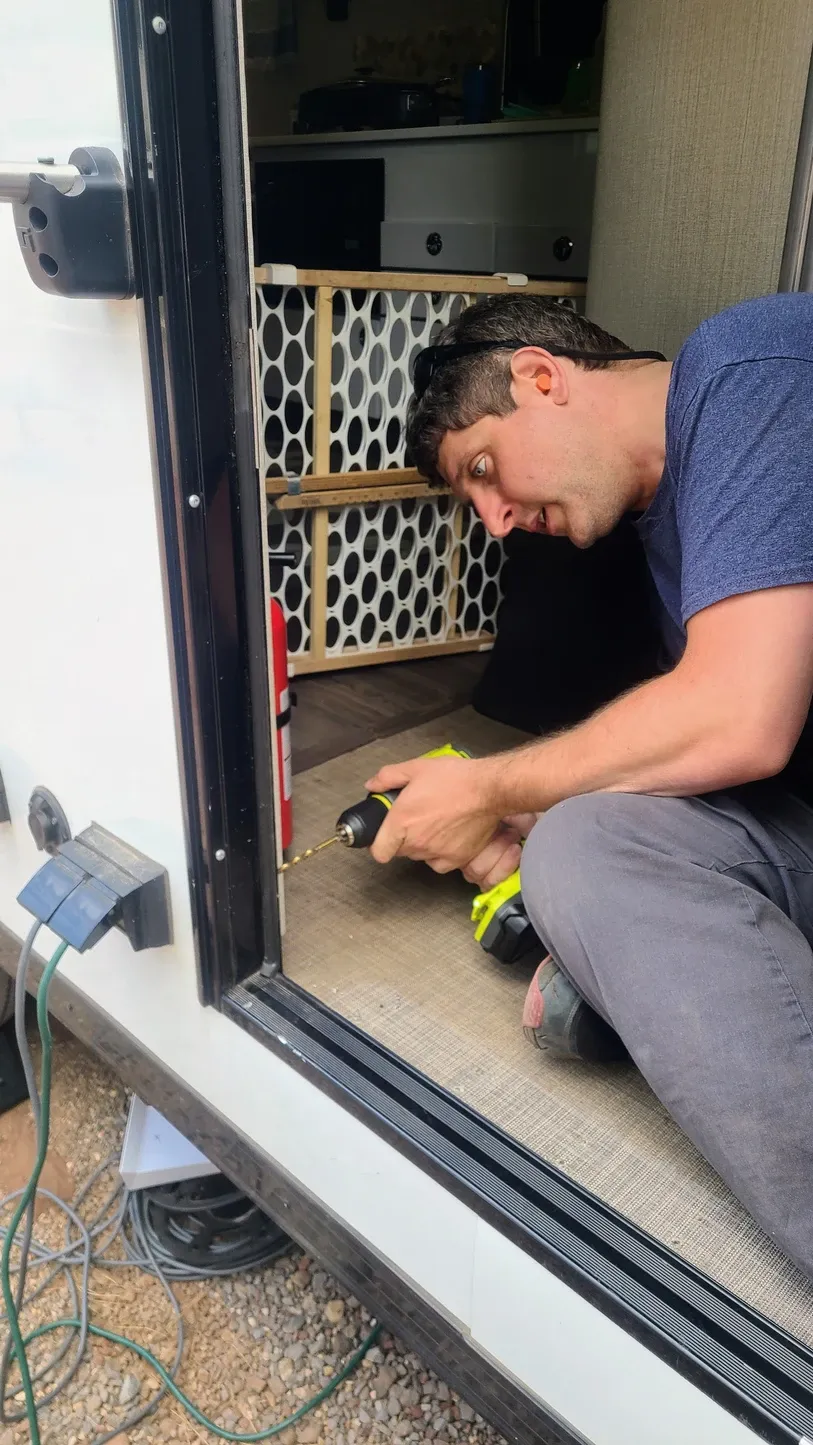
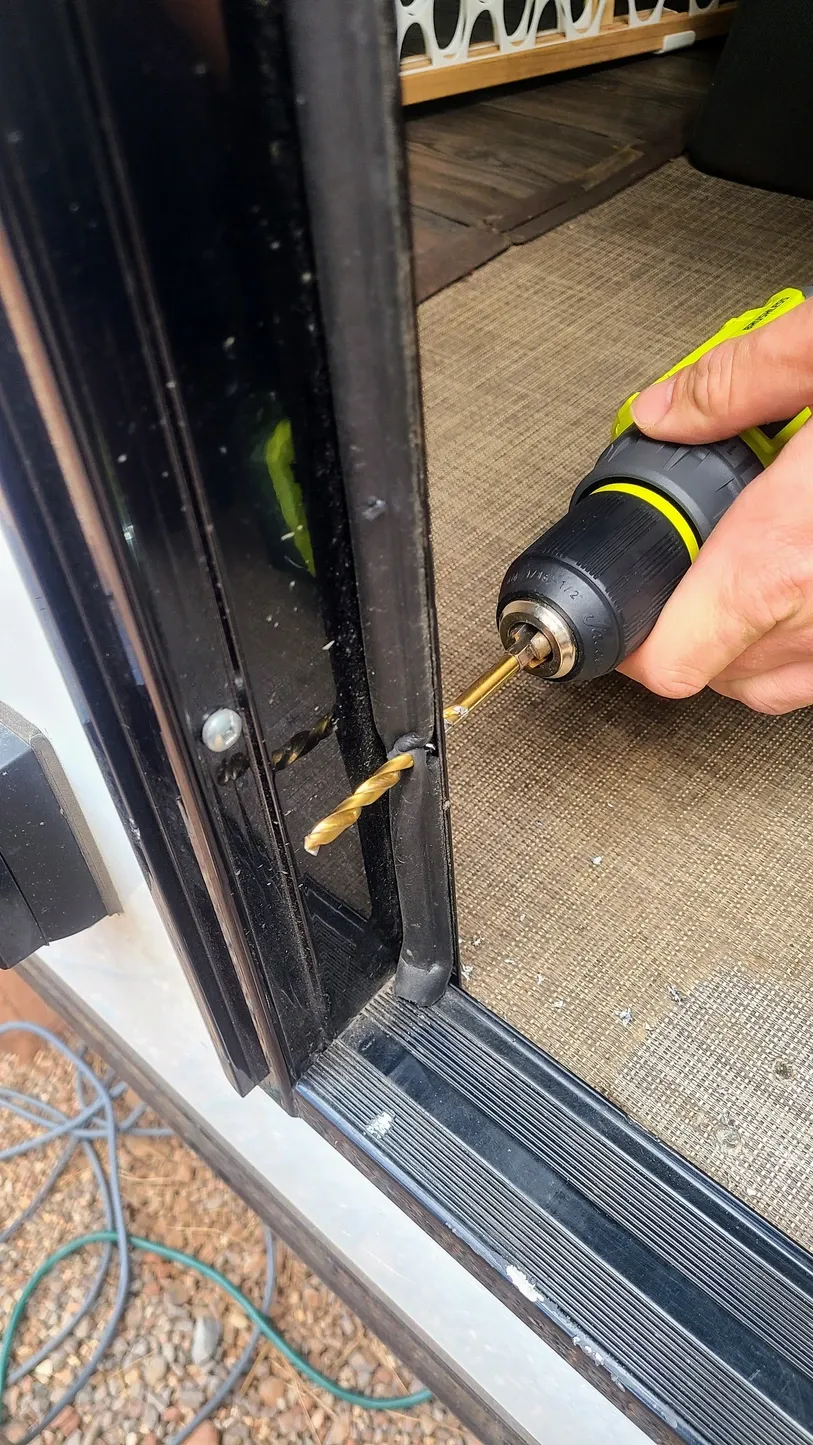
The instructions are descriptive and install is fairly easy. The most tedious part is lining up the brackets, which need to be attached by drilling through our door frame. The brackets are secured with nuts and bolts, and then the steps are inserted over the base plate.
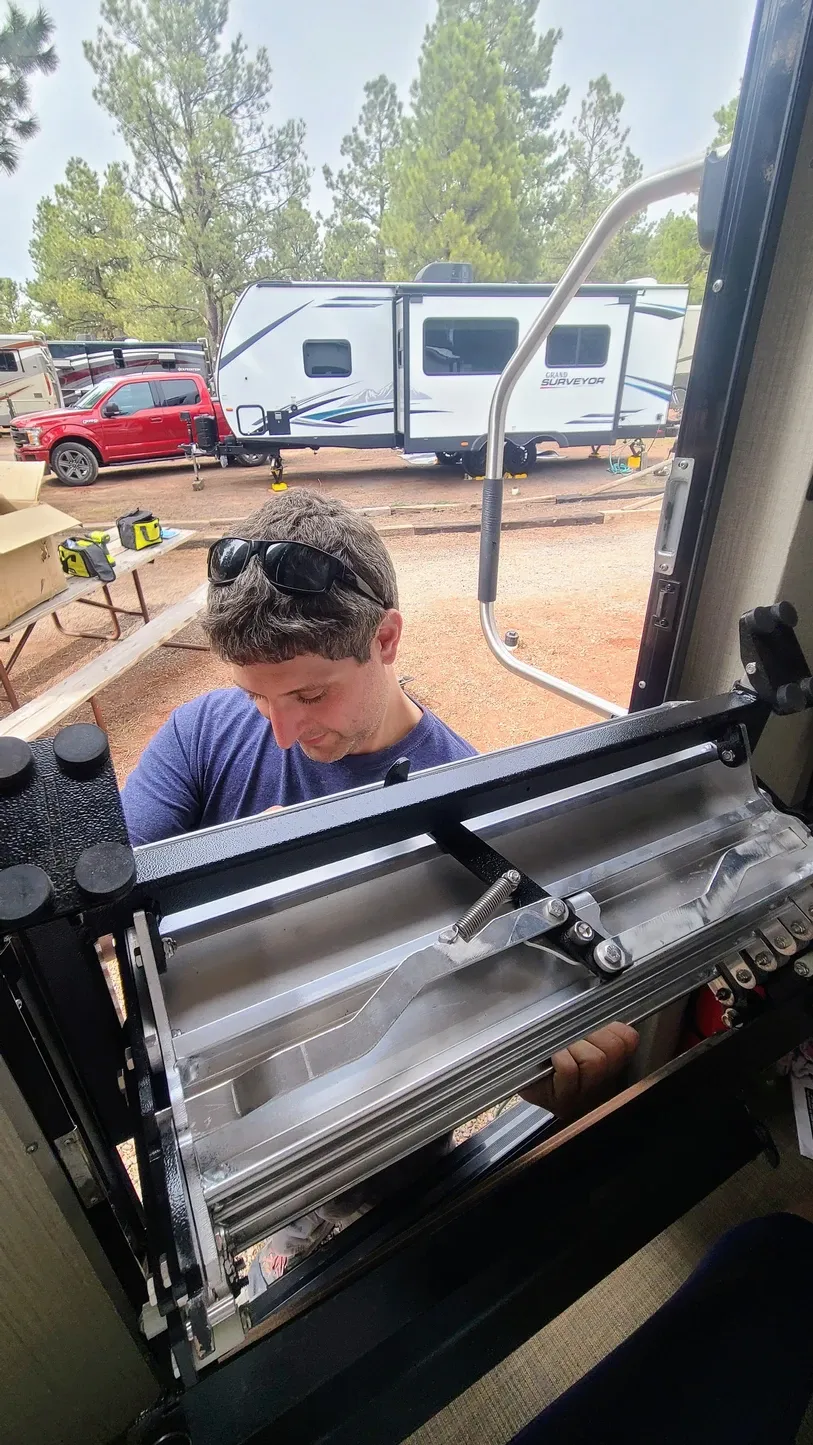
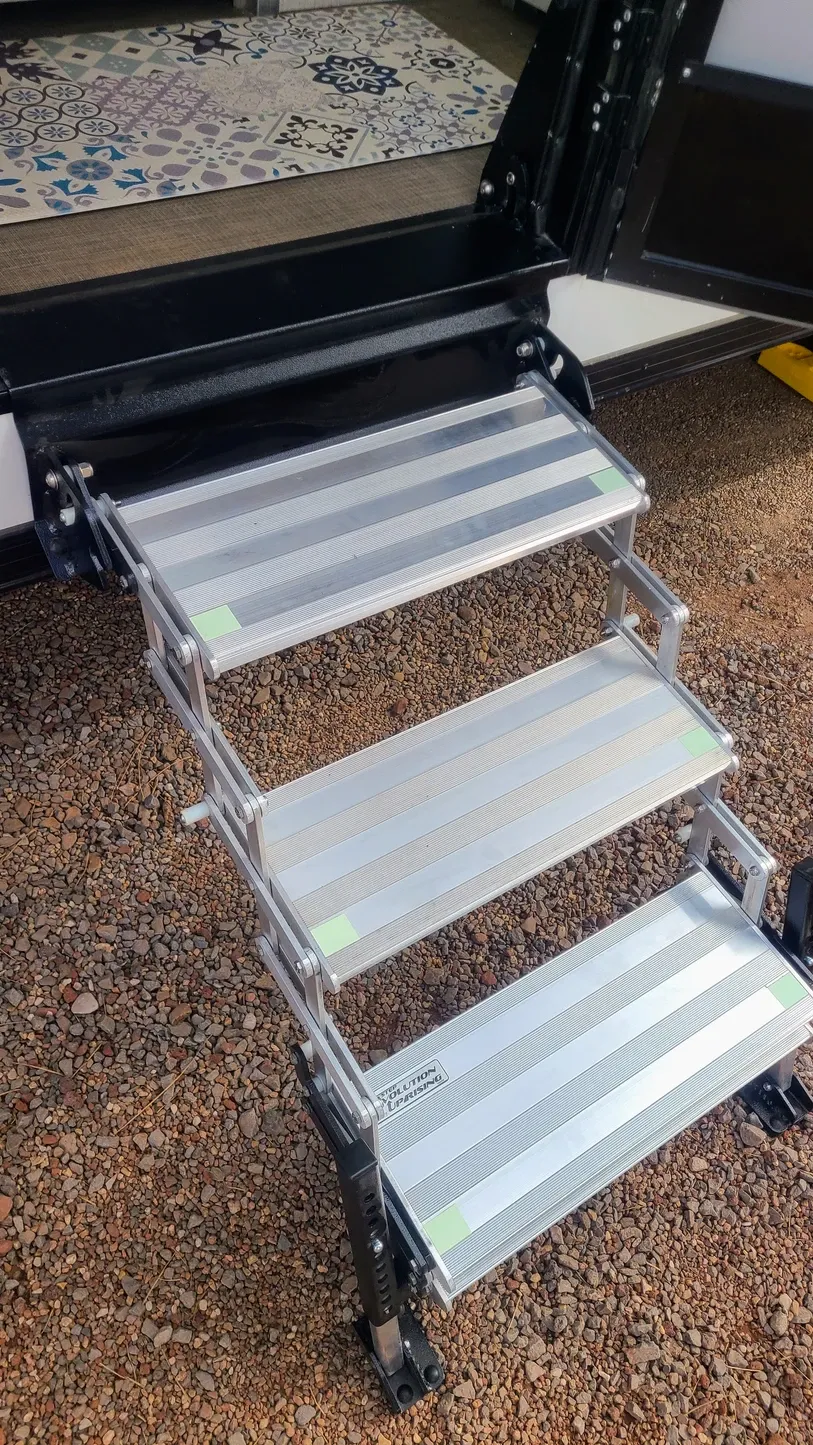
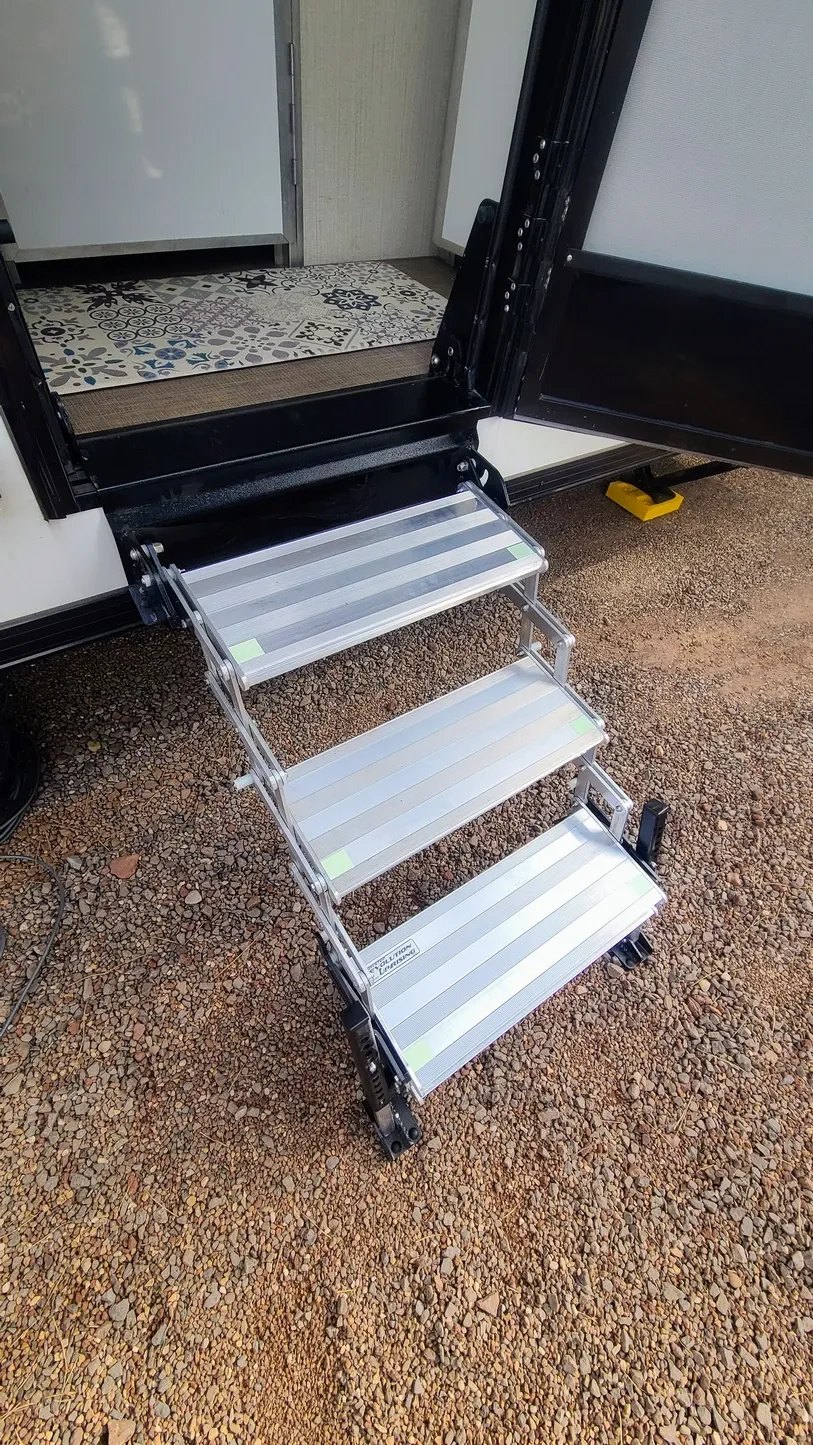
We could tell as soon as they were in that they were going to be way less bouncy than the SolidSteps. So much for their "no bounce" advertising. The new steps also looked super sleek, and the steps were expanding on their hinges smoothly. Before finishing the install, we tested their sturdiness. There was no movement, even without them being entirely secure. It was so nice having quiet steps, finally!
But we weren't out of the woods yet. We also needed to test our door. The Torklifts were already proving to be far better than the SolidSteps, but the problem of having a base plate remains. Granted, the base plate won't move up and down depending on our terrain, but if we can't get it flush with the door threshold, it will cause the door to stick 100% of the time, no matter what the terrain of our campsite is. We do not want this. So we tried shutting the door and...
...it stuck. Insert expletives here. Now we needed to figure out if there was anything we could do. We brainstormed everything from removing the threshold, to trying to move the front door up, to removing the bottom part of the frame on the door itself. All of those were either impossible (our front door is riveted on and can't be moved), or would involve potentially destroying part of our RV. We felt as stuck as the door itself.
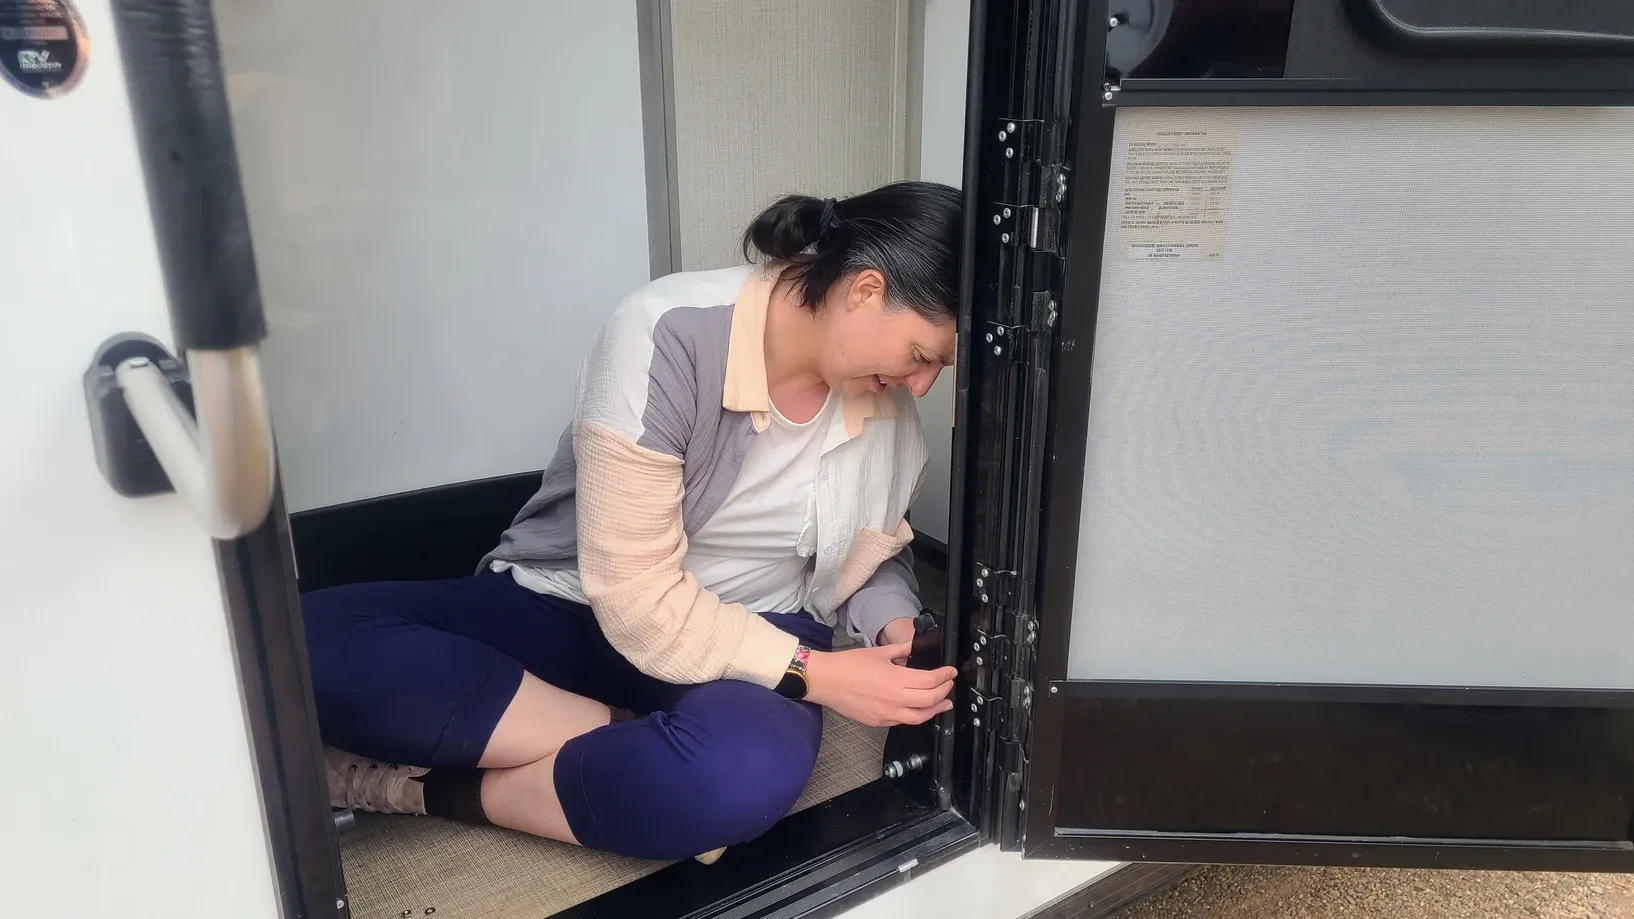
When examining our front door, we had a breakthrough. The door is made up of a couple sheets of aluminum, bound together by the frame, which is four strips of sheet metal. The bottom part of the frame was both glued and screwed on. We had never looked under the door closely before, but when we did, we noticed that the screws protruded quite far due to their rounded heads. Those must have been scraping the threshold and causing the door to stick! So we immediately unscrewed them and tried the door again.

Much better! But not out of the woods yet. There was still some sticking, made better if we used a mallet to knock the bottom of the door upwards, but we can't do that 20 times a day. We figured the best thing we could do right then was take a break and head to the hardware store to buy flatter head screws and maybe talk to one of the workers to see if we could get inspiration on how to keep the bottom of our door from scraping.
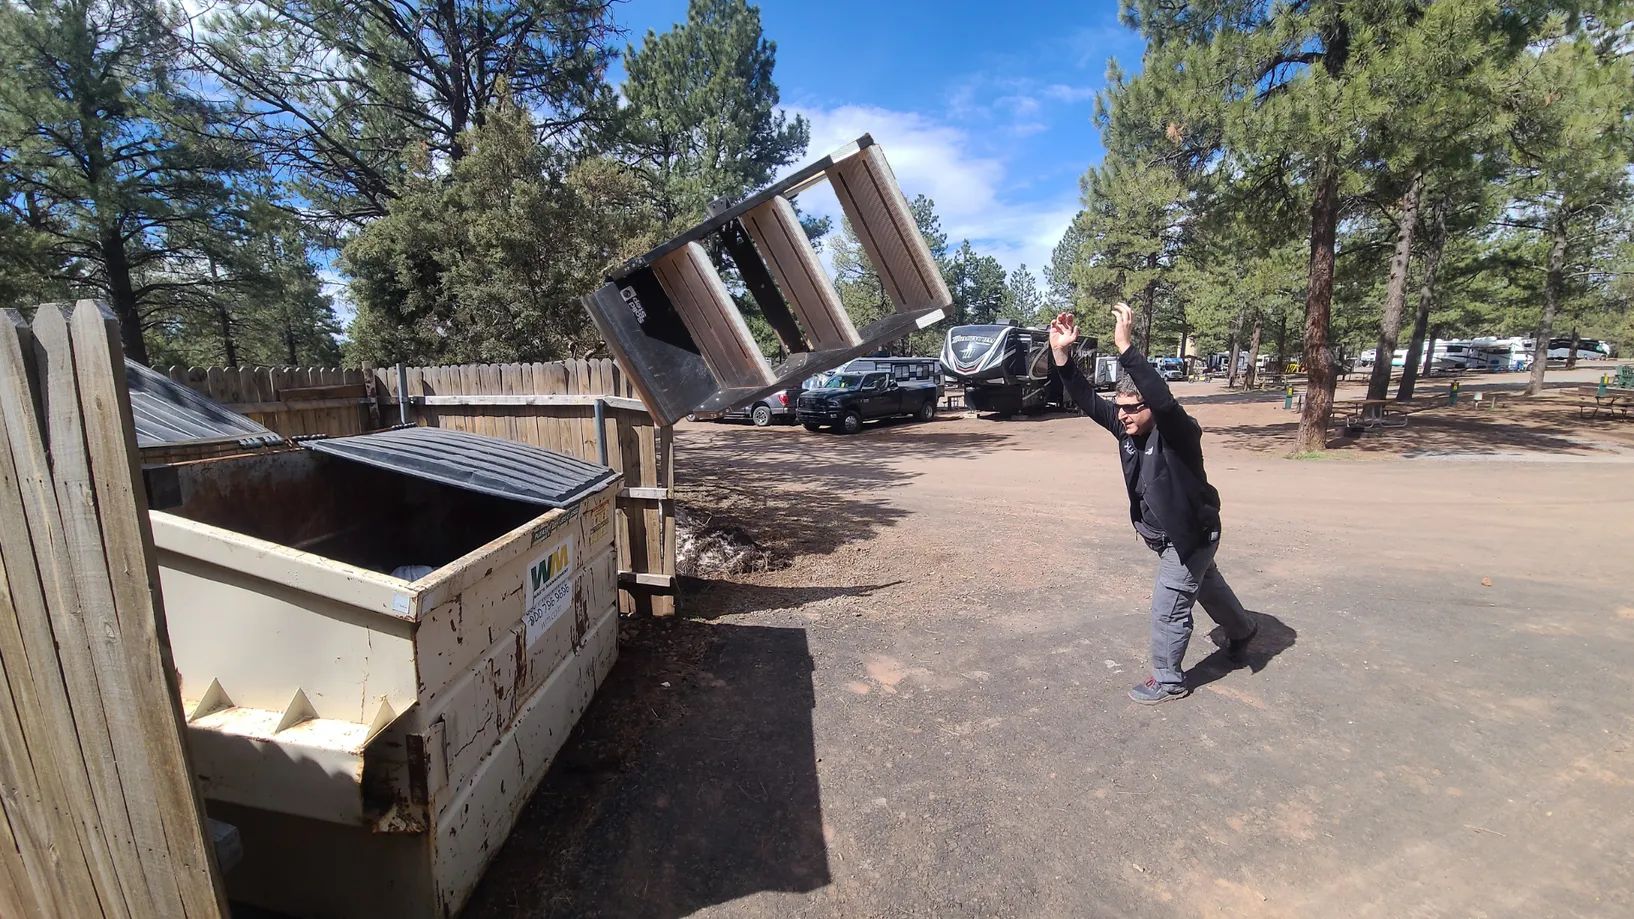
Big shout out to True Value Hardware in Williams. Gotta love the small town stores where the workers actually know what they're talking about and want to help you! We got the screws we needed and also brainstormed with one of the workers solutions to our dilemma. That's yet to be decided. But, for now, the Torklift steps are in, sturdy, and sticking less than our SolidSteps did 99% of the time. Over all, it was a net improvement, and after using the Torklifts for one night, we were comfortable tossing our old steps in the trash. We considered trying to sell them, but why would we want to inflict them on people? Besides, they were so dirty, and the grip tape was wearing off. Those things belonged in the dumpster!

Look at Anthony's strength! OK, no. That's photoshopped. But we did actually toss the stairs in the dumpster and it felt like a huge weight was lifted.

We're looking forward to seeing how much easier our set up will now be at campsites. We'll be sure to update you on that, as well as if we come up with a solution to eliminate the door stick once and for all!
Torklift Glowstep Revolution Uprising Steps
Pros:
- Sturdy; don't bounce when we go up and down them
- Quiet
- Good, solid material
- Well spaced stairs
- Flexible with number of steps and extendability
- Glow strips help reflect at night for better visibility
- Torklift is a reputable company based in the USA
- Easy install
- Options for all types of RVs
Cons:
- Expensive
- Door mounted option has a base plate that infringes on the door frame
- Steps not as wide as the SolidStep
- Don't come with grip tape so some areas can be a bit slick