The Utah Redemption Tour: Arches Adventures


We're at our first stop of Arches National Park. Read the last post, where we saw the famous Delicate Arch and learned why the geology of this park is so special.
Catch up on the whole series here.
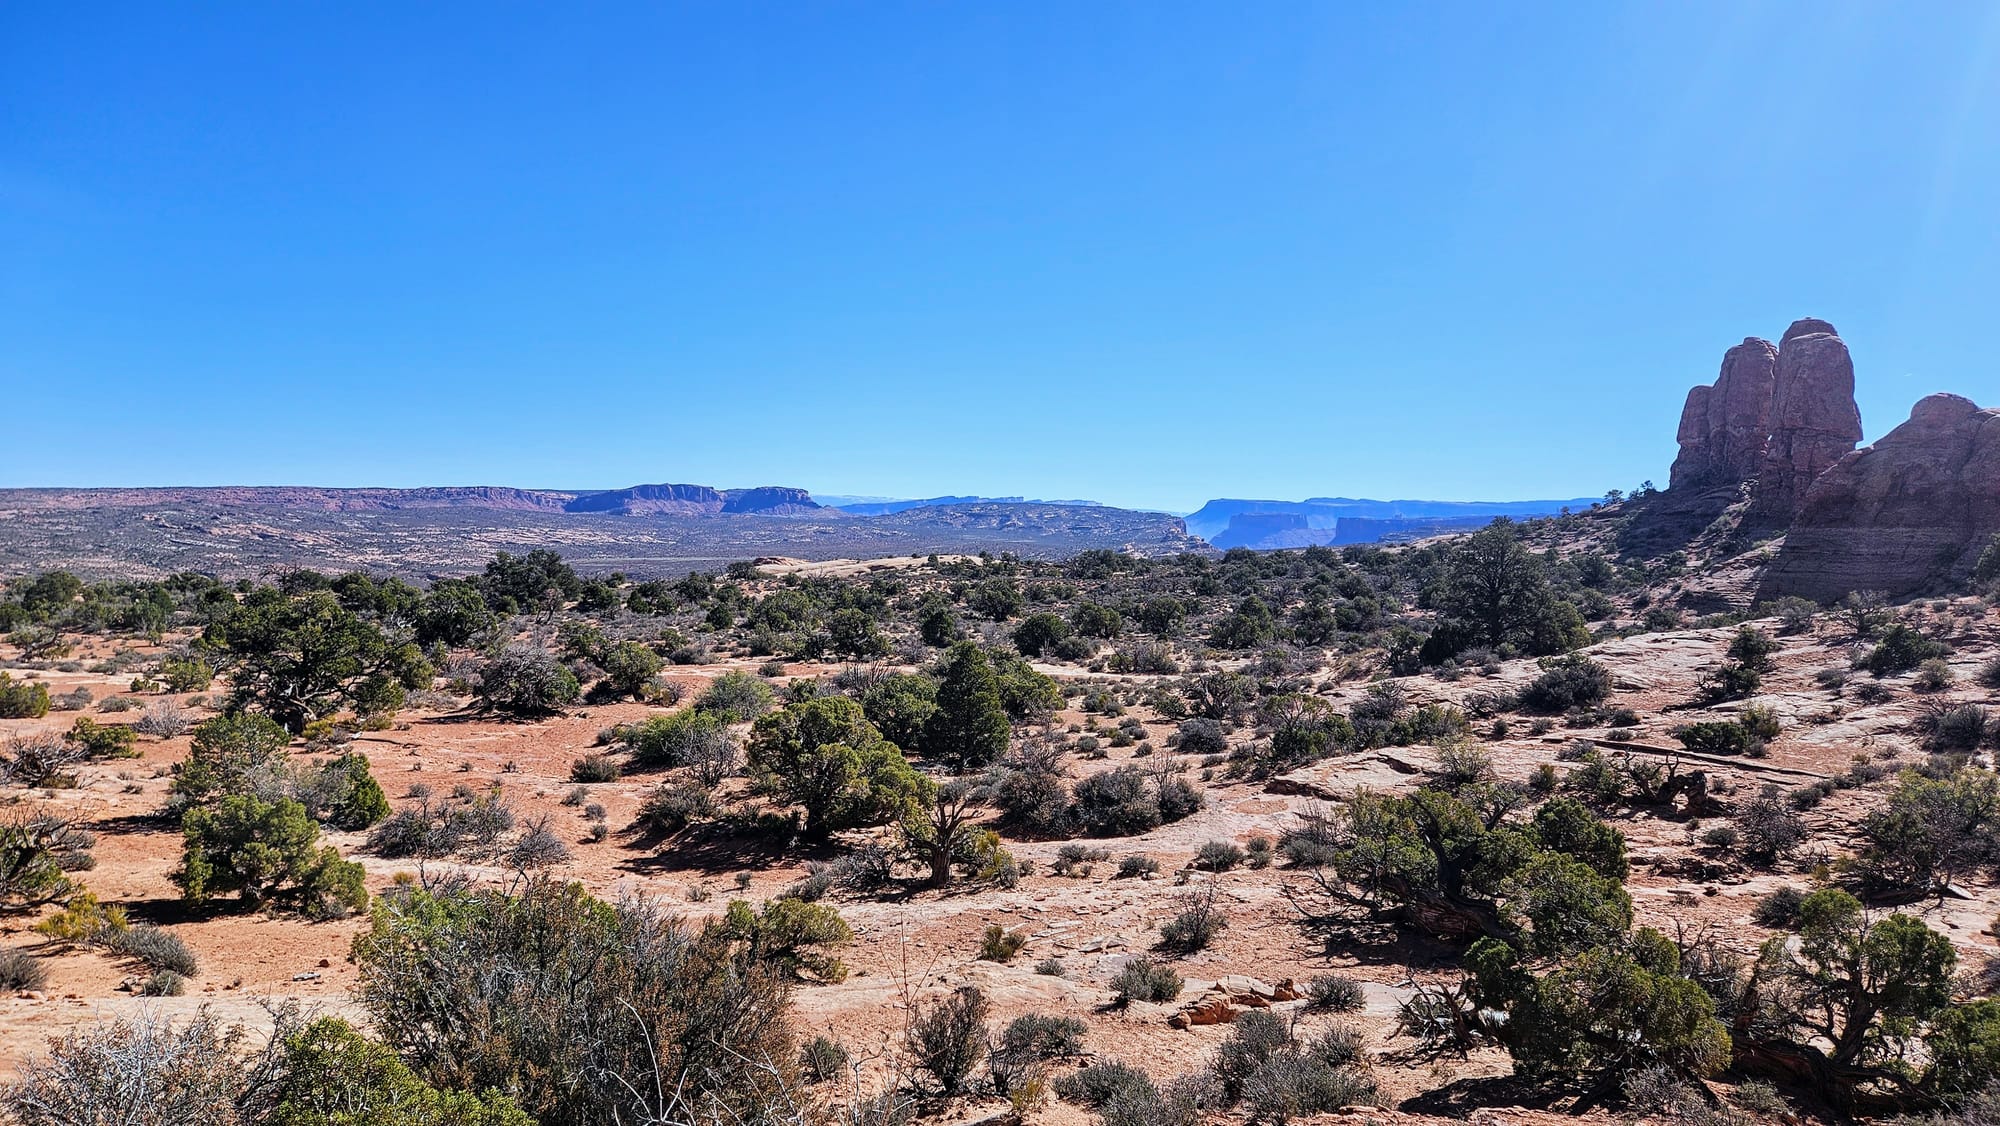
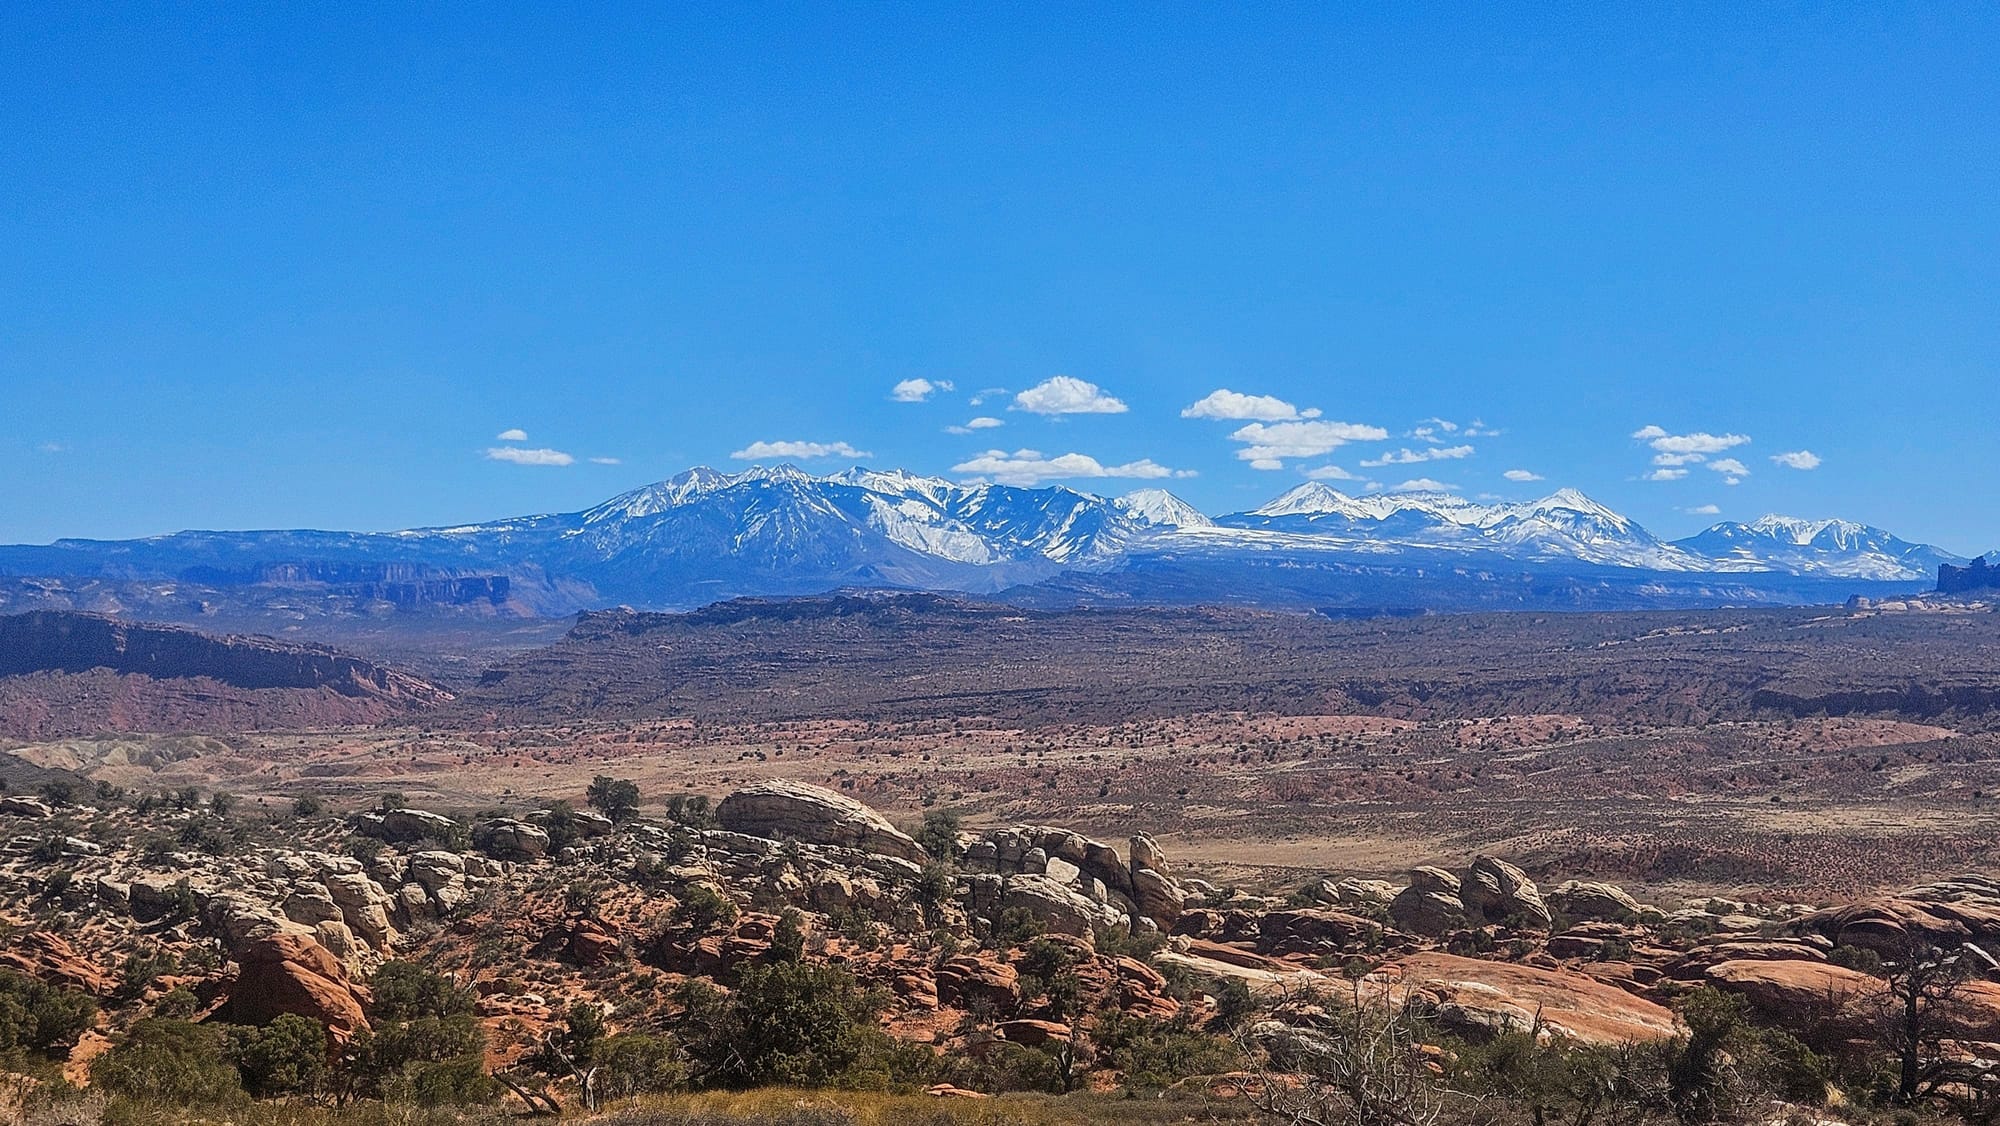
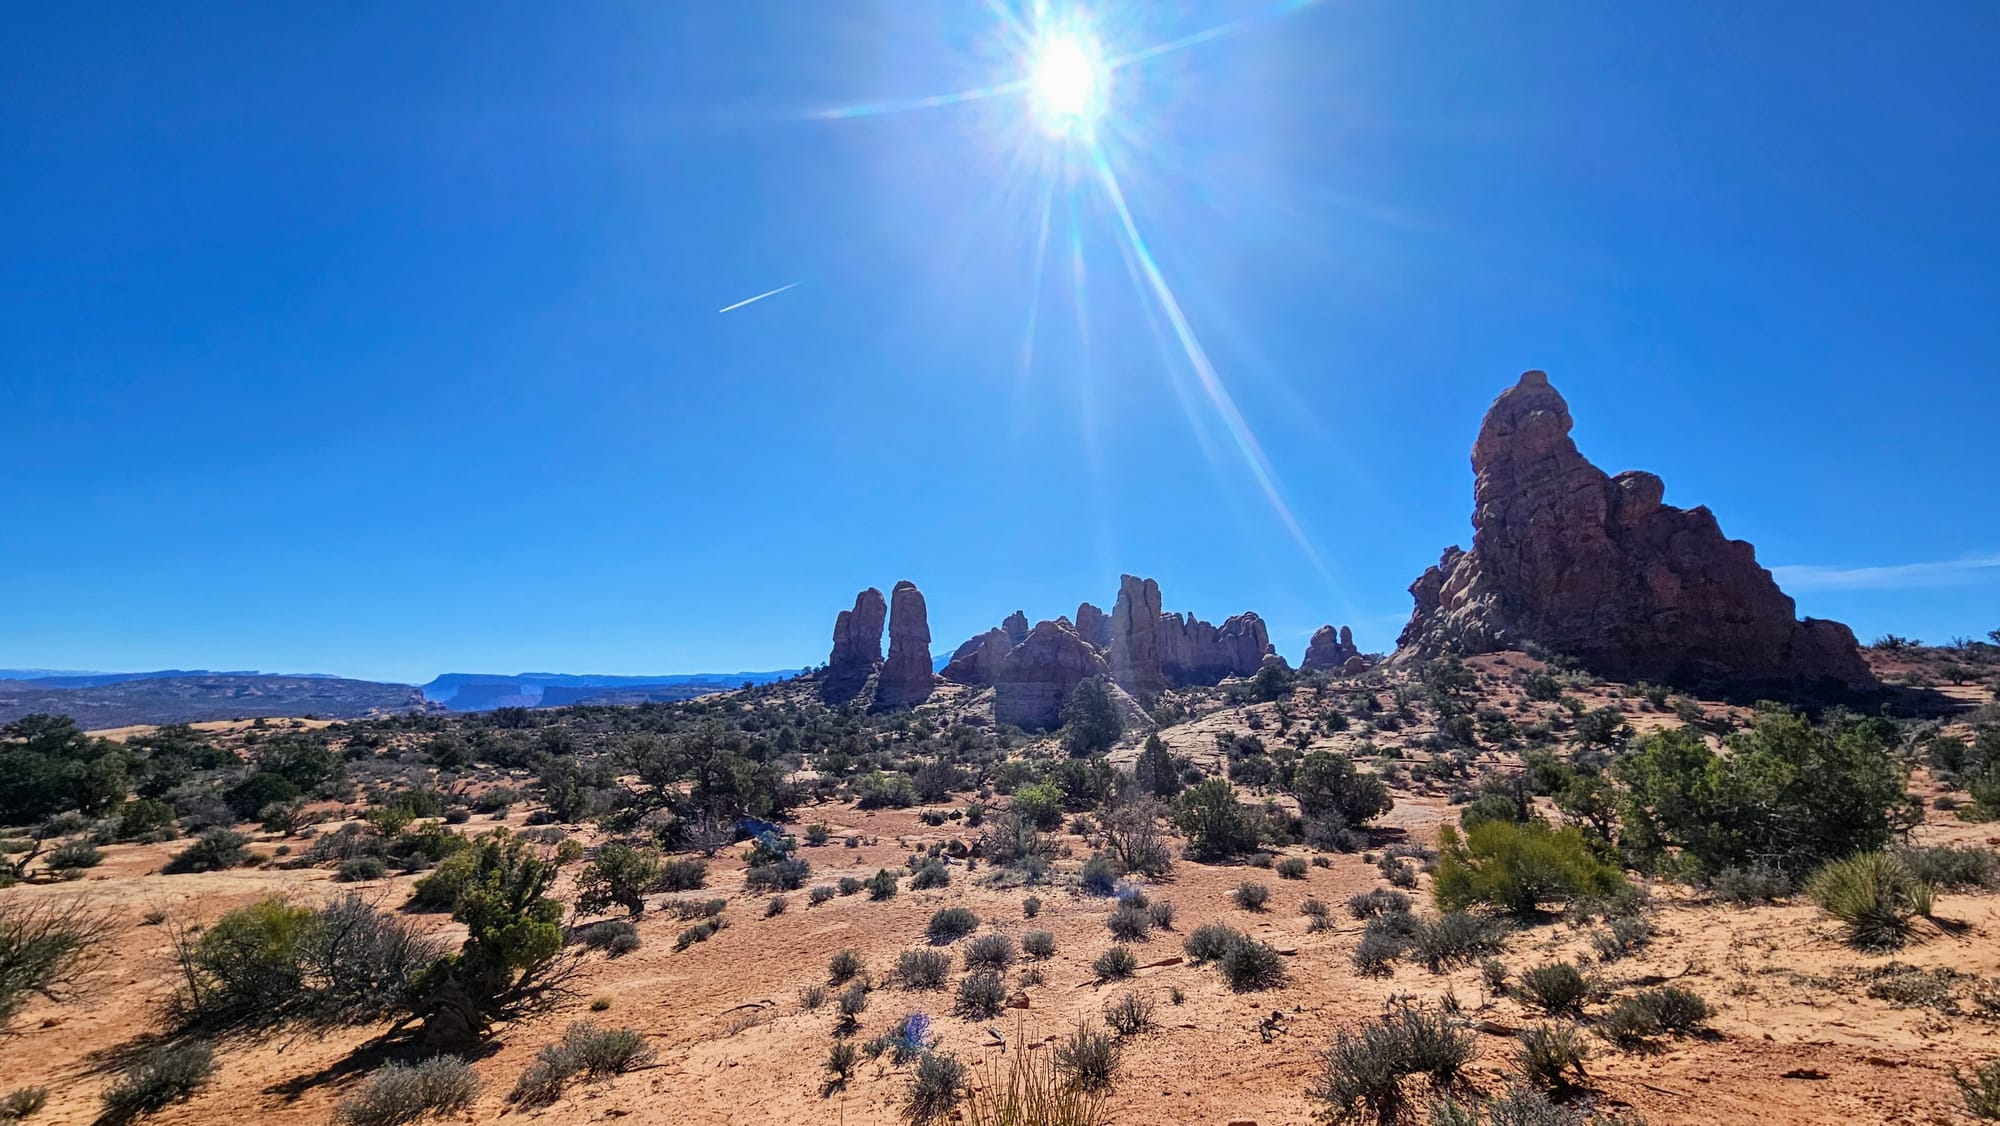
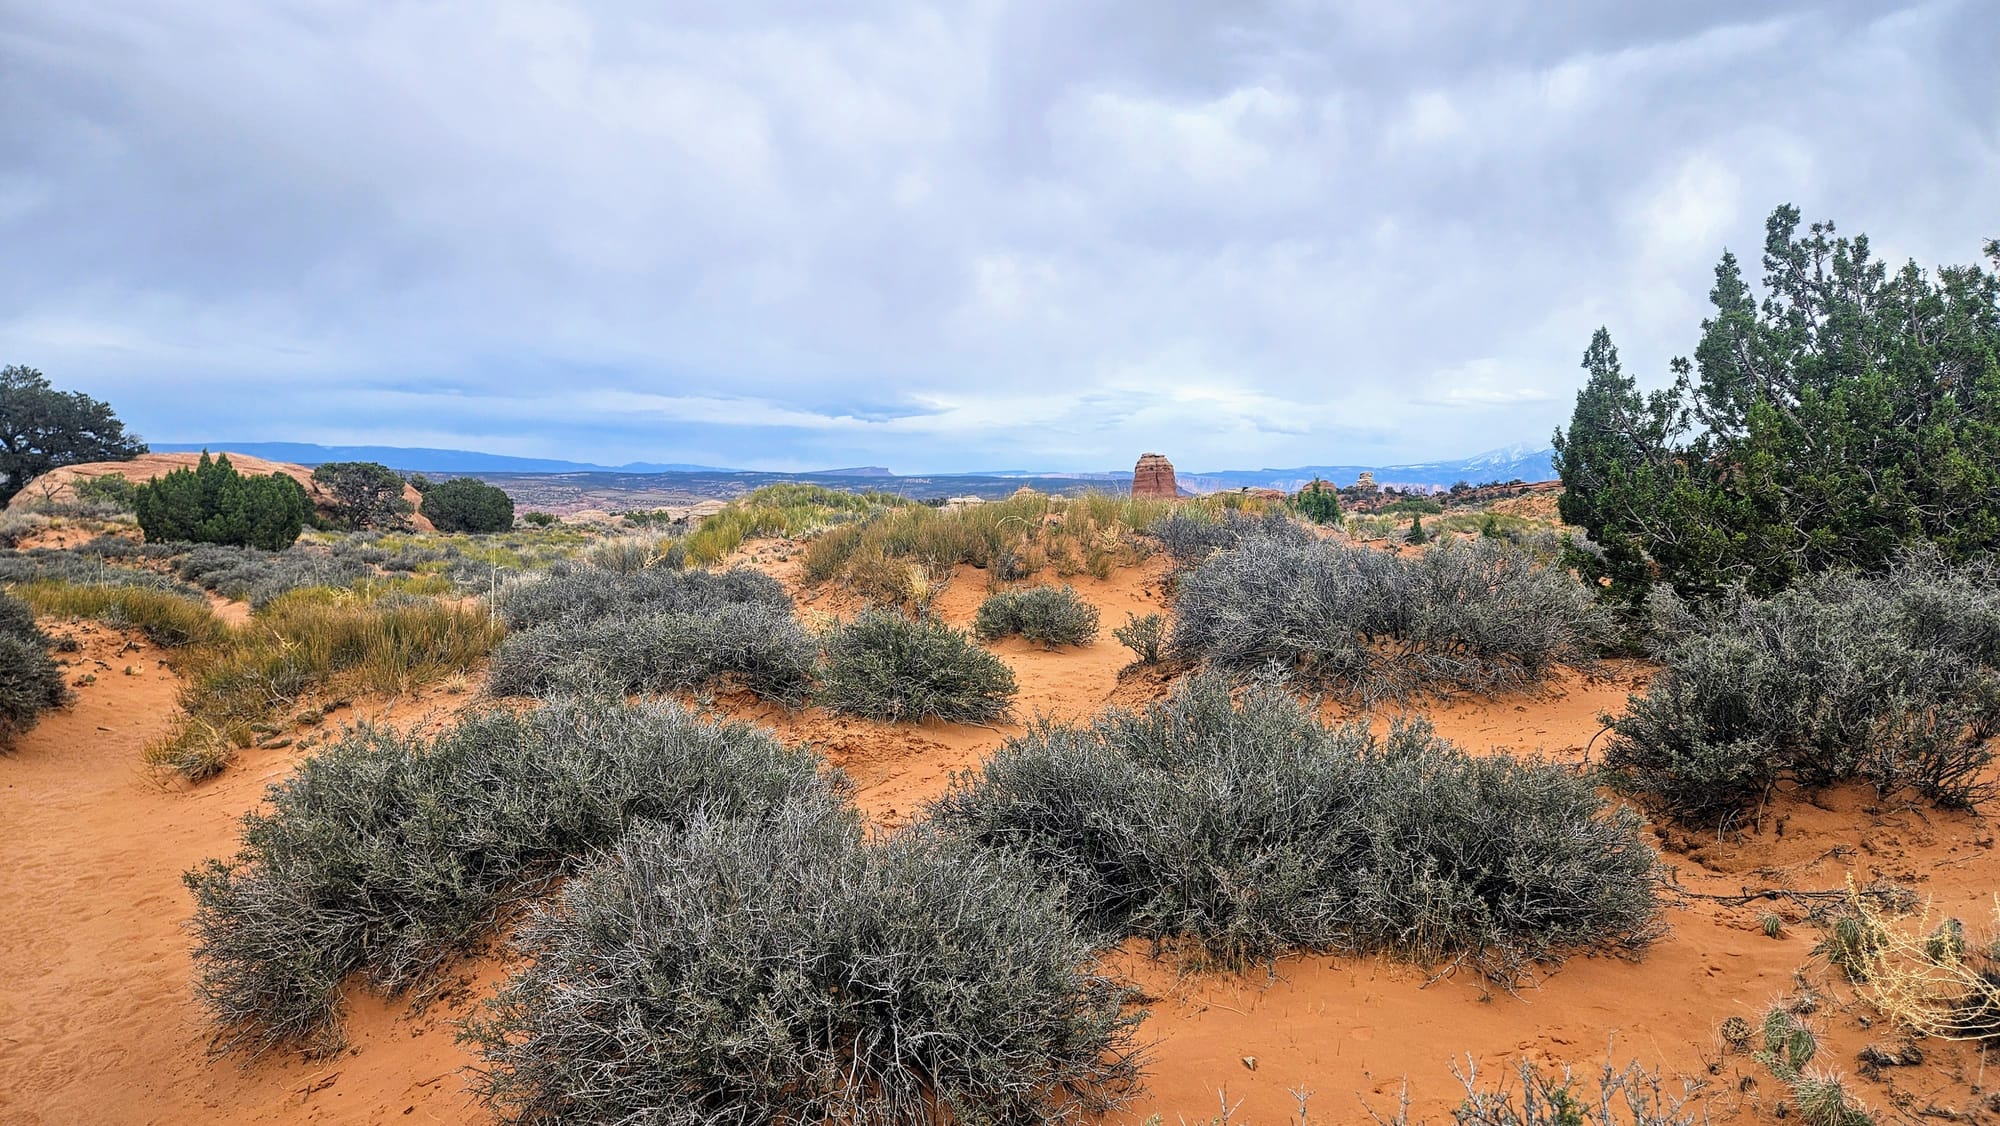
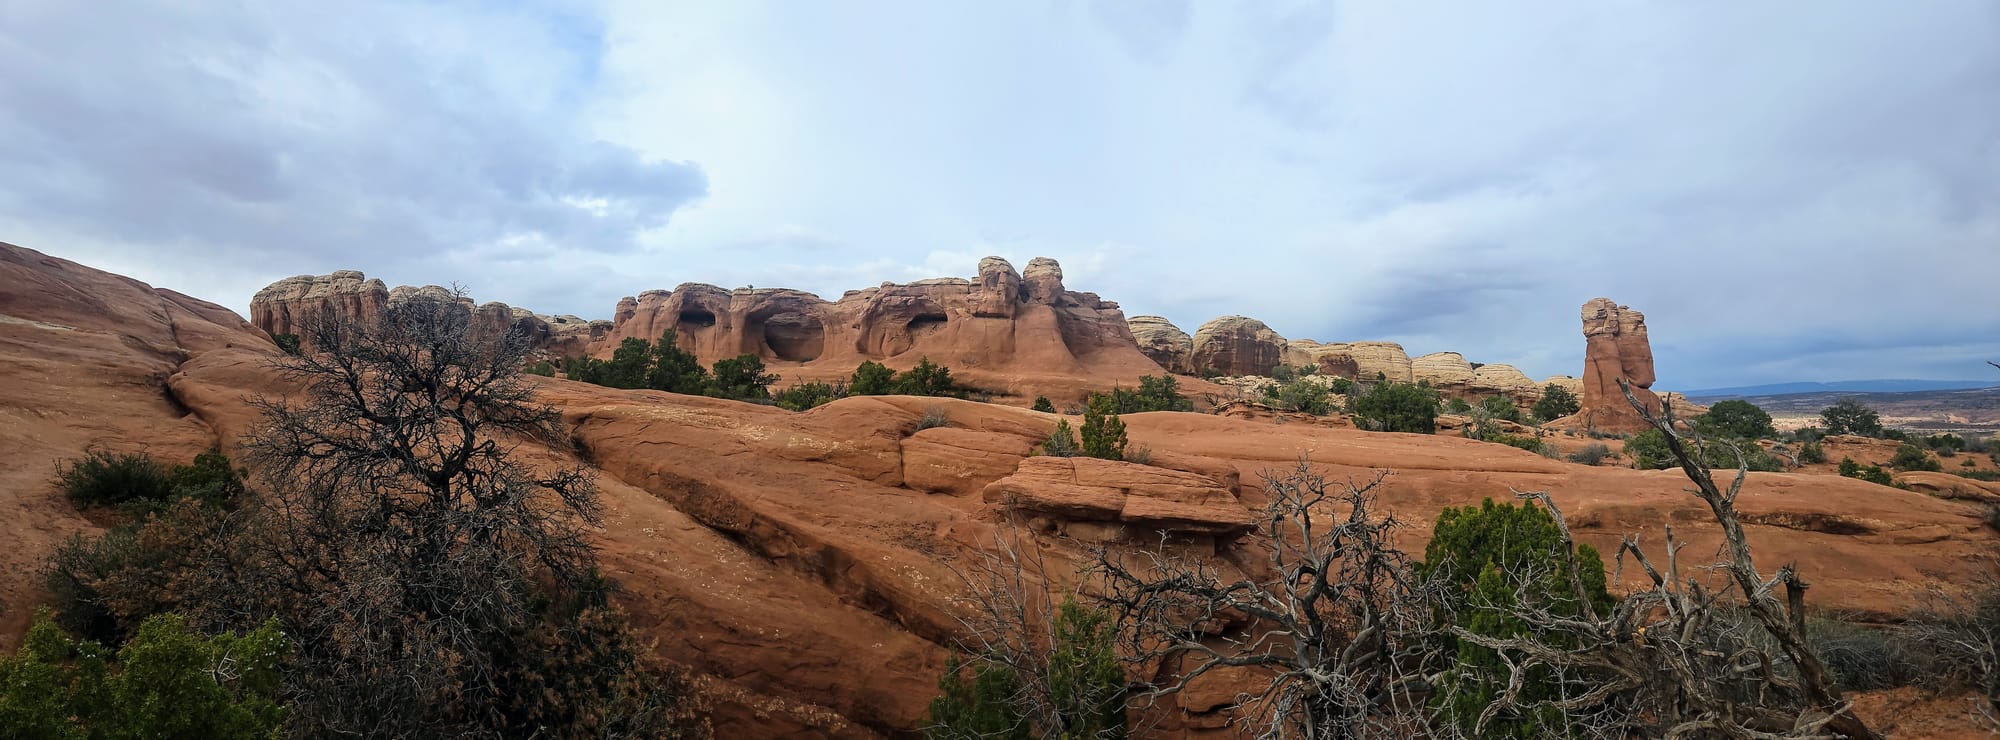
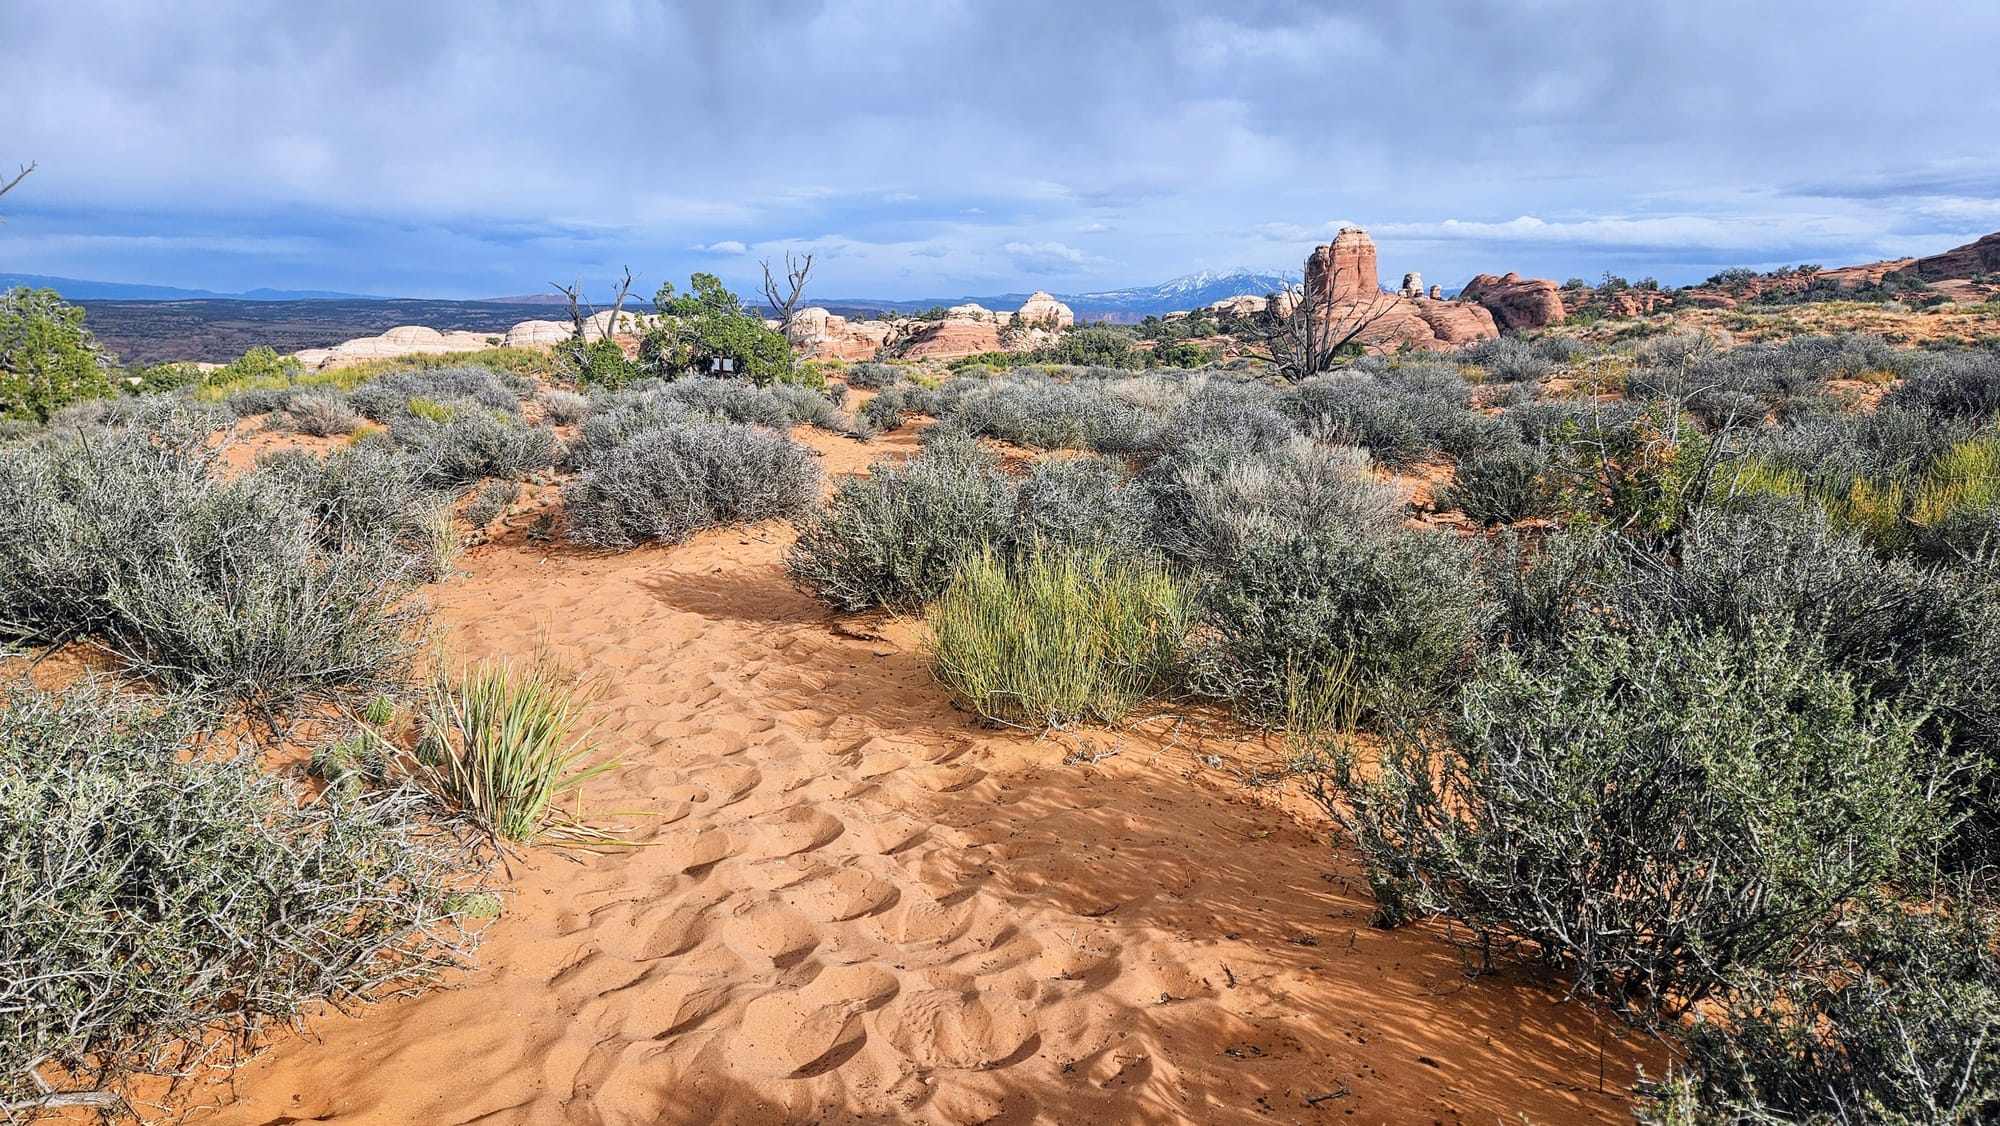
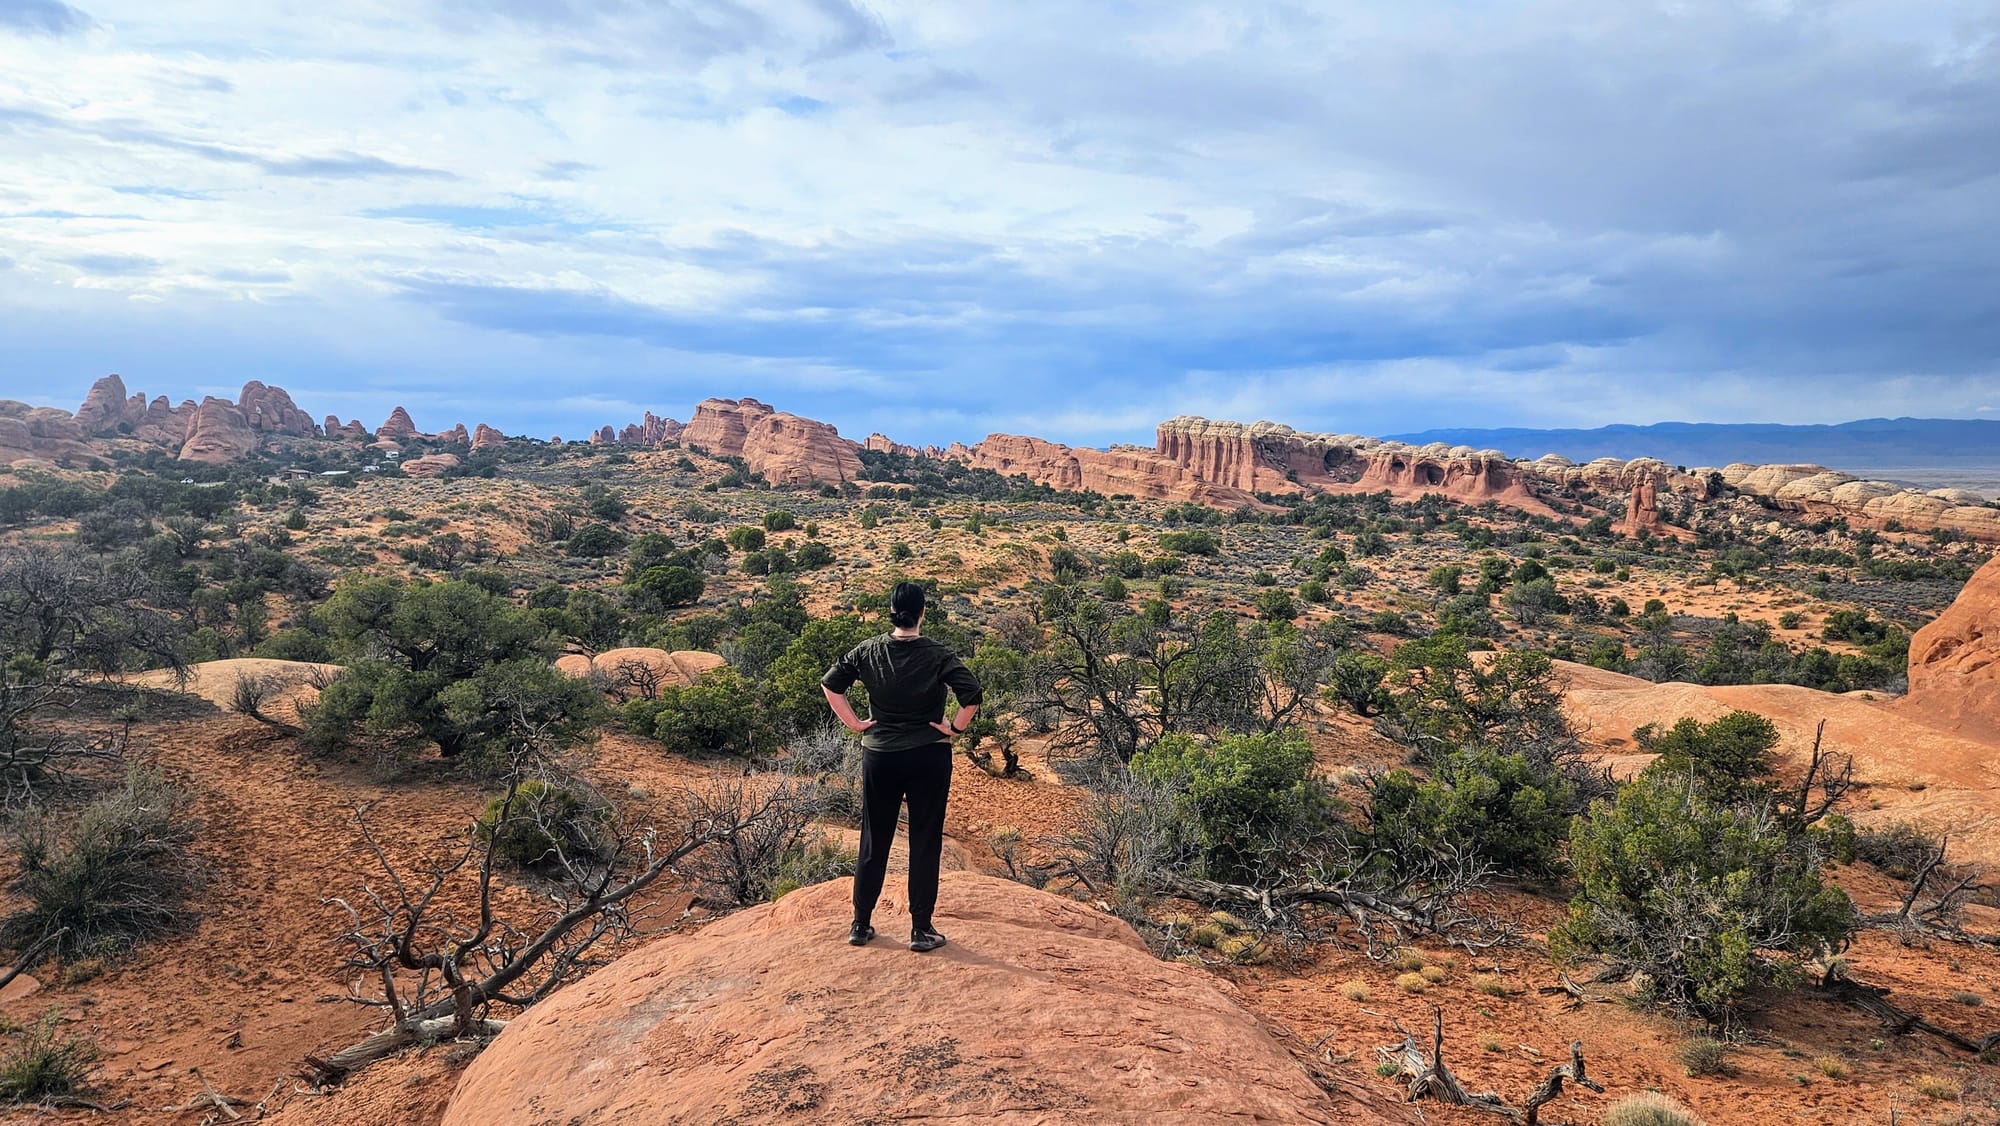
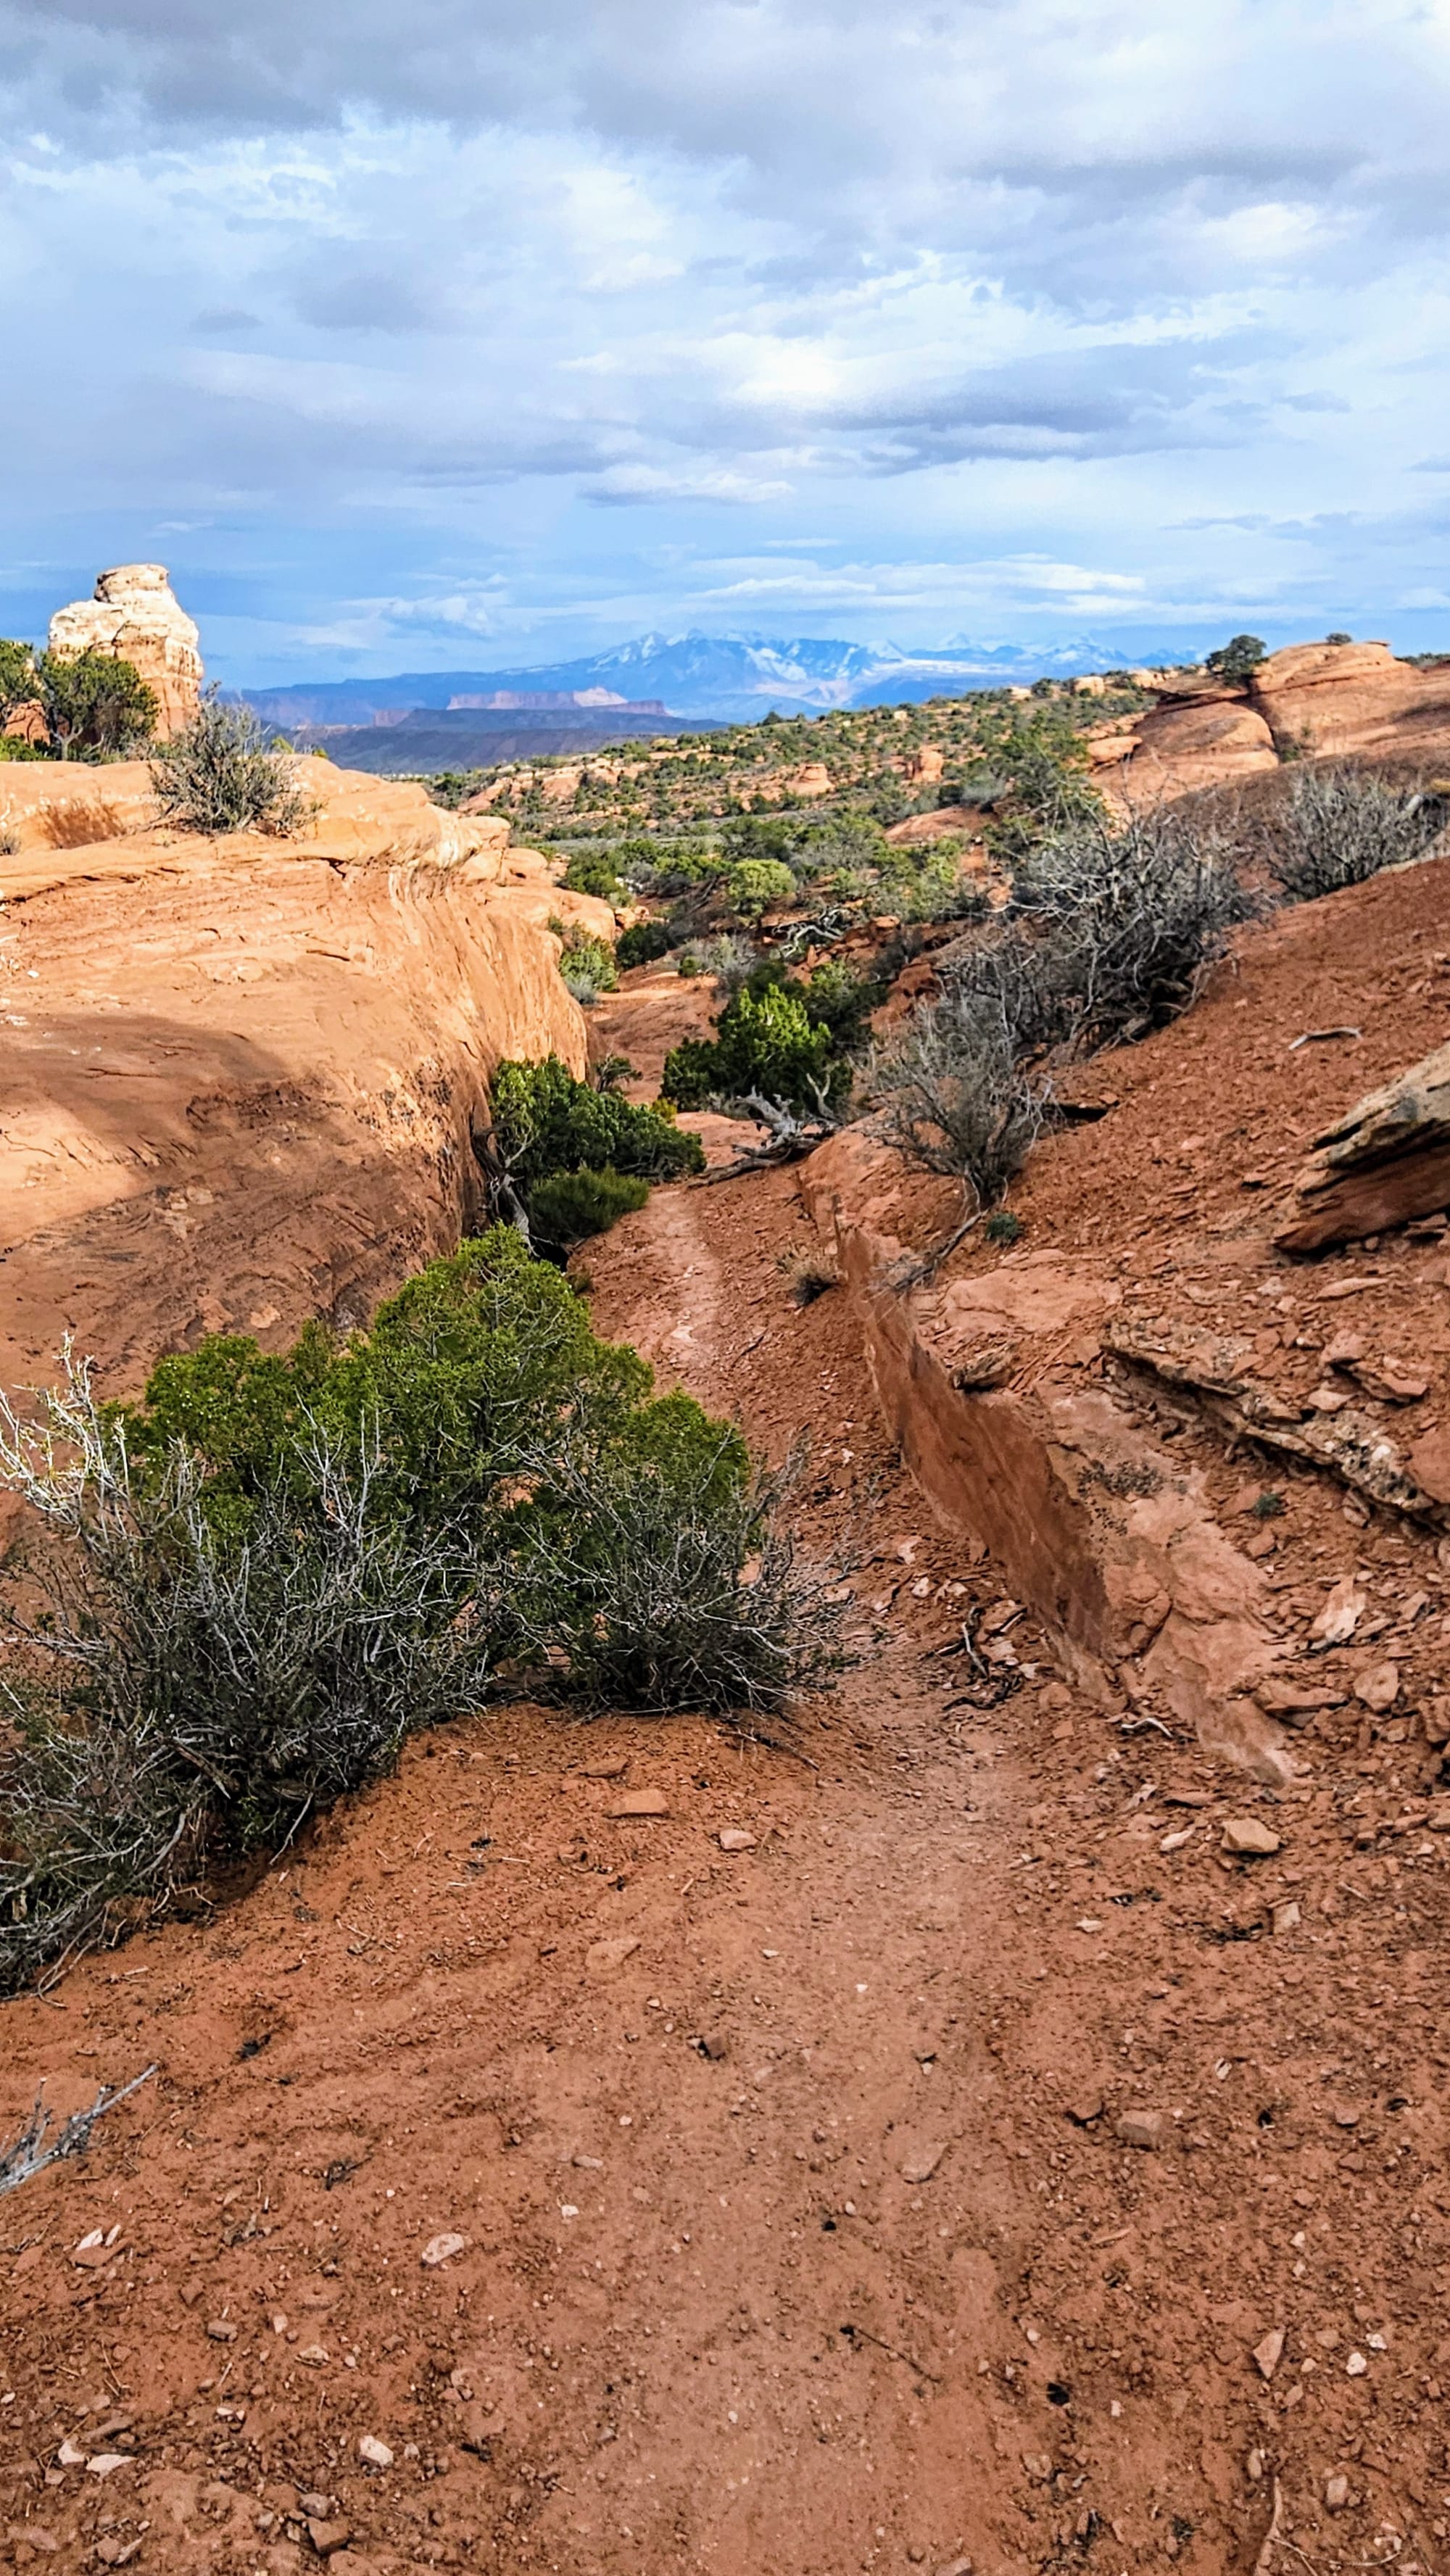
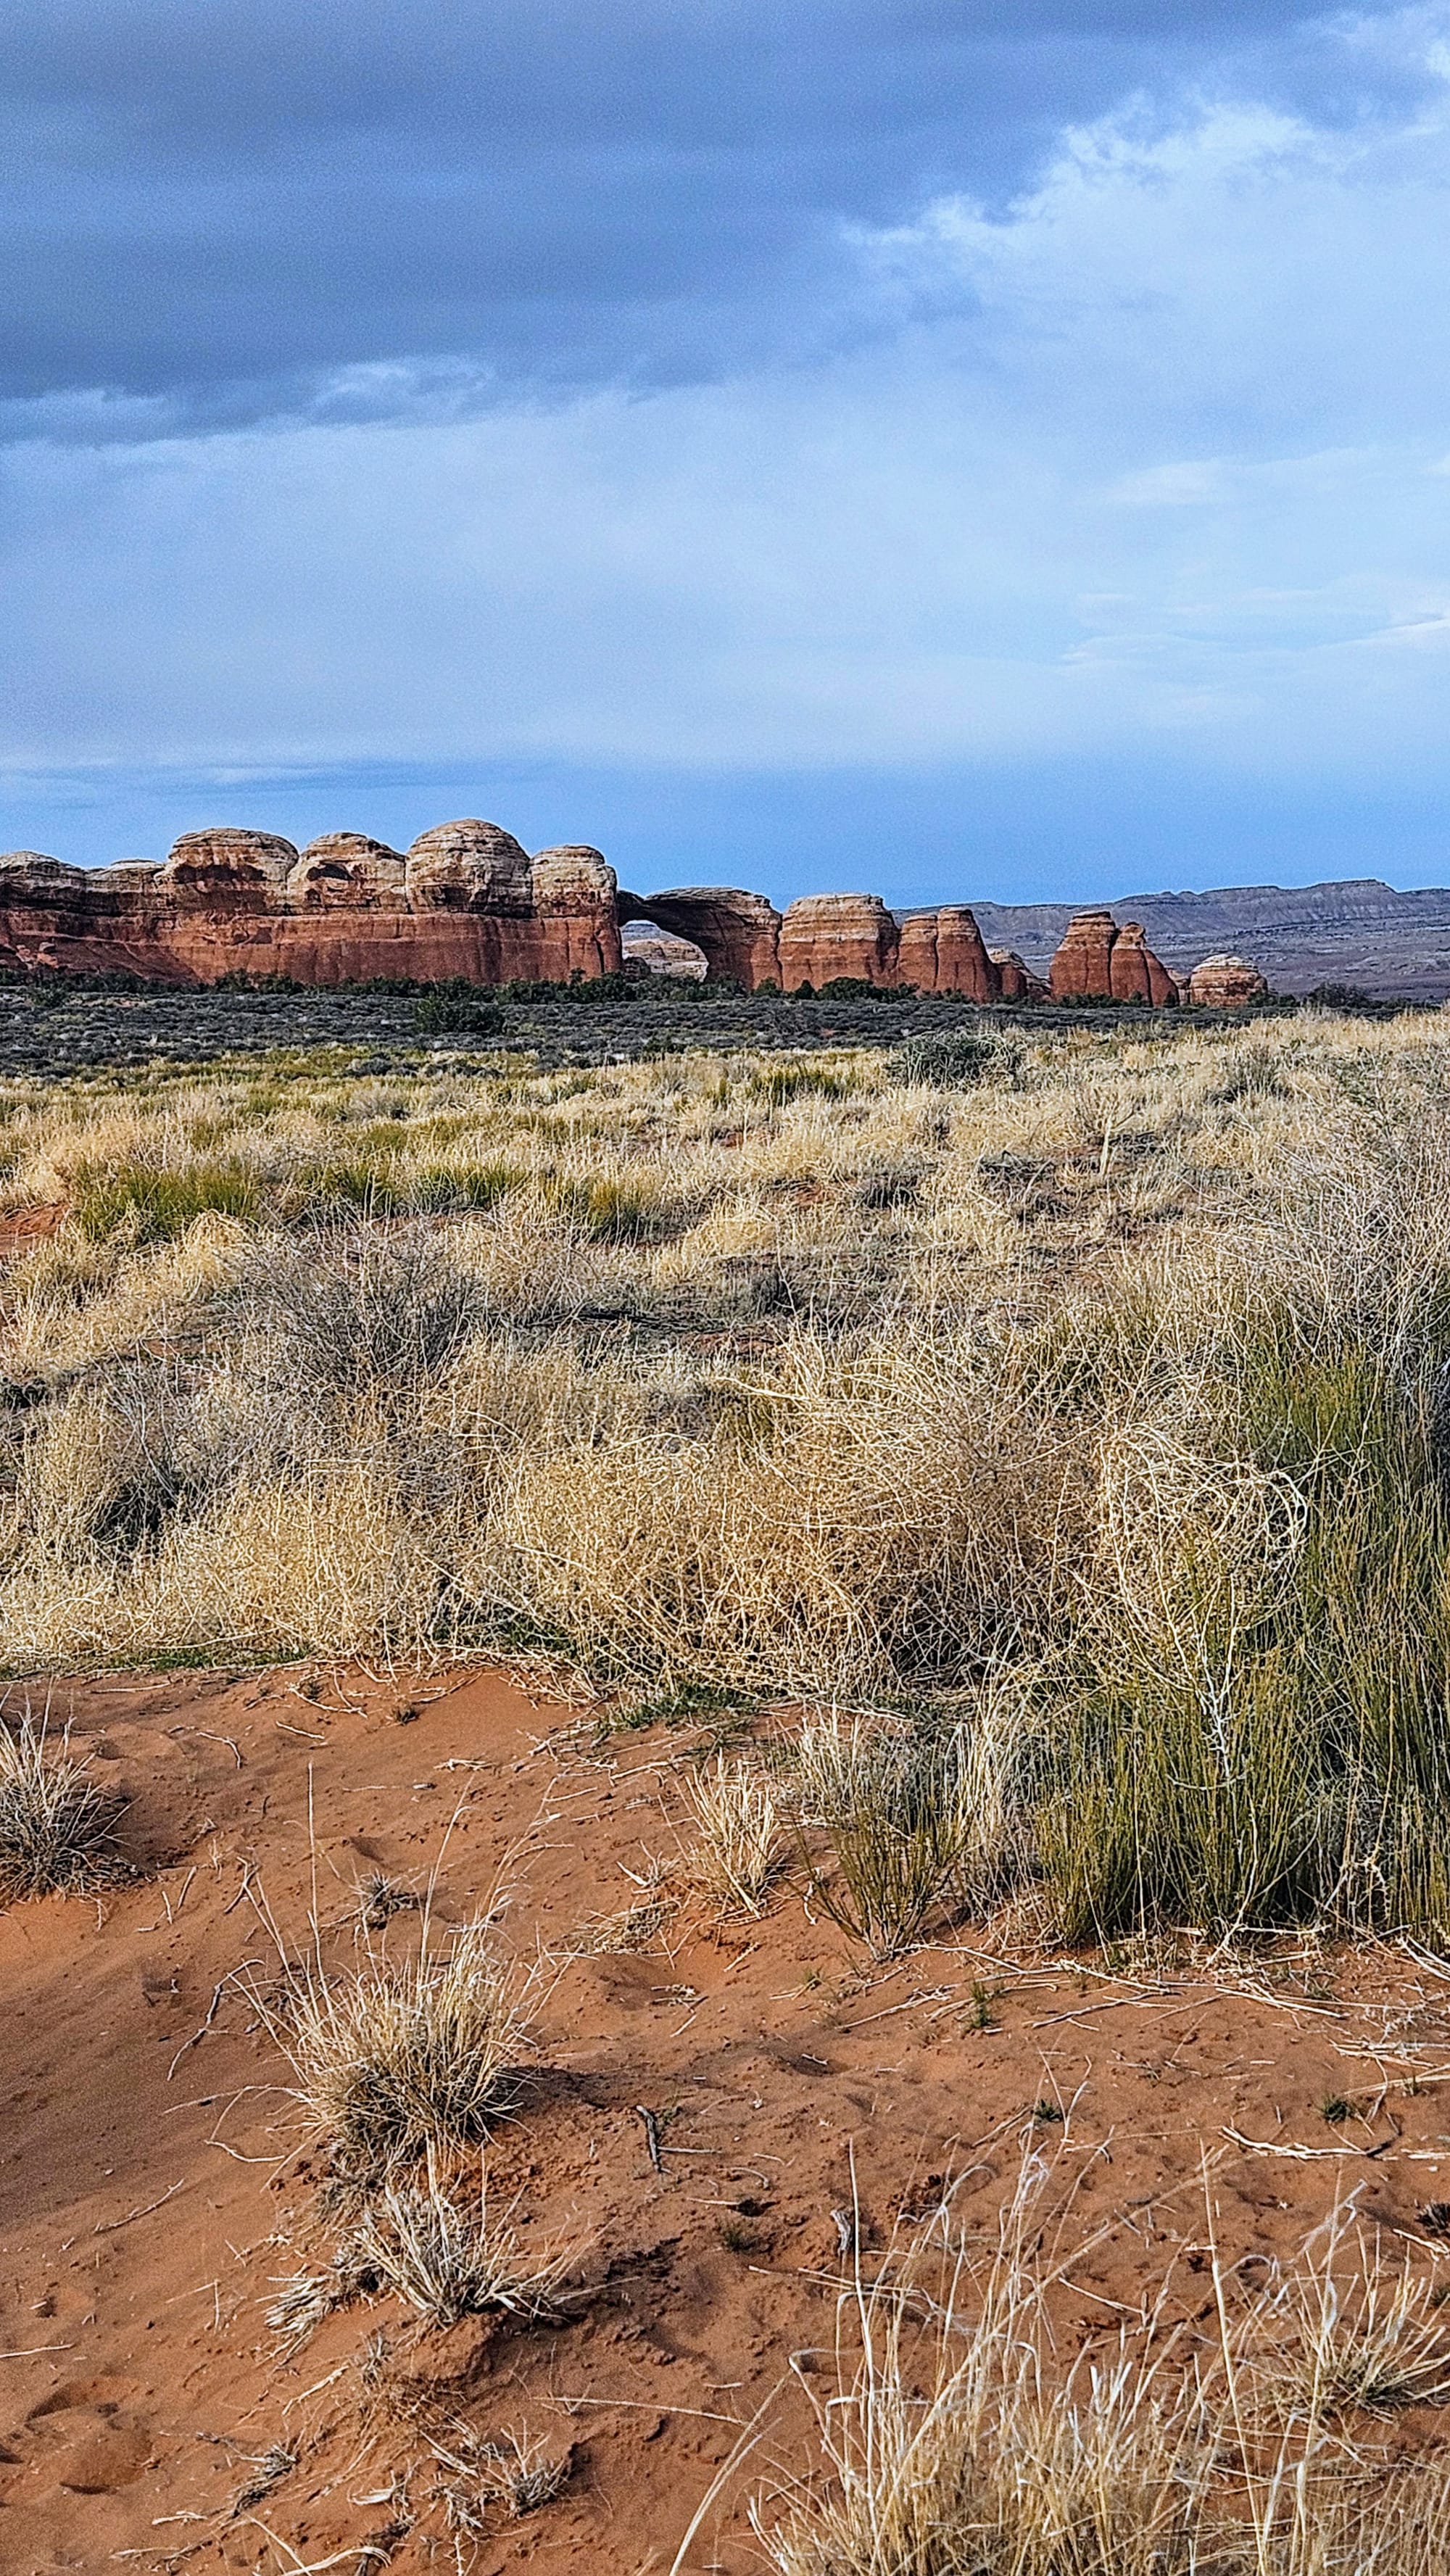
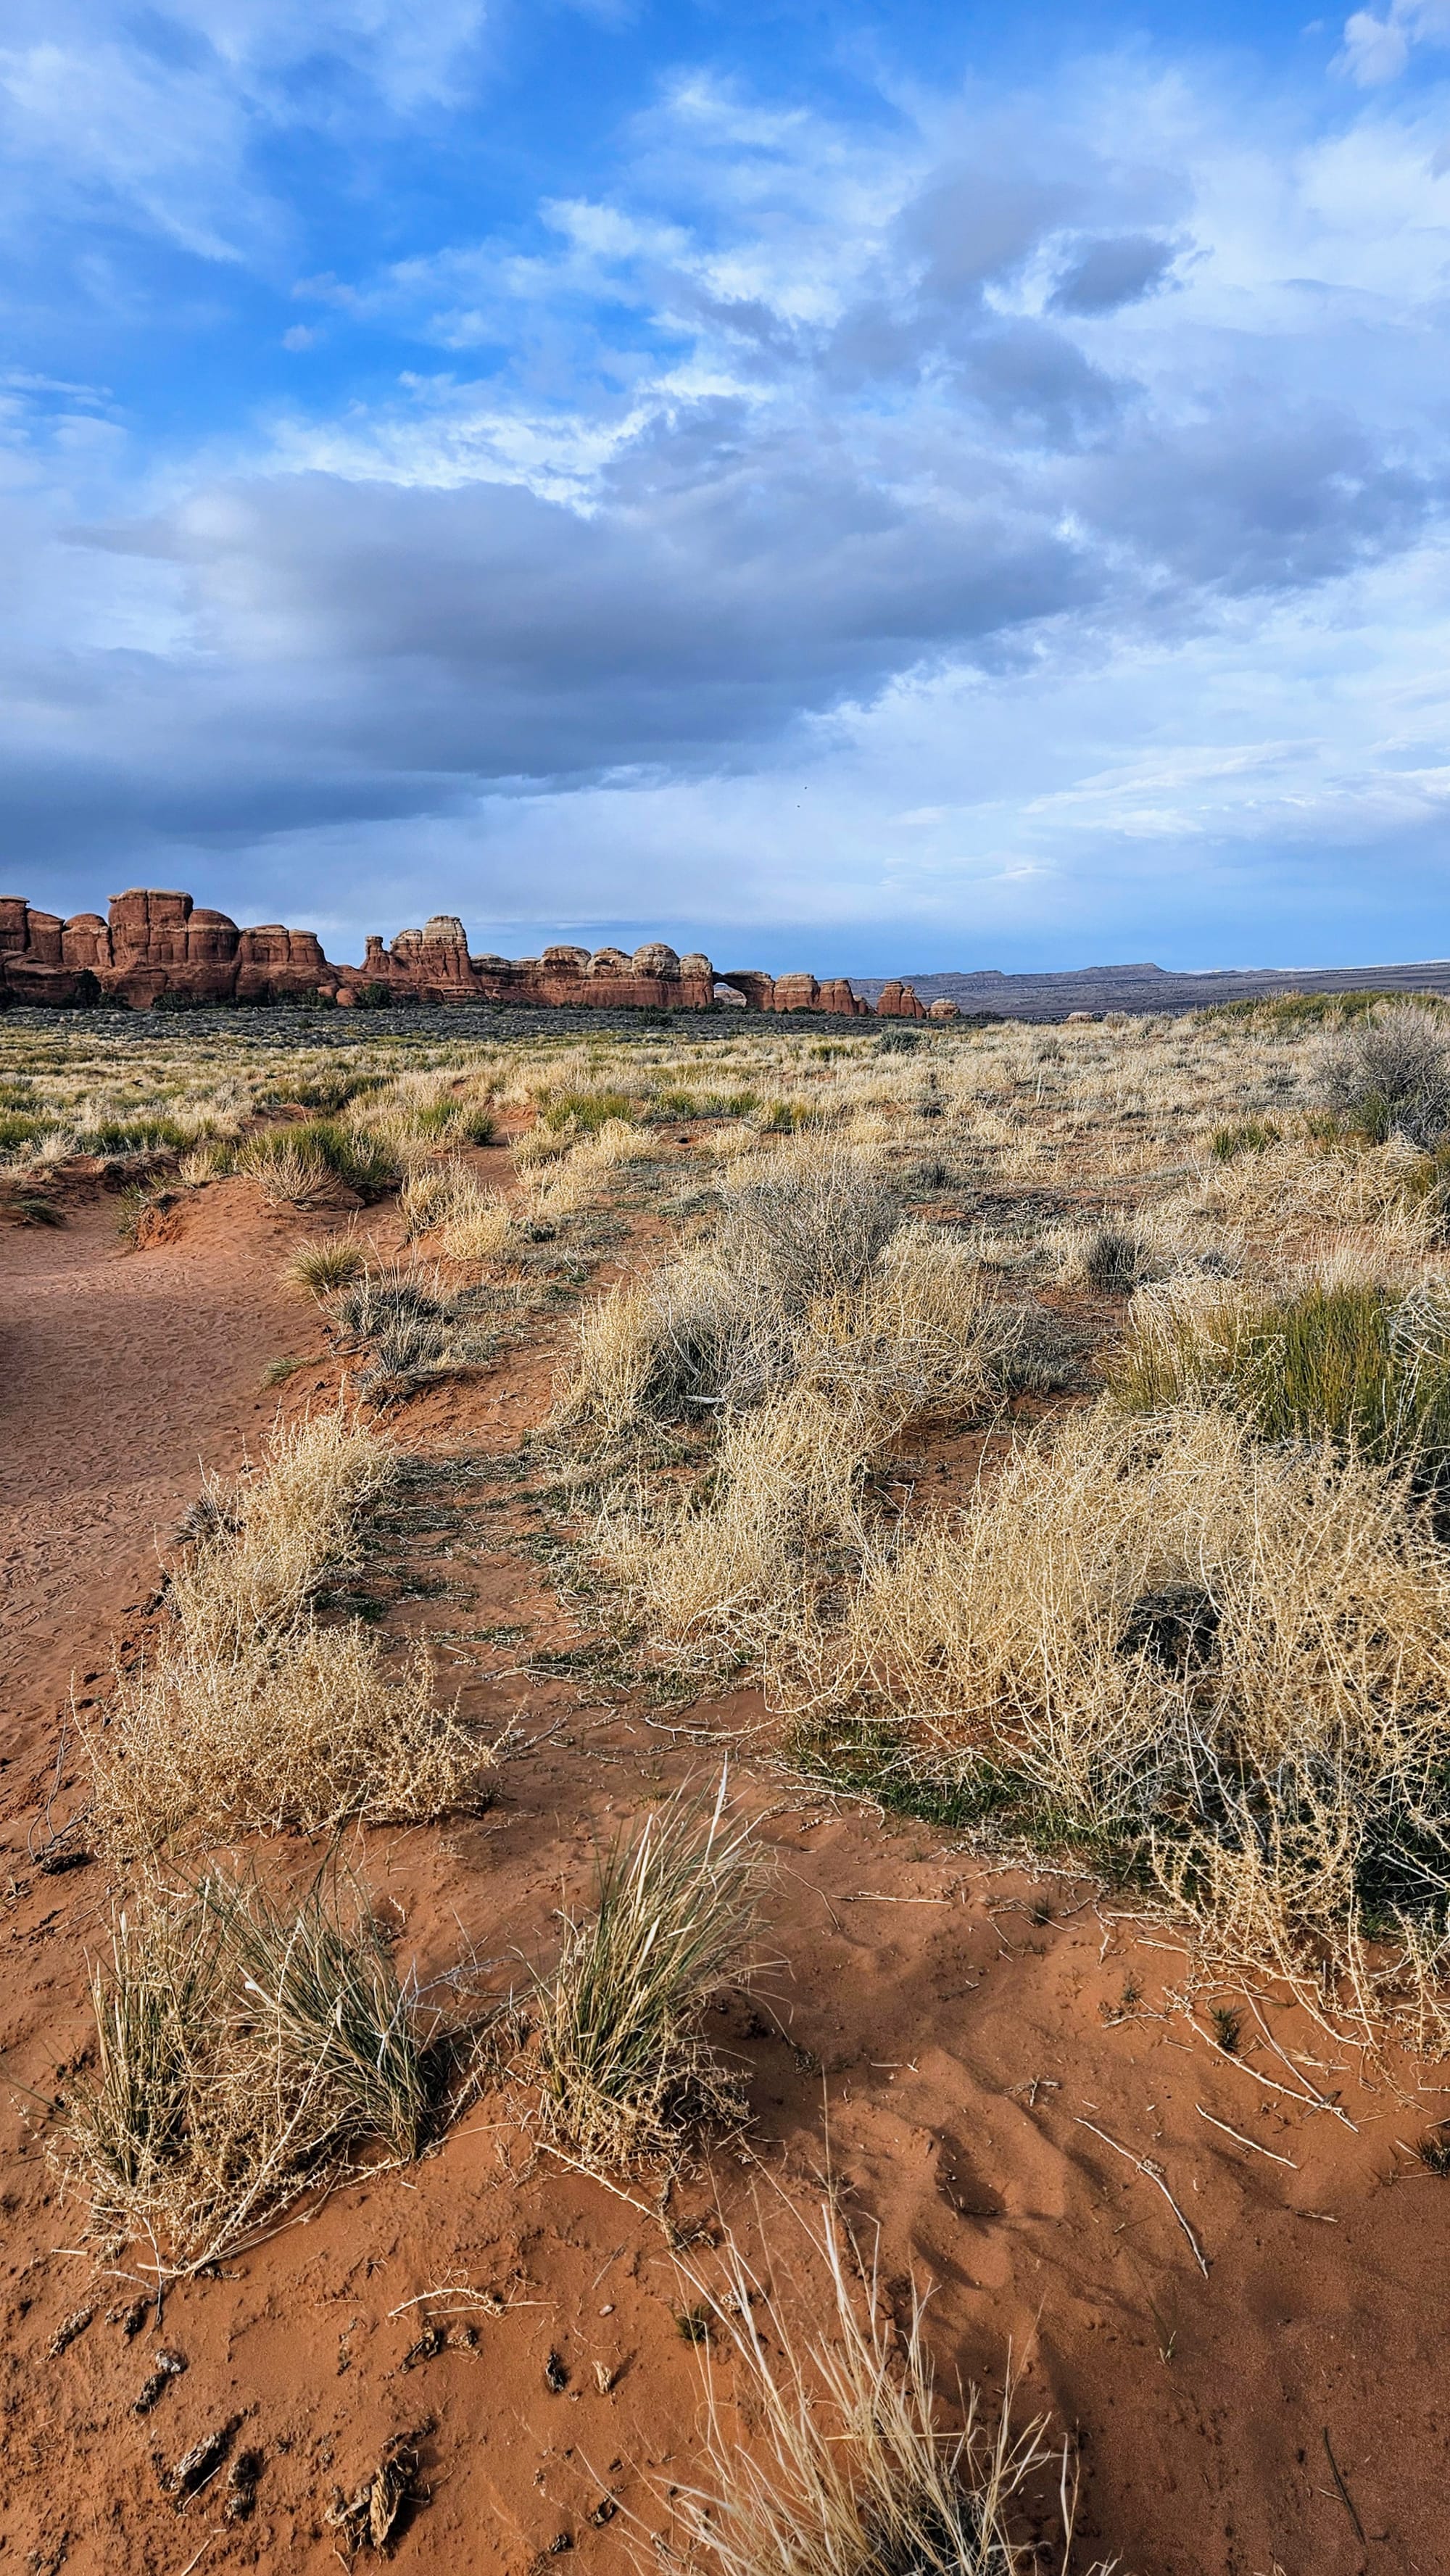
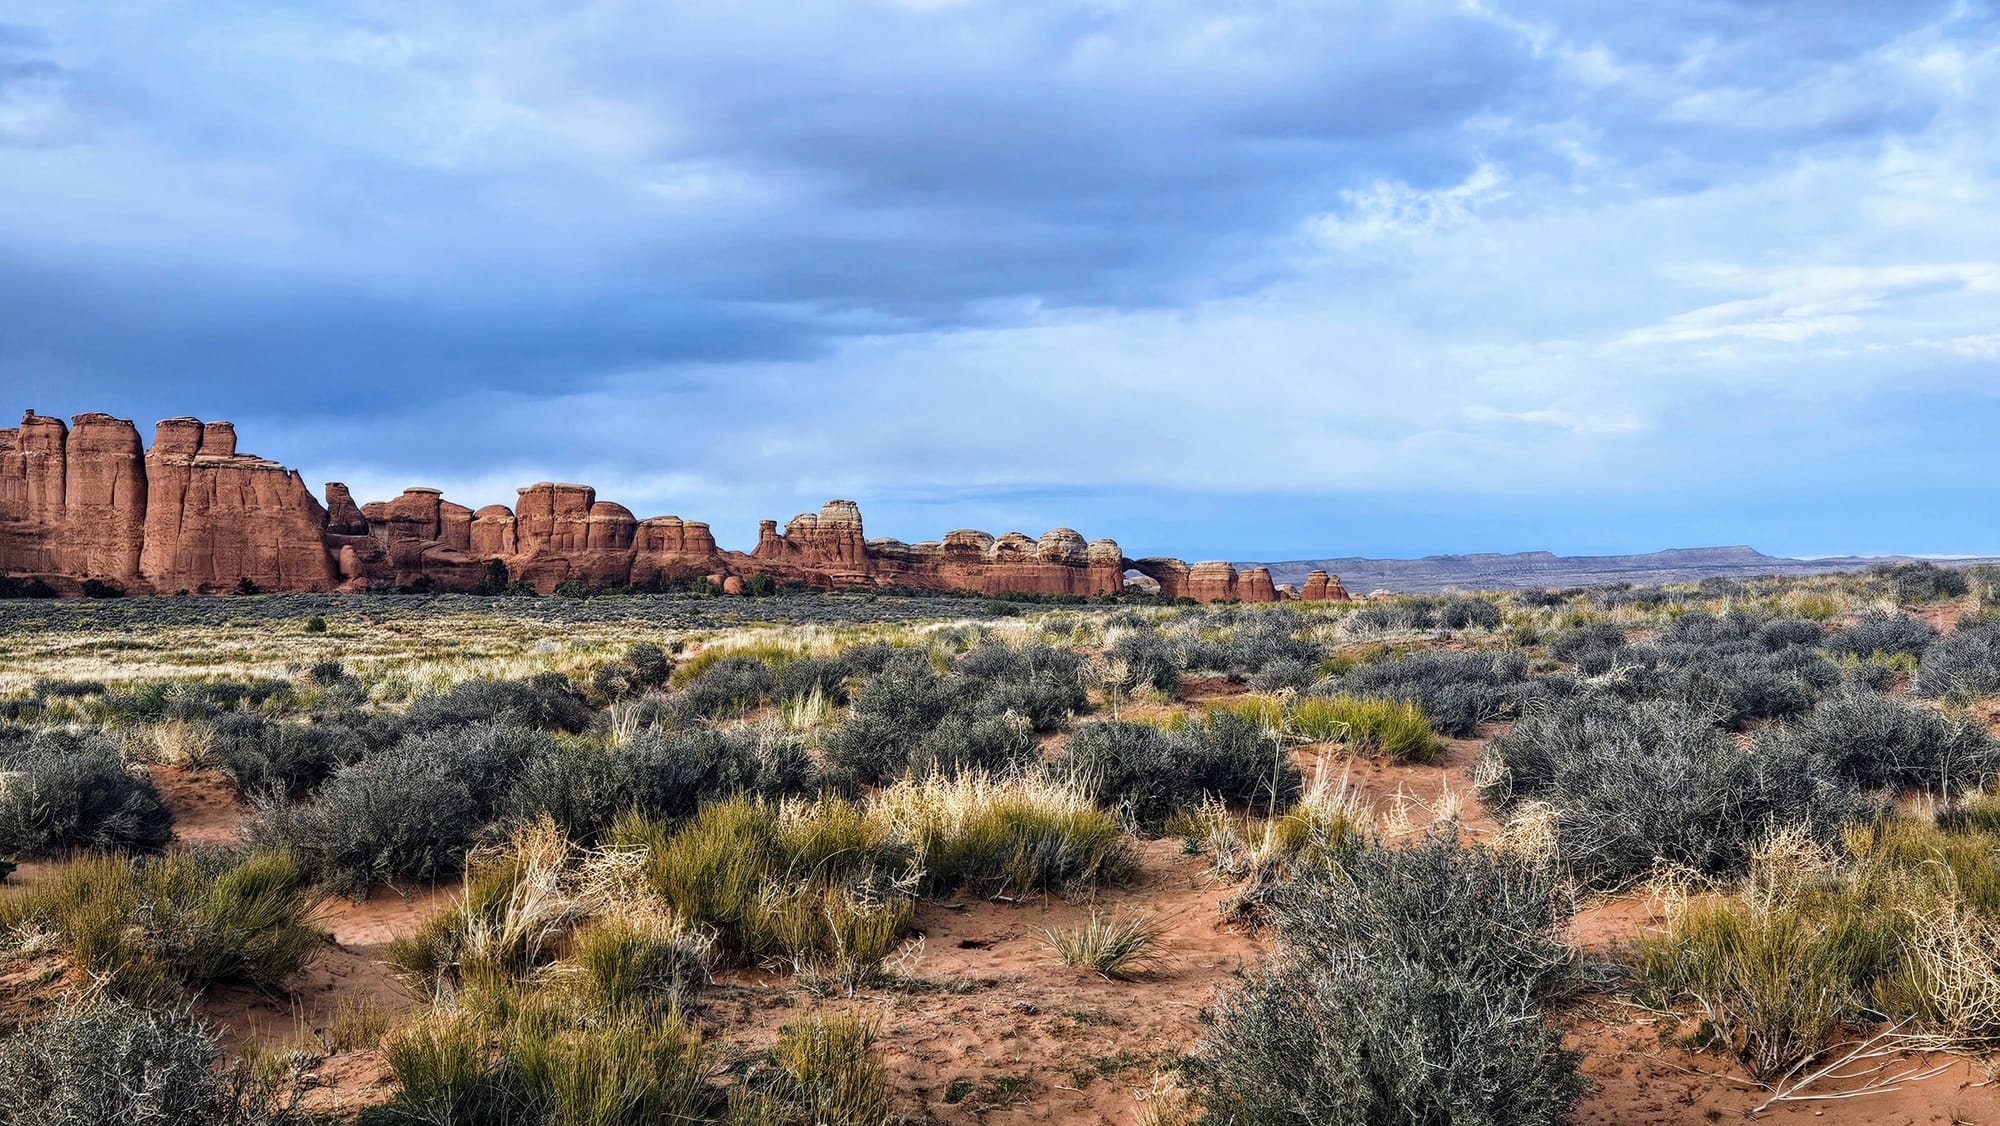
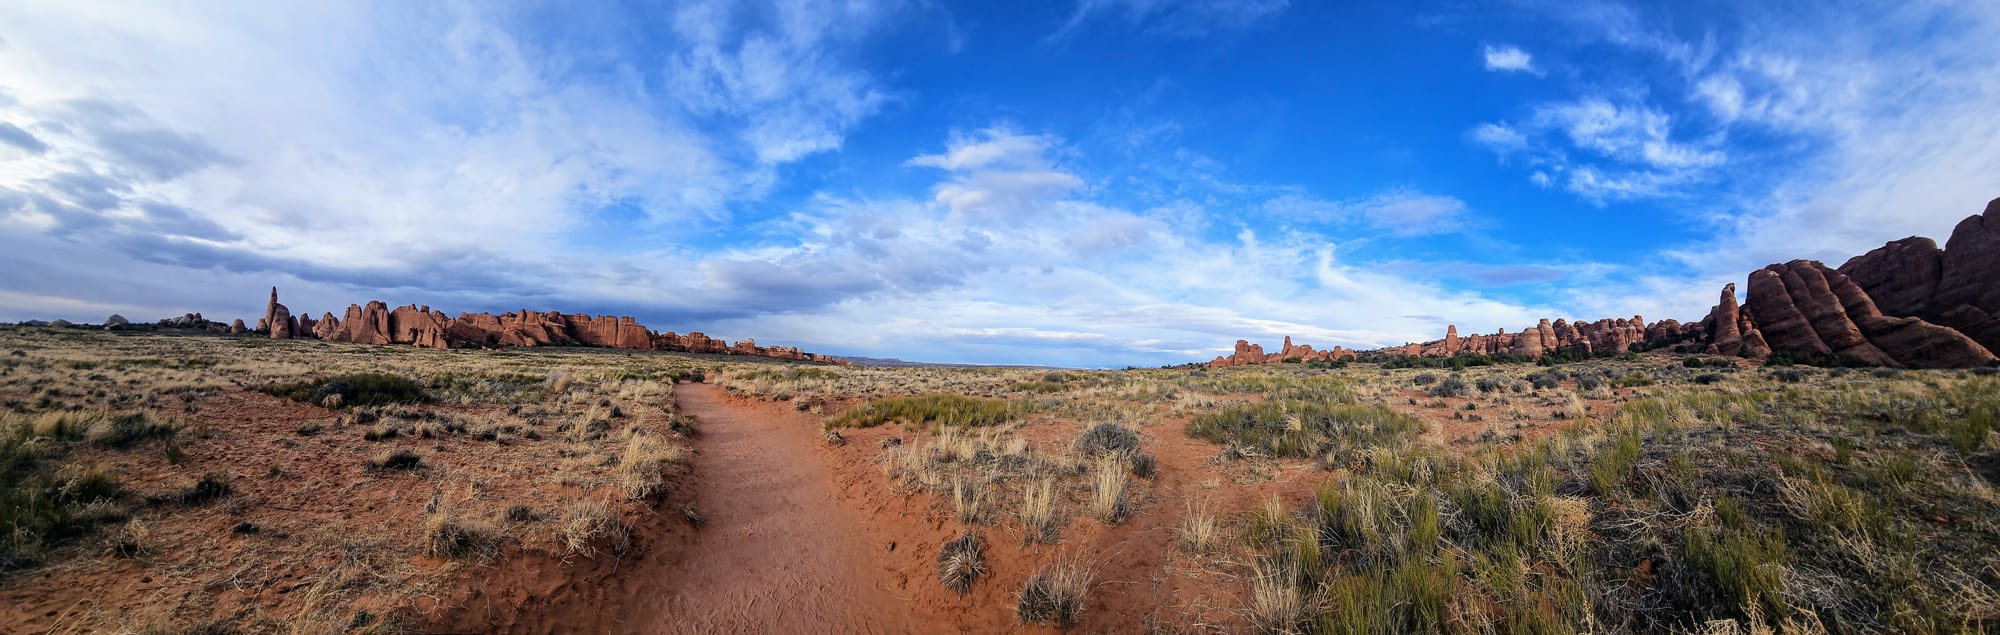
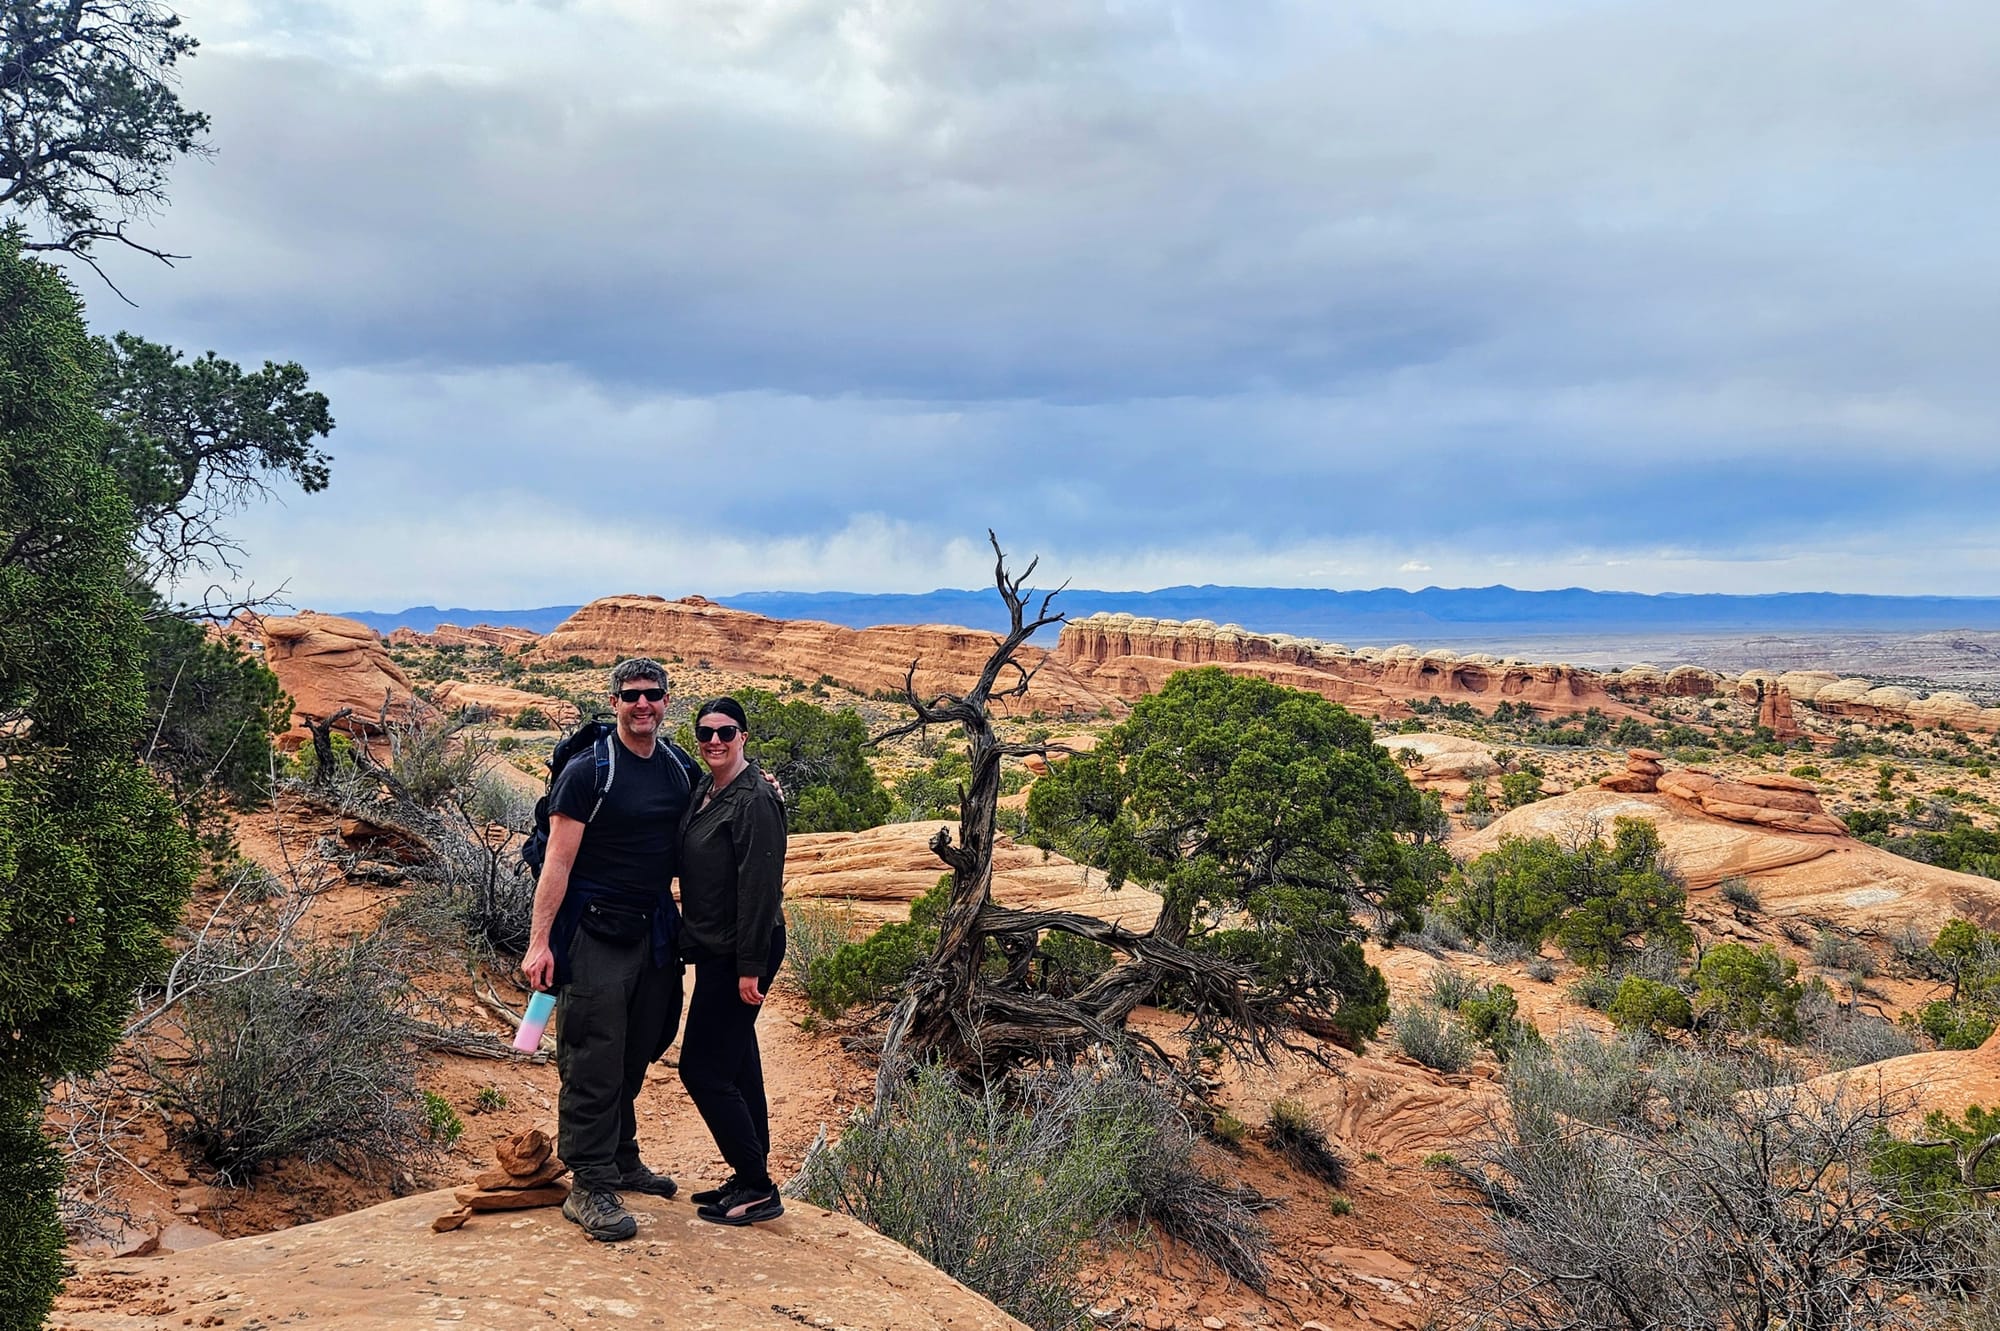
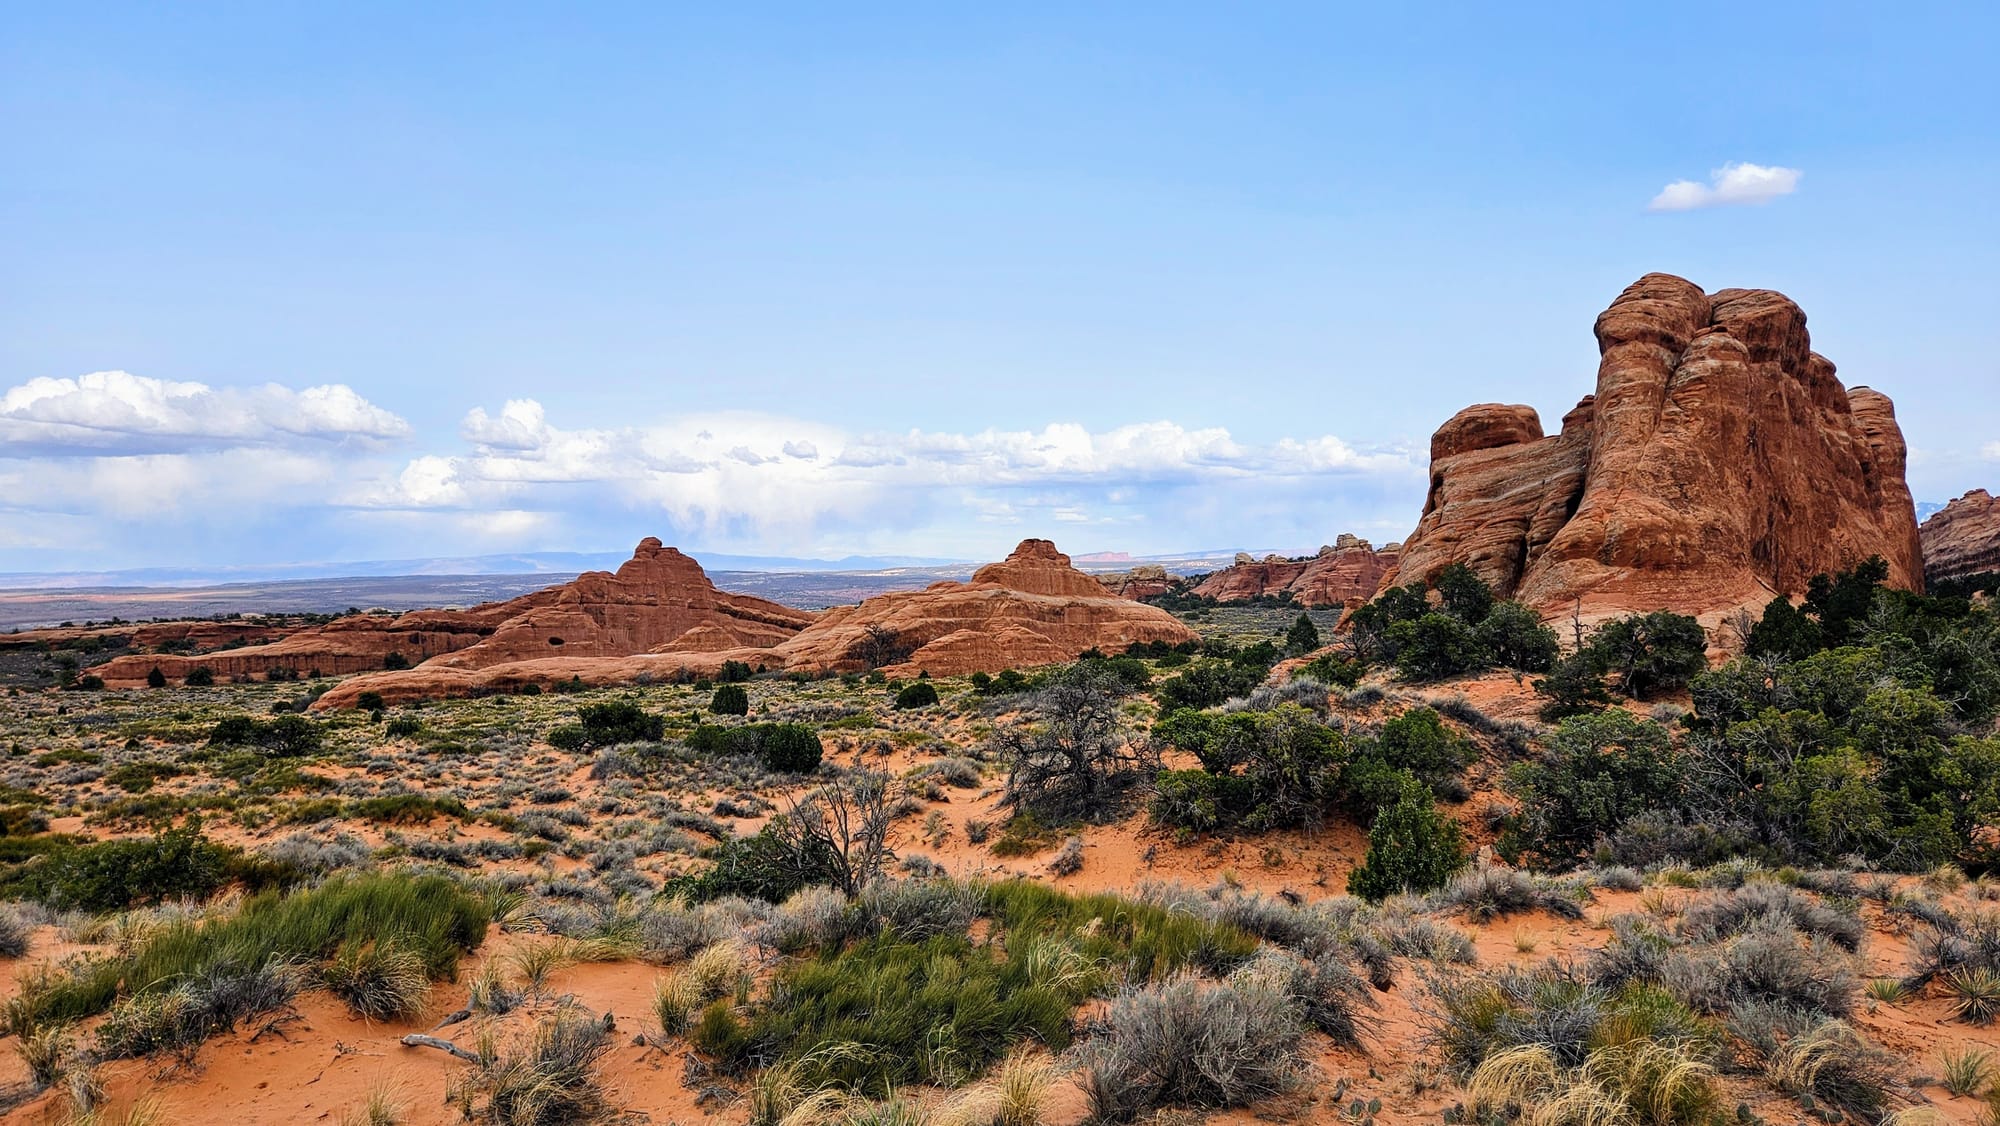
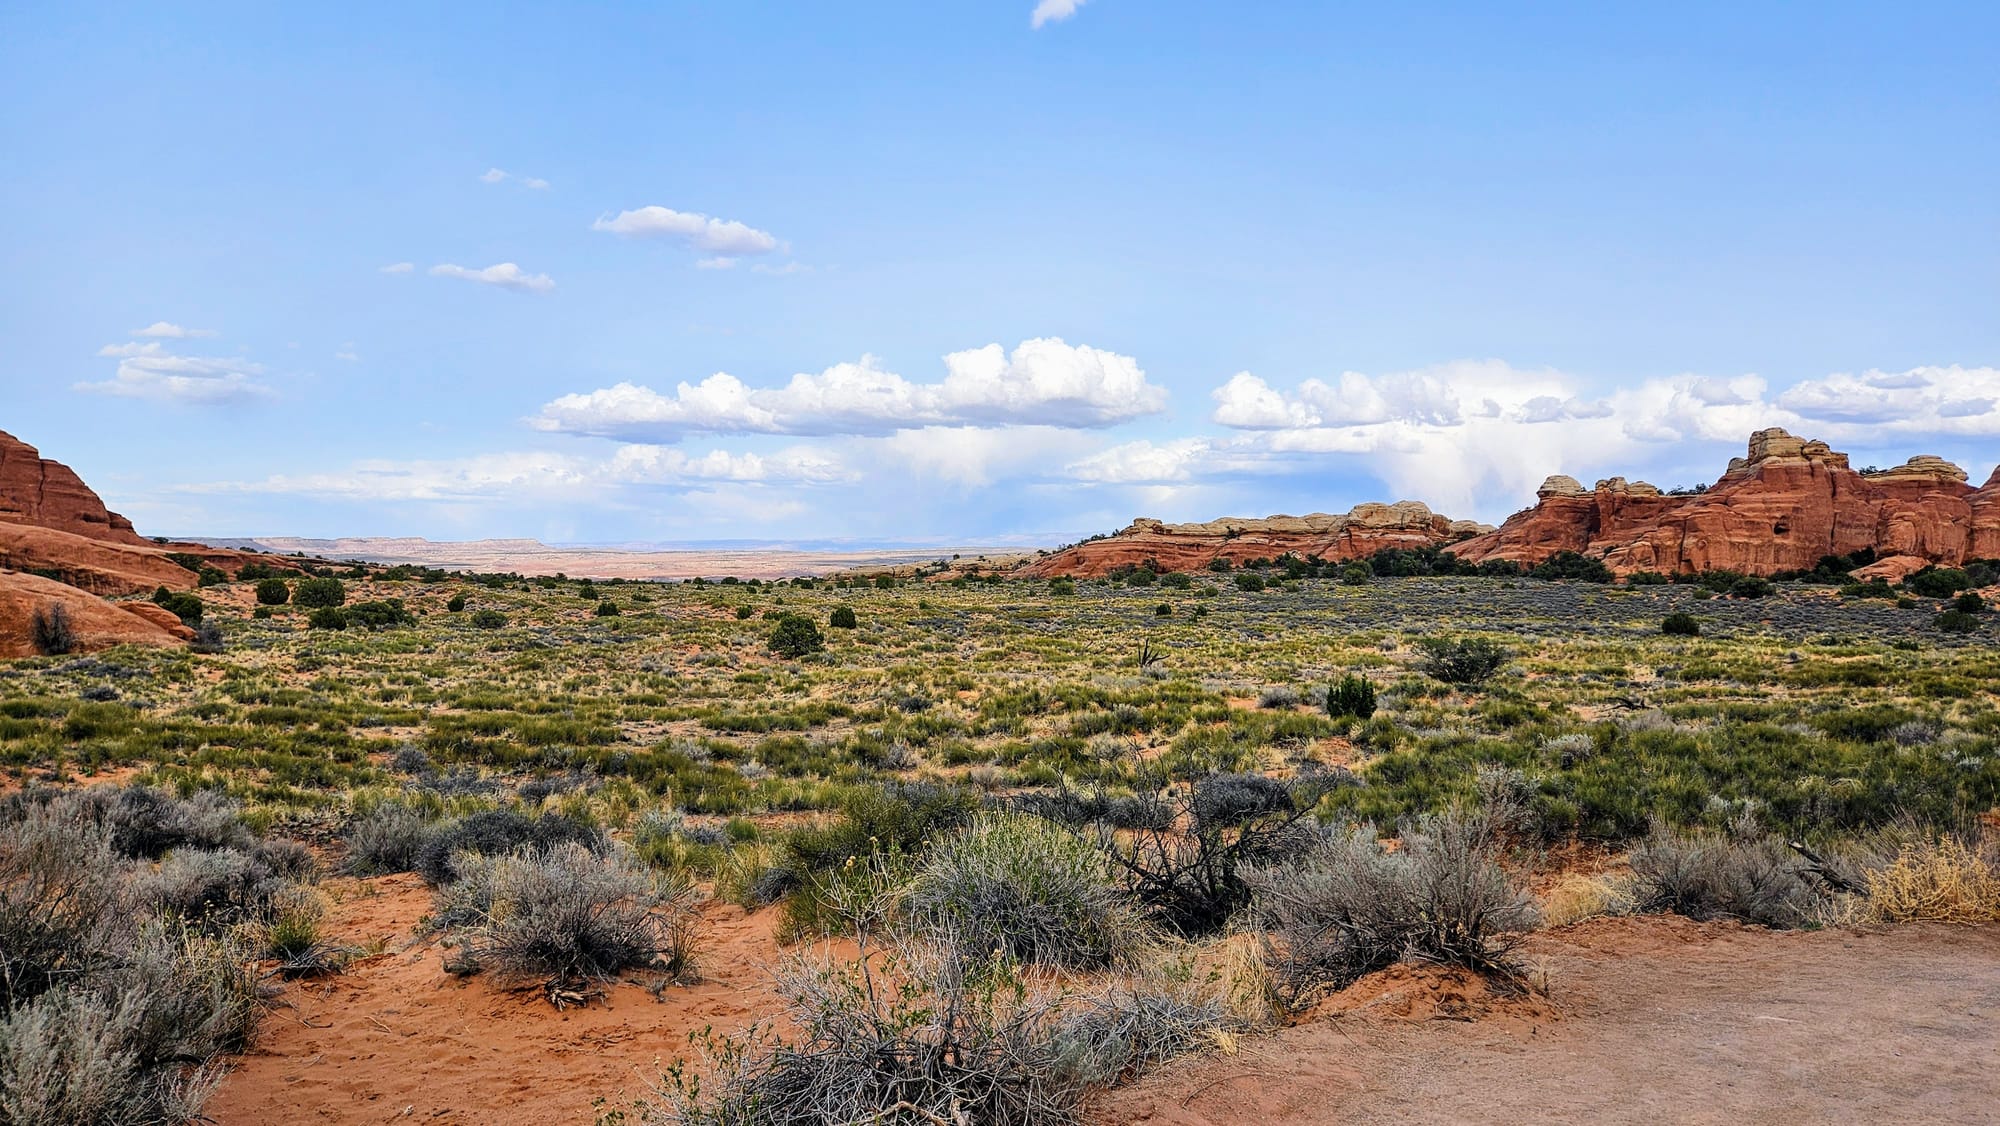
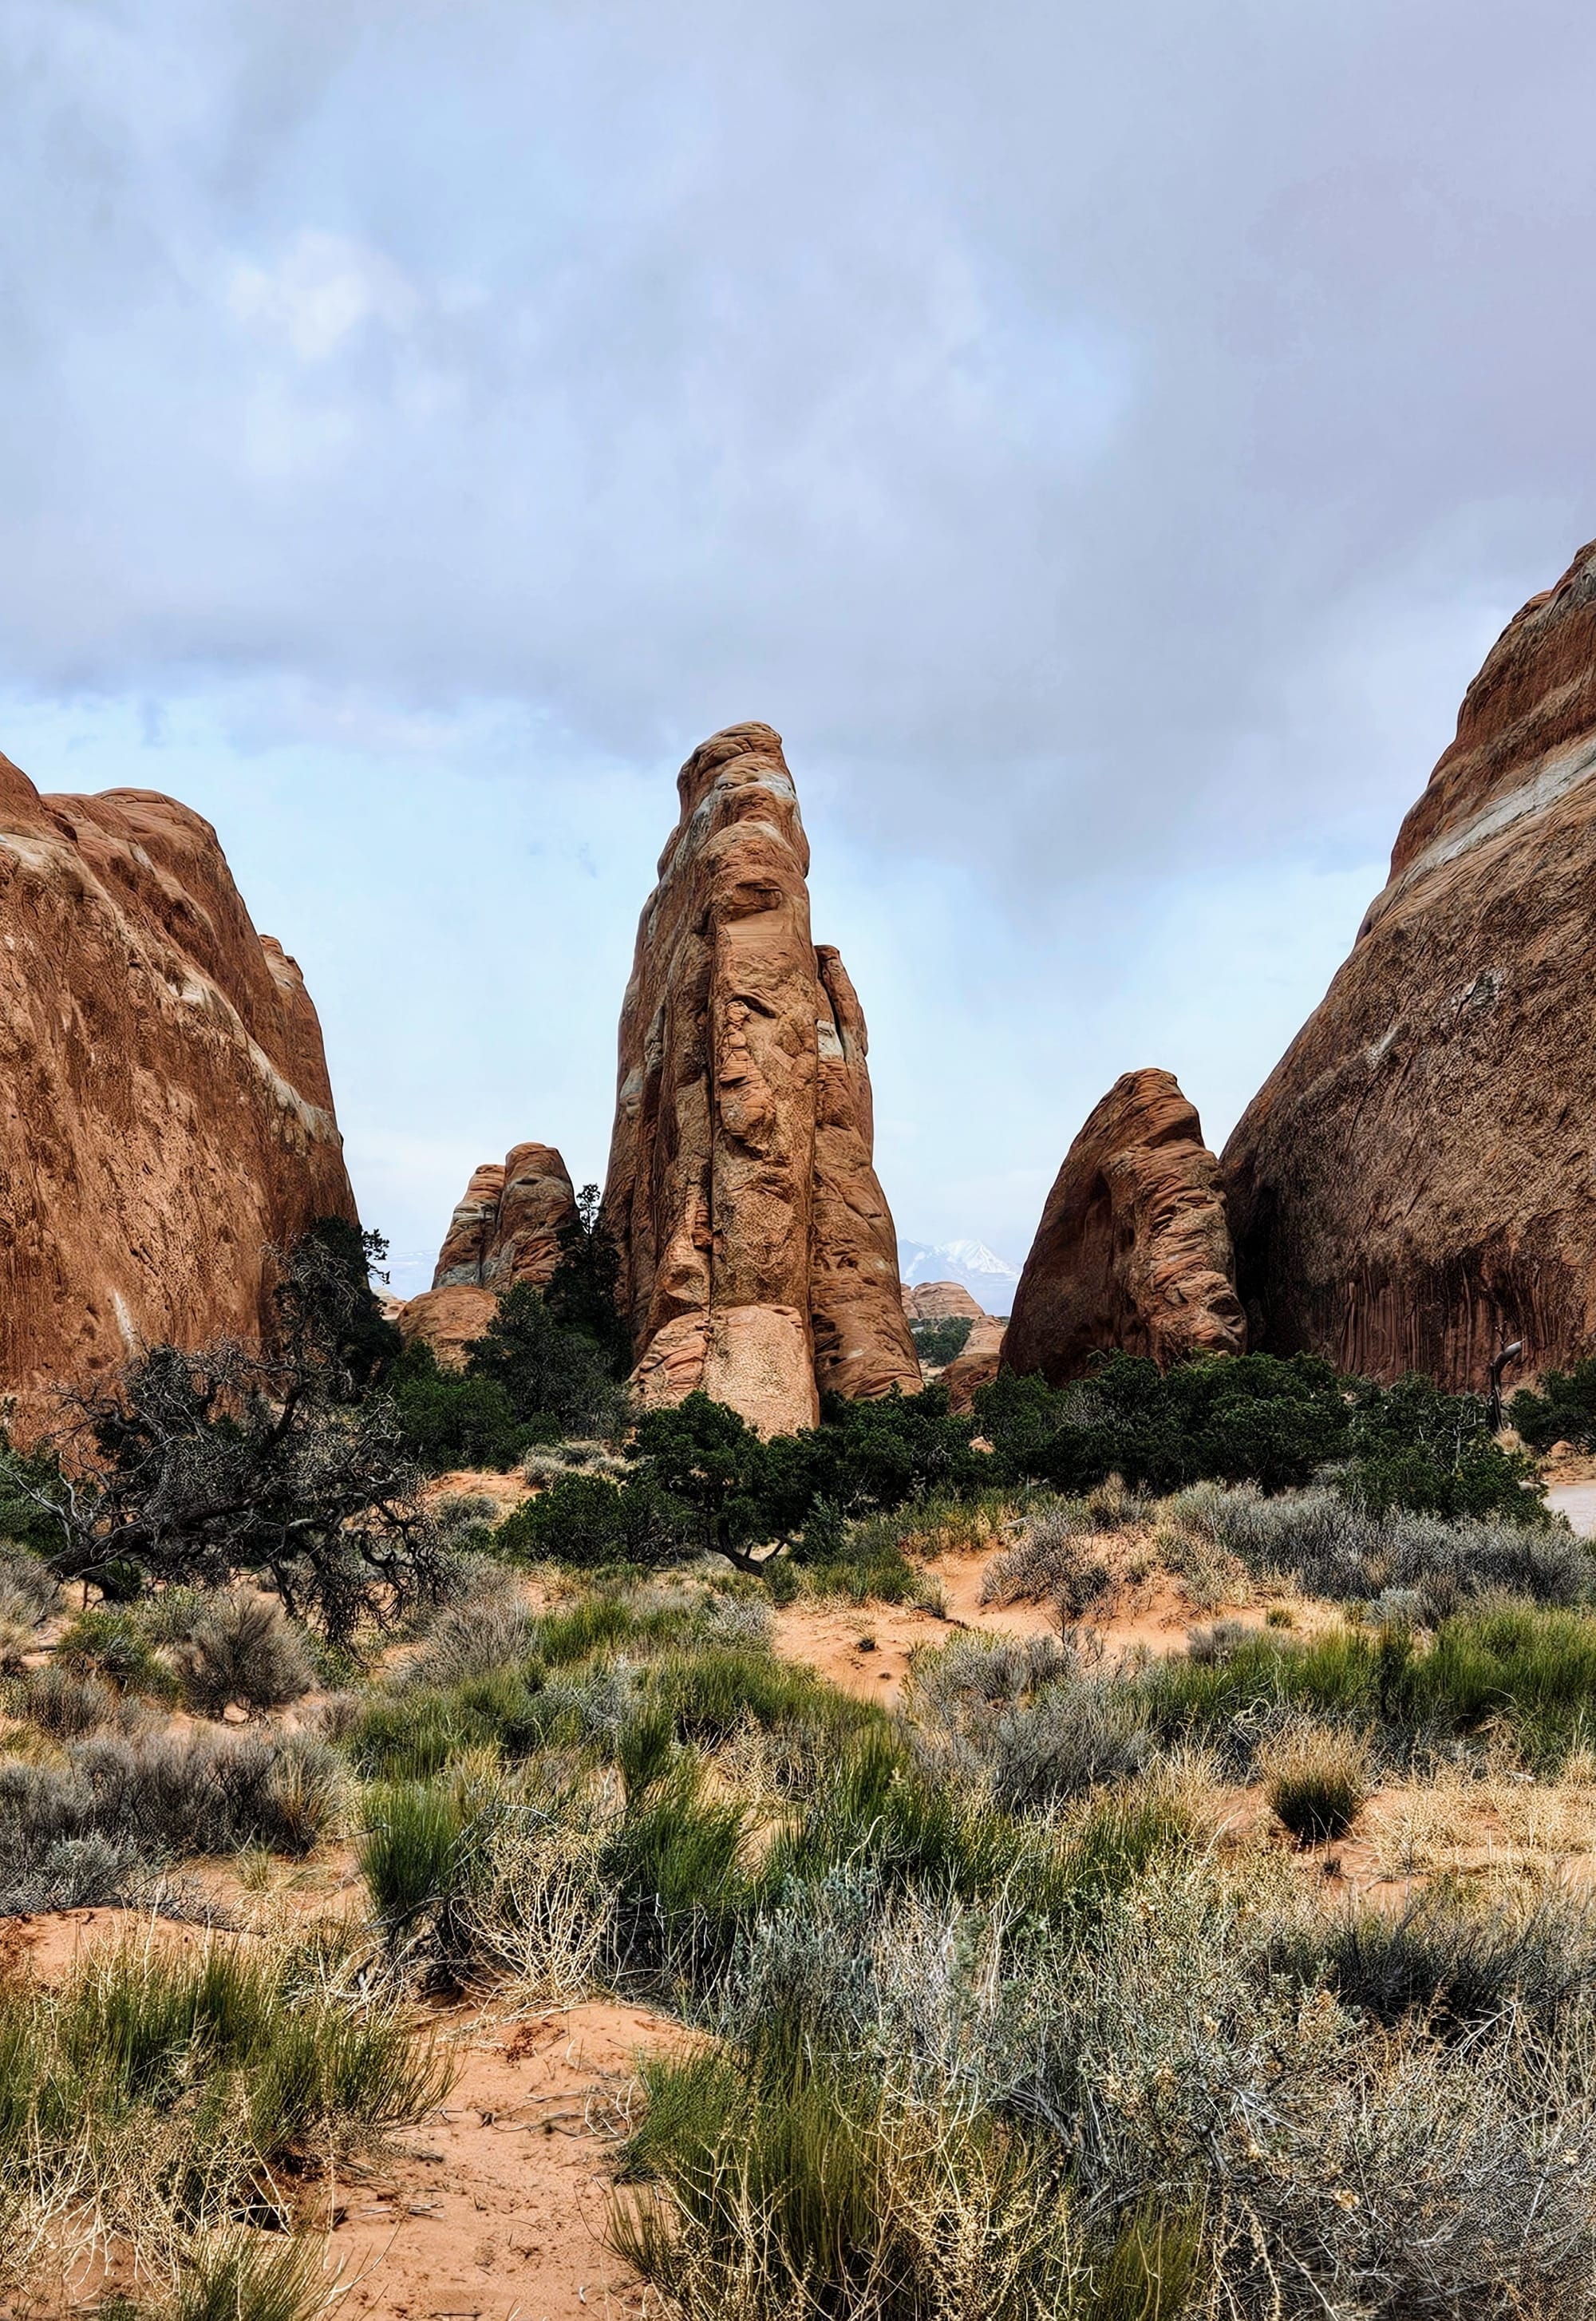
We may have already seen the most spectacular arch in the park, but we weren't worried. In Arches, there isn't such thing as being disappointed by a view. Beyond the arches, we were seeing rock formations that were absolutely mesmerizing. Then, juxtapose them with the distant mesas and snow-covered La Sal Mountains, and the scenery takes your breath away.
Ultimately, though, we were here to see the arches. We can get red rocks and mountains elsewhere. And so we made plans to hit as many of the trails to famous arches as possible. We needed to plan diligently, because some of these trails get packed early in the morning and stay that way until dinnertime. We hoped that going on a Wednesday morning in March would be manageable. This was when we choose to see Double Arch and the Windows. We could park in the same parking lot and combine hikes. Along the way, we would see lots of other arches, some small and unnamed, and others more prominent.
Double Arch, The Windows, and Turret Arch
Yes, the crowds were manageable. We found parking and had room to move around. However, the biggest problem with Arches crowds reared its ugly head on these trails. The very thing we want to see – the arches – are exactly where the crowds are. Duh! I mentioned it before, that instead of everyone spreading out to enjoy a vast landscape, we all congregate around the main features. But some people congregate longer than others, paying no mind that other people want to snap pictures or climb into the arch as well. This is a national park, not a playground. When allowed, climb into the arch to get the new perspective, but don't make a whole day of it! We need to keep the space open for other people to enjoy.
We tried to not let the few disrespectful people ruin our day, because we met many friendly people as well, who were willing to share the trails, take pictures of us, and show us cool new viewpoints of the arches. These hikes are fairly easy overall, but you can make them what you want.
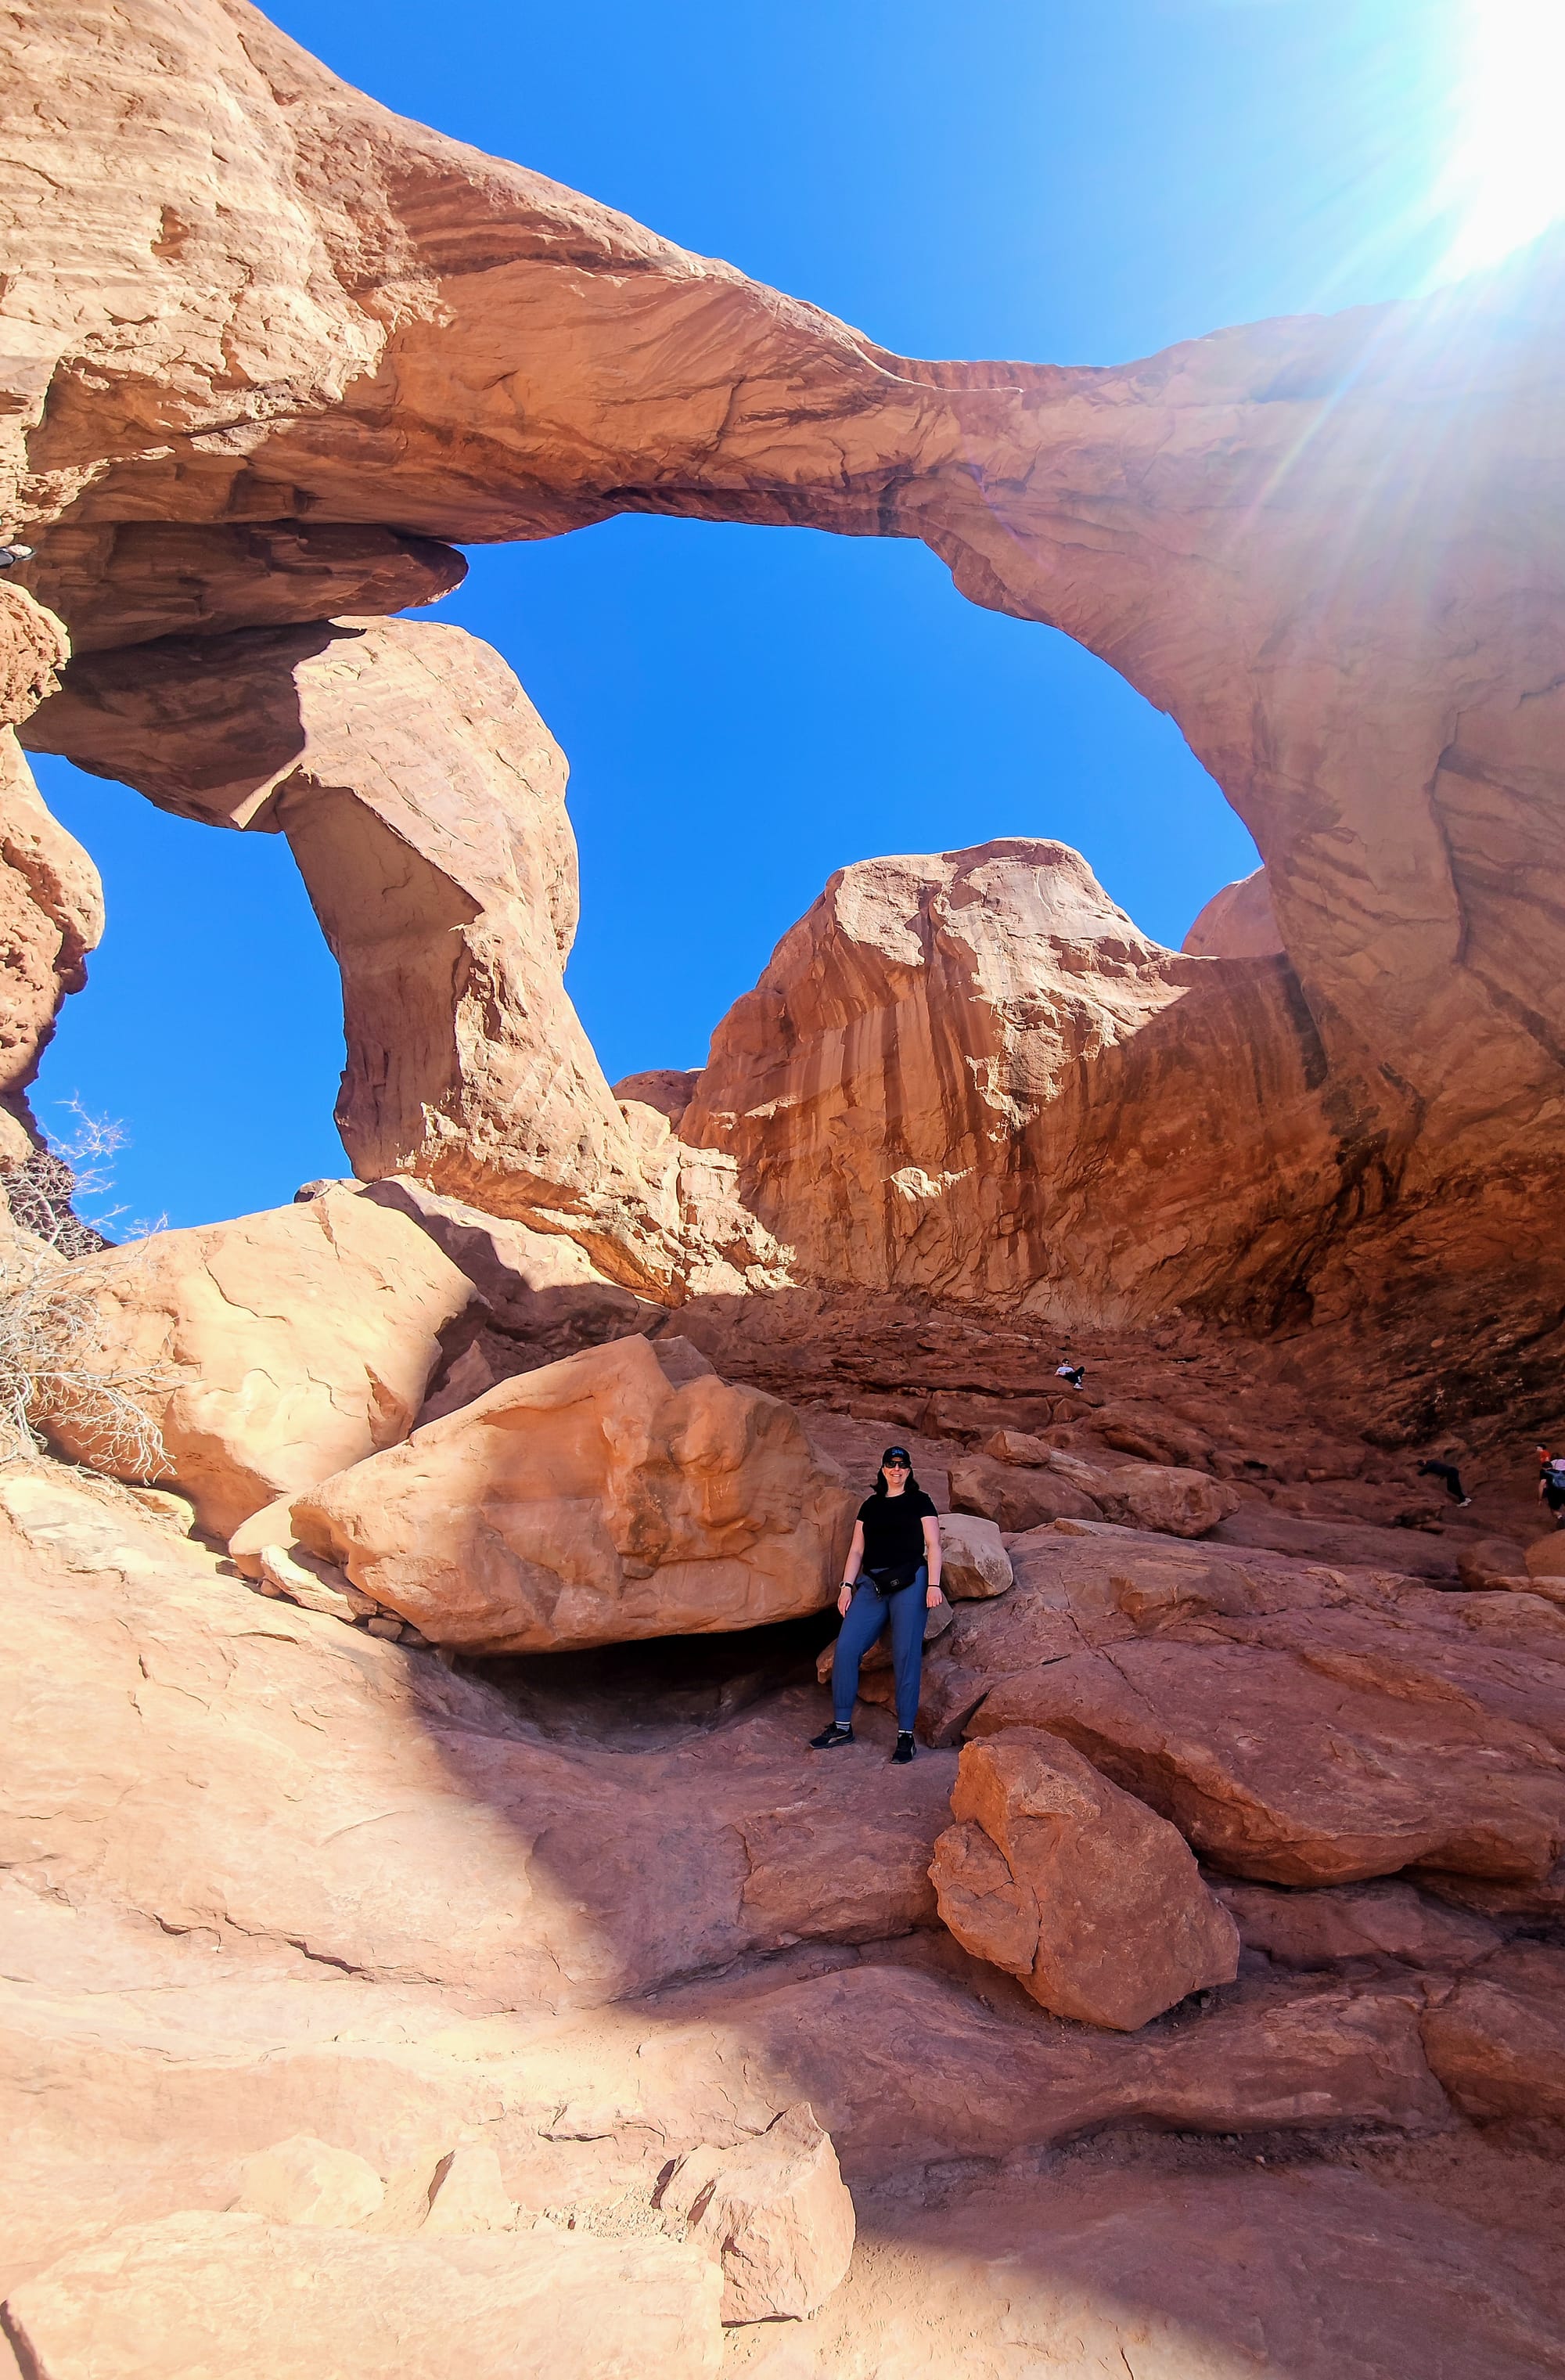
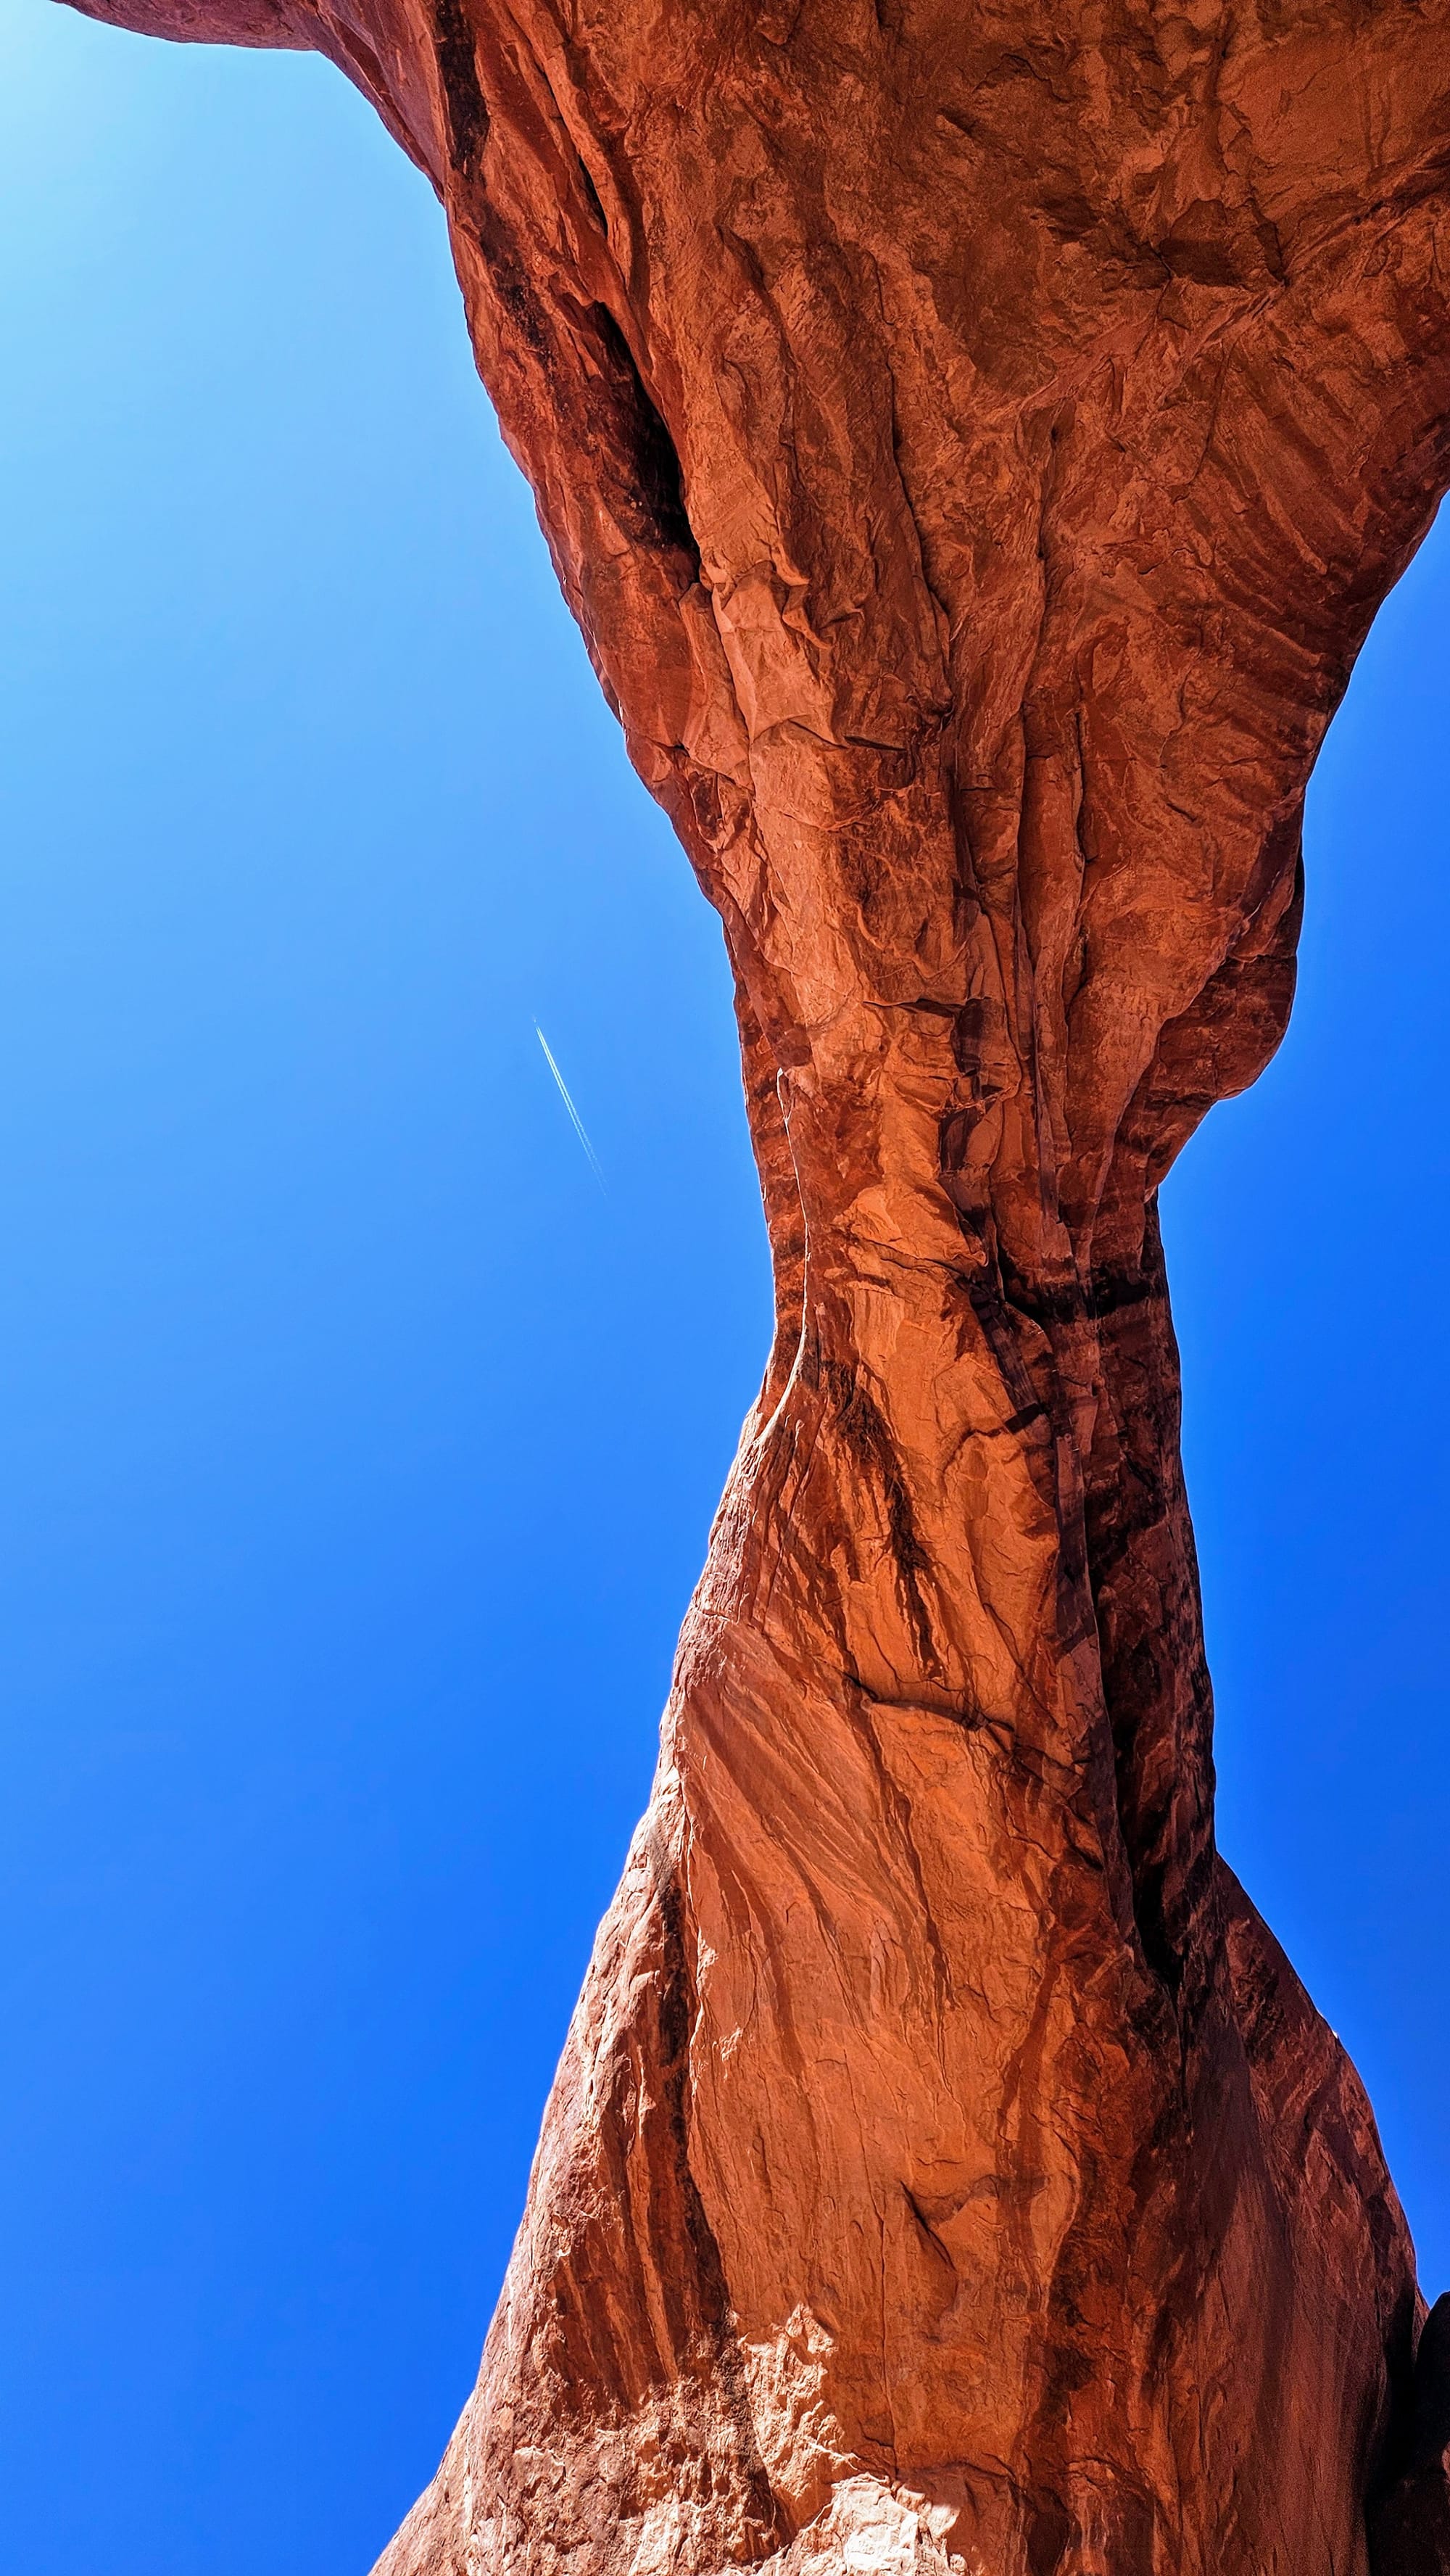
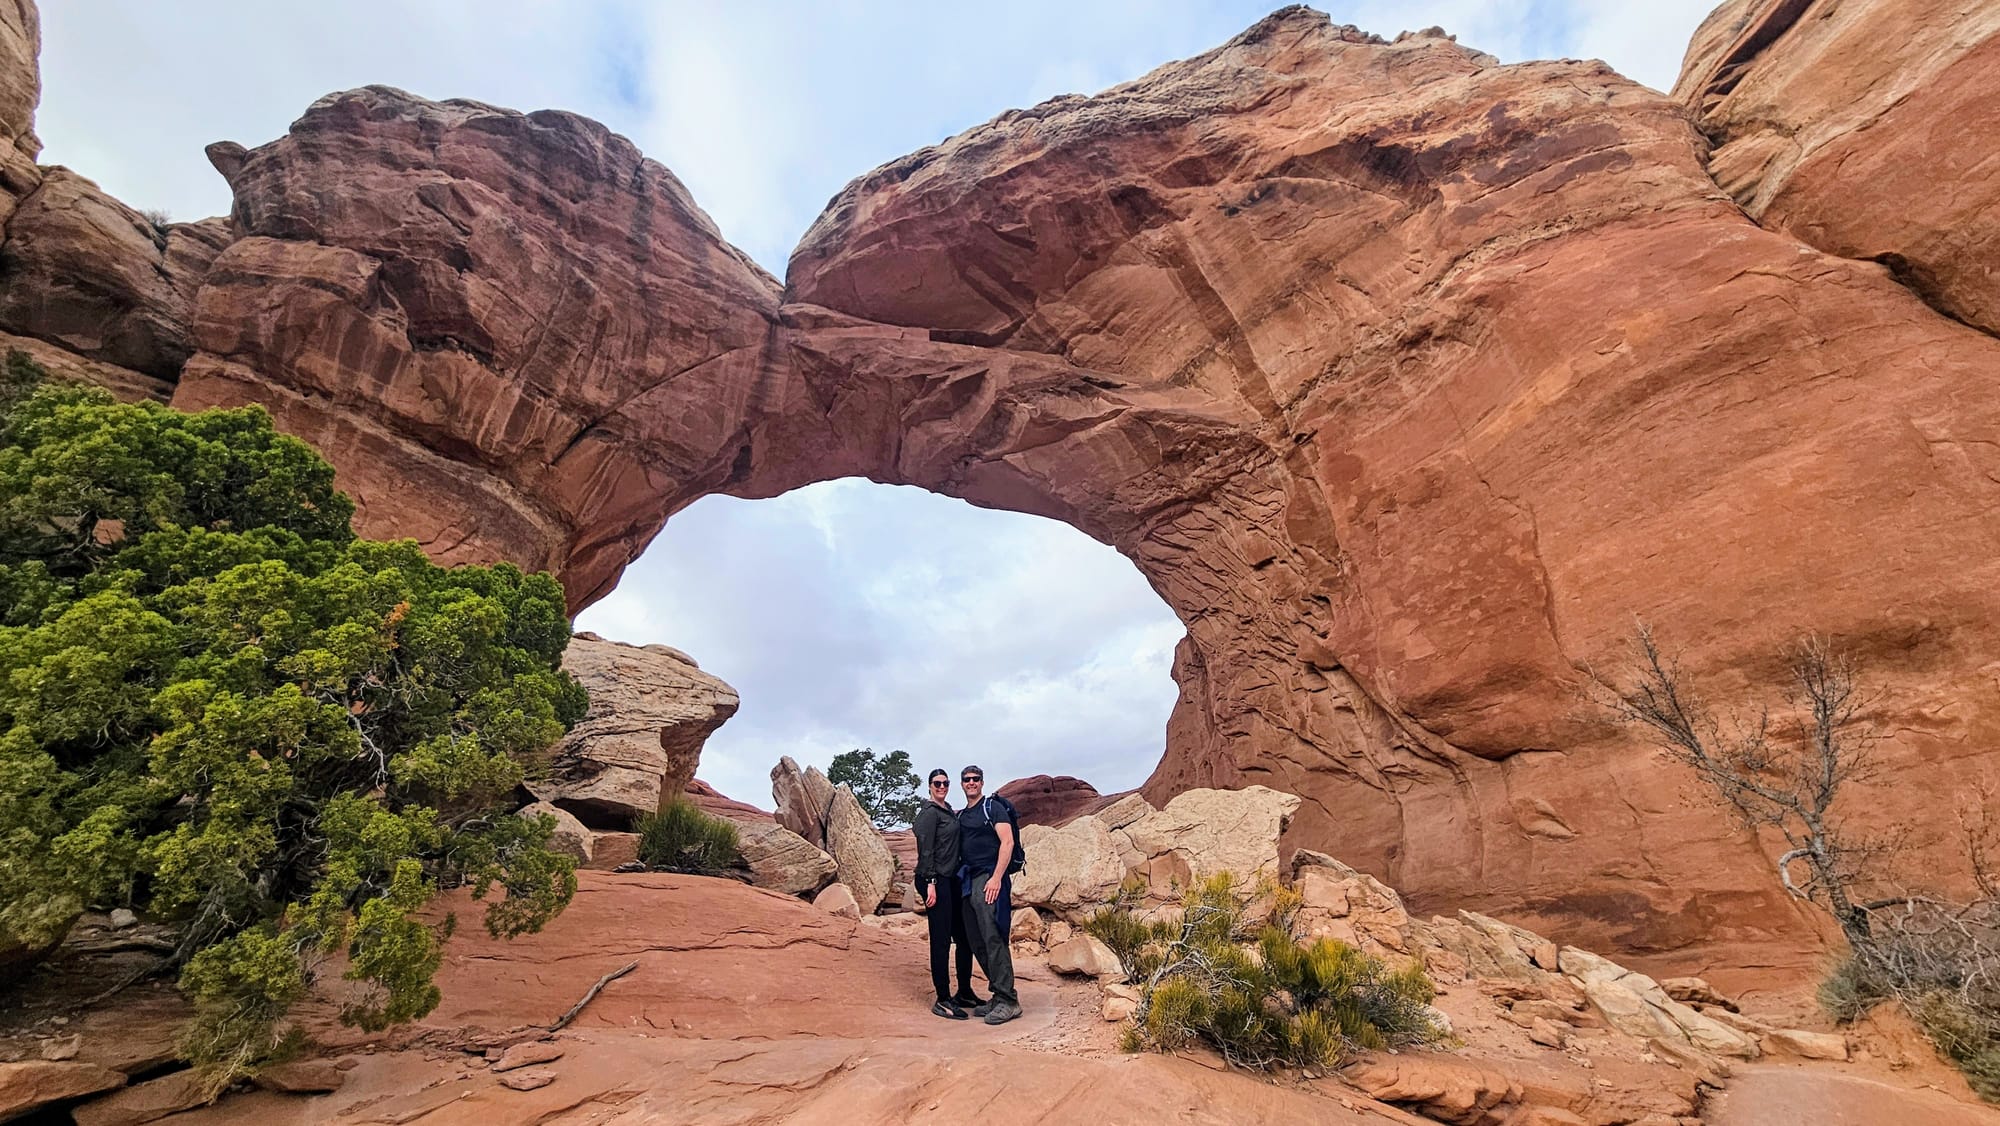
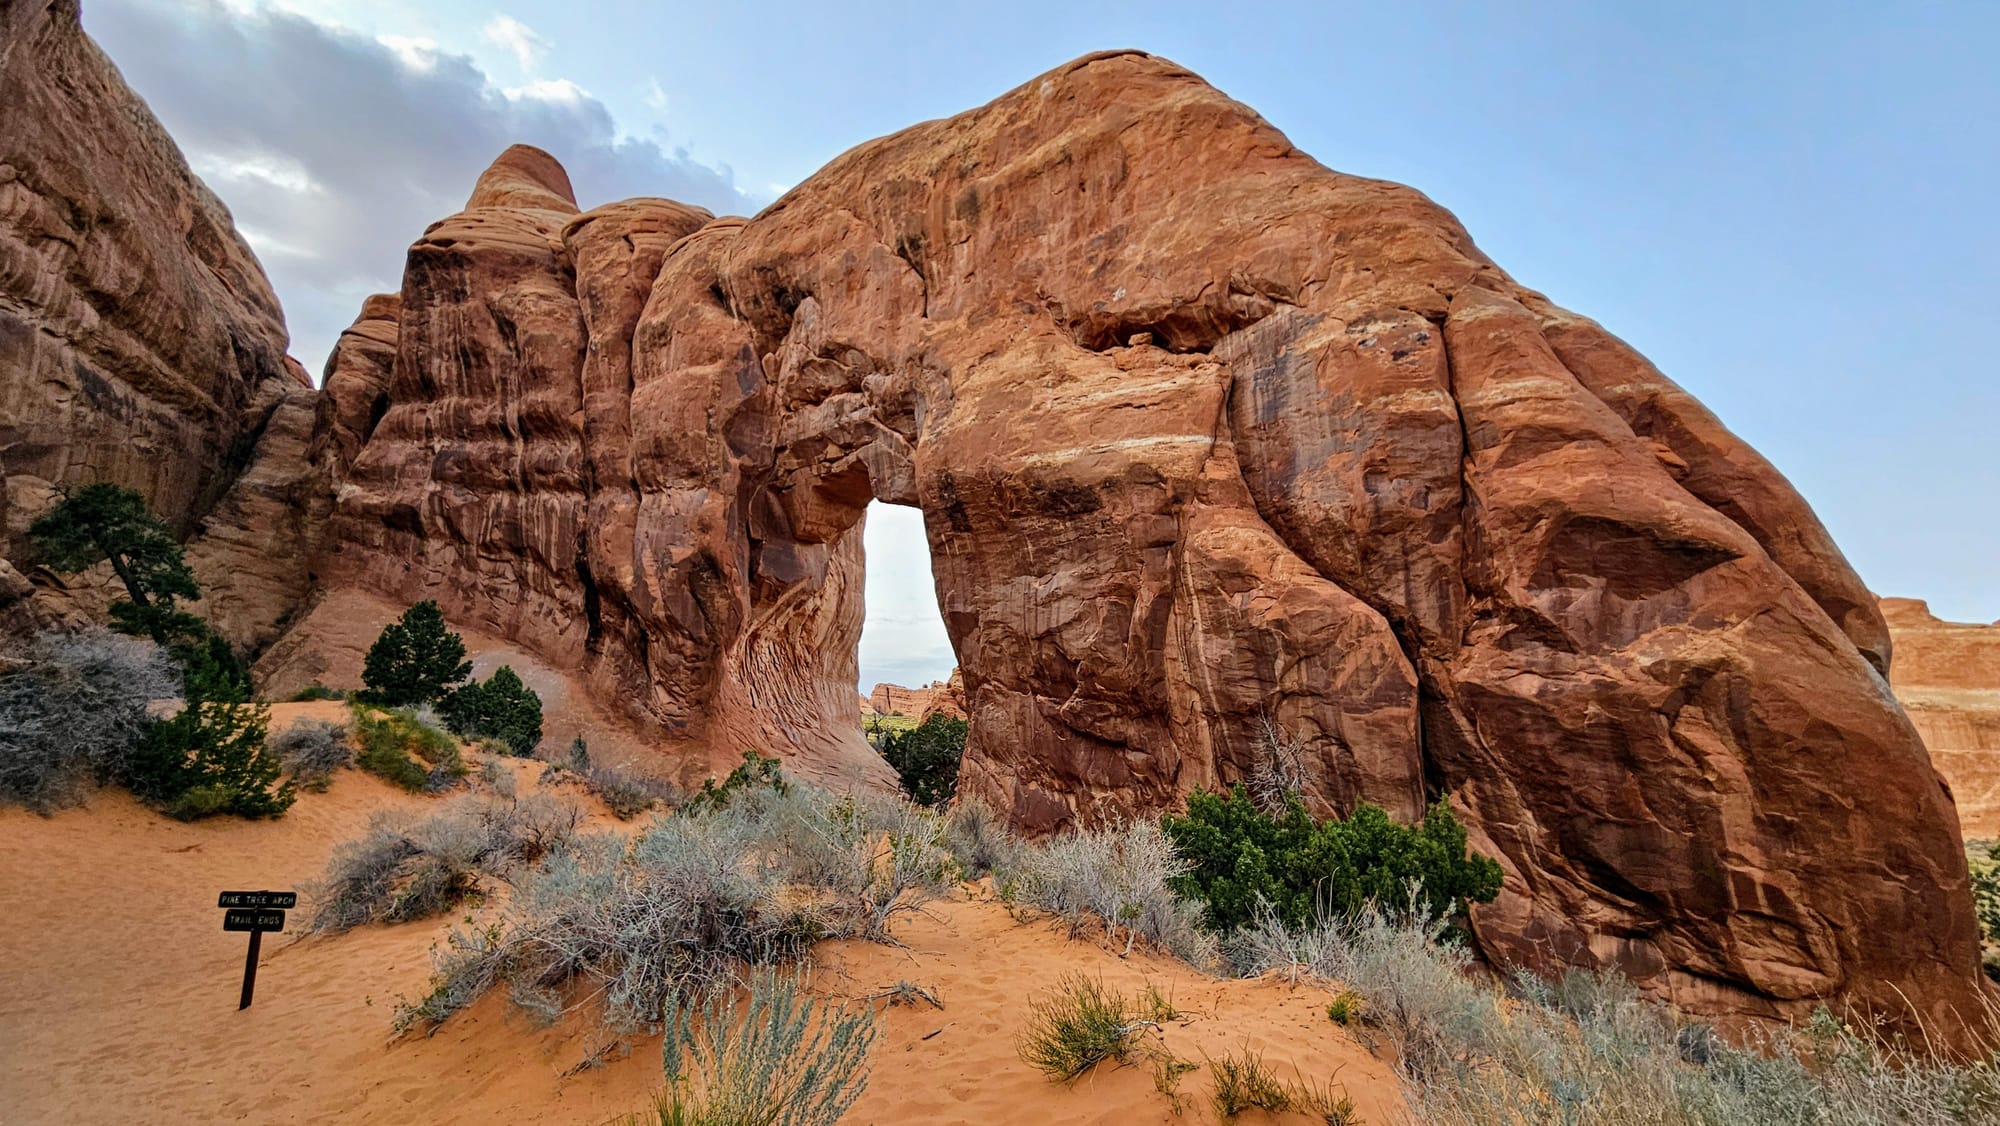
Double Arch is aptly named for its two adjacent arches, one behind the other. The trail to them is just .6 miles out and back, and you can see the arches from the parking lot. However, we would highly recommend taking the trail because you can climb up underneath the arches at the end. Their magnitude can only be fully understood by getting close to them. The temperature becomes cooler and the sounds echo. It's like stepping into a cathedral. The roundness of the first arch makes for a dramatic entryway.
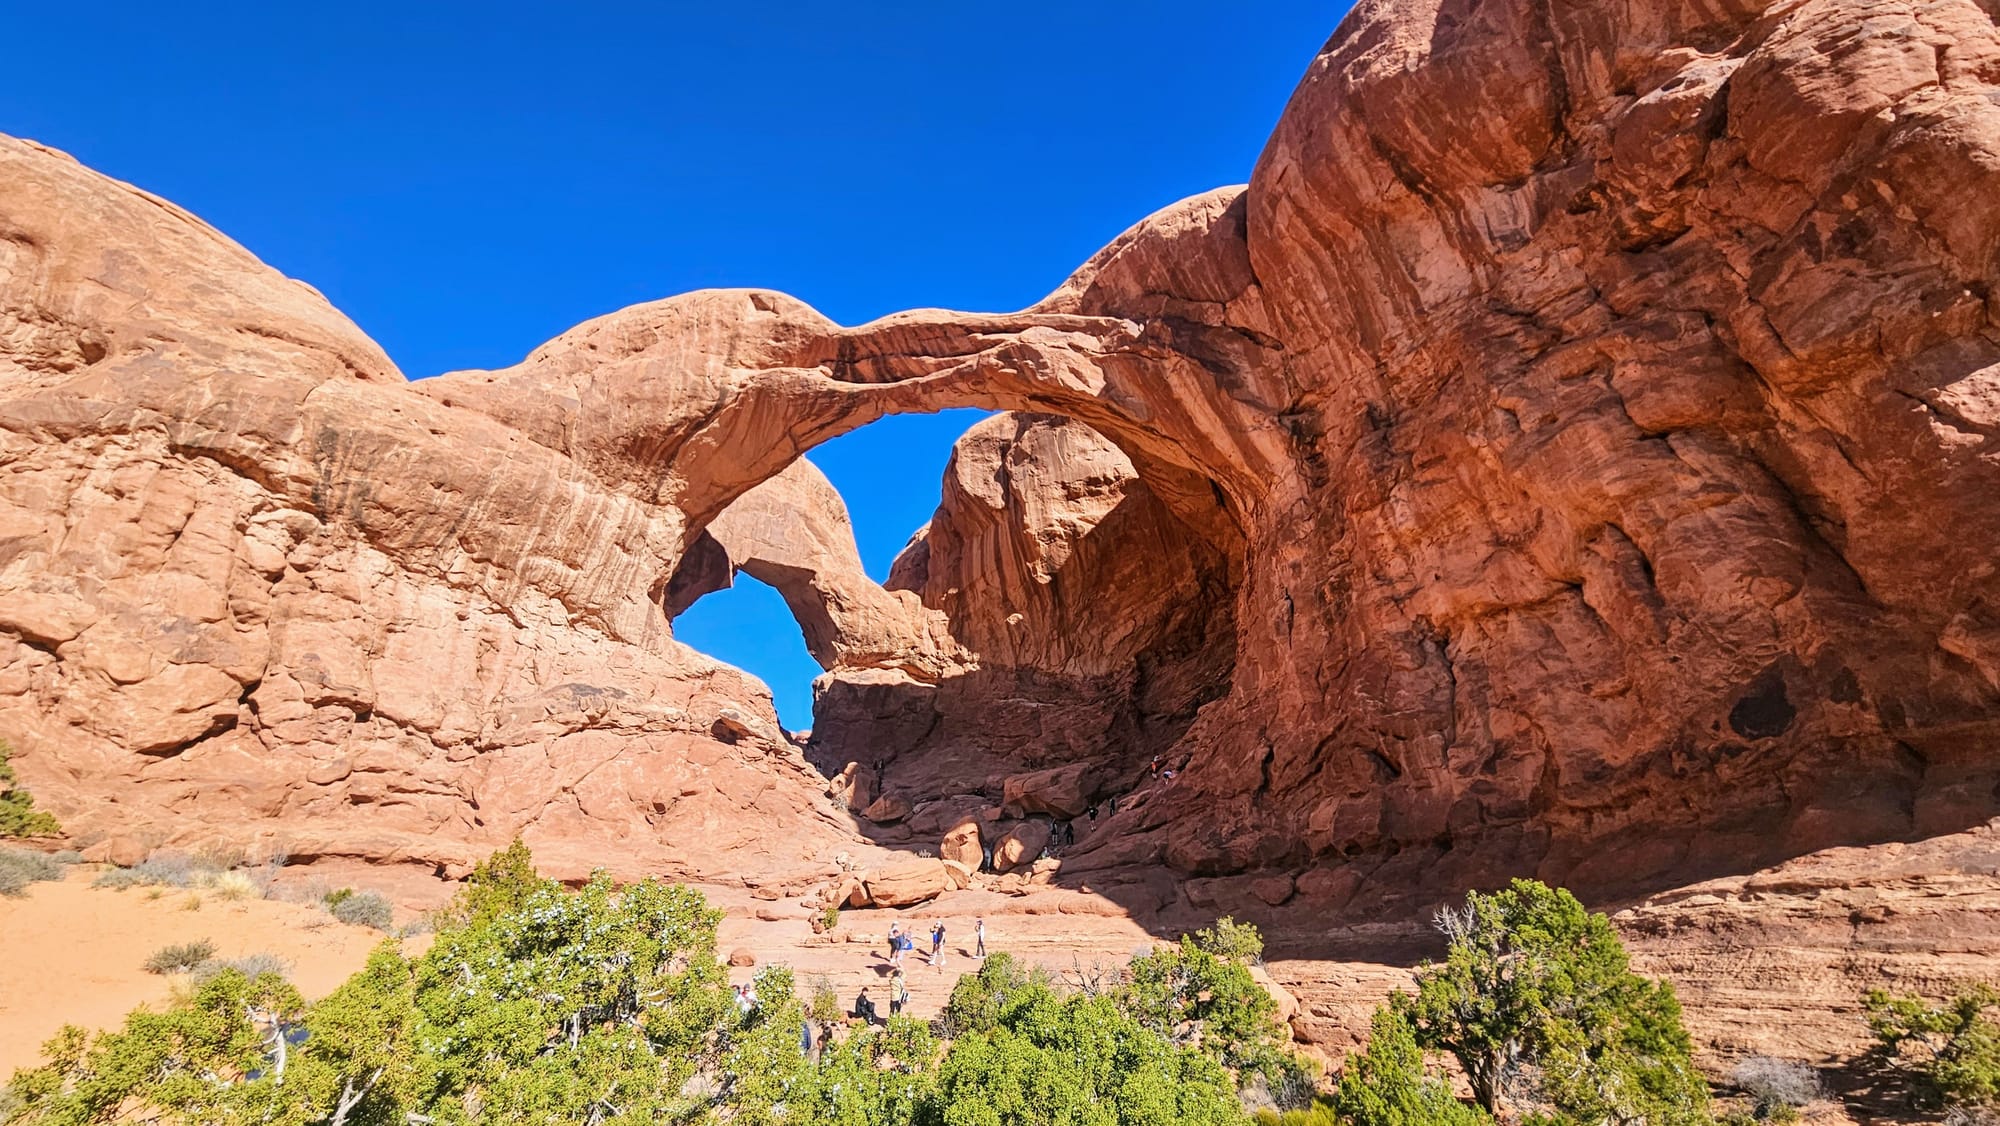
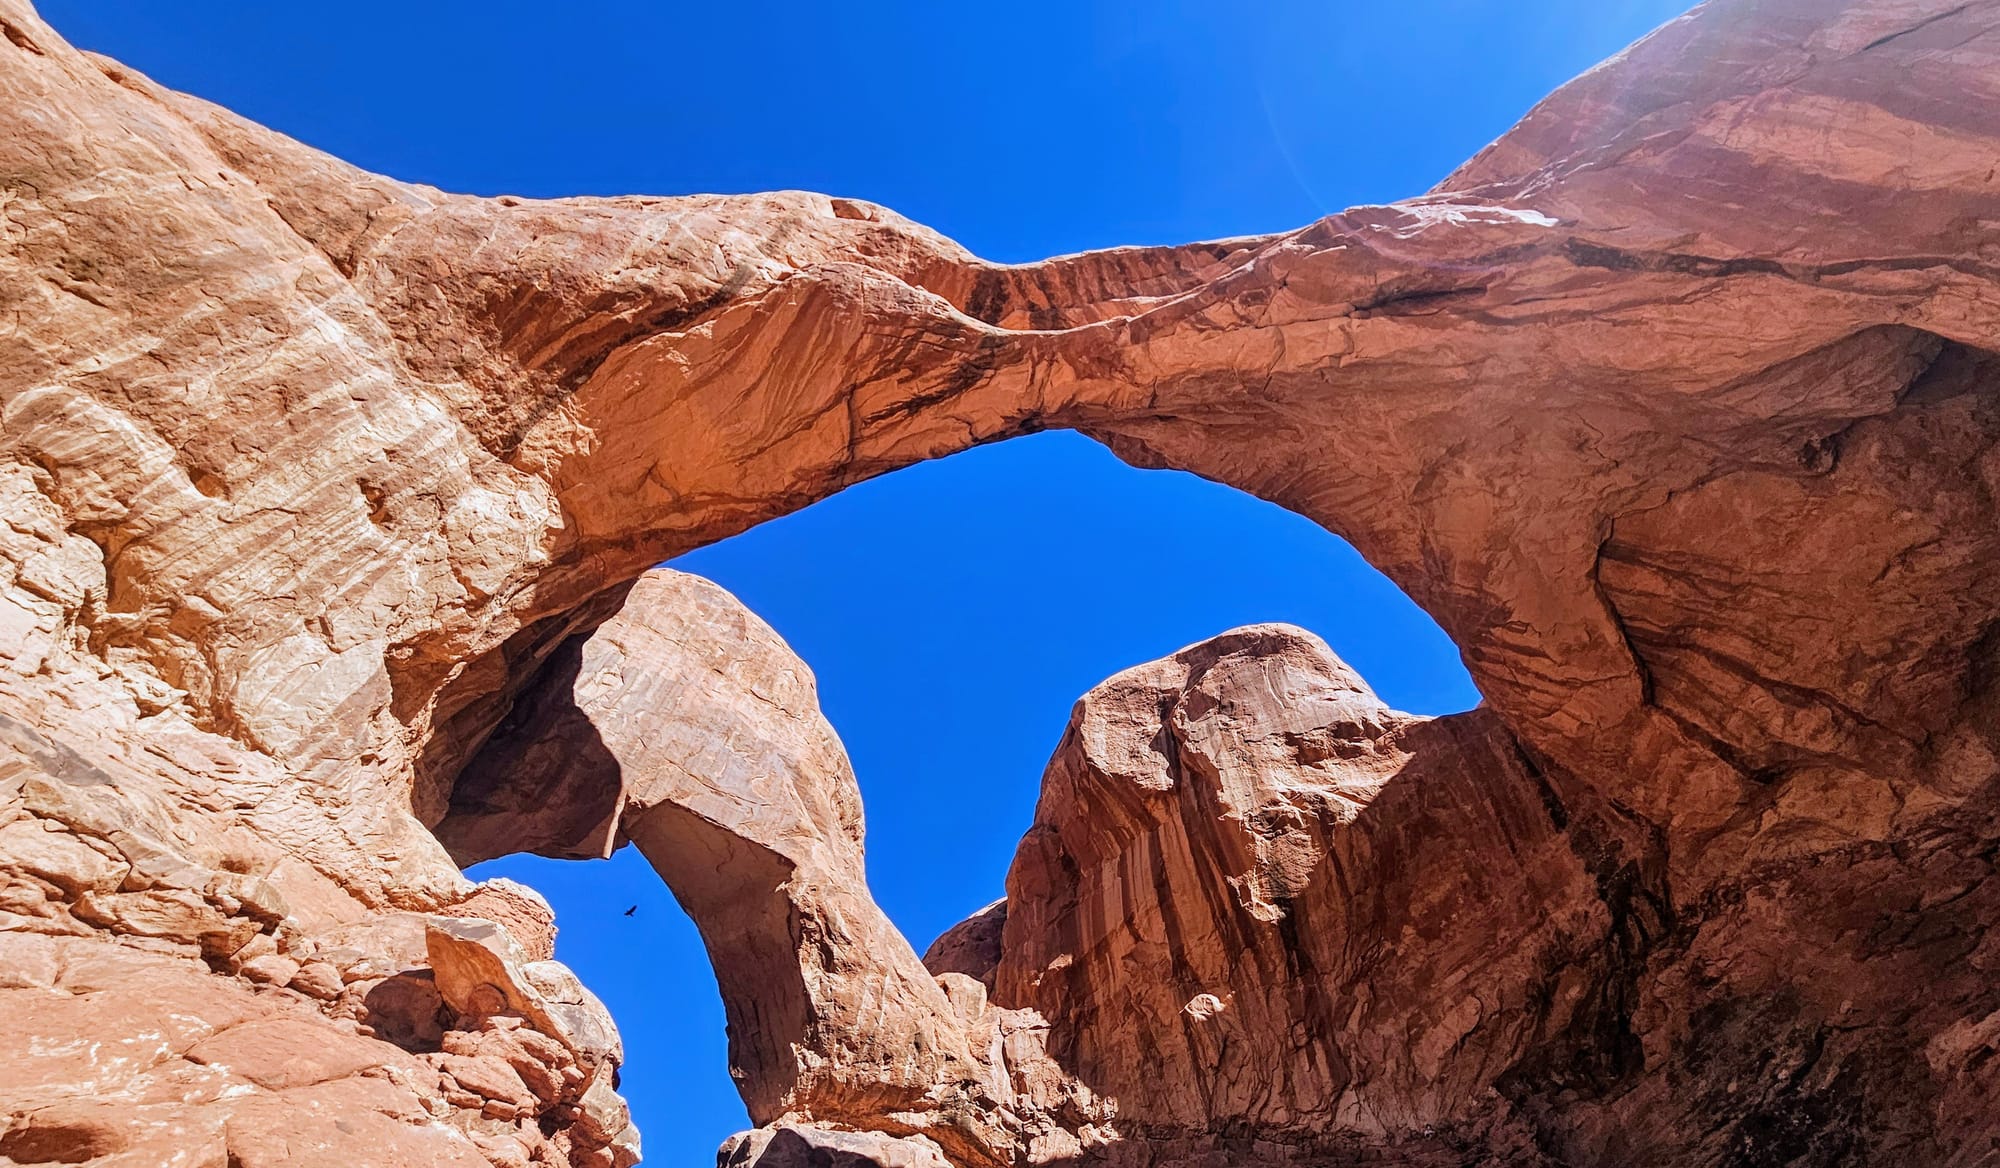
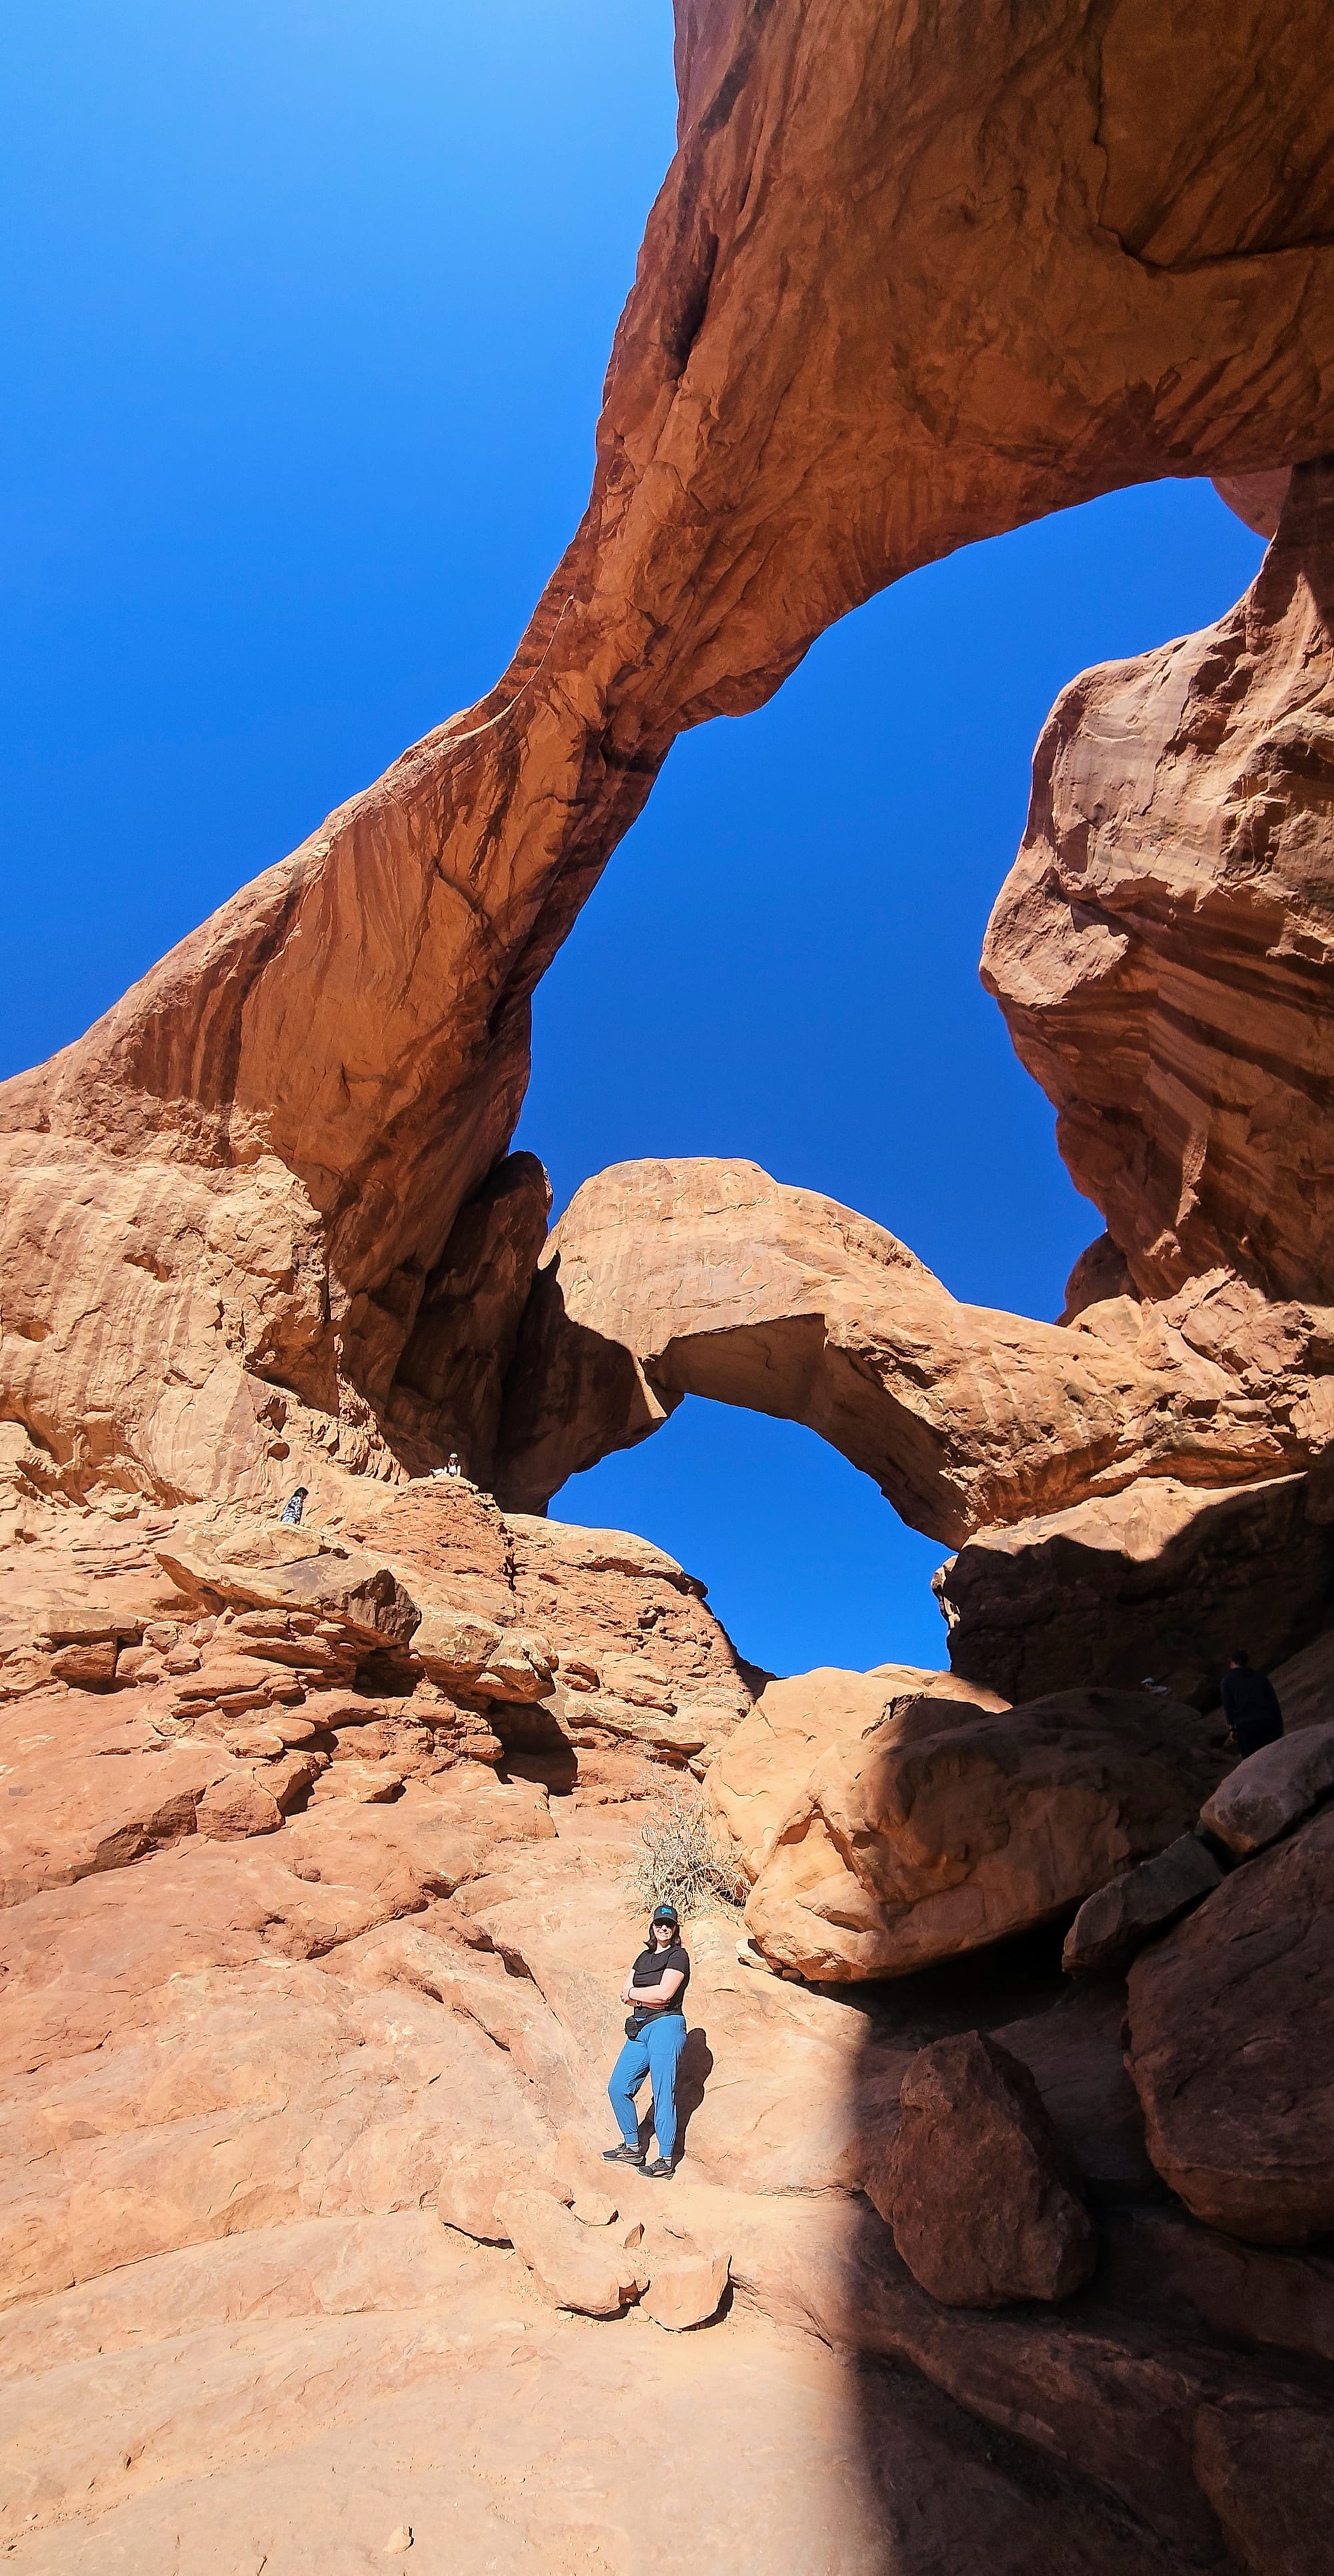
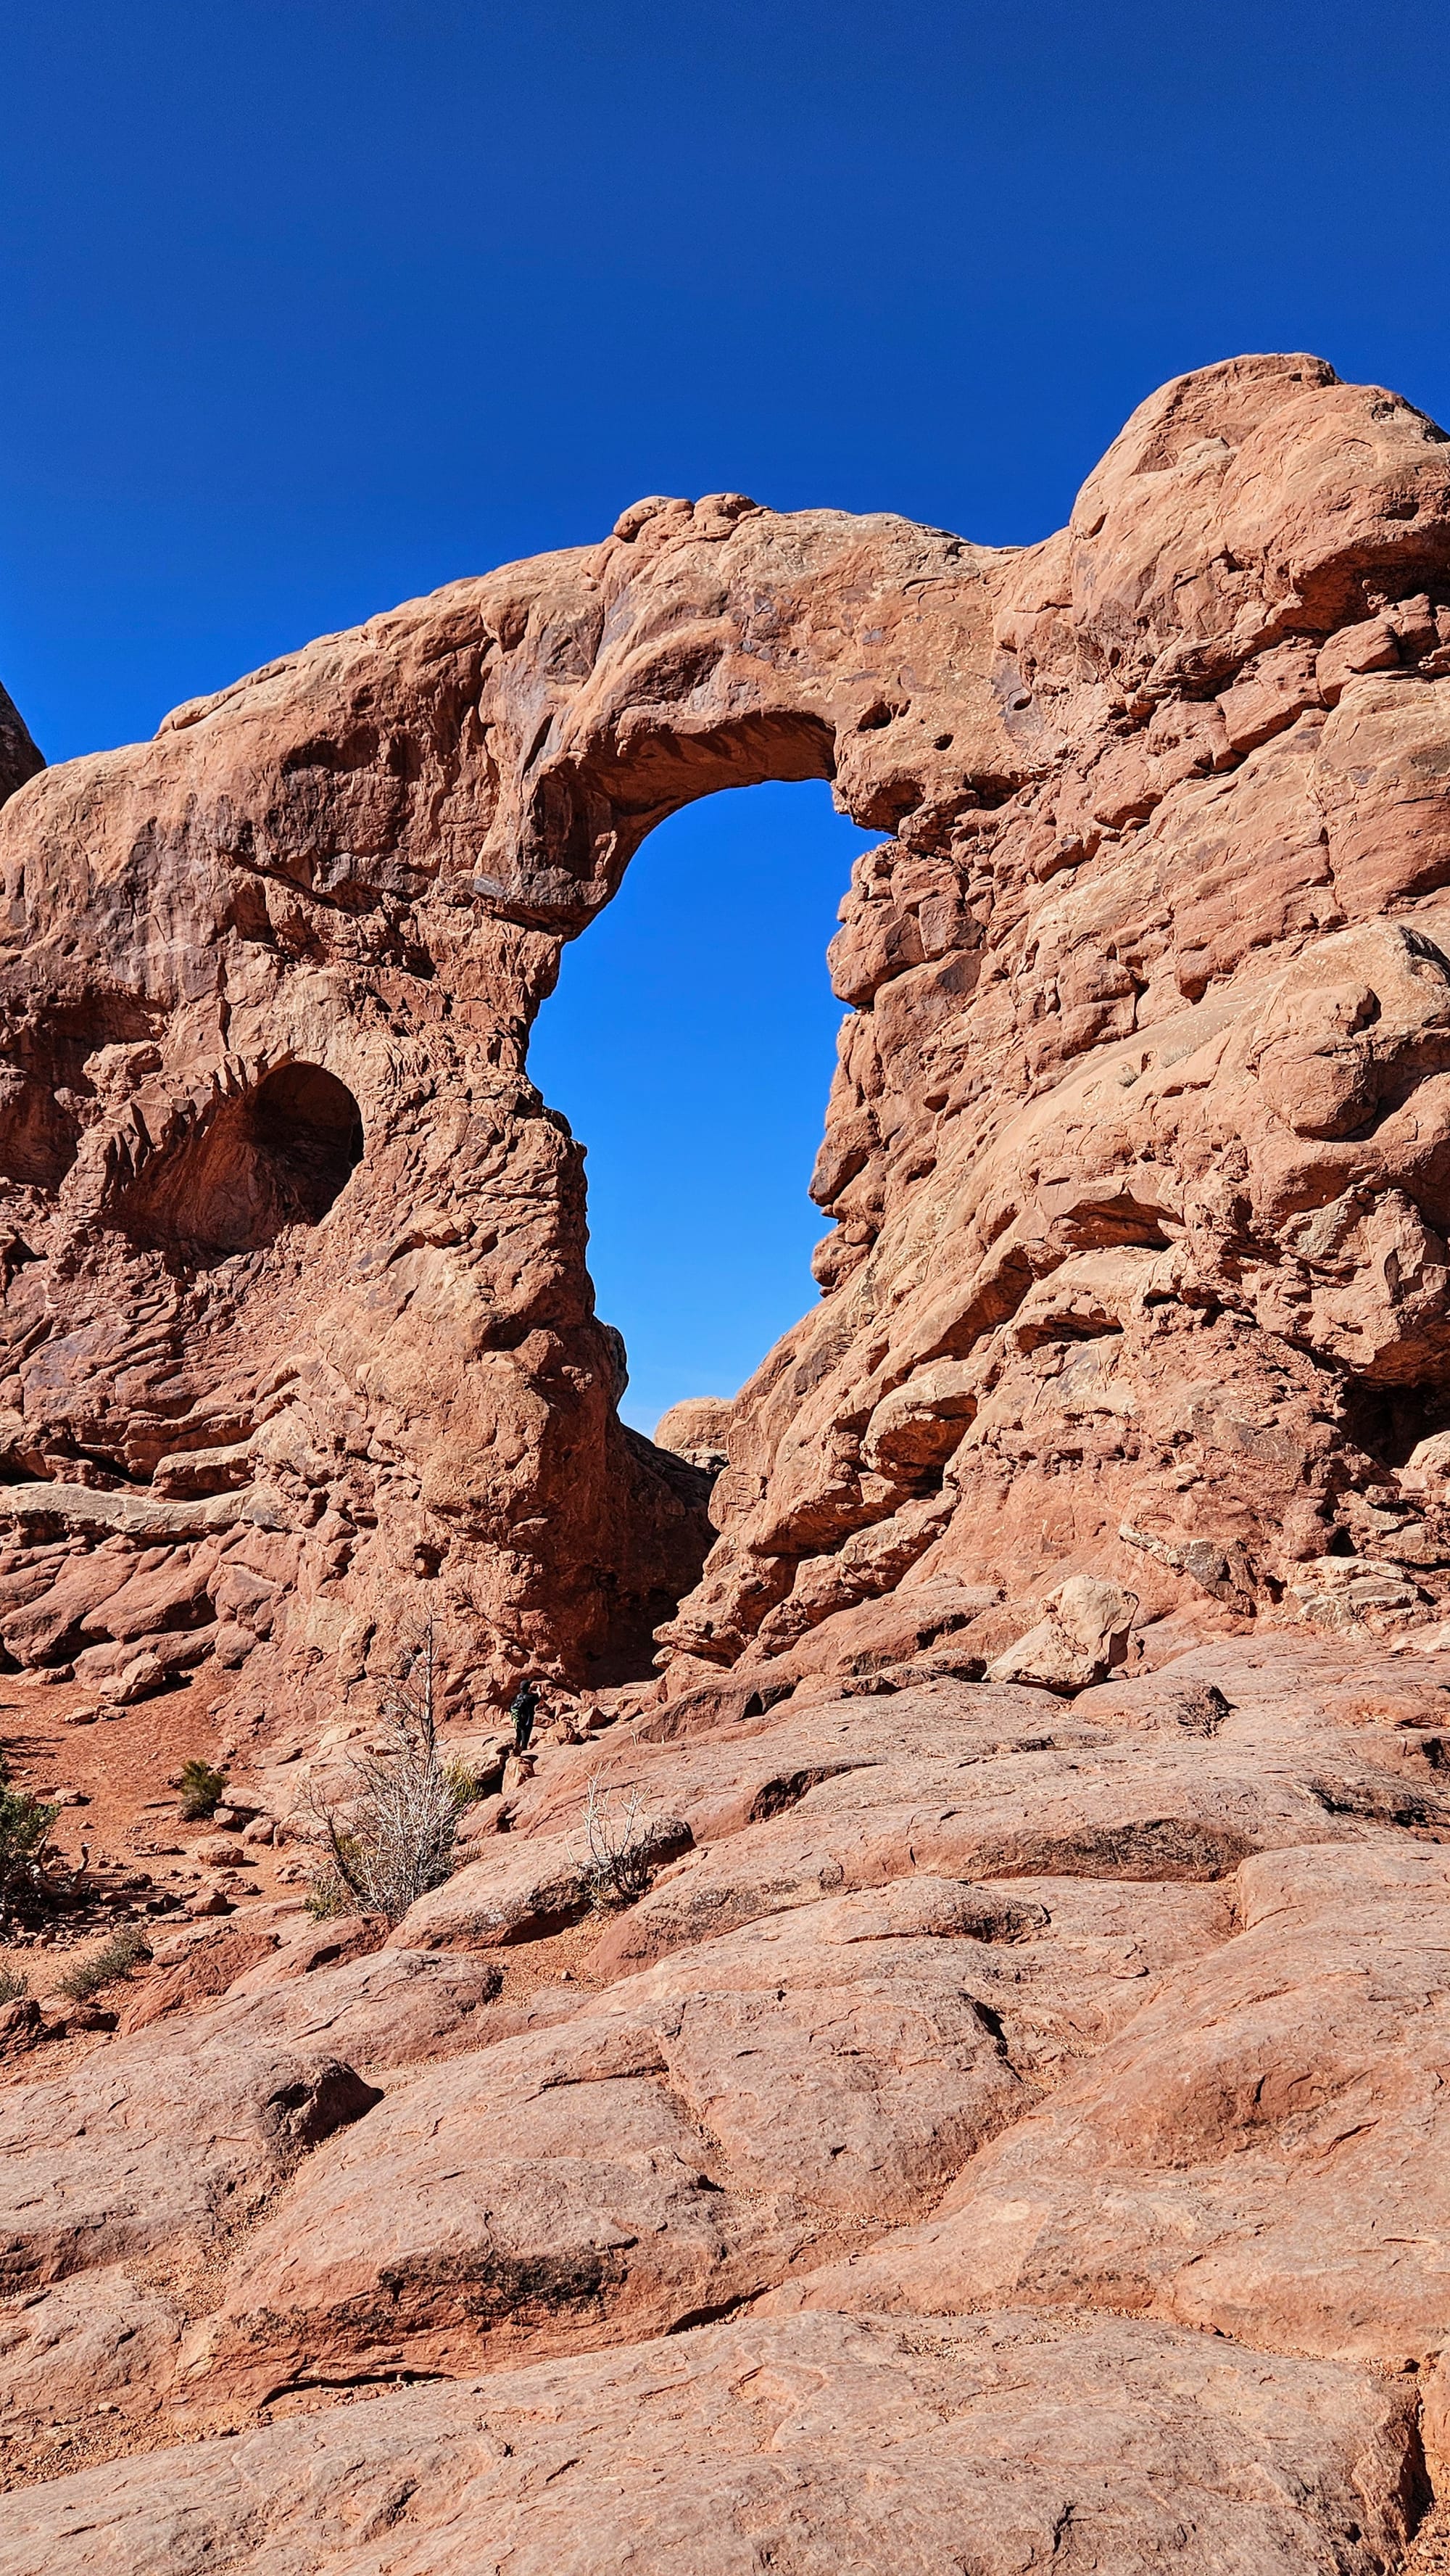
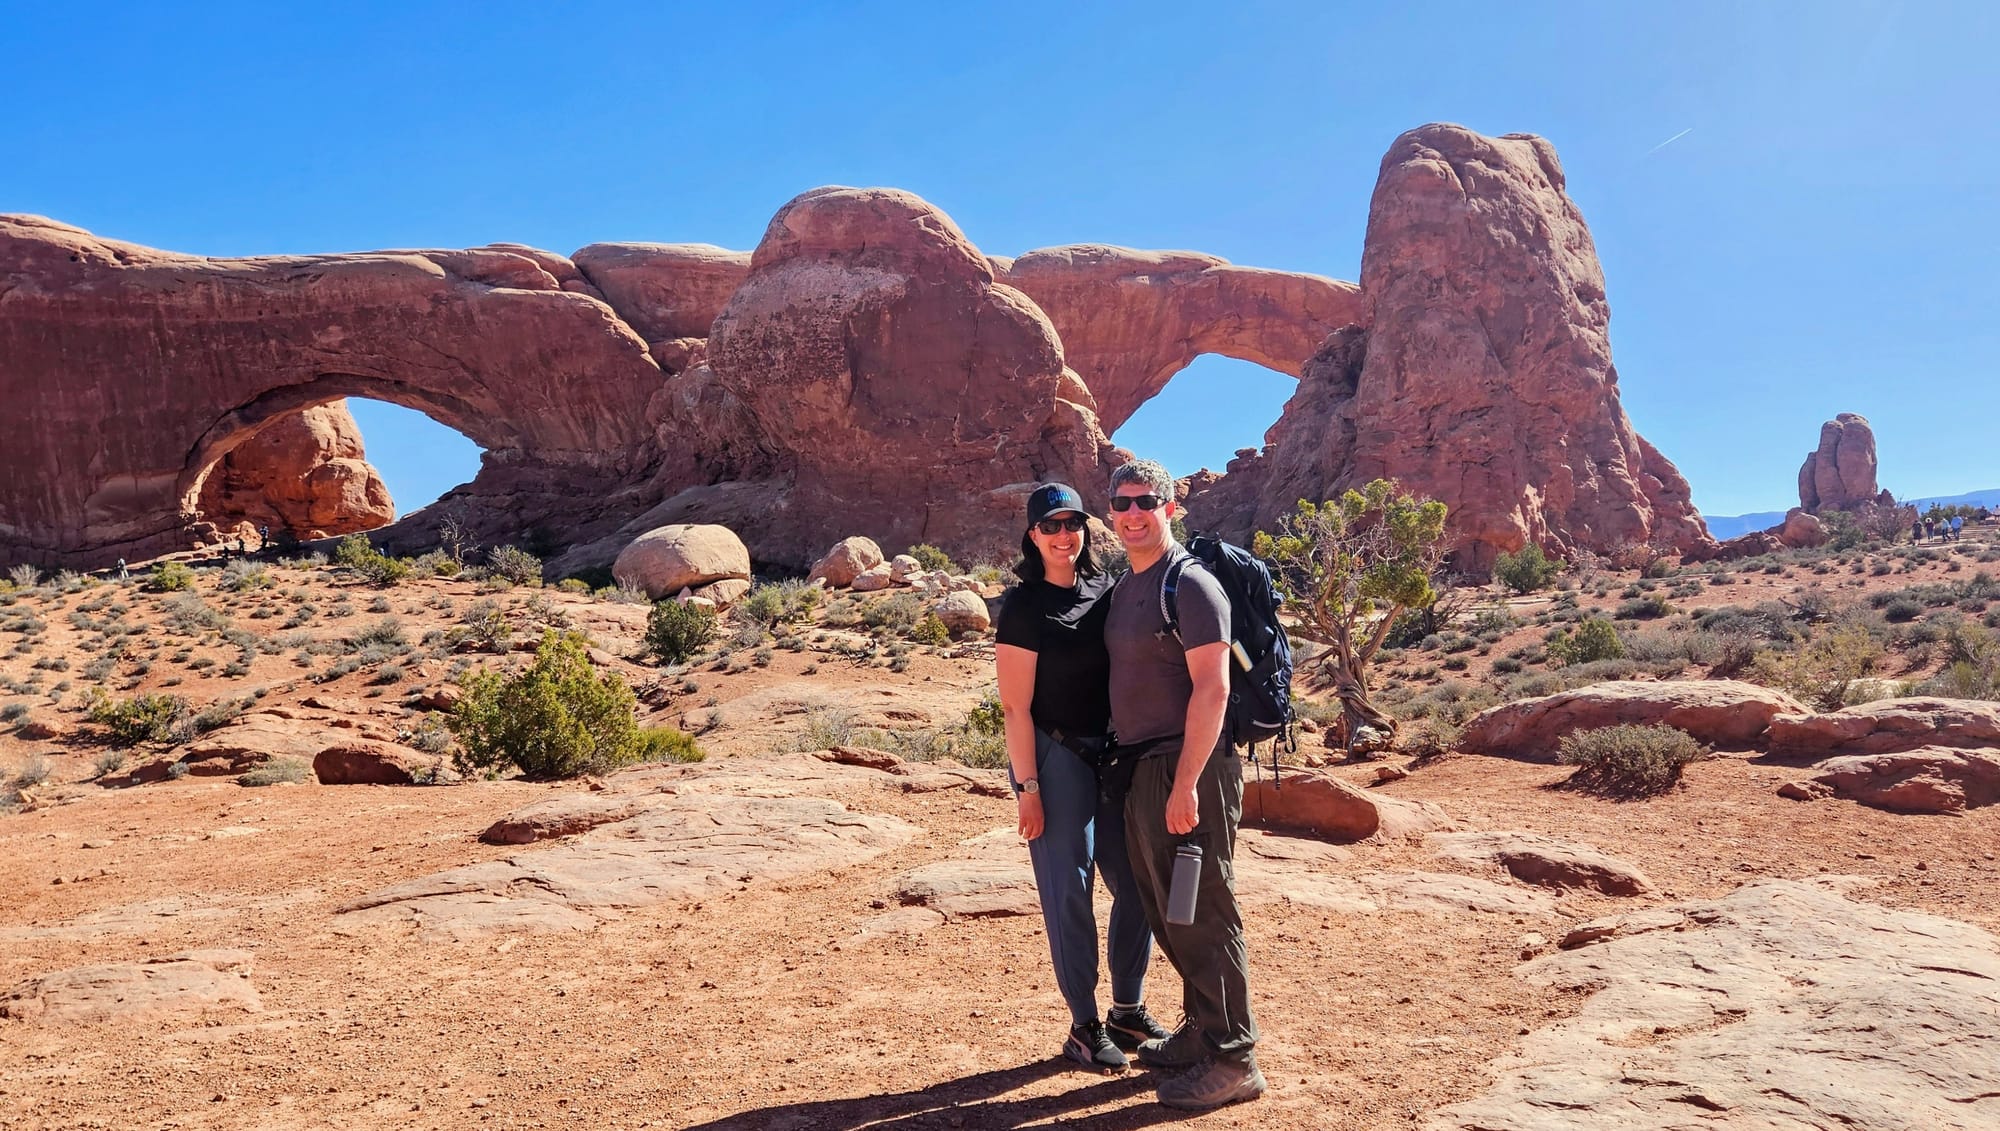
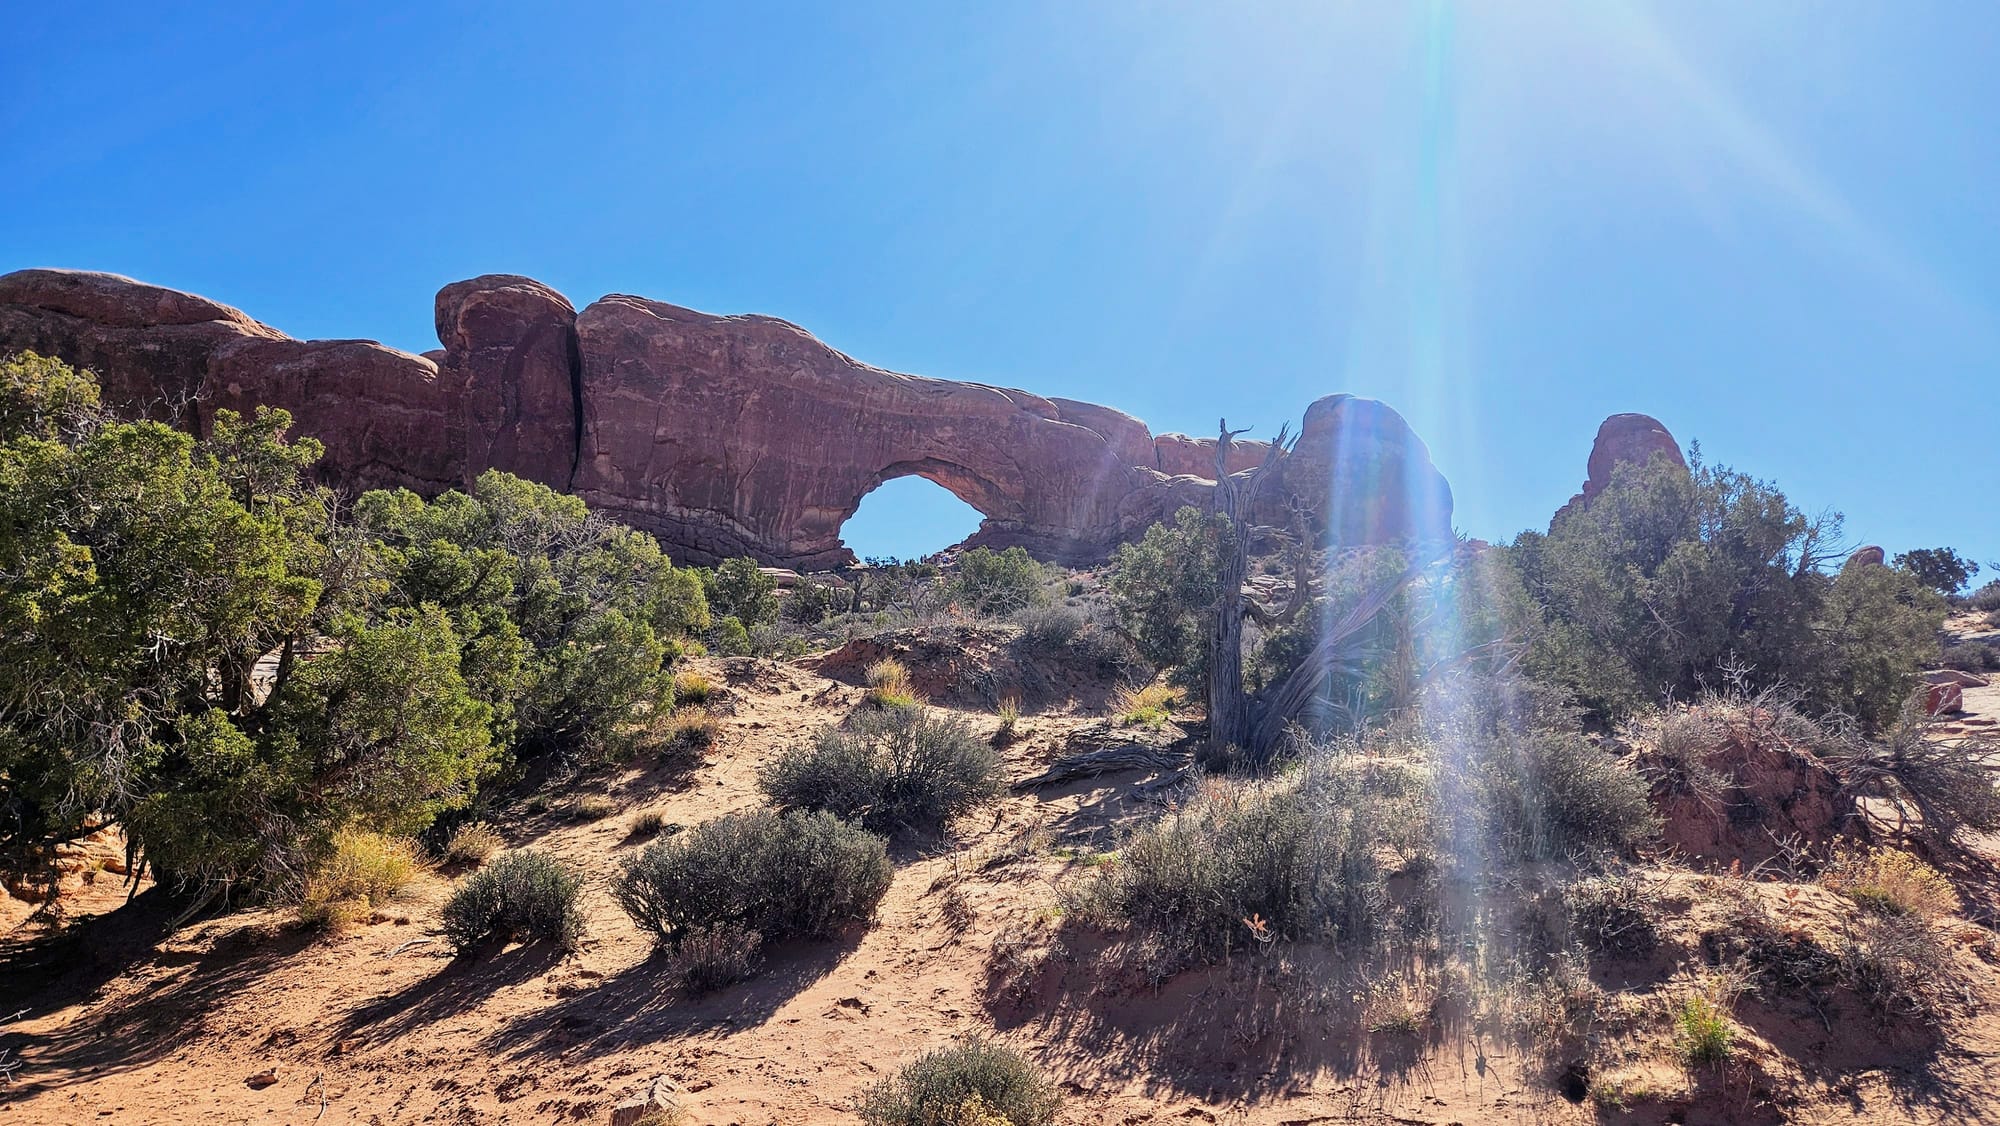
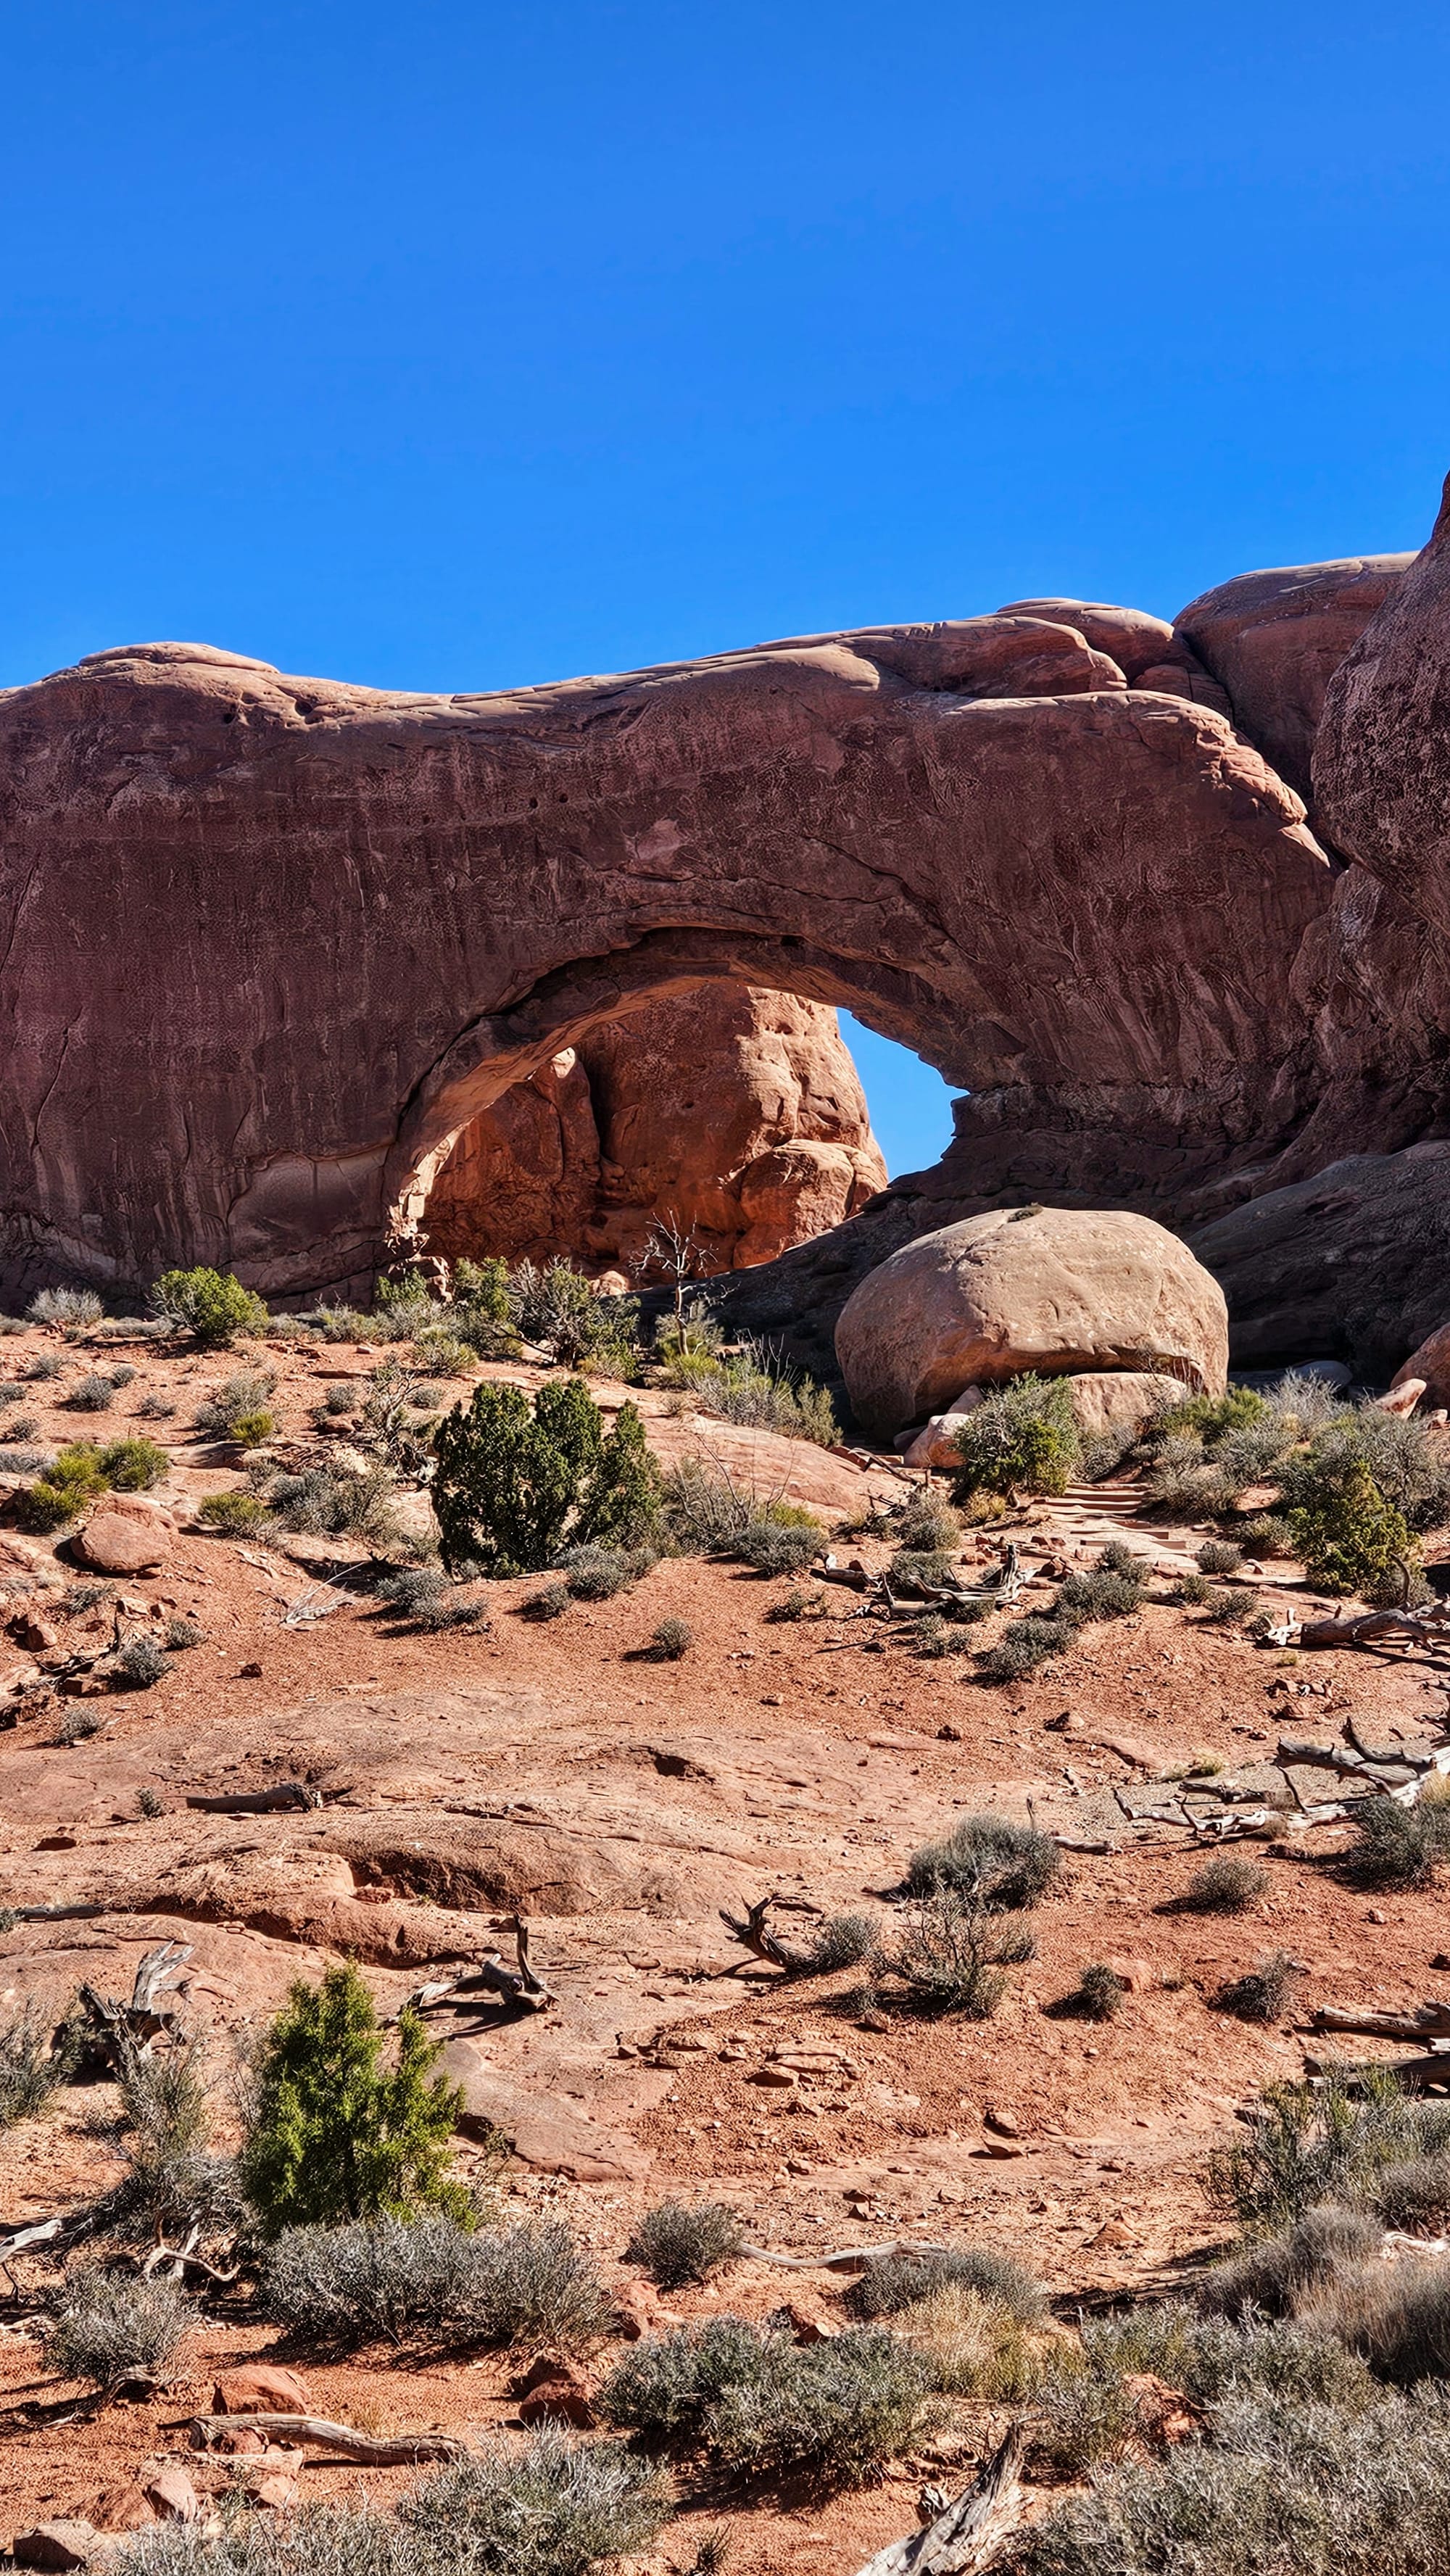
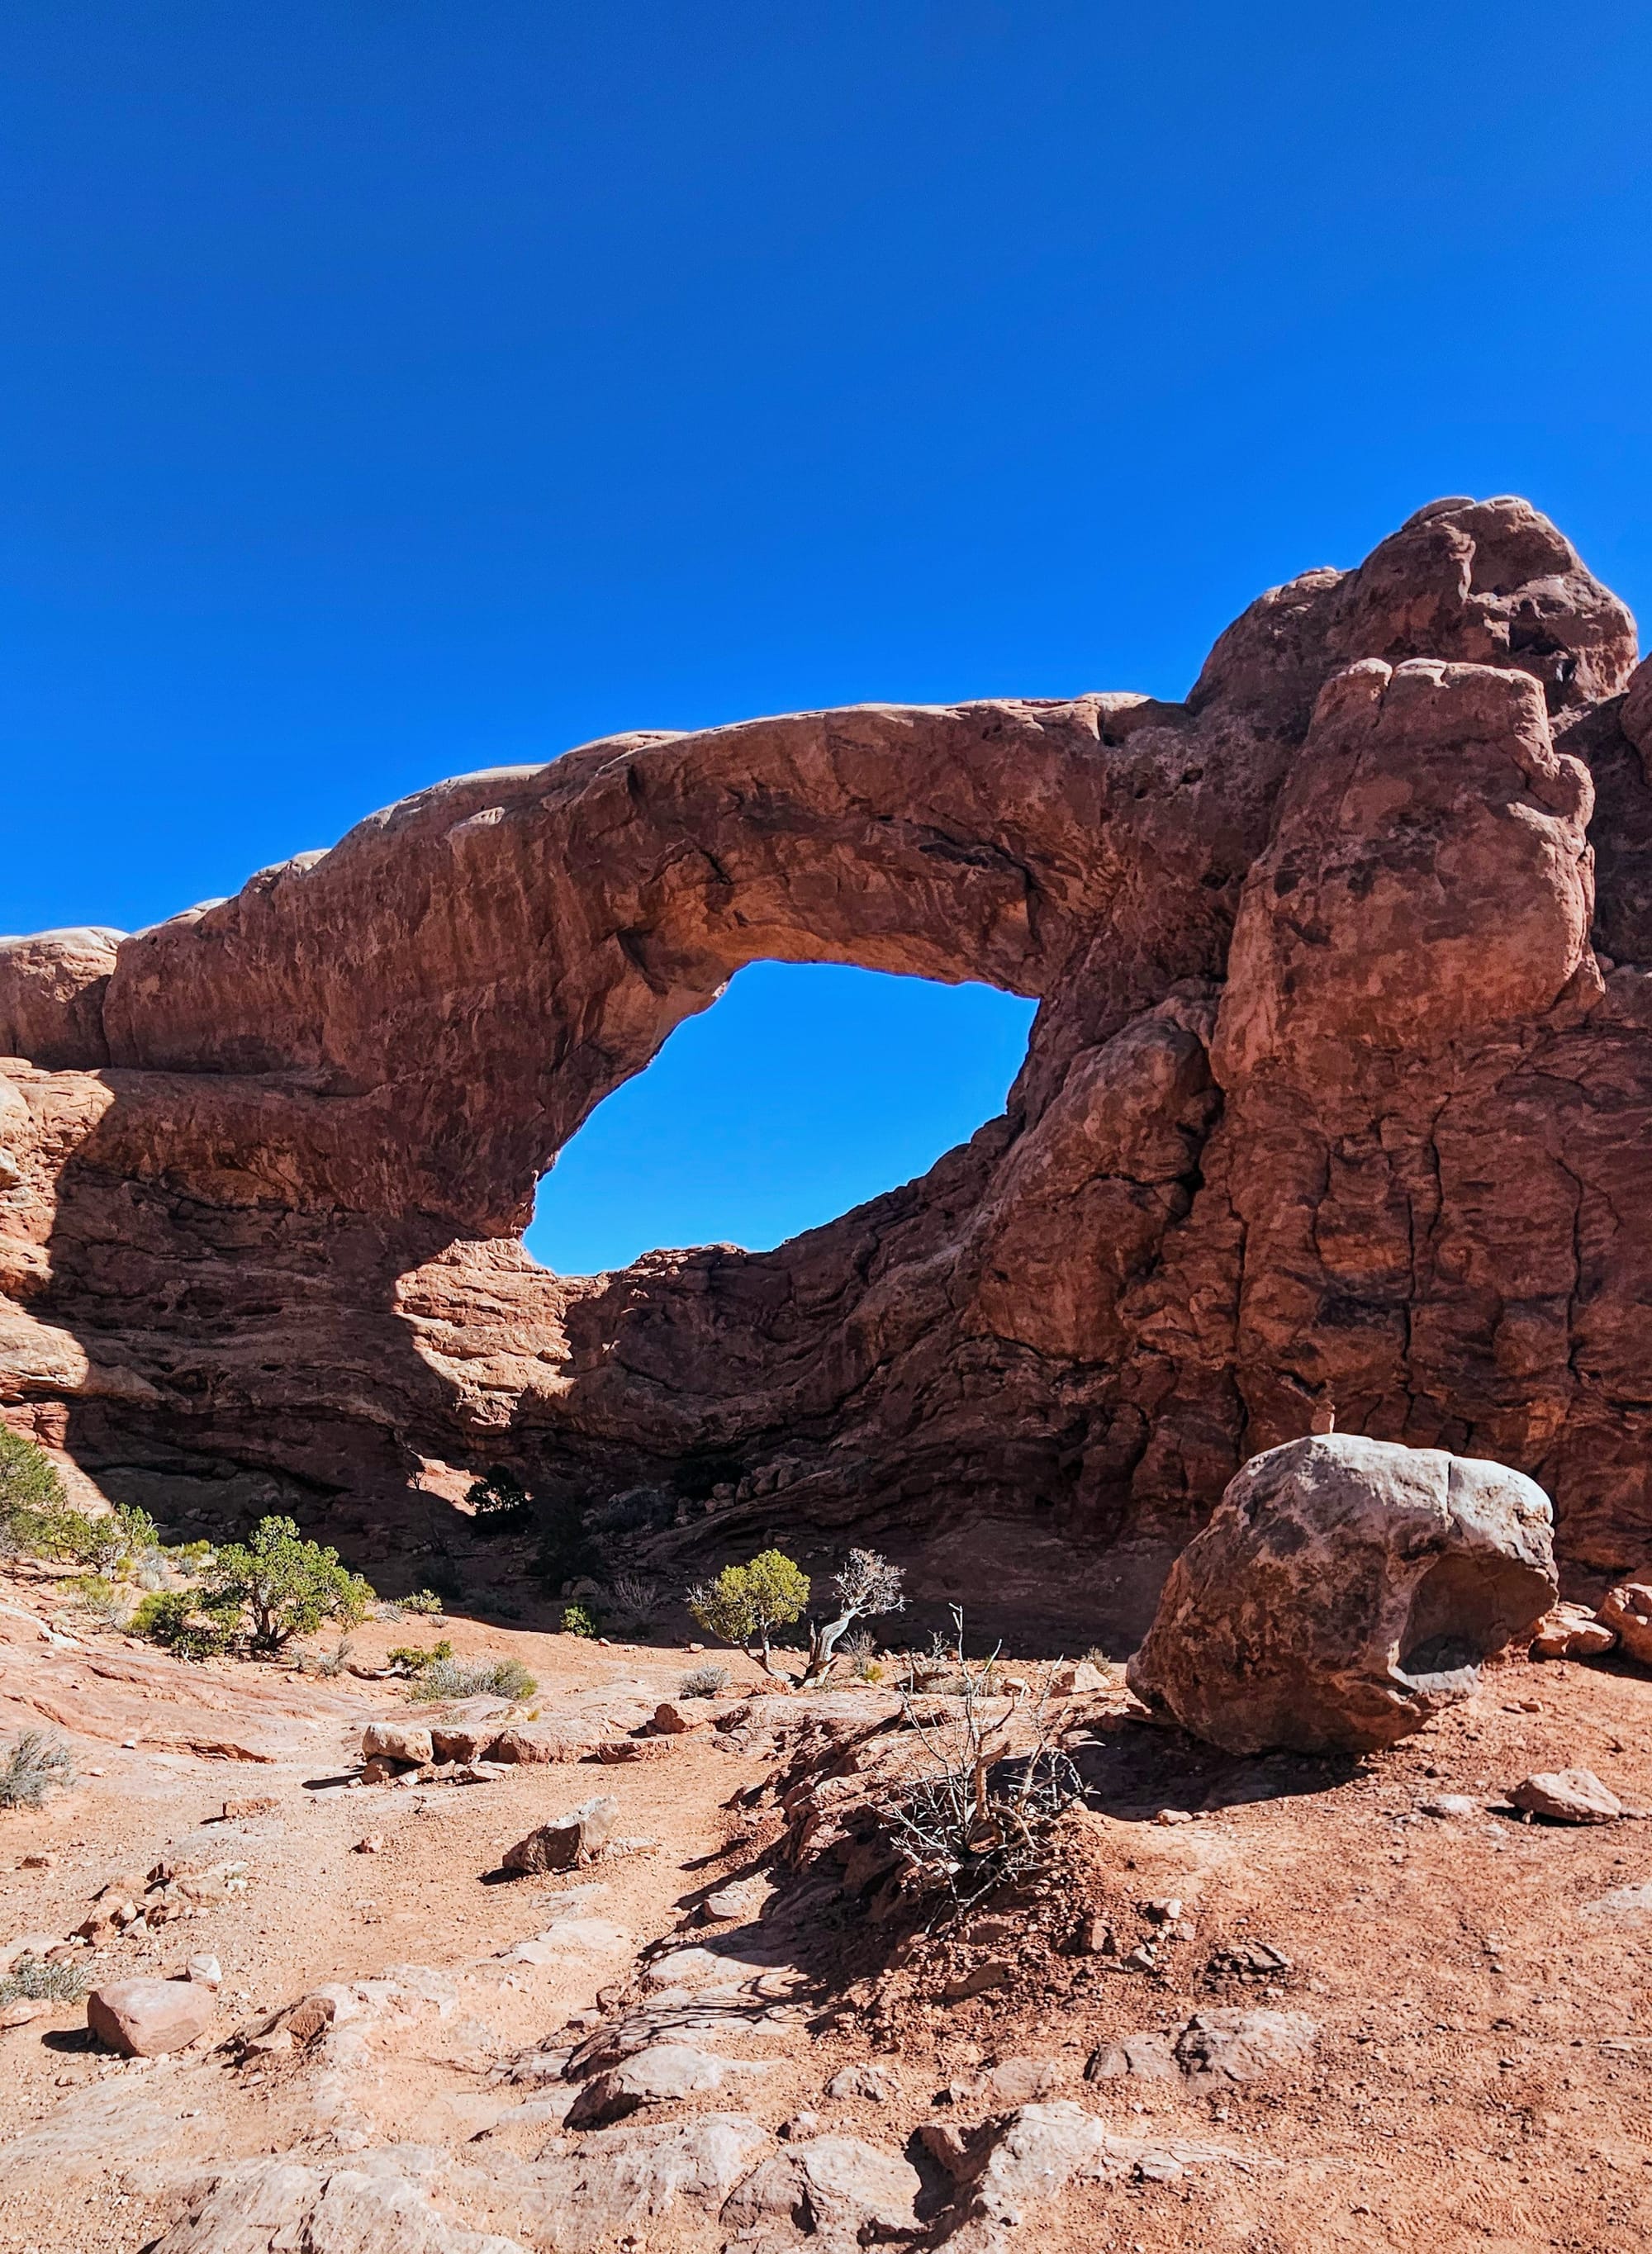
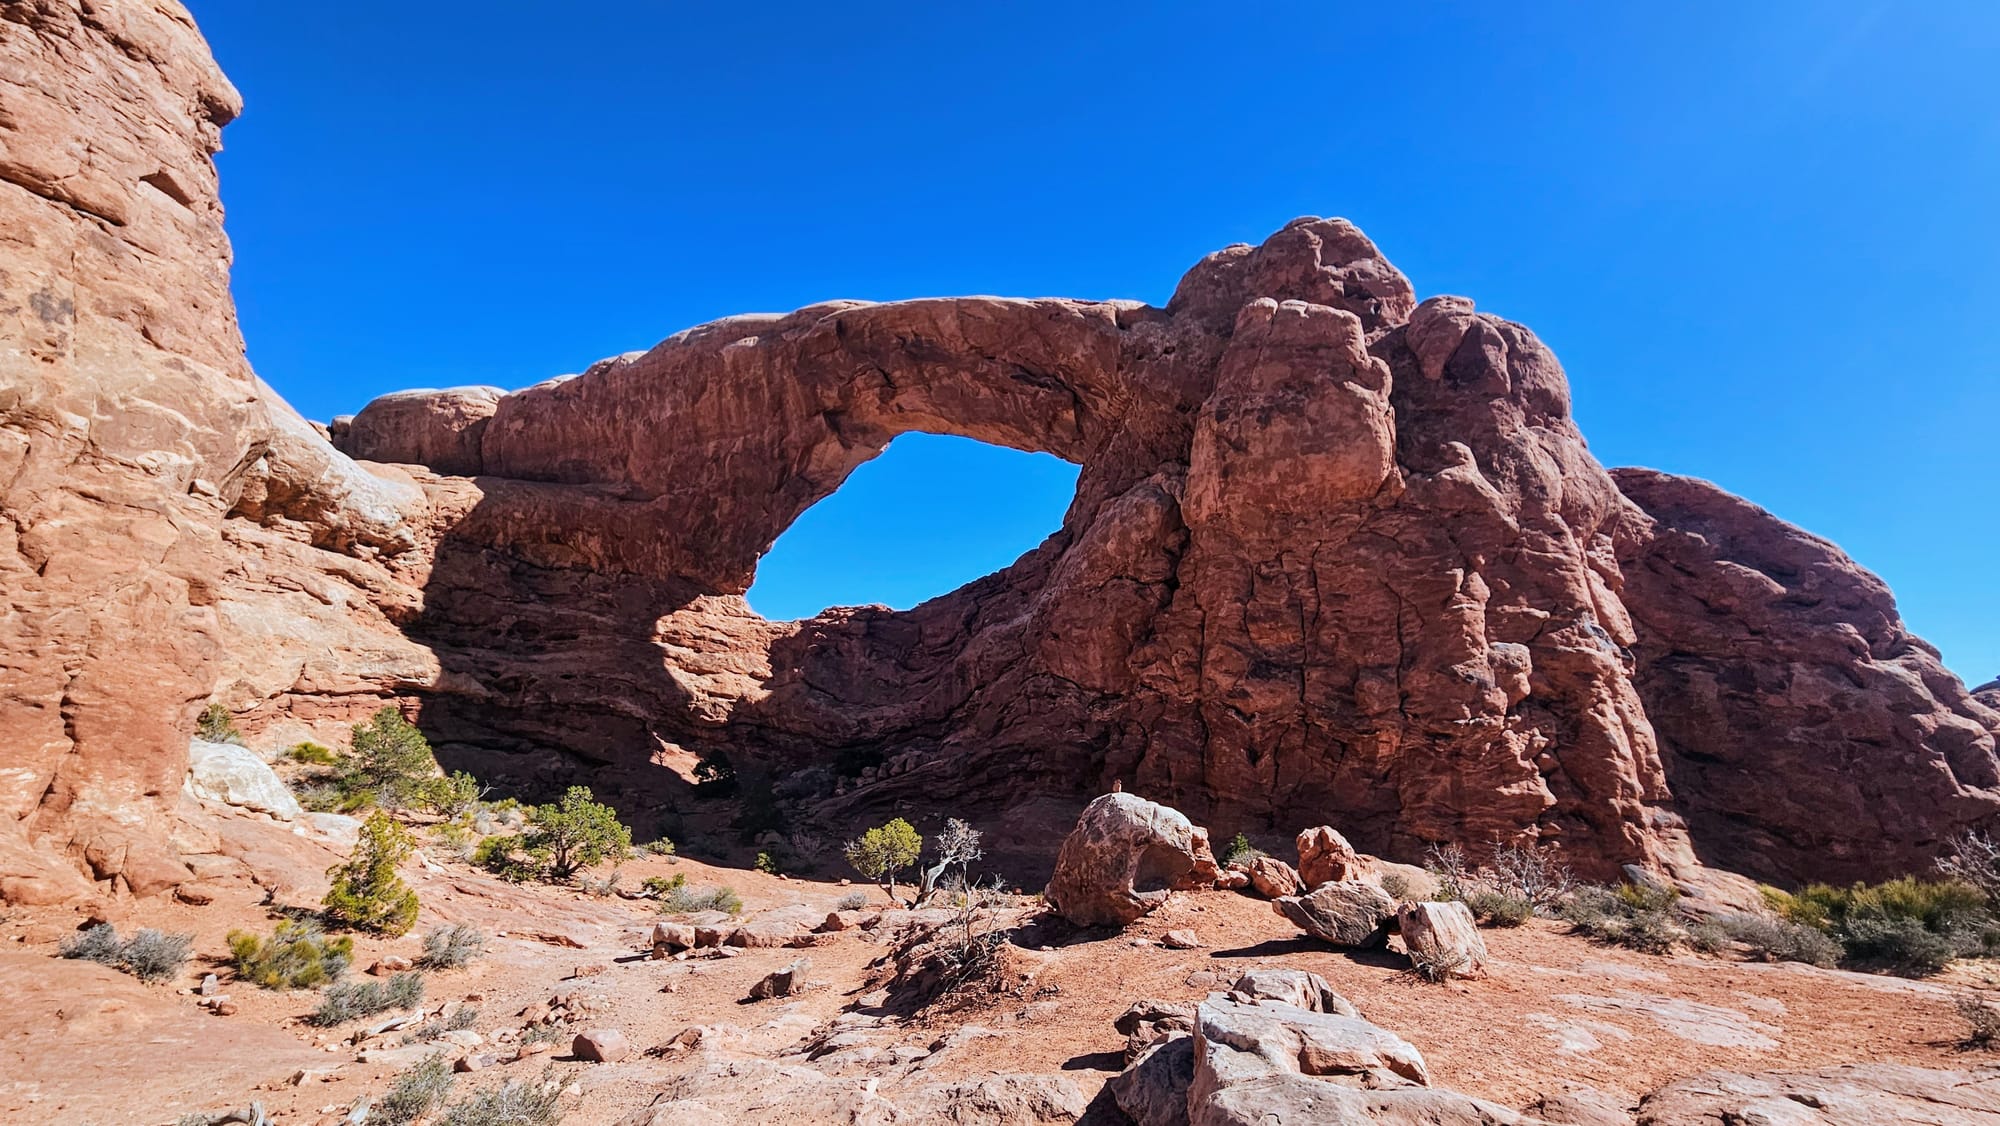
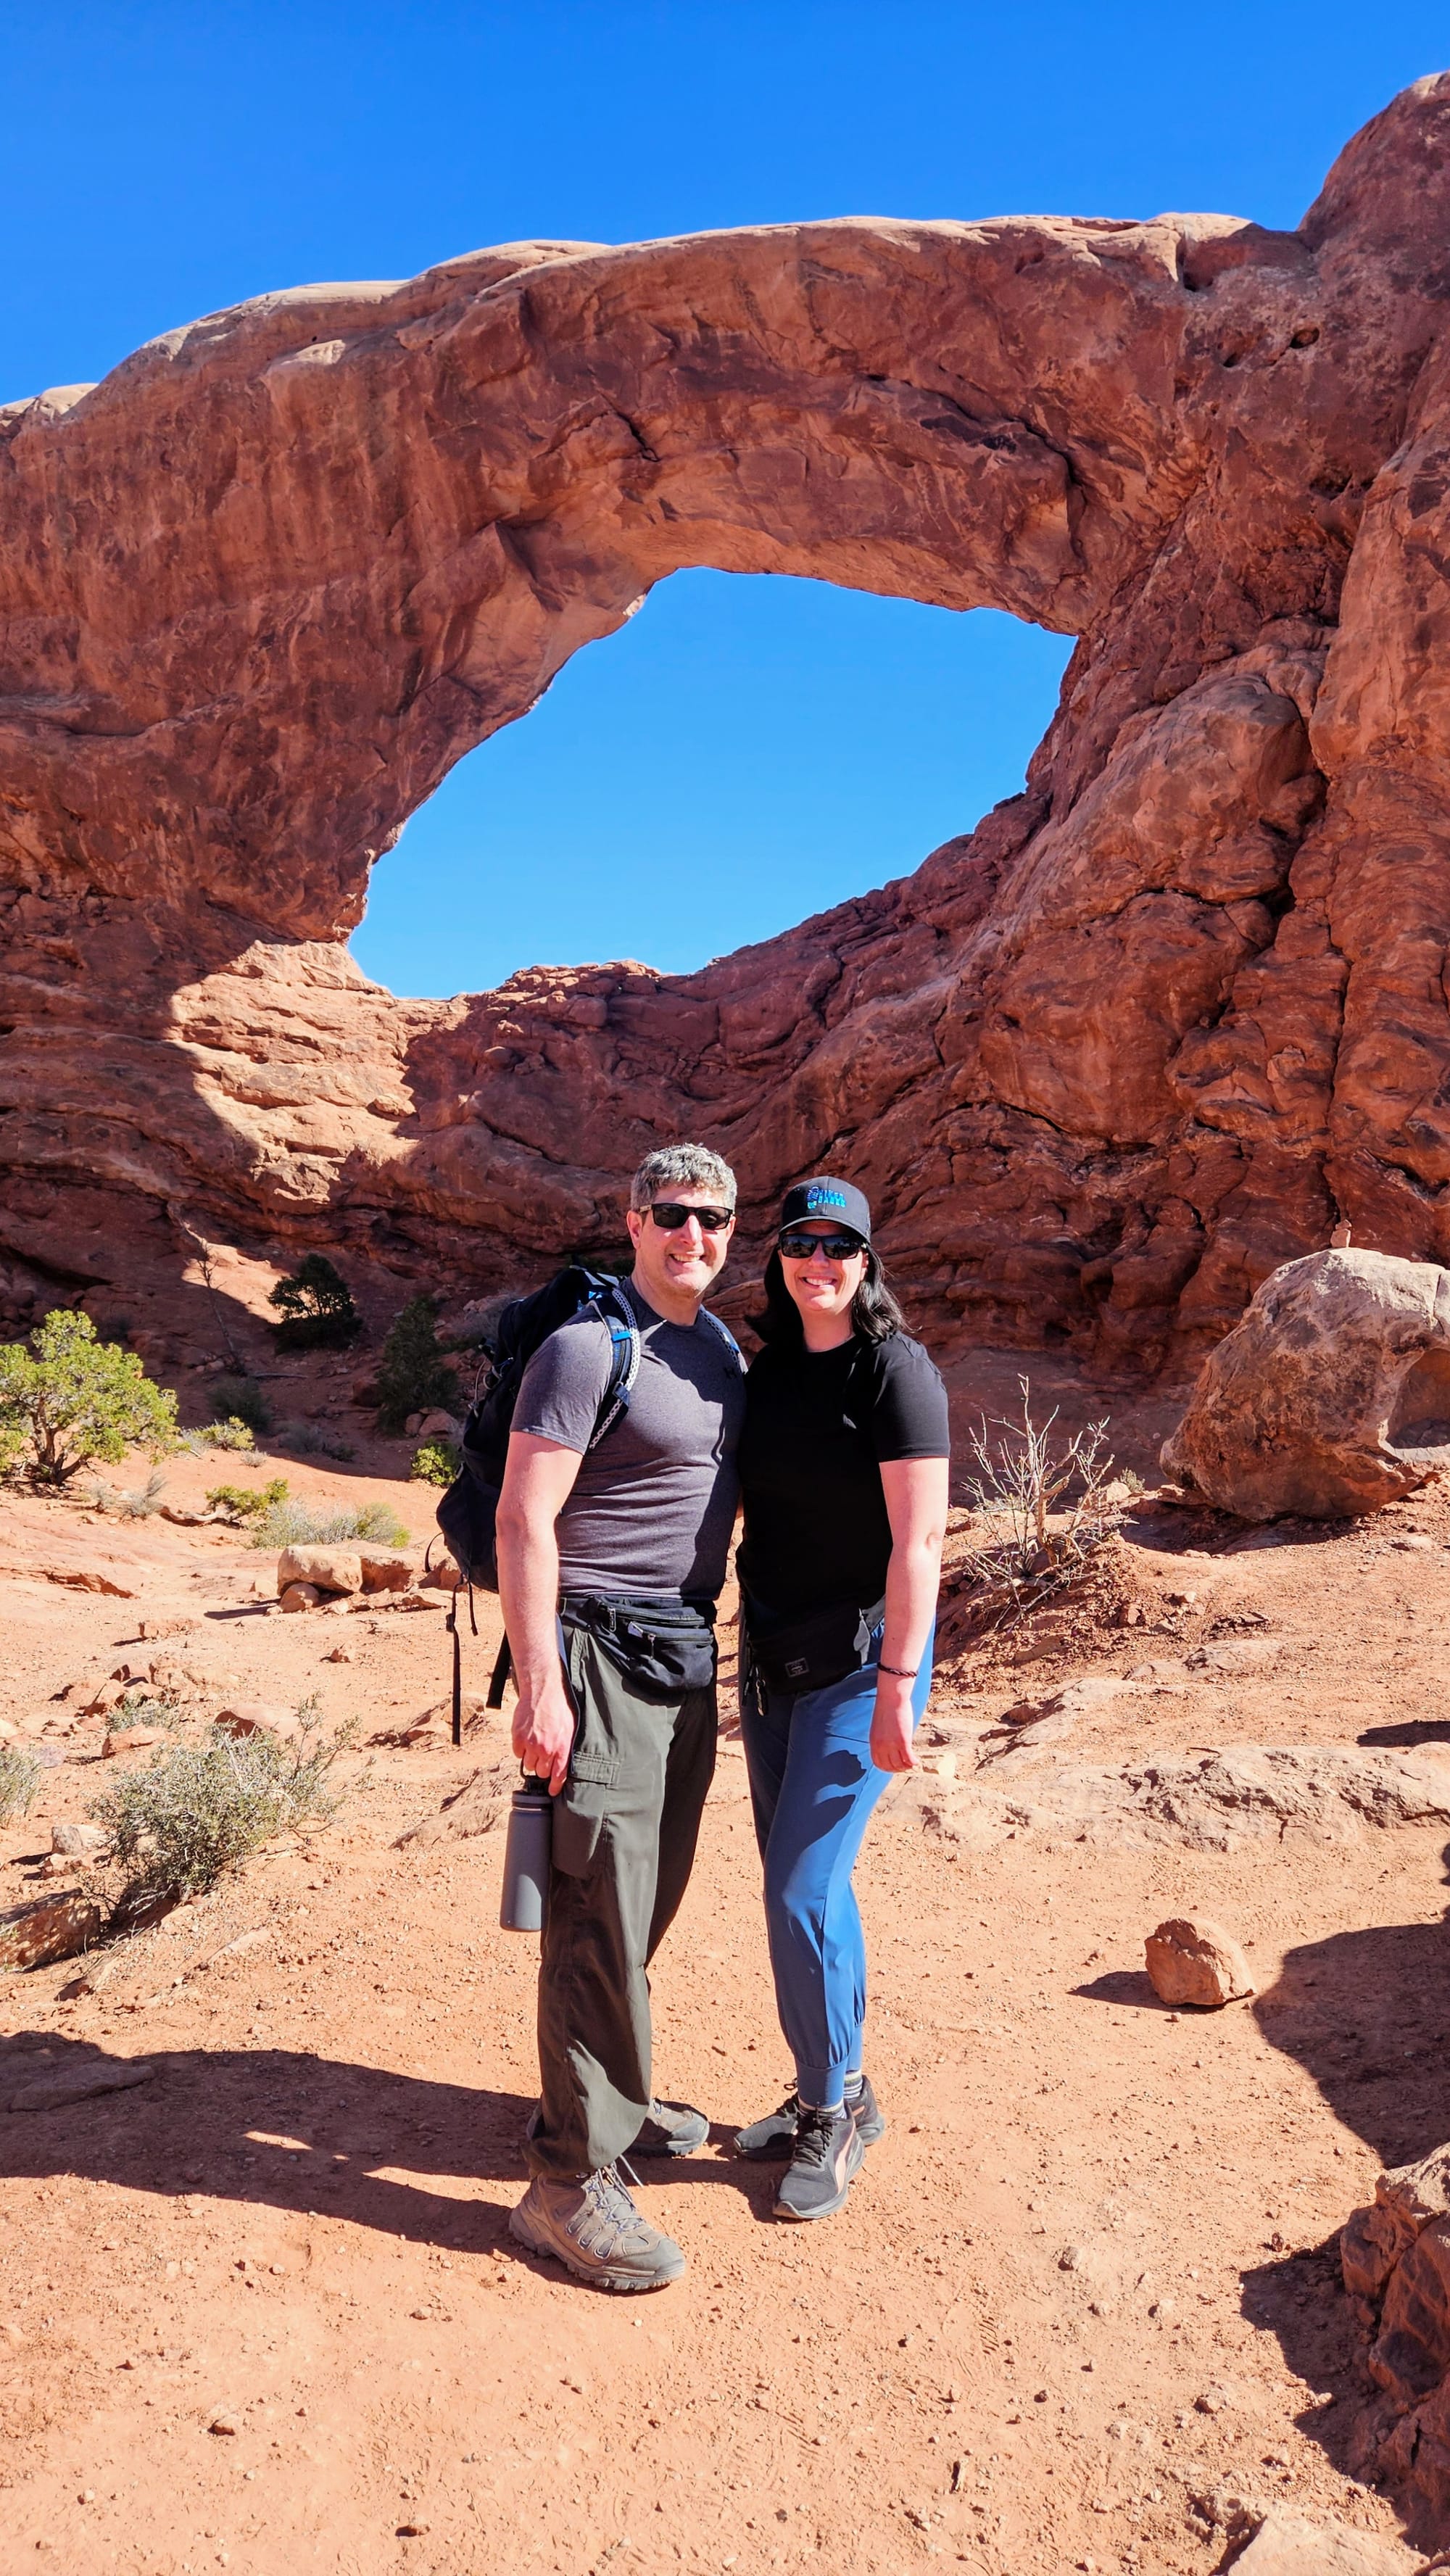
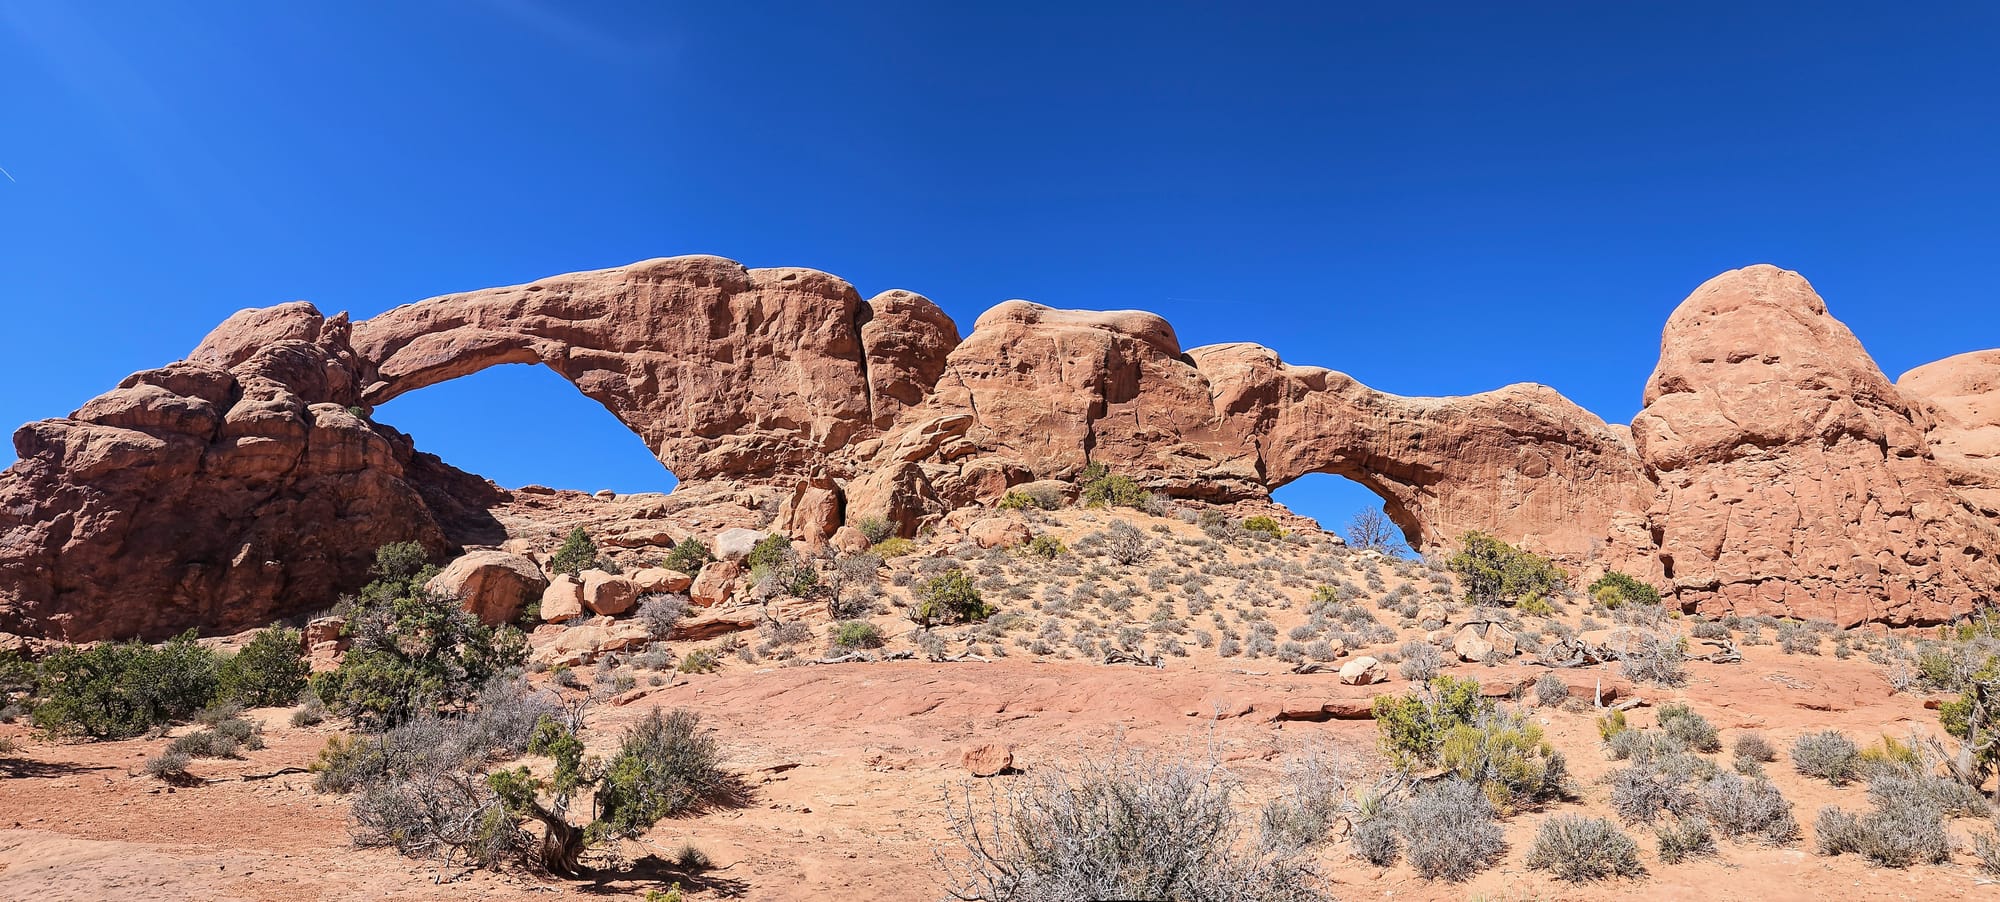
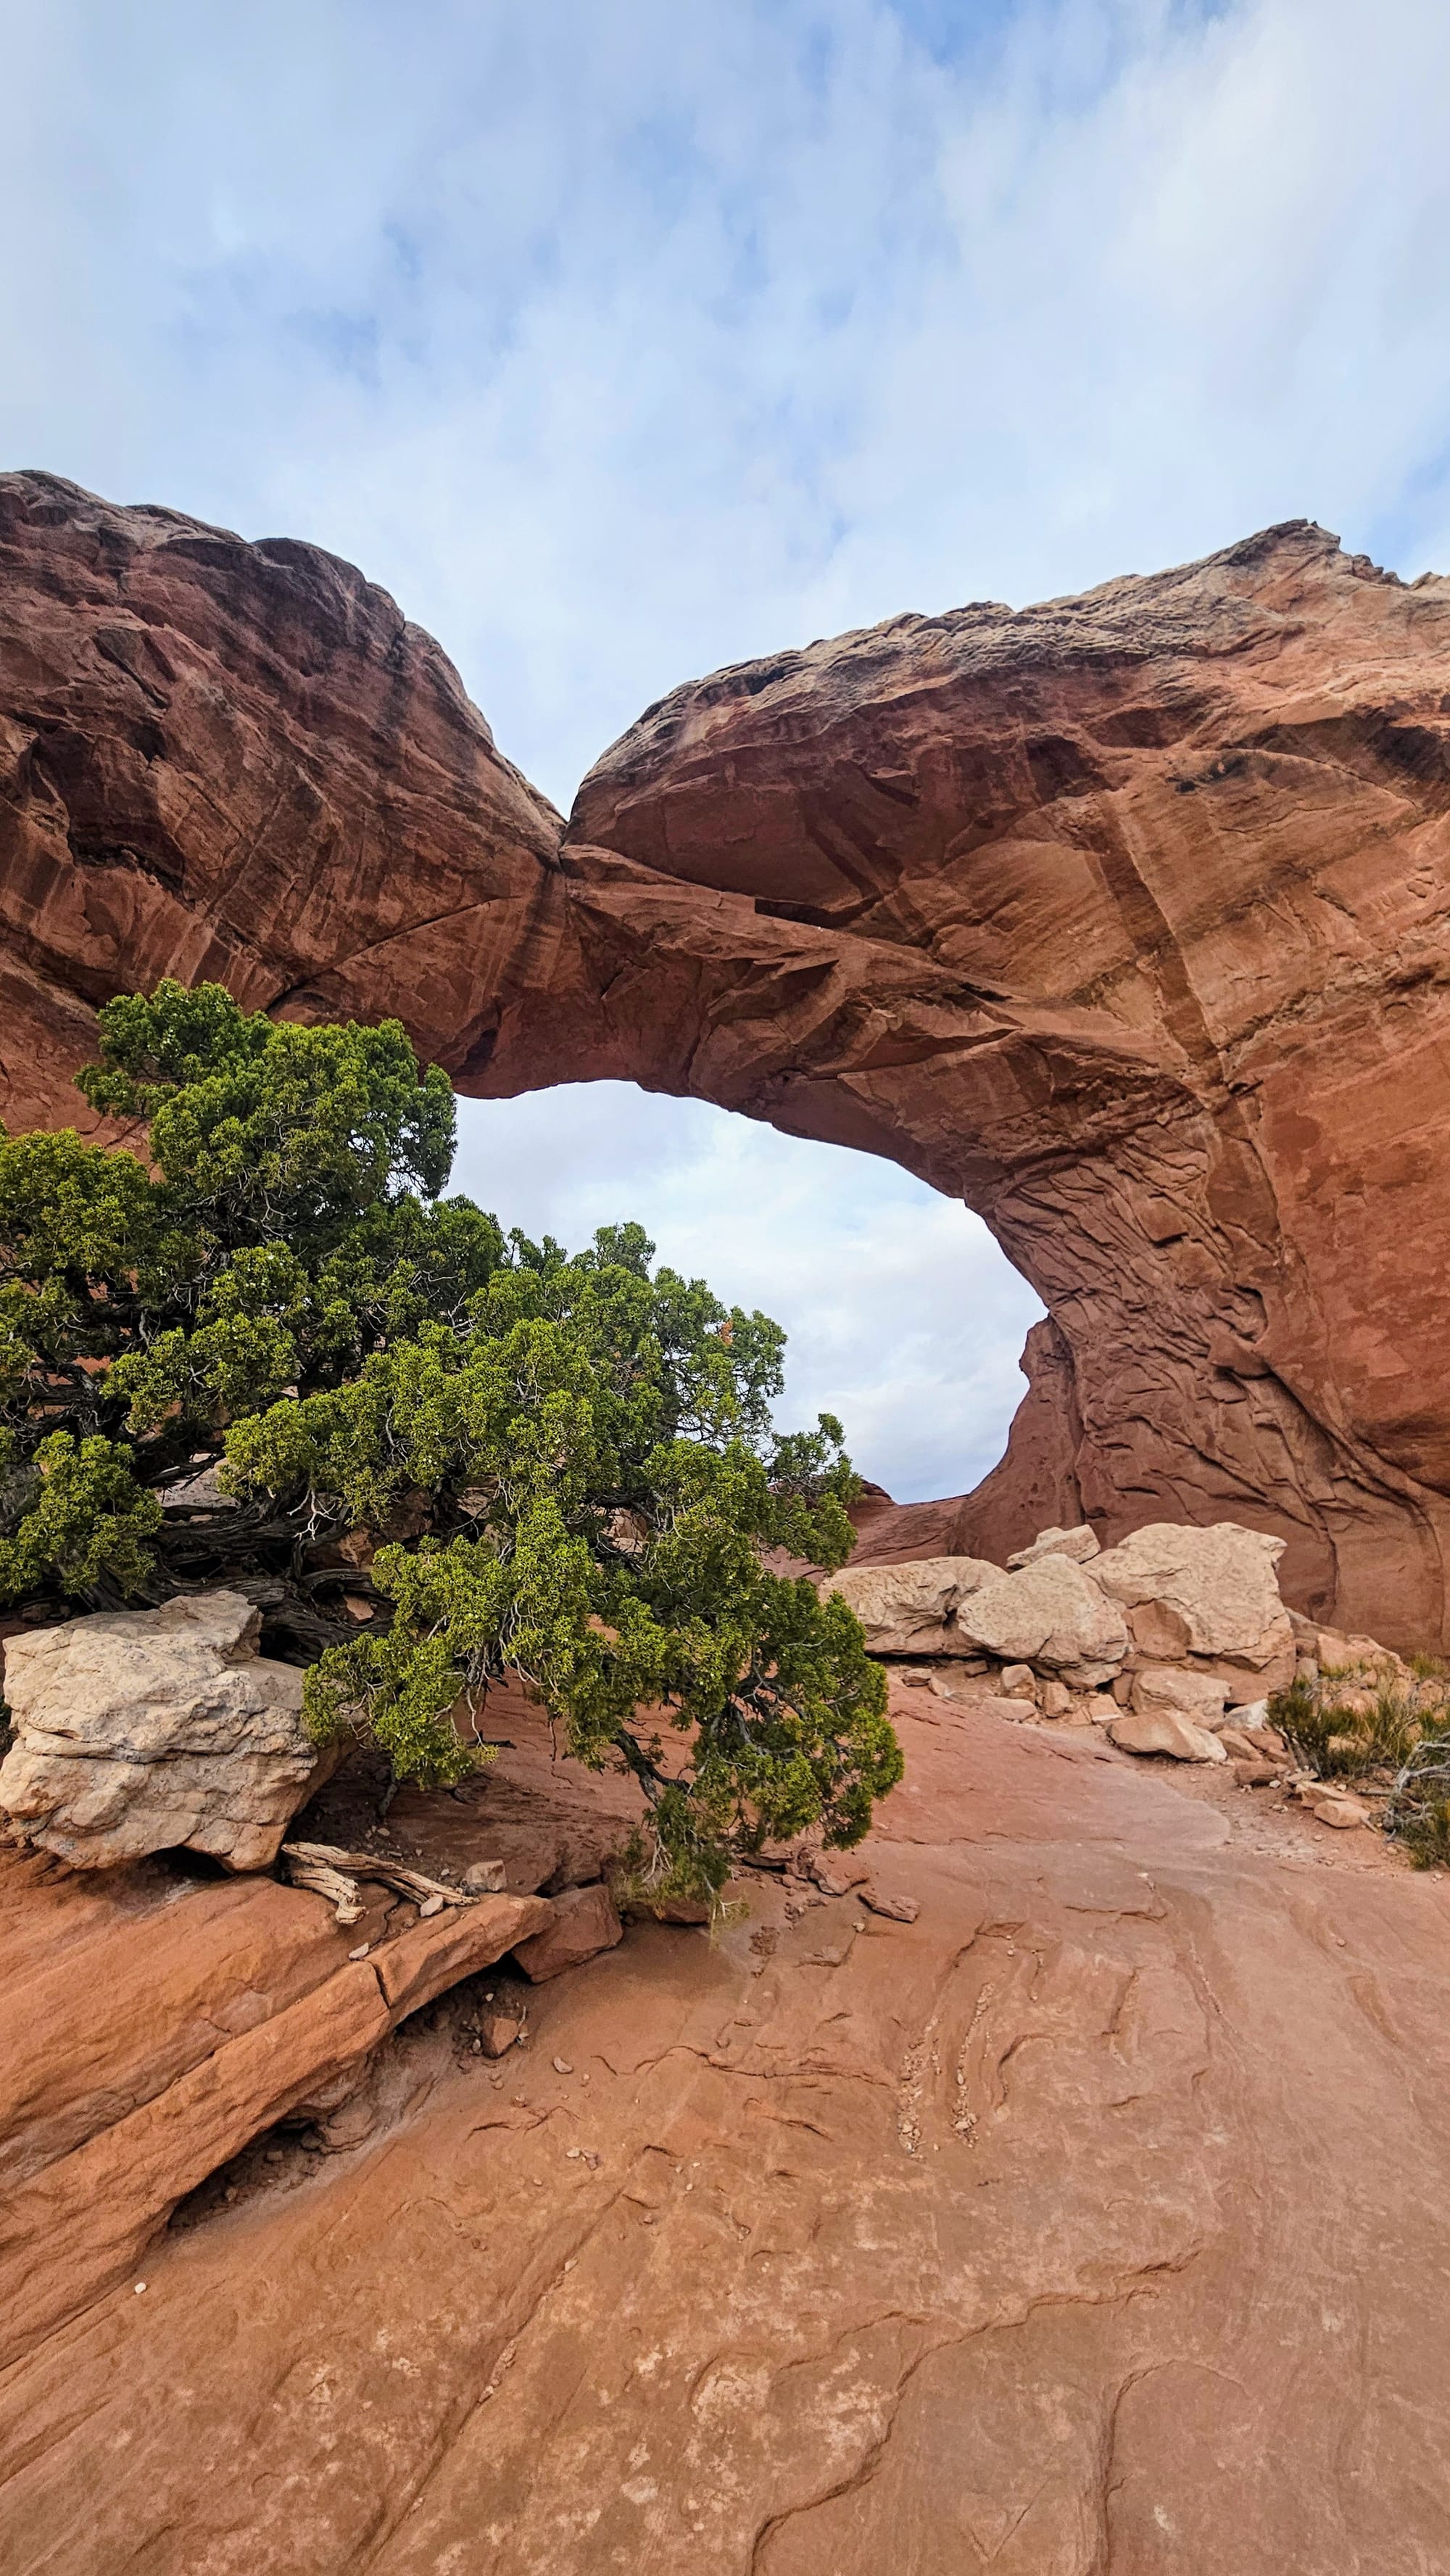
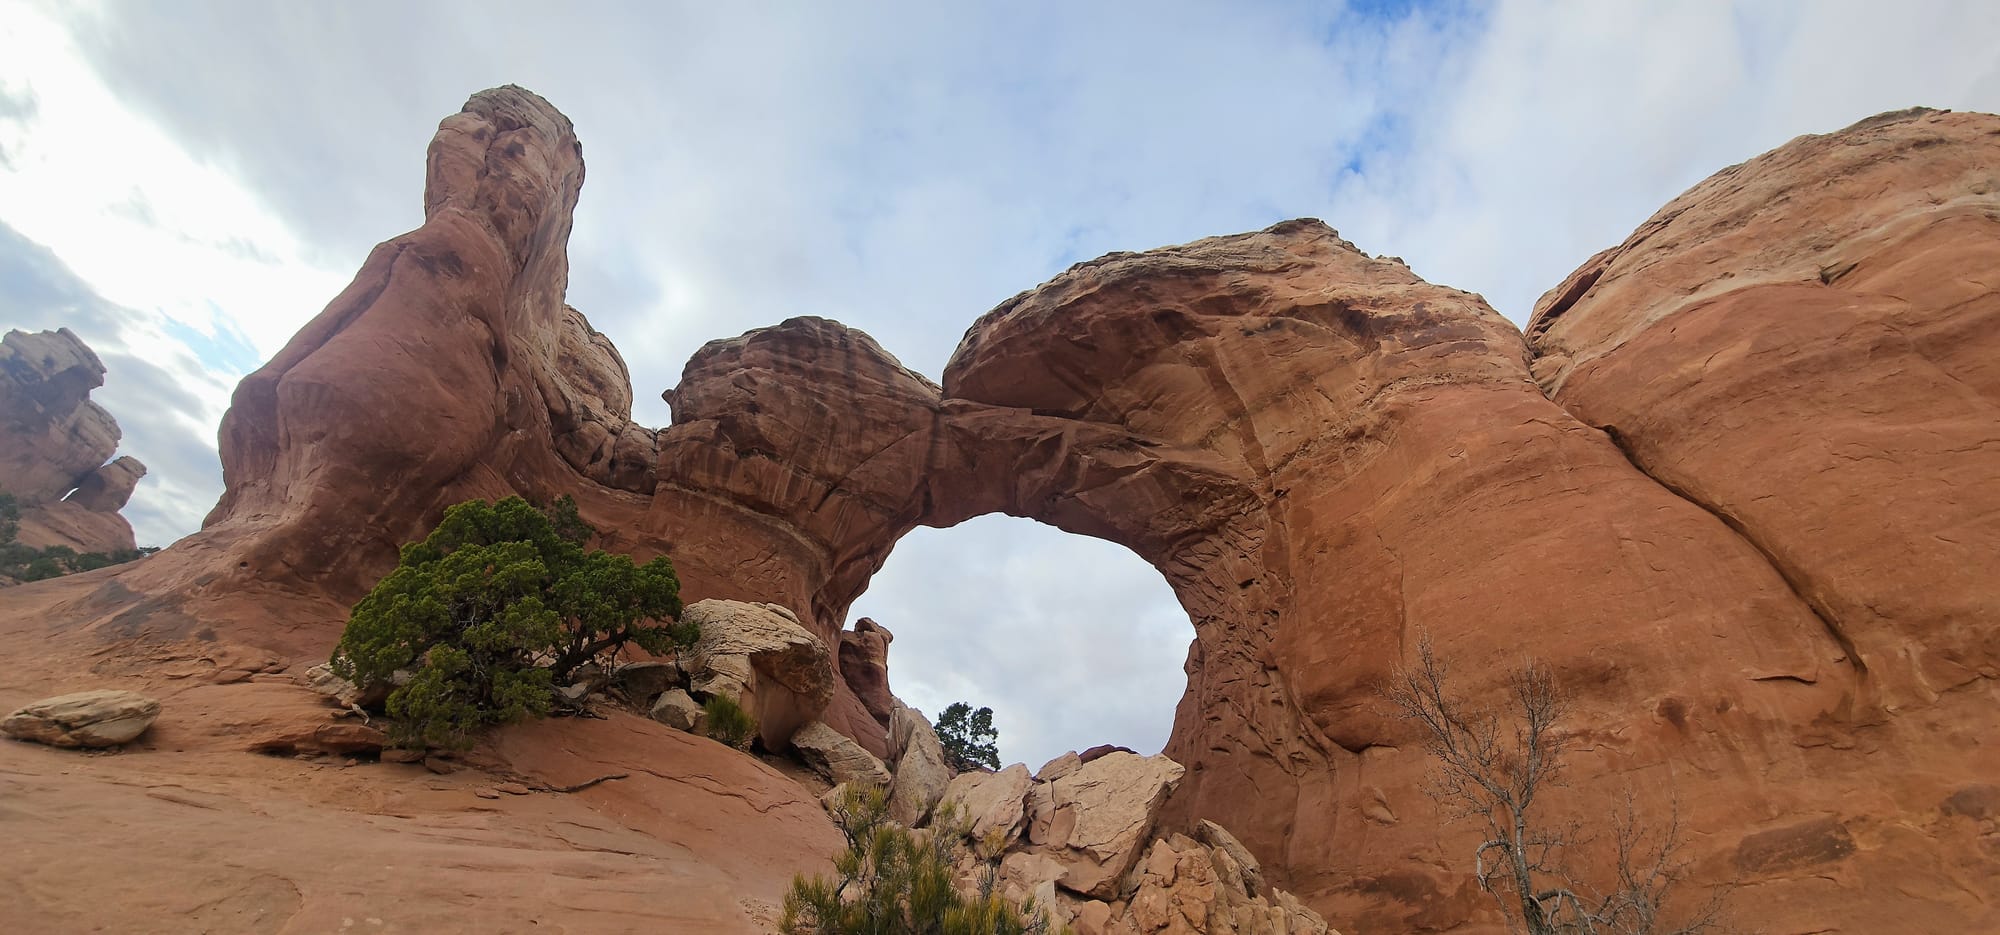
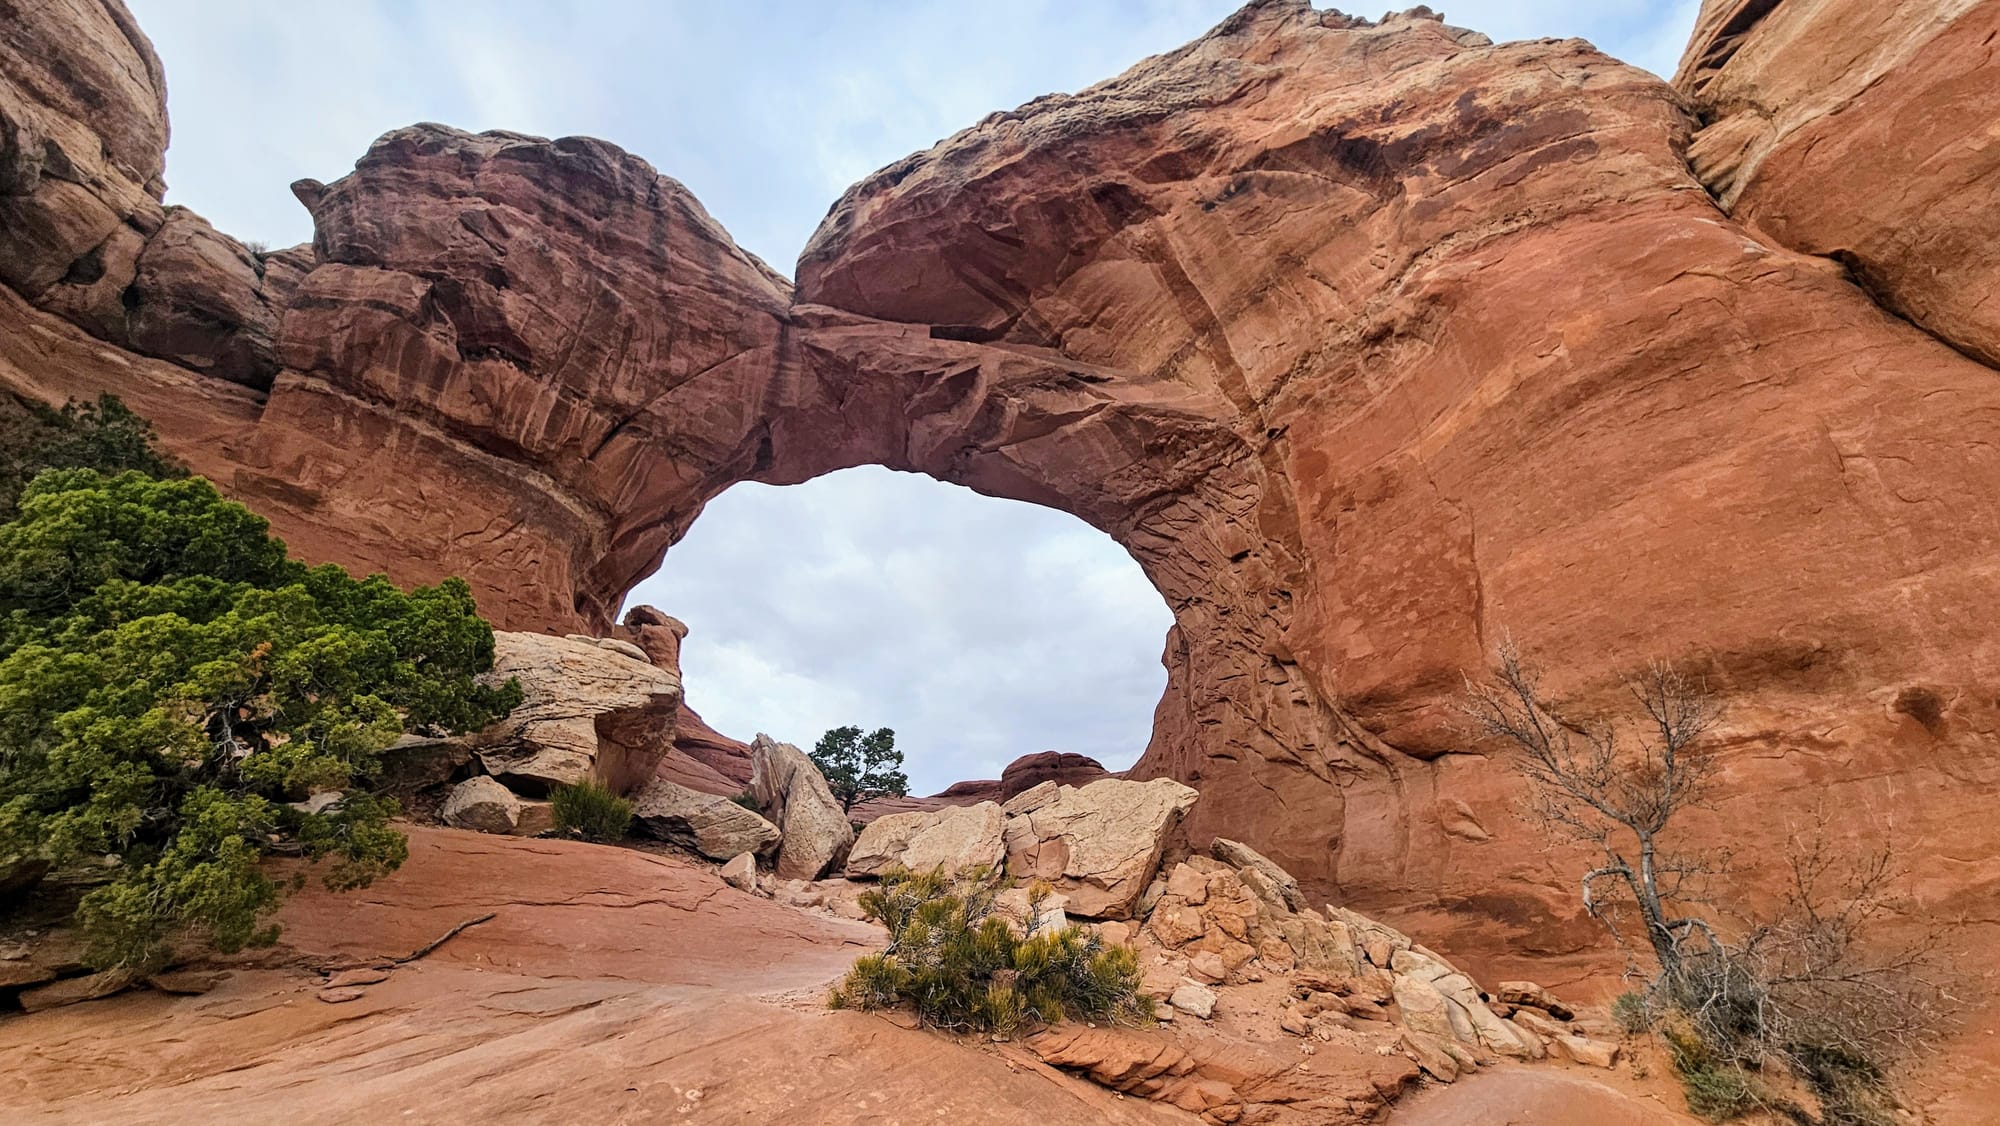
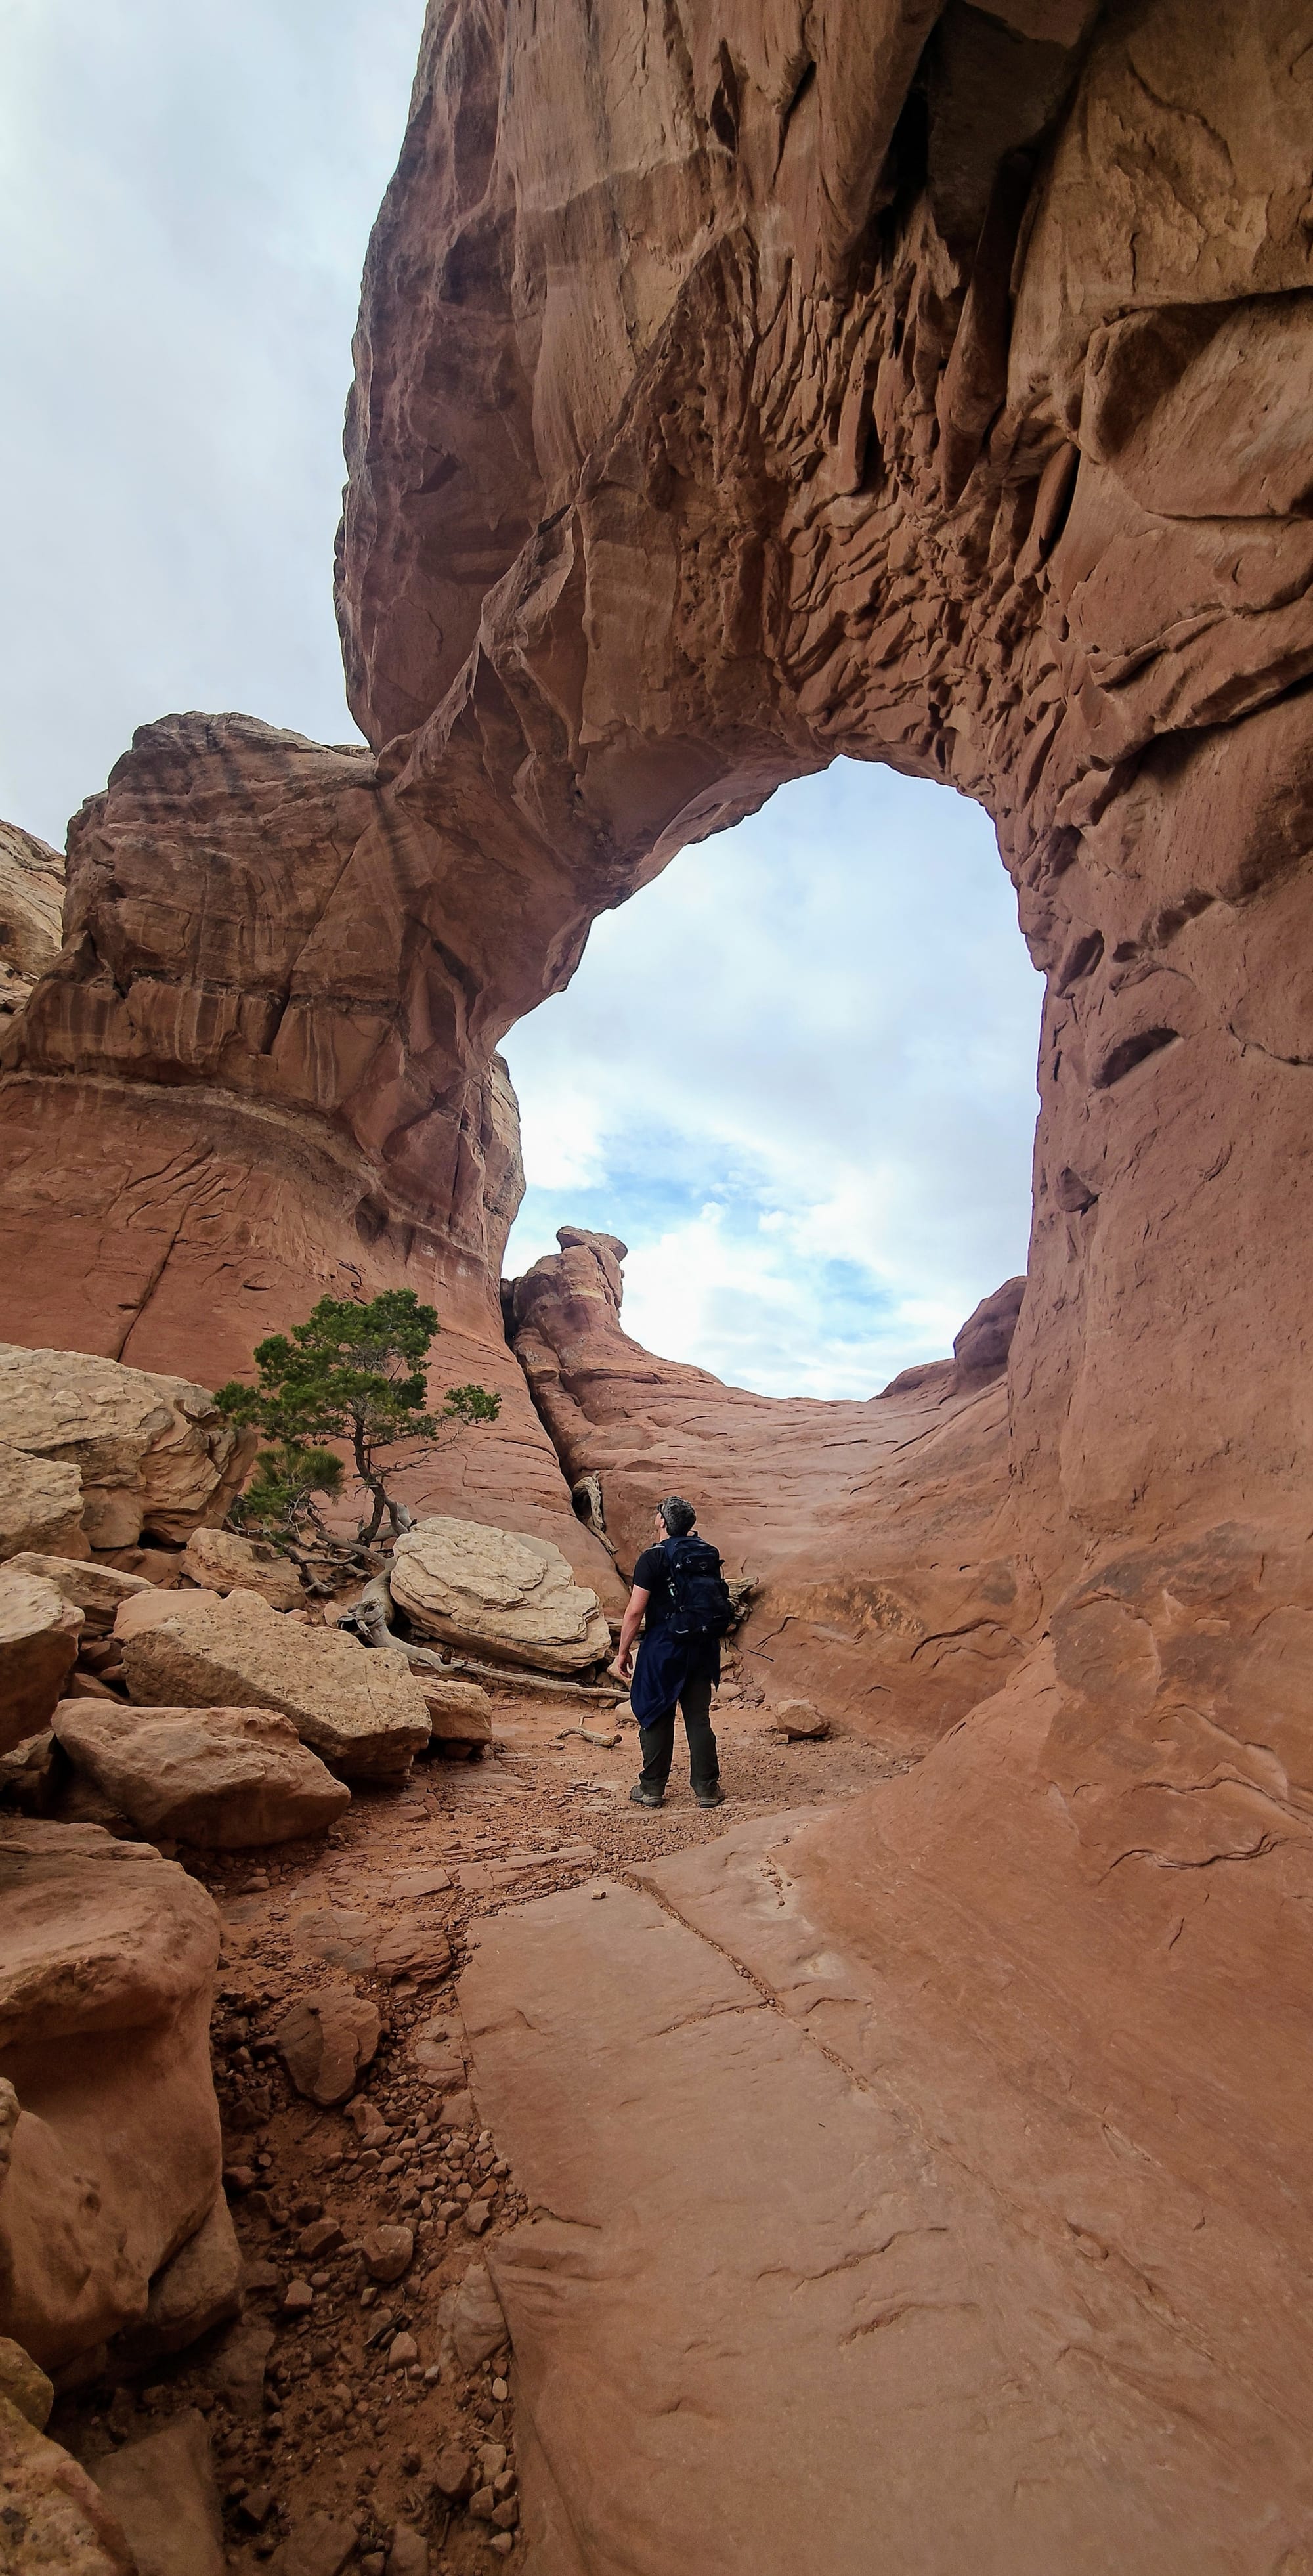
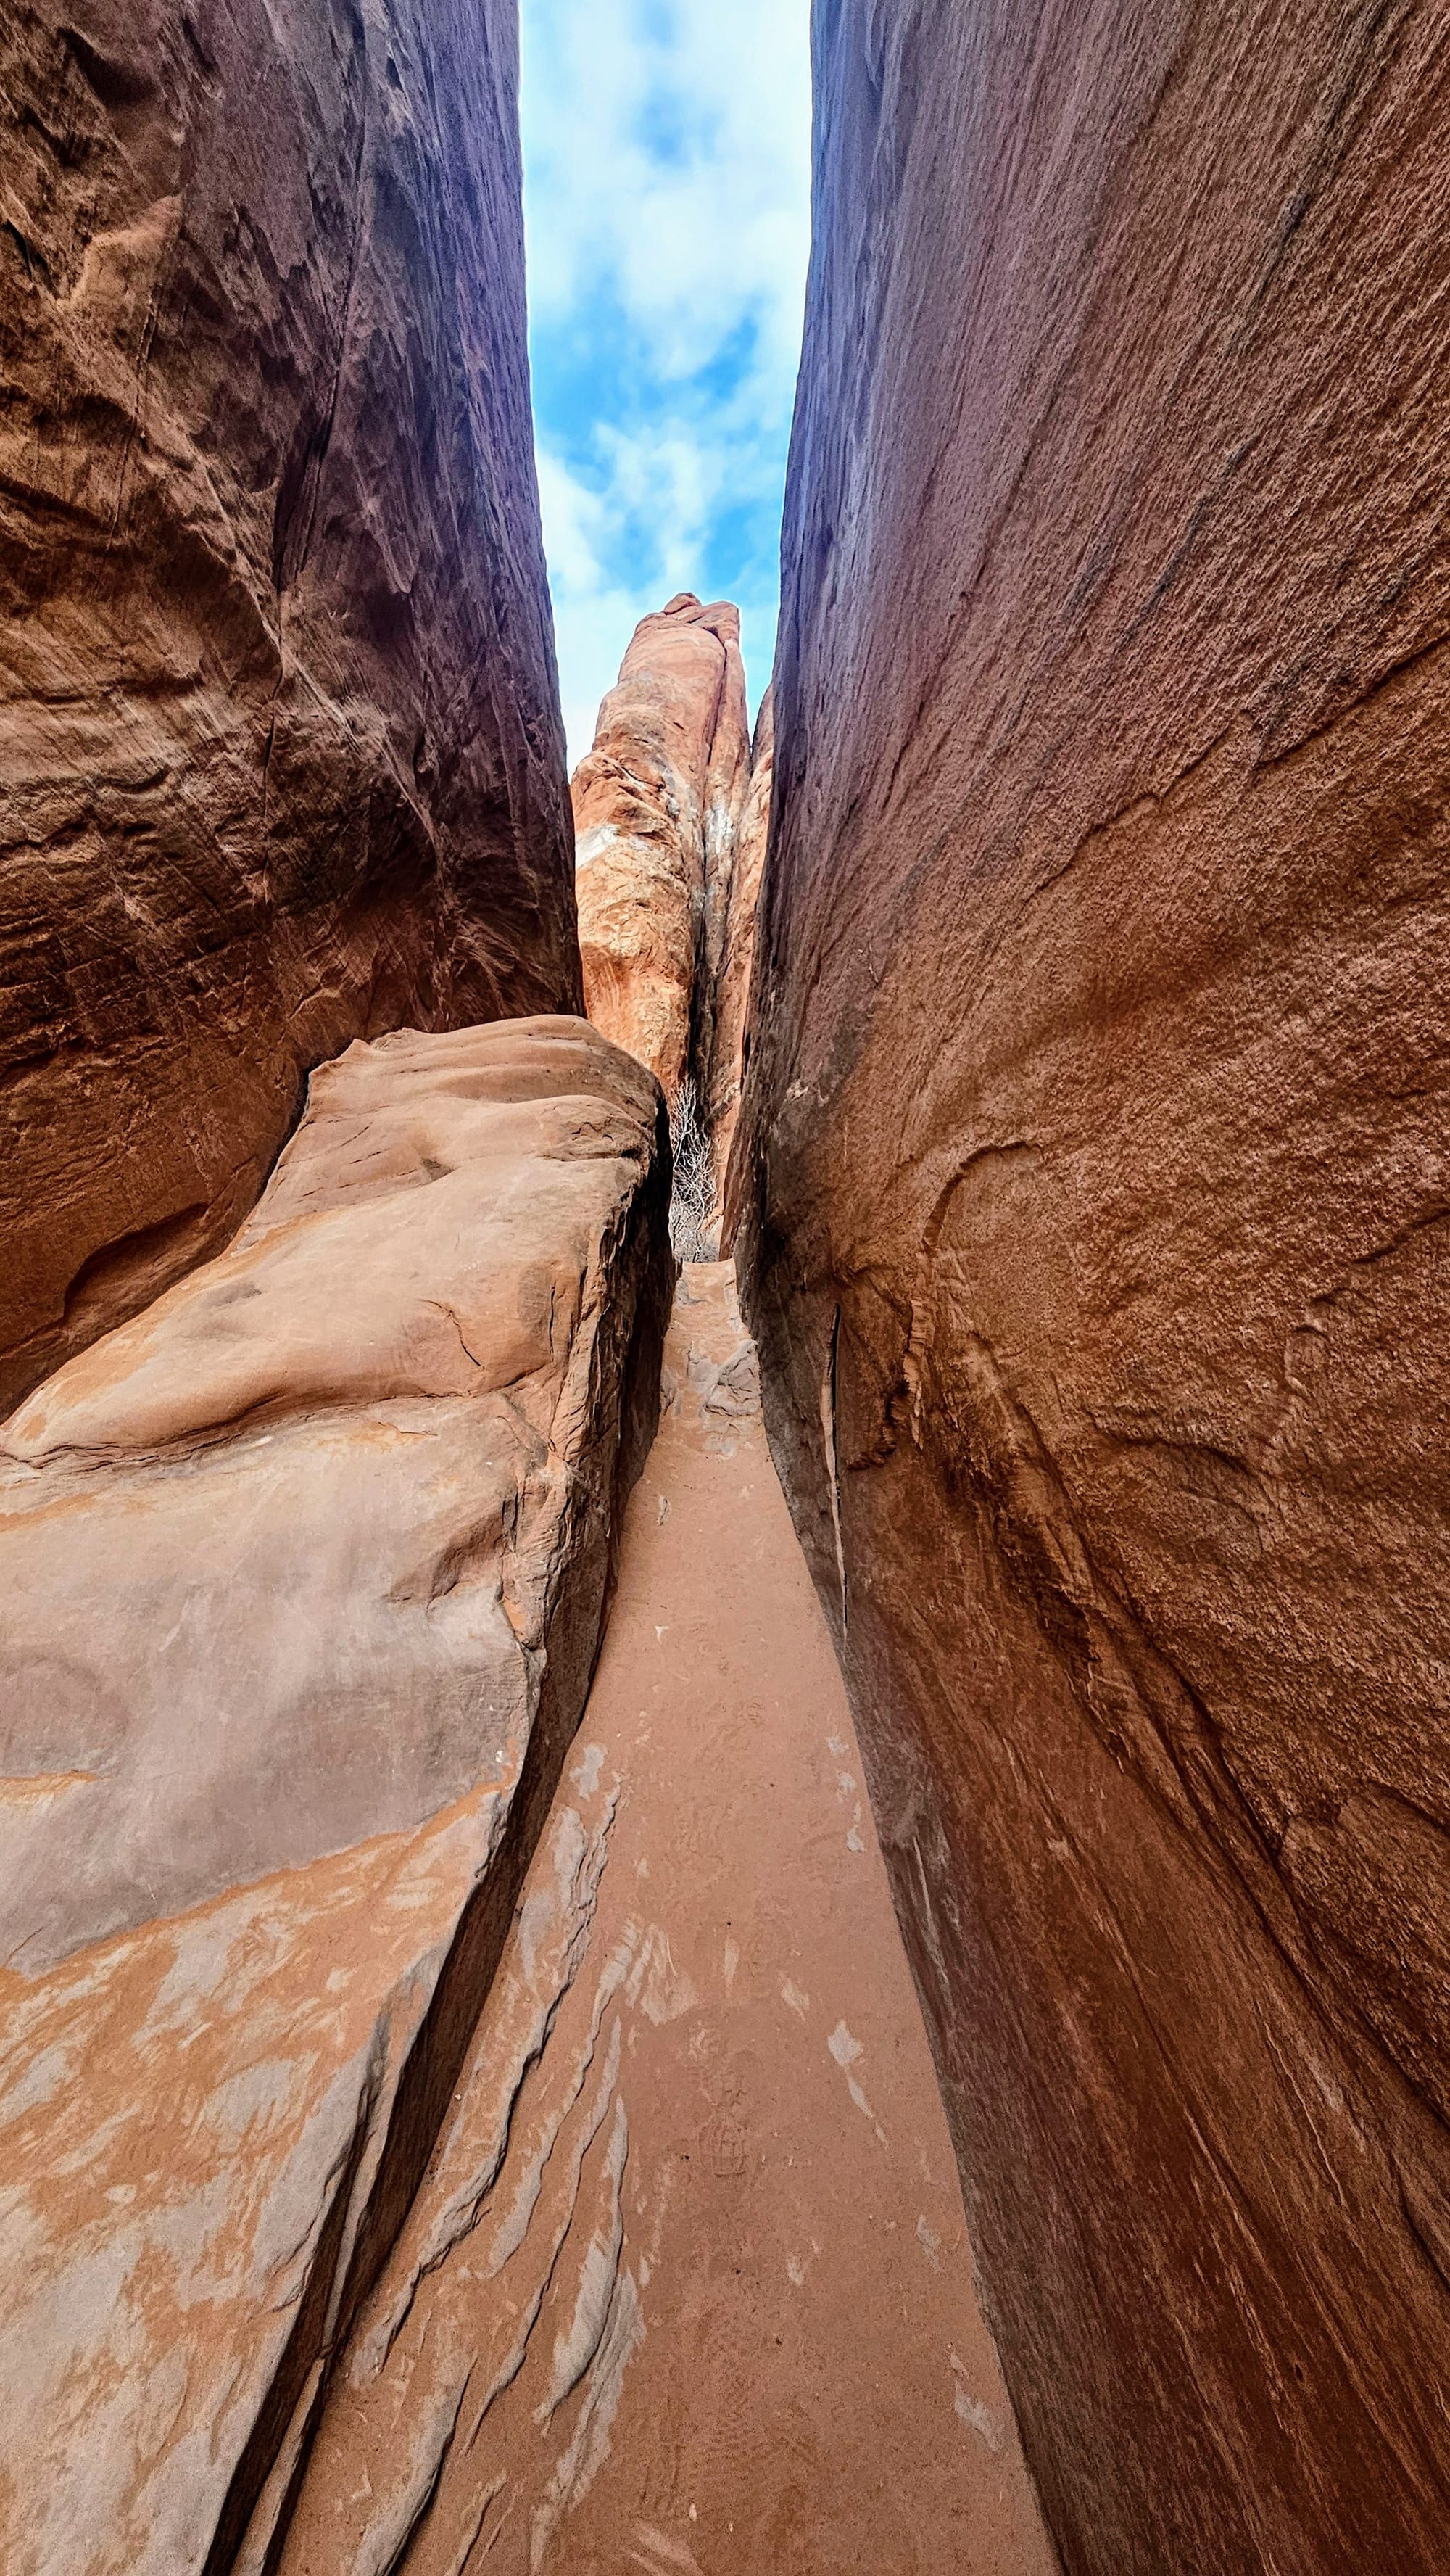
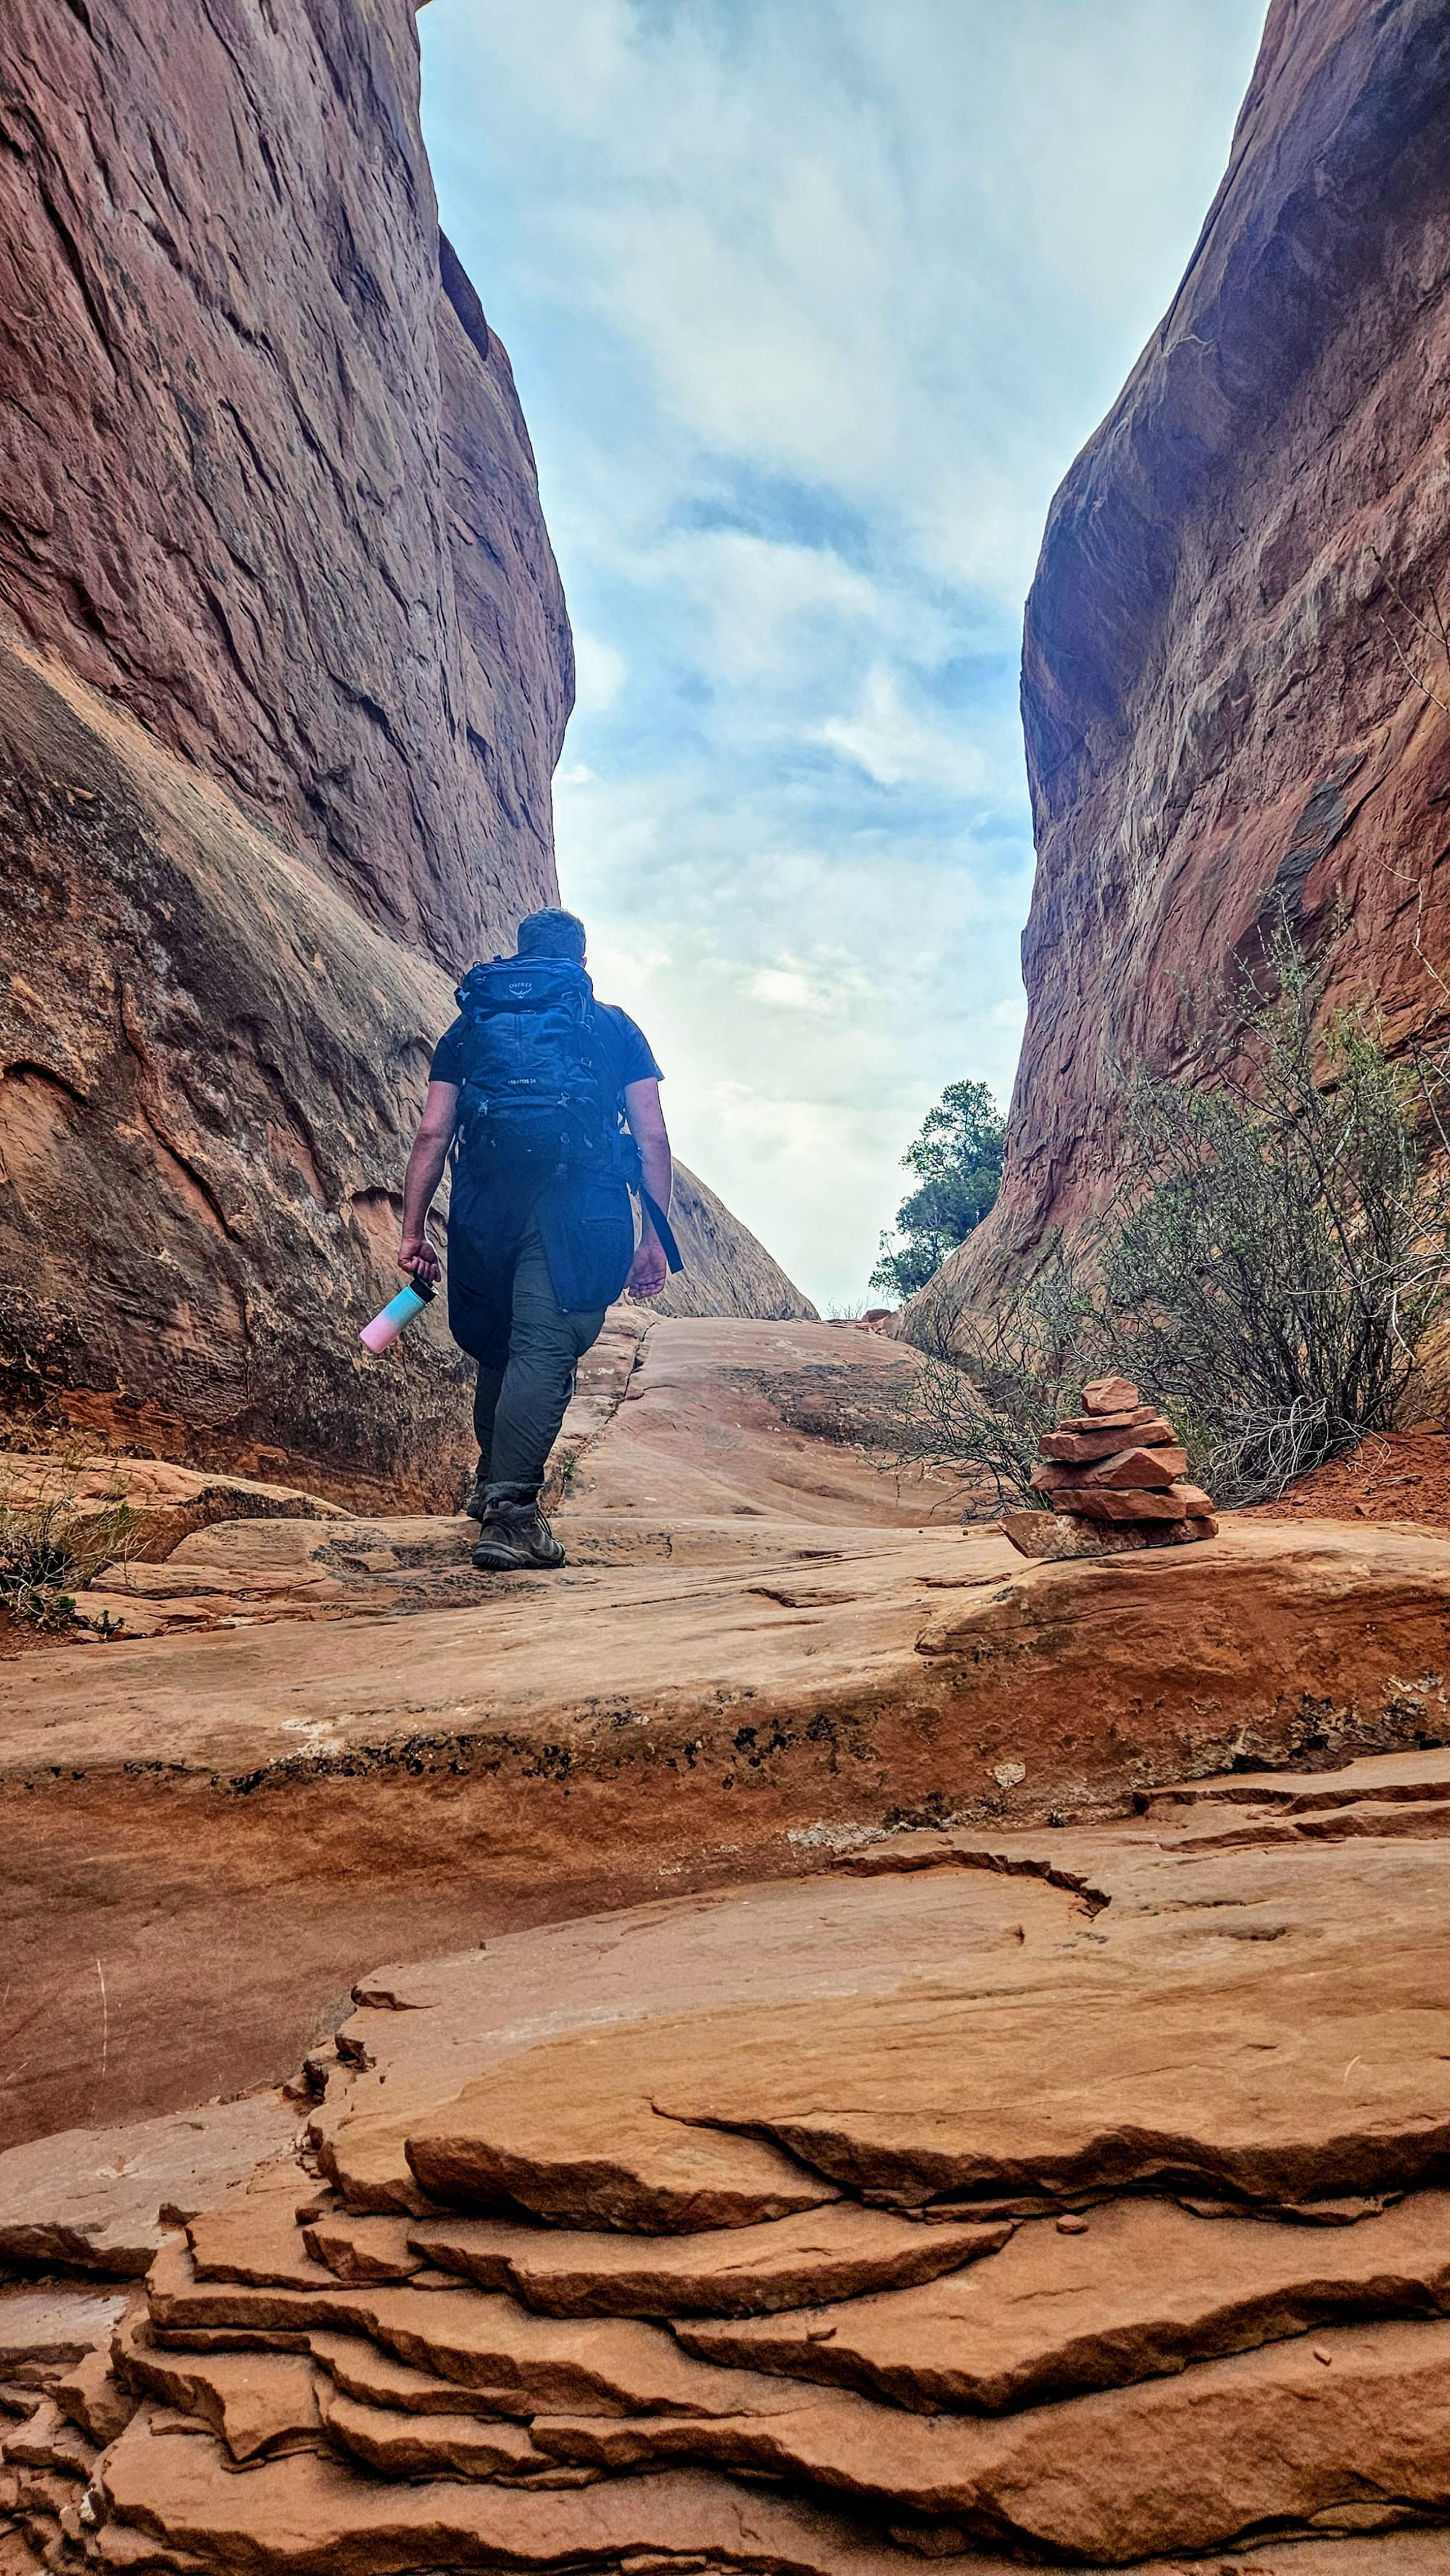
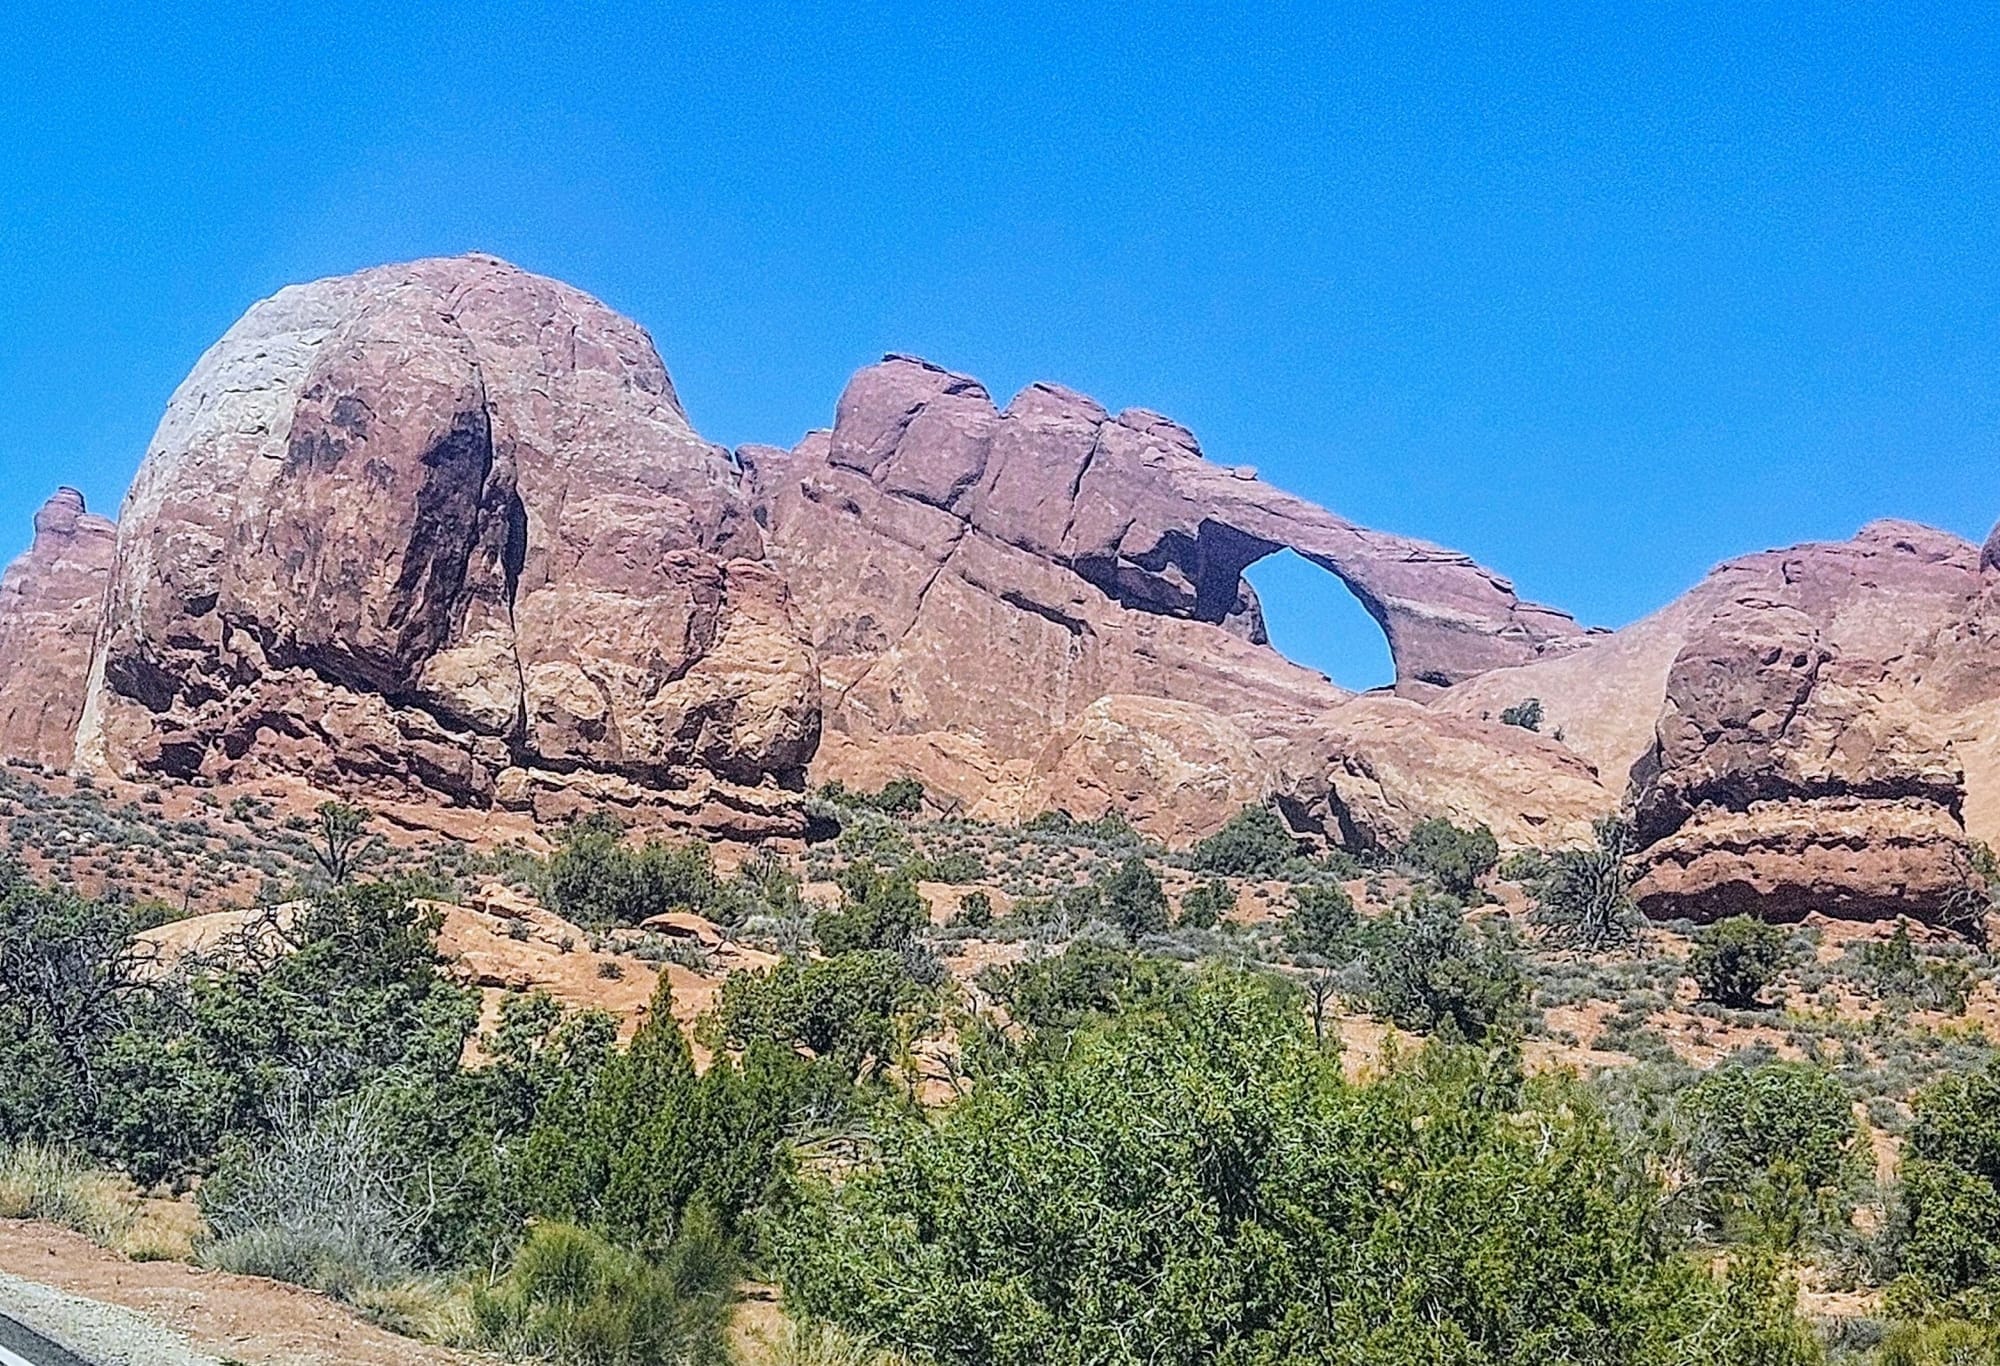
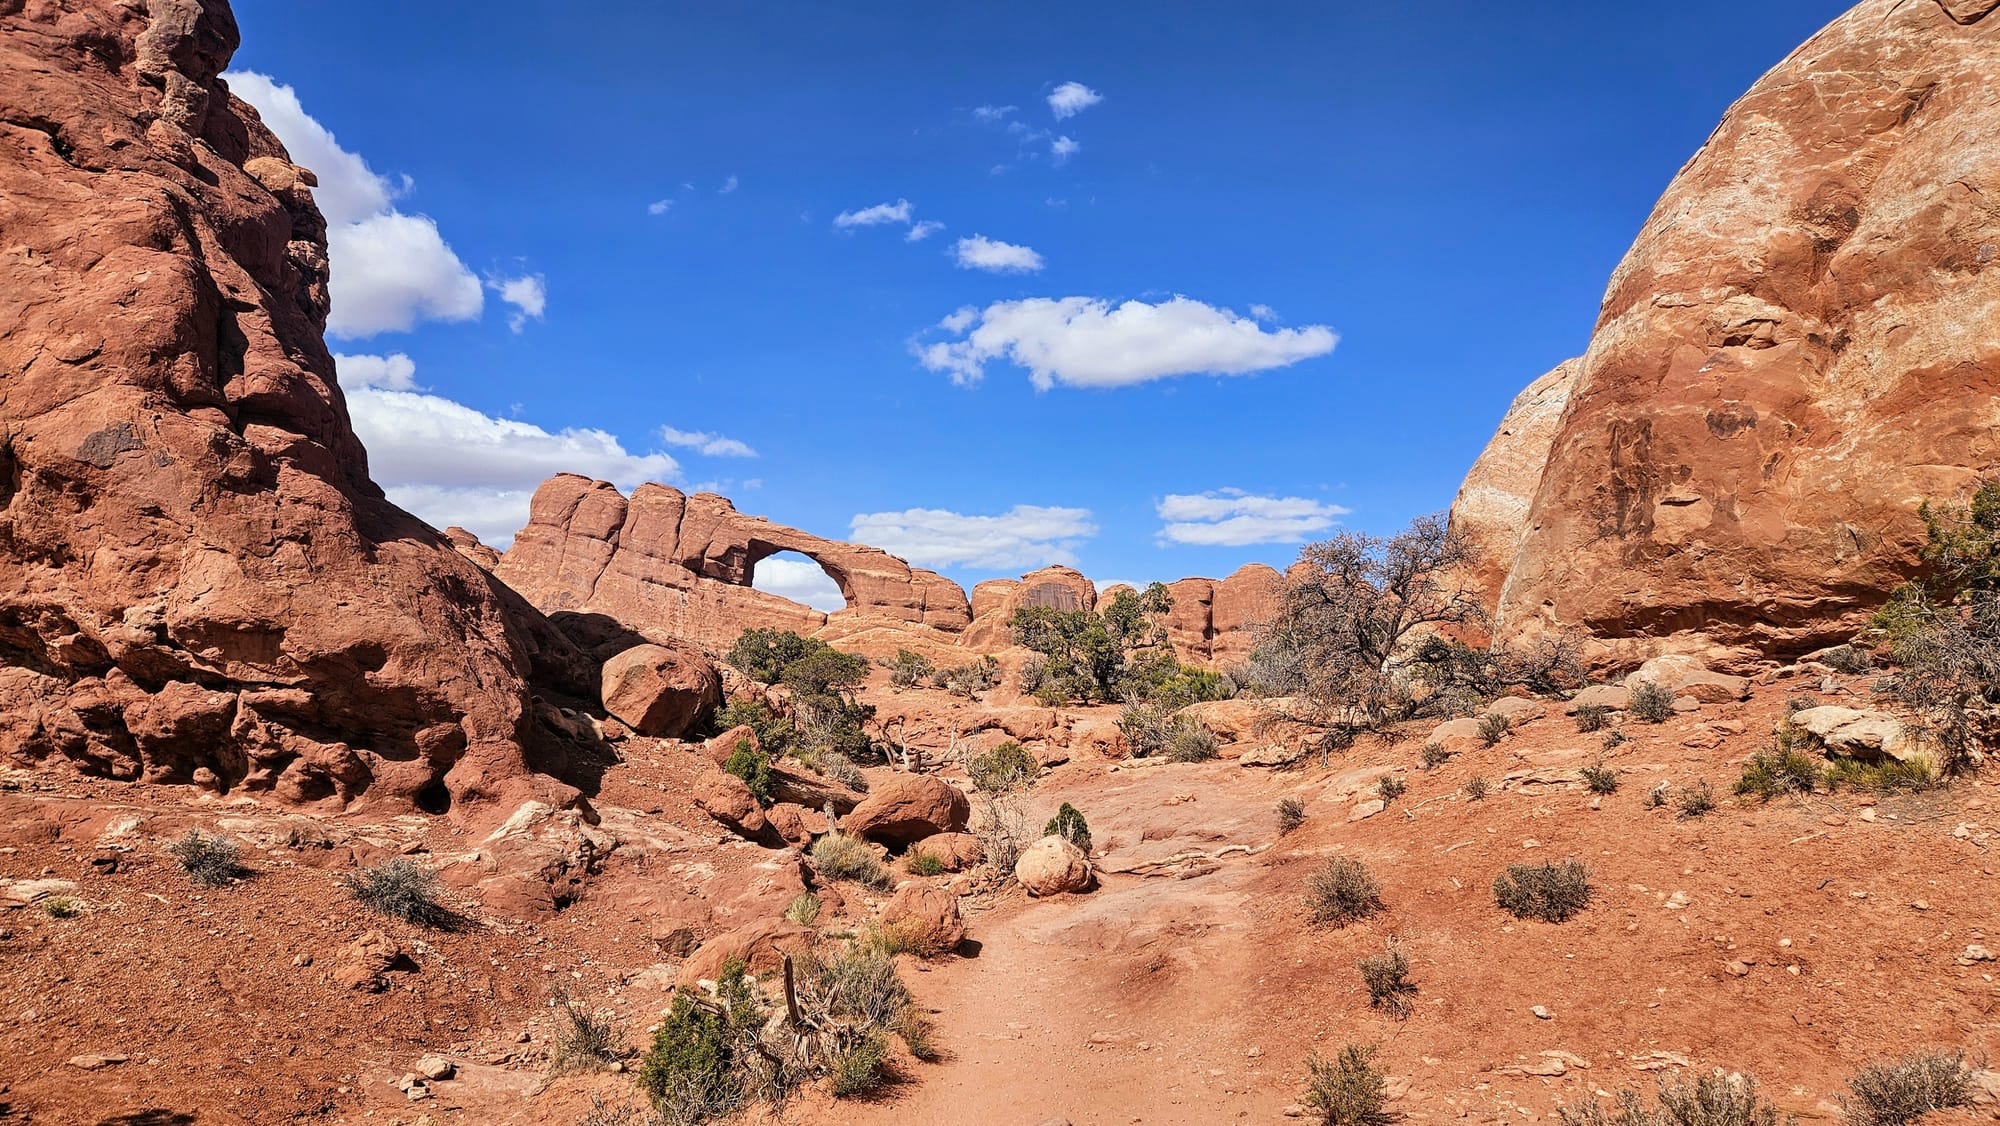
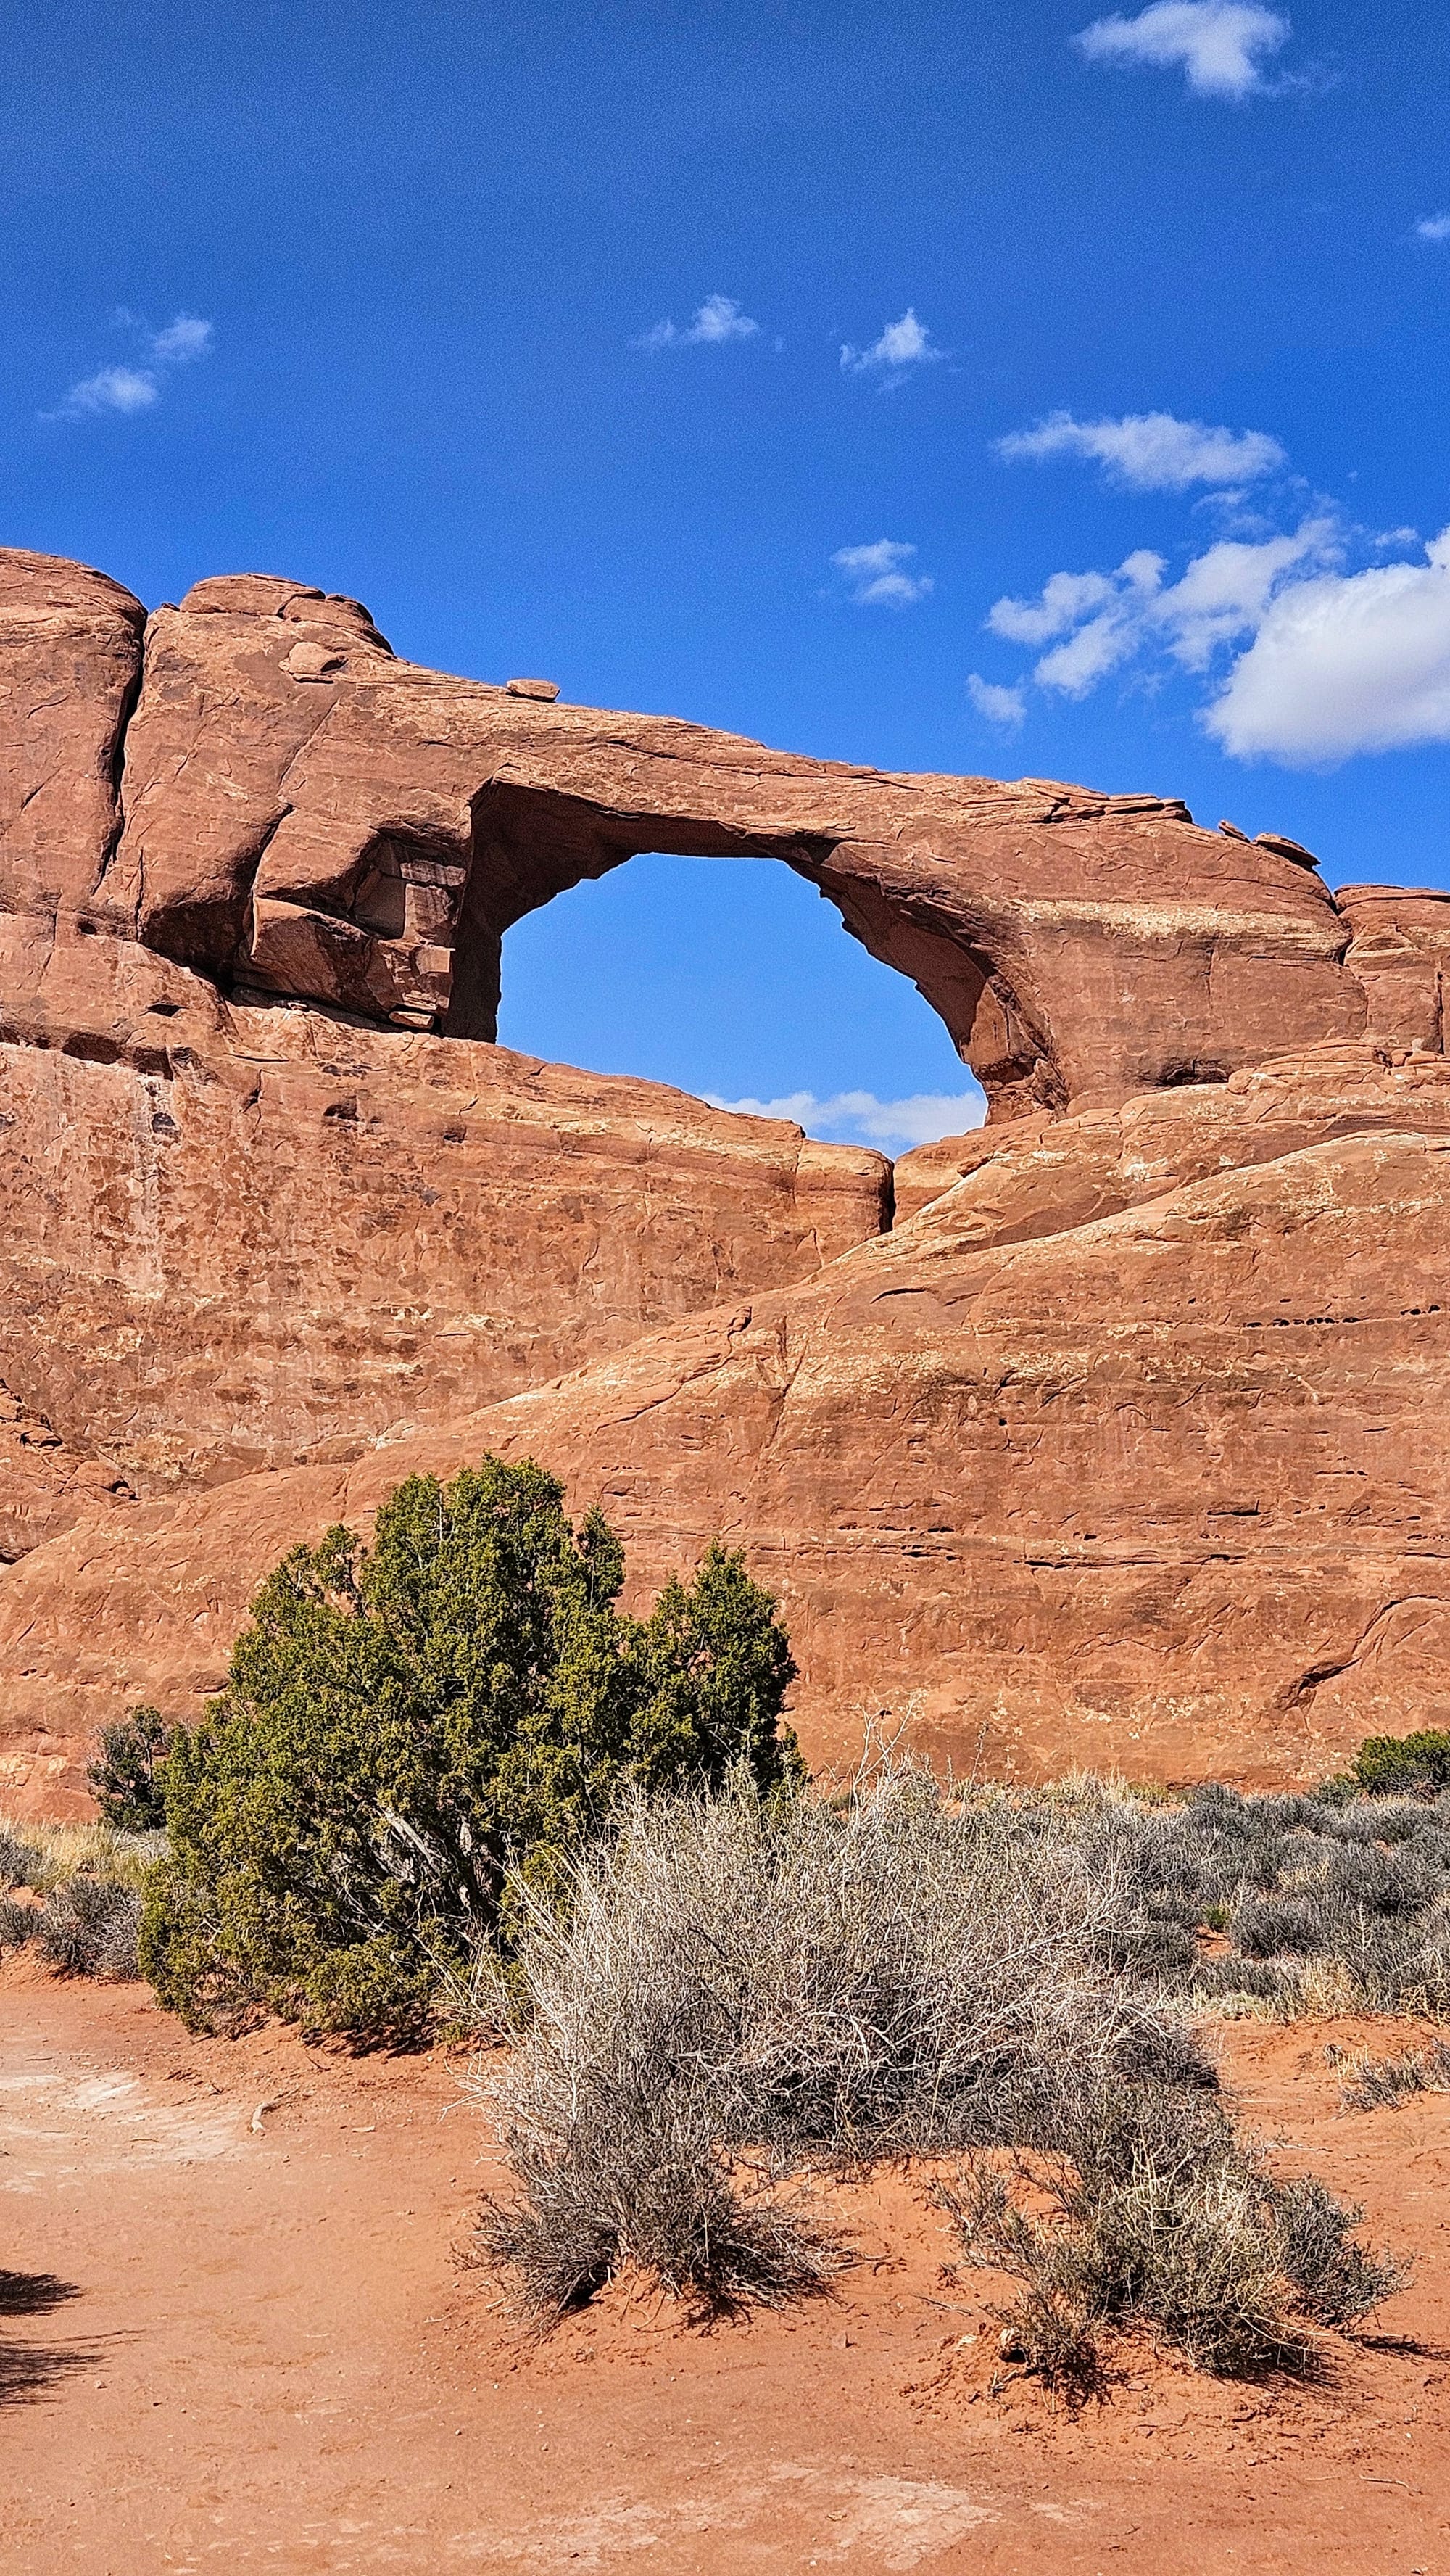
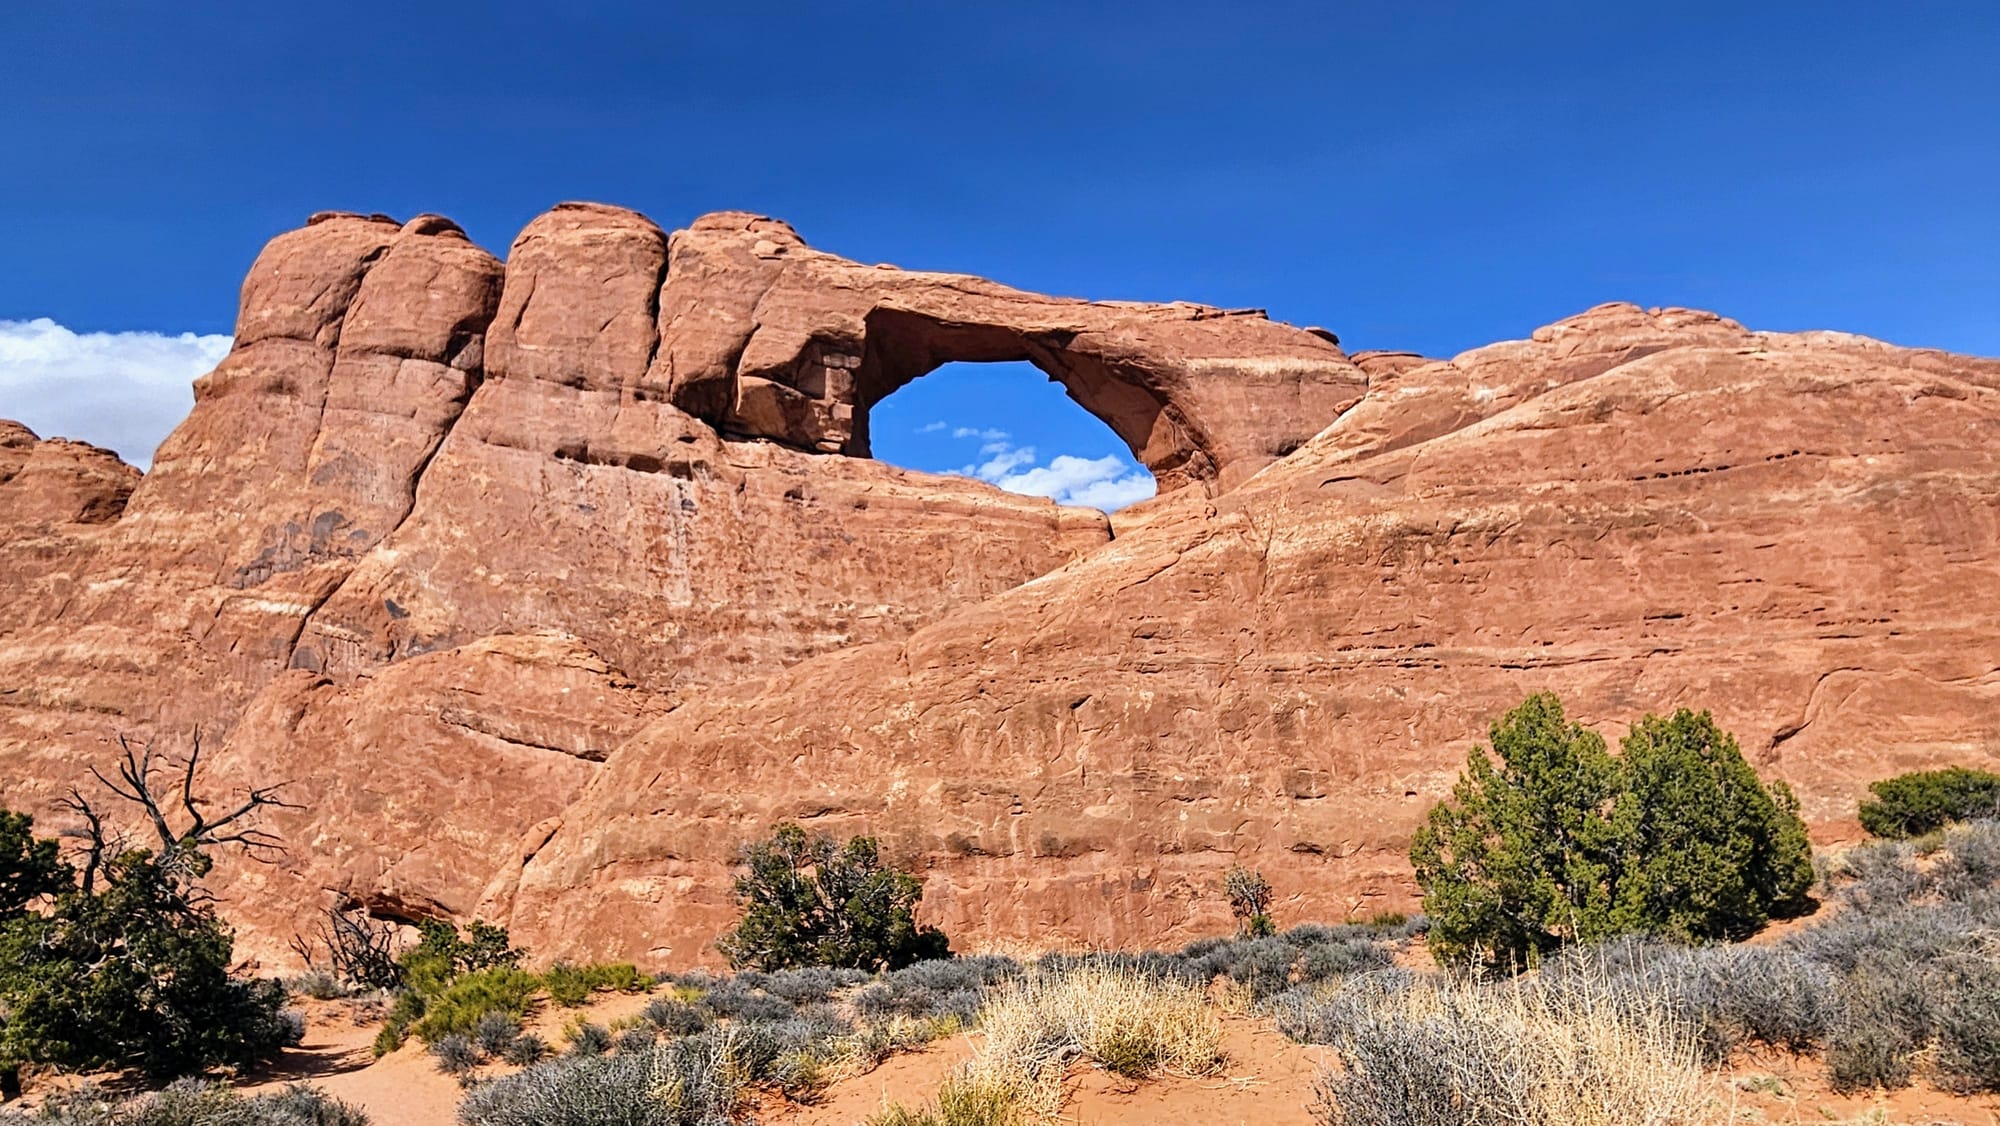
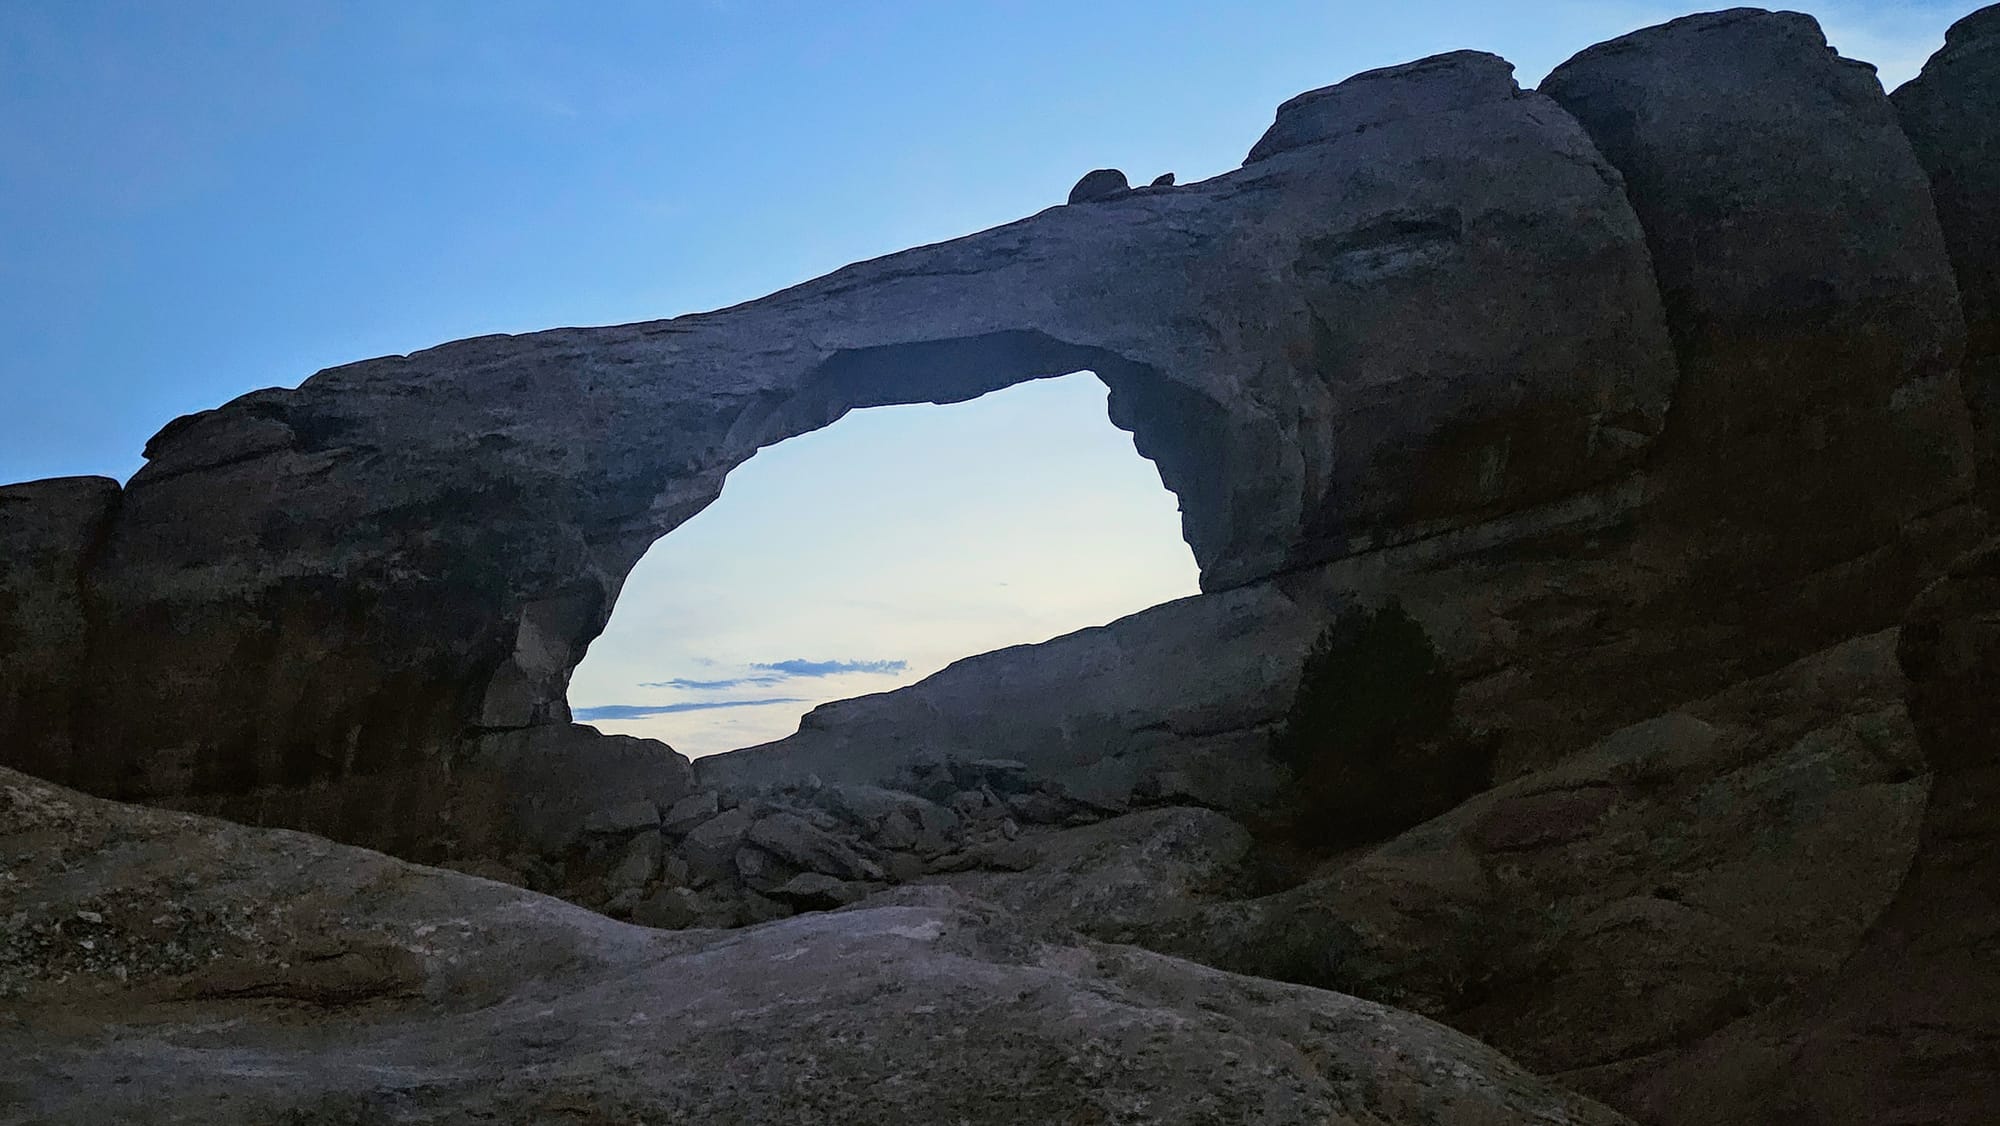
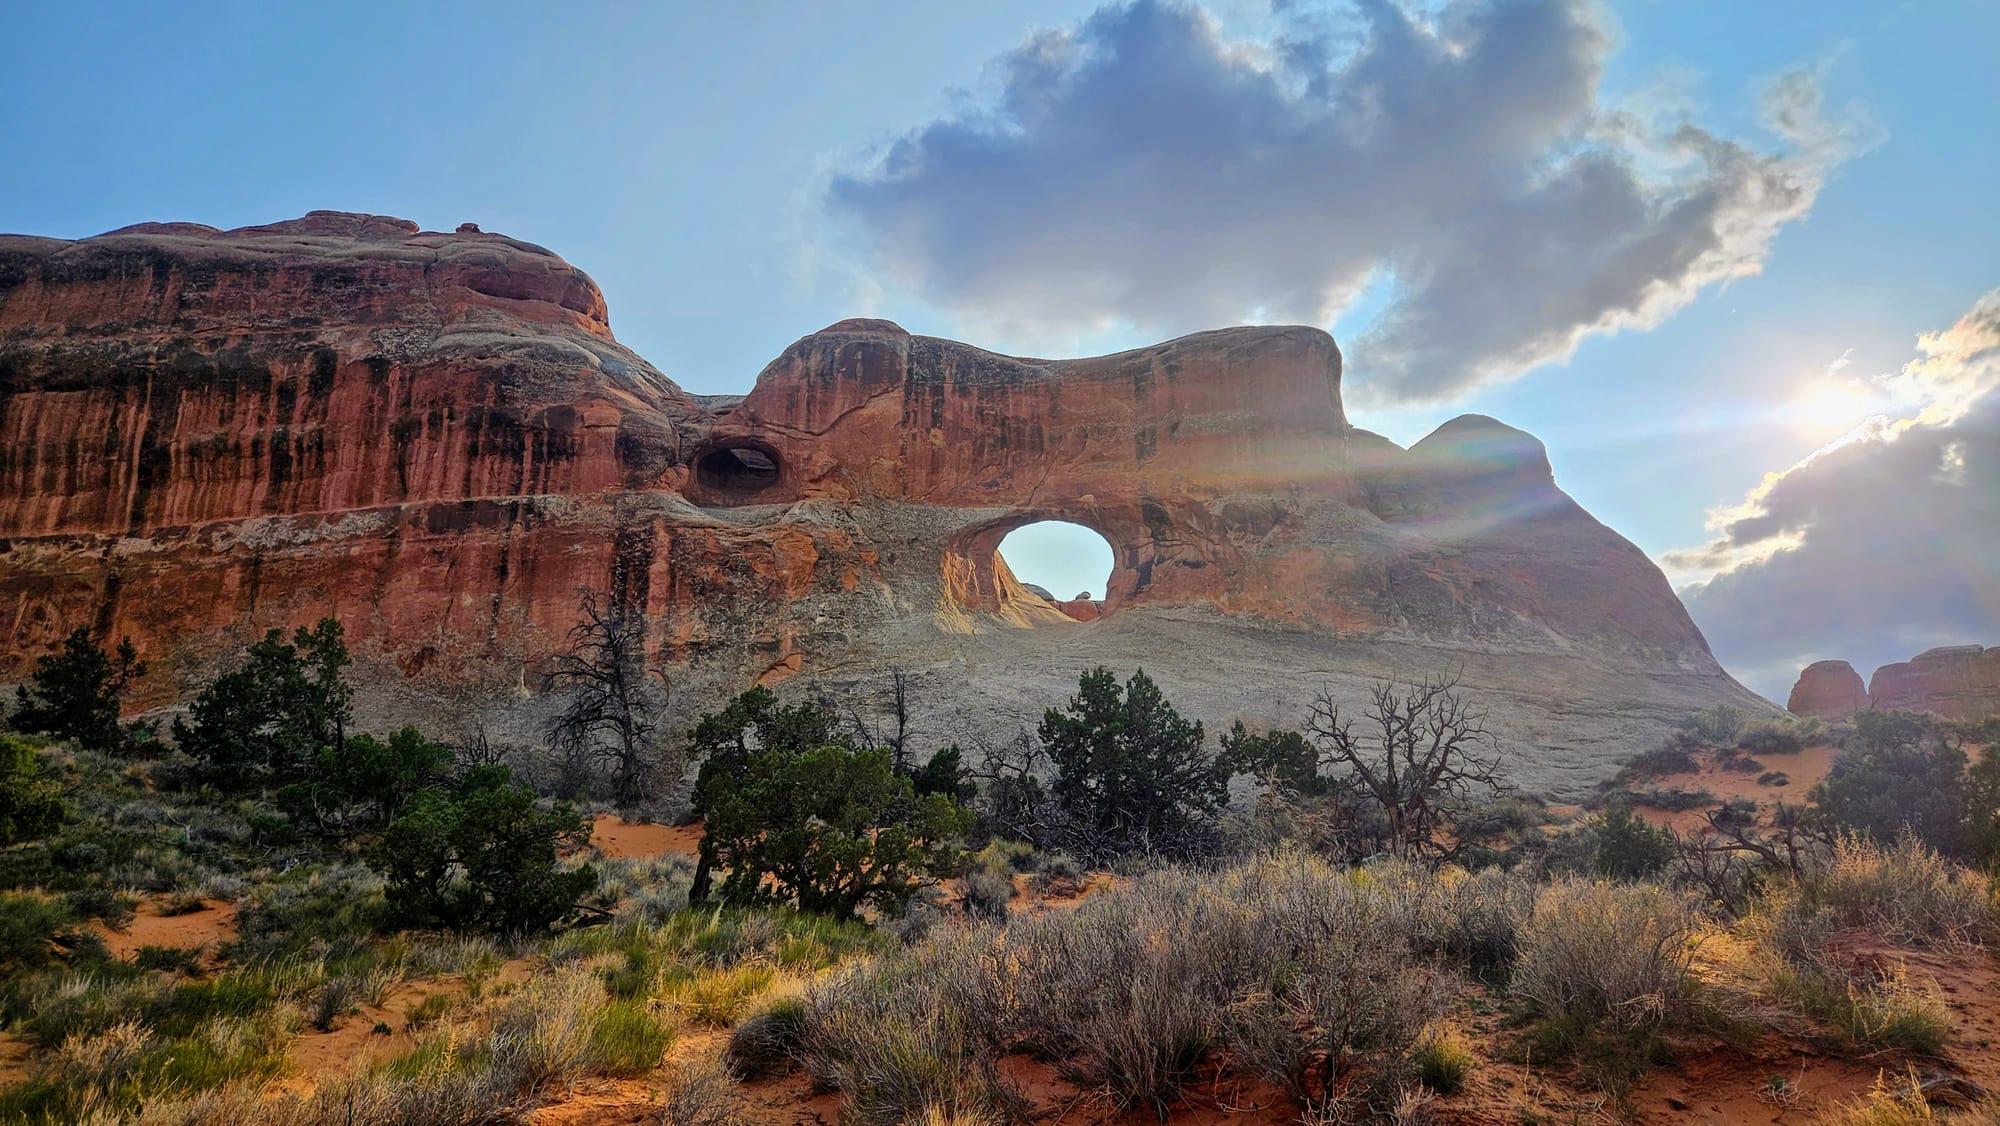
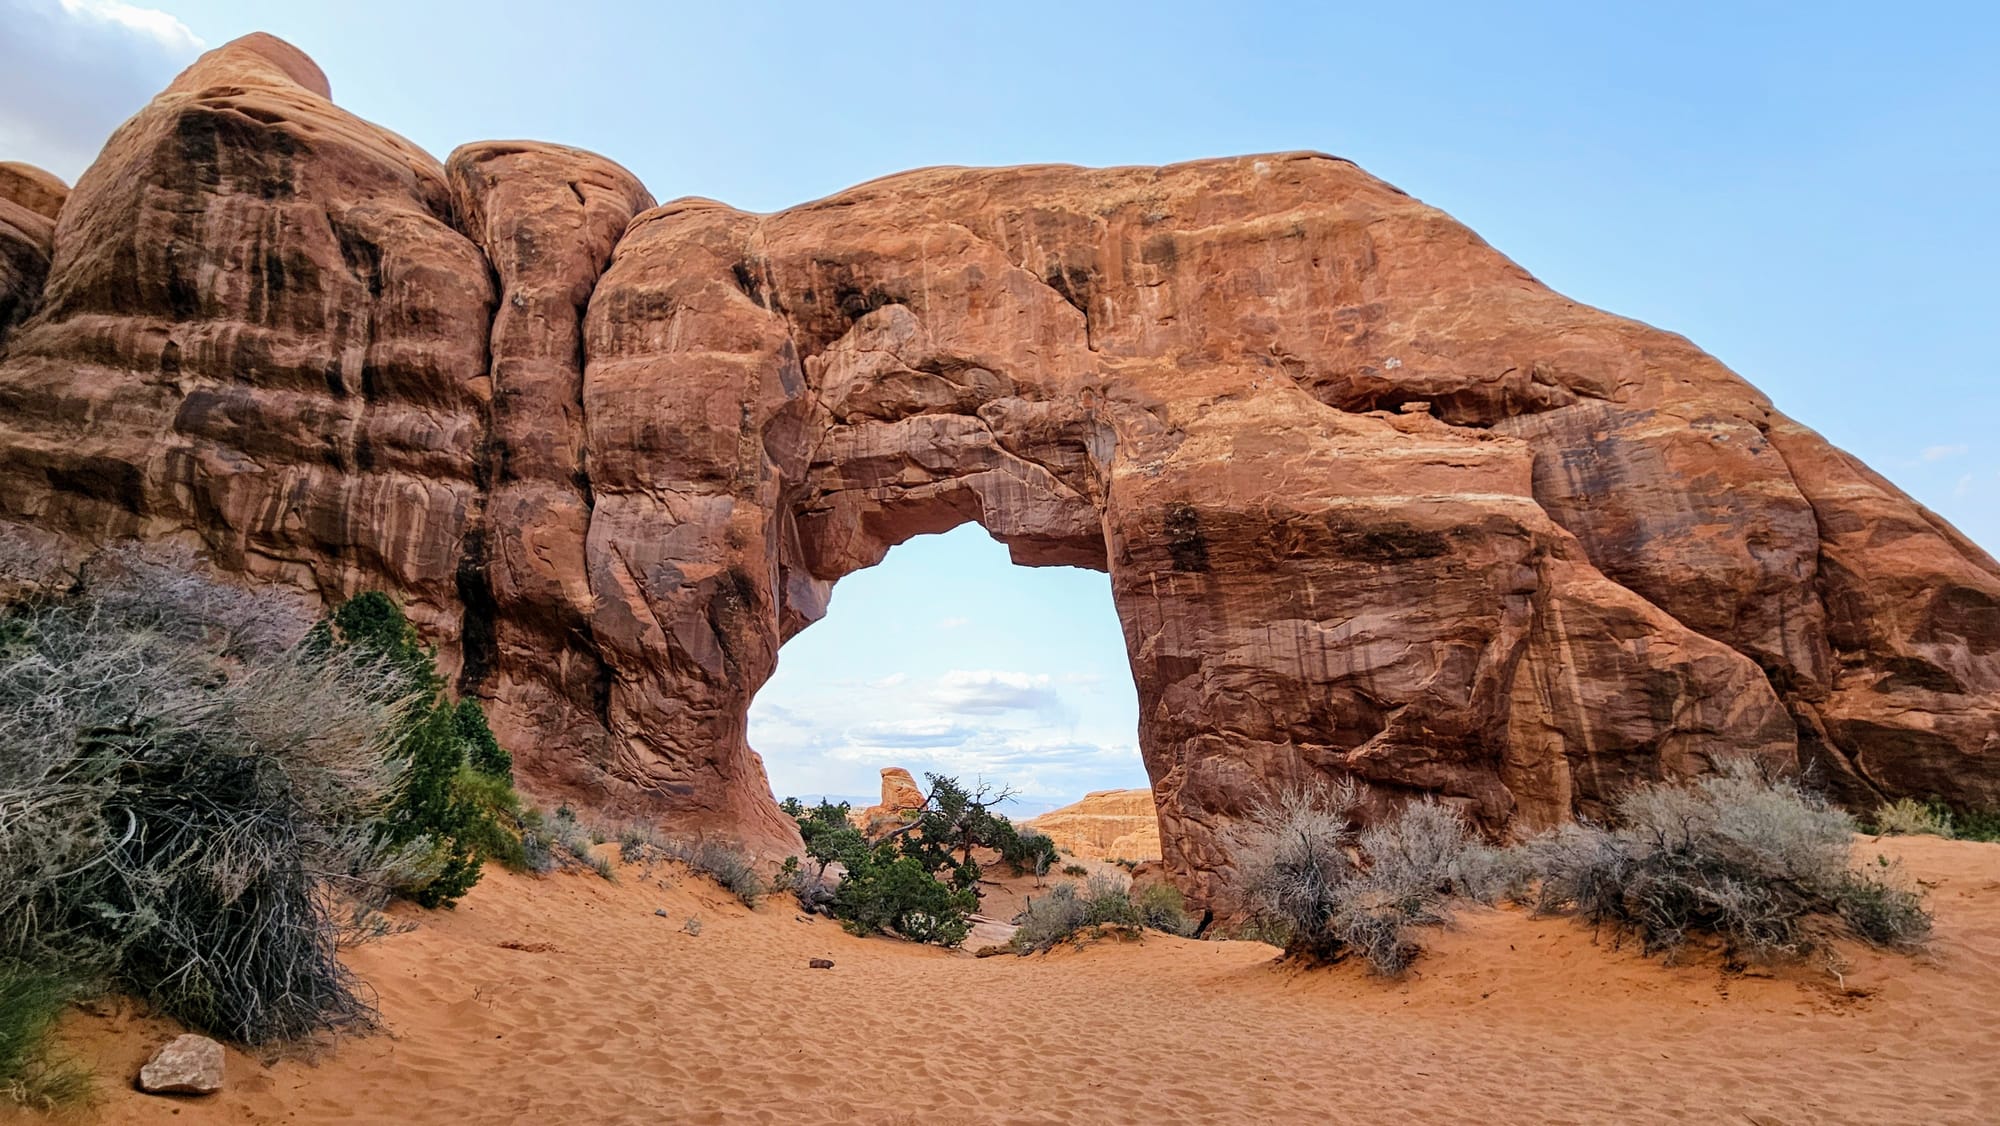
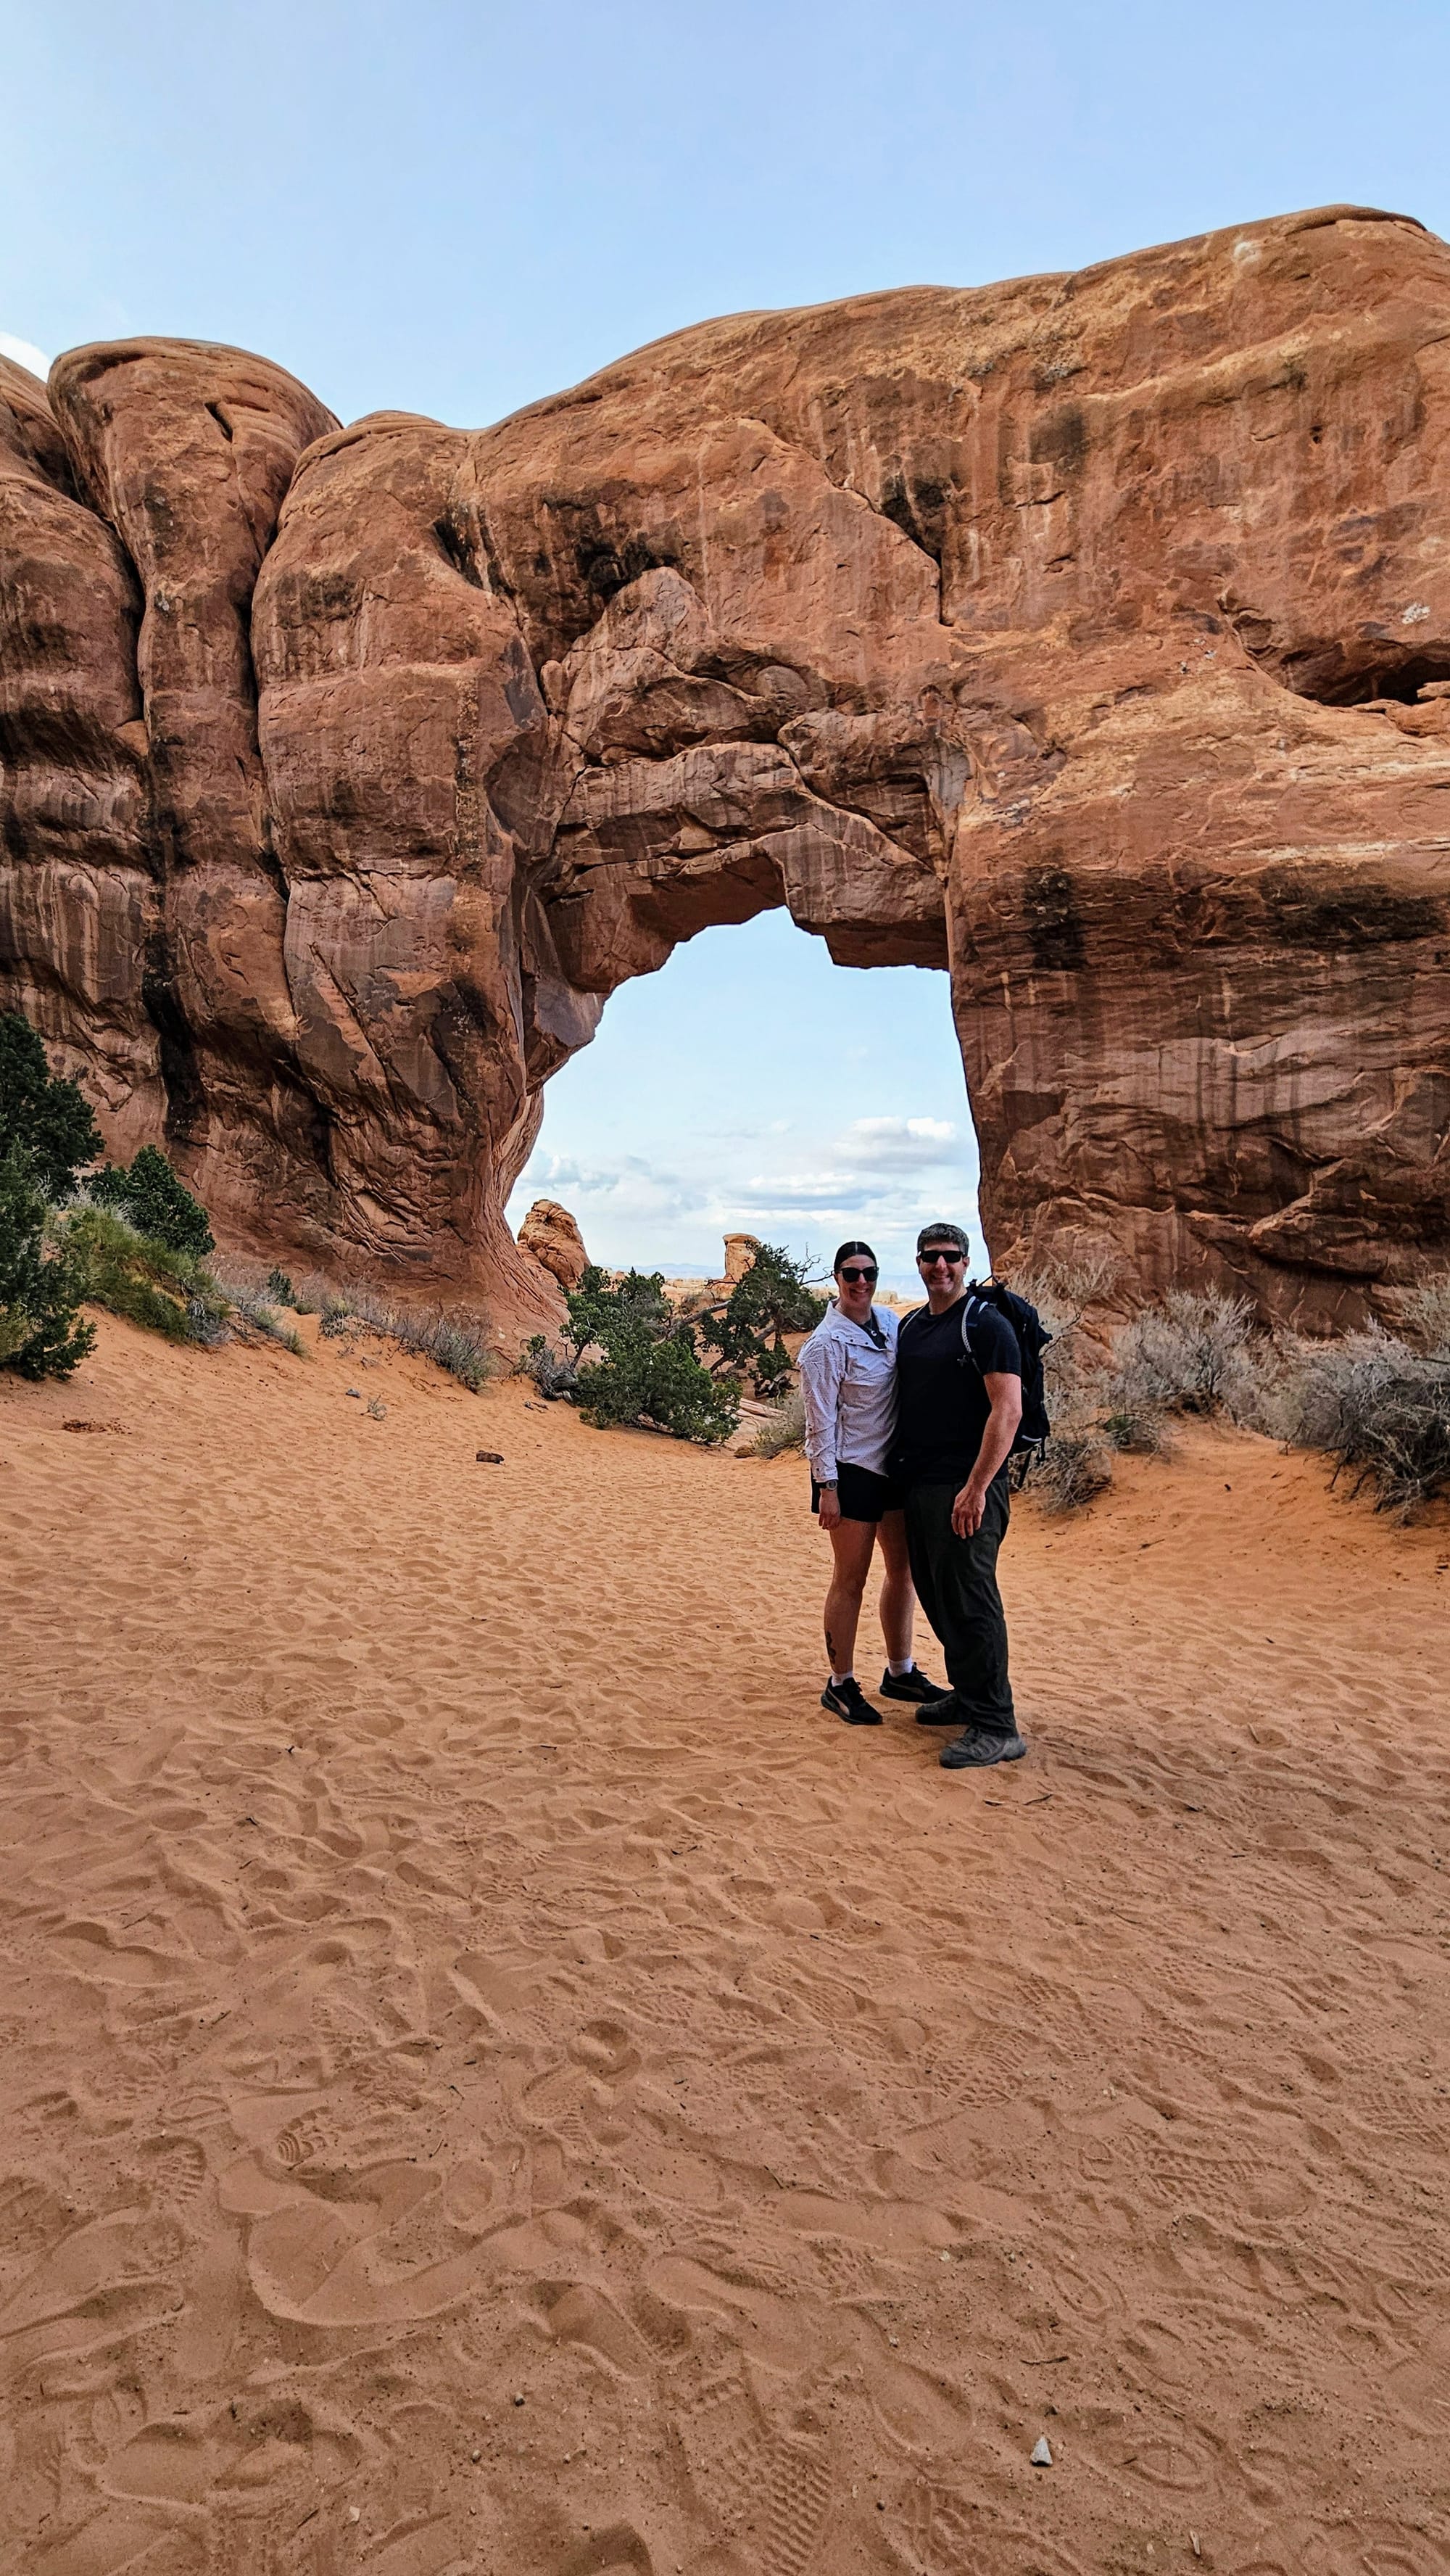
We crossed the parking lot and went over to the Windows Trail, which houses the famous North and South Window Arches. However, if you decide to go further along the paths, you can add Turret Arch to your hike. We followed this trail on All Trails, which gave us extra distance by looping us around the primitive trail. We would highly recommend the primitive trail because it brings you behind the Windows, where not a lot of people go. In front of the Windows is where we had the most issues with people hogging the arches. We exercised a lot of patience just to get a few good photos. Getting to venture behind the Windows was a nice break from the crowds. The non-arch views were noteworthy, too.
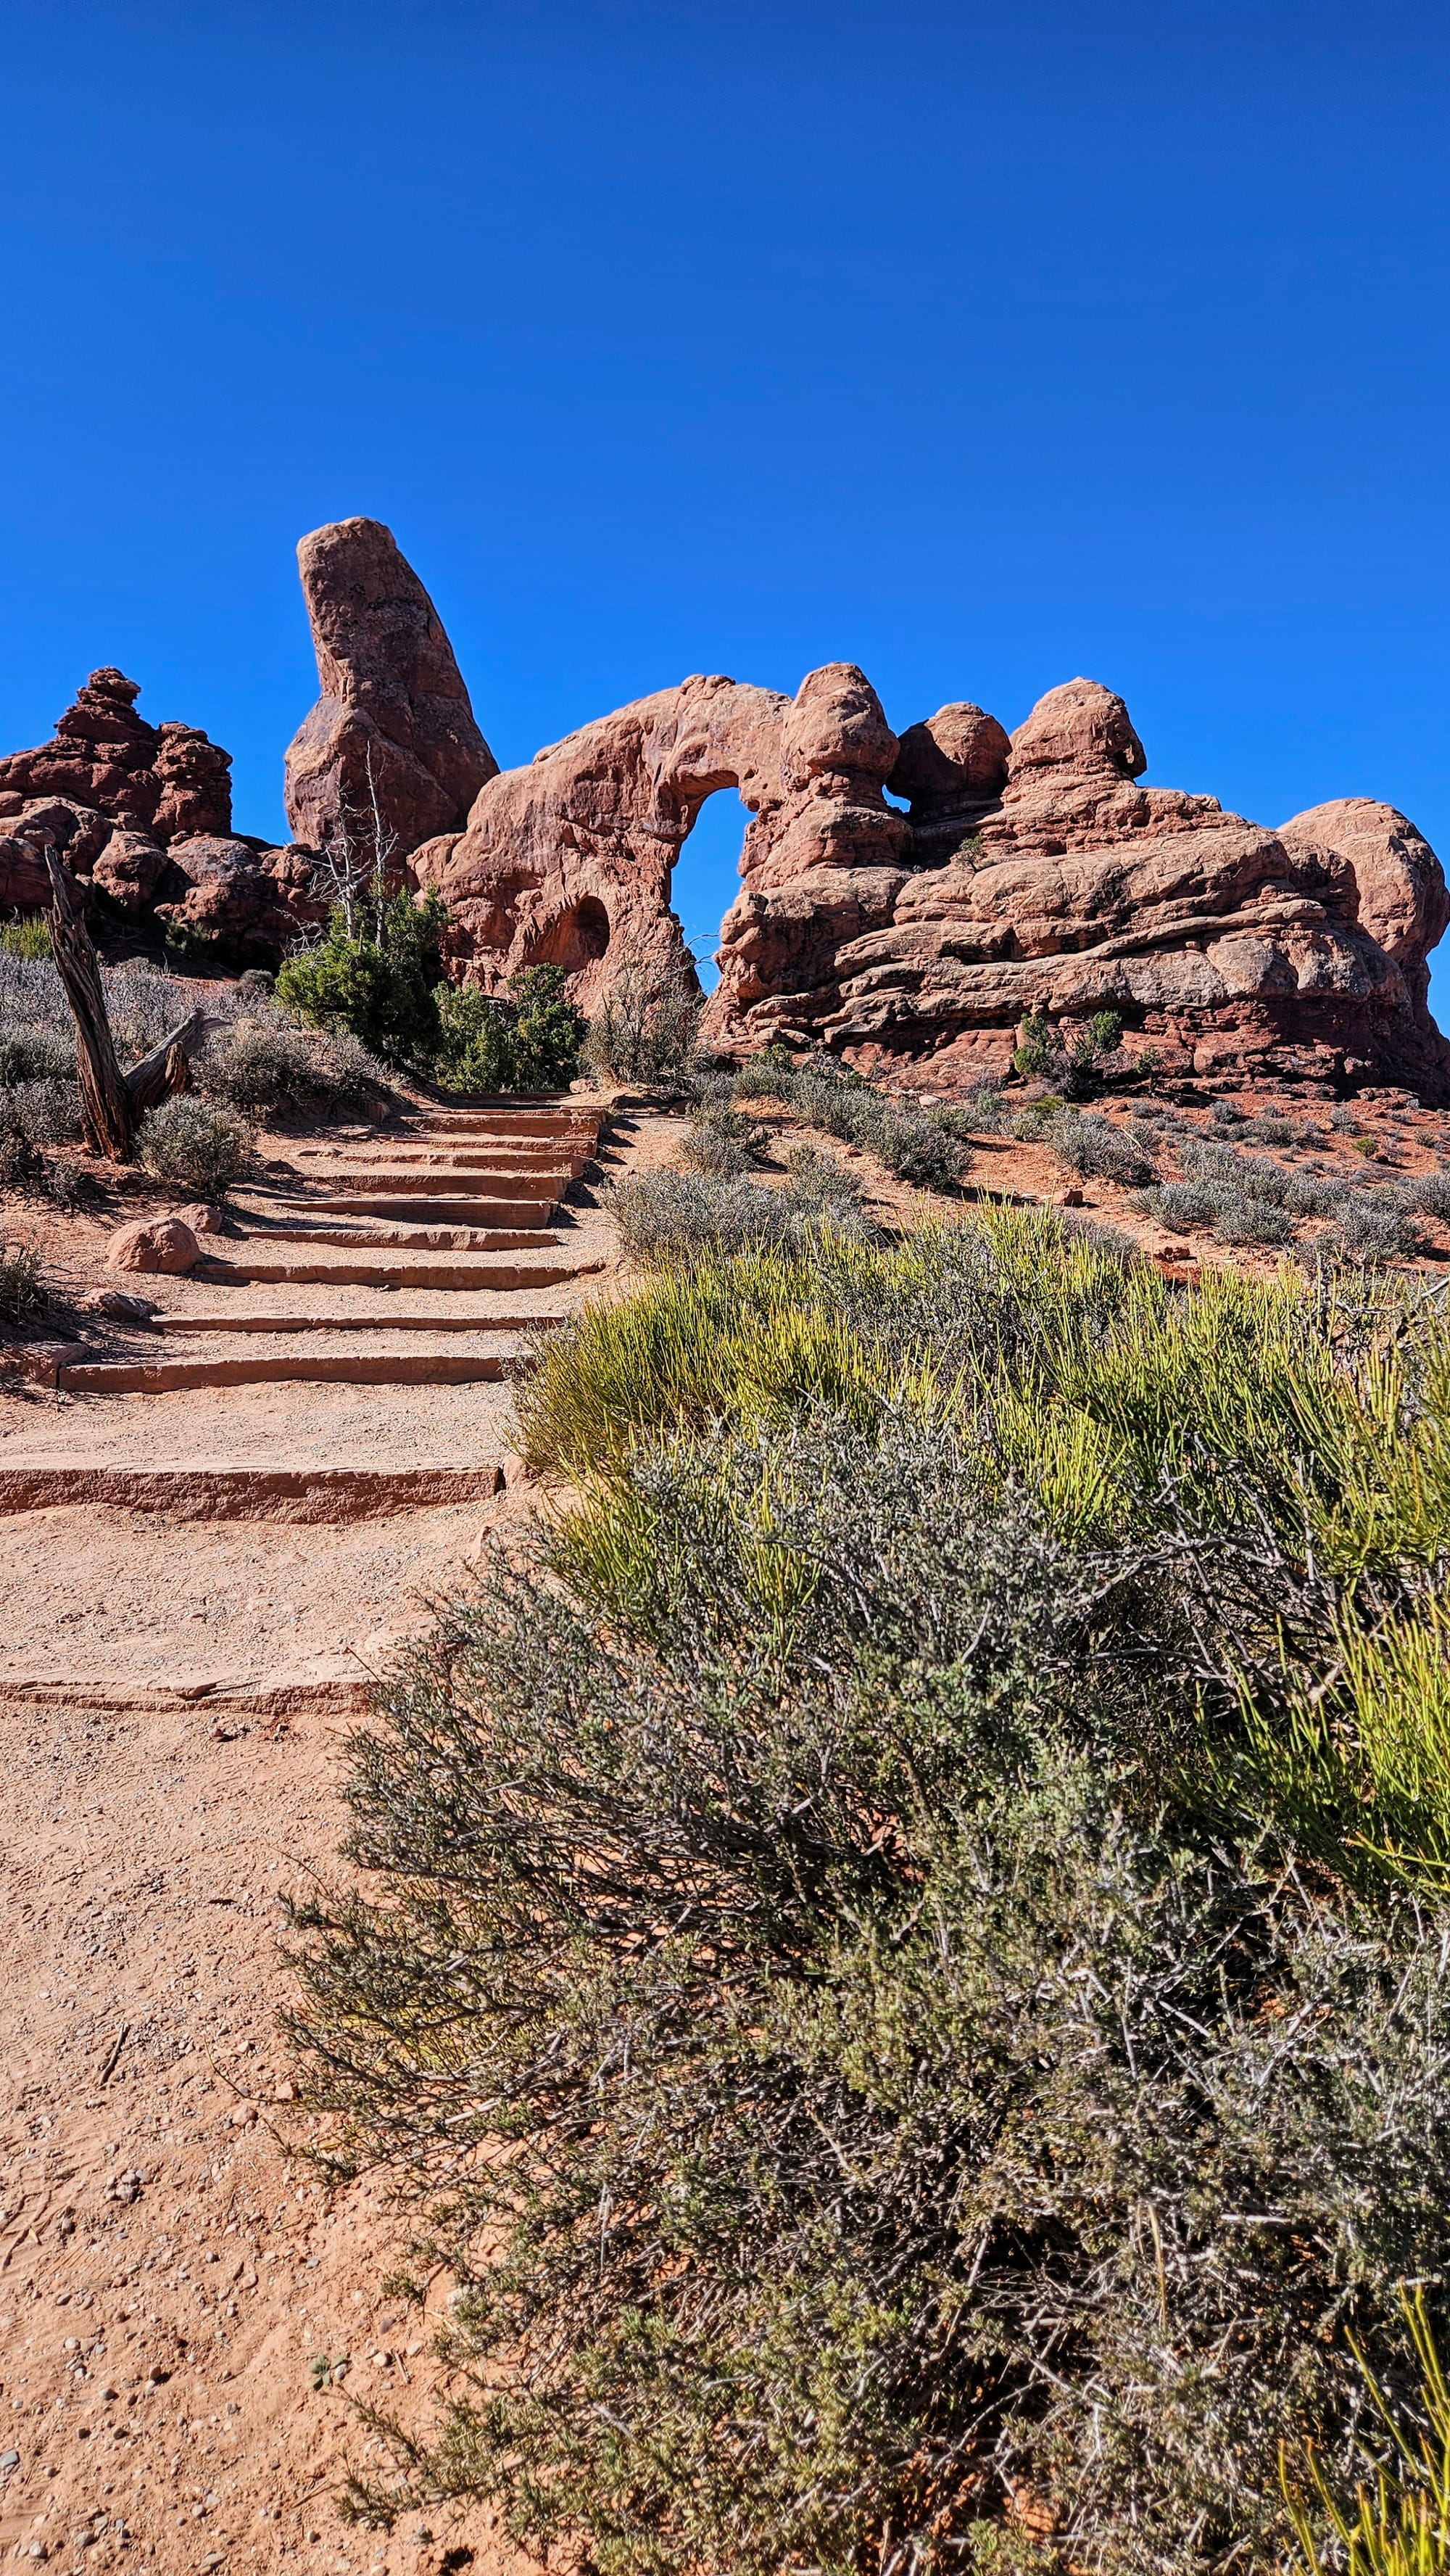

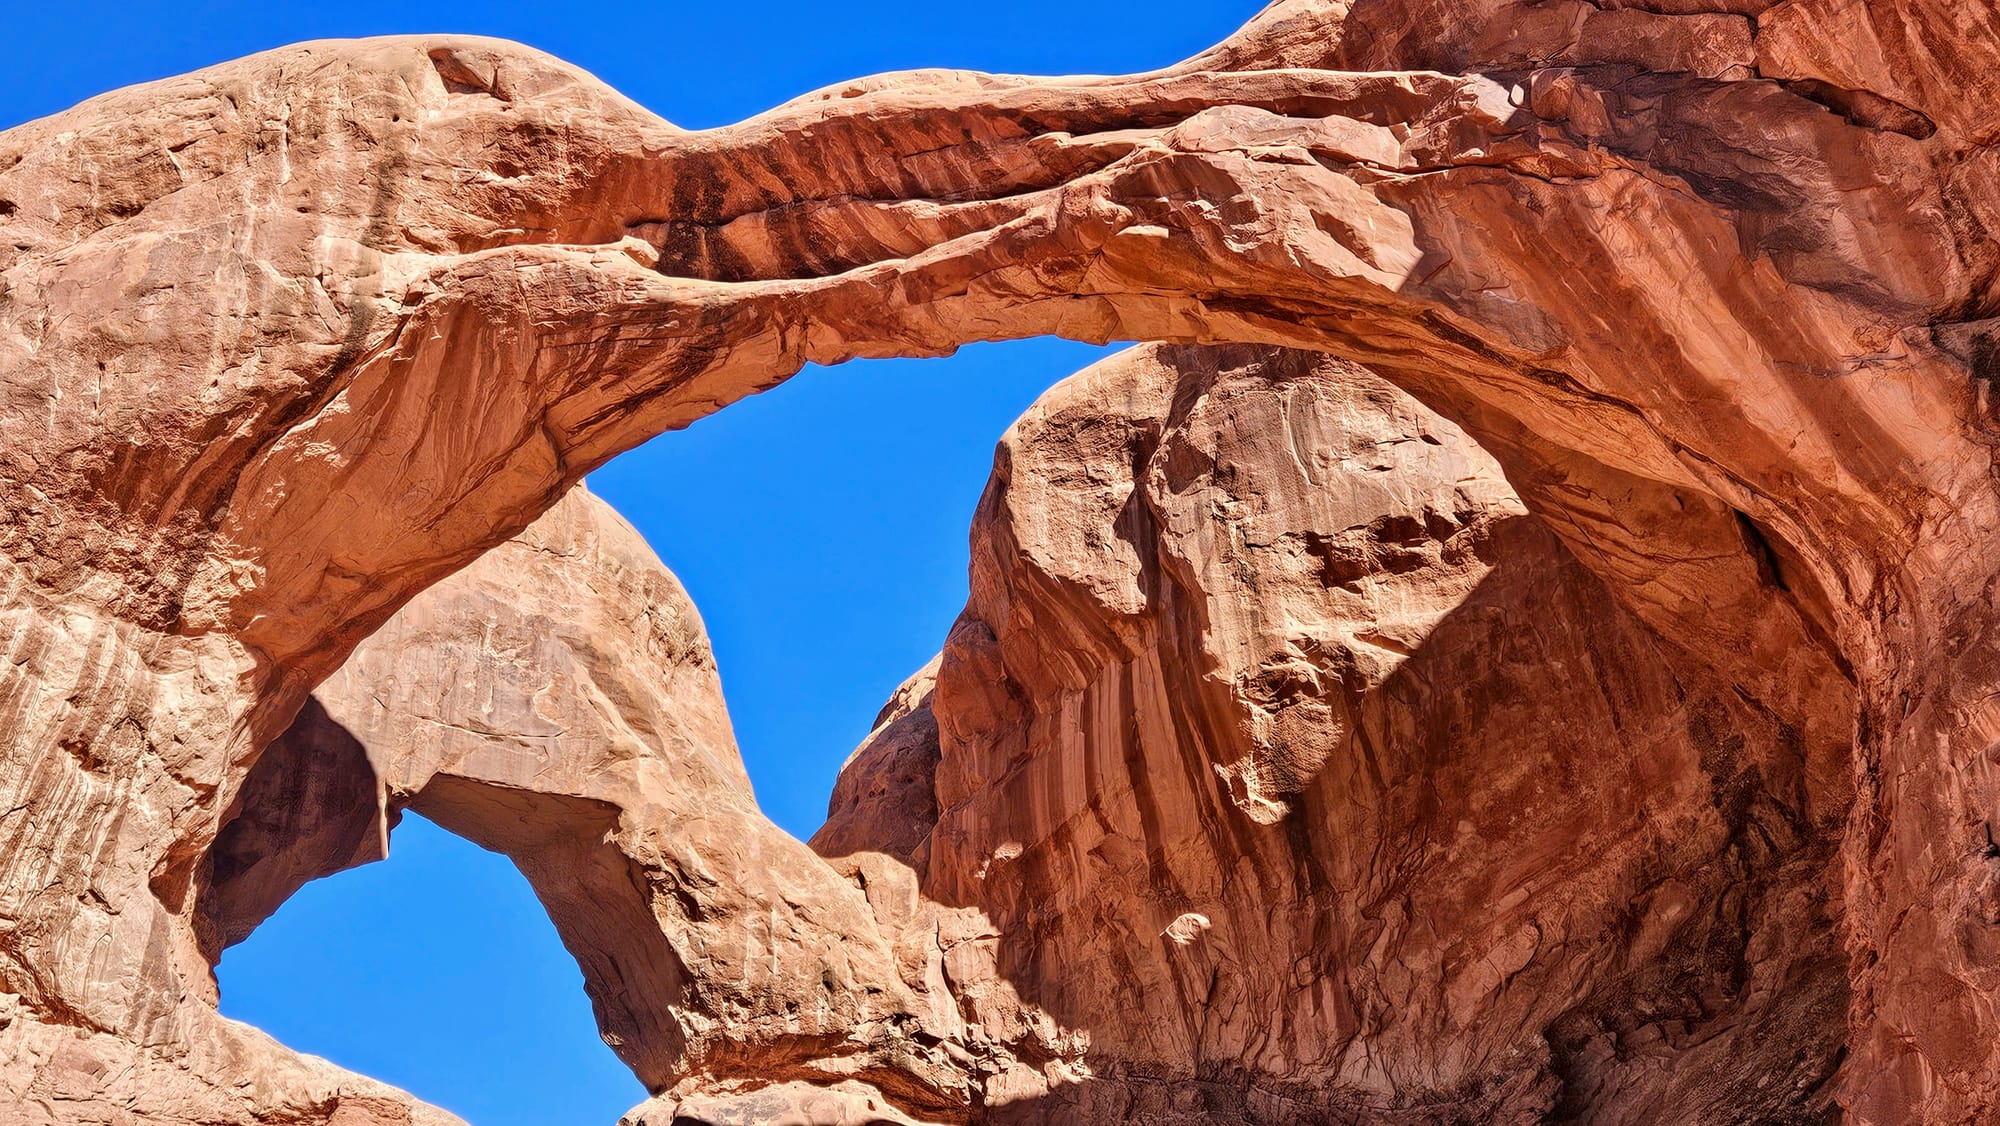
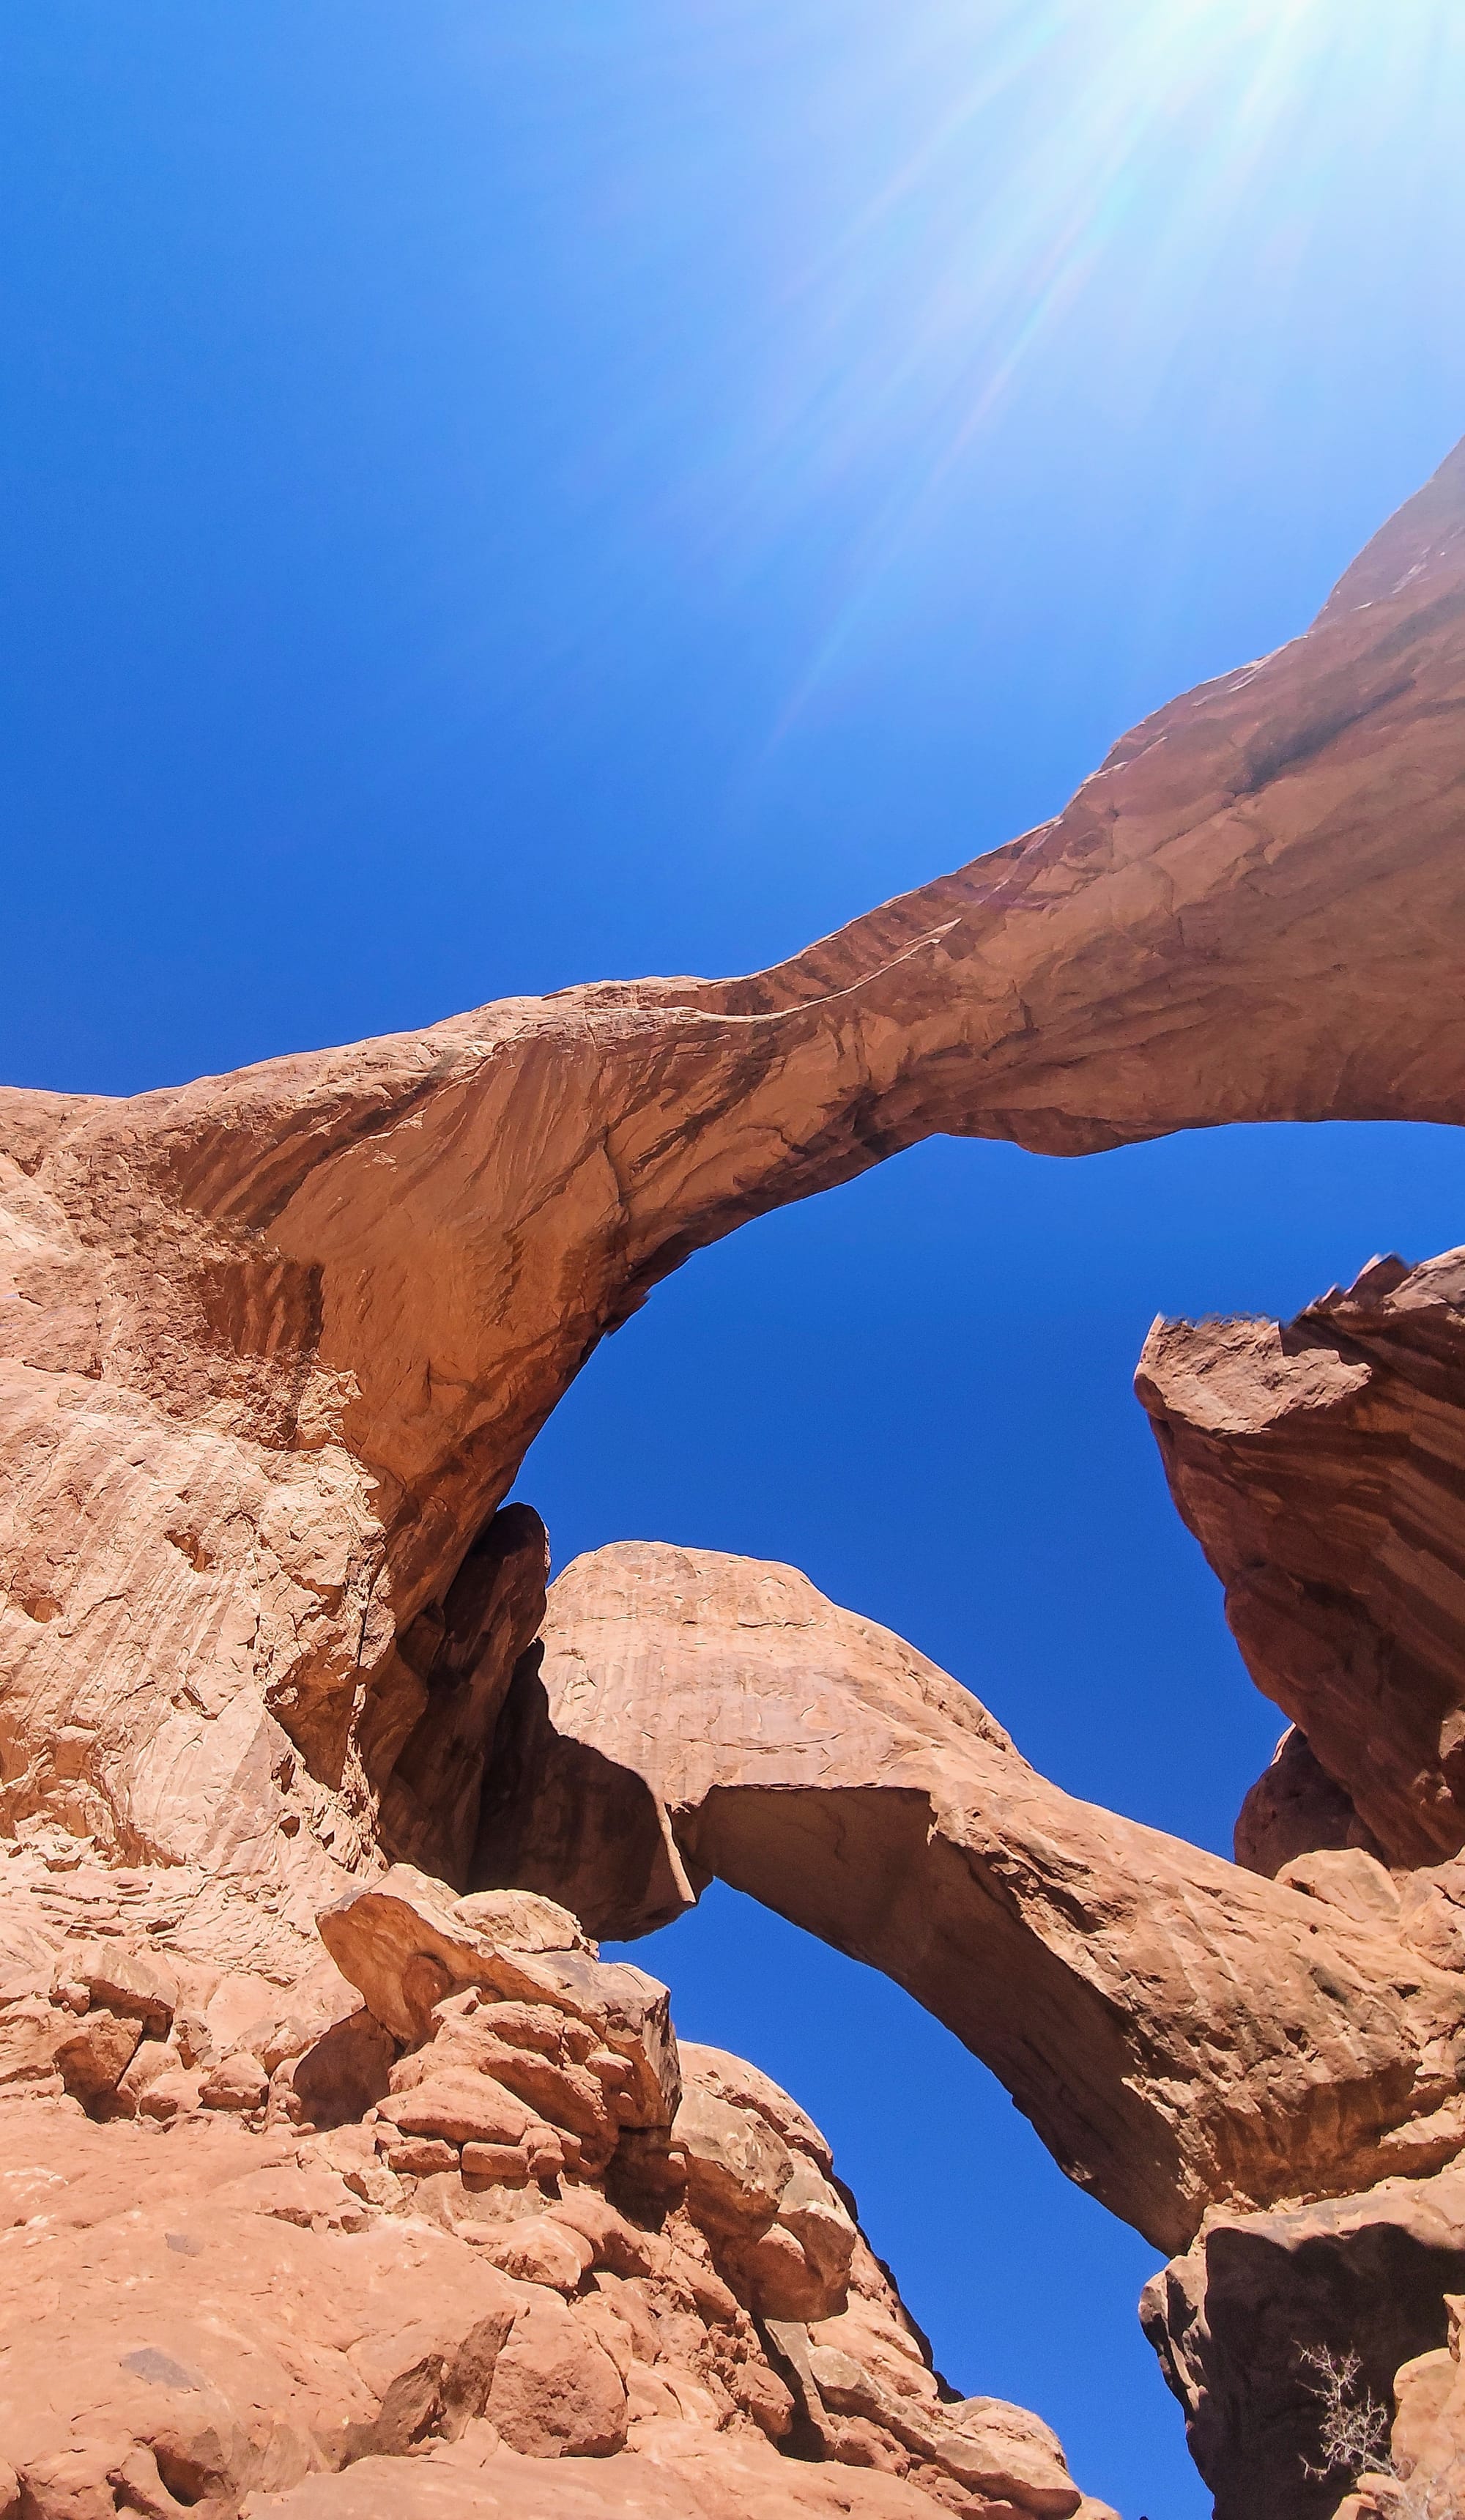
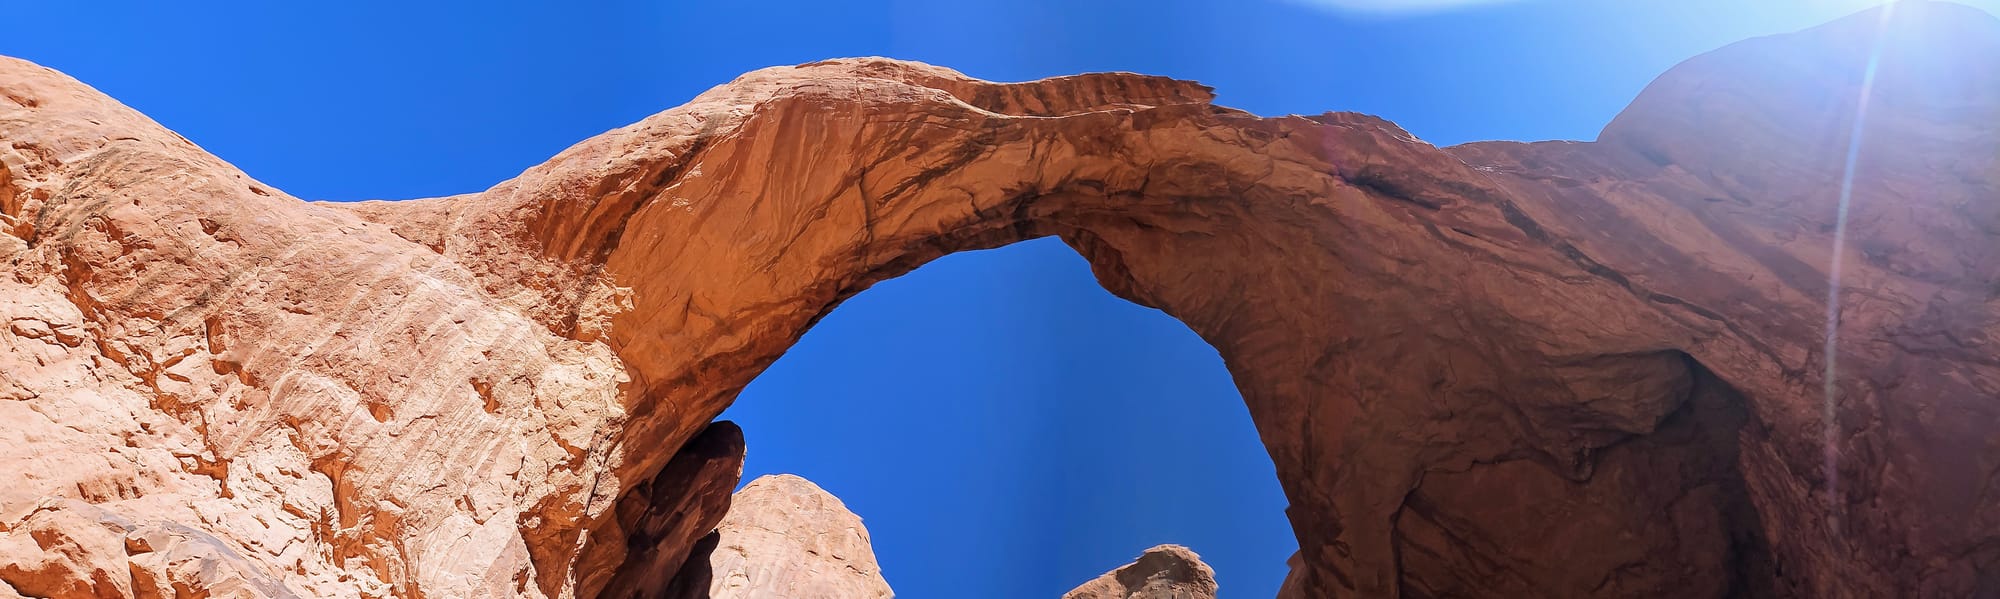
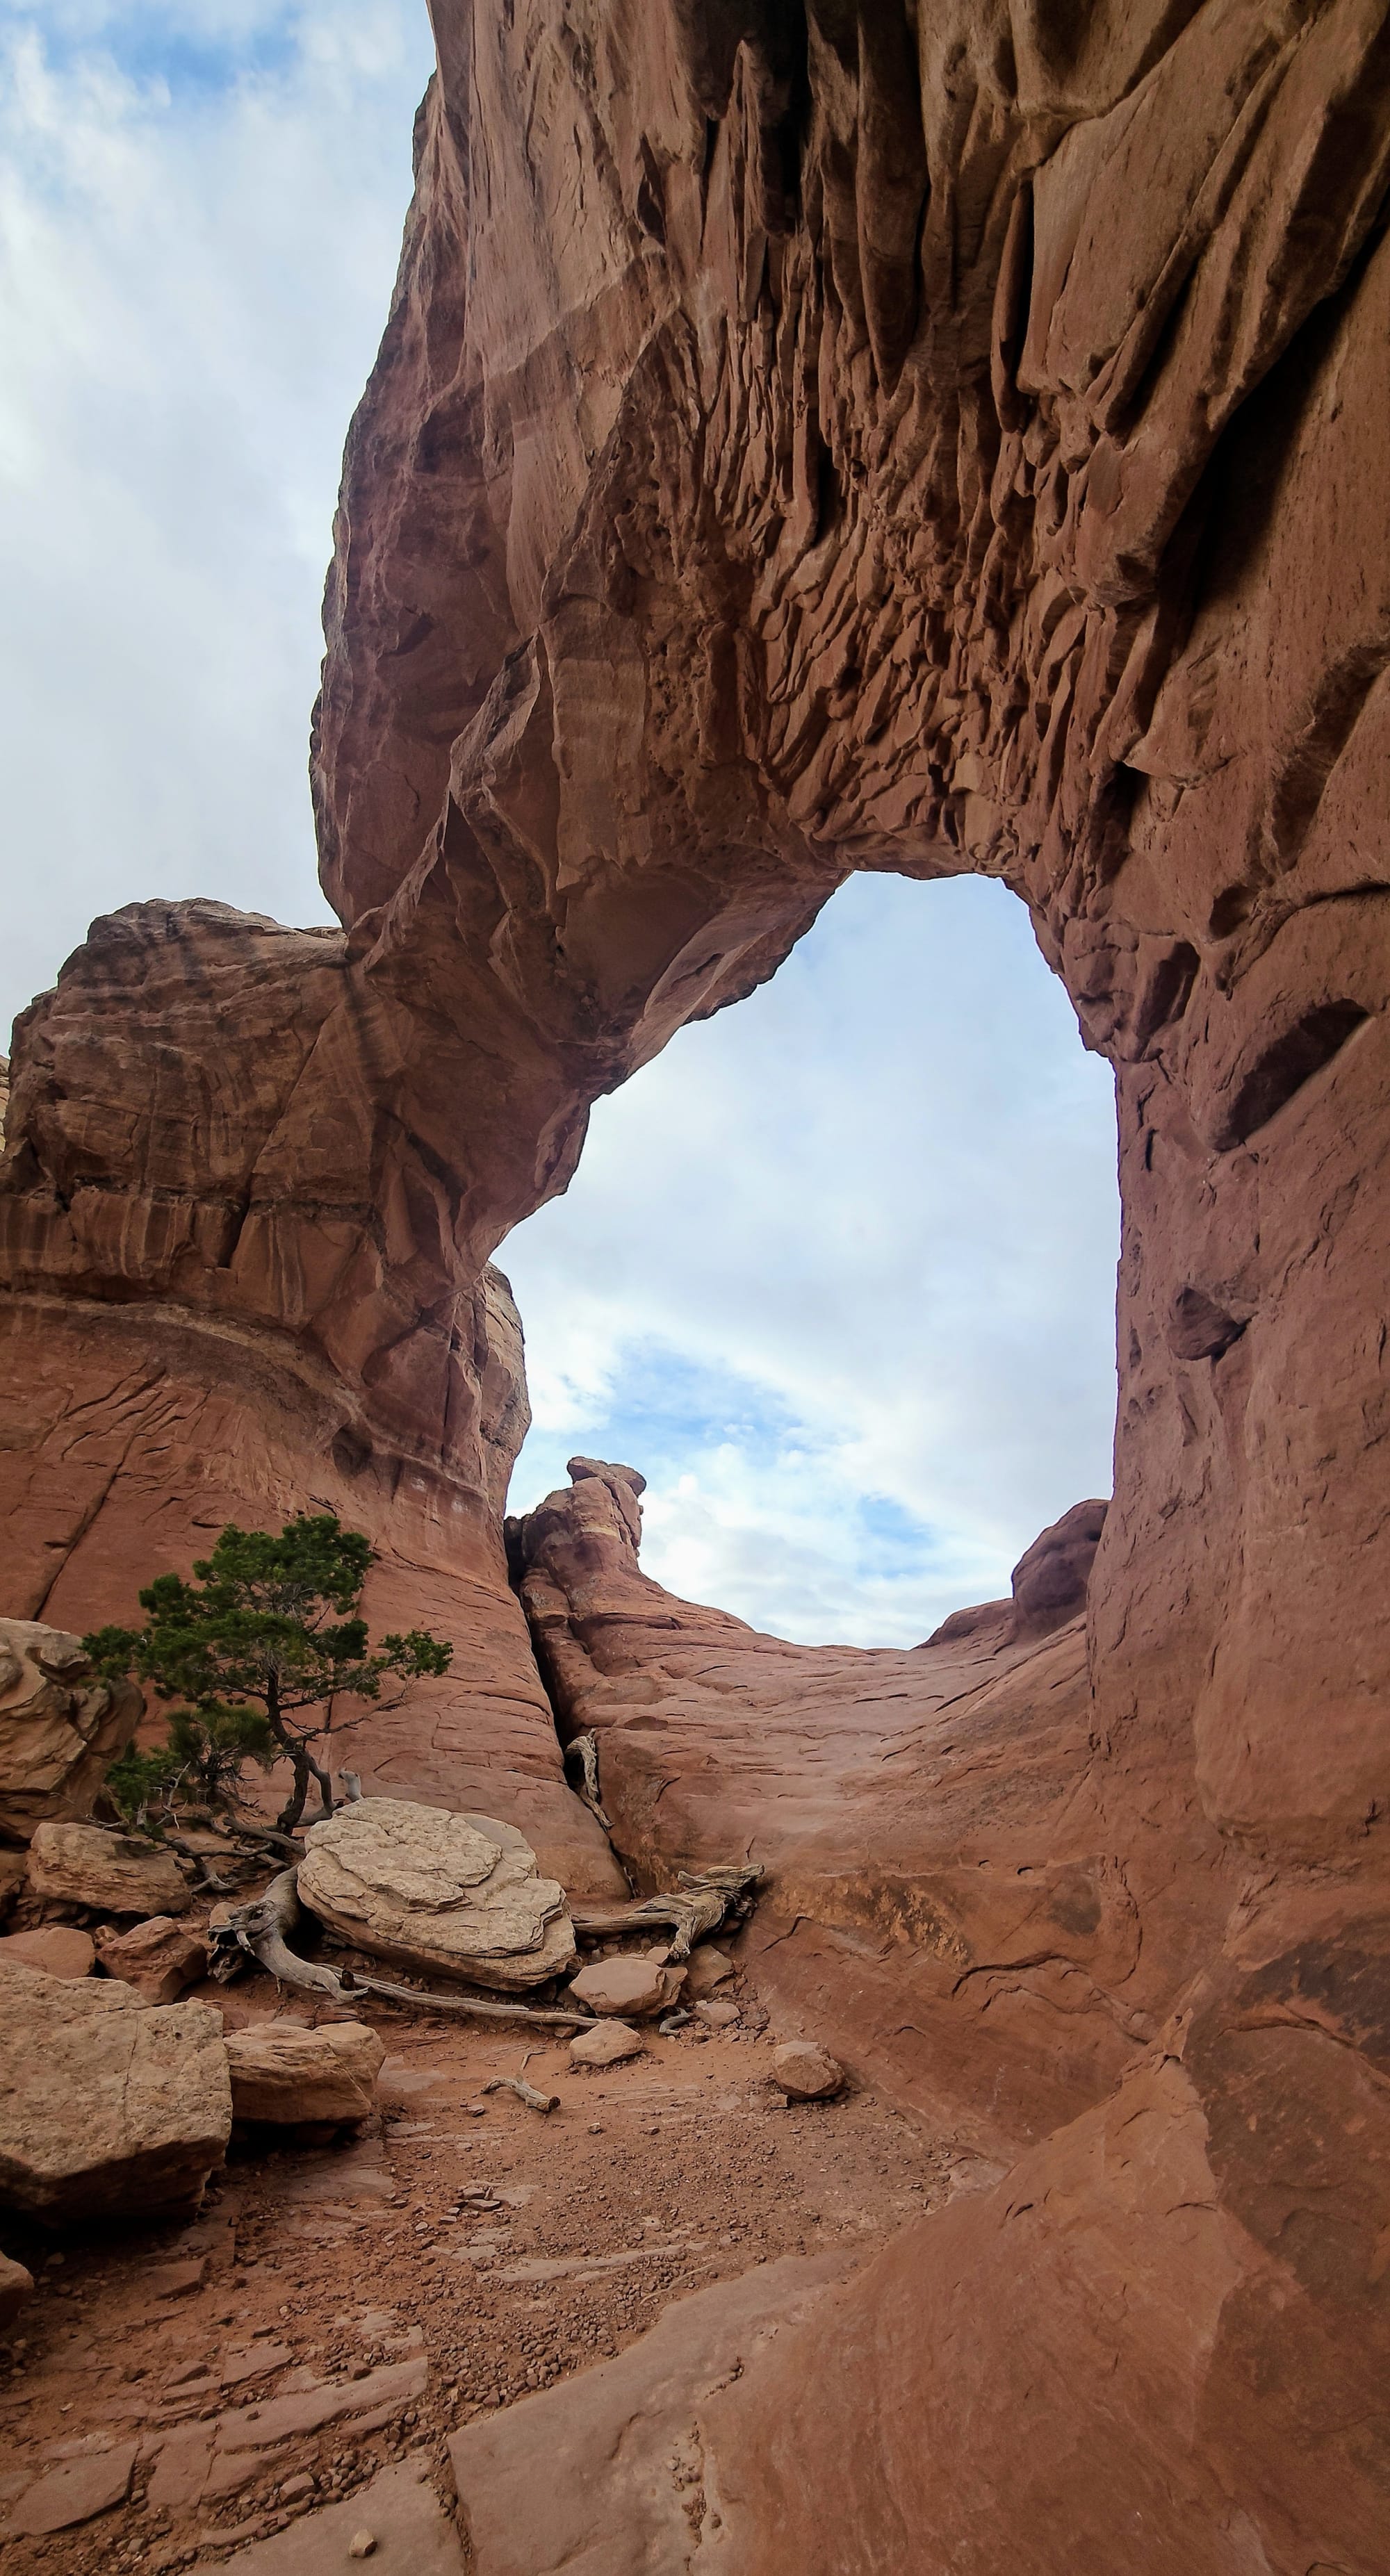
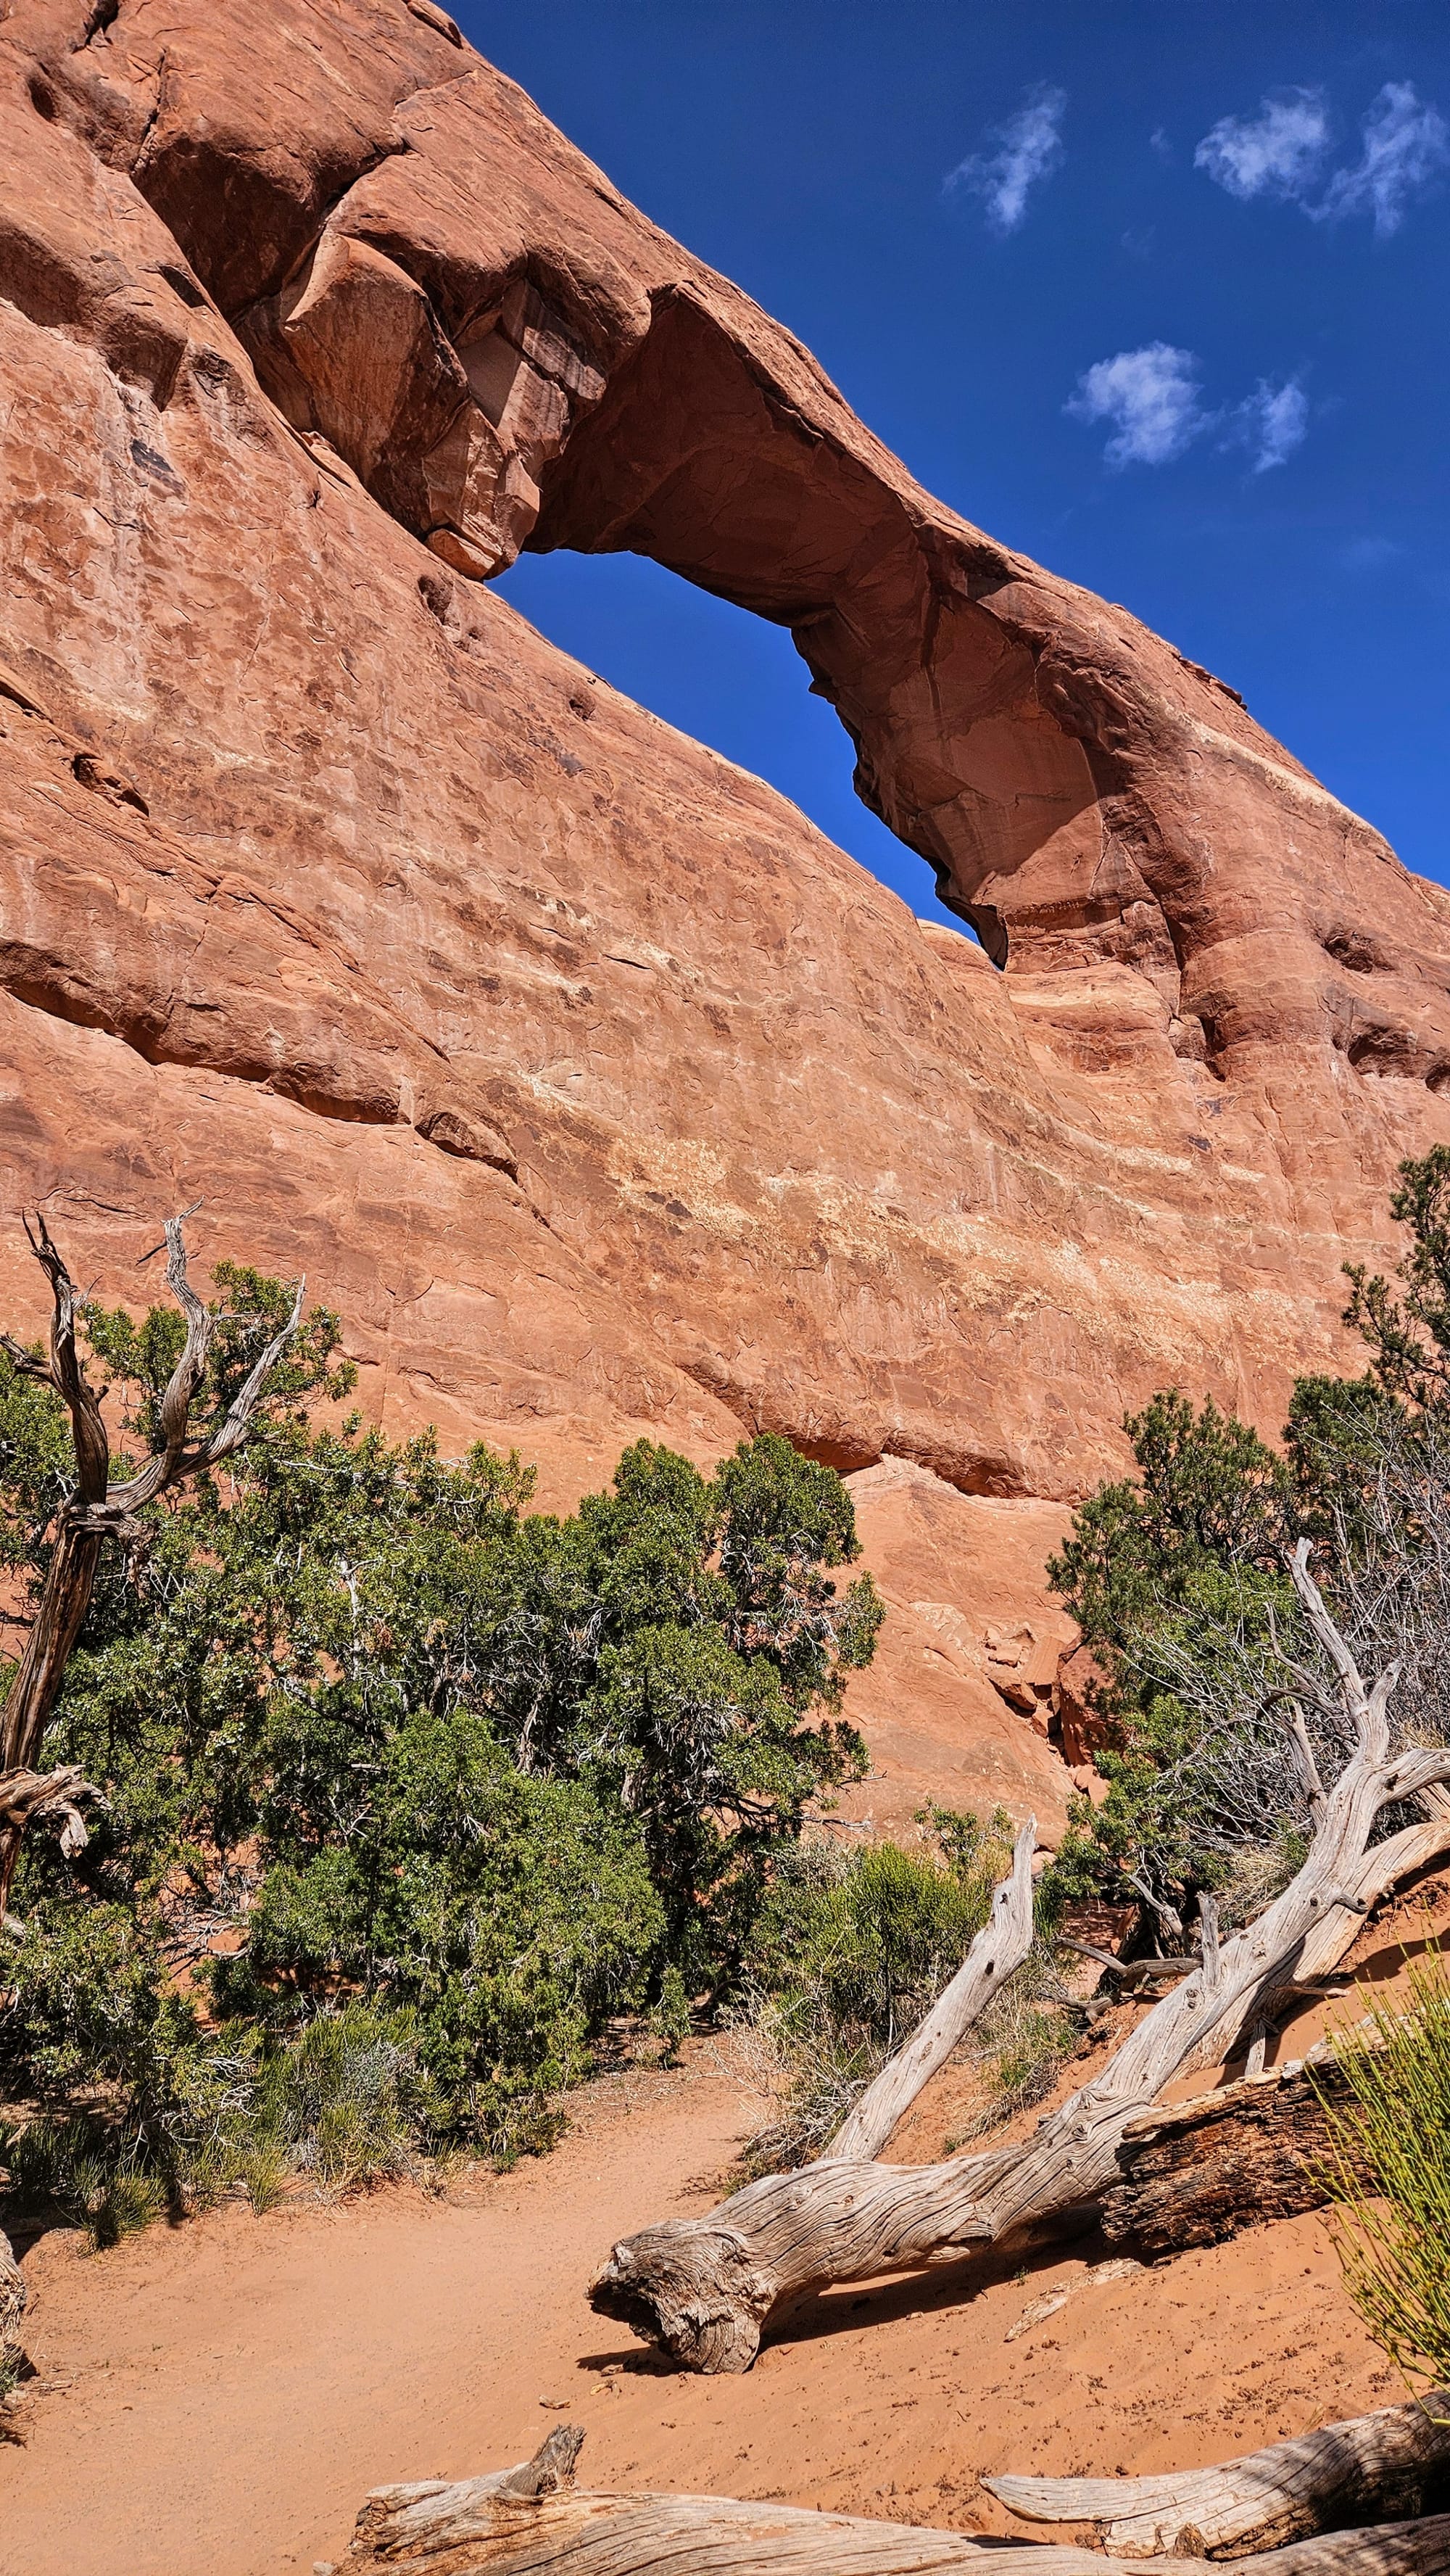
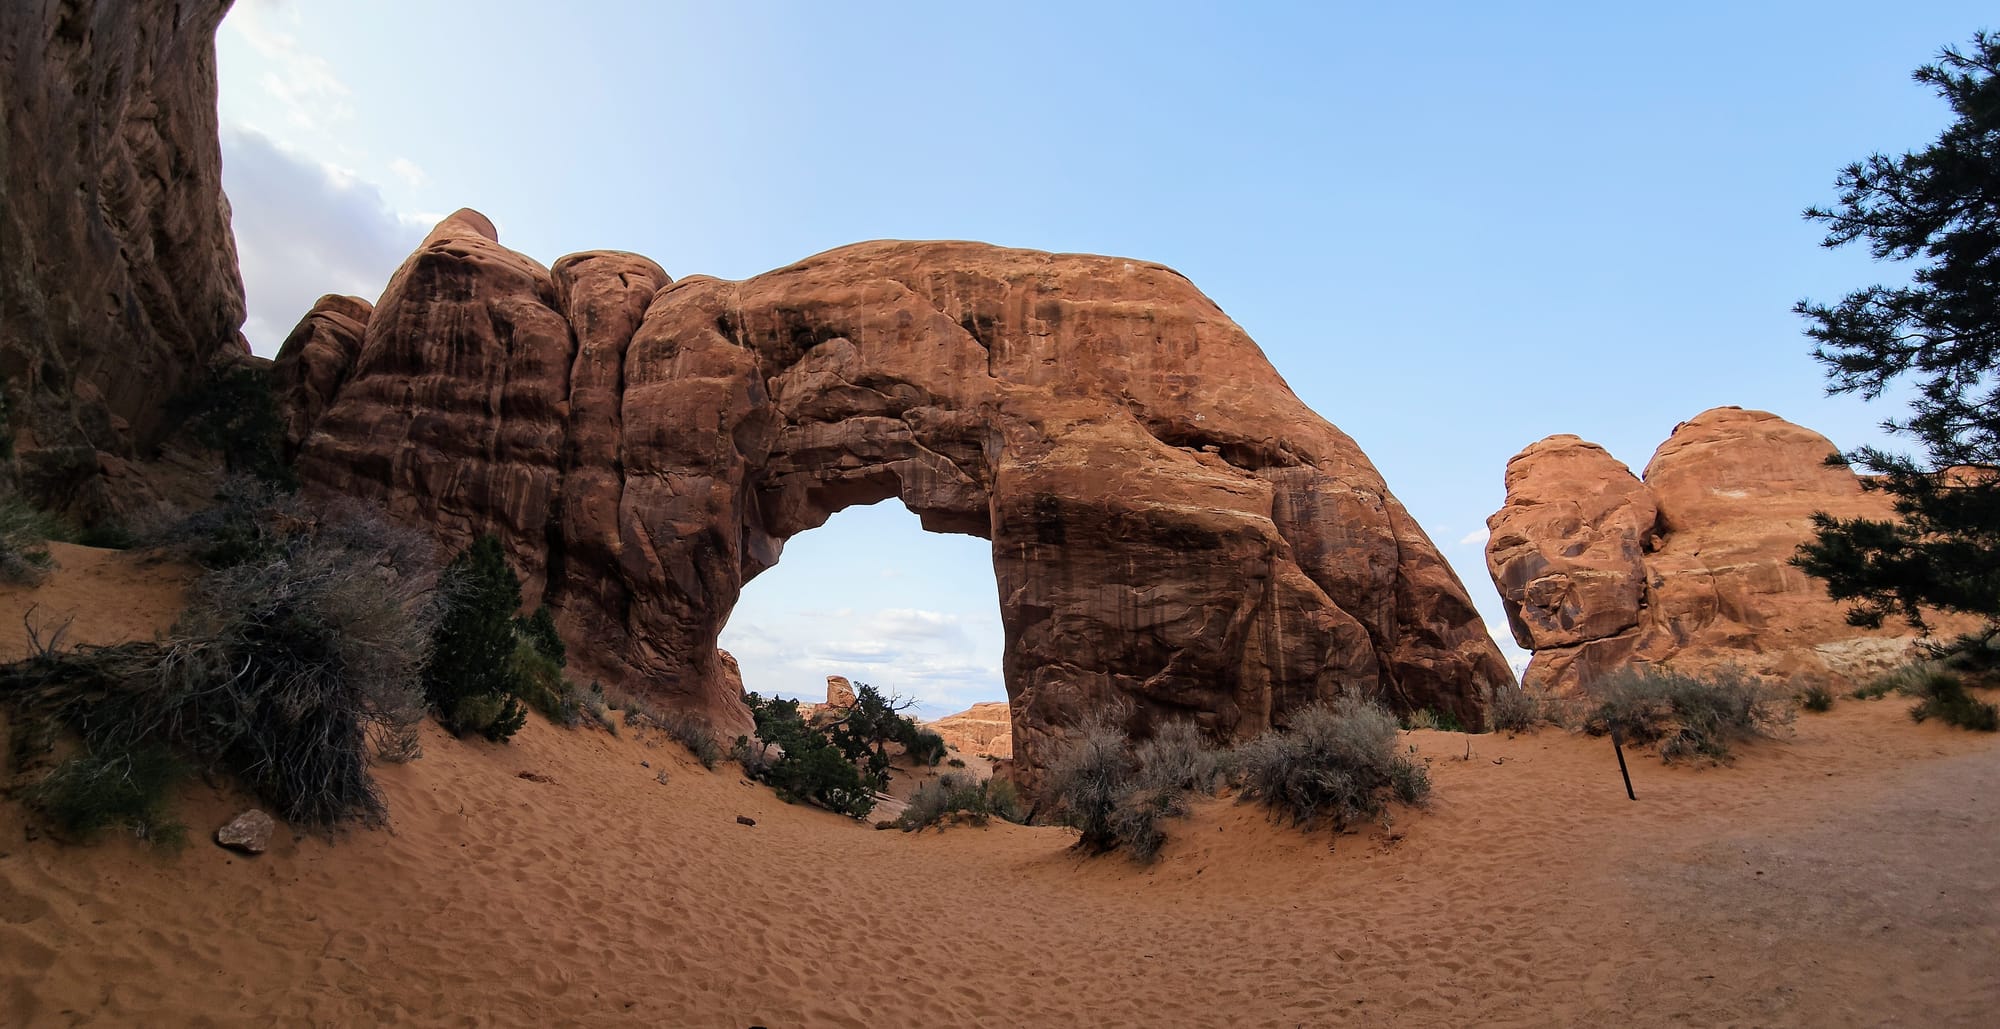
Turret Arch
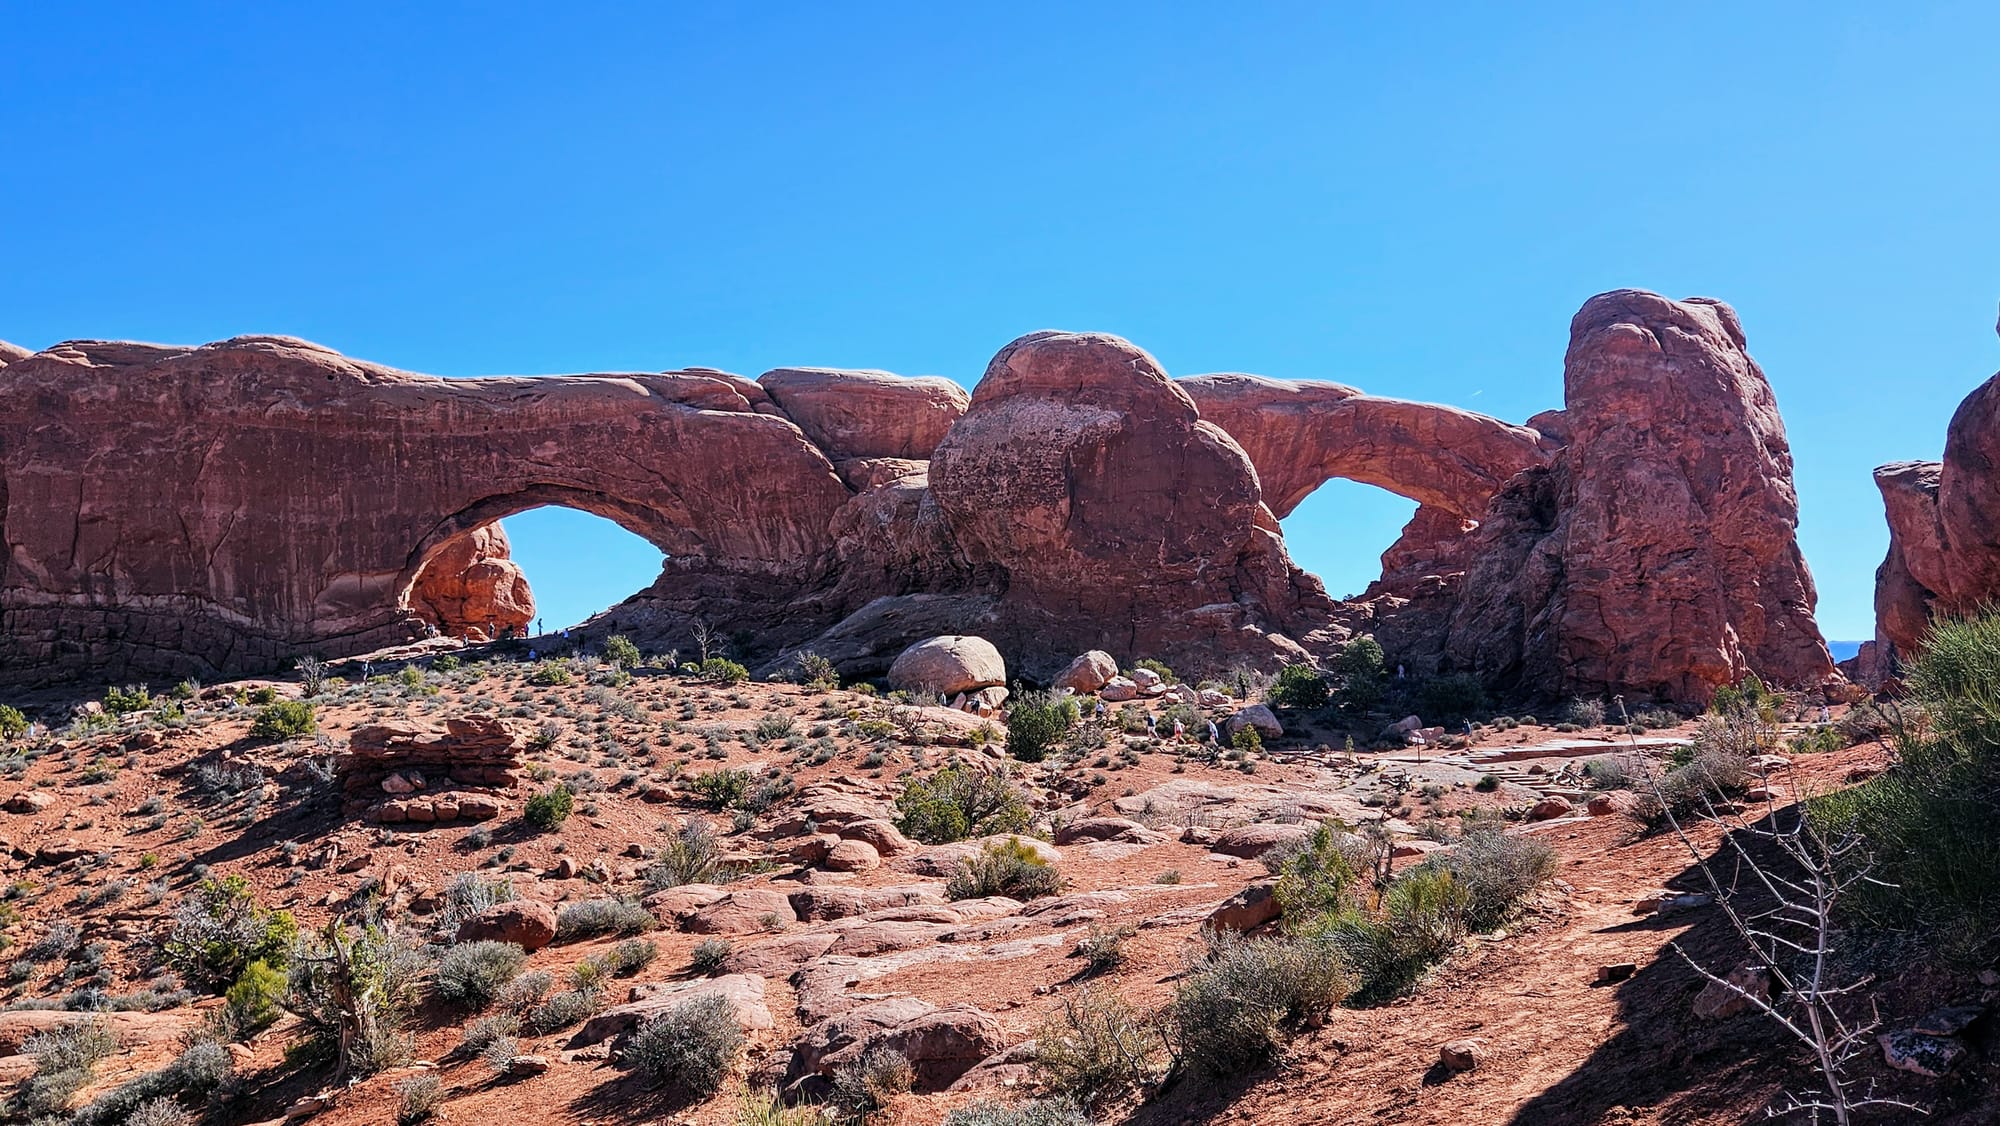
Distant views of The Windows Arches, named for their eye shape
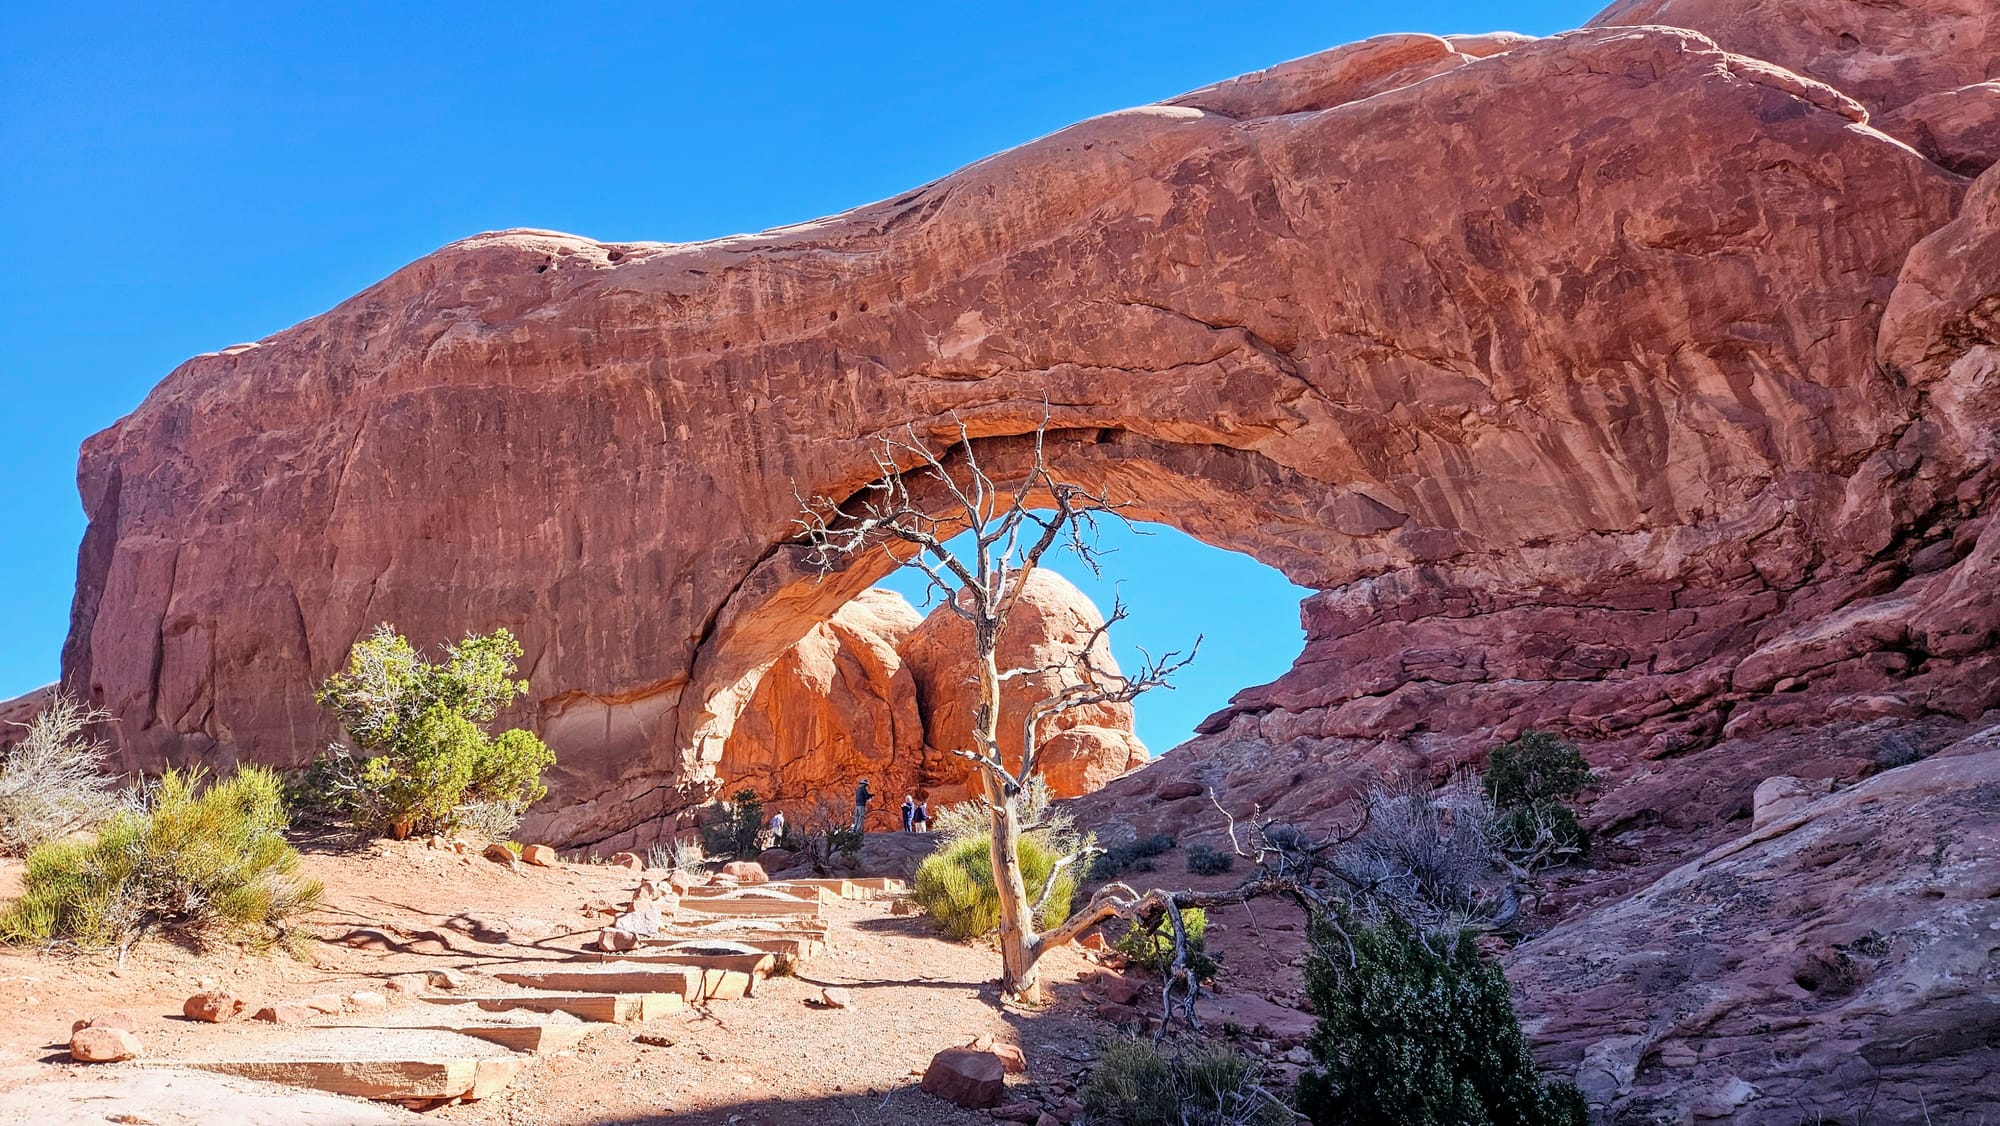
The Windows from the main trail
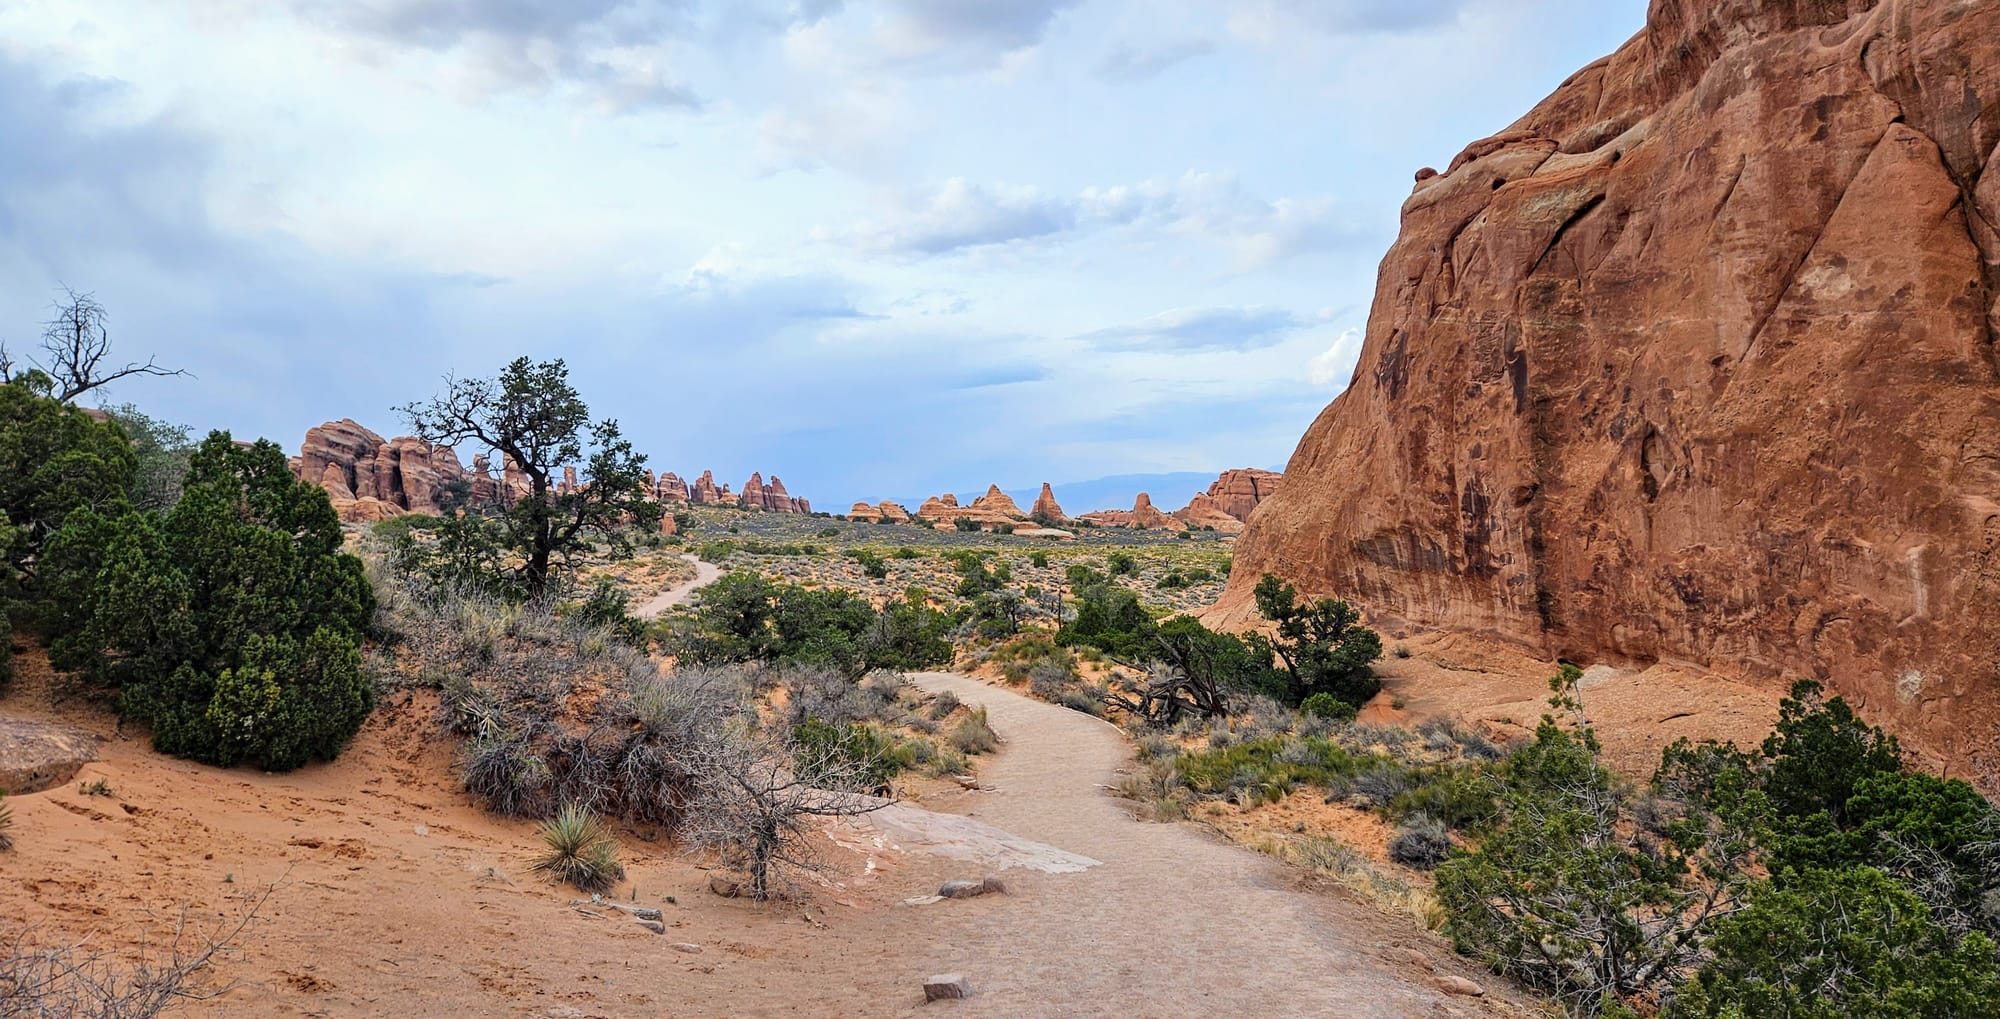
Views from the primitive trail
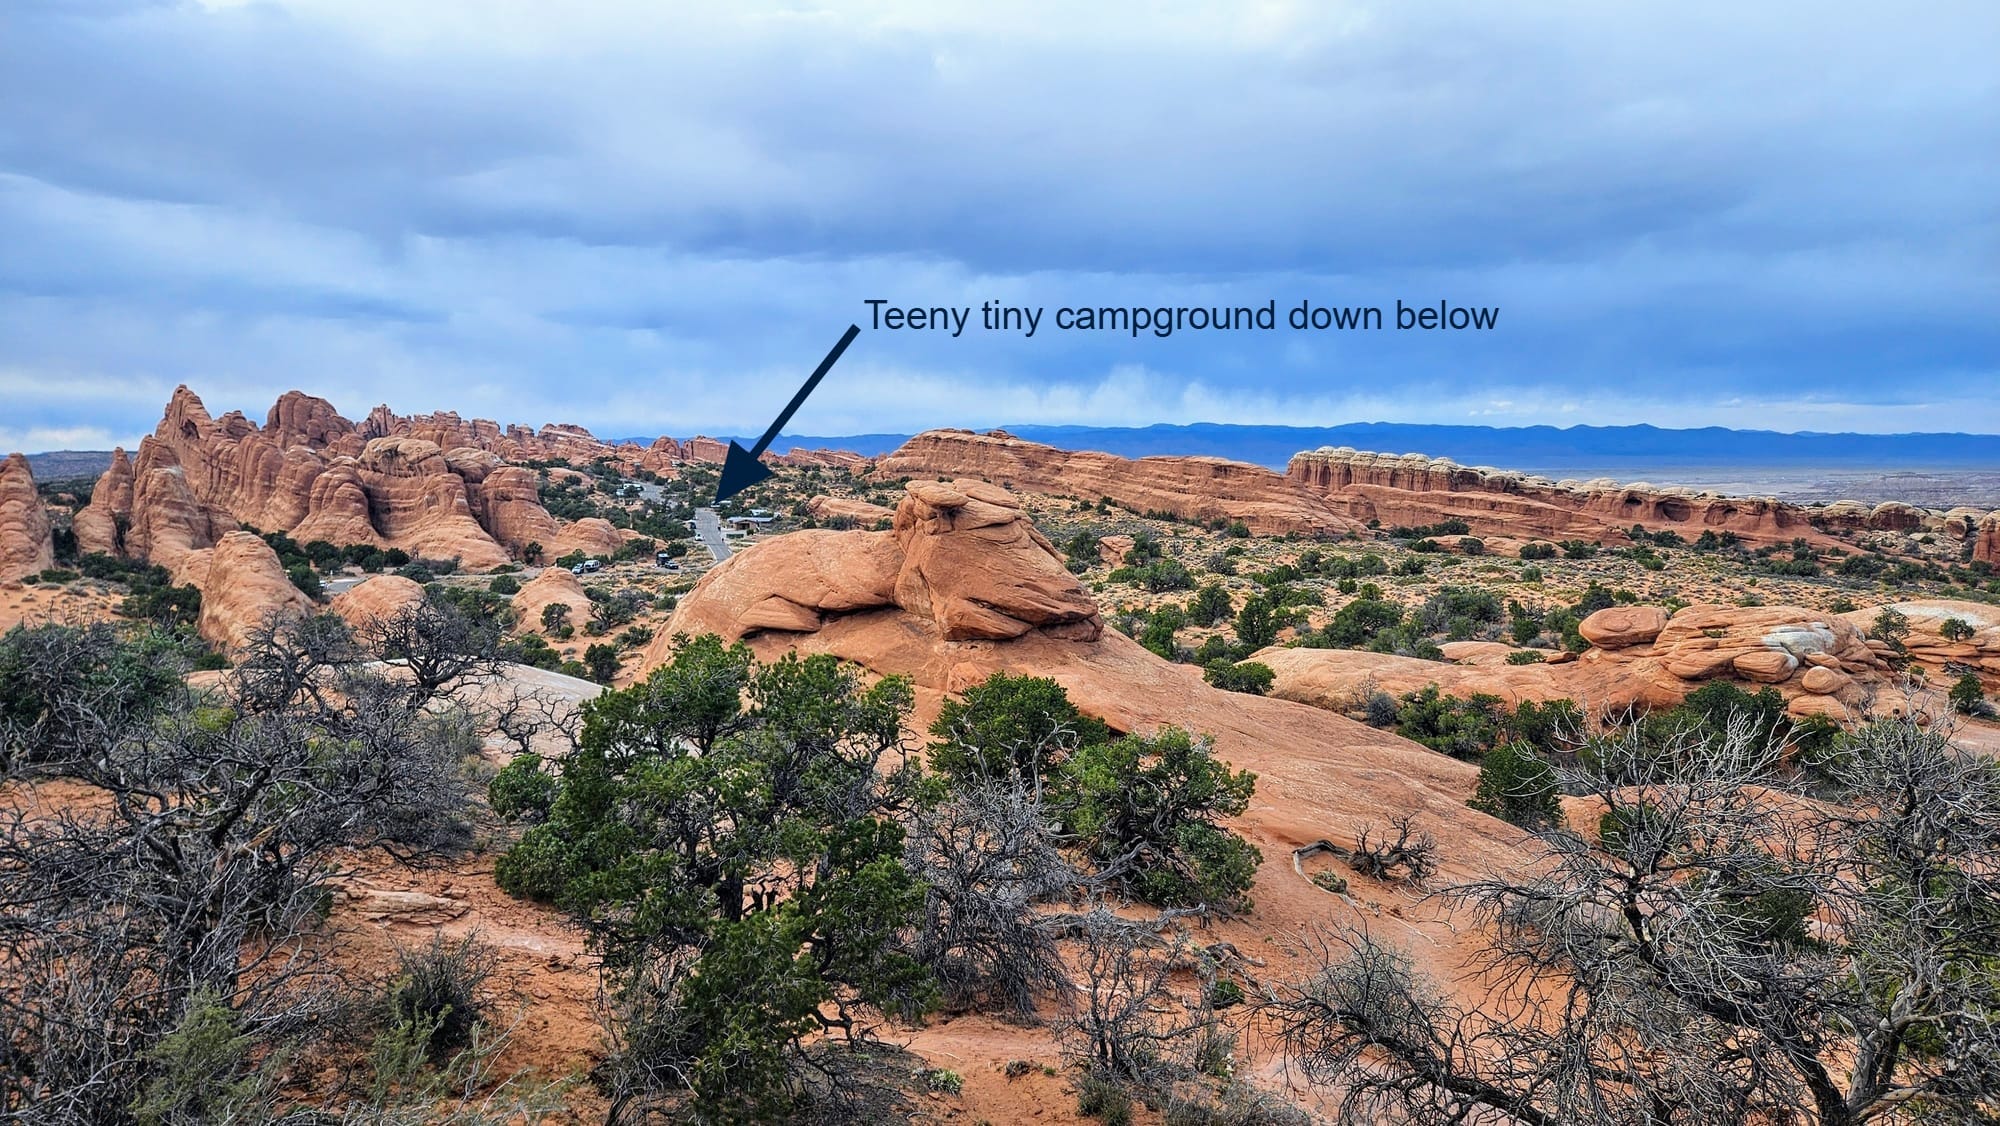
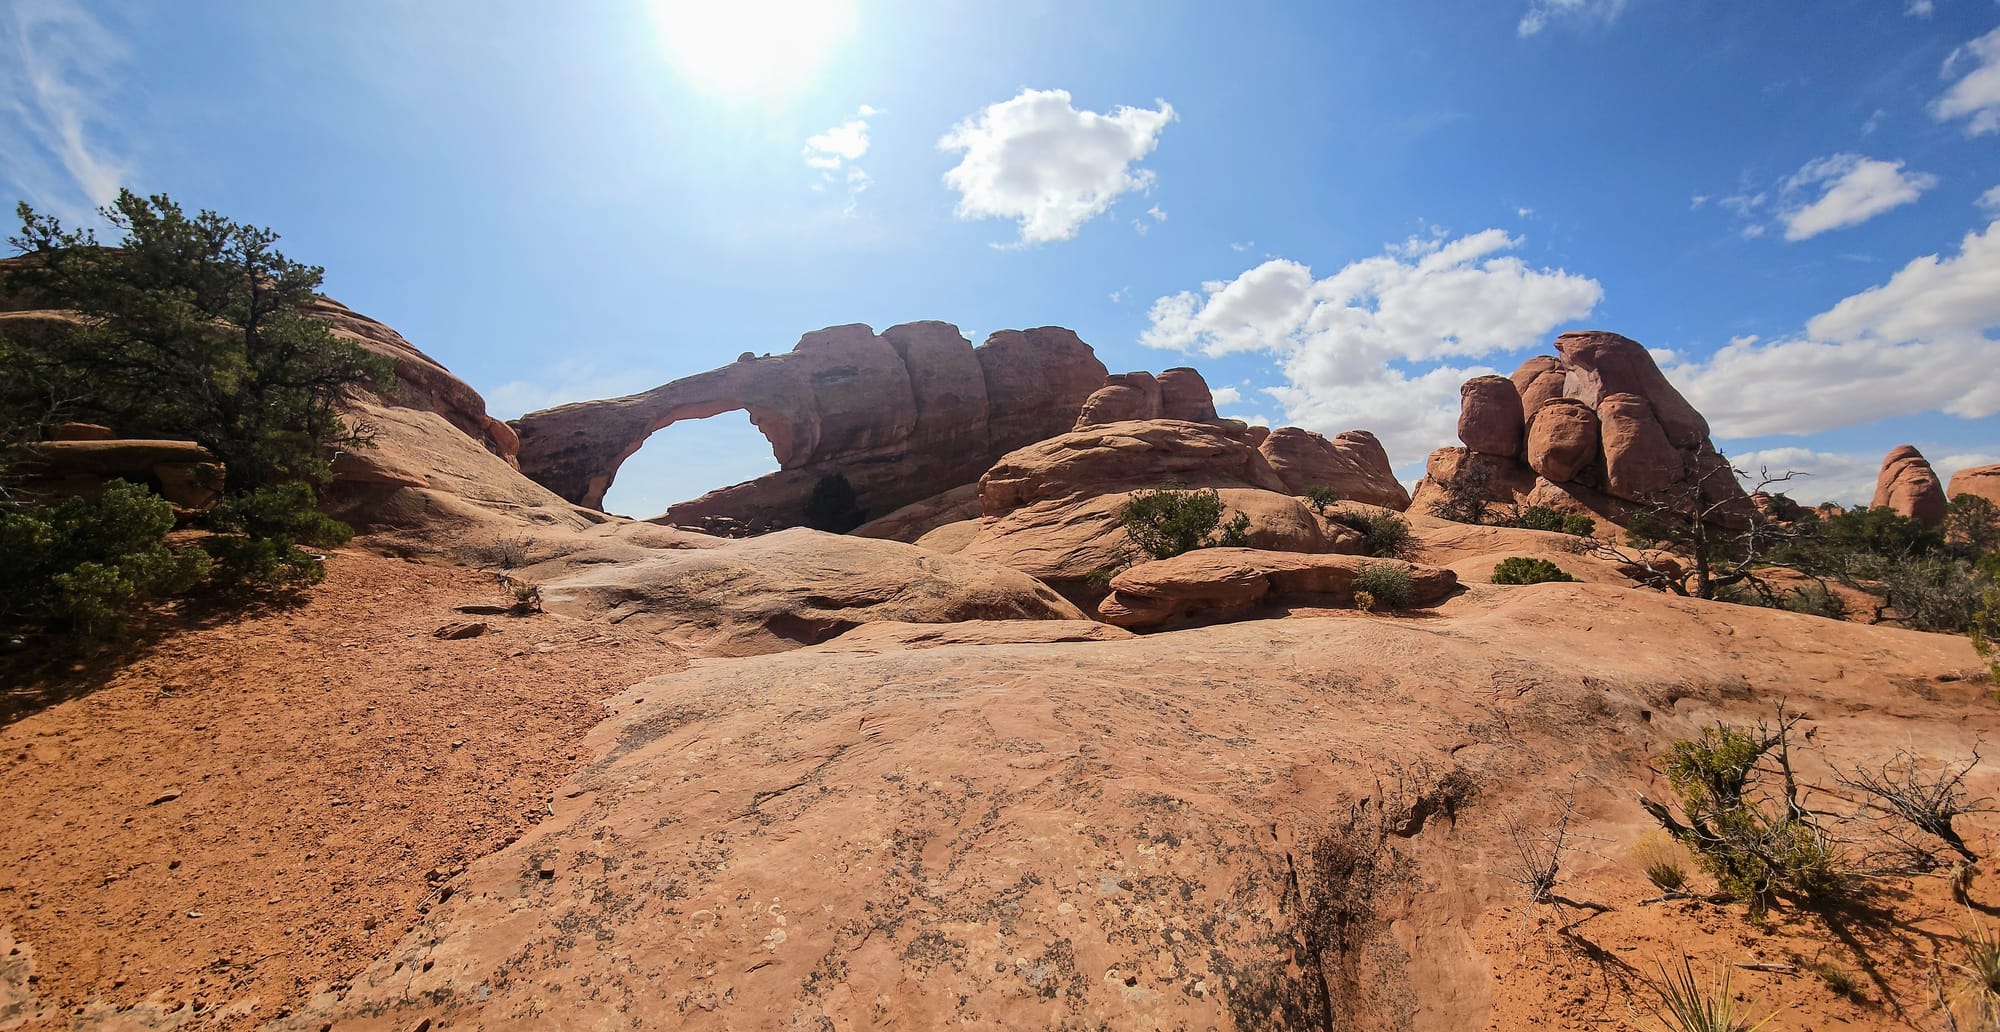
After these hikes, we knew that relying on a weekday wouldn't be enough to avoid the crowds. We planned to do our remaining hikes either in the early morning or evening. We hoped the next one wouldn't be crowded anyway, as the trailhead is located in the campground, nestled far into the national park.
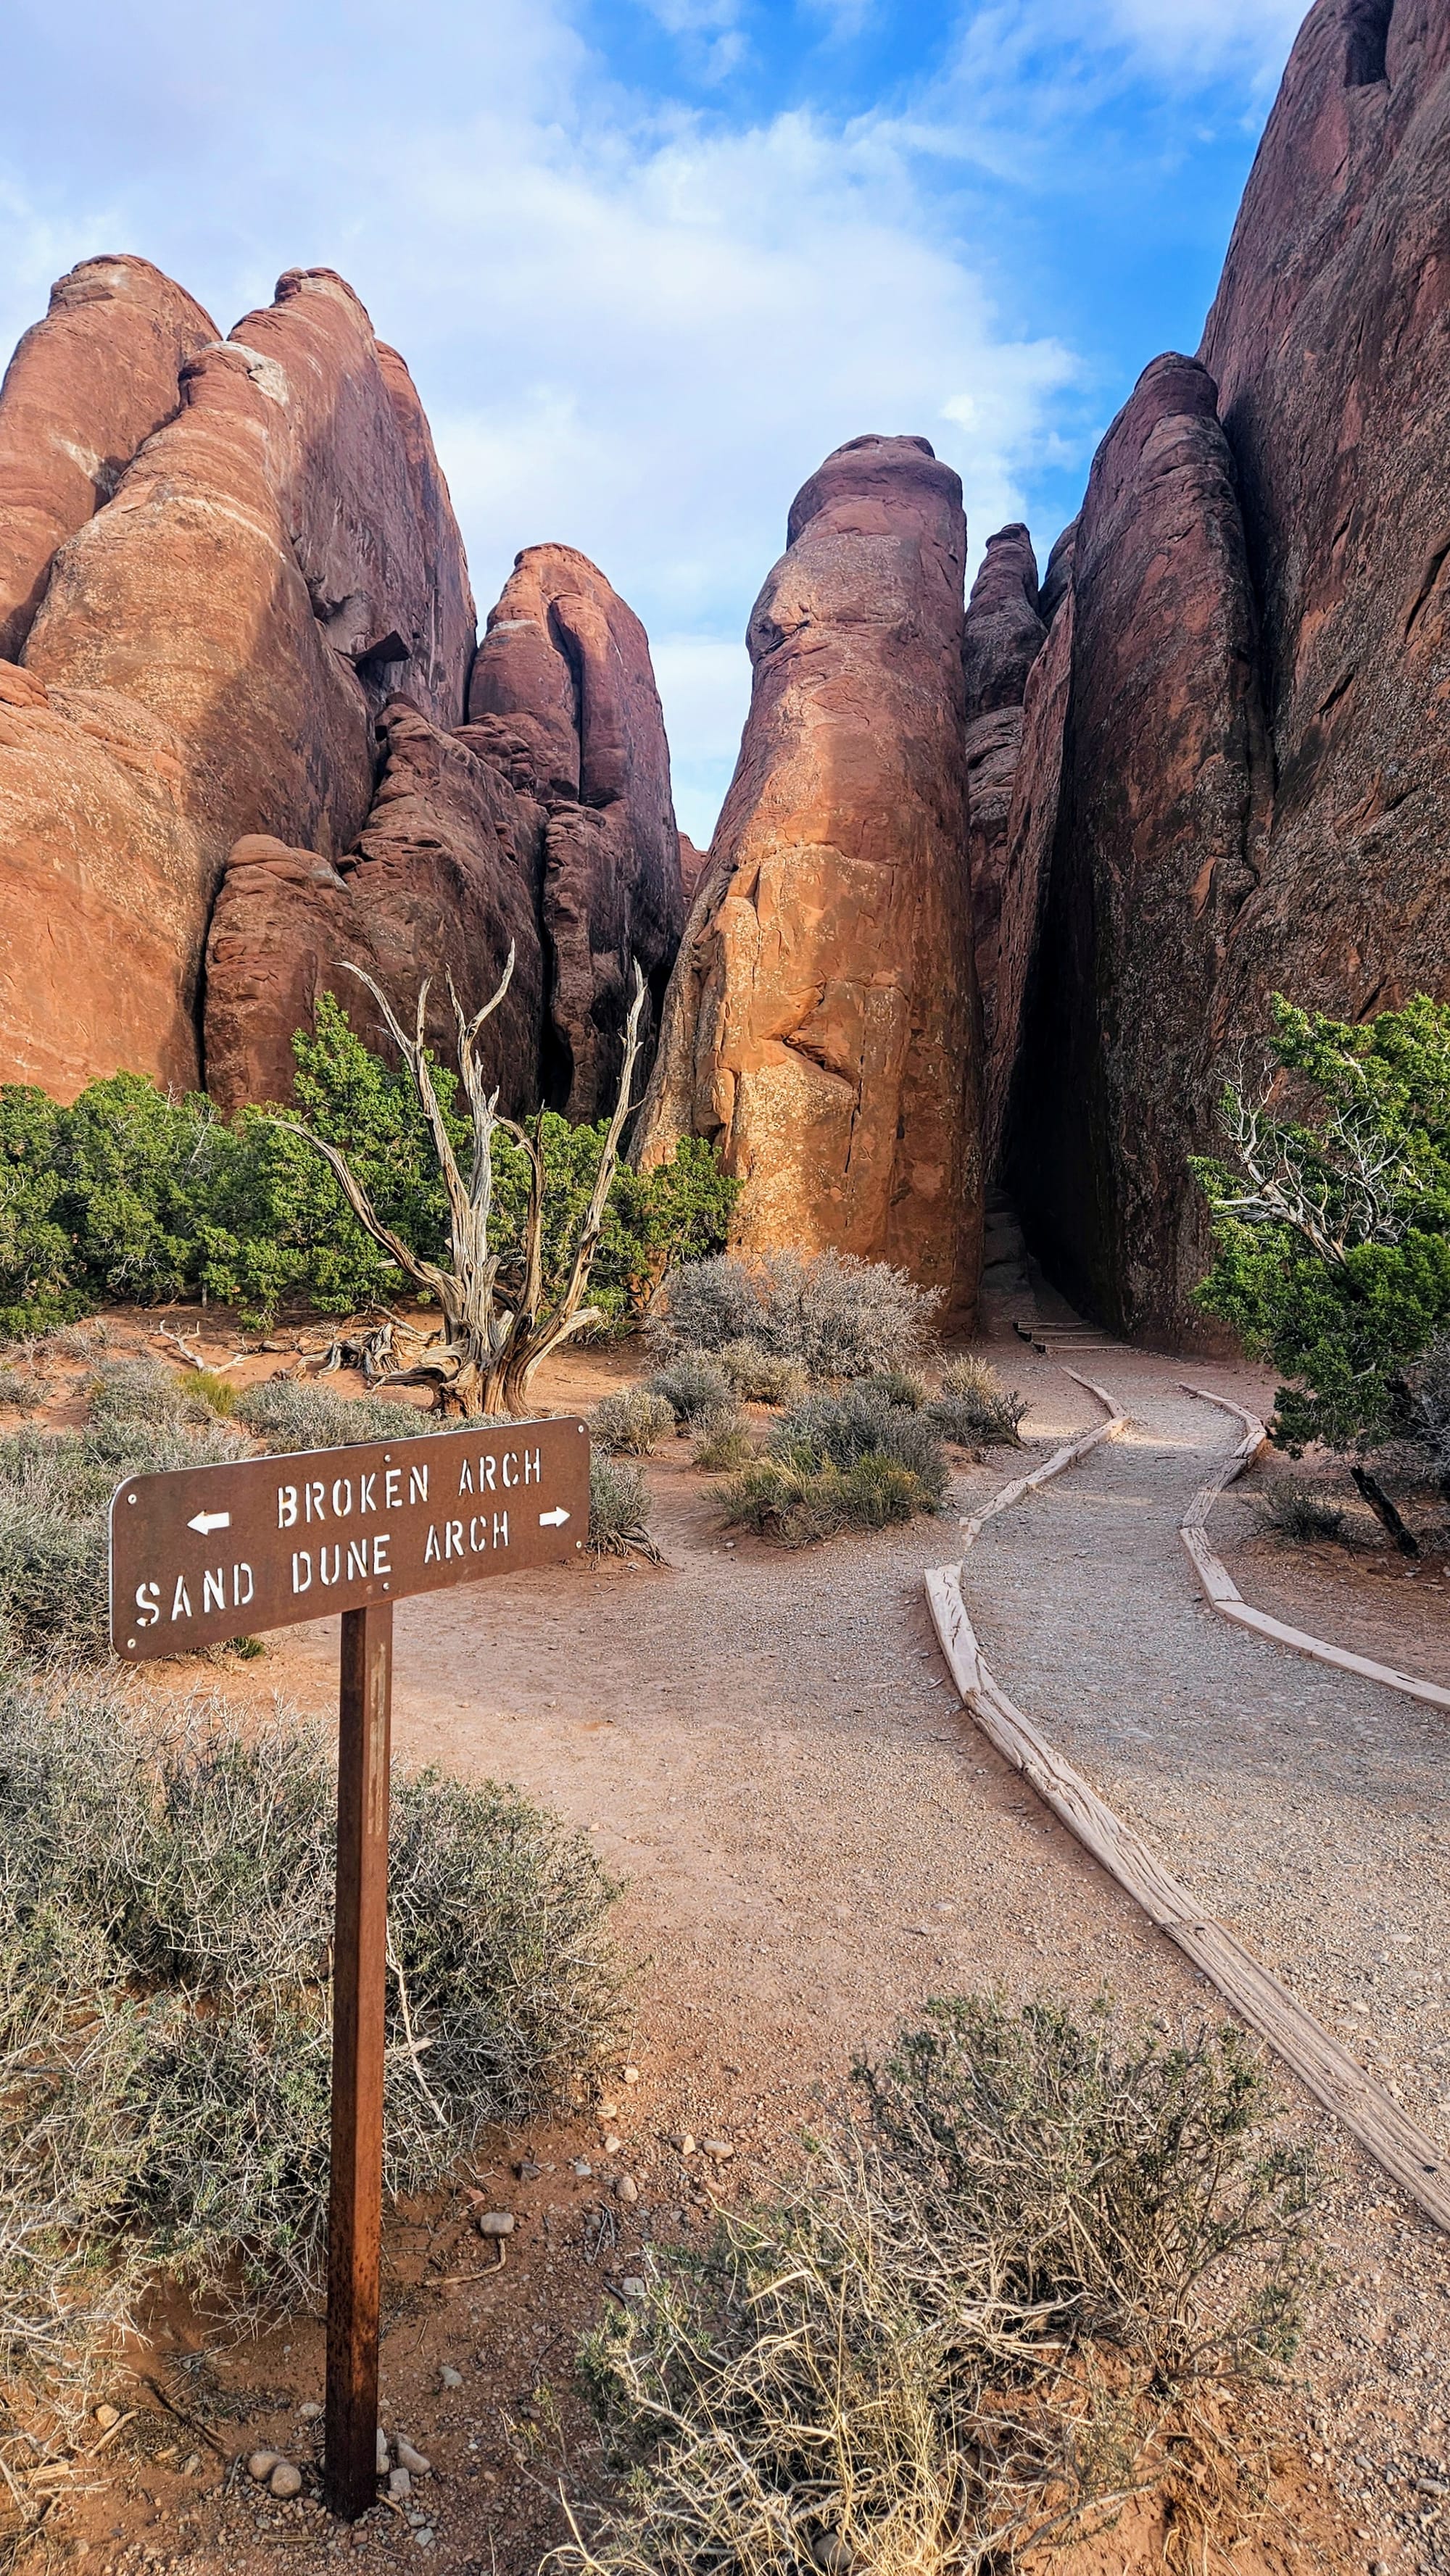
Tapestry Arch, Broken Arch, and Sand Dune Arch
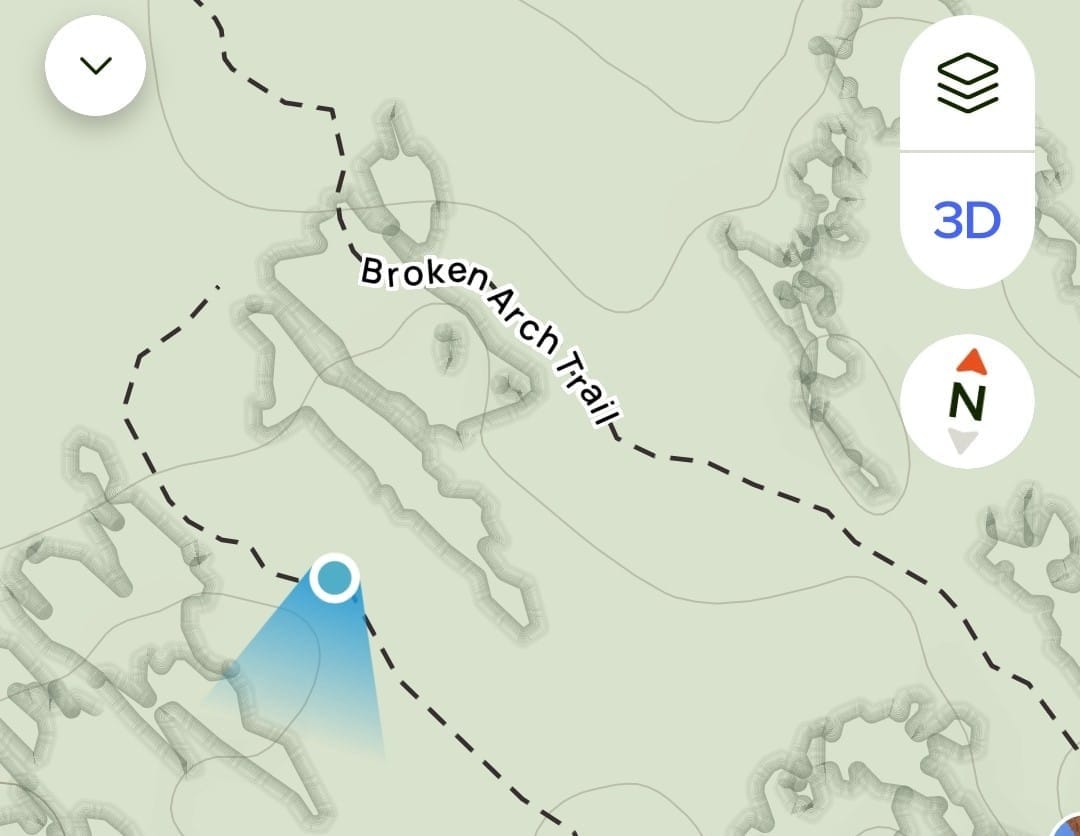
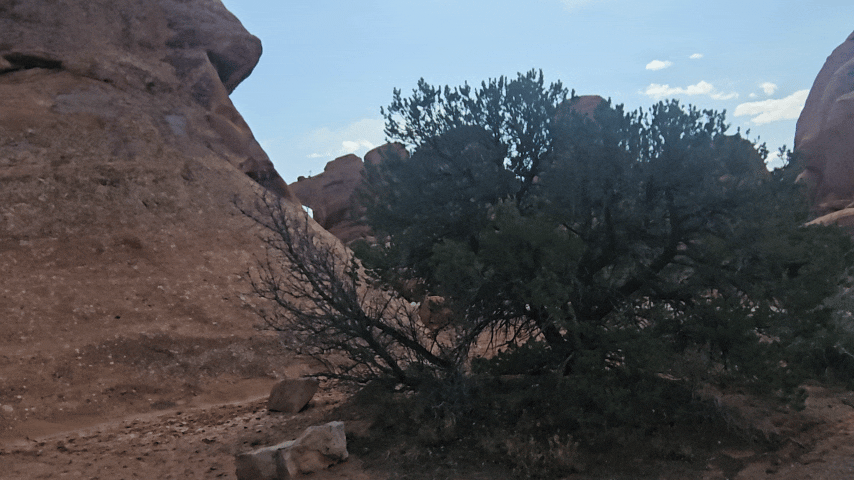
There is a way to hike to these arches from outside the campground, starting at the Sand Dune Arch trailhead. This would be the trail to follow. Because we started from inside the campground, we first hiked to Tapestry Arch, named for its resemblance to curtain draperies. The arch wasn't our favorite, but the trail was unique. This part of the park is very sandy and also has more greenery.
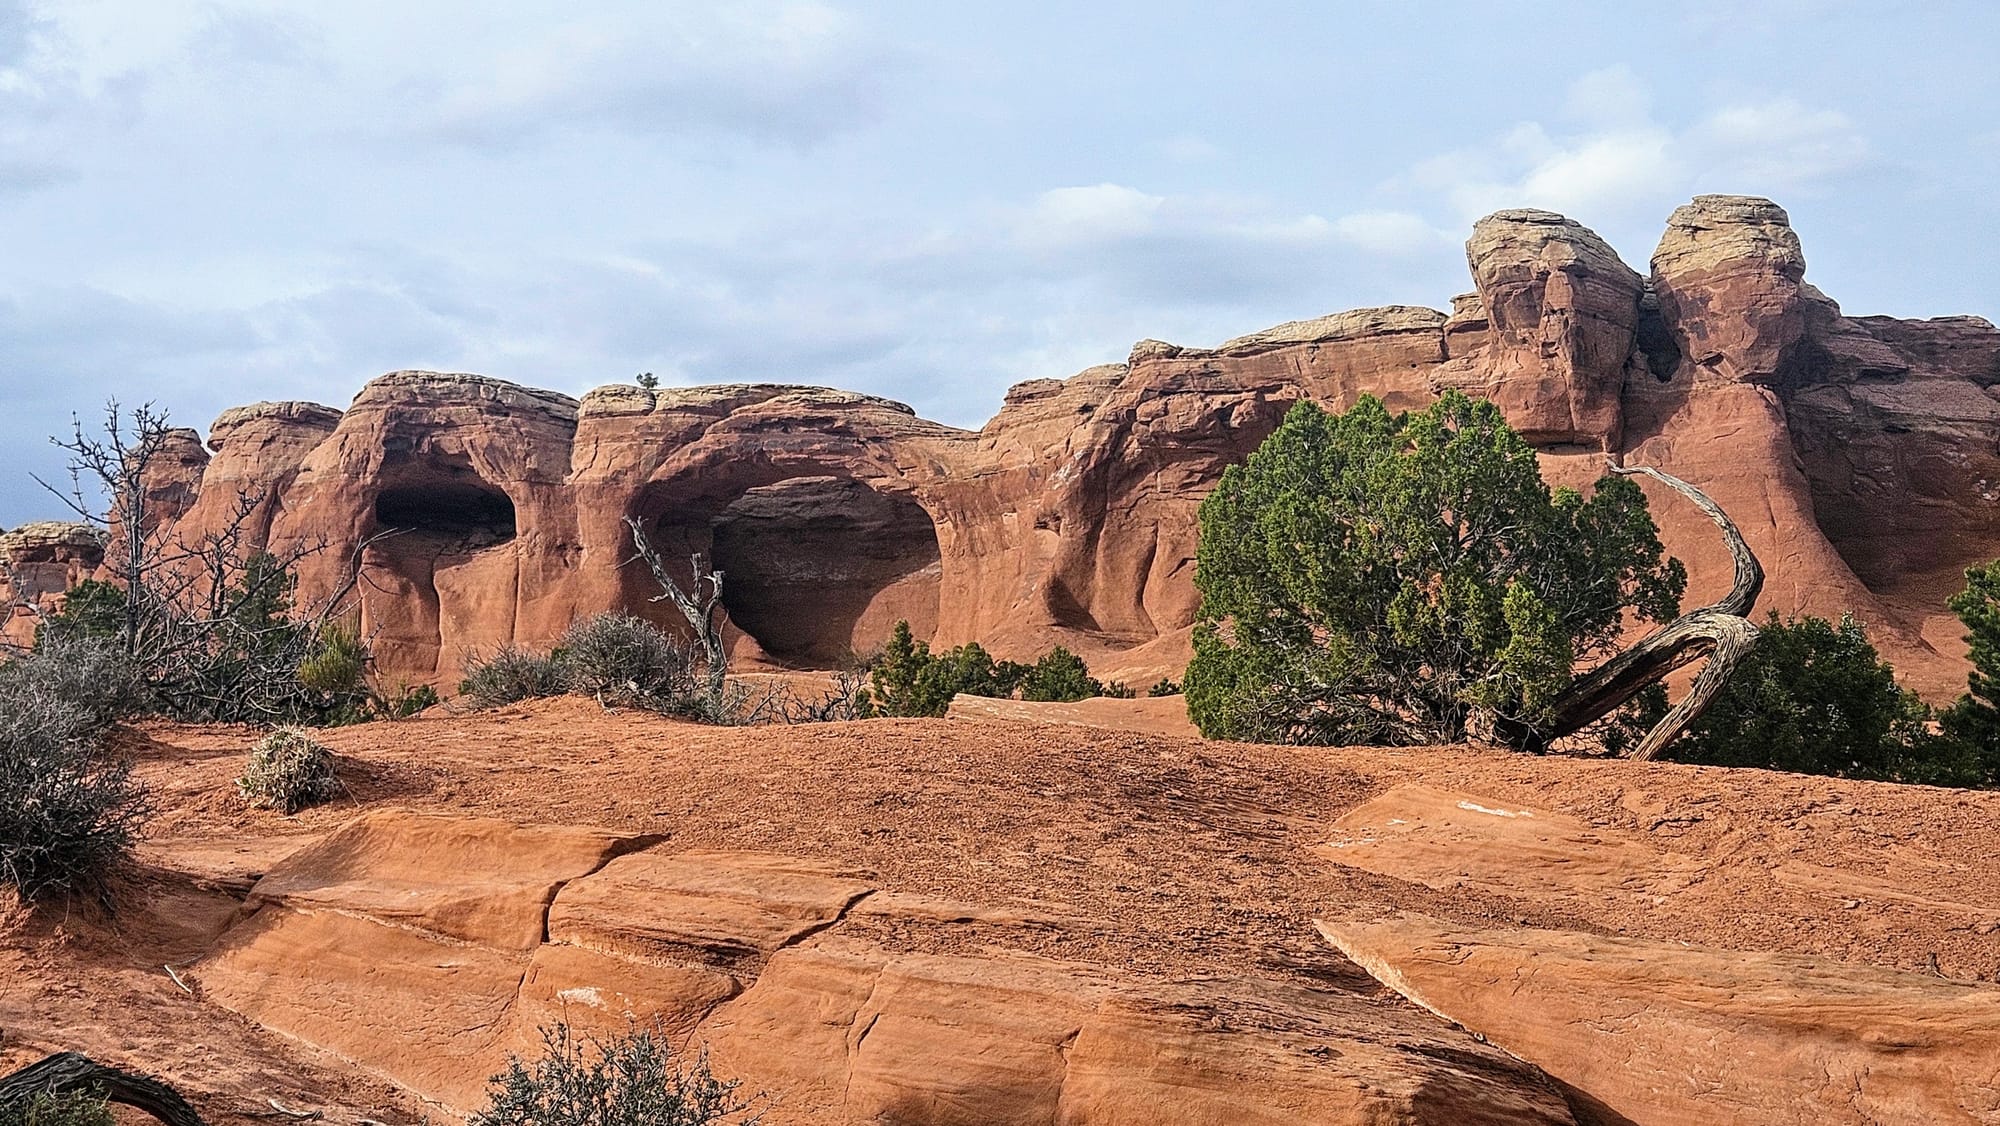
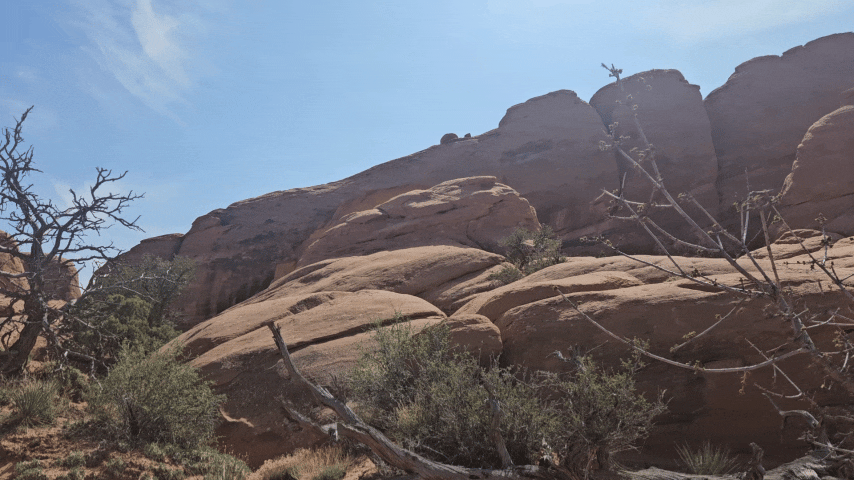
Finding Broken Arch proved a little difficult. One sign pointed us in the general direction, but after that, the trails got muddled. We couldn't figure out what was a real trail and what was run-off. Our trail map showed two different paths we could follow, but we could only find the cut-through that would force us to double back to Broken Arch. We assume the other trail followed some slick rock, but unlike with the sand, we can't see footprints on rock, and there's no carved path. We didn't want to risk climbing up the rocks if we didn't know where we were going. We also noticed that our GPS kept turning us around, so we couldn't rely on the compass to show us pointed in the right direction.
This cut-through took us on a lot of ups and downs, and parts were blocked by downed trees. After a lot of climbing, we made it through. The views kept us entertained along the way.
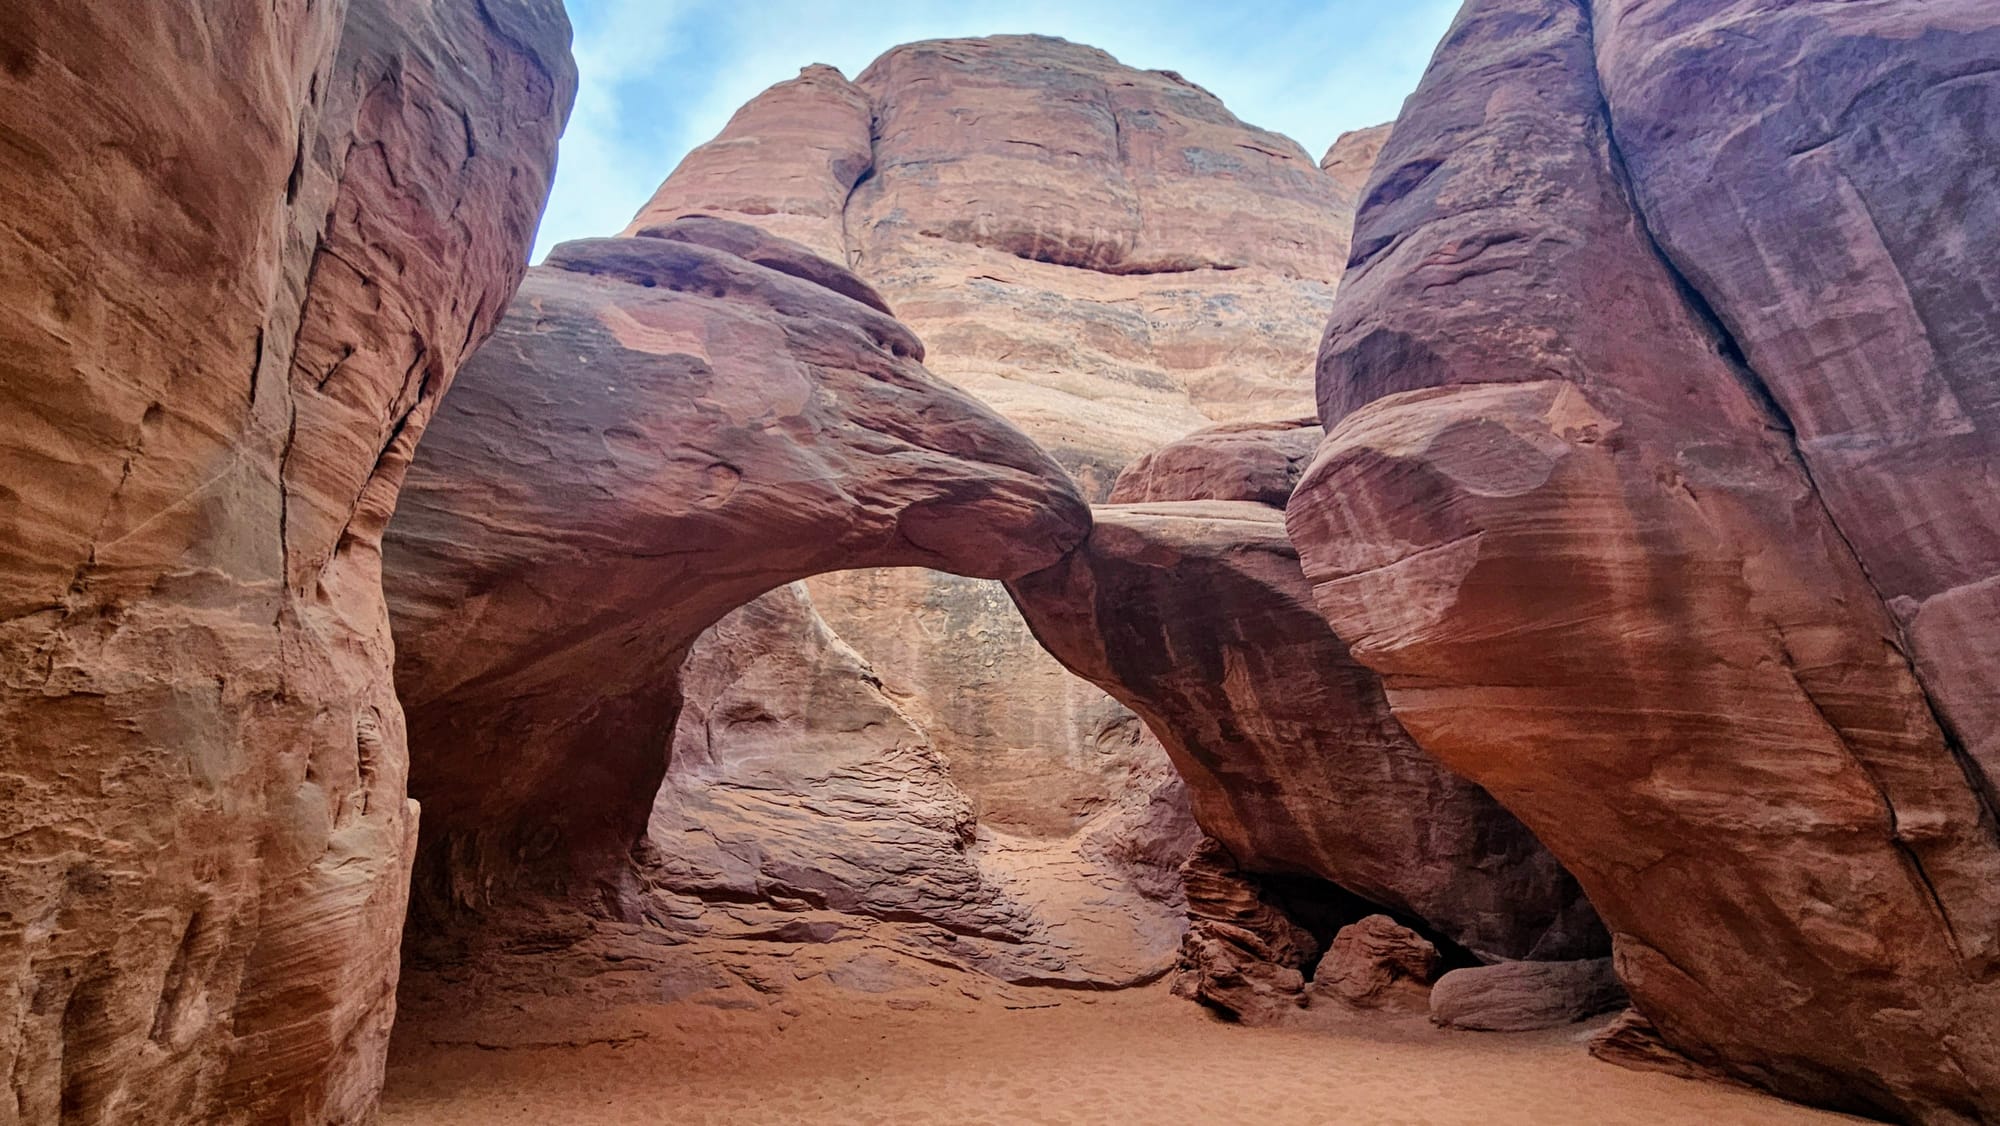
Broken Arch isn't one of the most sought-after formations in the park, and many people just see it from a distance when hiking to Sand Dune Arch. We, however, thought it was well worth the hike to see it up close. As the park website states, this arch isn't broken...yet. You can see a big seam causing an indentation in the top of the arch. The trail takes you through the arch, but we only went into it and then turned around because we wanted to continue onto Sand Dune Arch. No editing required on these pictures! We shared the arch with only two other people, who eventually went through and continued onward. We had a few minutes of alone time, right before a larger group came in.
Here is what Broken Arch looks like from a distance. To get this view, just go off the Sand Dune Arch trail by a few hundred feet.
I was especially excited to see Sand Dune Arch because it's hidden in an alcove of other rock formations. As the name states, it's surrounded by sand. To get to the arch, you can choose to go through a rock crevice or go around. We took the crevice on our way in and went around it on our way out.
This arch is a short walk from the parking lot, so even in the early evening, it was crowded. Once again, people abused their time at the arch, sitting in the sand right in front of it, leaving their belongings underneath it, and spending far too much time climbing underneath it when other people were waiting to take pictures. This was disappointing because the location of this arch feels so secluded, but people take it for granted and the seclusion quickly dissipates.

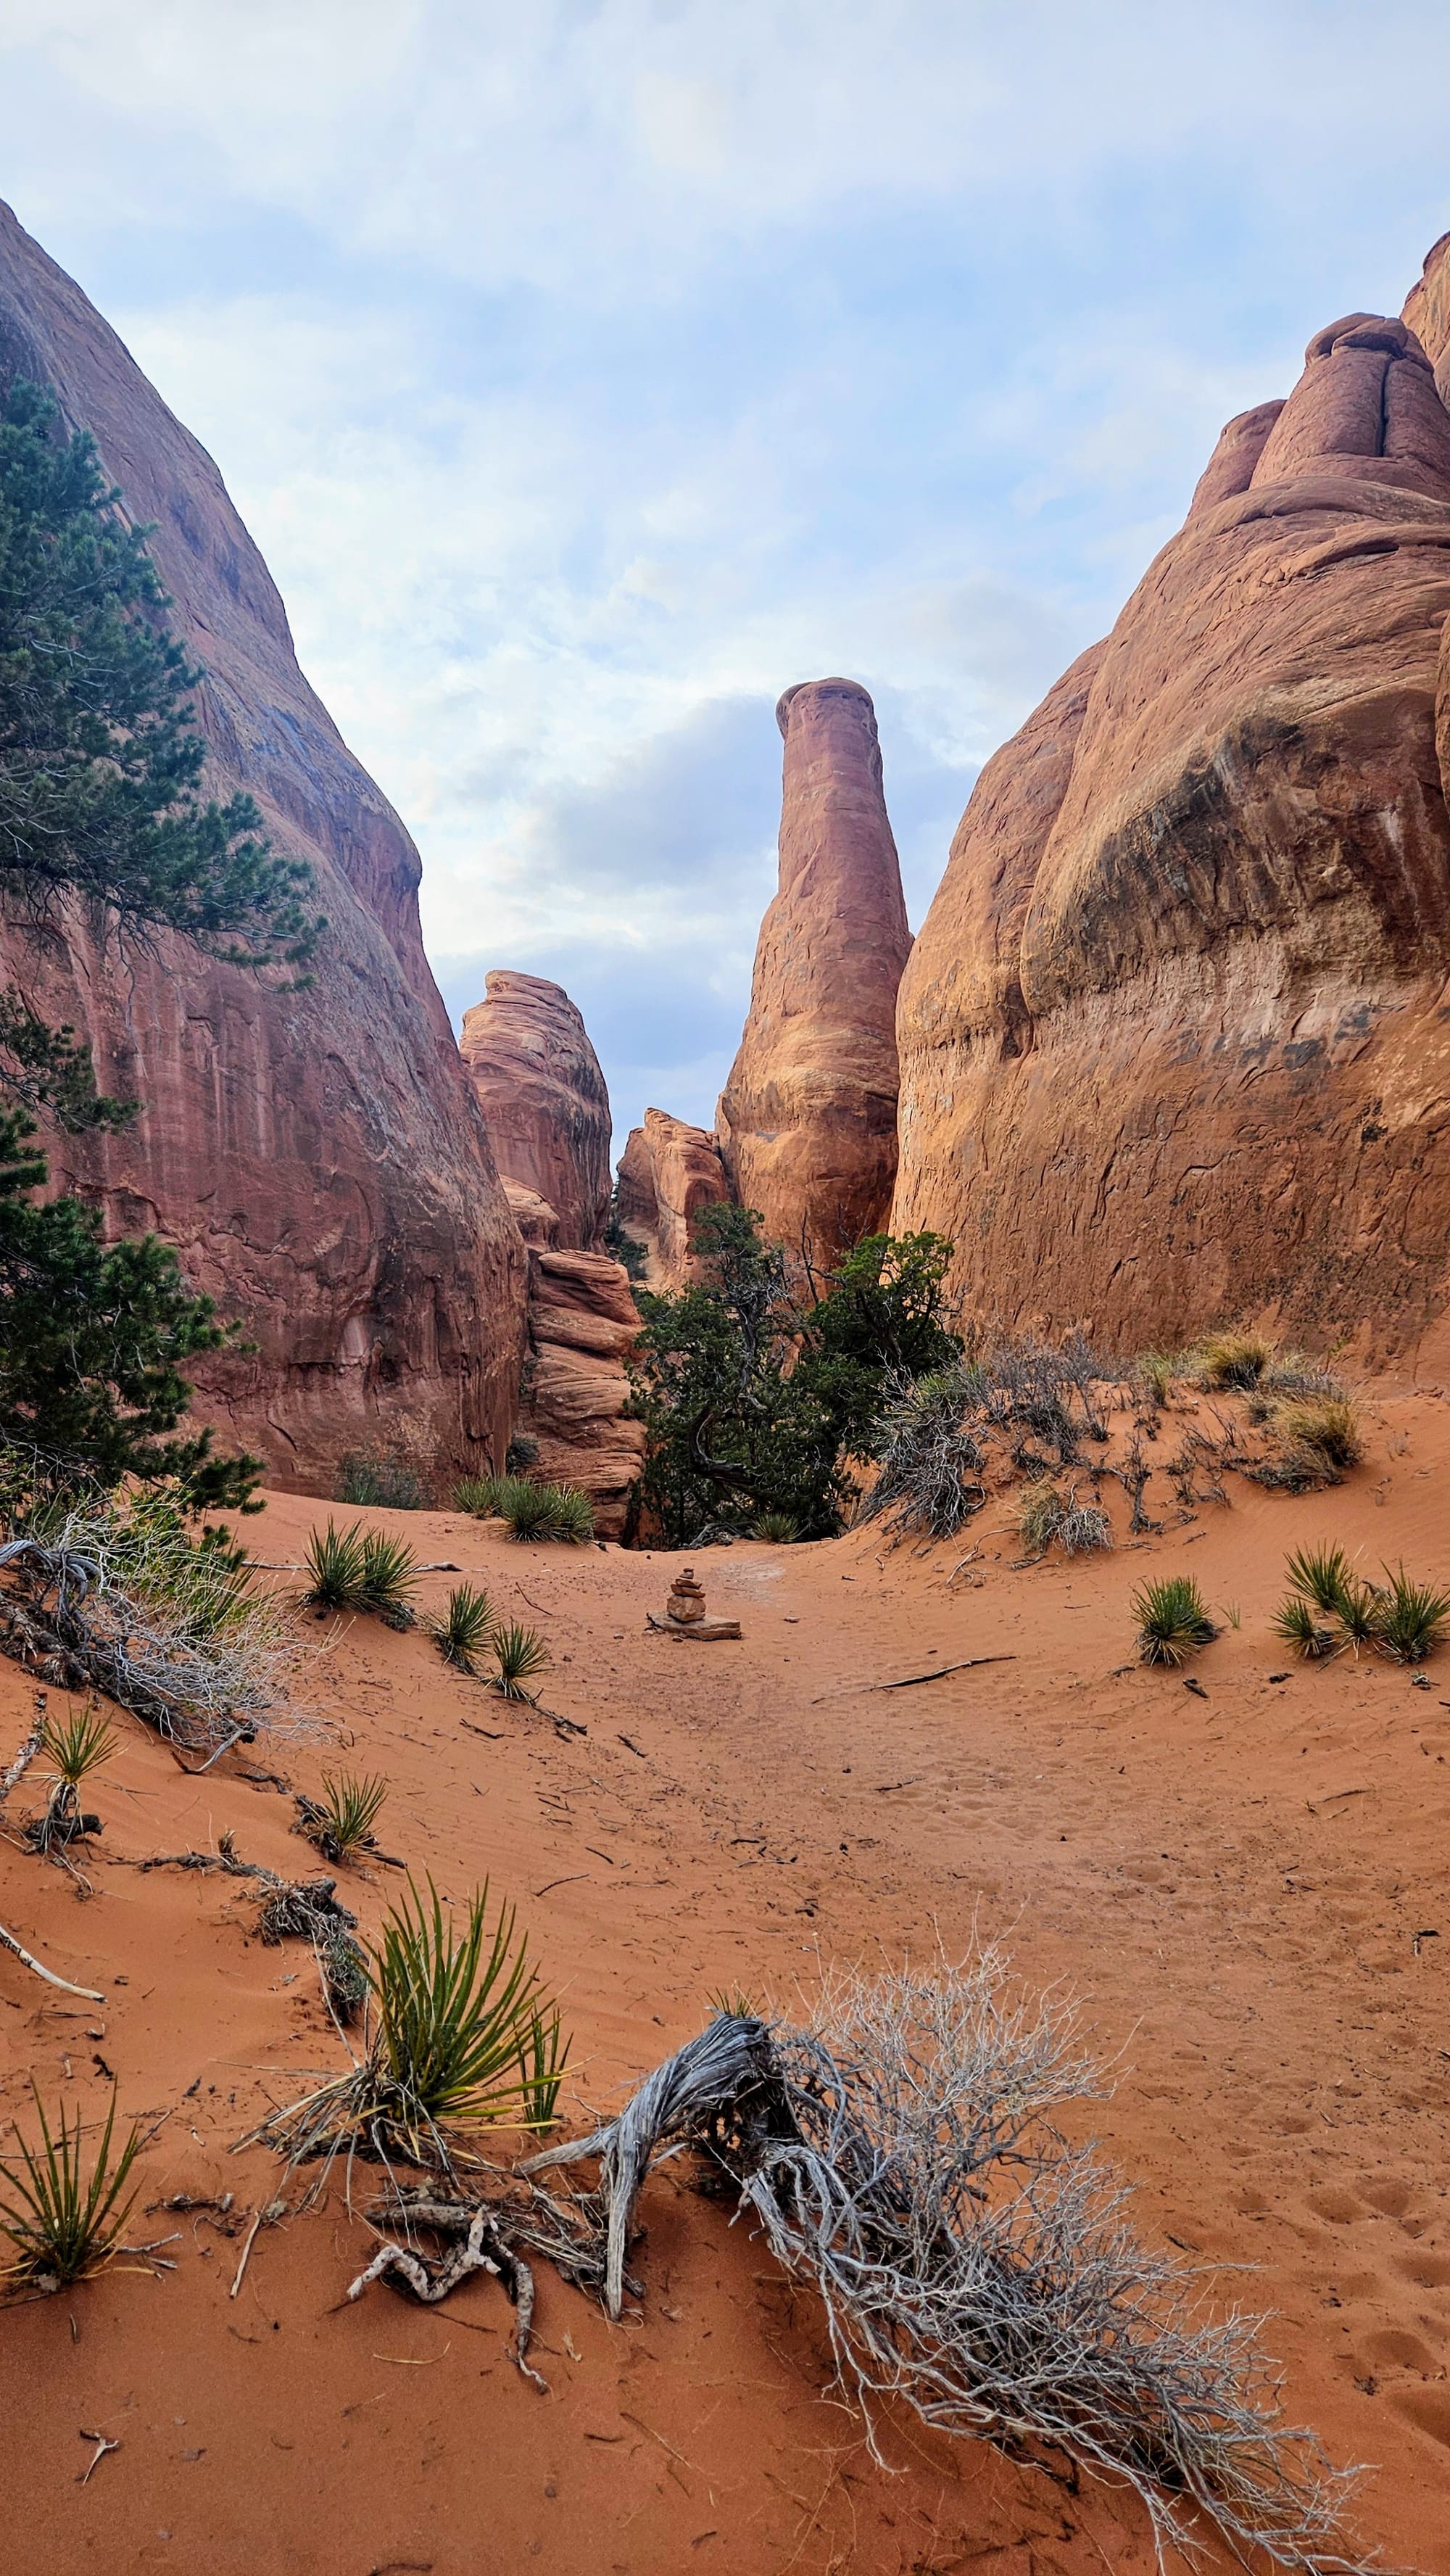
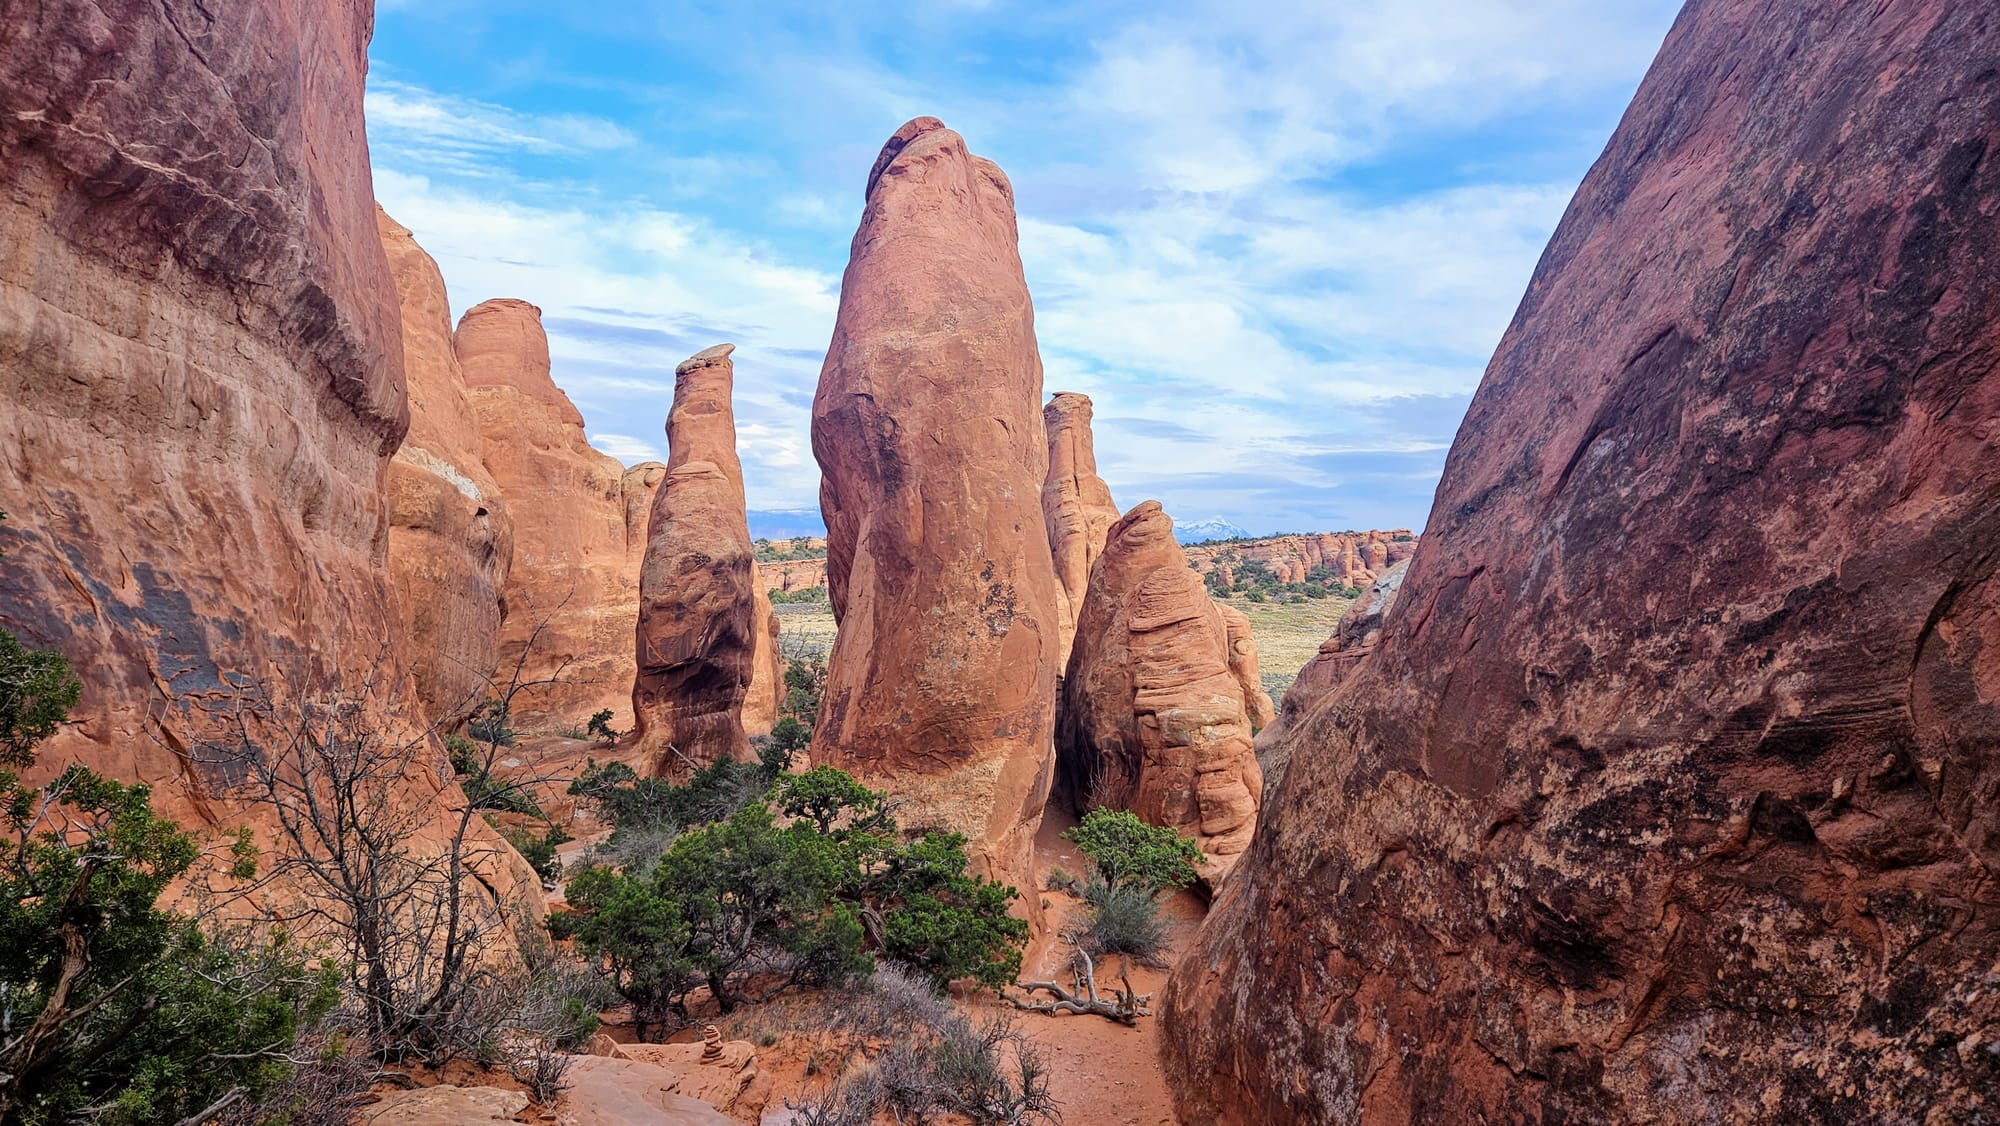
We thought our adventure was over, but the trail leading back to the campground was an adventure in itself! We needed to climb up tons of rocks and would have easily gotten lost, but thankfully there were cairns helping to guide us. We went into crevices, up on rock faces, and down into coves surrounded by trees. It was only about a half-mile, but it was jam-packed with little obstacles.
We ended up clocking a surprising 3.78 miles on this hike, including our walk to and from our campsite. We expected it to be shorter, but we saw so many views, arches, and other features, that the extra distance was well worth it. Leaving from the Sand Dune Arch trailhead would cut the distance down. Whether you start from the campground or the Sand Dune Arch parking lot, we recommend at least going to Sand Dune Arch and Broken Arch. If you don't want to hike further to see Tapestry Arch up close, this one can be skipped. There are lots of places to see Tapestry Arch from afar, but if you're up for some climbing, we recommend taking part of the spur that leads back to the campground. These views offer a lot of reward for the effort.
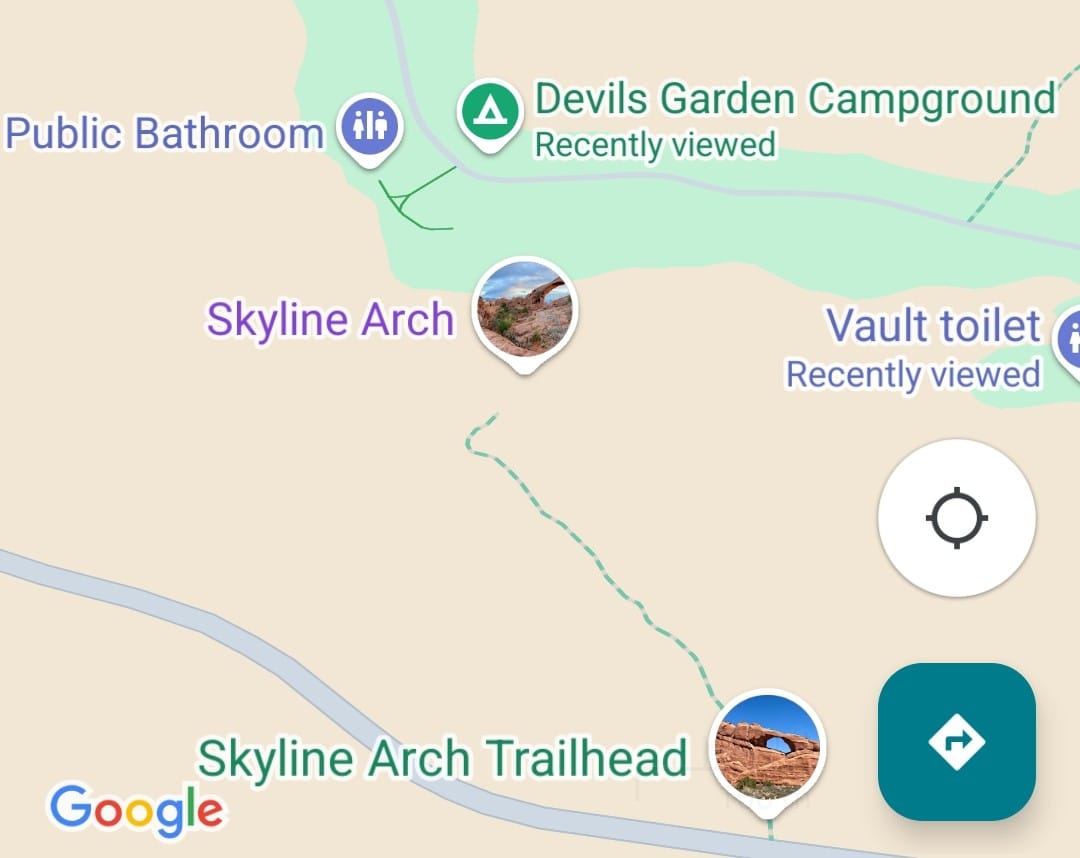
Skyline Arch from two vantage points
In the last post, we showed that you can see Skyline Arch from the road.
There is also a short trail that leads from the park entrance road. The views of the arch were fine from a distance, but as soon as you get close enough to see it, you're too low to fully appreciate it.
We, however, found a much more private vantage point that we liked a lot better. I noticed on Google Maps that Skyline Arch seemed very close to the campground, and I wondered if our campground walks would allow us a view.
Then I forgot about it, until we explored the campground one evening. We walked down to the far end of the loop, realizing the incredible views that some of the other campsites have (lucky duckies!). Then, on the way back, I asked Anthony if he wanted to check out the amphitheater. We rounded the corner, and there it was. Not unlike Delicate Arch, Skyline Arch revealed itself in dramatic fashion. Looking across the canyon at nature's masterpiece, glowing in the dusk light, was enchanting.
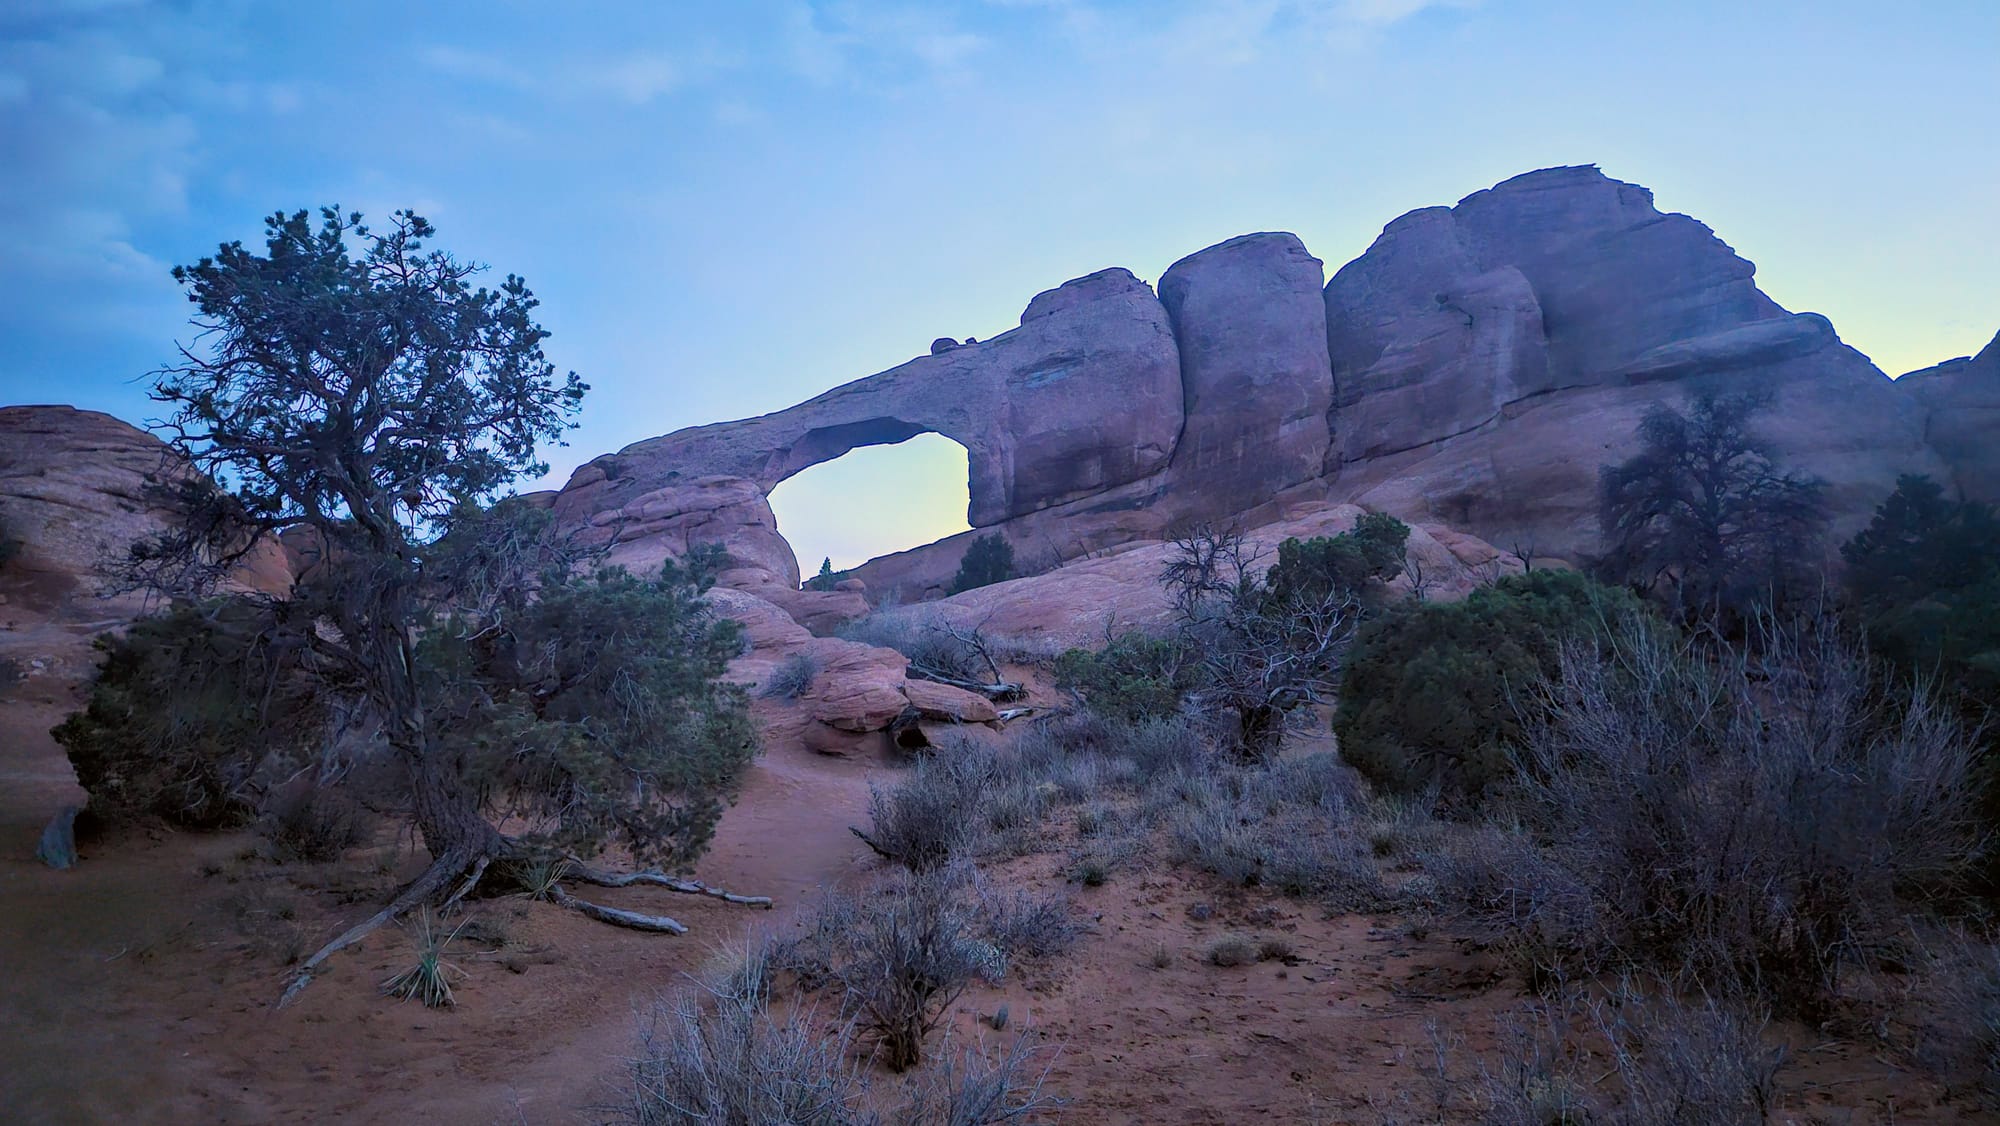
That's the overarching (tehe) feeling we've gotten during our visit here. No photos can accurately depict the magnitude and presence of these arches. They seem so big, strong, and stable, and yet we know deep down that their lives are just as impermanent as our own. This contrast of strength and delicacy exudes a powerful energy.
We considered ourselves spoiled, that we could walk out our front door, up the street, to views like this.
Skyline Arch reveals itself!
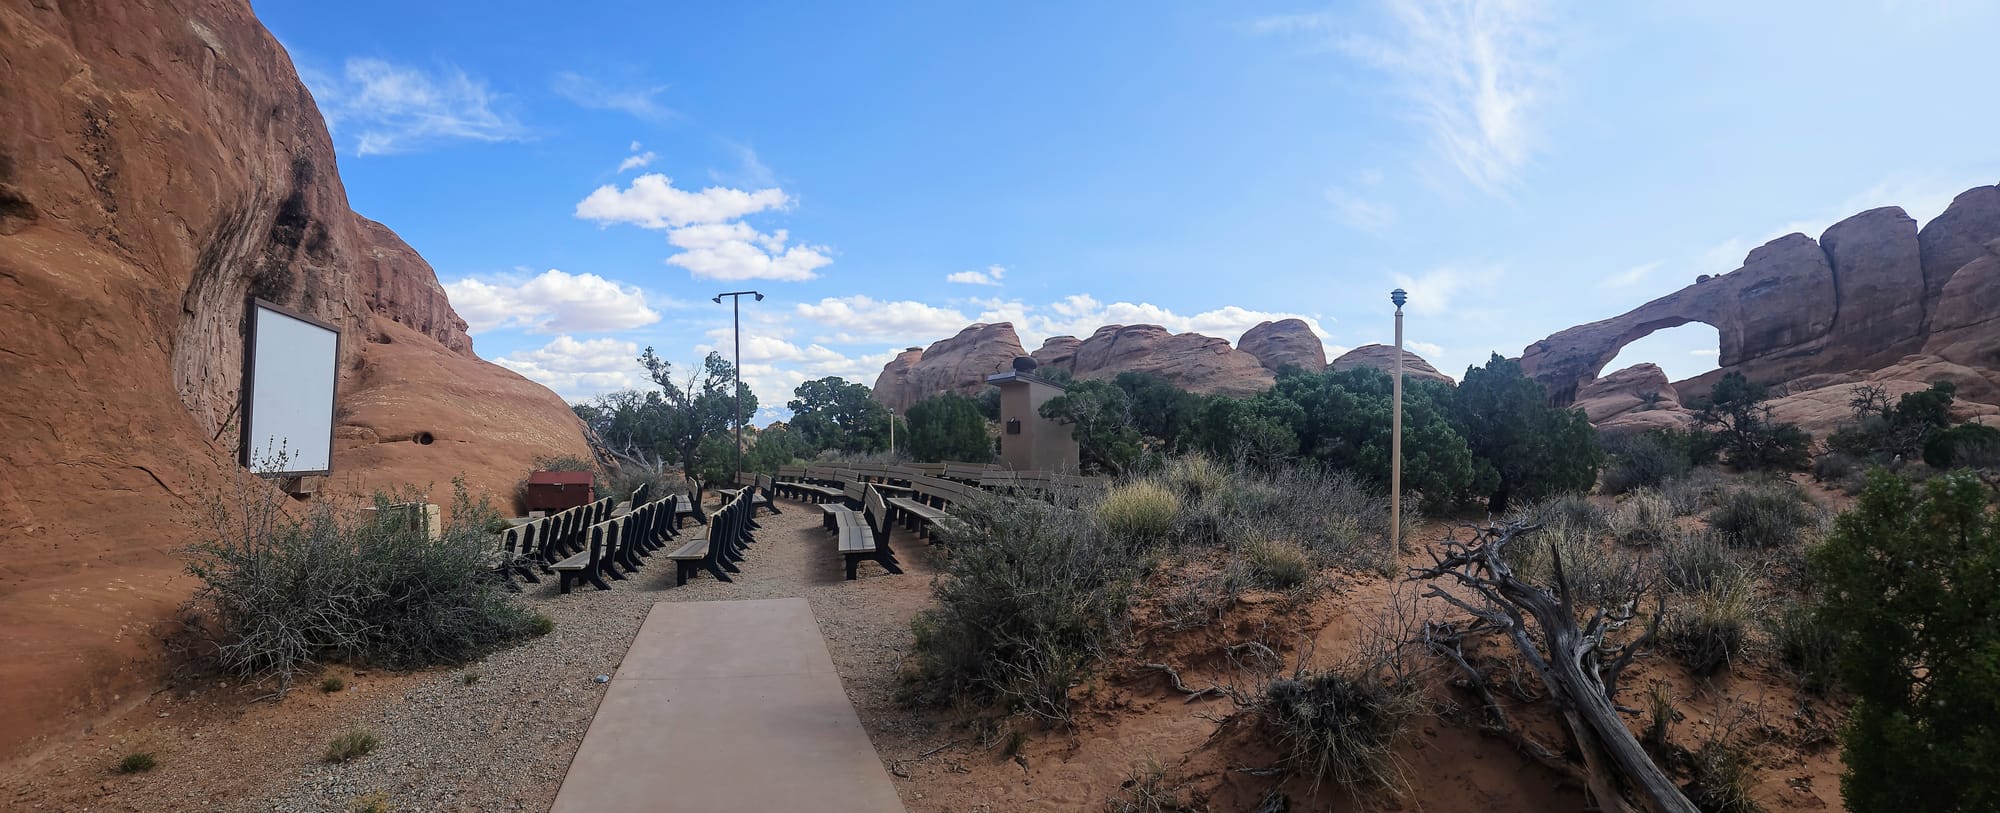

We even found another viewpoint by climbing up a rock just past the amphitheater parking lot. Dogs aren't allowed at the amphitheater, so this is how we showed Tanner the arch.
We found a way to escape the crowds at Landscape Arch!
All you need to do is go during a windstorm!

We didn't do it on purpose. Earlier in the day, we noticed that the Devils Garden trails parking lot wasn't as crowded as we'd expect, especially for a Saturday afternoon. We decided to take a late afternoon walk over to Landscape Arch because we hadn't seen it yet. We didn't even check the forecast because it had been so beautiful all day!
A few trails start from the same trailhead and then branch further in. One night, we took the path down to Tunnel Arch and Pine Tree Arch to attempt some stargazing. My camera wasn't able to focus well, so the photos came up blurry, but we saw enough of these arches that we knew we wanted to return to them in the daylight.
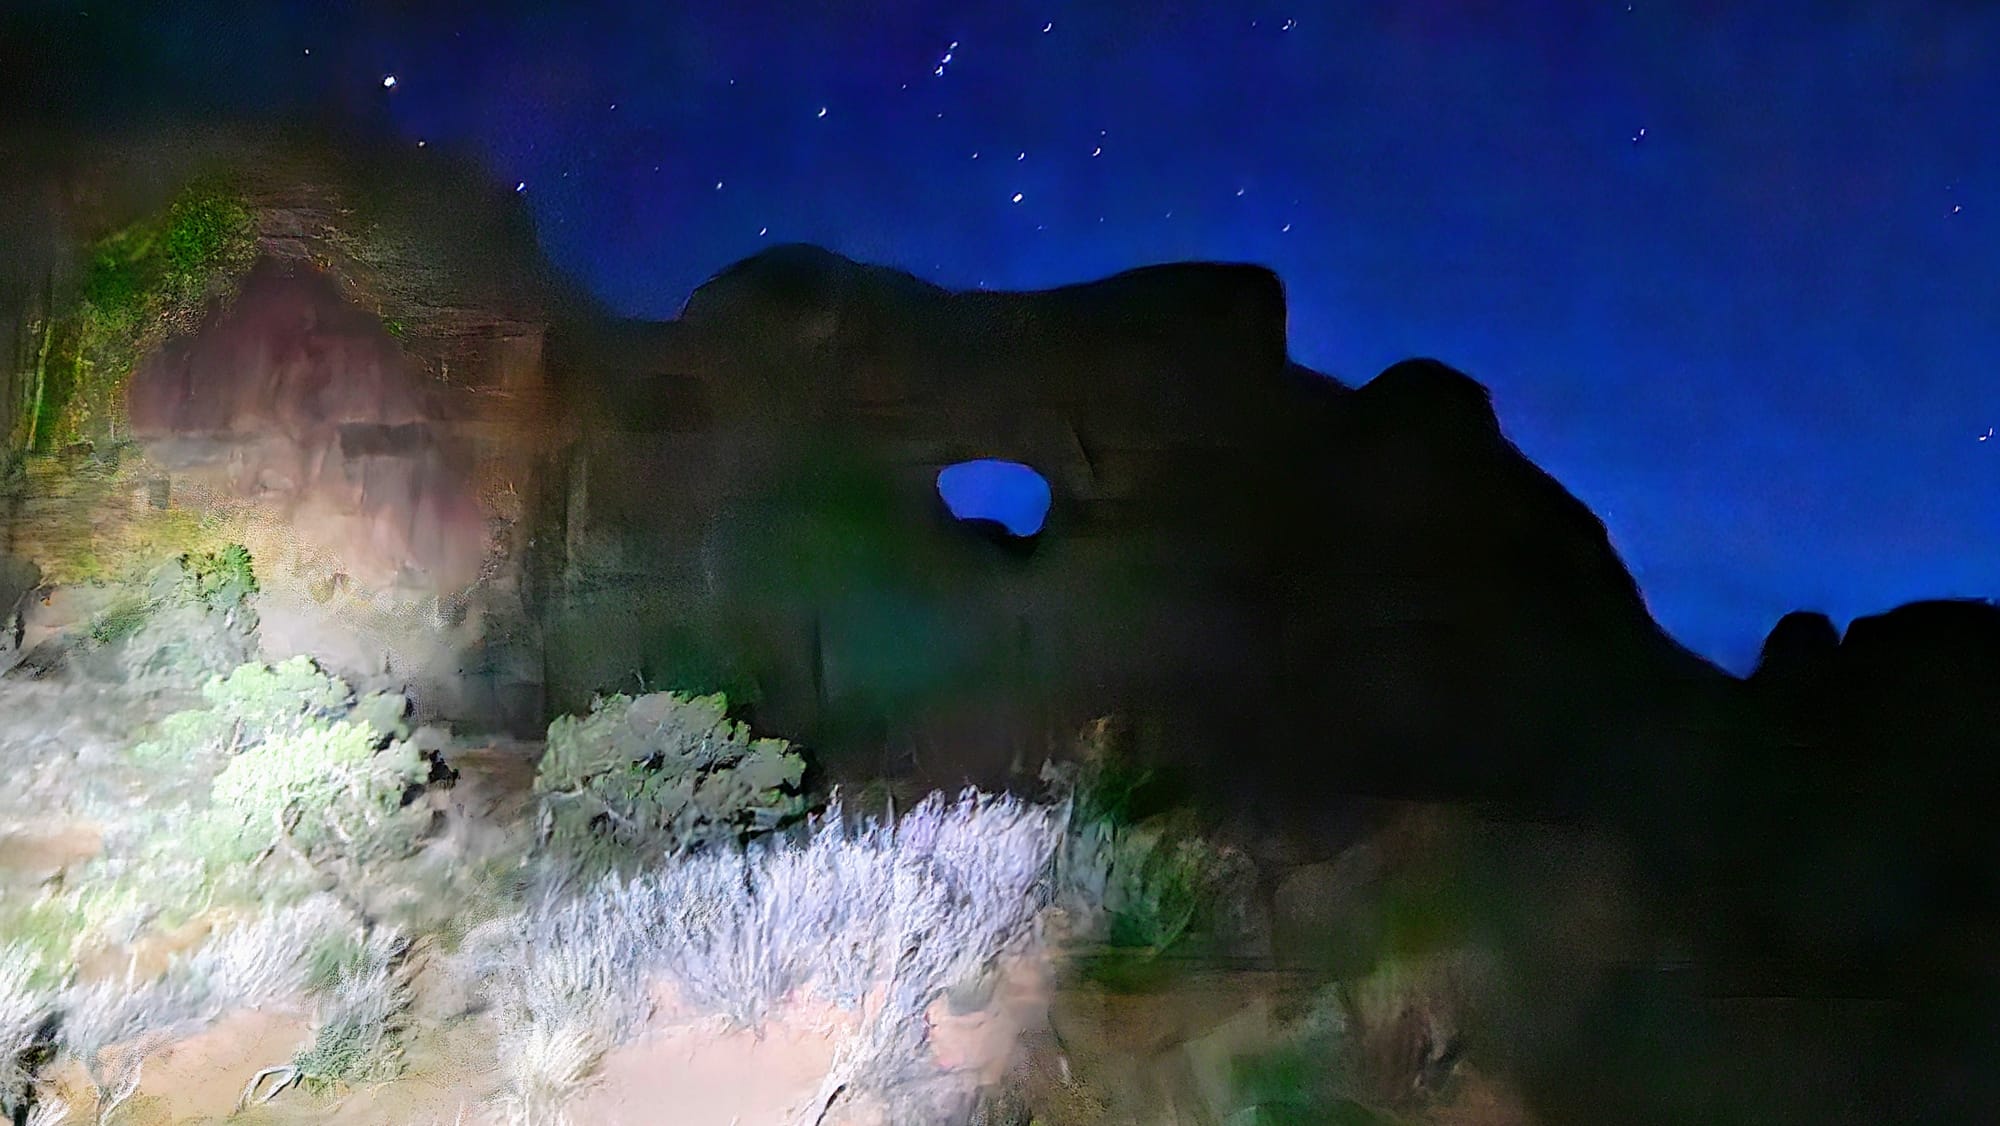
Tunnel Arch at night
The clouds started rolling in, which made for some dramatic depth and coloring.

Tunnel Arch
Pine Tree Arch
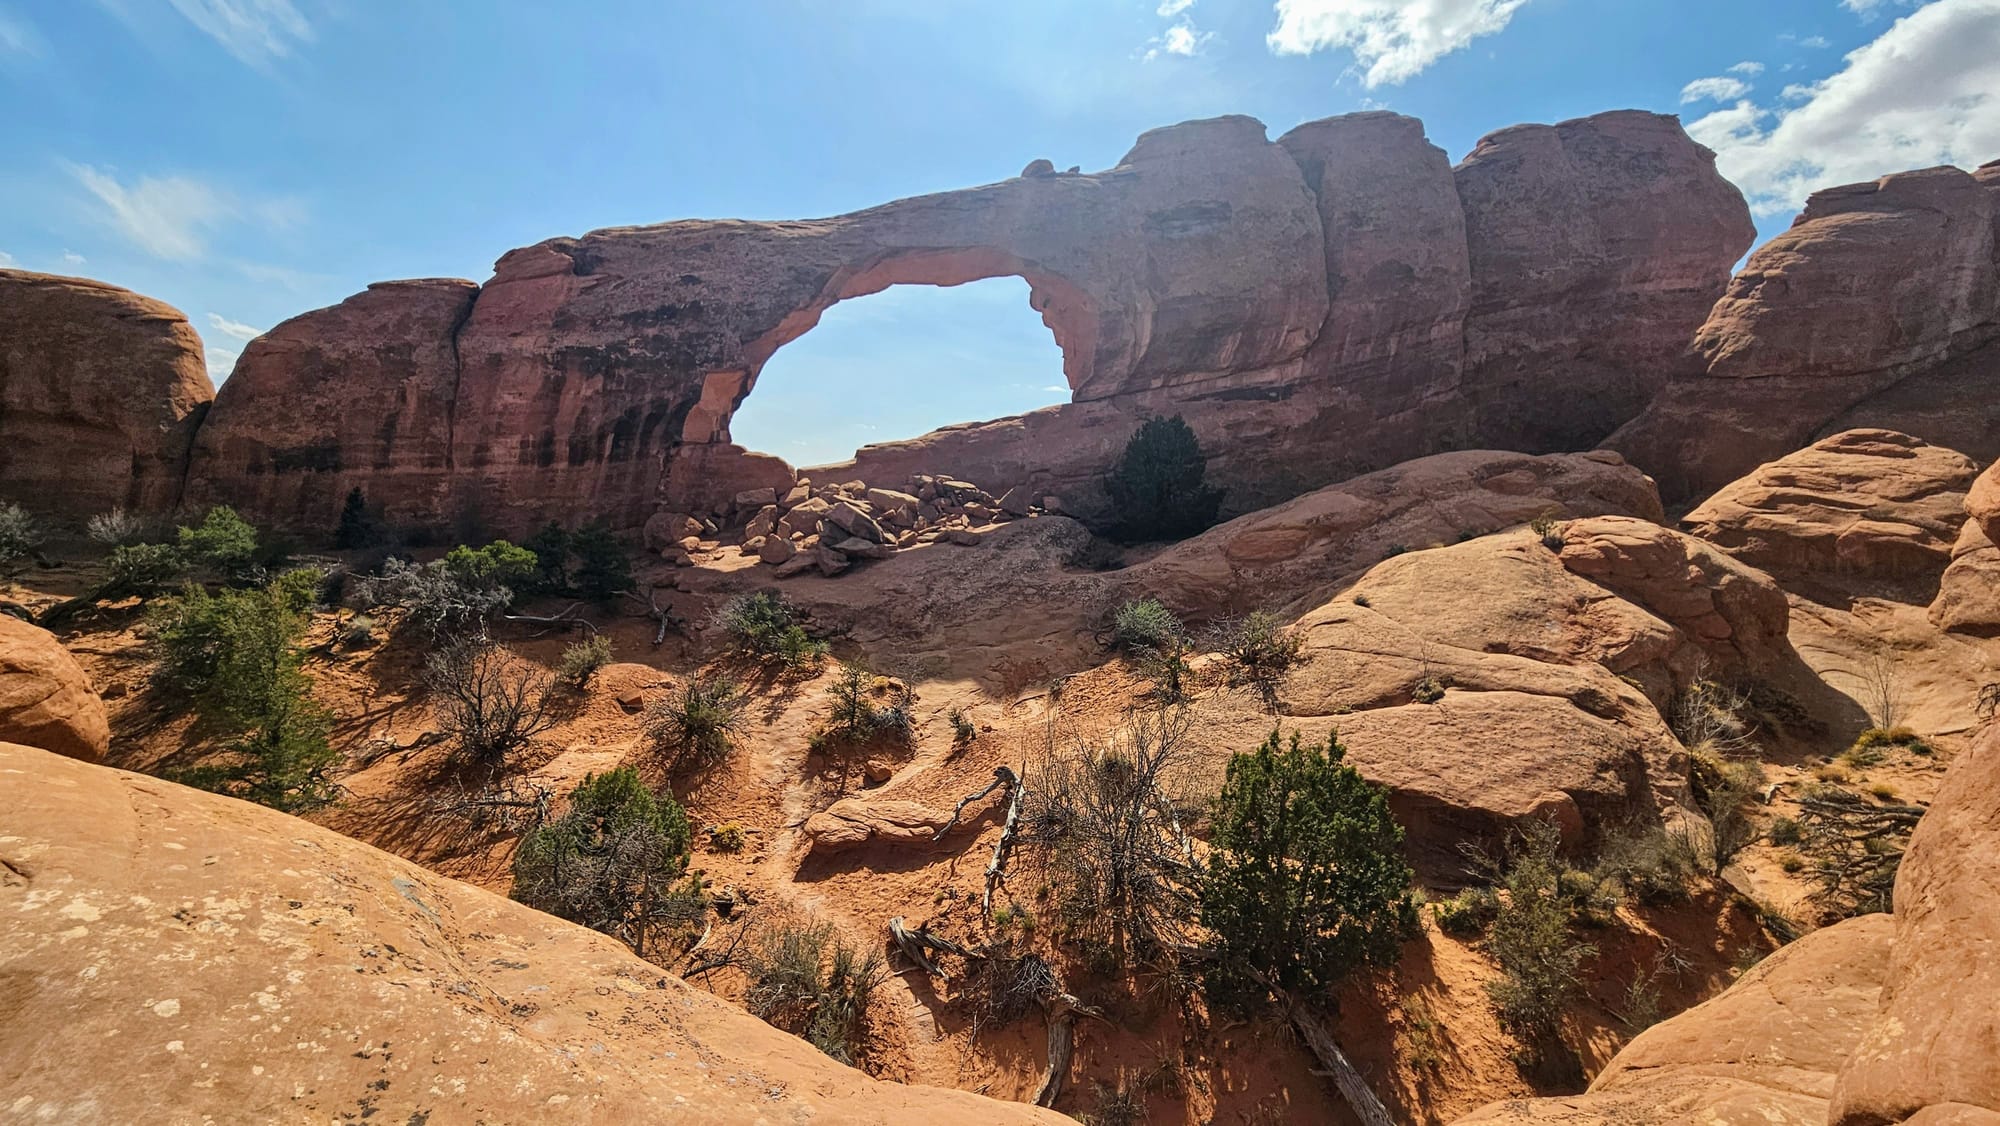
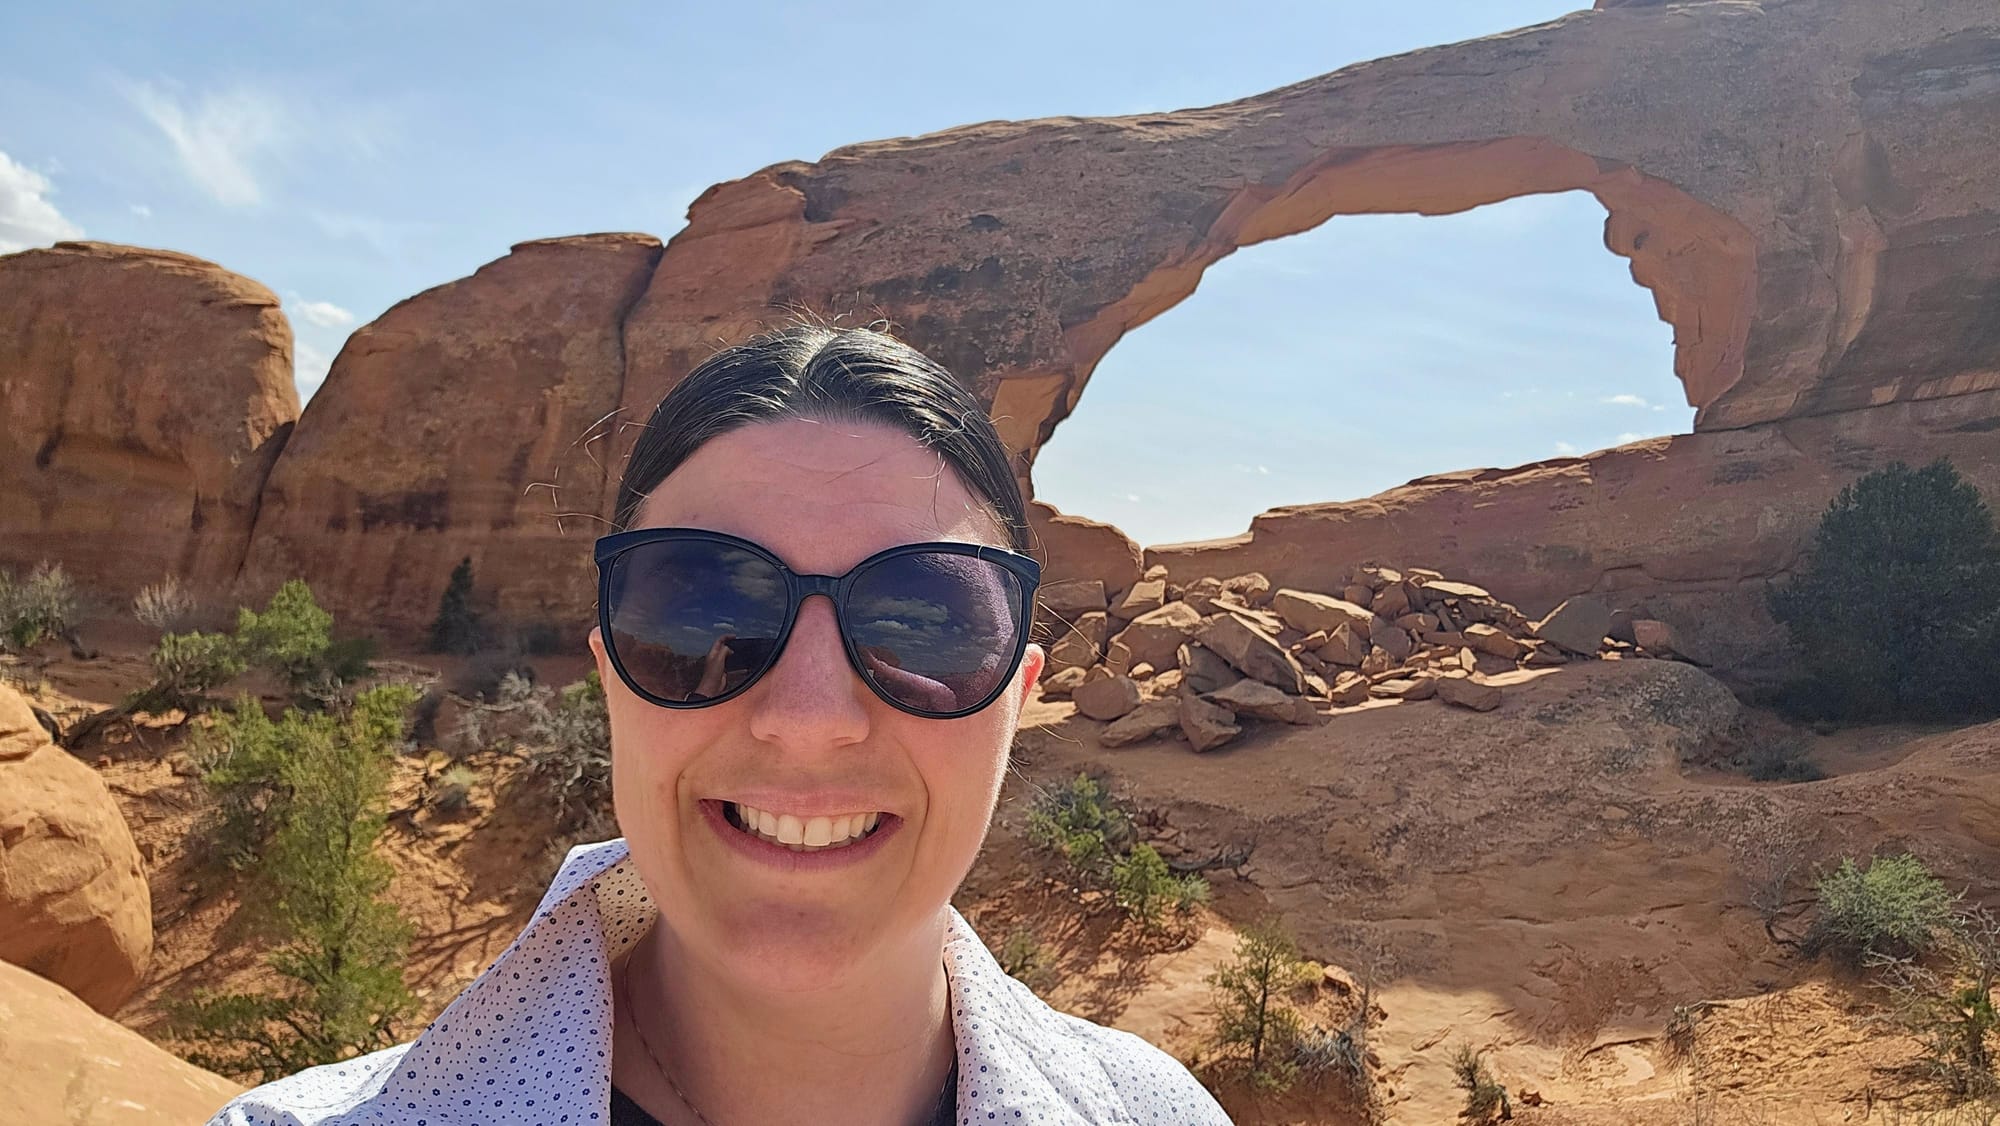
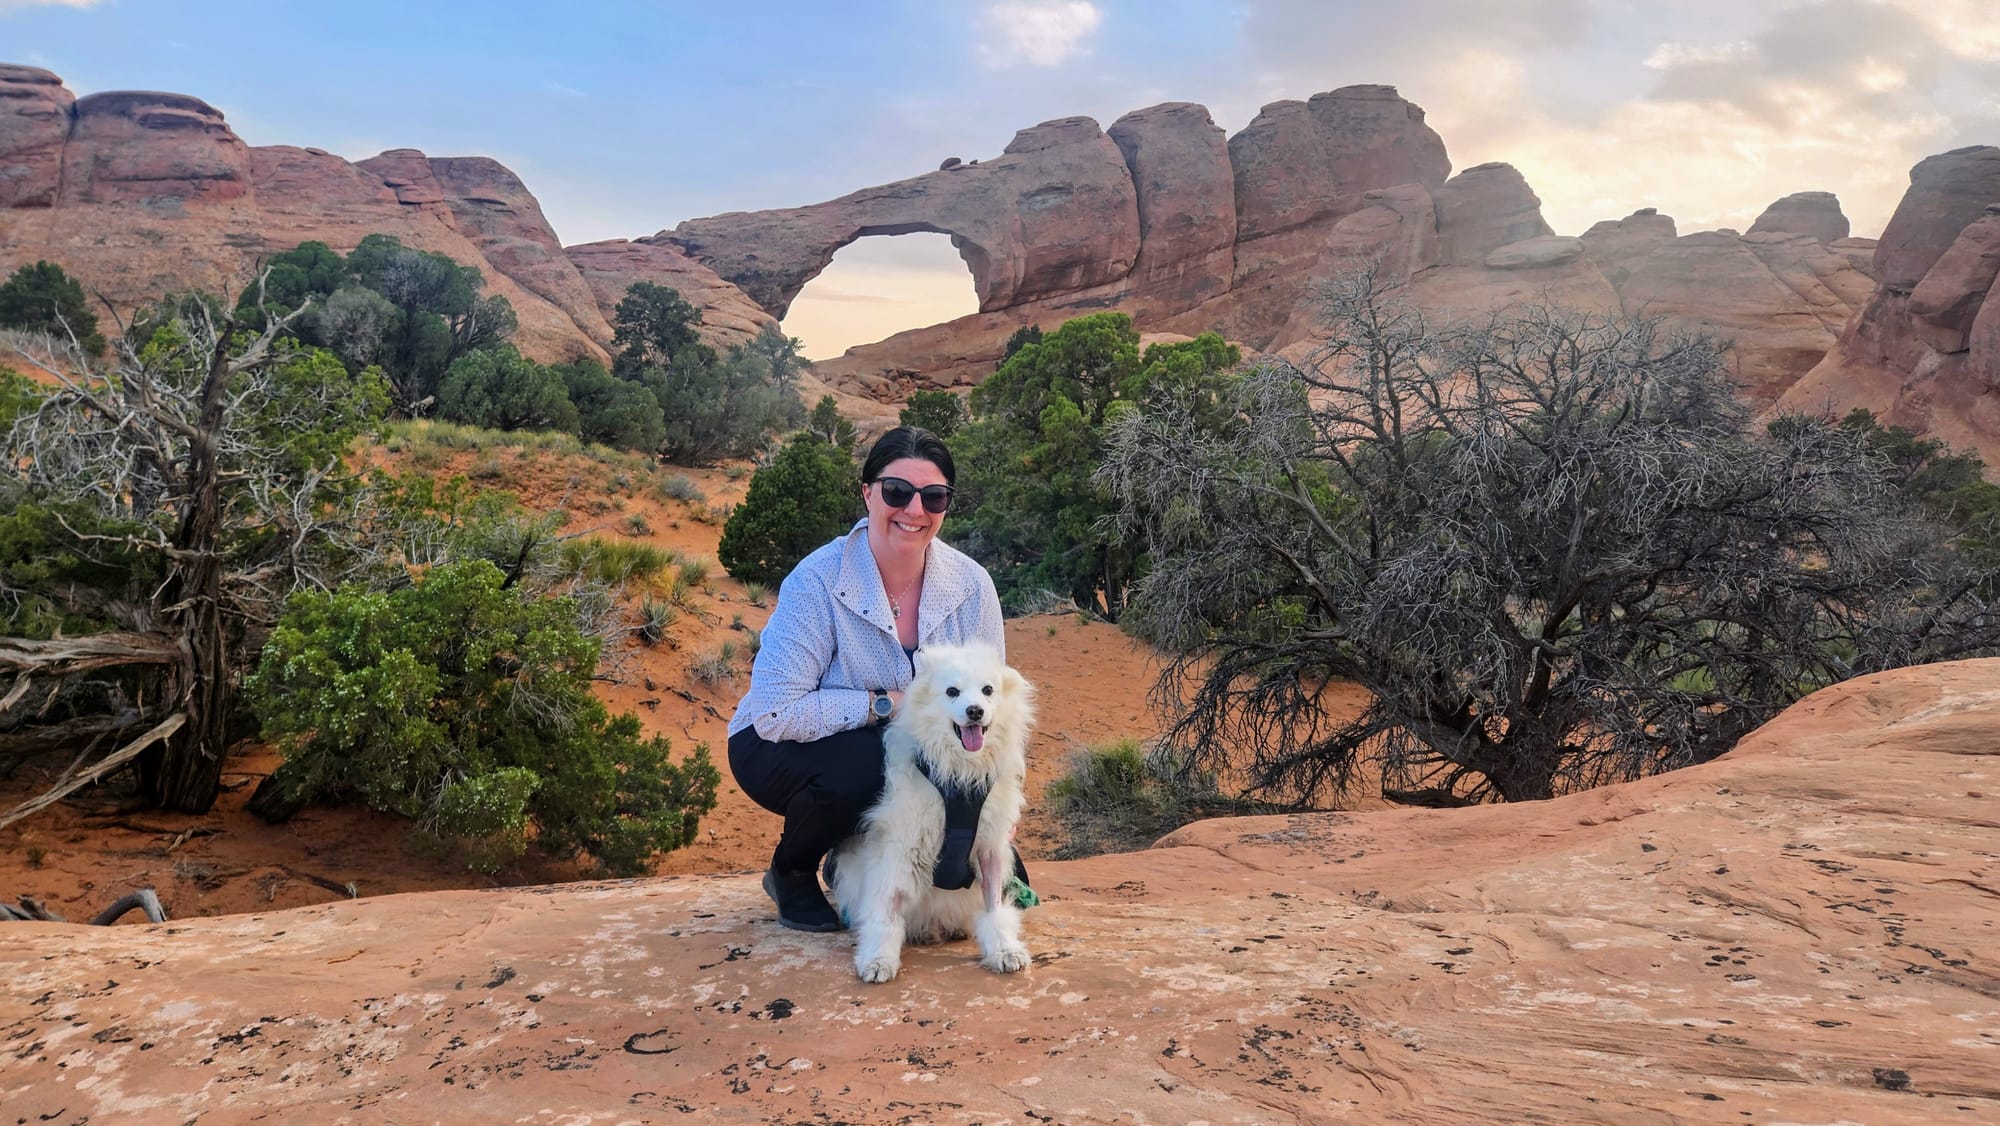
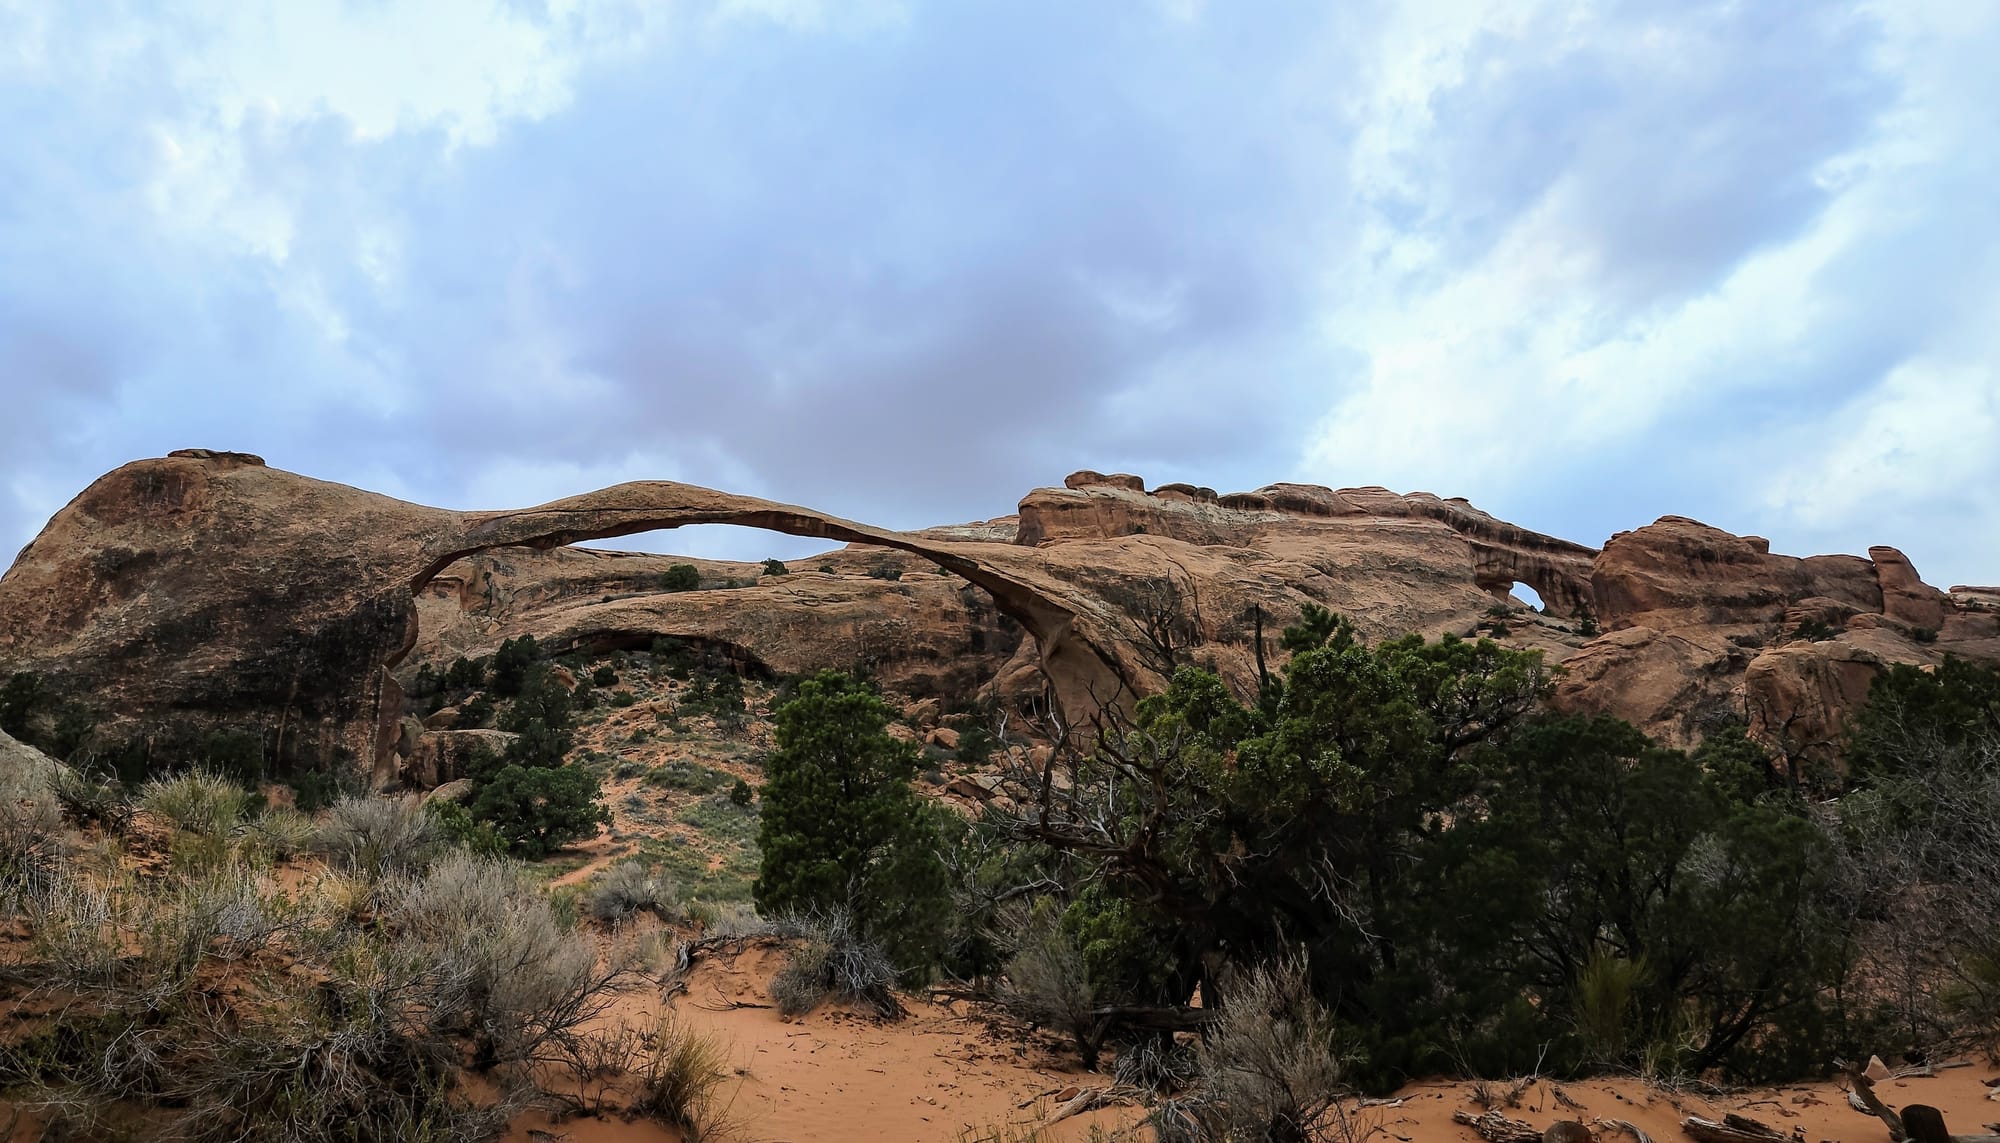
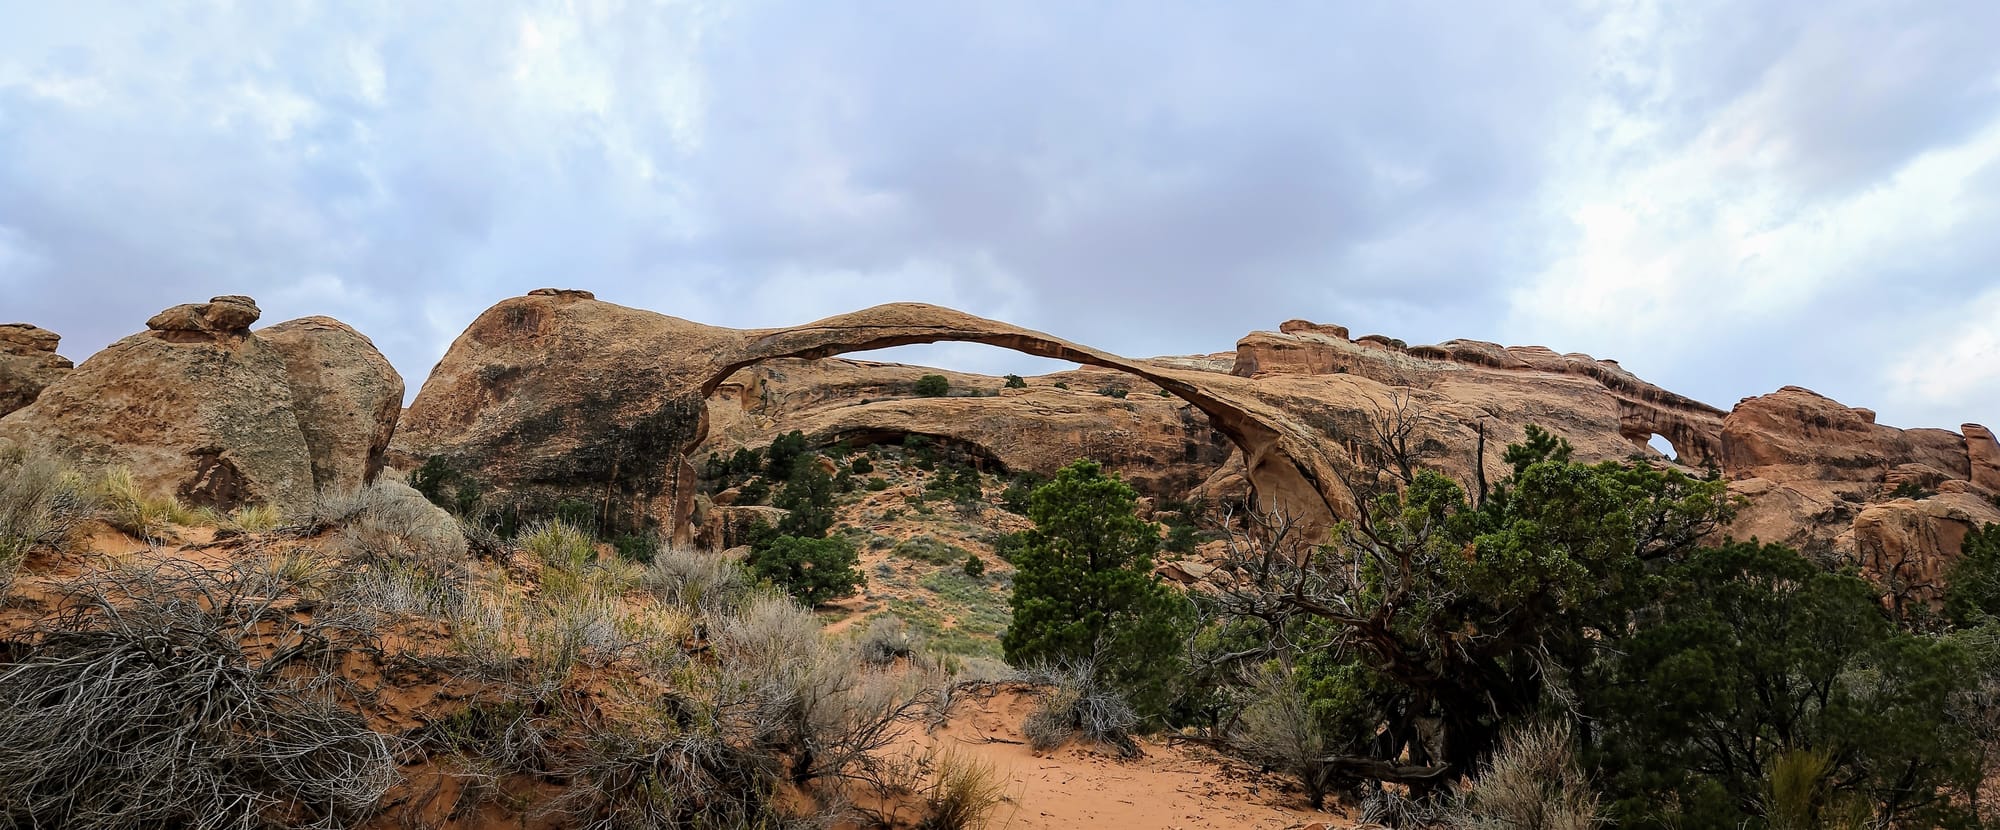
The trail to these two arches is short, so it was an easy backtrack to then head over to Landscape Arch, one of the more famous in the park because of its long and skinny shape. On our way over, we were dazzled by the views.
We passed a few groups of people on our way to Landscape Arch, but by the time we got there, we were the only ones. See the other arch to the right of Landscape Arch? It's a two-for-one deal!
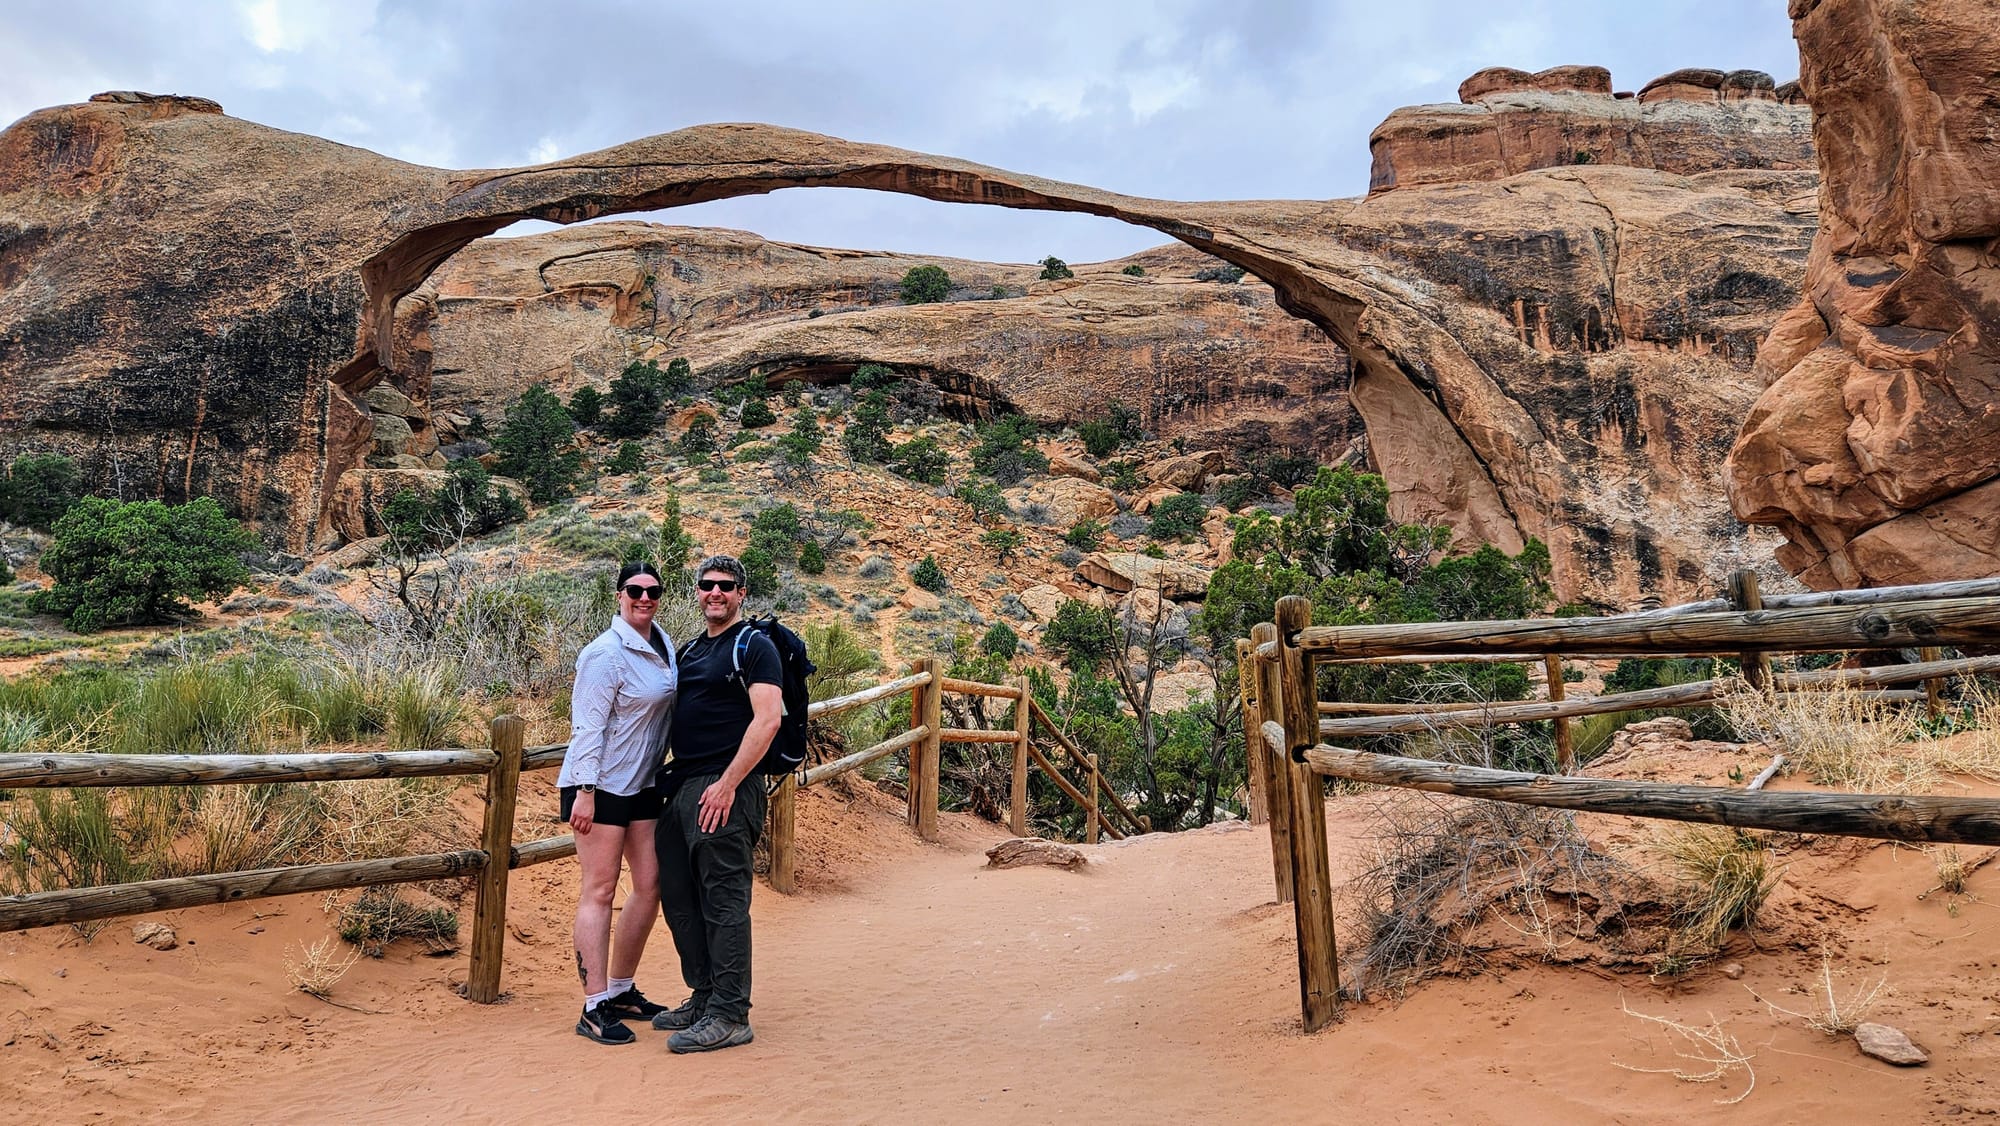
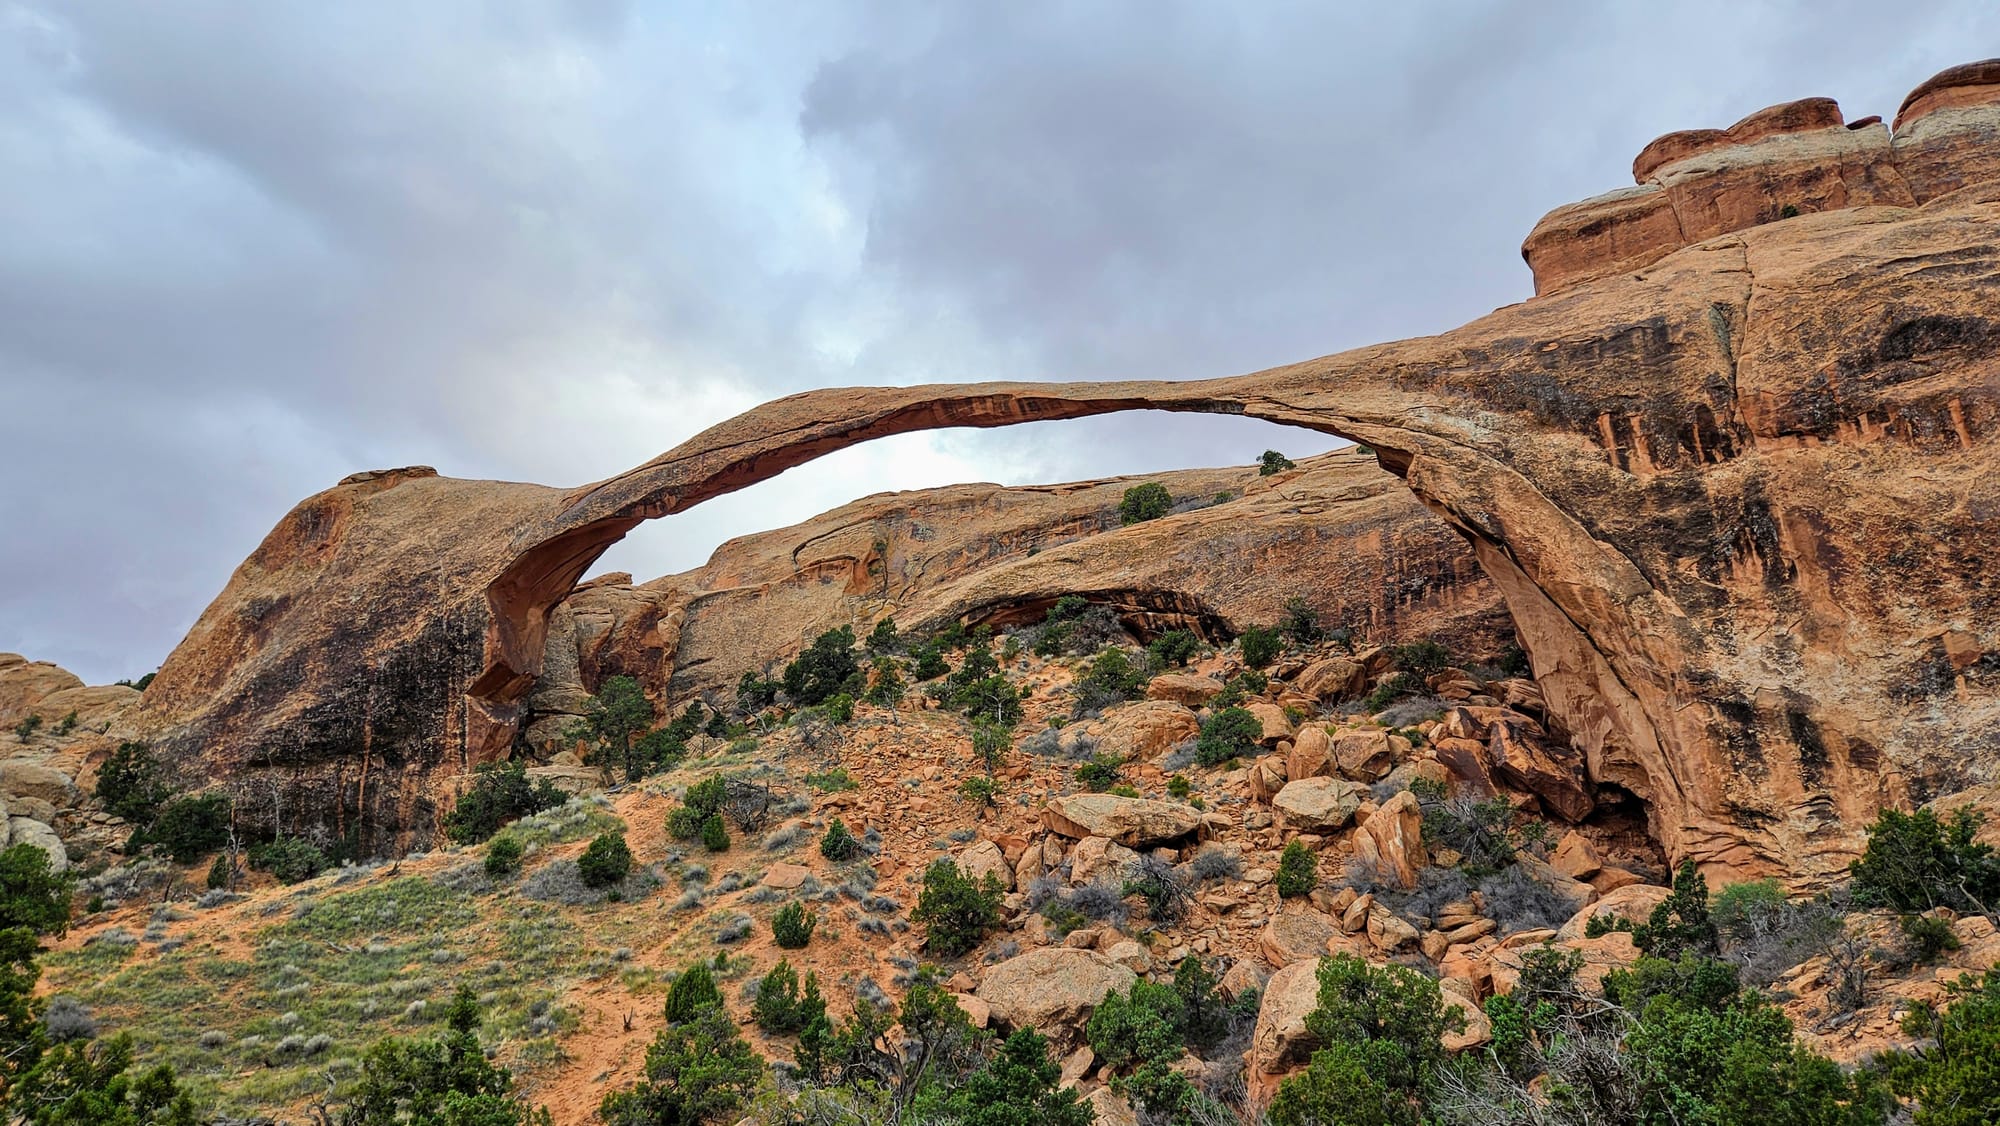
More trails continue from this area, but the wind started whipping the sand around, so we were ready to call it a day. On the hike back, we had a little bit of drizzle, but we would take this weather any day if it meant having Landscape Arch to ourselves! The rain also left a wonderful, springlike aroma lingering in the air.
If there is one set of trails to do when it's crowded, Landscape, Tunnel, and Pine Tree Arches are a decent choice. People aren't allowed to climb on these arches, so you have a better chance of getting an unobscured view.
Our Arches adventures will go down in history as the first moments of real fun we've had in the state of Utah, and what a place to hold that accolade! Our Utah Redemption Tour started off strong, and we couldn't wait to see what was around the next corner.