Capturing celestial wonders
This post contains affiliate links. We may receive a small kickback for products purchased through our links. Thank you for supporting our travel blog!
Anthony and I are both from metro areas outside major cities, so being in places where we could see lots of stars was a rare occurrence. That was, until we start full-time traveling. We've been able to visit several dark sky parks, but sometimes even a campground in a rural area has yielded an illustrious sky. I've dabbled in photography my entire life, taking a class here and there, but astrophotography has always been difficult. Lack of practice is to blame.
This year, I attempted to hone my skills at Big Bend National Park and later at Devils Tower National Monument. Besides the obvious photographic signs that I need better equipment, I've been pretty proud of how my beginner's attempts have turned out. And, since practice makes progress, I decided to take advantage of the dark skies once again in Colorado.
Before crossing into New Mexico, we spent a couple of nights outside Great Sand Dunes National Park. Known for the largest sand dunes in the country, many visitors go for the sandboarding and sledding. I refuse to sandboard ever again, and climbing dunes just seemed exhausting, so chose the next activity that's popular in the park: stargazing. Great Sand Dunes is another International Dark Sky Park, and professional photographers have captured some of the most unreal looking photos of the Milky Way over the ripples of the dunes (I see you, Glenn Randall).
I wasn't about to get the waves of sand in the foreground of my photos because that would entail climbing dunes, which I already didn't want to do, and at night, forget about it. So I settled for trying to capture the Milky Way with a less dramatic foreground.
I had mentioned in the Devils Tower post that I was waiting for the right conditions for some galaxy shots, and early October in Colorado is prime time. The Milky Way is vivid and arches overhead from east to west. The sky is typically clear, and this time of the month, the half moon rose early and was already set by sundown.
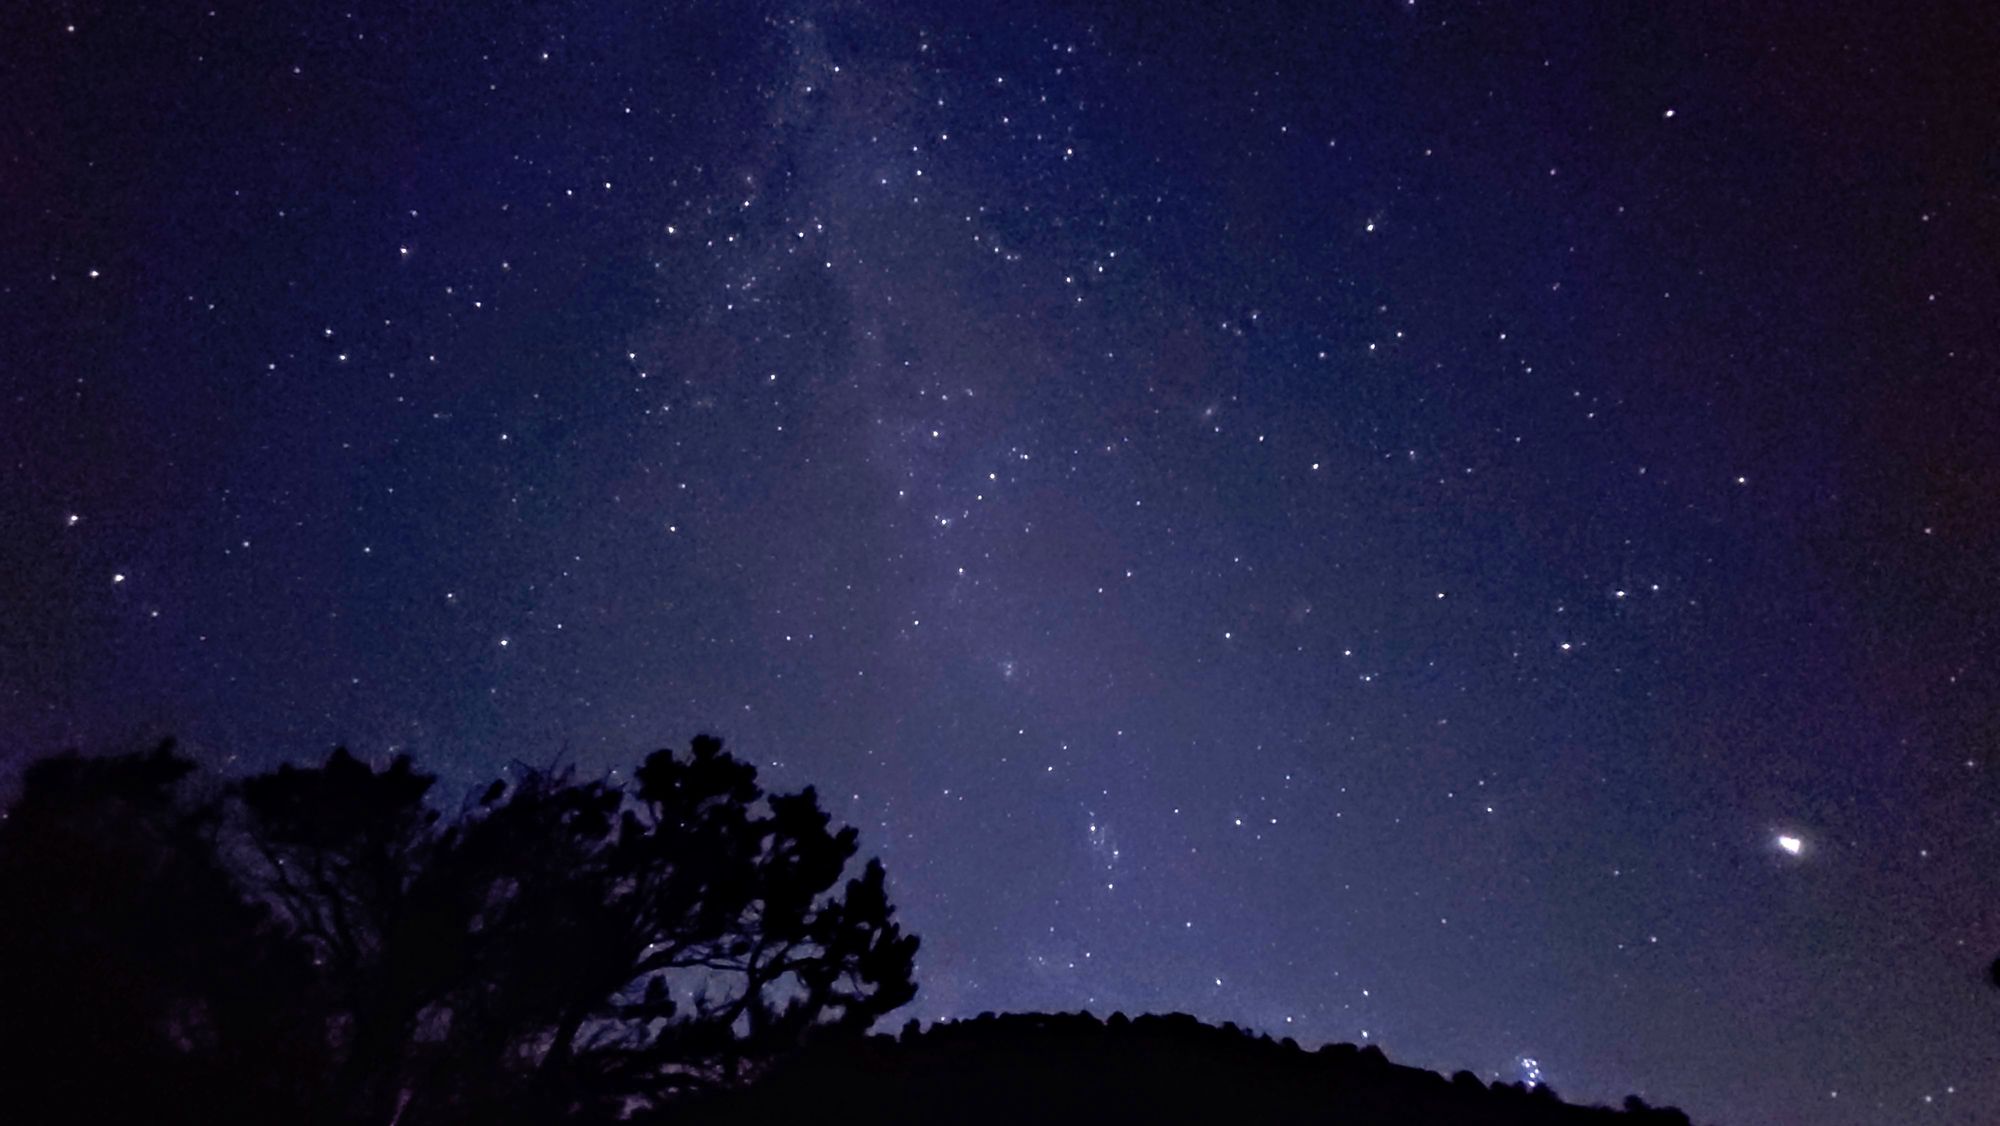
I took some practice shots the night before. We were still at Salida East, and even though we were close to town, the light was still dark enough to see lots of stars. With some astrophotography, it's necessary to have a slow shutter speed (30 seconds or more), and so I tried that first. I should have done my research because that's all wrong. The tip is to set a higher ISO and keep the shutter speed around 15 seconds. I was in the middle of packing up when I read this in a couple of articles, and so I quickly shot a few photos with the new settings, which made a big difference. The Milky Way isn't vivid, but it's visible. It was a good start, and I hoped that once I got into a darker location, the galaxy would stand out a little more.
The next night, we headed into Great Sand Dunes. I can't explain the difficulty of finding places to shoot when it's pitch black and it's a place we've never been. It also added to the fun, though, and we were laughing the whole time as we made our way blindly through the trees and onto the sand. I could make out the outlines of the dunes and mountains, which I hoped would become my foreground objects, but I stayed a distance away, afraid I'd get lost if I ventured to far into dune territory.
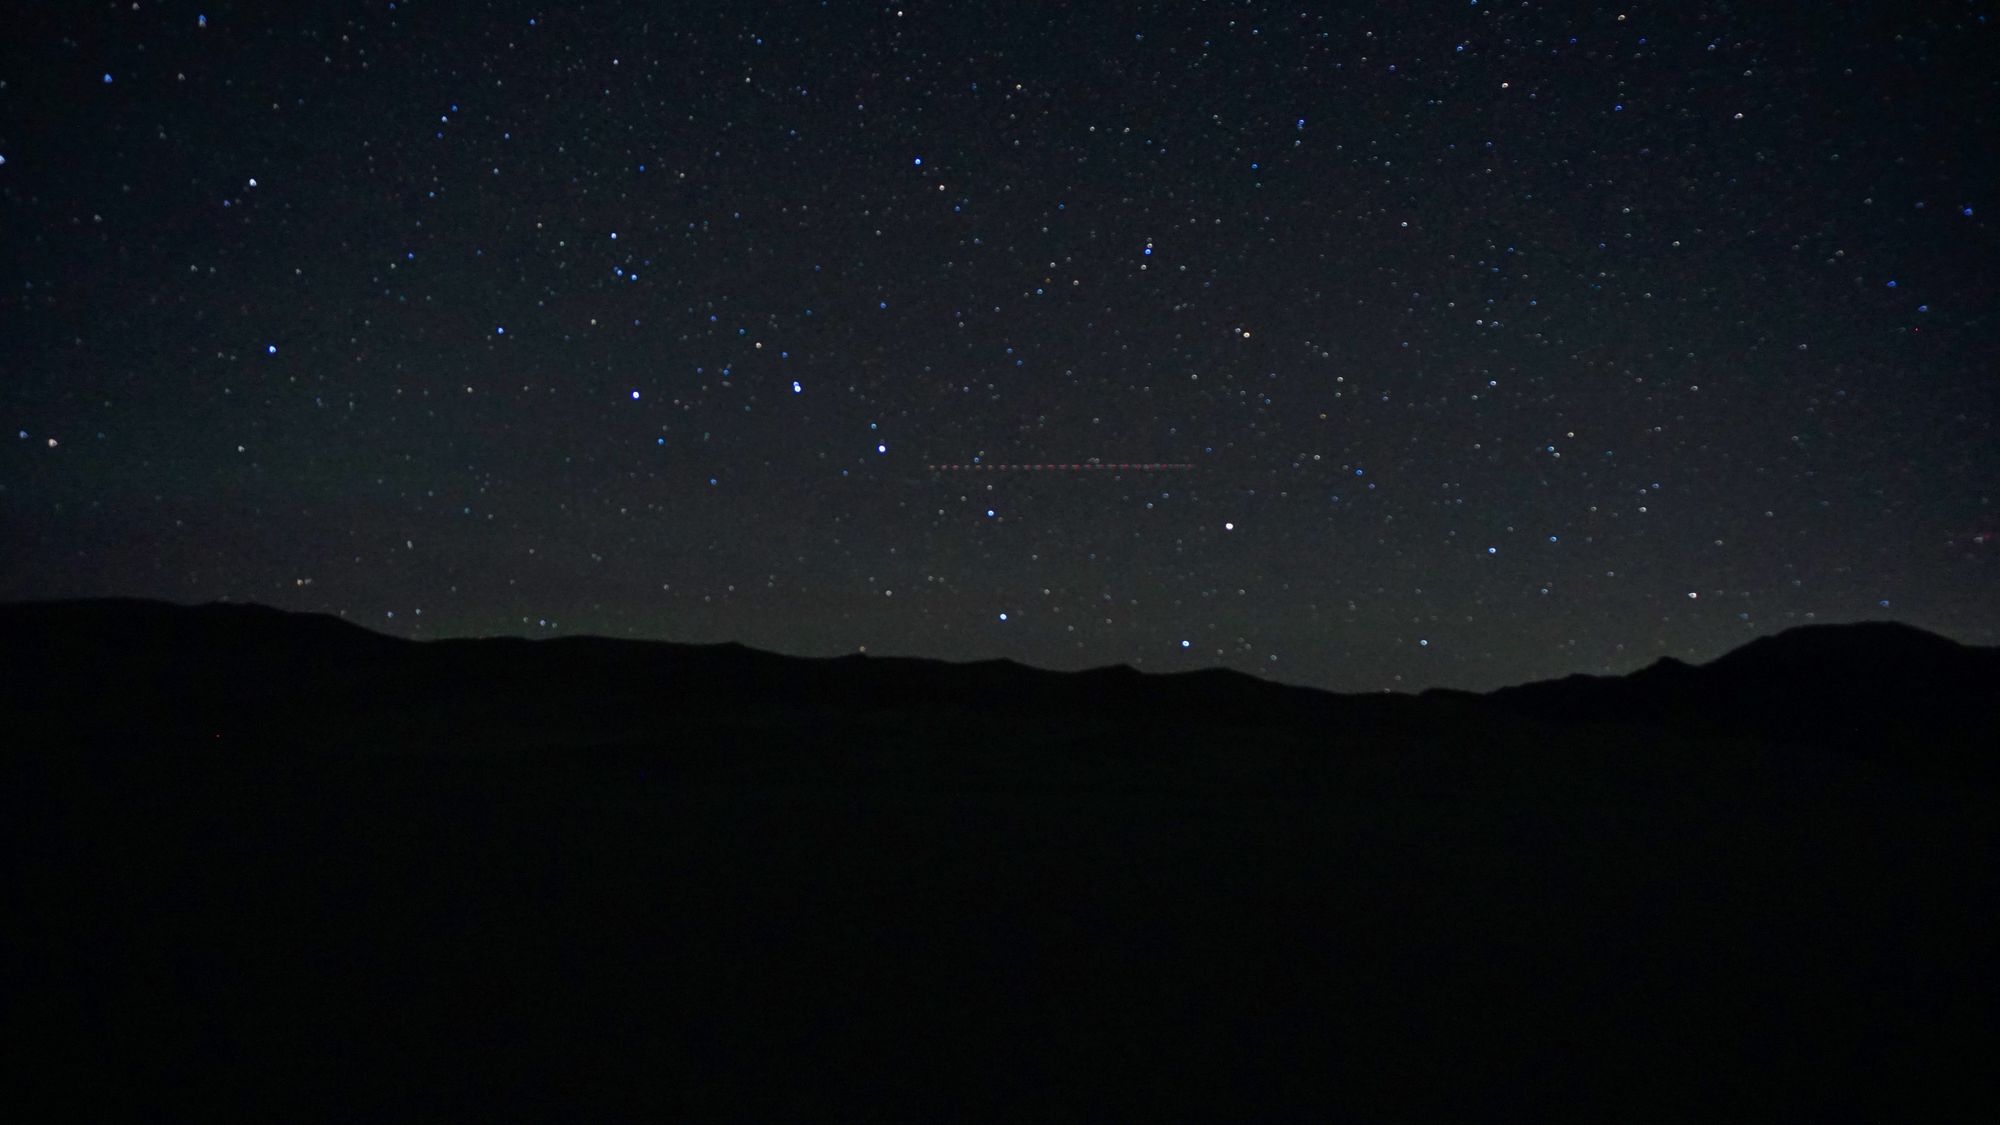
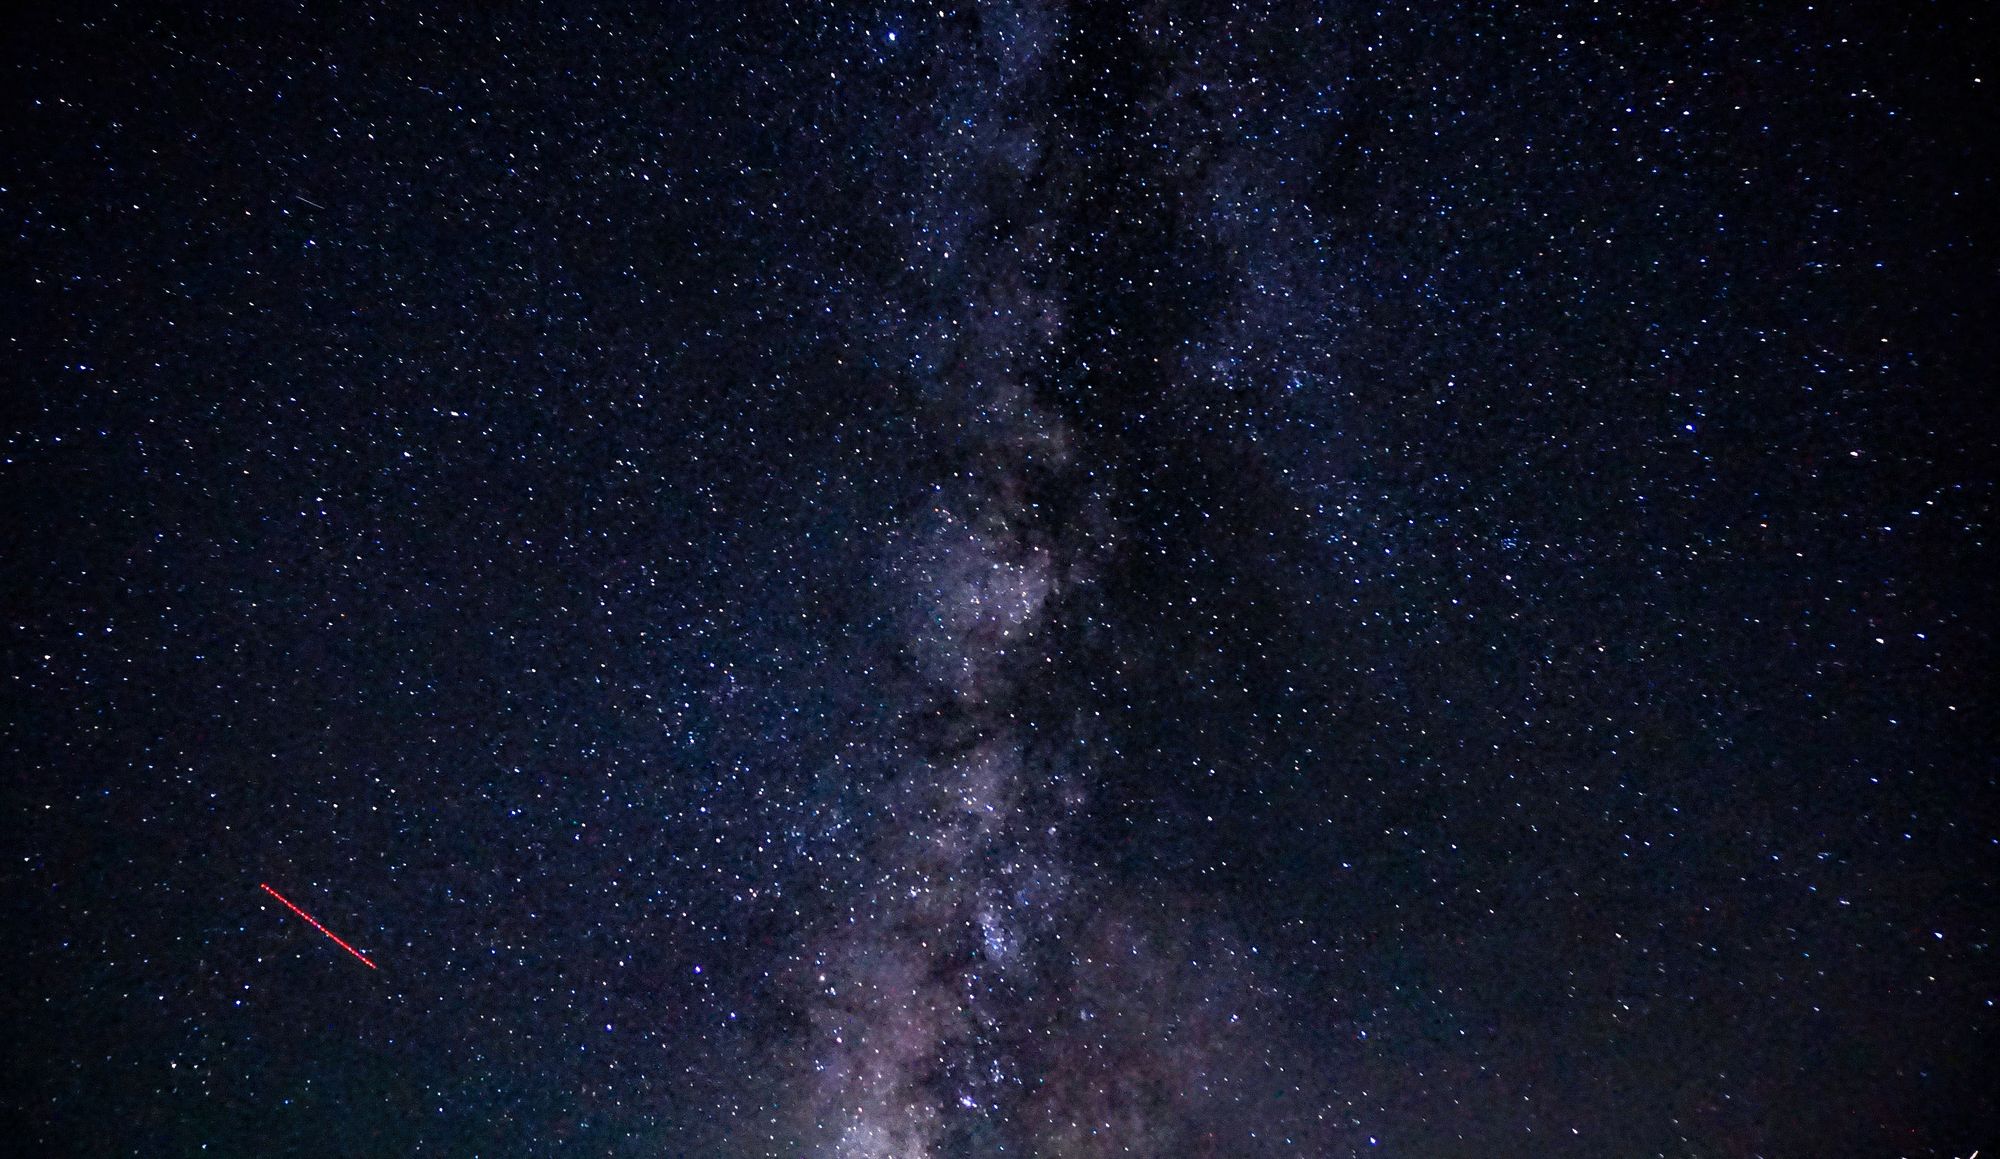
This was probably the most stars we've ever been able to see with the naked eye. It was extraordinary and I only wish I could capture it better with the camera, but with my limited equipment, I tested out a couple of my wide angle lenses, eventually settling on my 20mm fixed zoom lens. From where we stood, the Milky Way was most vivid looking west, toward the town of Alamosa. This was a little unfortunate because the city lights would cause some interference, and this direction was also away from the dunes. As I decided what to do, I took a few shots towards the dunes. The Big Dipper was setting behind them and it was a gorgeous sight. Look closely and you'll also see dots of red streaming across the sky. These are airplane trails.
Turning east was no picnic either...except that I was facing the campground, so I guess there are picnic tables somewhere! Thankfully the campground lights themselves didn't detract from the stars too much, but there is some light leak shining from behind the mountains. I call it an artistic liberty. Look to the left and you'll see a couple of plane trails, and that cluster to the right is the Pleiades, which had just become visible and would remain so for the next six months. Lastly, the slightly whiter area in the middle of the photo is the Milky Way. It was the only reasonable photo I captured of it with a foreground - the Sangre de Cristo Mountains. If I wanted to get a more vivid image, though, I'd have to point the camera straight up.
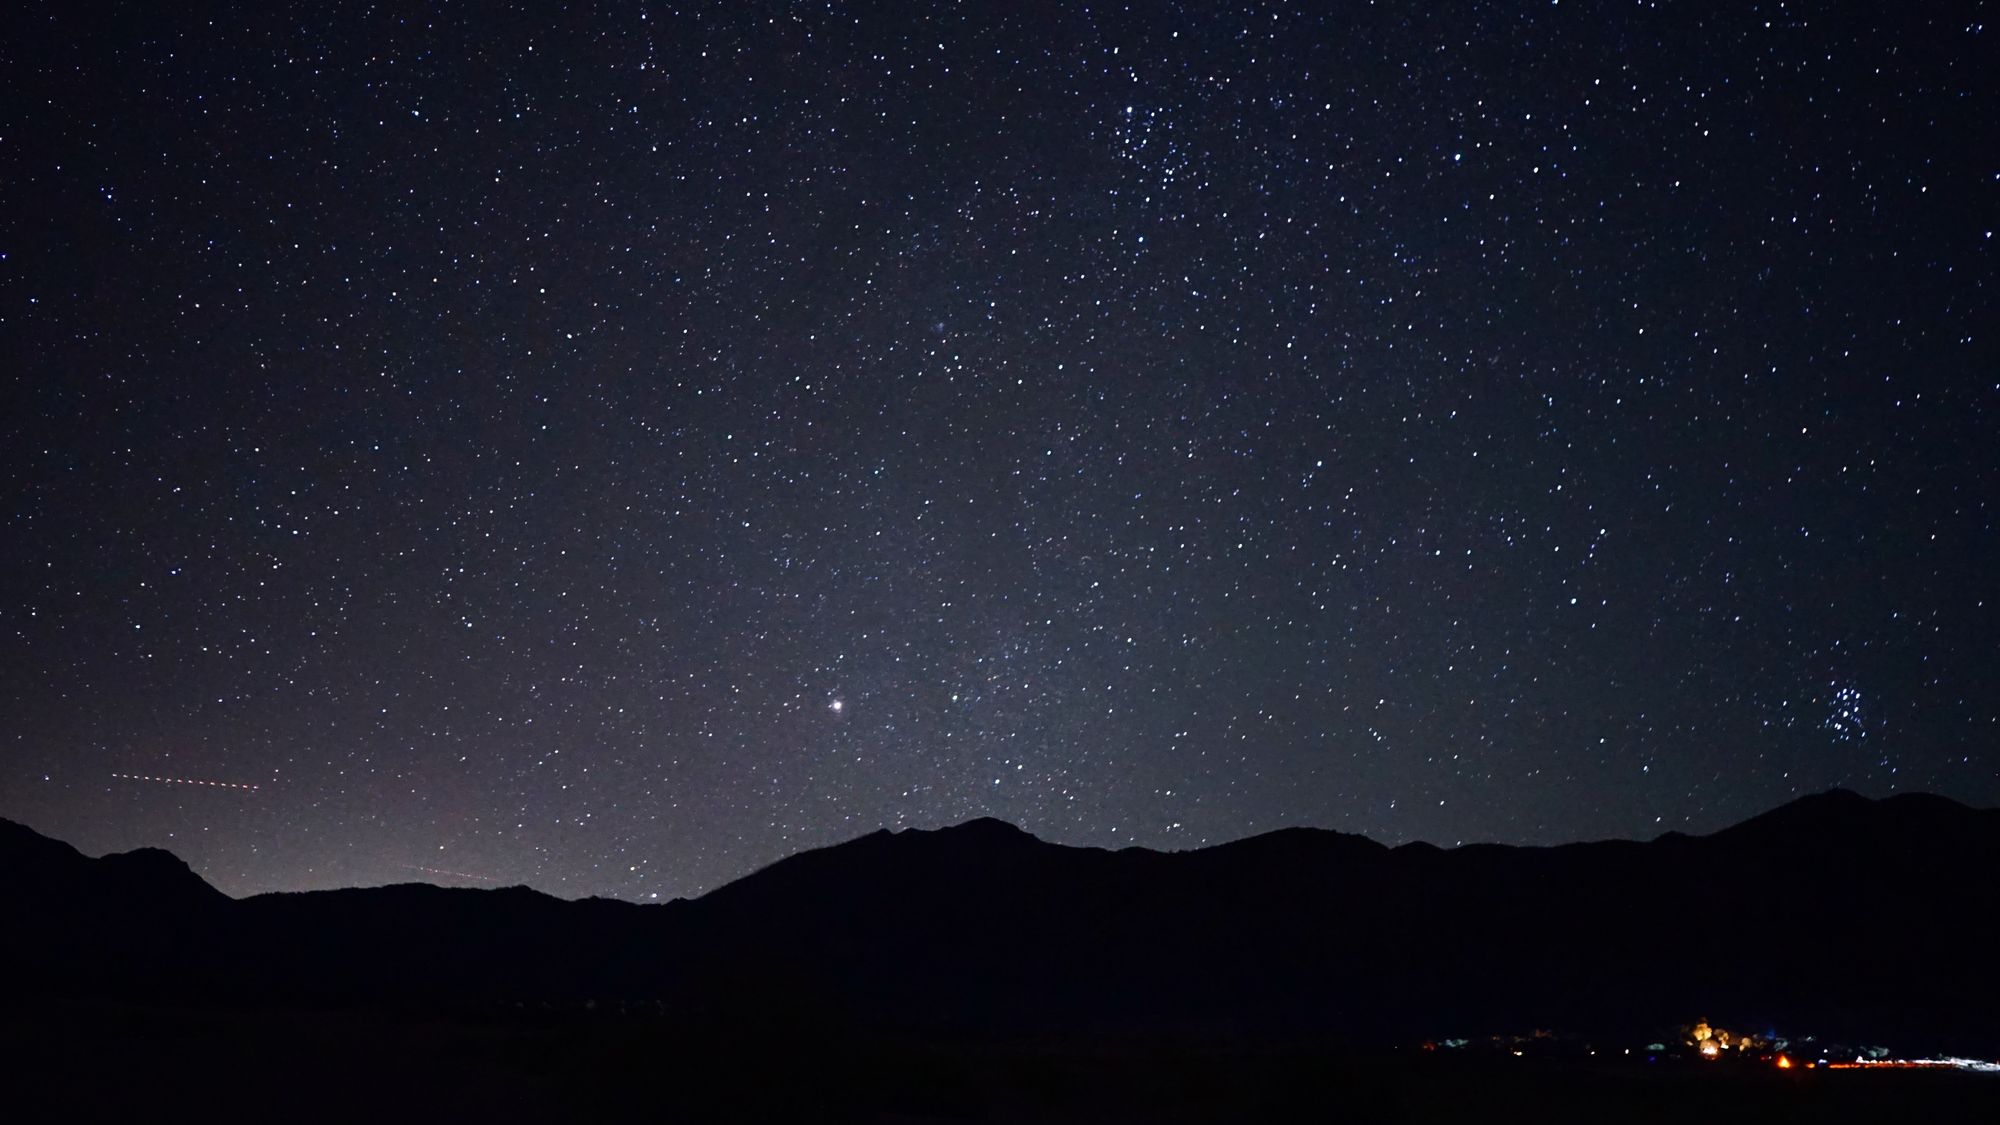
There may be no foreground, but at least I can finally say I satisfactorily captured the Milky Way!
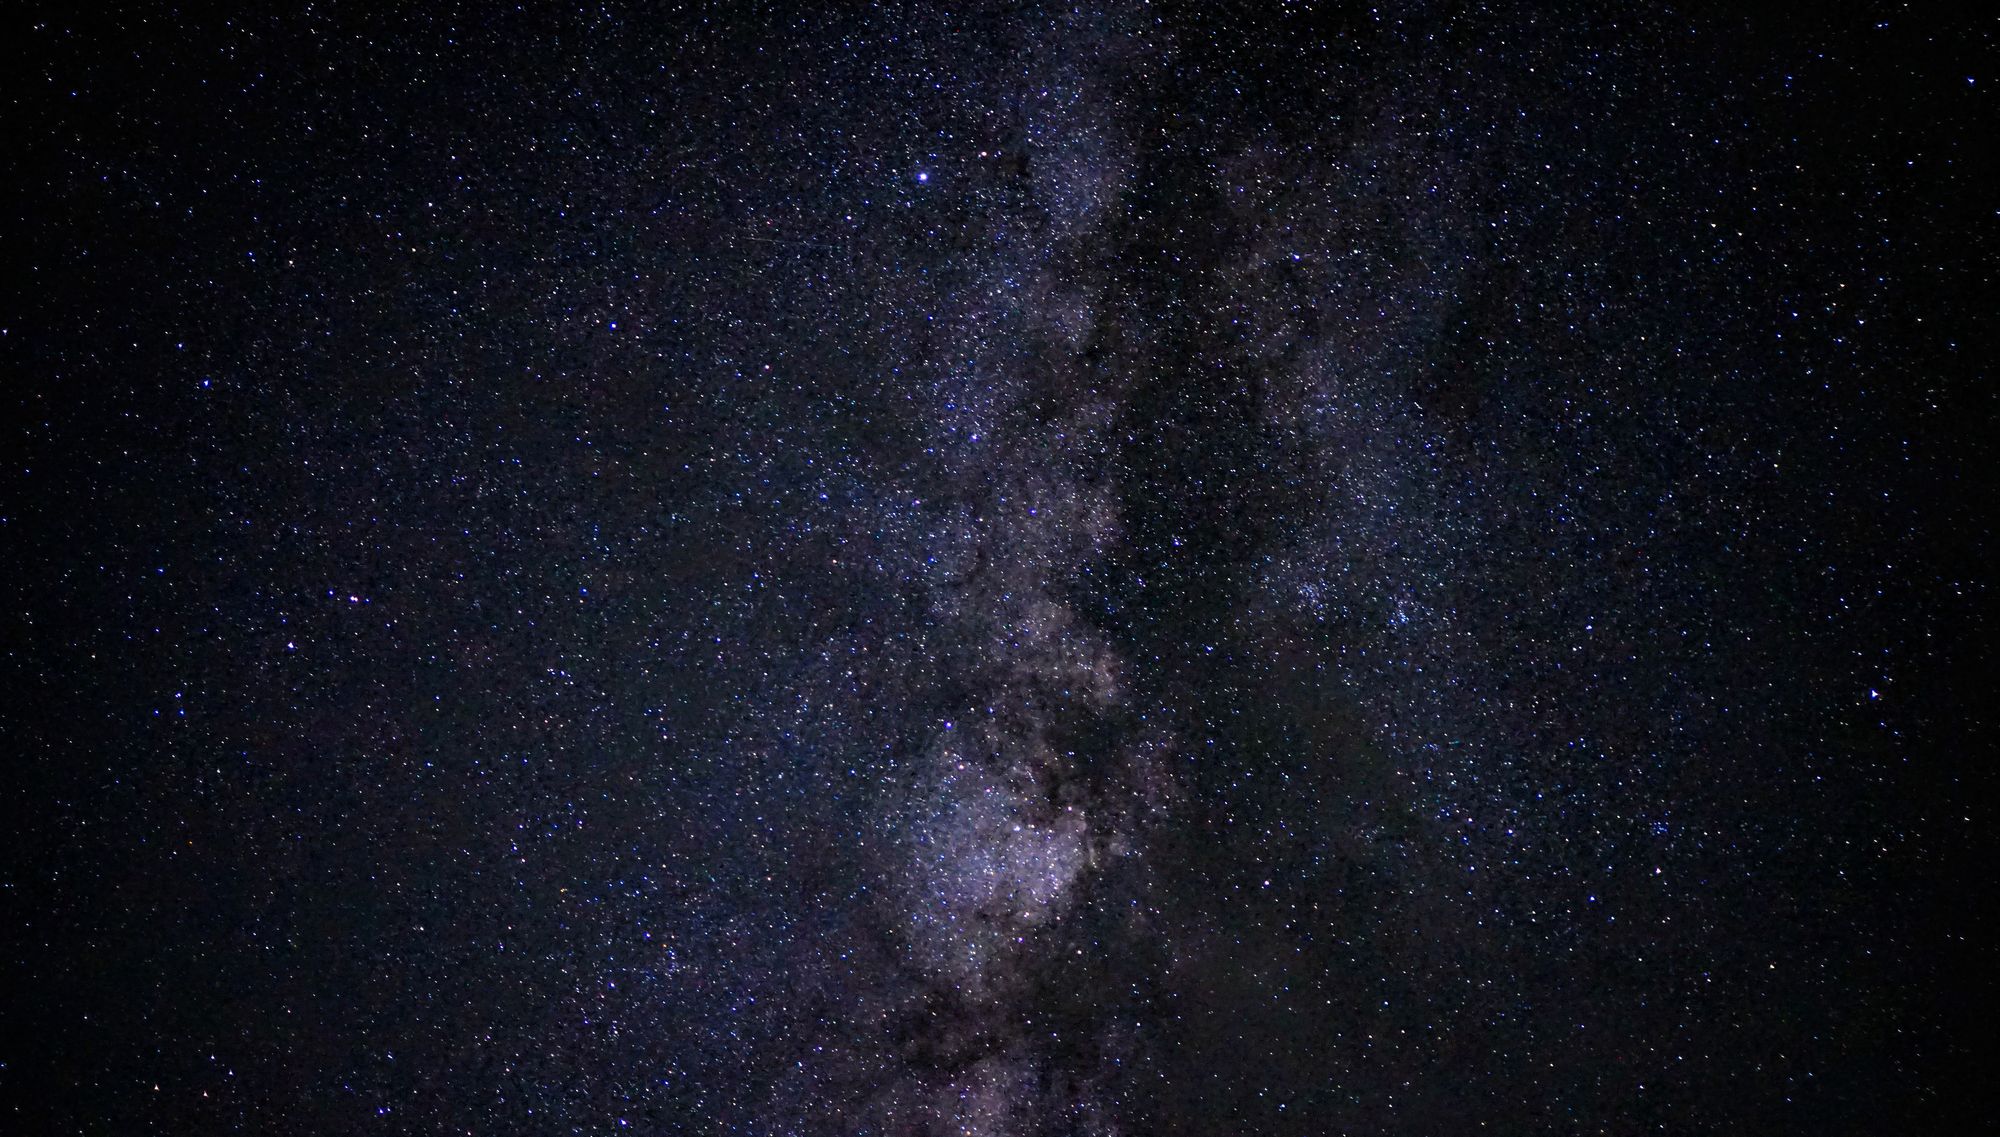
Taken with Sony Alpha 6000
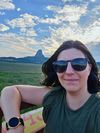
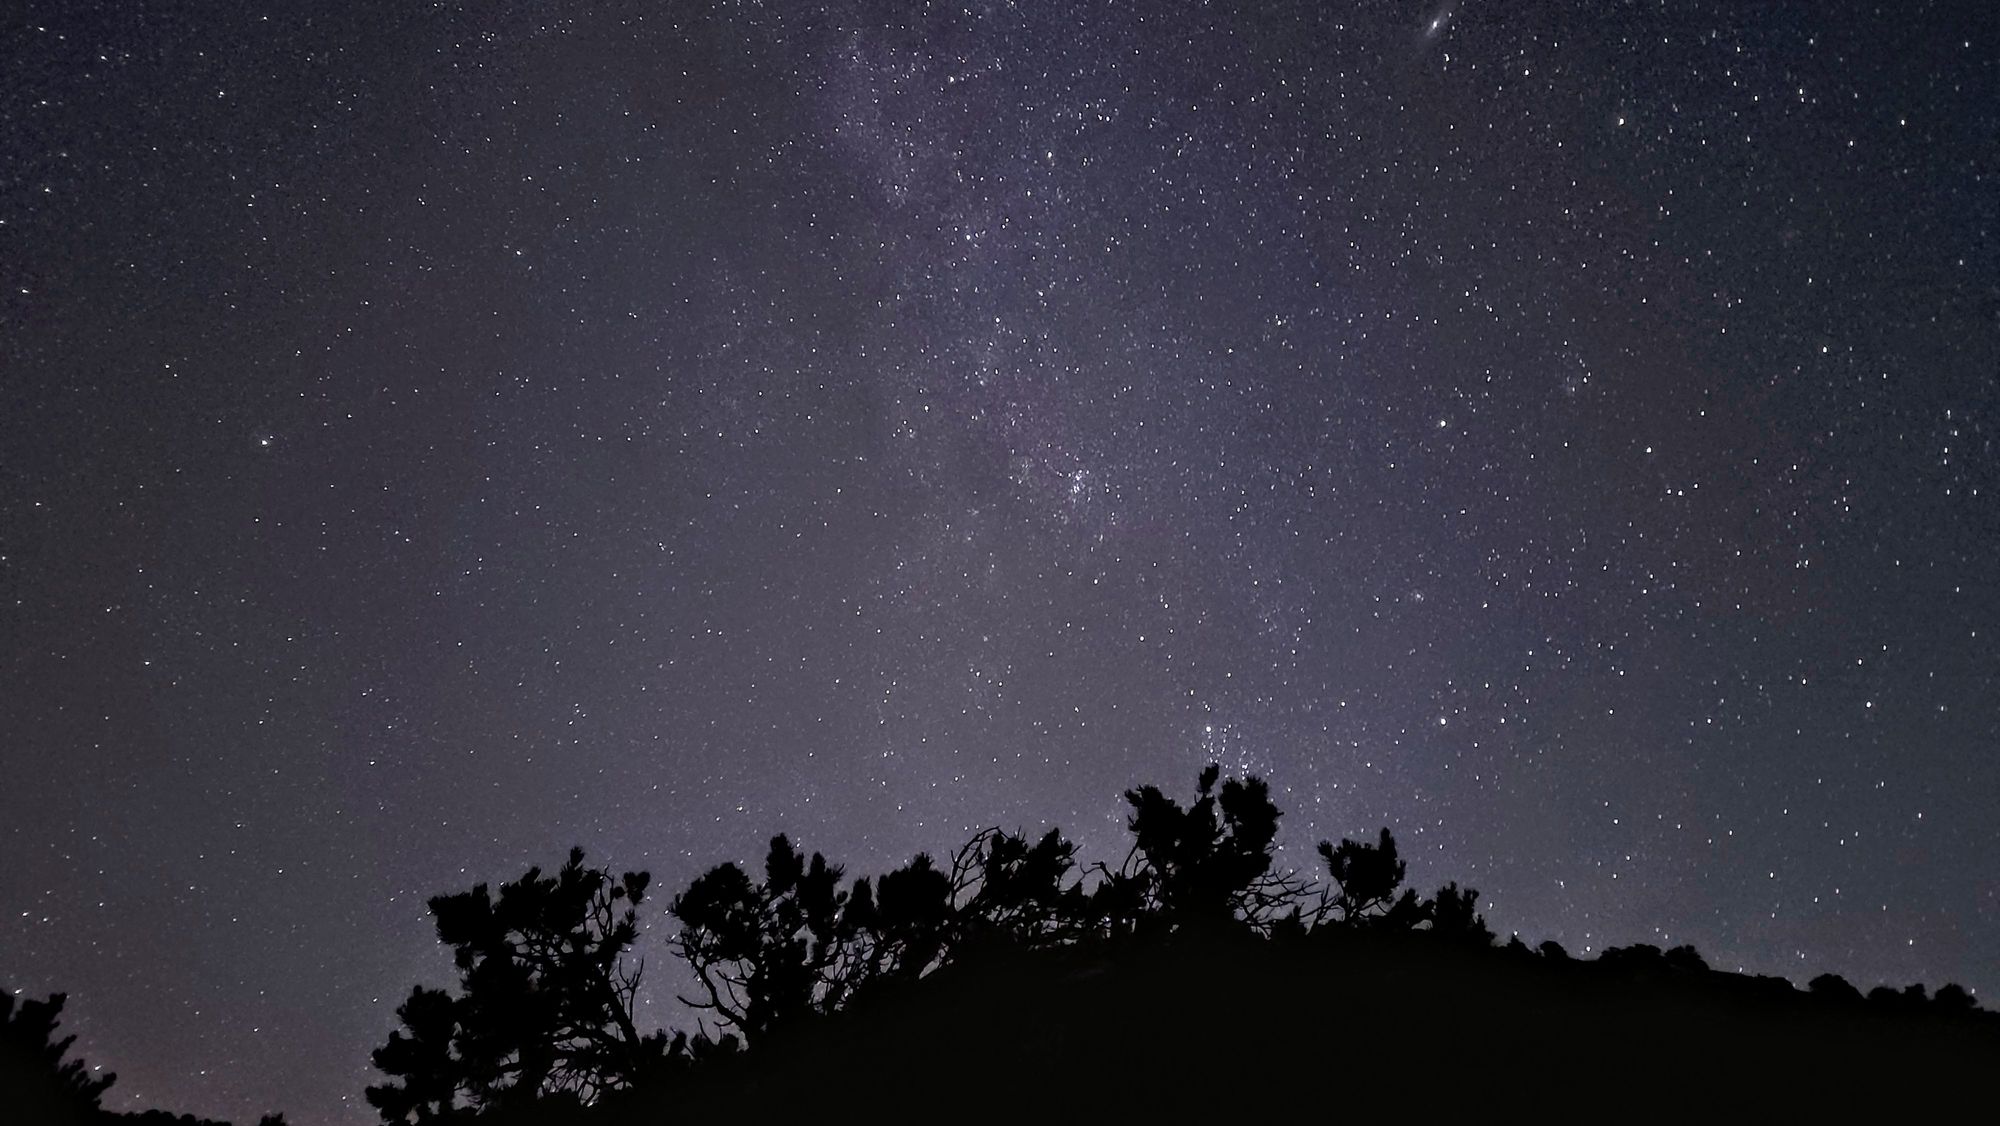
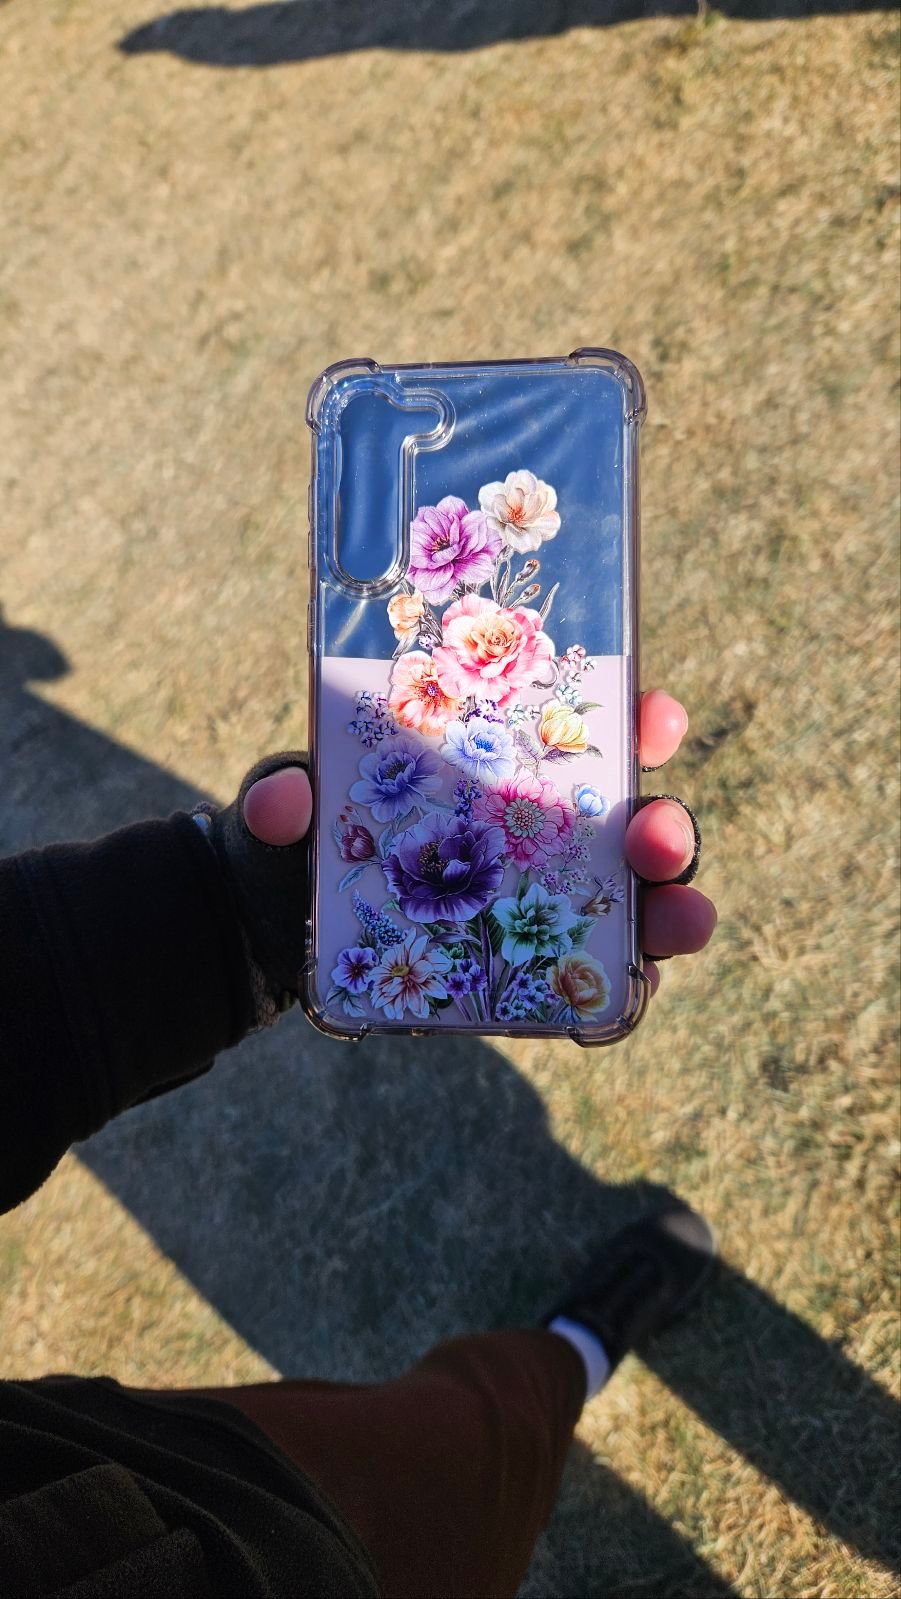
Whenever I practice night photography, I use my Sony Alpha mirrorless camera, but I also like to see what my cell phone can do, since most of the time I don't bother carrying any extra camera equipment when I'm exploring. I recently upgraded to a Samsung S23 Plus and am looking into apps to enhance the photo-taking ability, but I'd say for a cell phone, the photos weren't half bad. It's a much breezier set-up than what I need to do to adjust my mirrorless settings, but the final image doesn't provide the same level of detail.
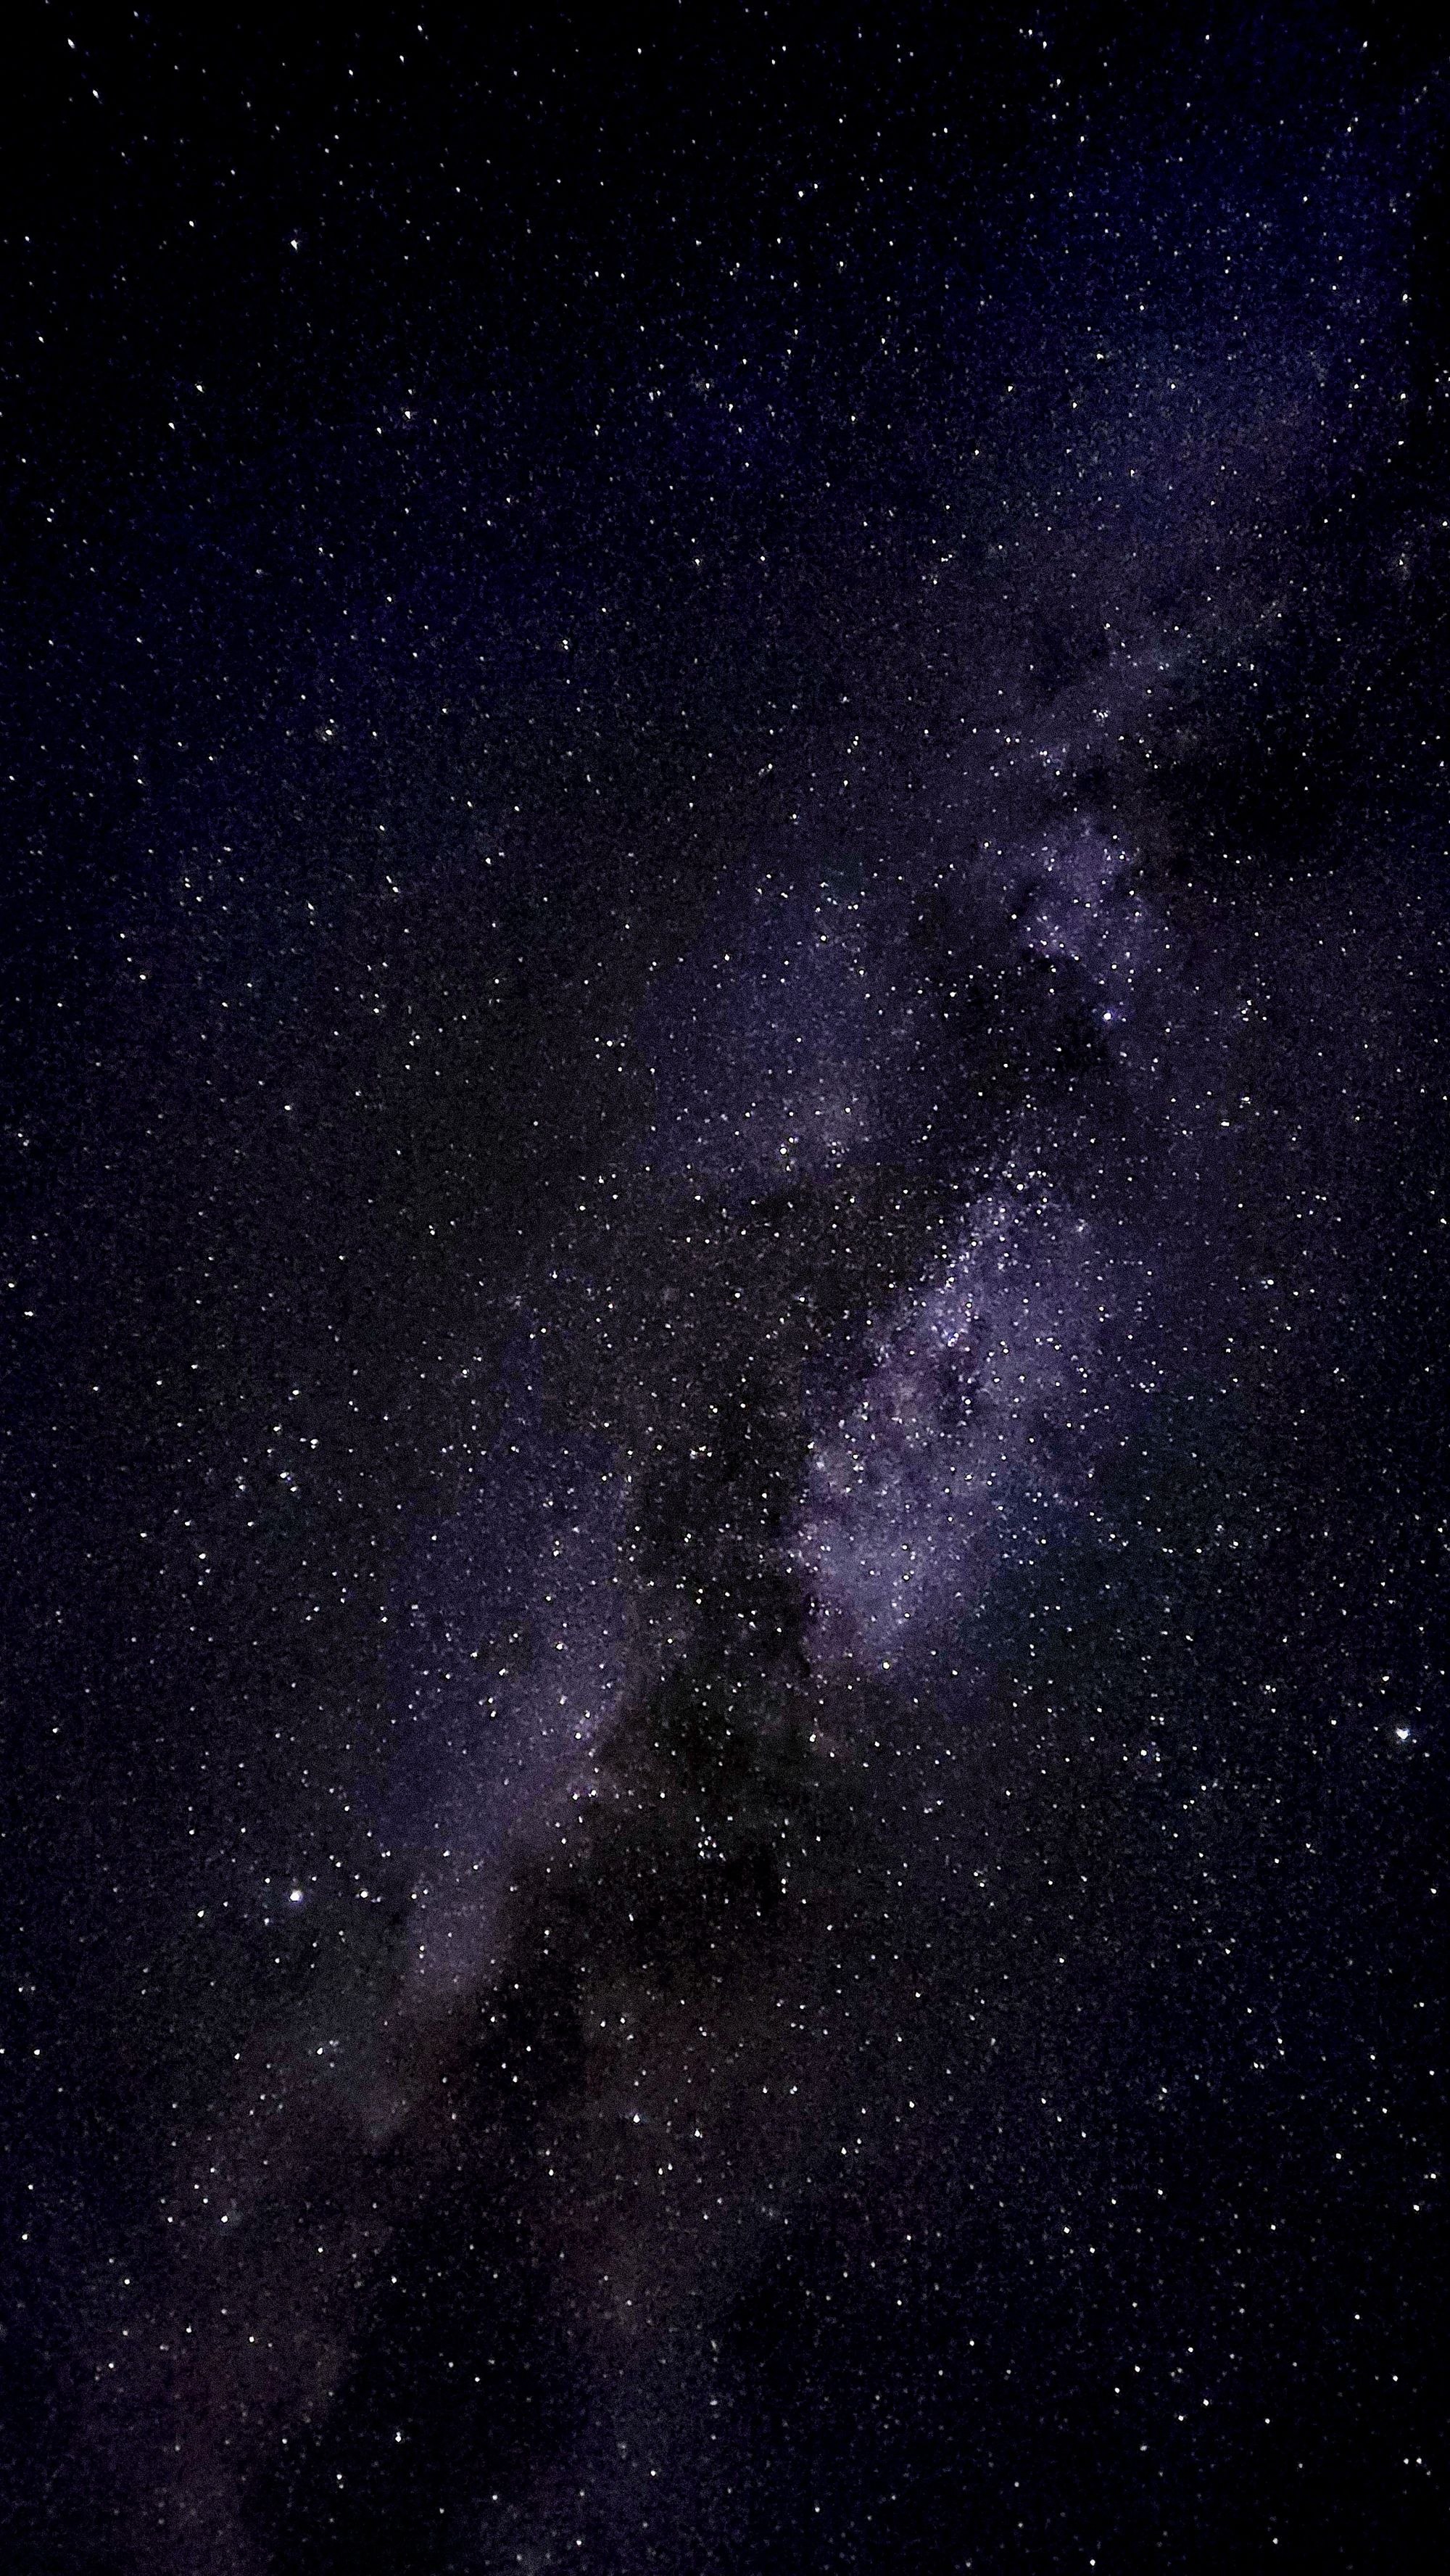
Taken with Samsung S23 Plus
I won't be winning any awards anytime soon, but astrophotography has become a fun hobby as we travel the US. It adds variety to our activities, and it's something we can do even if we're working all day.
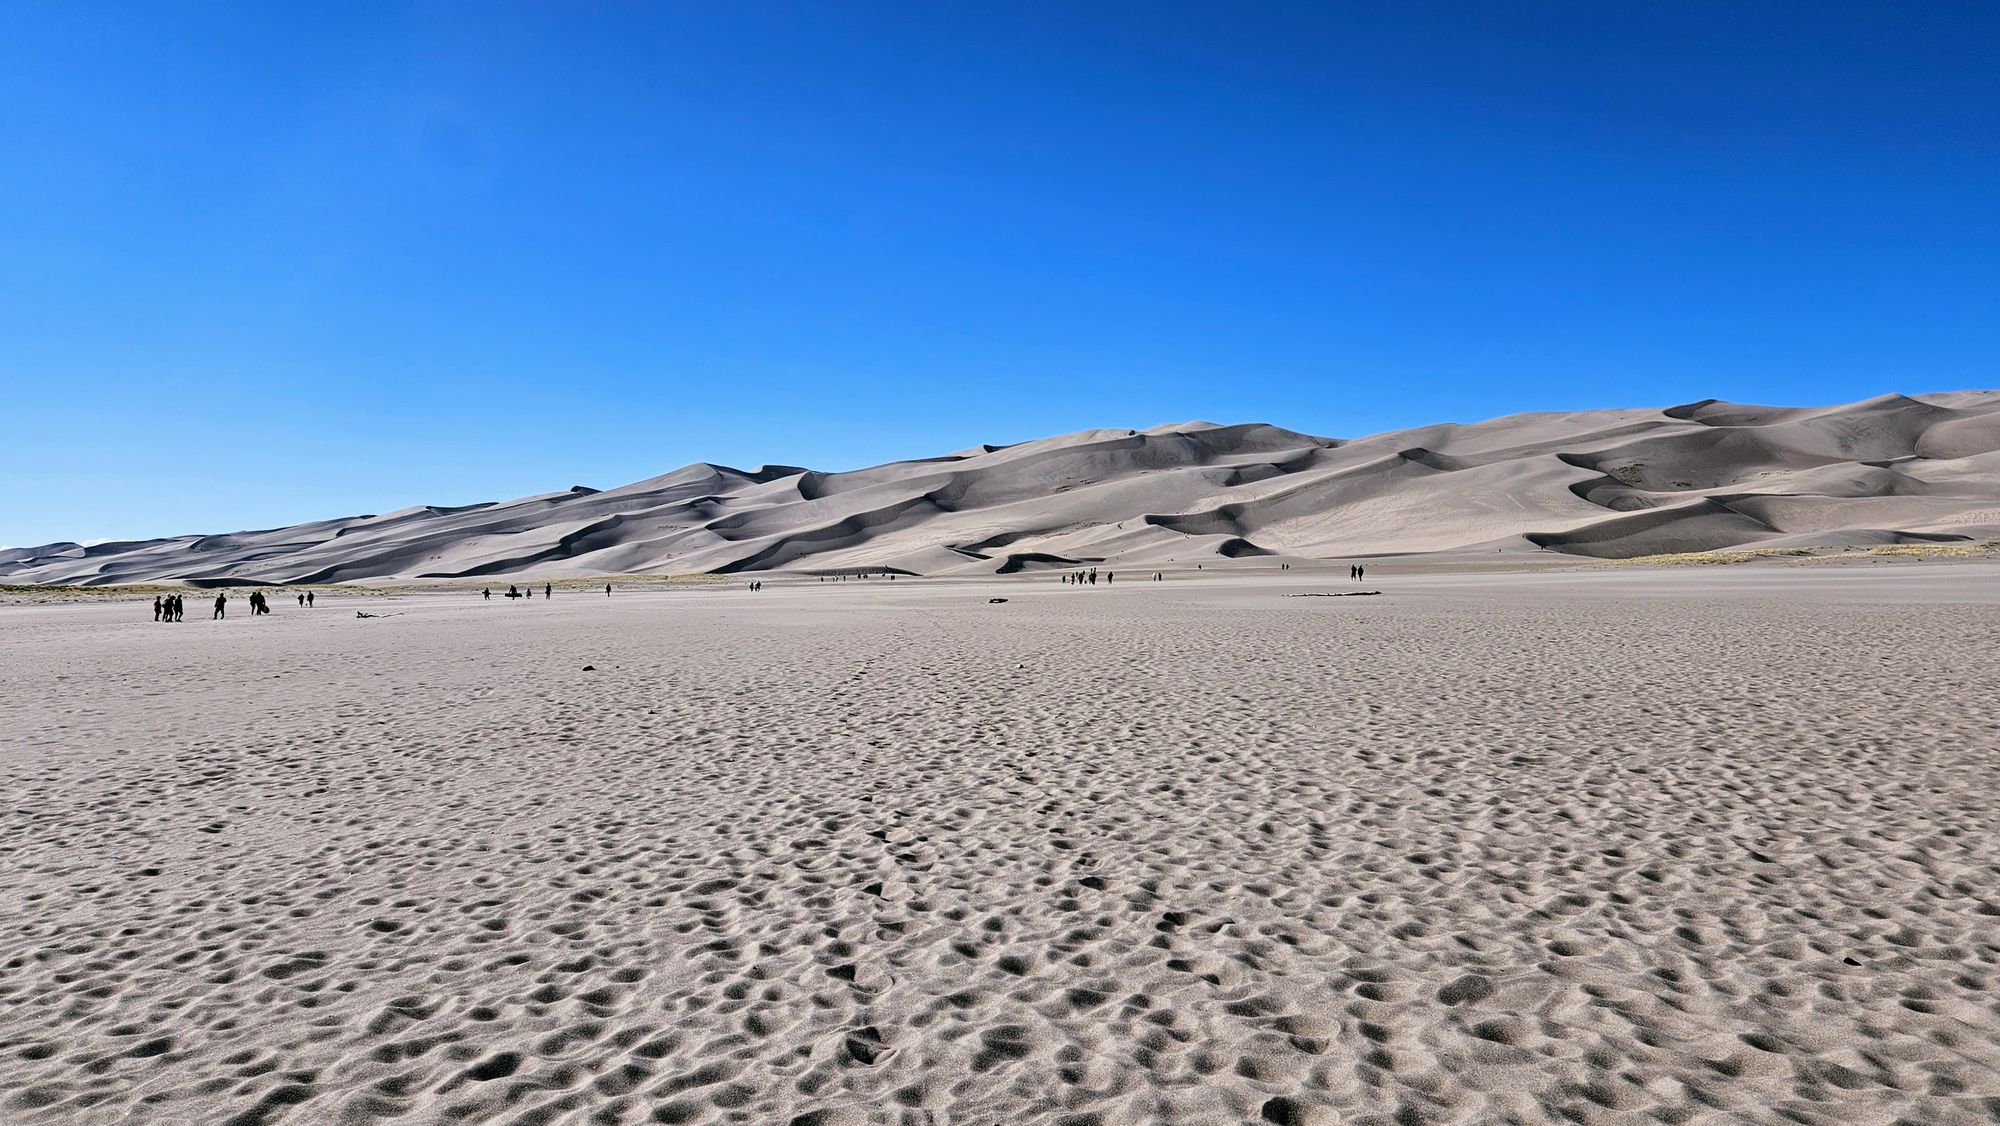
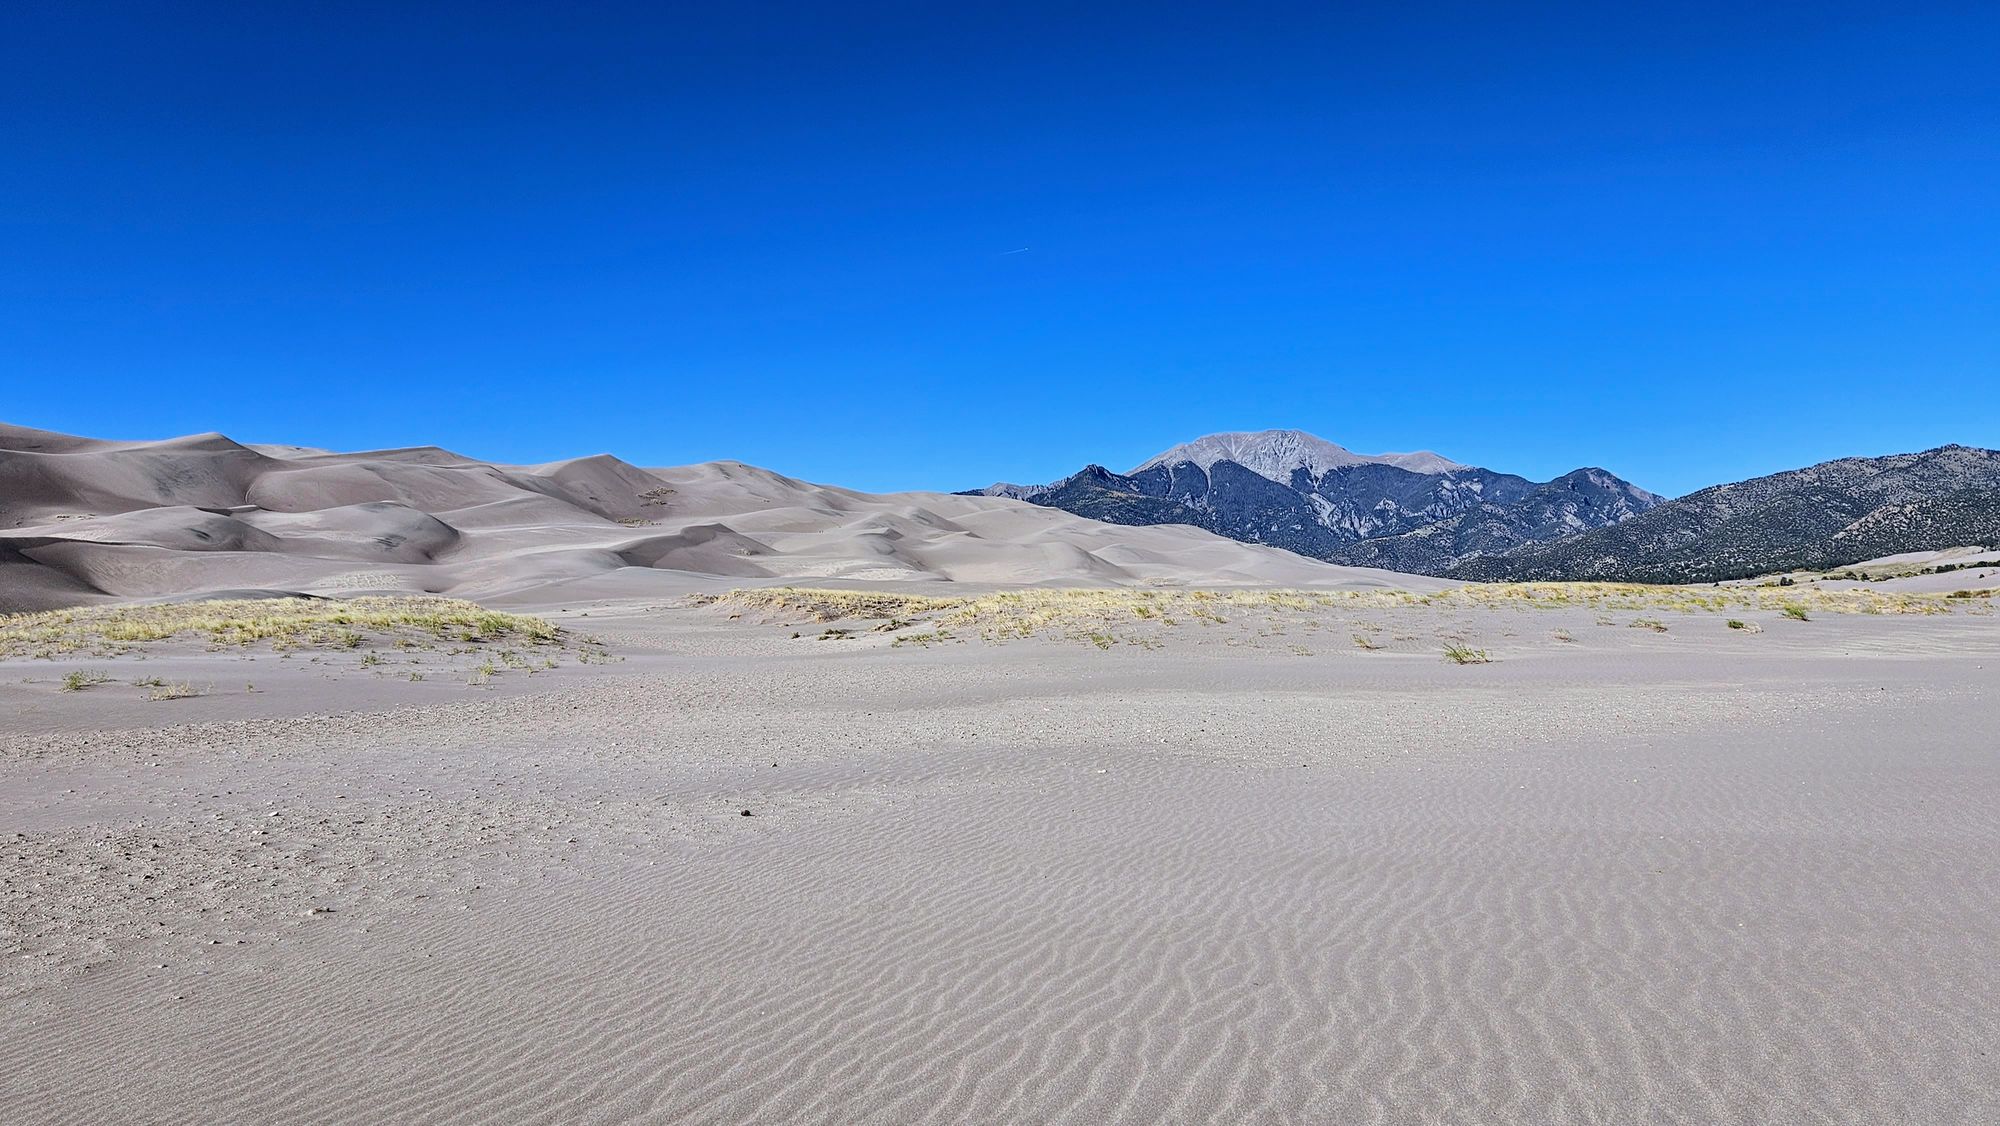
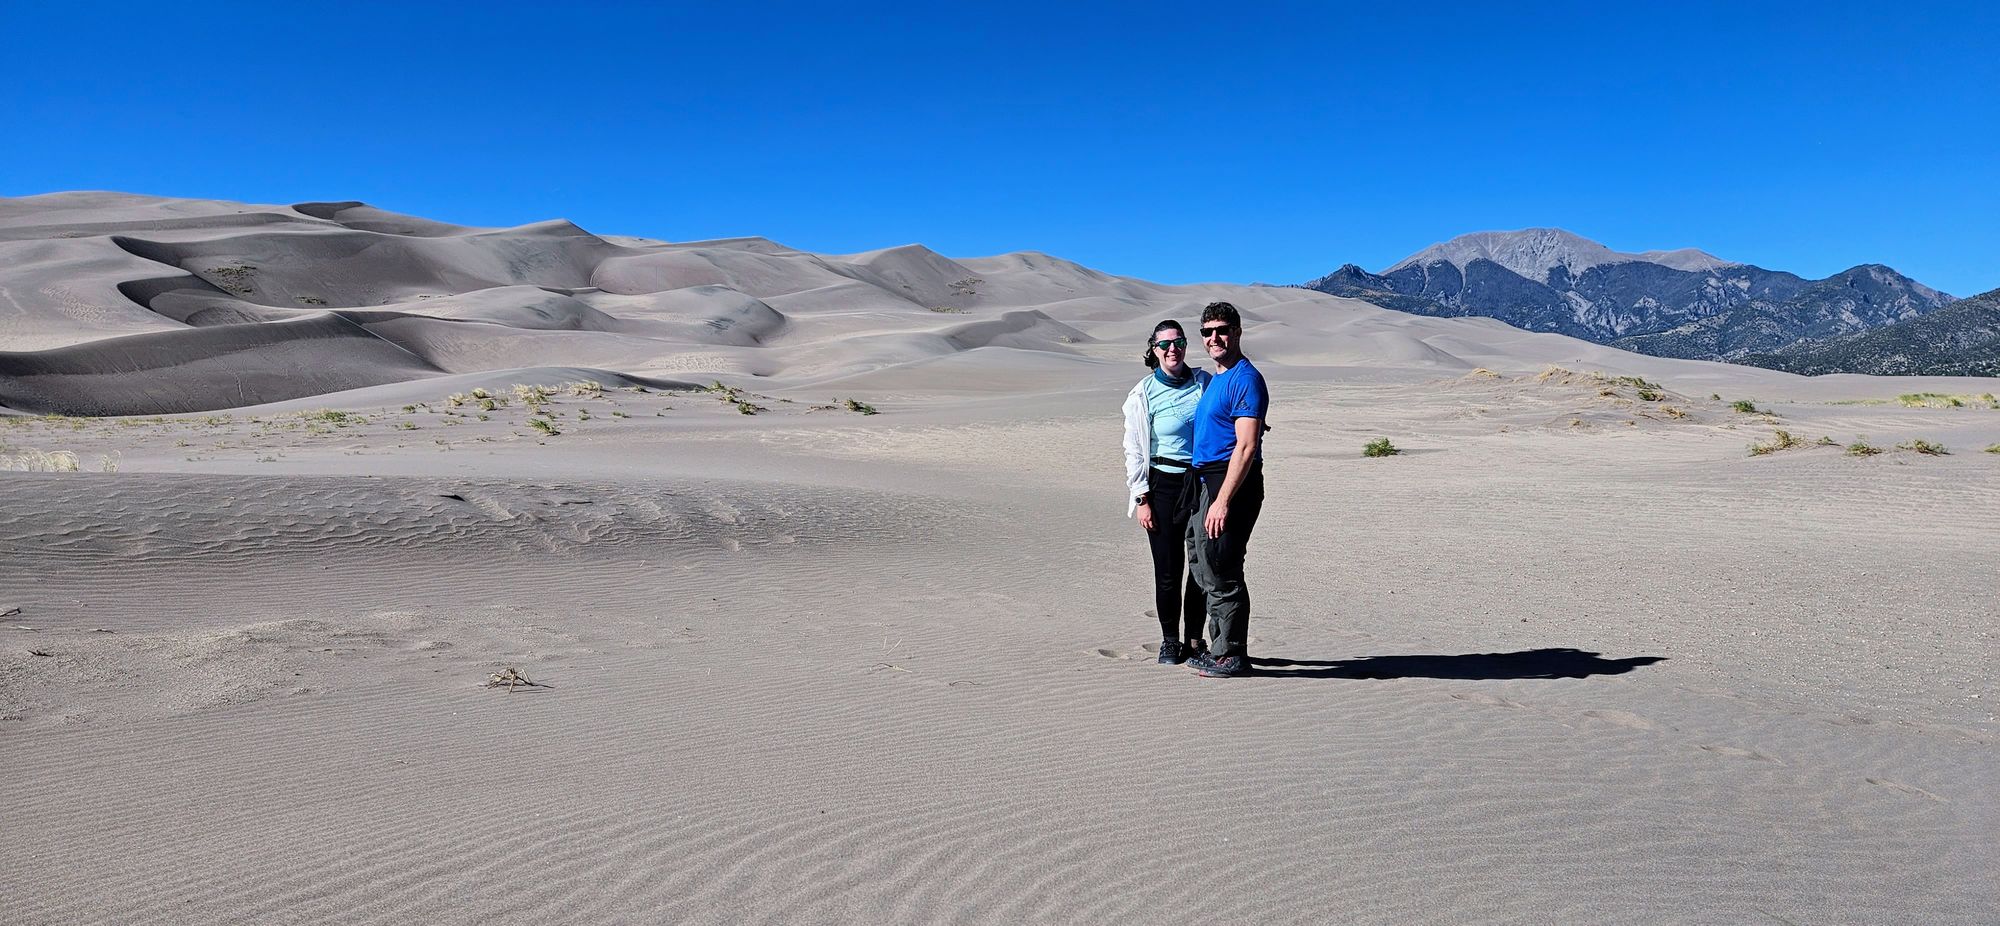
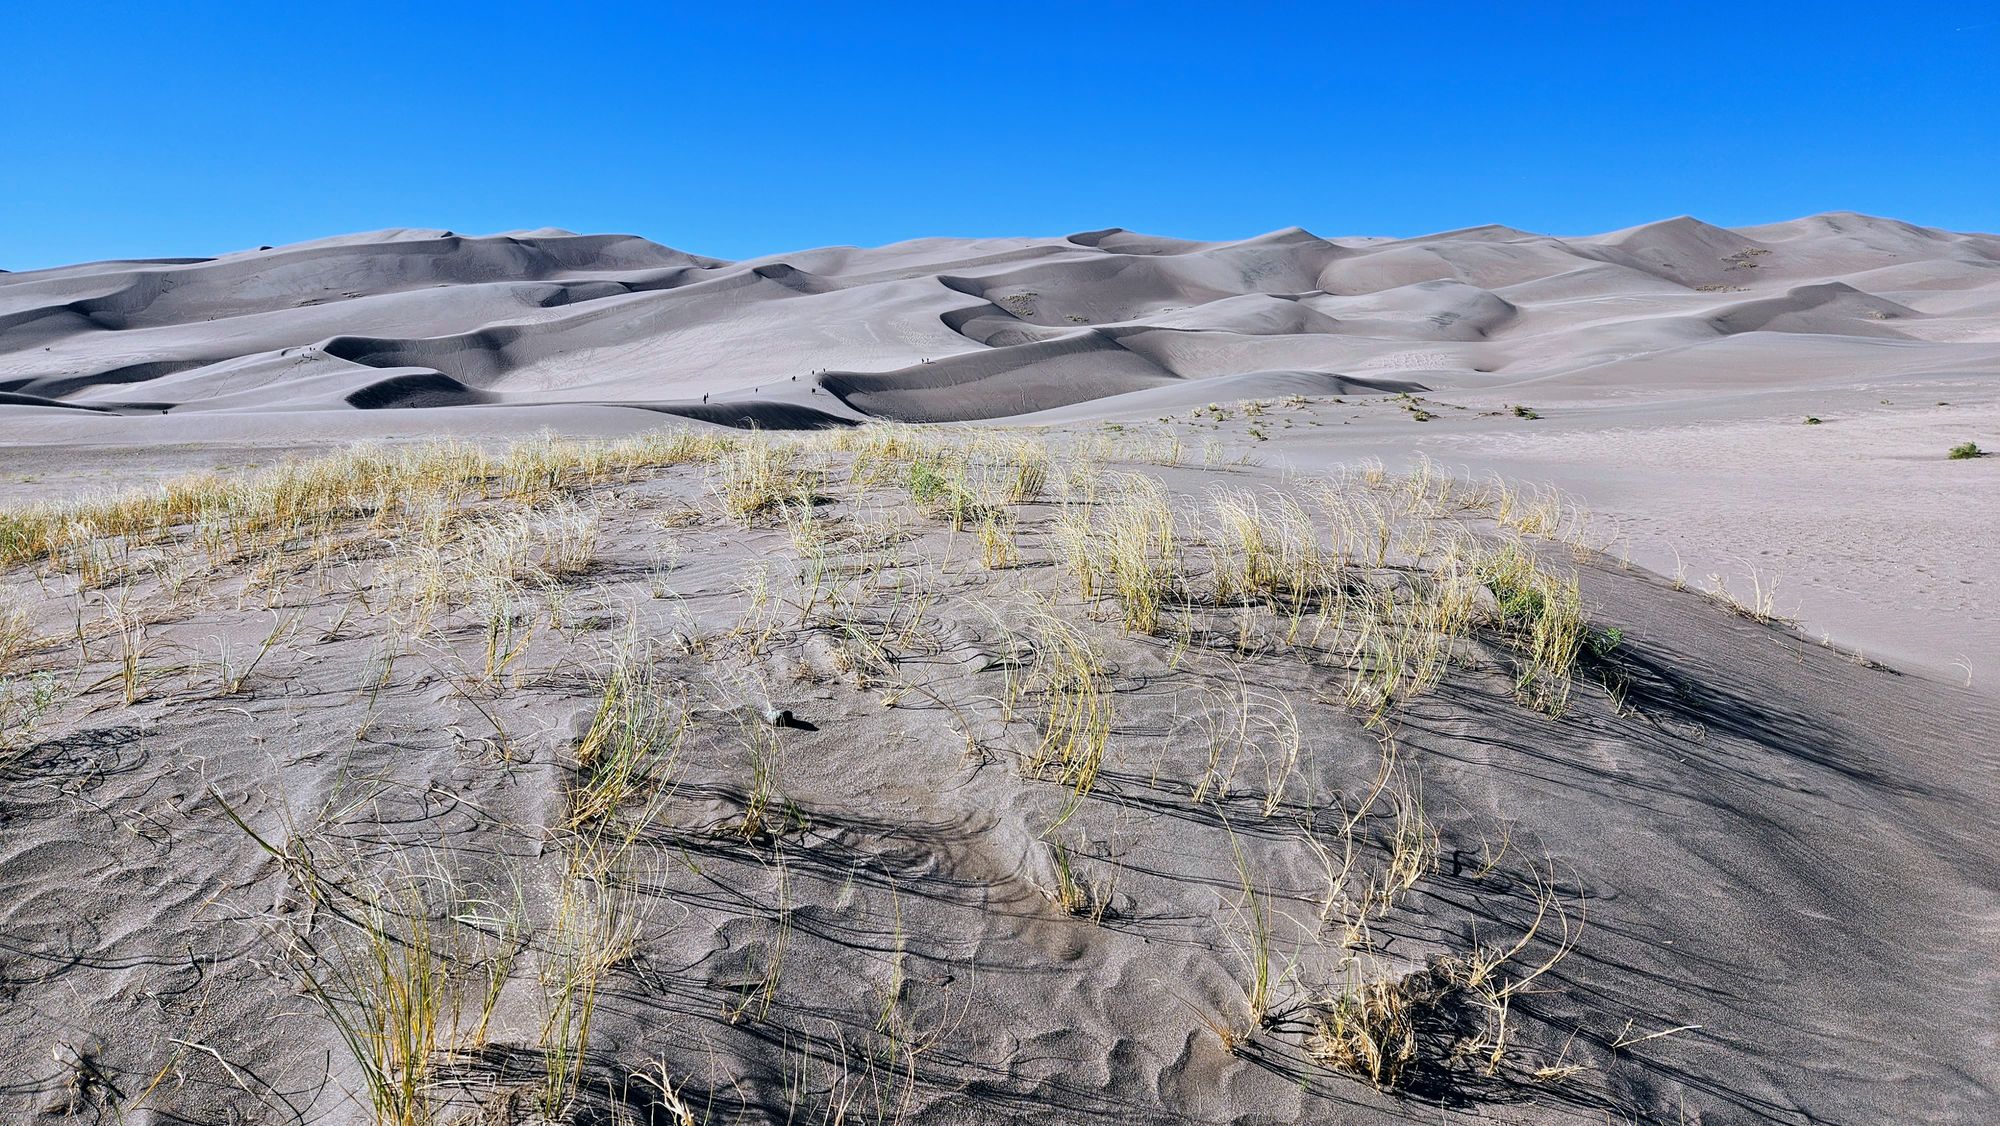
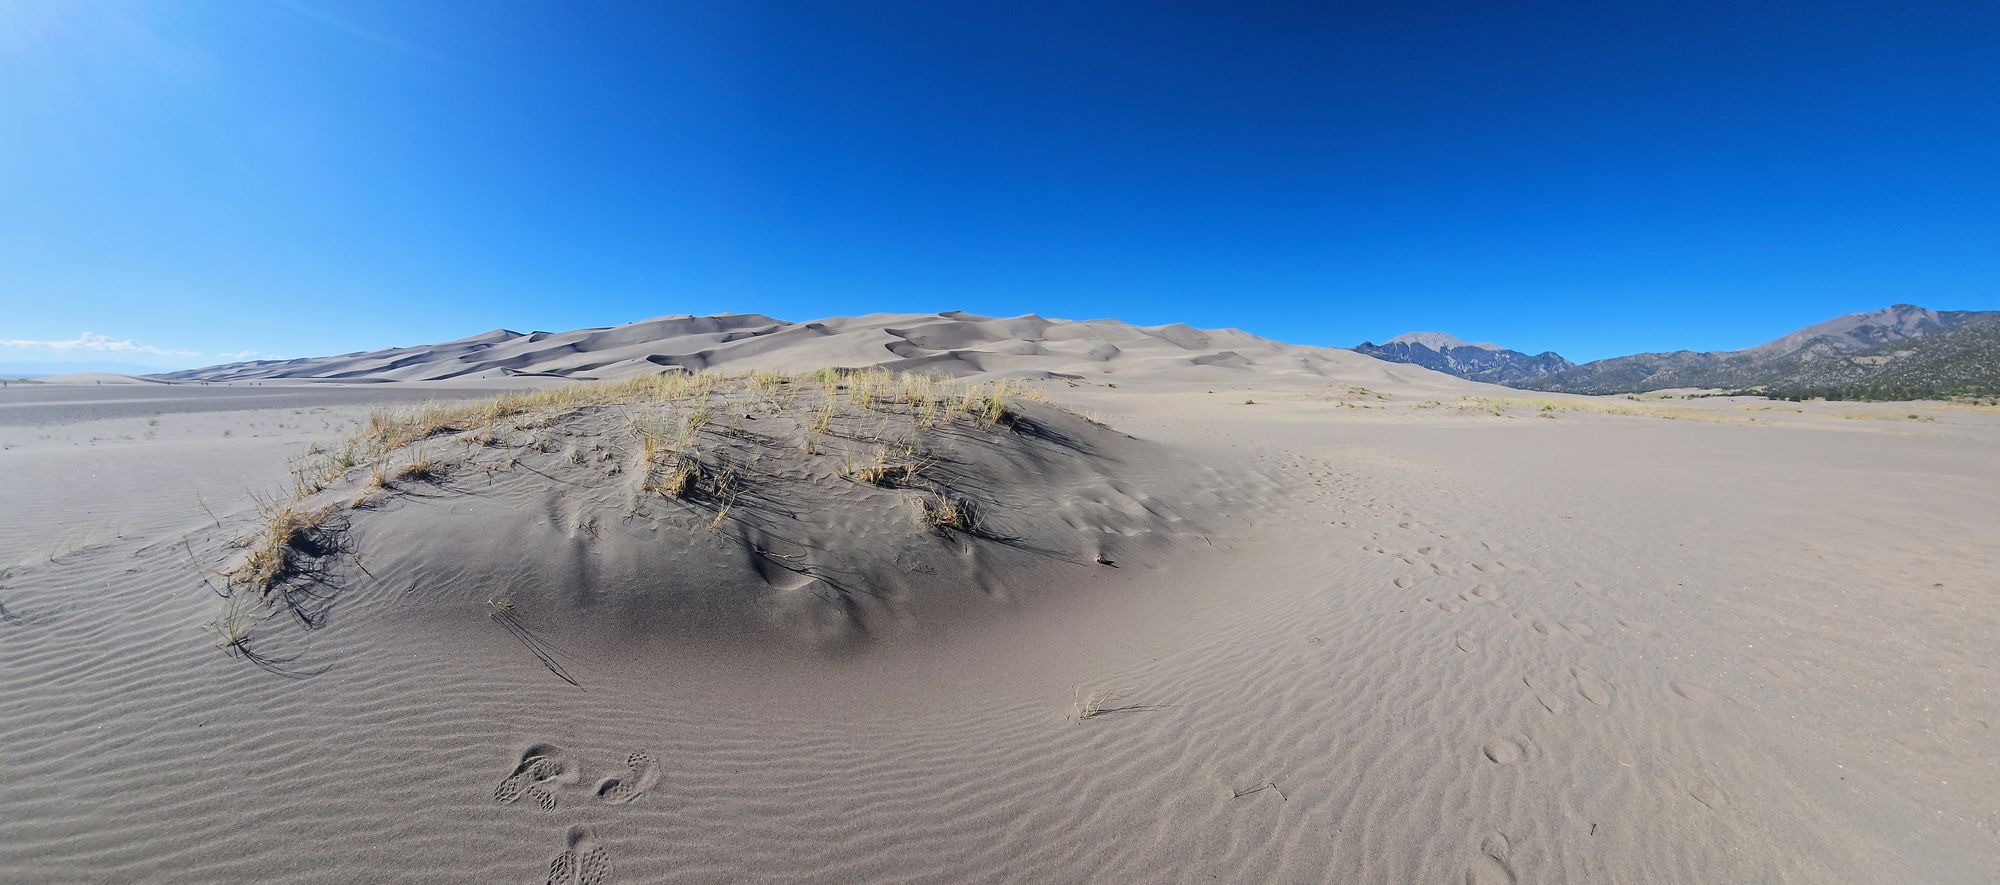
If you're curious what the dunes look like in the daylight, we returned to our photography spot the next day to take a look. Here you can see the dune hills and the adjacent mountains that served as the foreground for some of my photos.
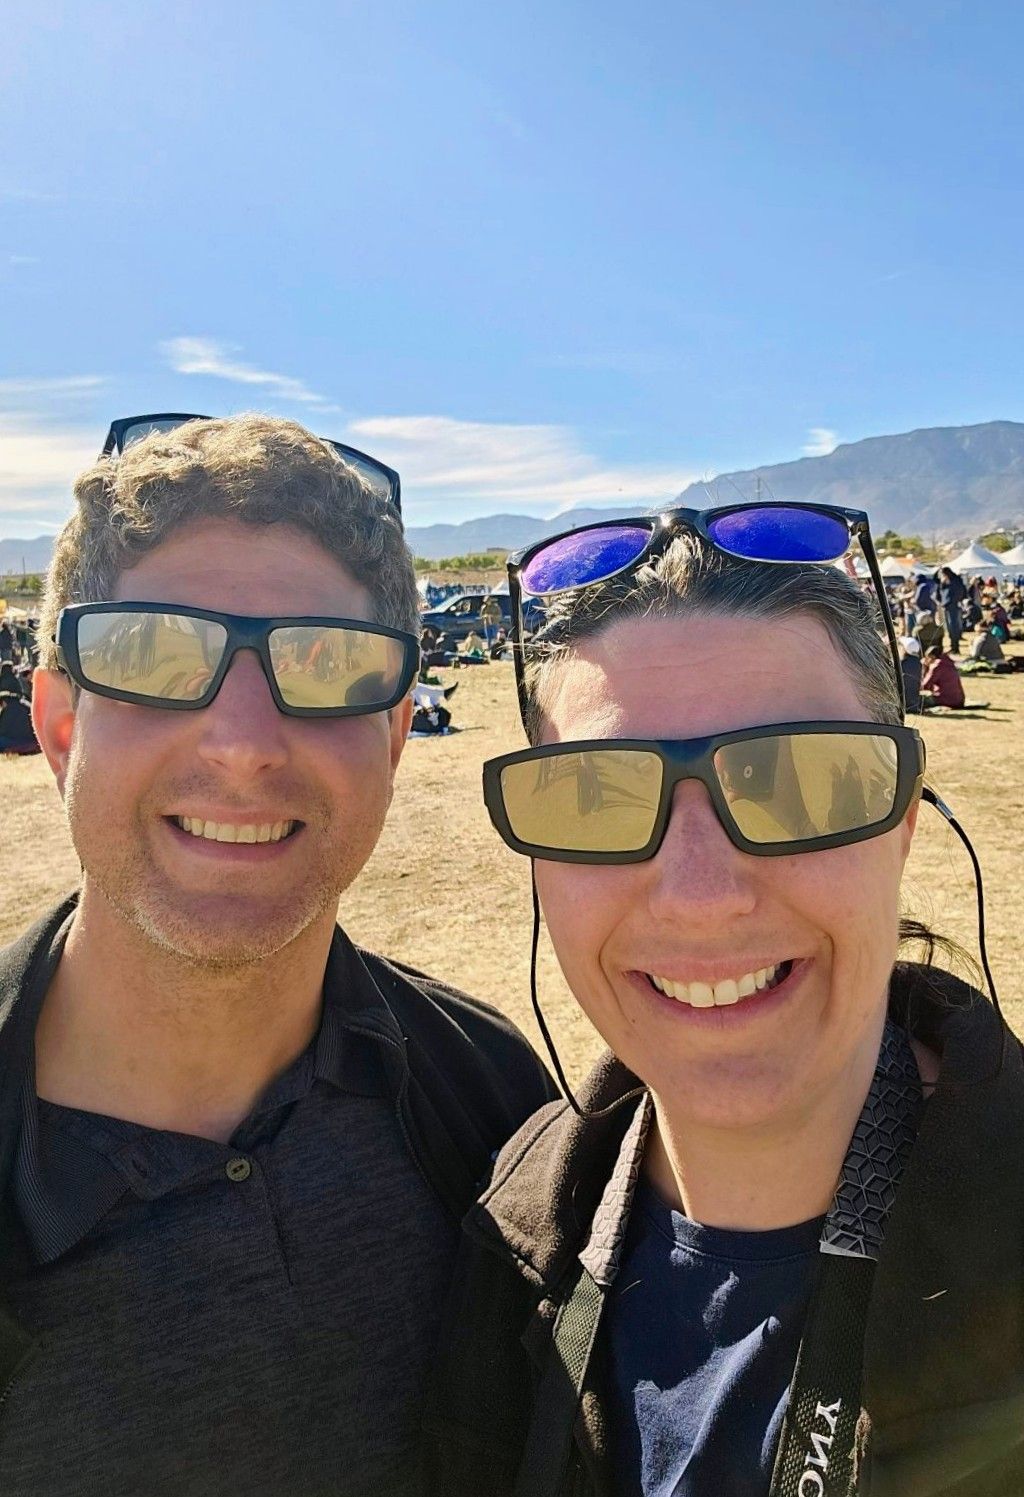
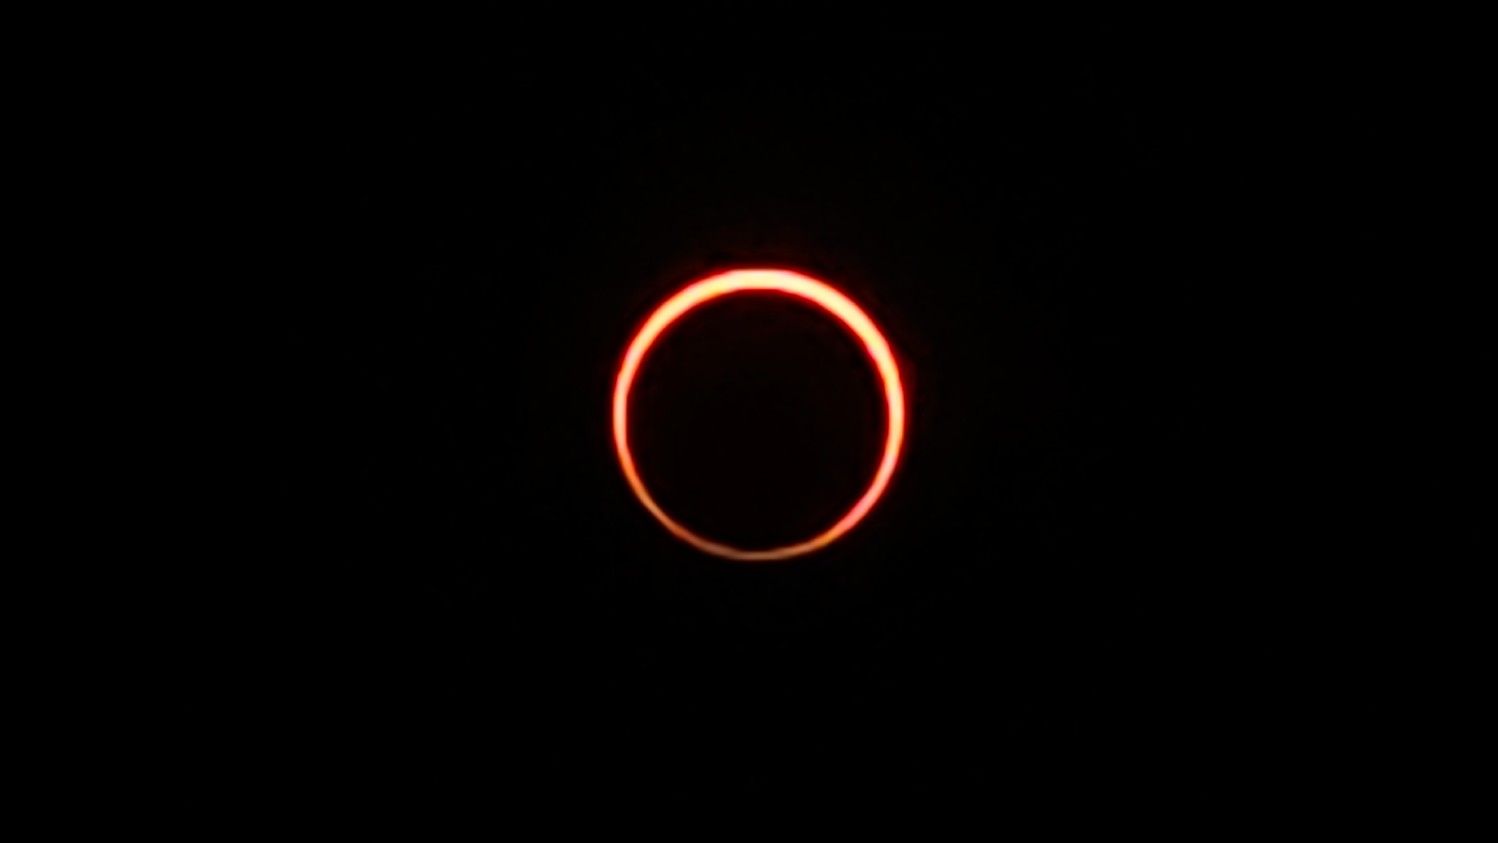
The celestial wonders weren't over yet, though. We were headed to the Albuquerque Balloon Fiesta, which is magical in its own right, but something very special was happening on the second weekend of the Fiesta. We were in the direct path of the Annular Solar Eclipse. These eclipses occur when the moon passes in front of the sun at the furthest point from earth. The moon appears smaller than the sun, so does not completely cover it as it would during a total solar eclipse. Instead, it covers just enough to leave a ring of fire, or annulus. The Balloon Fiesta held its own special eclipse event, and we were ready for it. We purchased eclipse glasses, and I also bought a couple of lens filters for my camera. The biggest danger to capturing the eclipse is the brightness of the sun. Just as you don't want to look at a solar eclipse directly with your eyes, you also need to be careful pointing cameras toward the sun, especially when part of it is blocked by the moon. With a mirrorless camera, the risk is lower because it does not have an optical viewfinder. If you use a DSLR and look through a viewfinder, you could burn your retina just like you might if you were looking directly at the sun. Beyond the human eye is the camera mechanism, which can also get burned if pointed toward the sun for too long. Again, the risk is lower with a mirrorless because of its electronic viewfinder. There are no mirrors to reflect the damaging rays.
Unlike with the Milky Way shots, I made sure to research ahead of time because preparation is key: getting the right equipment, learning the settings, and timing everything right. After all, this isn't a common occurrence like the ever-present Milky Way. I had 3 hours of eclipse time, and less than 5 minutes of the annular coverage. After reading lots of articles, I decided that I could get away with a neutral density (ND) filter for my mirrorless camera. ND filters block out sun the way sunglasses do, and they're not recommended for solar eclipse photography, especially when using an SLR camera. Because mirrorless mechanisms aren't as vulnerable, many experts say a strong ND filter with lots of stops is sufficient. Ideally I would have liked to get a real solar filter, but I was on a time crunch with what could get delivered to me. Even with advance planning, I can only get packages in certain locations, depending on how close to civilization I am. I bought an adjustable filter that went up to 9 stops, with each stop filtering more light. Ideally, 10 or more would have been my choice, but I got what I could. I also looked at filters for cell phones, just to give myself options. I almost bought this kit that syncs with an app. It seems like a good beginner's guide to eclipse photography, but instead I opted for a plain, multi-use filtering screen. I liked that I could decide which device to use the screen with, whether that's my mirrorless, cell phone, or even binoculars! I expected to put it on my mirrorless and use it in conjunction with my ND filter, but when I received it, I changed my mind and decided to wrap it around my cell phone camera.
So that became my equipment arsenal for the day: My Sony Alpha with my adjustable ND filter, with the assumption I'd keep it at the maximum 9 stops, plus my cell phone camera wrapped with the filter screen.
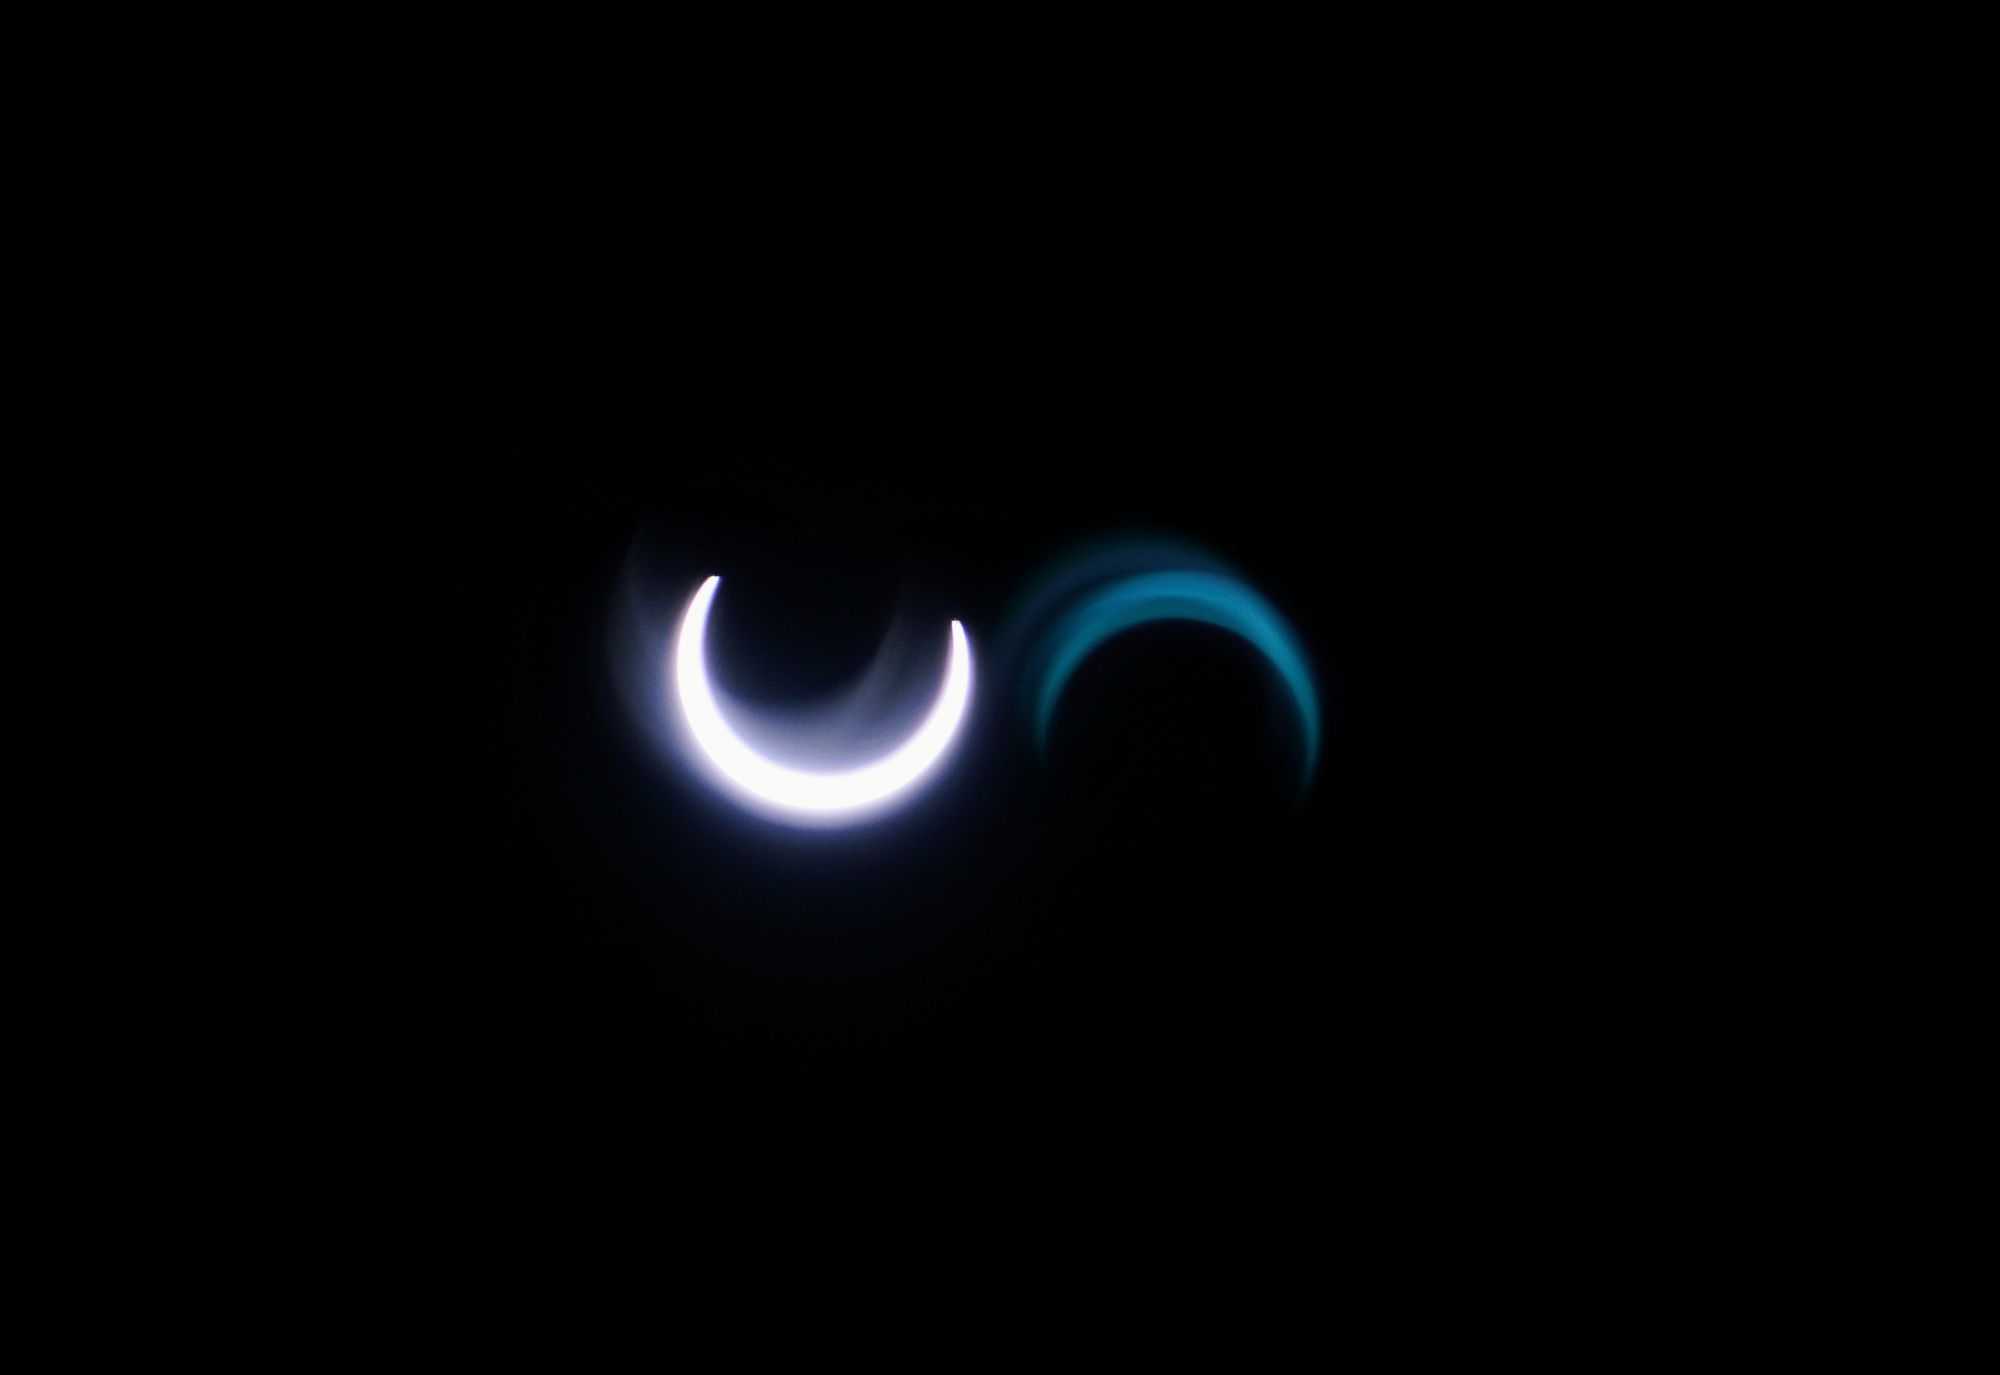
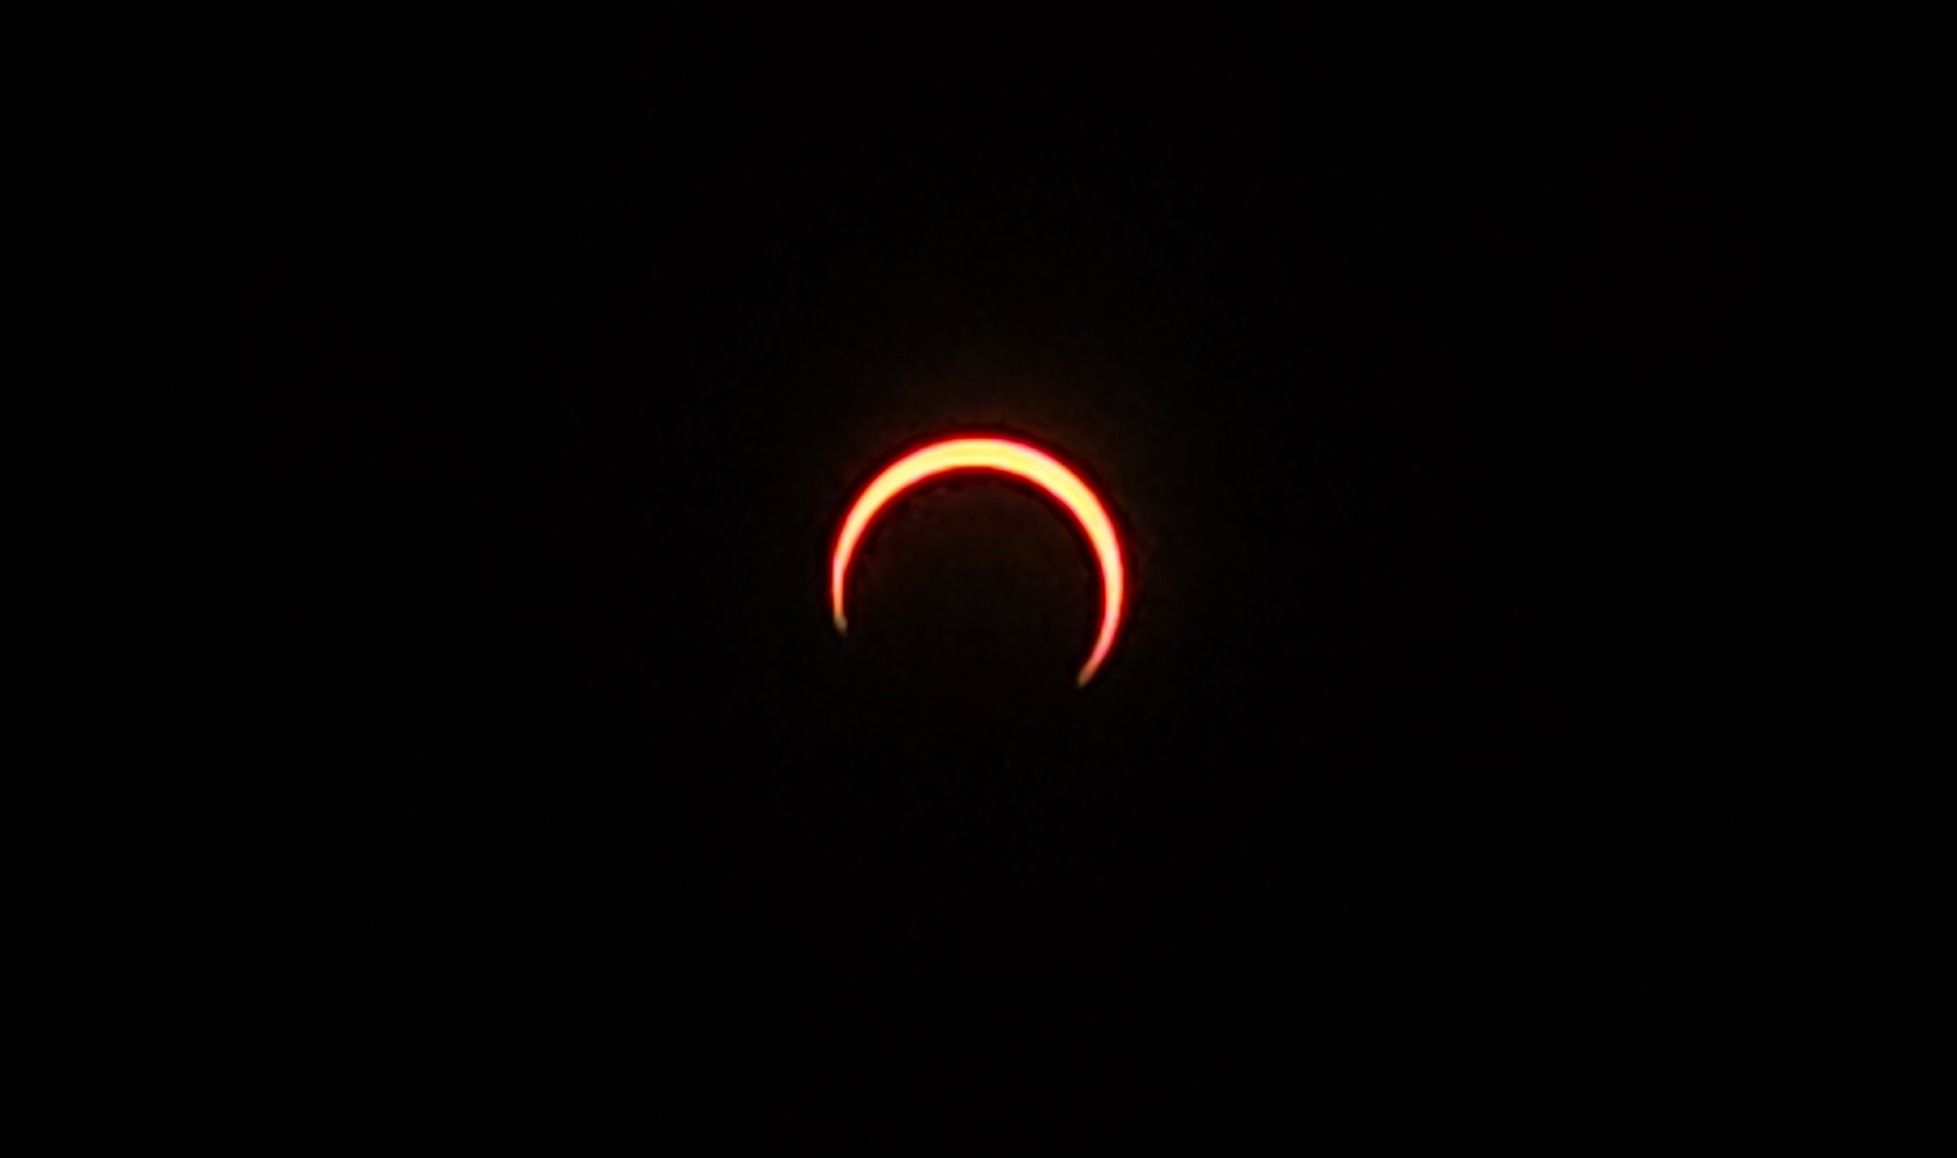
The ND filter proved to let in too much light. You'll see in the photos that I have a reflected crescent. This is an internal reflection due to the optics of the camera. I kind of ran with it, deciding to play around with the two crescents by moving my camera around, so that the shapes would meet each other. I also wasn't thrilled with my zoom lens, which only adjusts to 200mm. I knew the eclipse would look tiny, but I don't have a larger telephoto lens because my 1000mm was defective. I'm debating whether or not to invest in another because it would come in handy during times like this, as well as shooting wildlife from far away. I have a multiplier which would double the zoom, meaning I could buy a 1000mm lens and multiply the zoom to 2000mm. That would result in some fantastic close-up shots, but in the RV world, we need to always decide if we want to take up space, and those lenses are quite large and cumbersome.
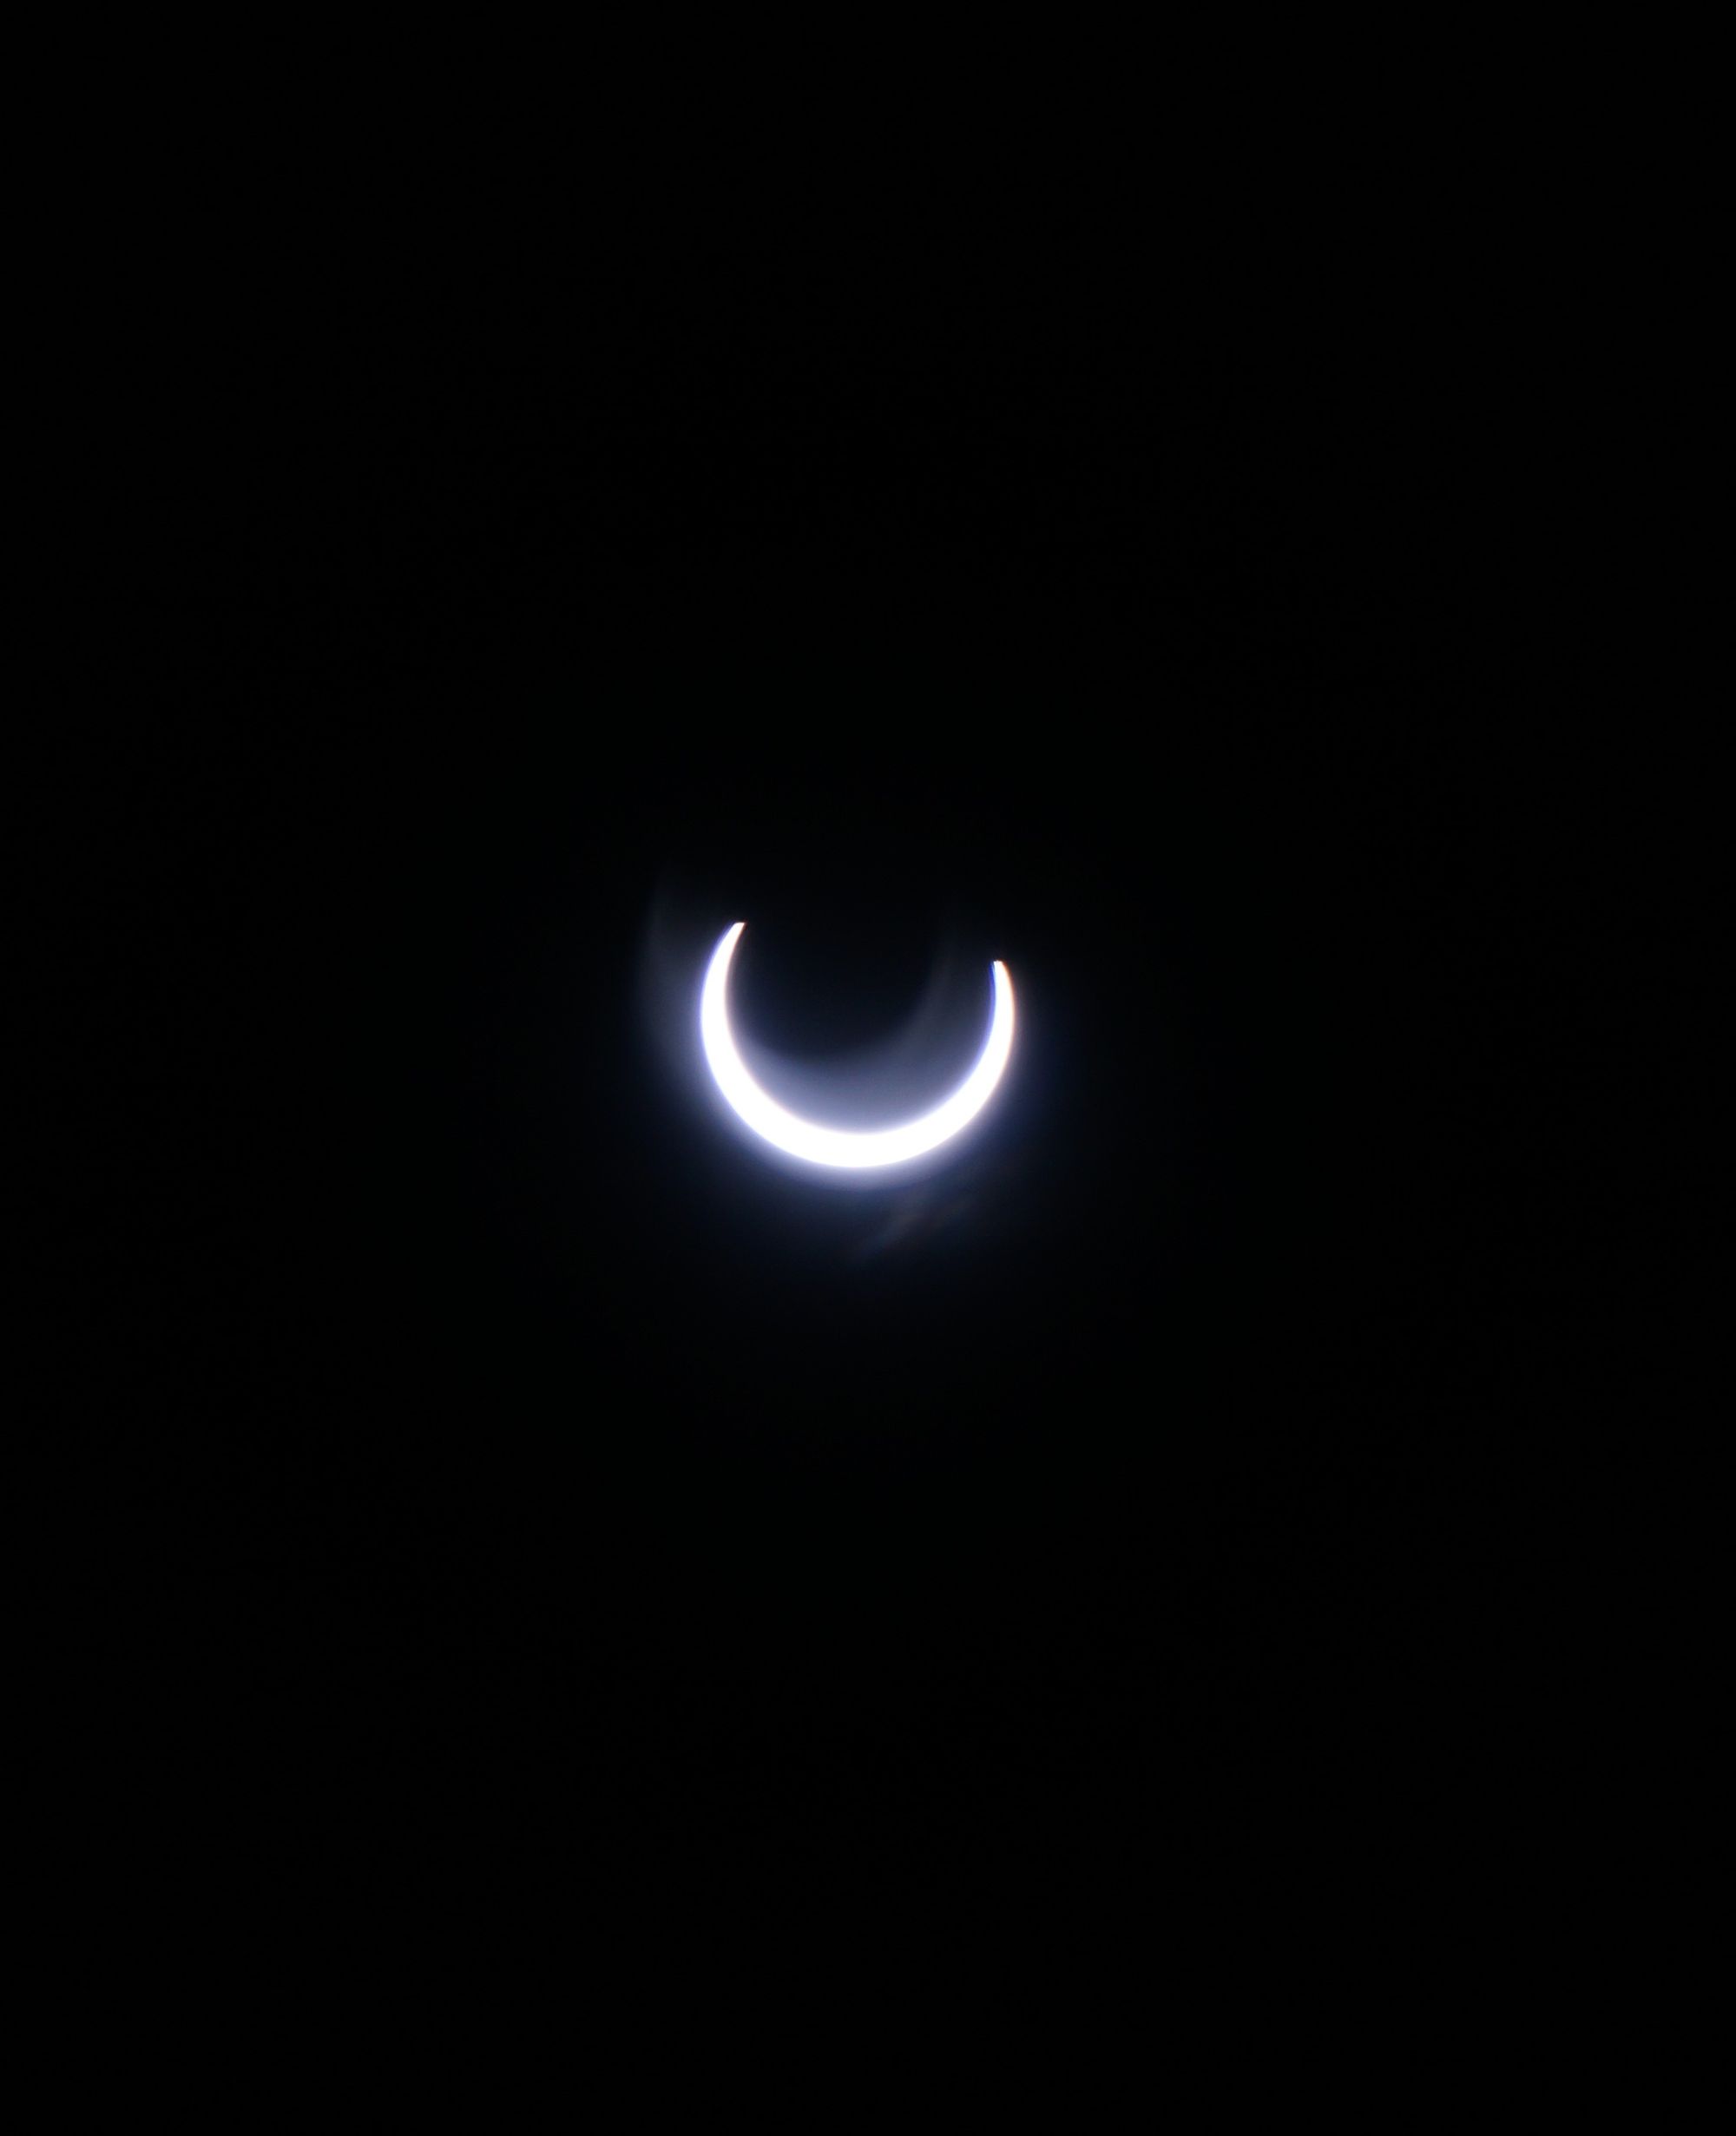

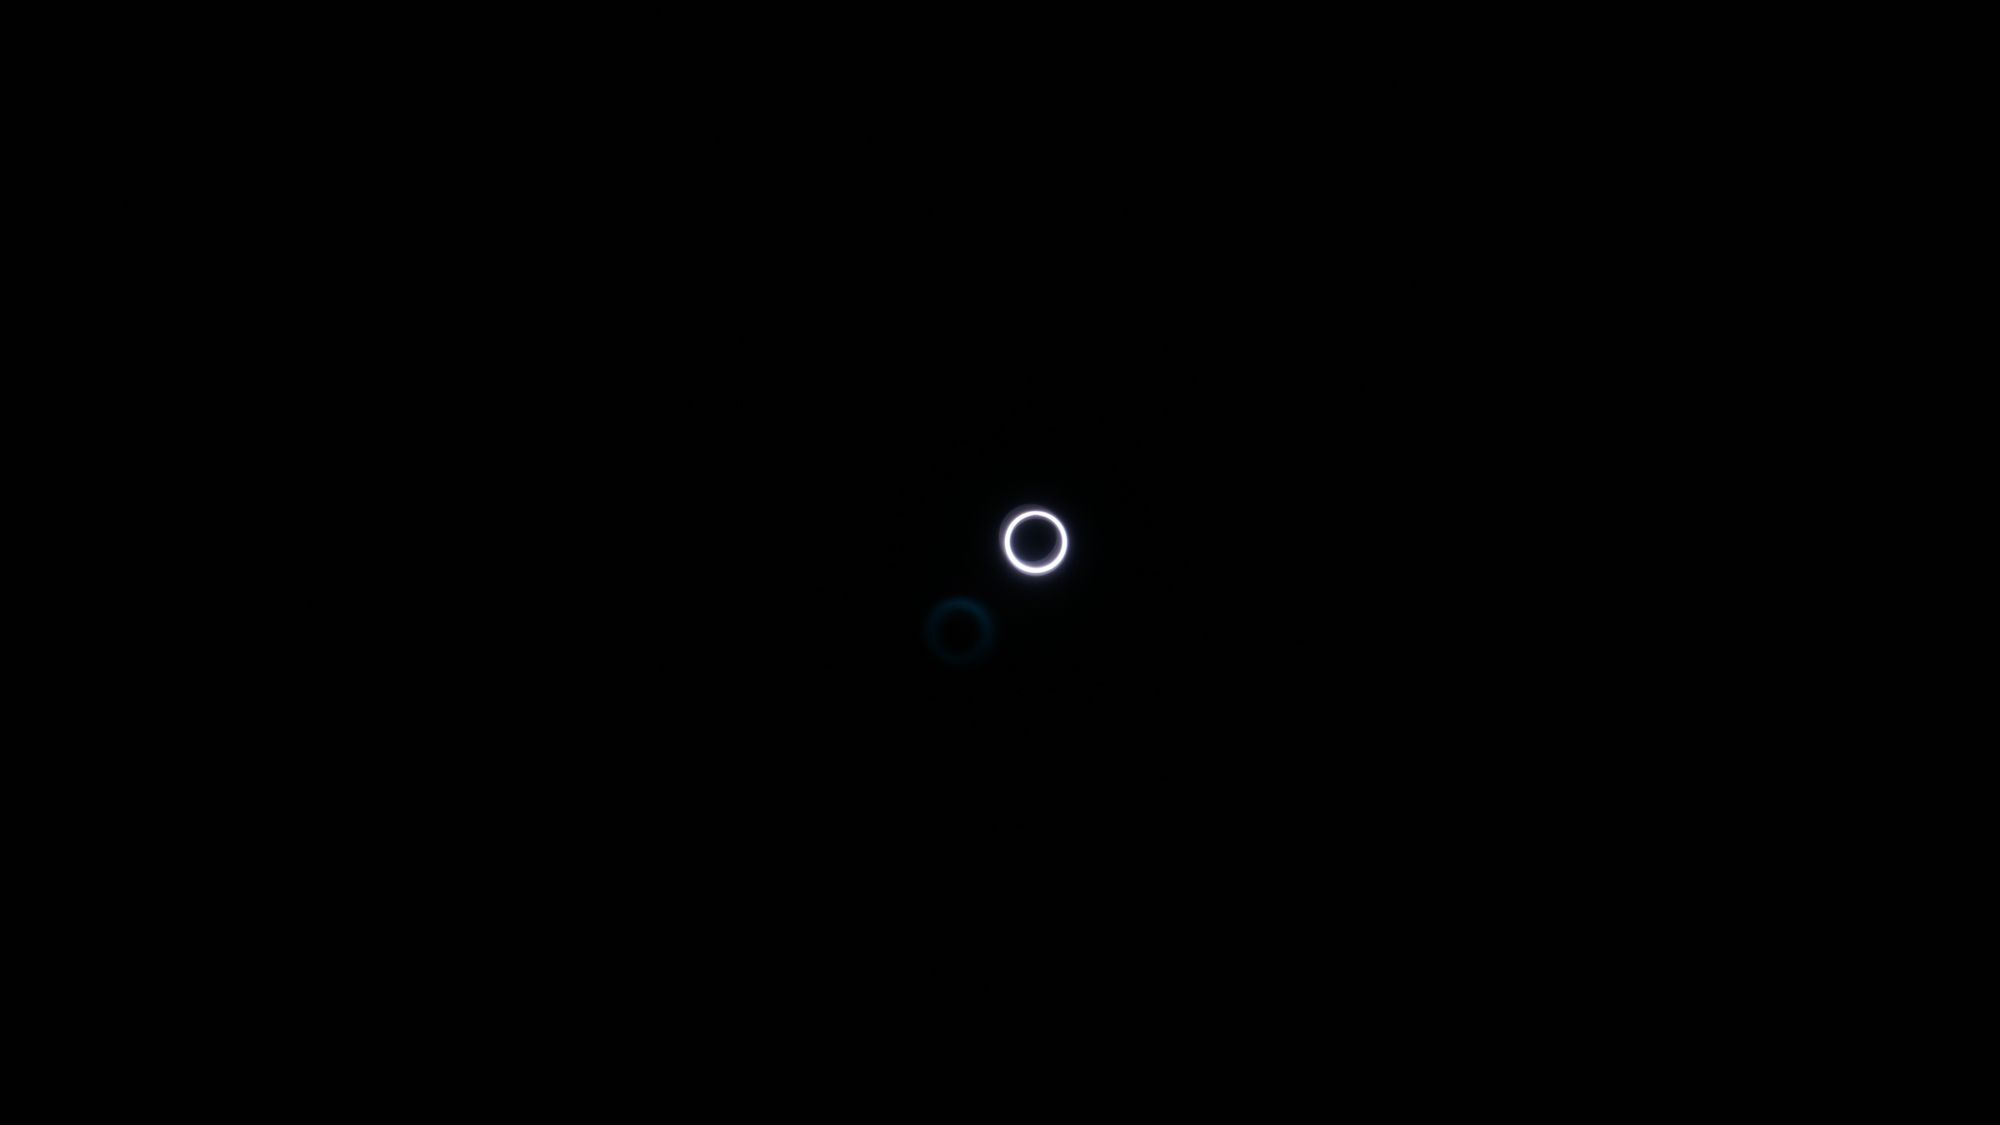
The shining star (pun intended) of the equipment actually turned out to be my cell phone! The filter wrap worked great, and using my telephoto feature, I was able to get a 12x zoom. Not super close, but better than my mirrorless lens. The cell phone + filter let in just enough light to capture the warm glow of the crescent, and at peak, the ring of fire.
I considered this a practice run for the total solar eclipse that will be passing over the US next April. I have a few decisions to make on what equipment to buy before then.
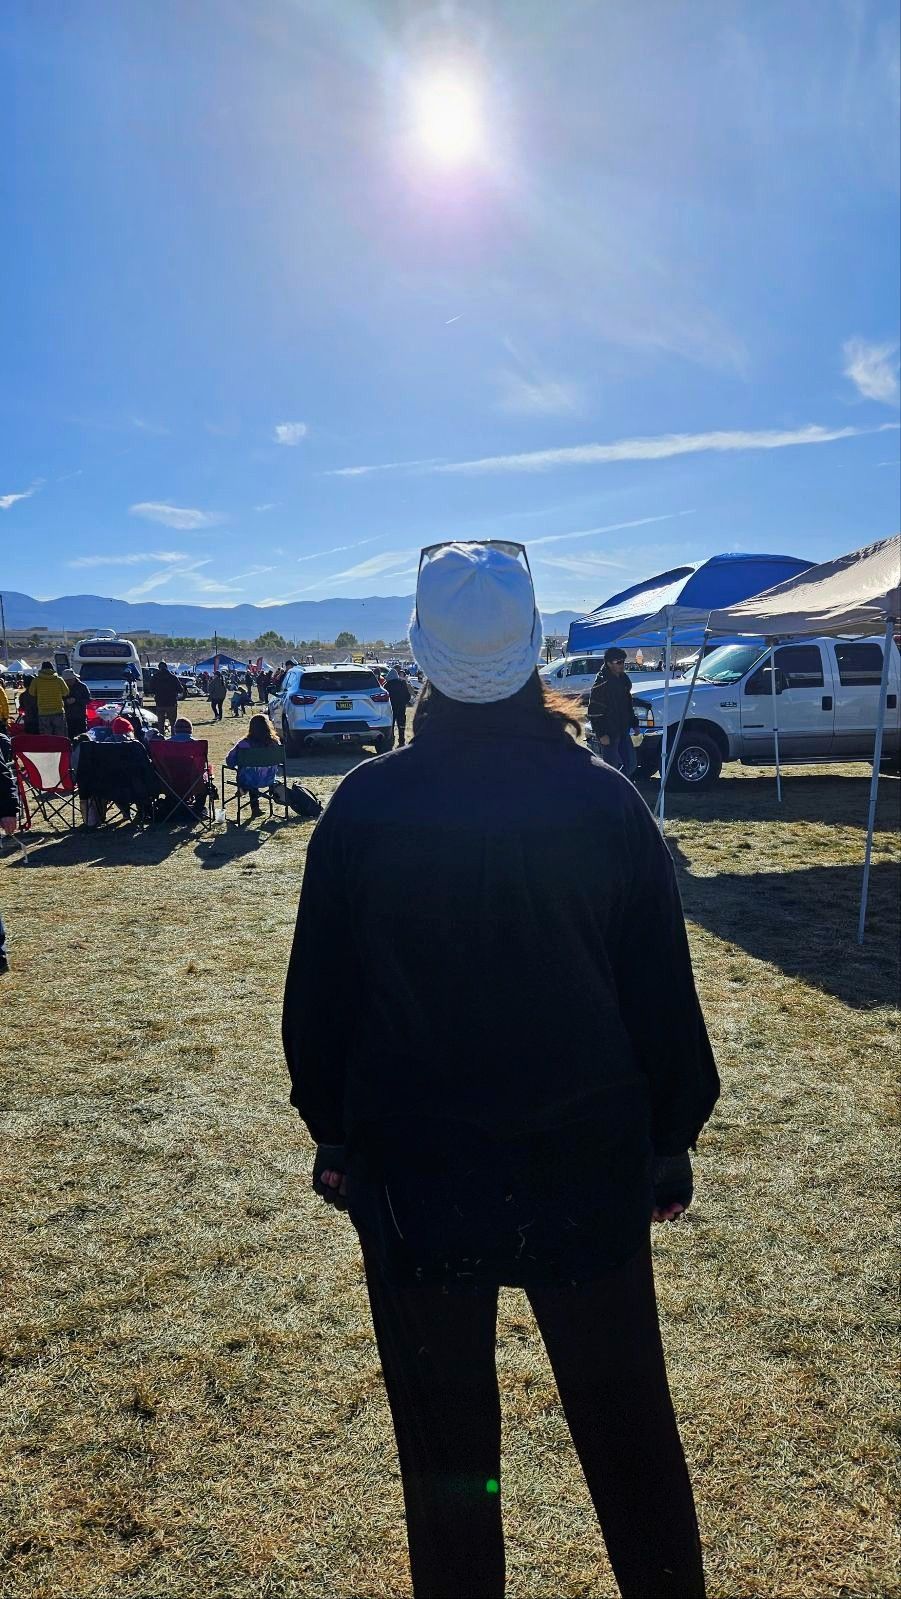
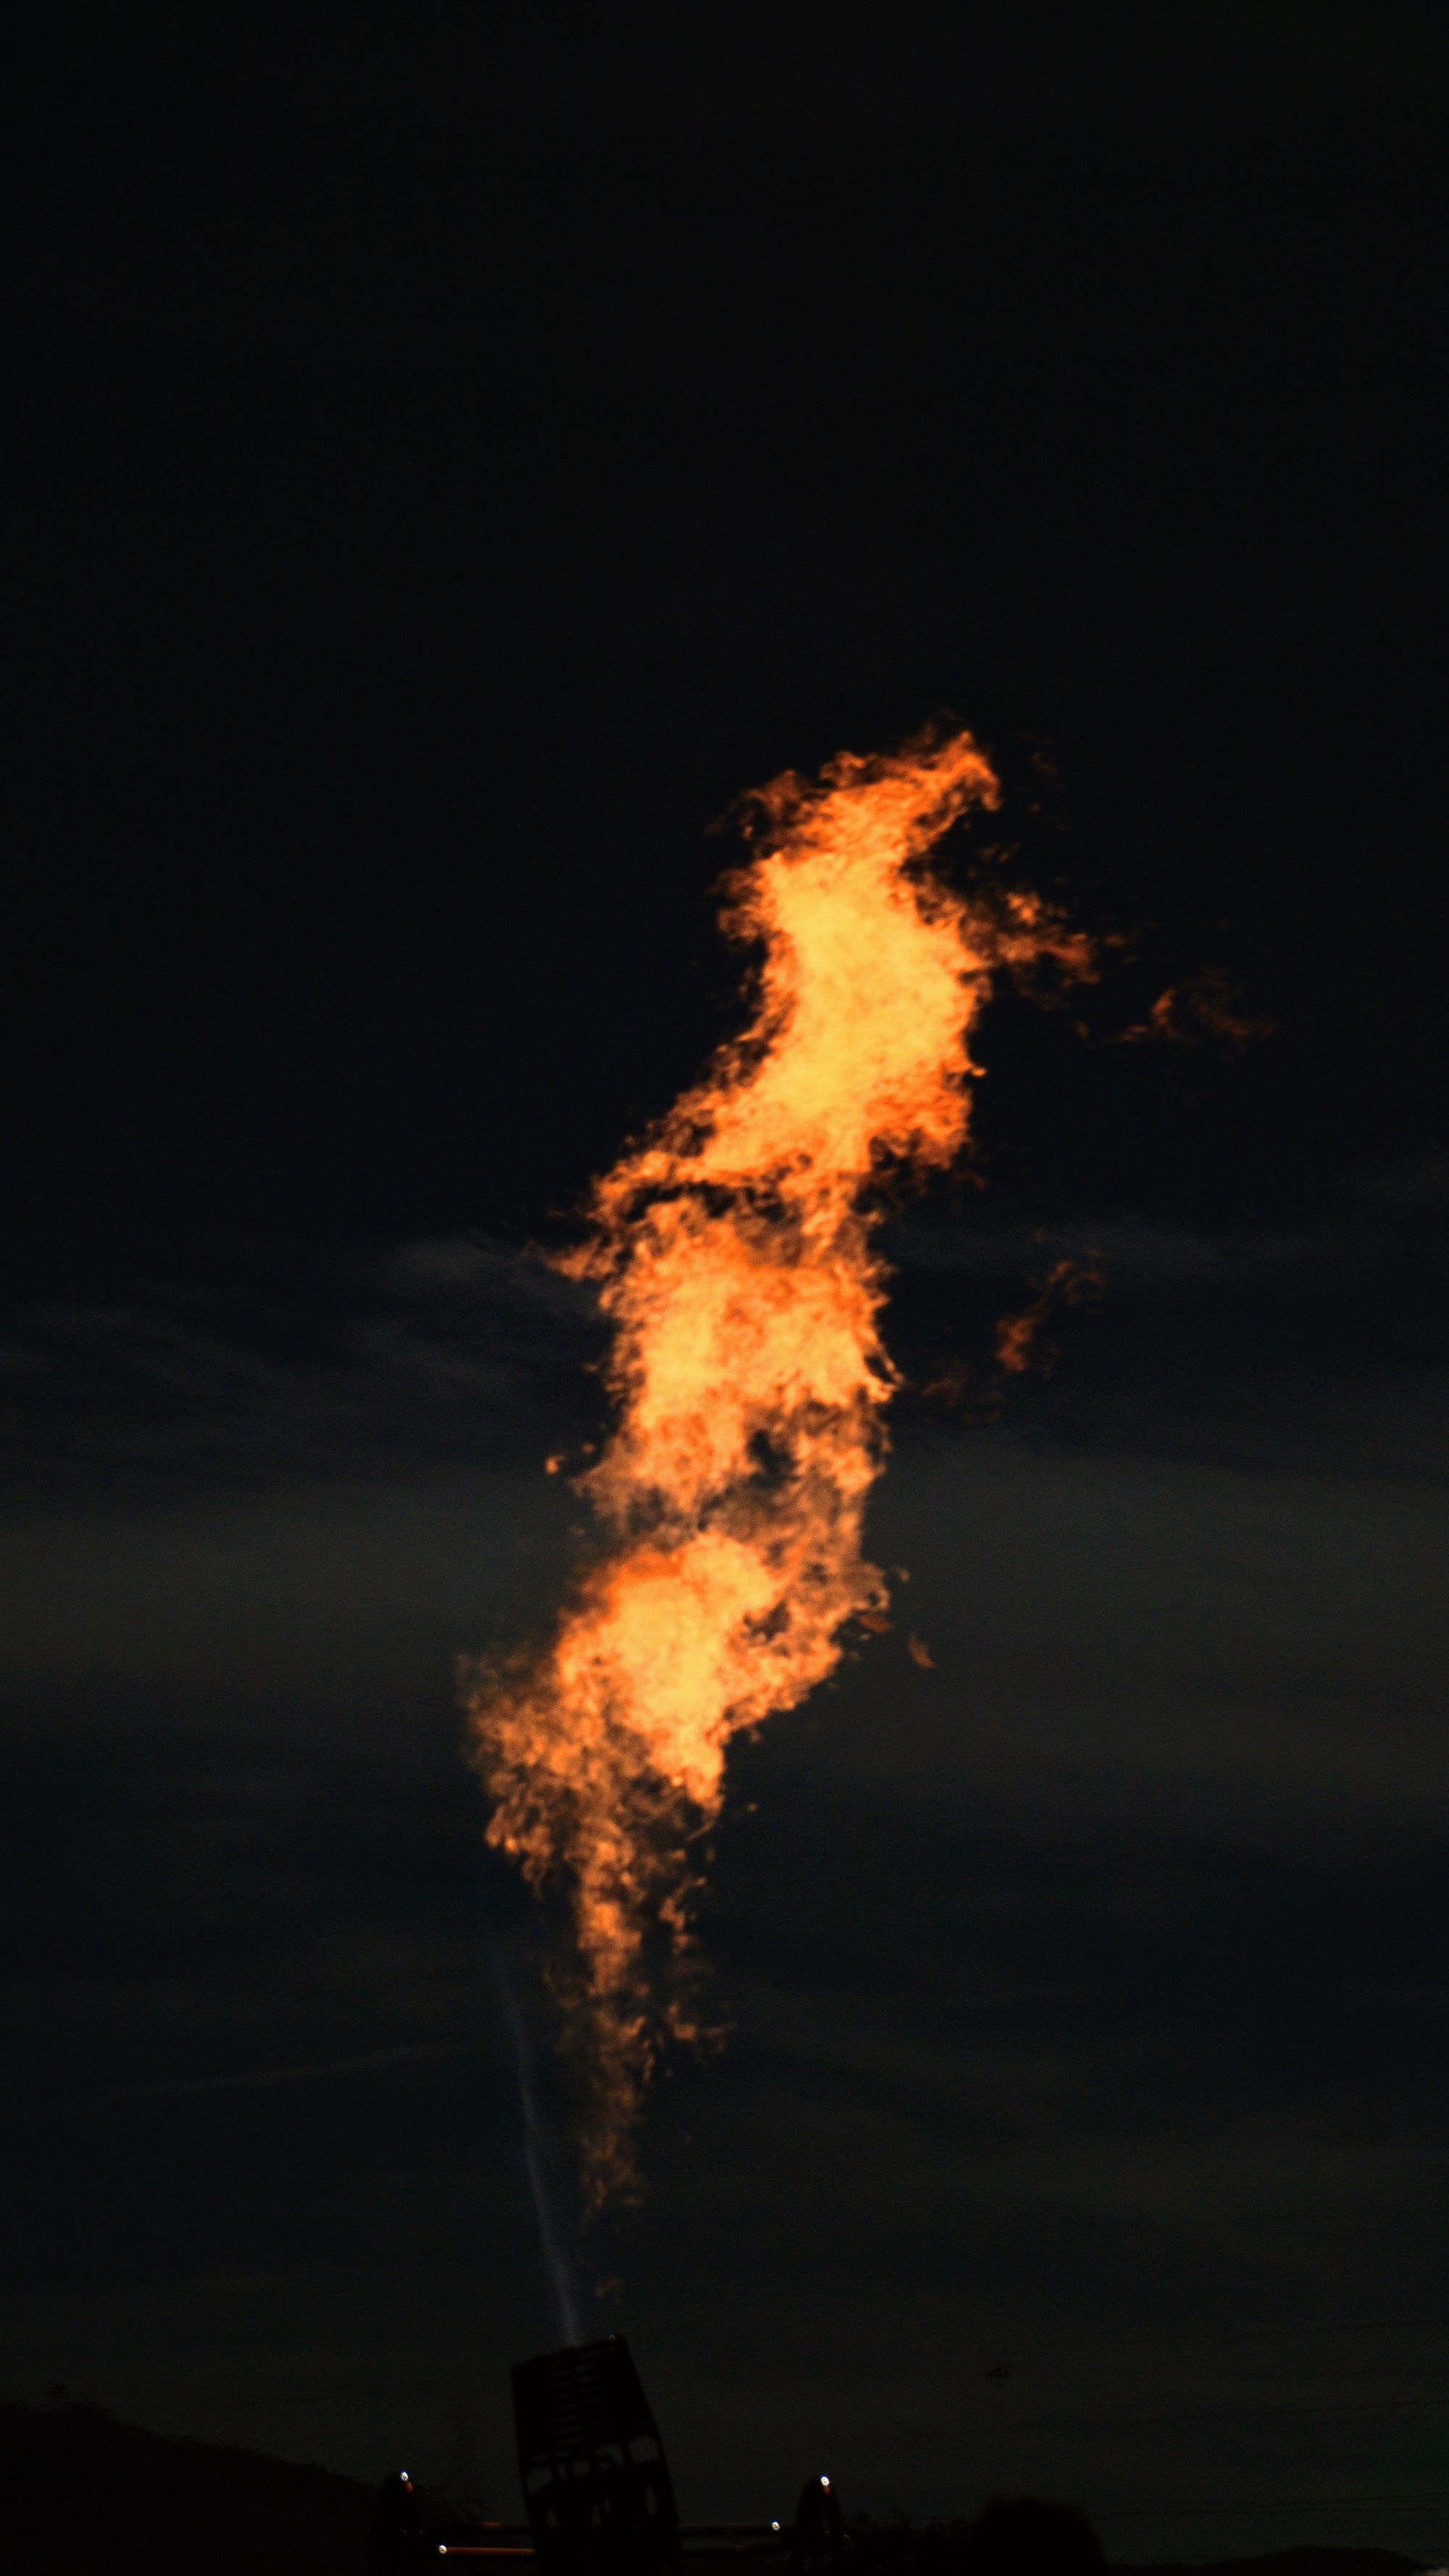
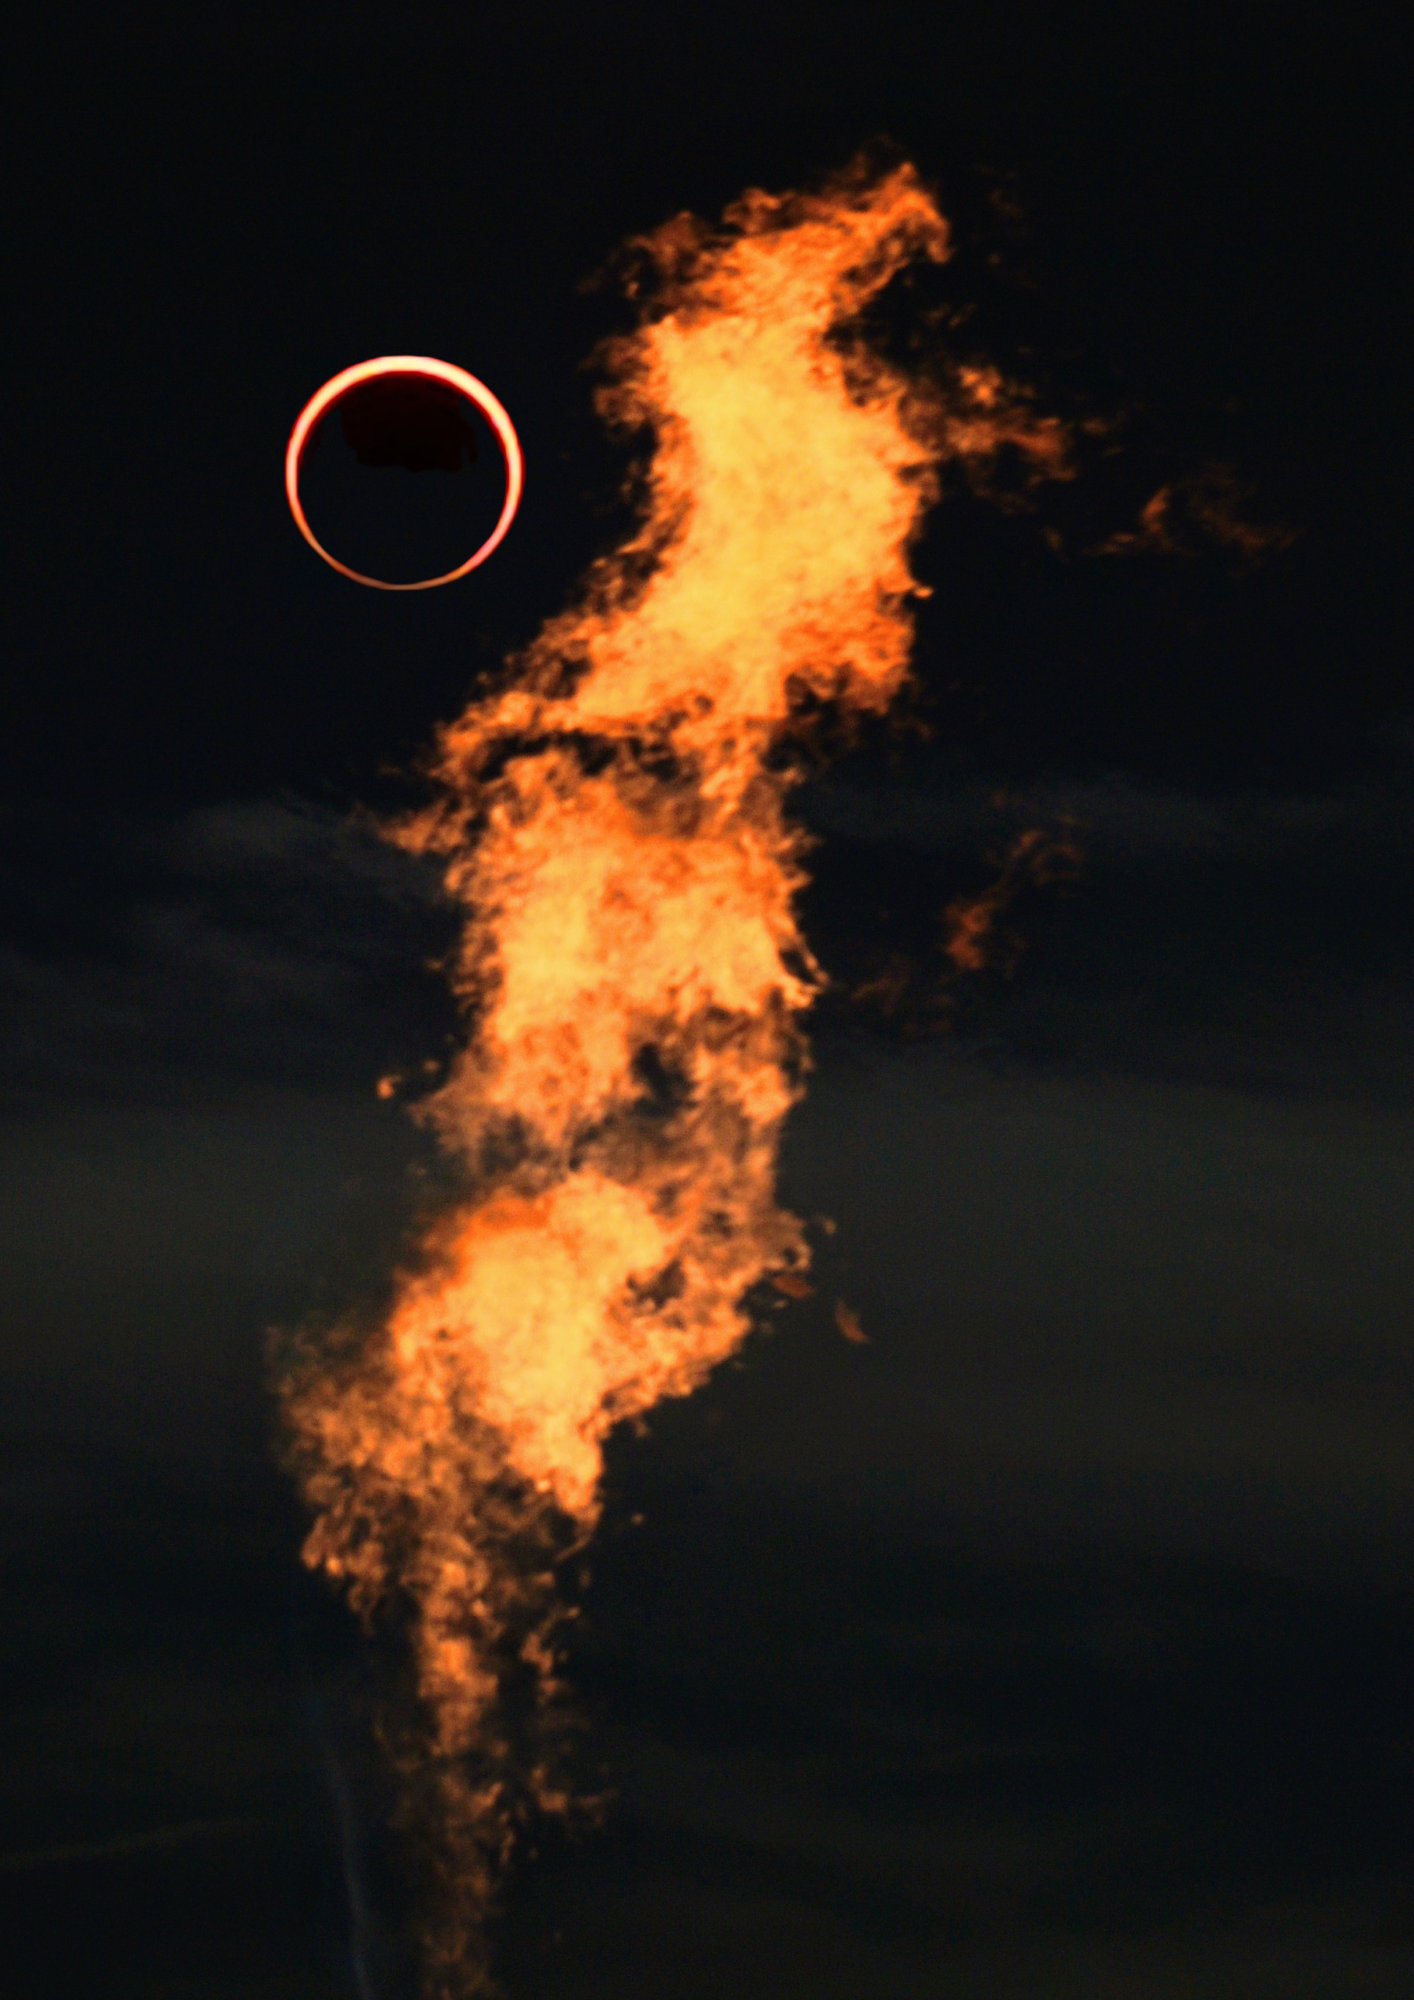
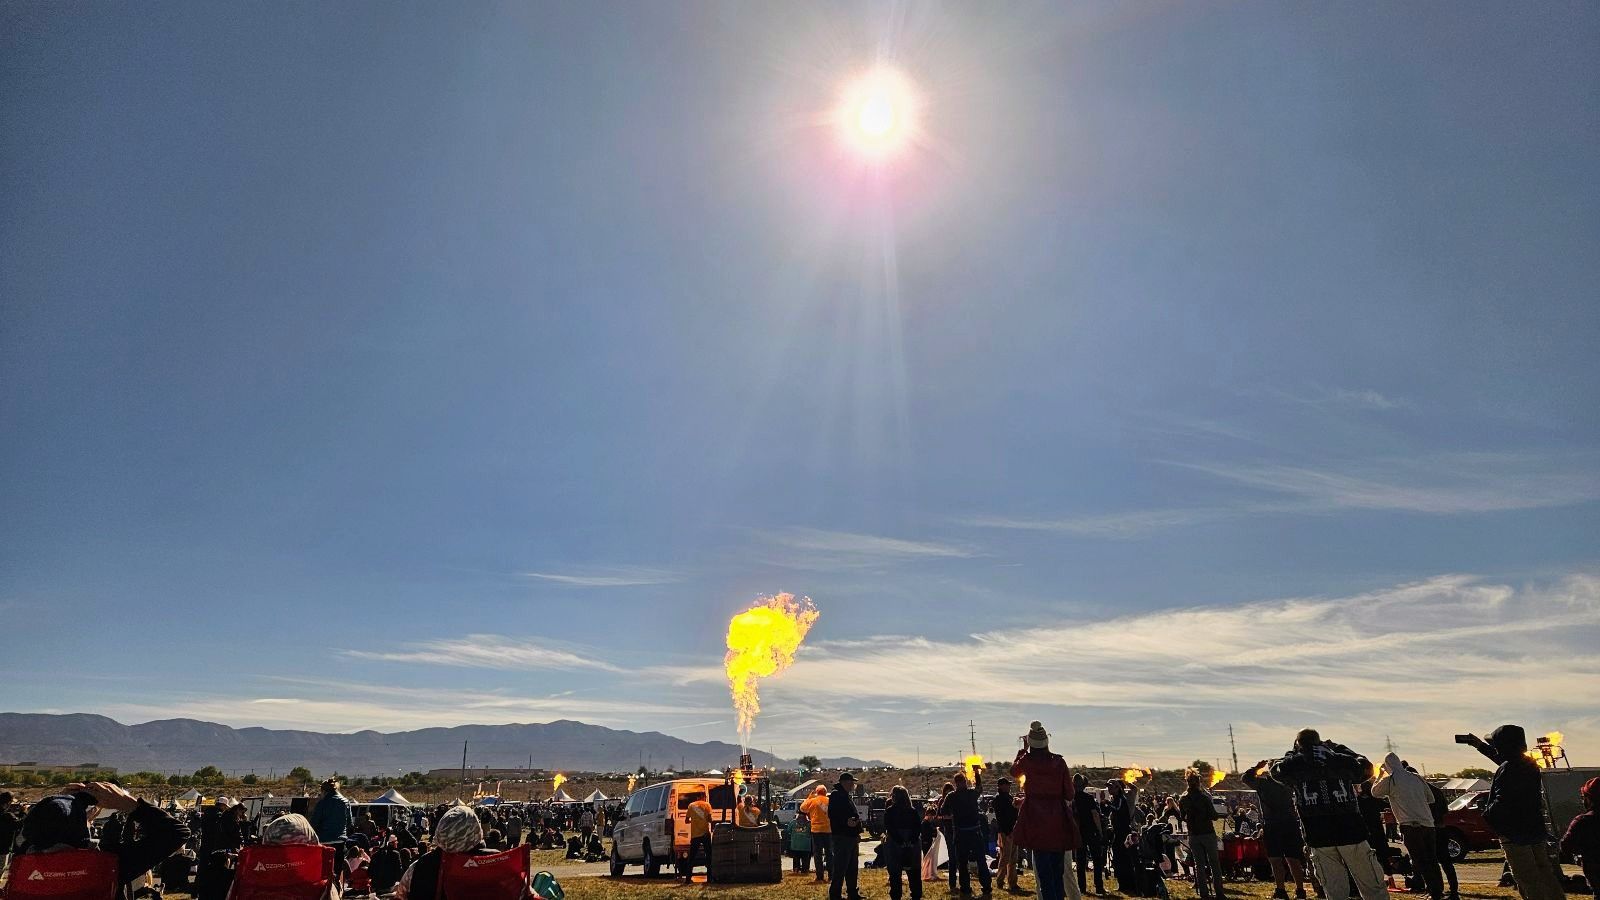
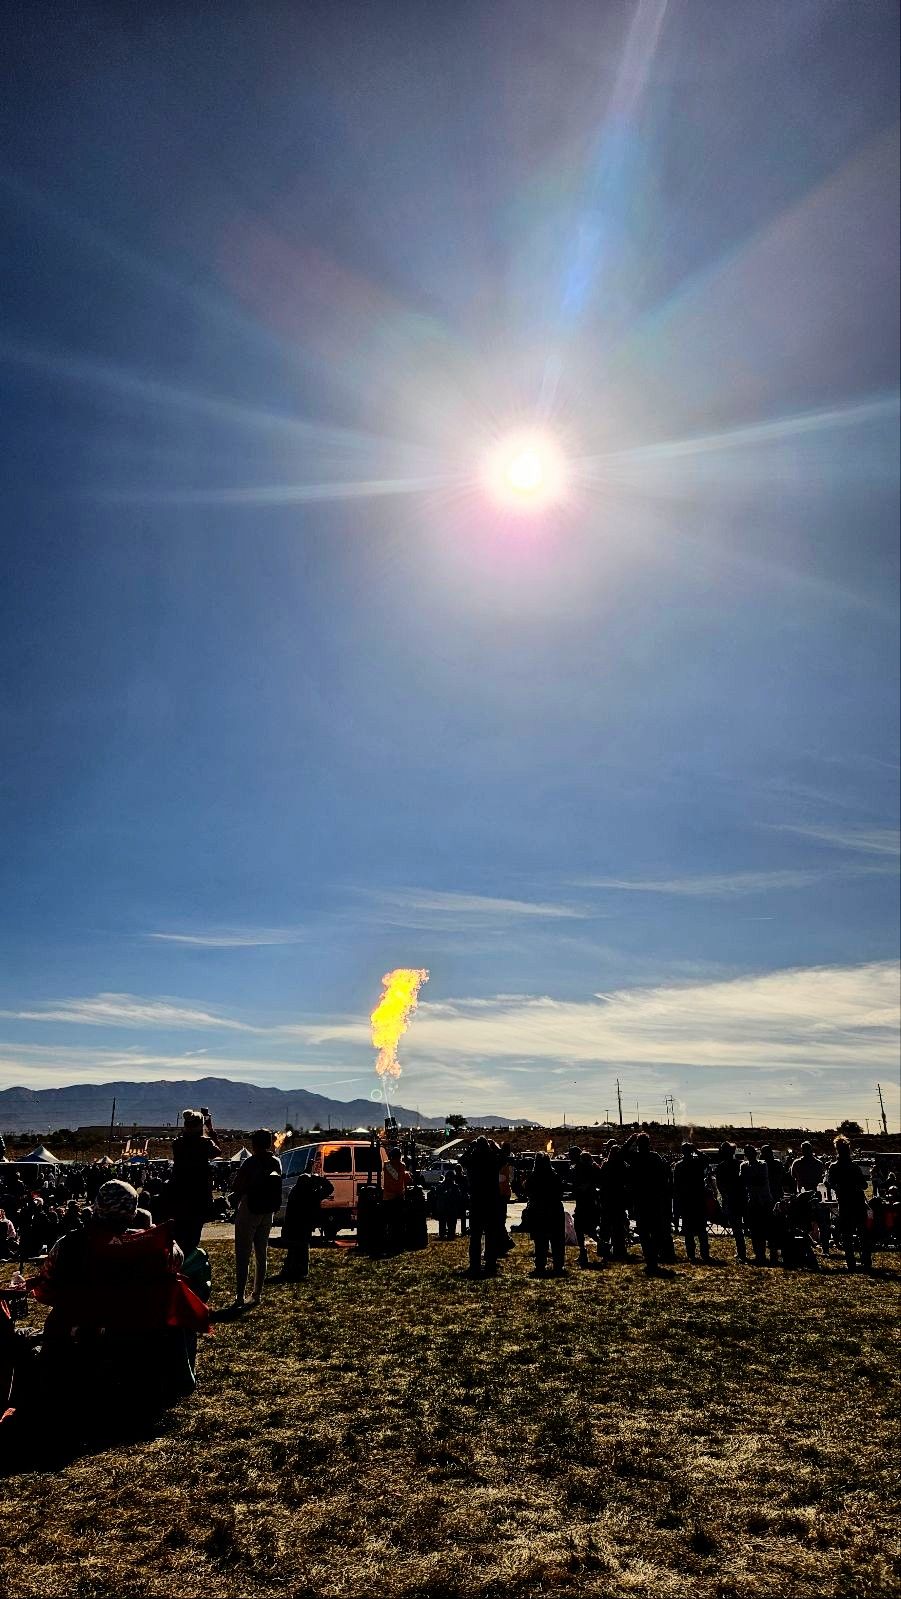
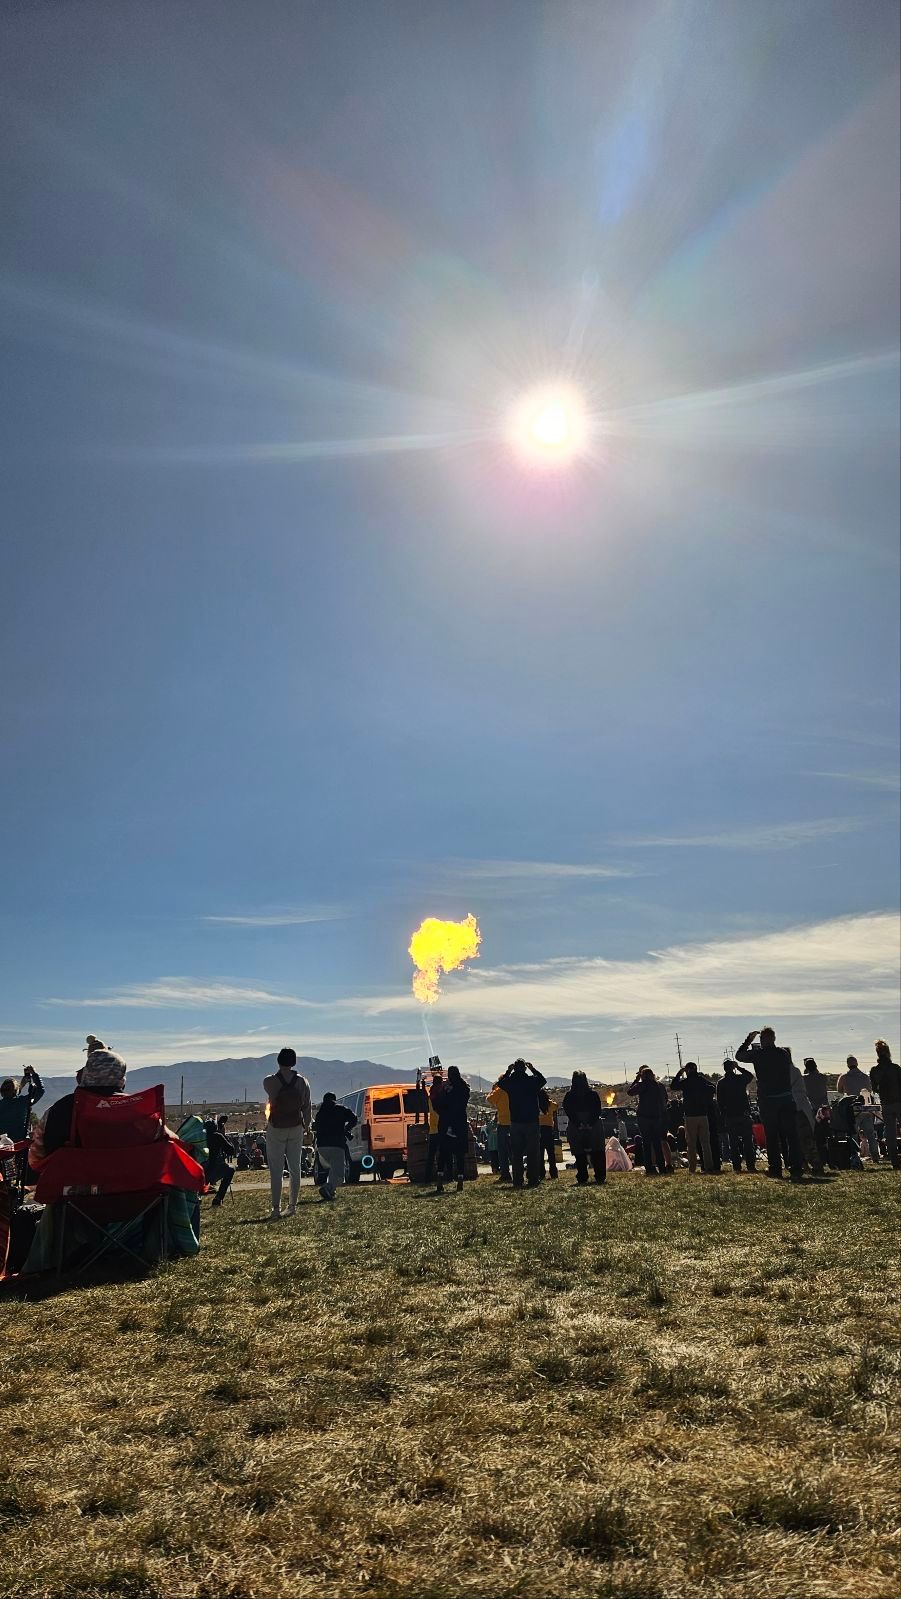
Experiencing the solar eclipse at the Balloon Fiesta was a unique experience. The plan was to have a balloon glow during the peak when everything was a bit darker. Unfortunately, the winds weren't conducive to inflating the balloons, so instead the pilots burned their gas in a "candlestick glow" as the ring of fire appeared in the sky. I tried to capture both the fire and eclipse in the same shot, but I wasn't at an optimal angle. The filters made the fire look extra orange, though, which was quite mystical!
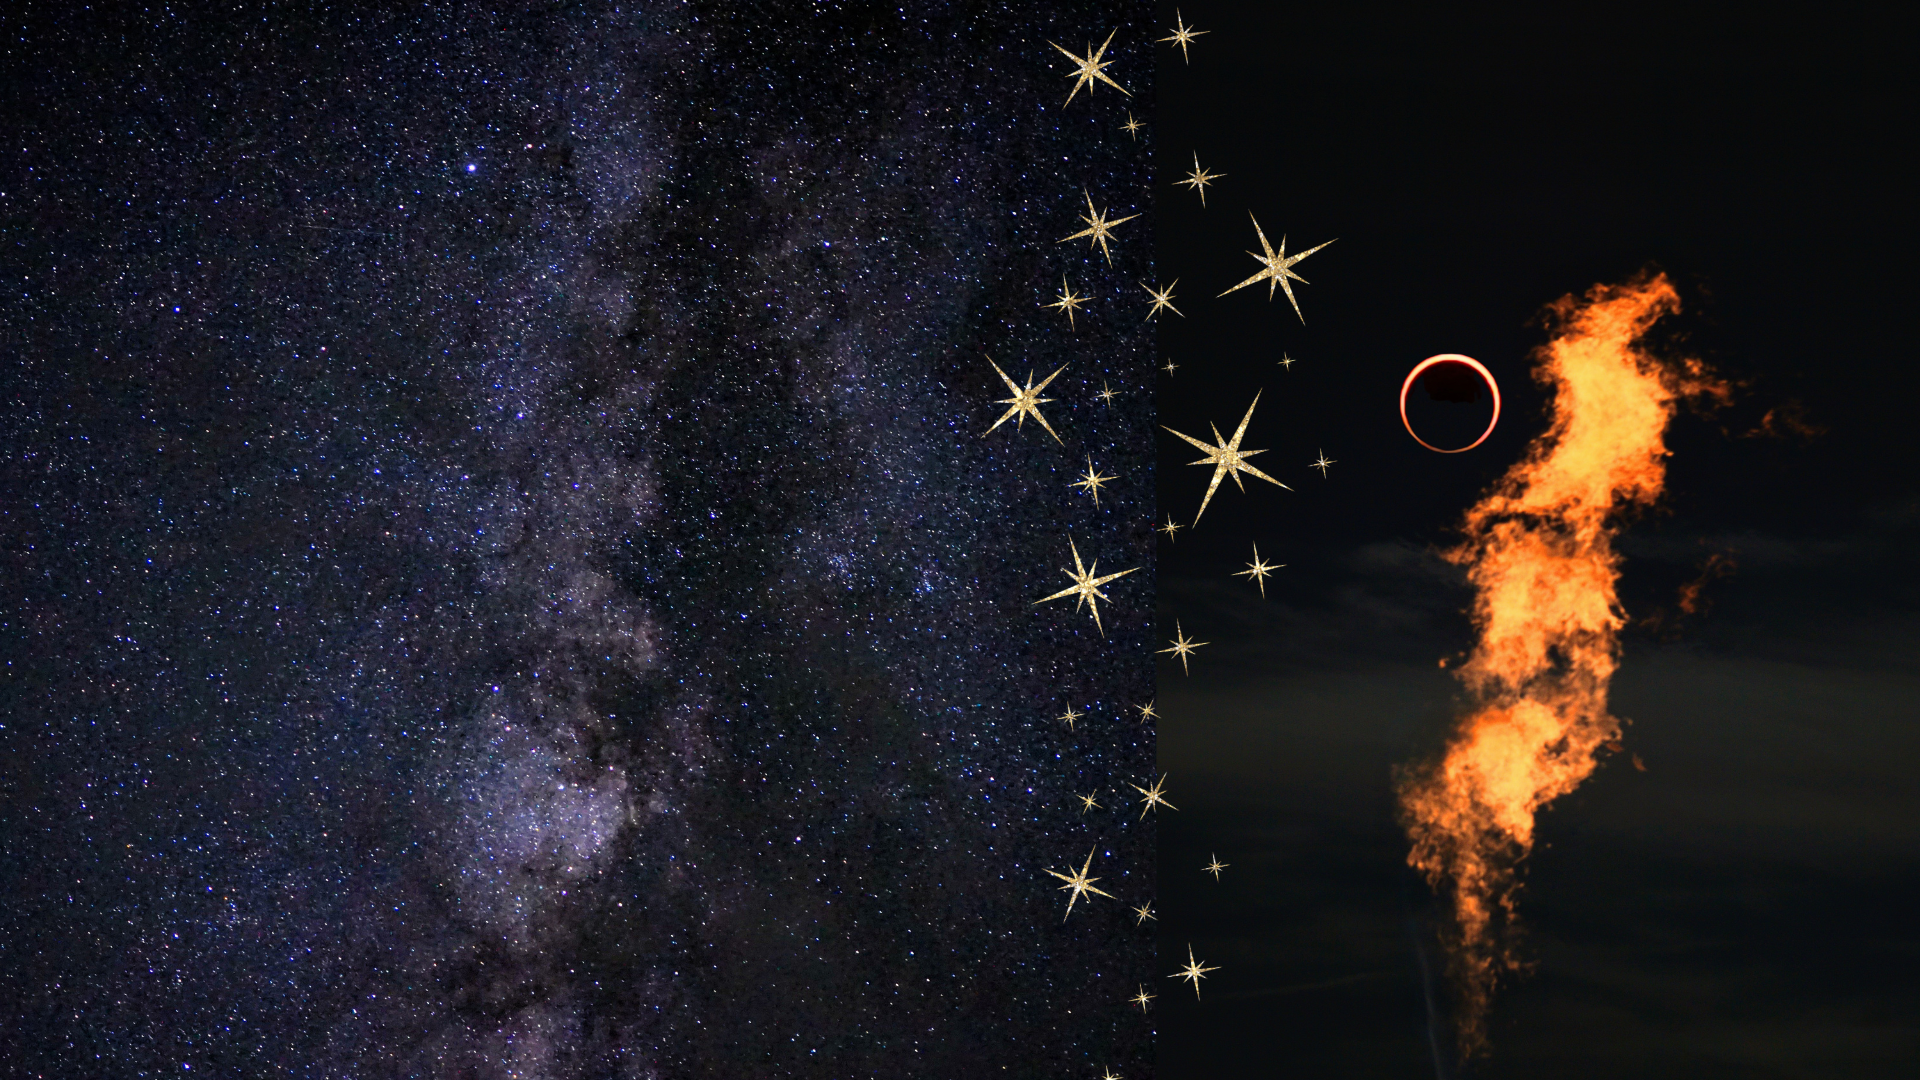
I did decide to create a composite by editing two photos together to capture the fire and eclipse in the same frame. It's more of a "what could have been" photo. It's pretty amazing what one can do with photoshop these days! (Hot tip: Don't believe all the photos you see on the internet).
And in case you're wondering what the eclipse and candlestick glow looked like without the filter, Anthony captured some photos. The sun might look fairly normal, but in a few of the pictures, if you look closely, you can actually see that something strange seems to be happening to the sun. It's also fascinating that the fire looks so yellow. Possibly something about how the camera is processing the wavelengths coming in through the lens.
Photographing celestial wonders can be a lot of fun, but sometimes I need to remember to put my camera down and appreciate the in-person experience. I capture the best photos I can within reason, but I'm not about to spend hours upon hours stressing out about getting the "perfect shot." That's not what the travel life is about for me. Photography is and always will be one of the joys of my life, but so is appreciating the beauty around us as we travel the US. The photos serve as supplemental representations of the memories we are making each day, but the real depth of those memories comes from being present in each moment. This is one of the many ways we find balance in our travel life.