Winter RVing tips and tricks: Our hacks for frozen water lines


This post contains Amazon affiliate links. We may receive a small commission for items purchased through these links, which helps to fund our blog. Thank you for your support!
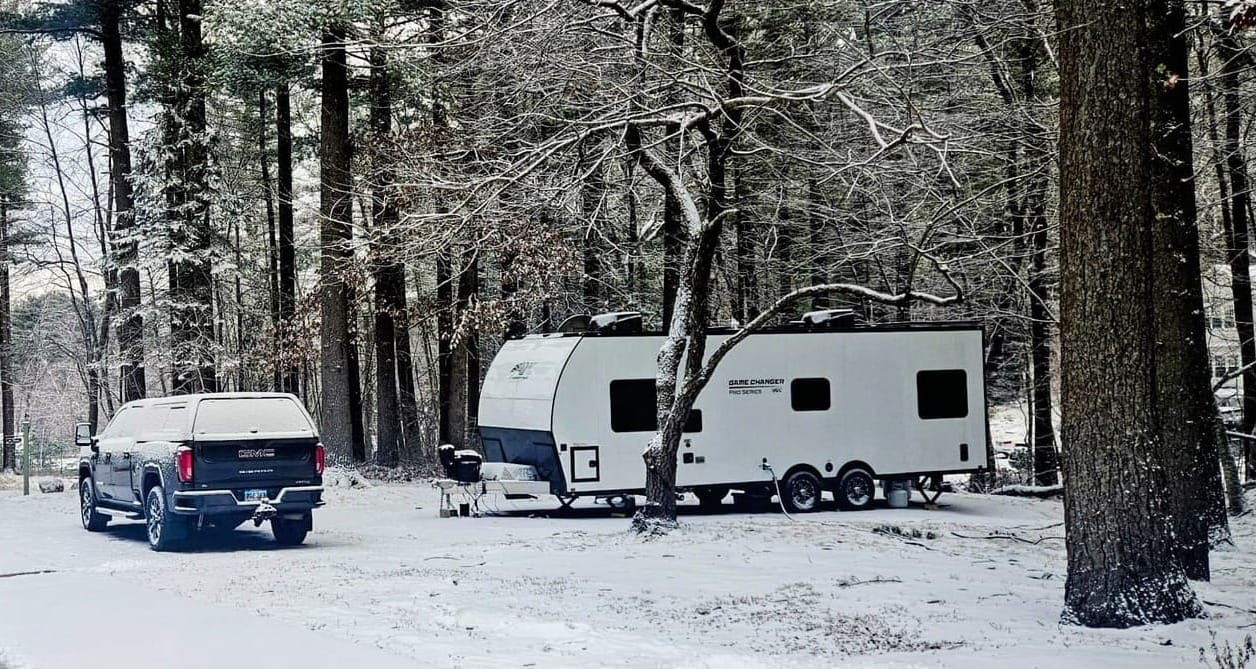
Well, here we are again, parked stationary in the North while most of our fellow RVers have sought warmer climates down South. Unlike previous years when our launch was delayed, this time, we remained in Massachusetts by choice. You know the story by now. We weren't supposed to be in our RV, but we escaped our winter rental and changed our plans. As such, we were unexpectedly thrust back into winter RVing, and we knew that this time, we would need to be fully prepared for the temperature drops because we might be here a while.
Sometimes, our winter RVing is voluntary. At the end of all of our full-time years, we returned to our home-base to celebrate Thanksgiving and Christmas with Nicole's family. November and December are typically the lesser of the evils when it comes to cold weather months in coastal MA. We've had sporadic arctic blasts that have thrown us for a loop, but for the most part, we sit pretty until New Year's.
Other years, we got delayed well past the point of sitting pretty. Before we launched on the road for the first time, we spent 2 months prepping the RV for travel, which took us through many snowstorms in January and February. The RV was new, just as we were new to living in it. We were ill equipped to handle blizzards. We ended up winterizing our water lines out of fear that we wouldn't be able to deal with the constant freezing and thawing. This effectively meant that we chose to cut off our water usage. Even still, our water pump died, and once we got on the road, we noticed issues with our tank and line heaters.
Relevant Read:

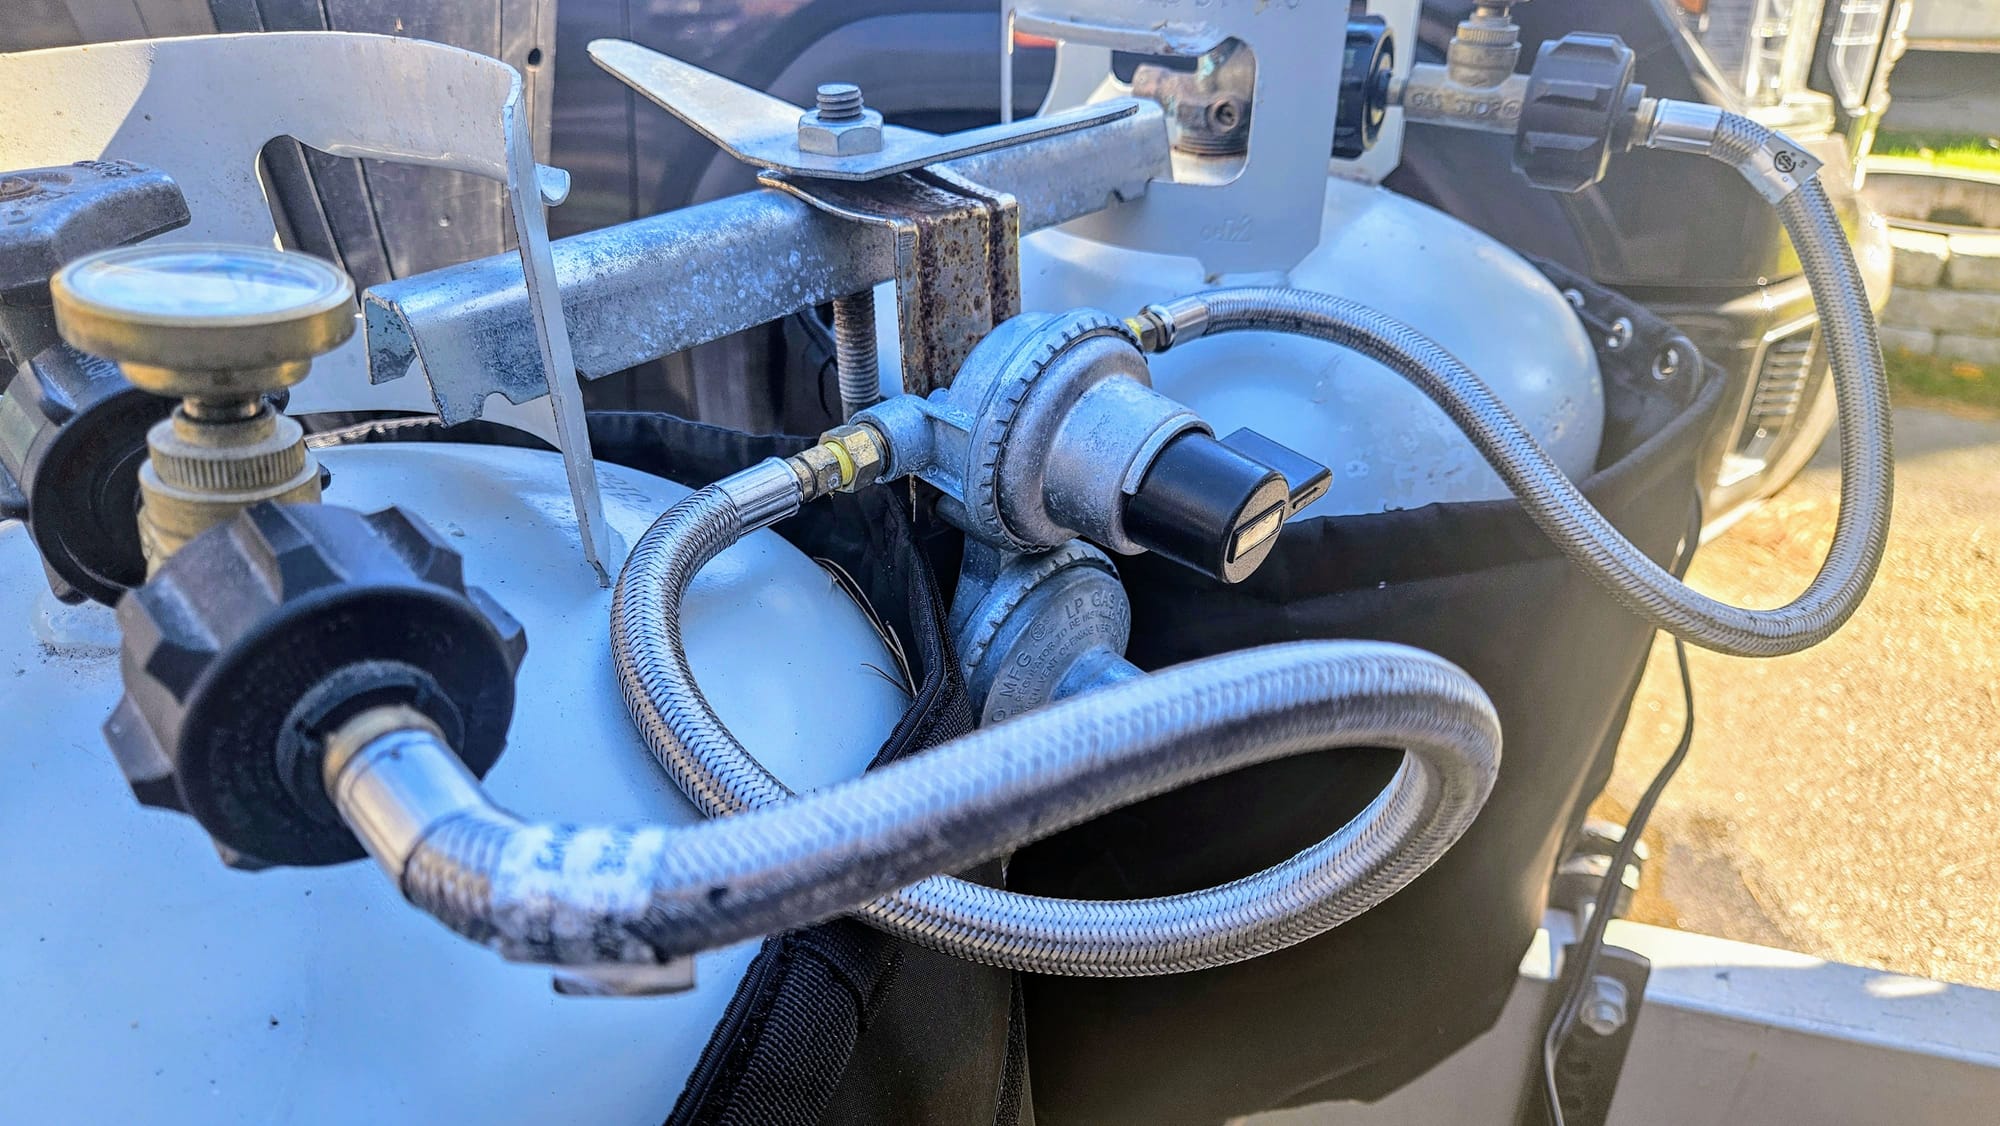
The next time we got delayed after New Year's was last year. After a tumultuous December, we hunkered down to regroup for a few weeks and launched back out on January 18. 3 years made a big difference. We had repairs and modifications that helped us navigate the winter weather, like extra tank and line heaters, a better quality water pump, and heated blankets for our propane cylinders. Even still, our rig wasn't functioning optimally, and we later realized that even more fixes were needed. We resigned ourselves to the fact that we would be without water, and sometimes heat, for many of our days.
Relevant Reads:
If we had known we would be wintering once again in the RV this year, we would have made more preparations. For starters, we finally would have bought a skirt to shield our underbelly from cold and wind. Only, by the time we moved back in, the weather was already too cold to attach skirting, and whenever winter rolls around, options for skirting are slim pickings and very expensive. We decided to find other tricks and tips for surviving winter, however long we decided to stay in the North.
We are happy to report that, unlike last year, most of our components have been functioning as they should. This provides a much needed baseline for a livable RV. Our tank and line heaters are all working properly. Our new furnace has been heating our rig with gusto (sometimes too much gusto). The heated blankets give our propane cylinders a warm hug when they need it. With the foundation laid, we were able to use our brain energy to come up with ways to not just survive the winter, but thrive during it.
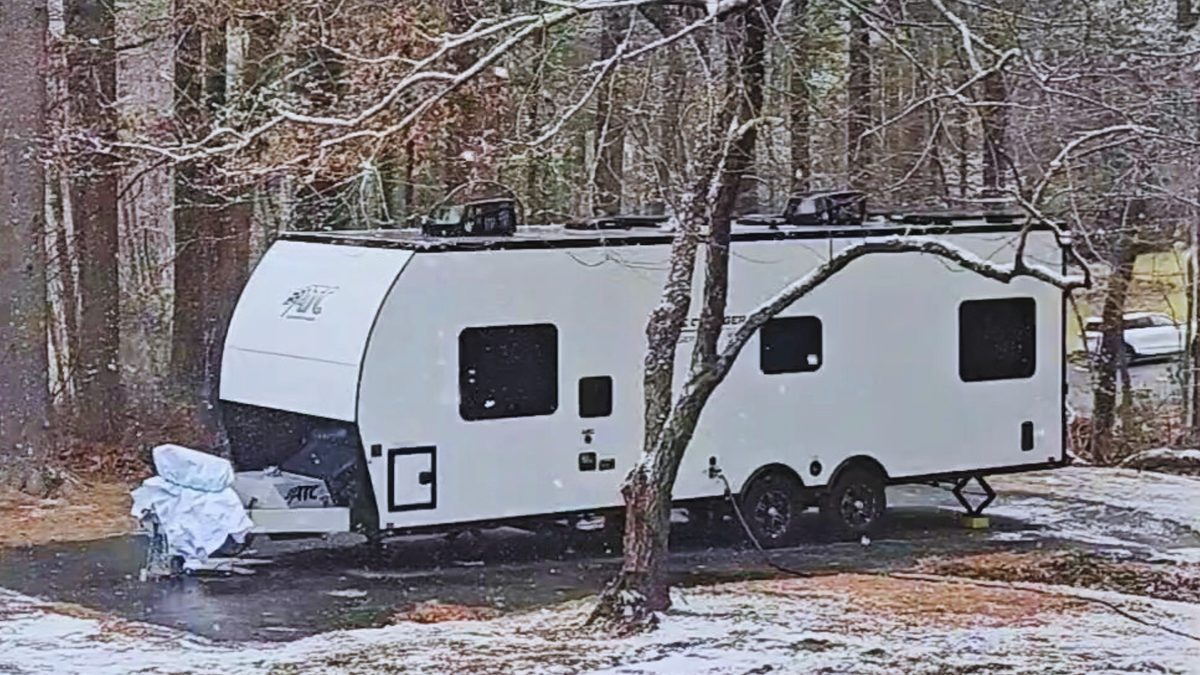
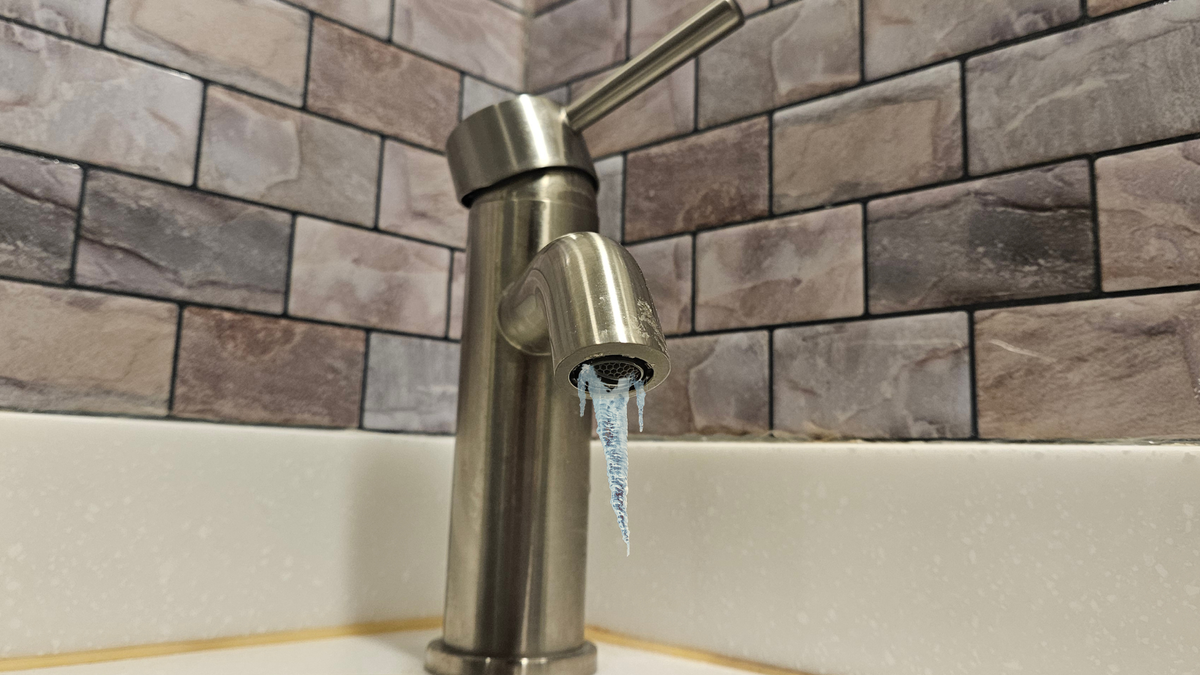
We have learned that, with all equipment running, our water lines do not freeze until we get sustained temperatures in the mid-20s. Even then, the tank and line heaters do their job on the outside, and the propane furnace does its job on the inside. There is just one tiny little area that neither the line heaters nor the furnace can reach. Nor can we, to put a heat gun to it. If water pools in this spot and freezes, it puts our whole system out of commission. If we could just stop this pooling, we might be able to stay in business.
Many non-RVers ask why we don't just let our faucets trickle during freezing temperatures, not realizing that we have limited resources. When we are parked at our home-base, we do not have a way to dump our waste tanks and instead have a pumpout service come every 2-3 weeks. We stretch our tank space and can't allow more water in. Furthermore, we are not on water hookups. We can fill water using the spigot on the side of the house, but only when everything is thawed. If we left our water trickling, we would deplete our fresh water and might not be able to replenish it right away.
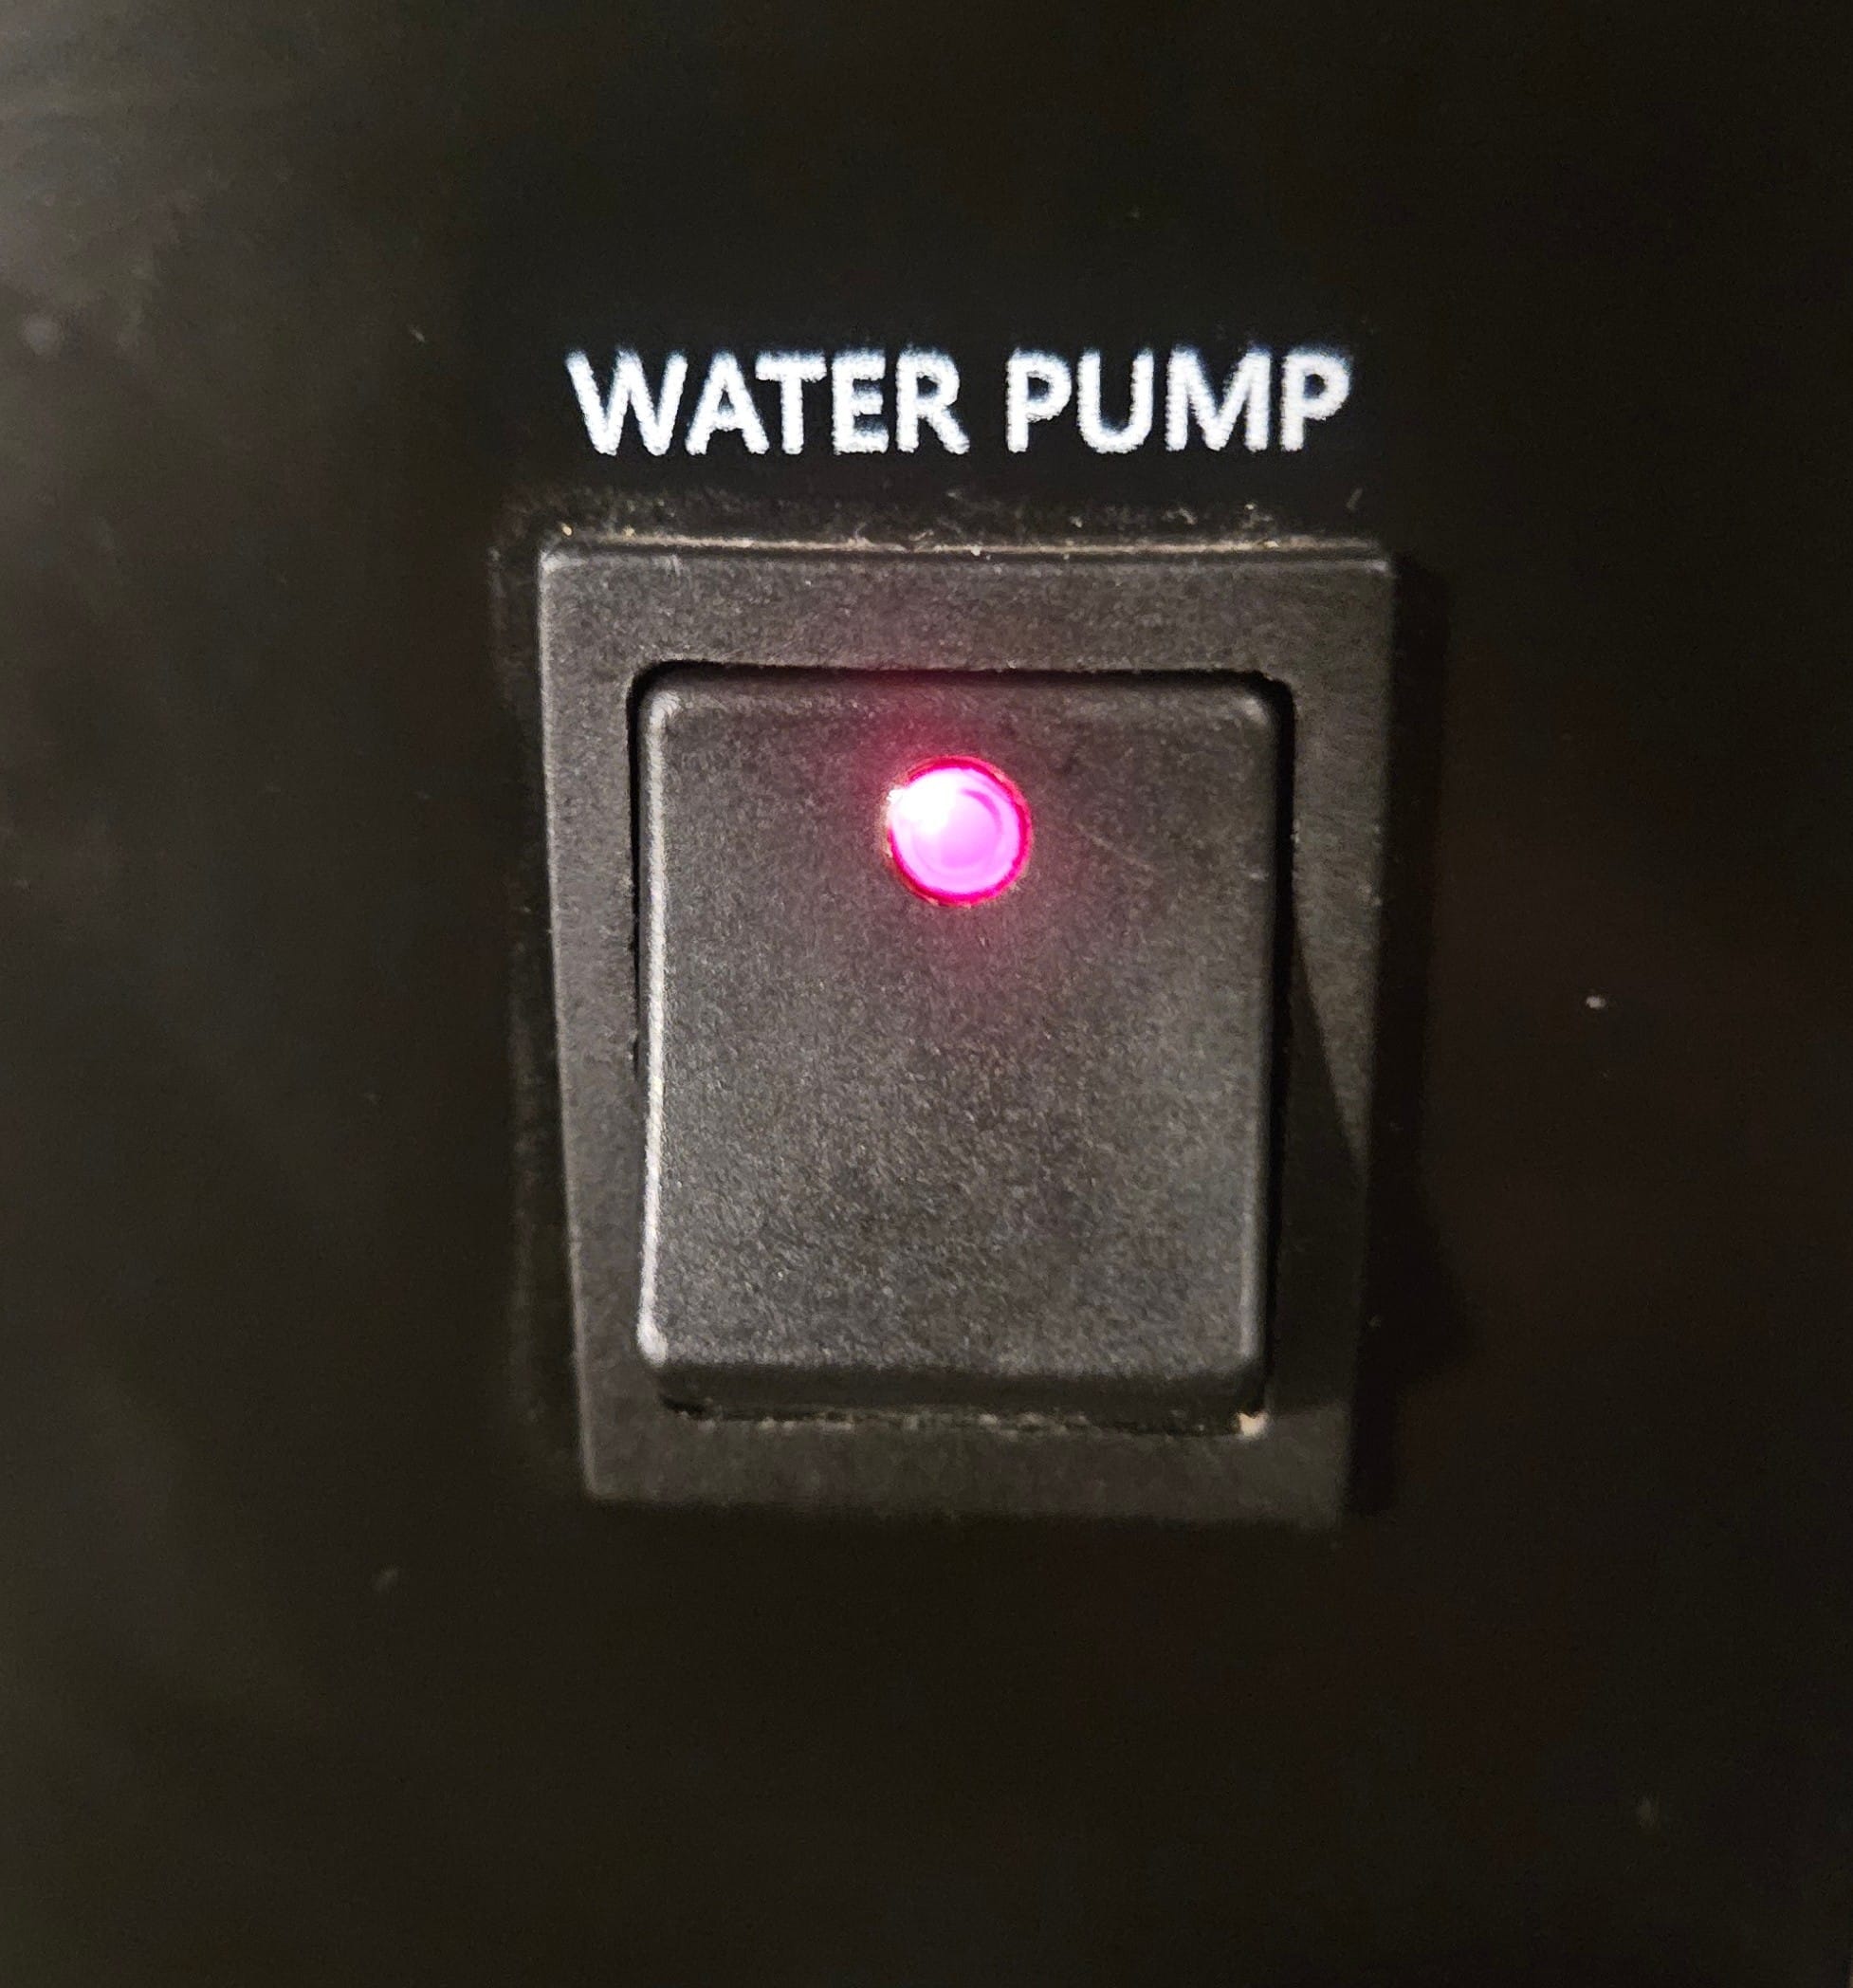
Instead, we tried the next best thing. We can't let our water trickle, but we can keep our water pump on. Our thought was, if the line stayed filled instead of us cutting the flow by shutting off our pump, that might be enough water to conduct heat, and therefore, keep the water above freezing. Keeping the pump on is a risk for us, especially when we're running our heat. The mechanical cabinet gets so hot that the connectors often loosen and split, causing leaks. We also needed to tread lightly, turning the pump on before the water froze, or else the motor would run on empty, potentially damaging our pump. We weighed these risks and figured it was worth a shot.
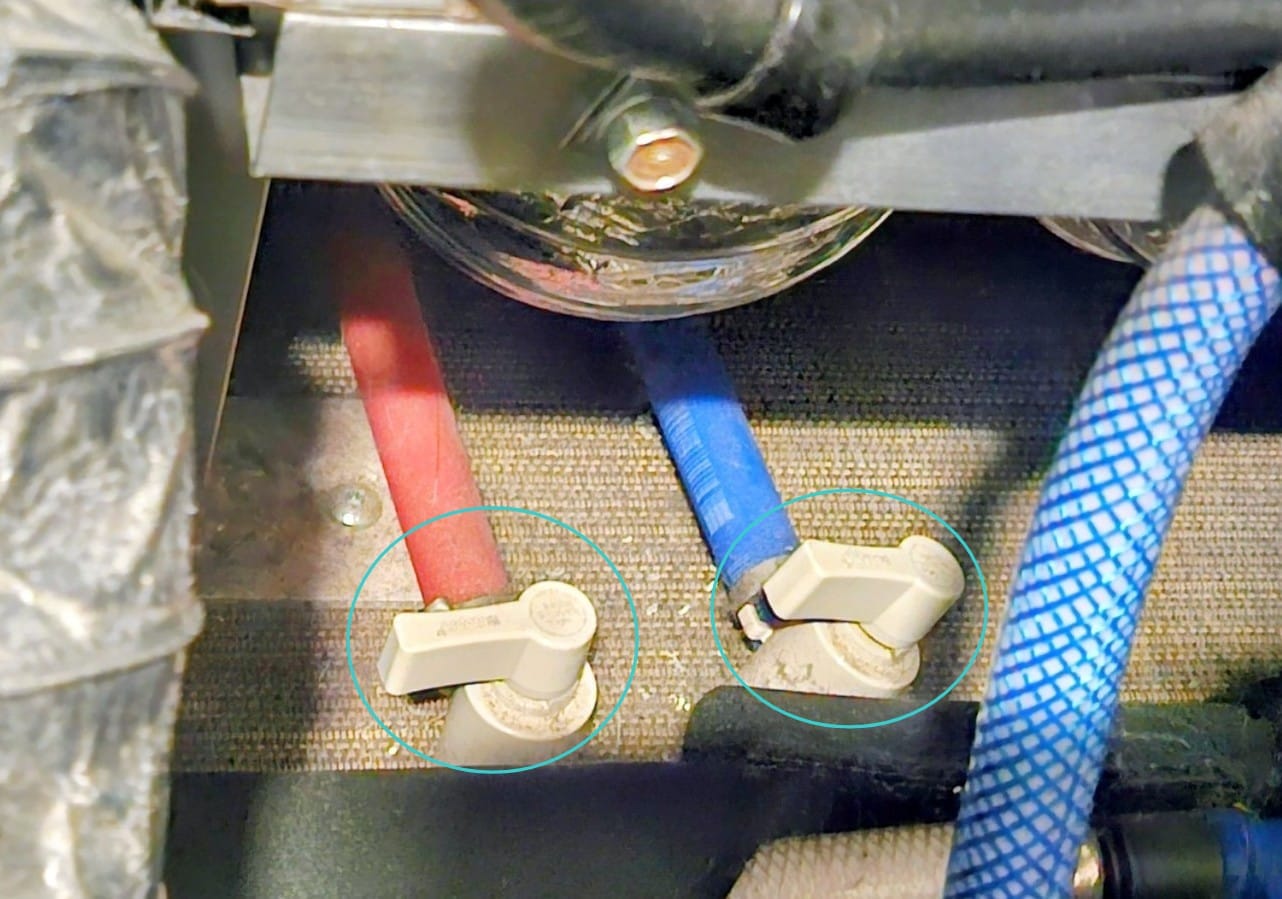
This strategy got us running water until we hit sustained temperatures in the teens, about 10 degrees colder than not keeping our pump on. We stayed focused on solutions and thought of our next trick. The next time a cold blast was forecasted, we decided to open our low point drains, just past our water pump. This would drain out any water that would pool and freeze, leaving our lines open for running water. This became a tricky dance, though, because we would attempt to drain the water before bed, so we would have running water the next morning. Middle-of-the-night bathroom runs would need to be flush- and faucet-less.
Opening the low point drains did seem to help, but it became a hassle. What was the point of draining the line if we couldn't then use it freely? We went back to letting that part of the line freeze. Sometimes this meant we would be without running water for just a day, but during cold spells where temps wouldn't rise above freezing for days, we were out of luck. In December, our longest streak without running water was 6 days. How did we deal?
We often say that, in the RV life, the simplest solution is the best solution. This past summer, we acquired a Mighty Sink. During their renovations, Nicole's parents were looking for a portable sink they could use when their kitchen sink wasn't usable. Nicole recommended the Mighty Sink after learning about it in the camping sphere, and she and her mom made a deal that, after renovations, the sink would become ours. We've been able to use it while boondocking on our land to help conserve gray tank space. We can wash anything biodegradable outside and dump the contents in our woods.
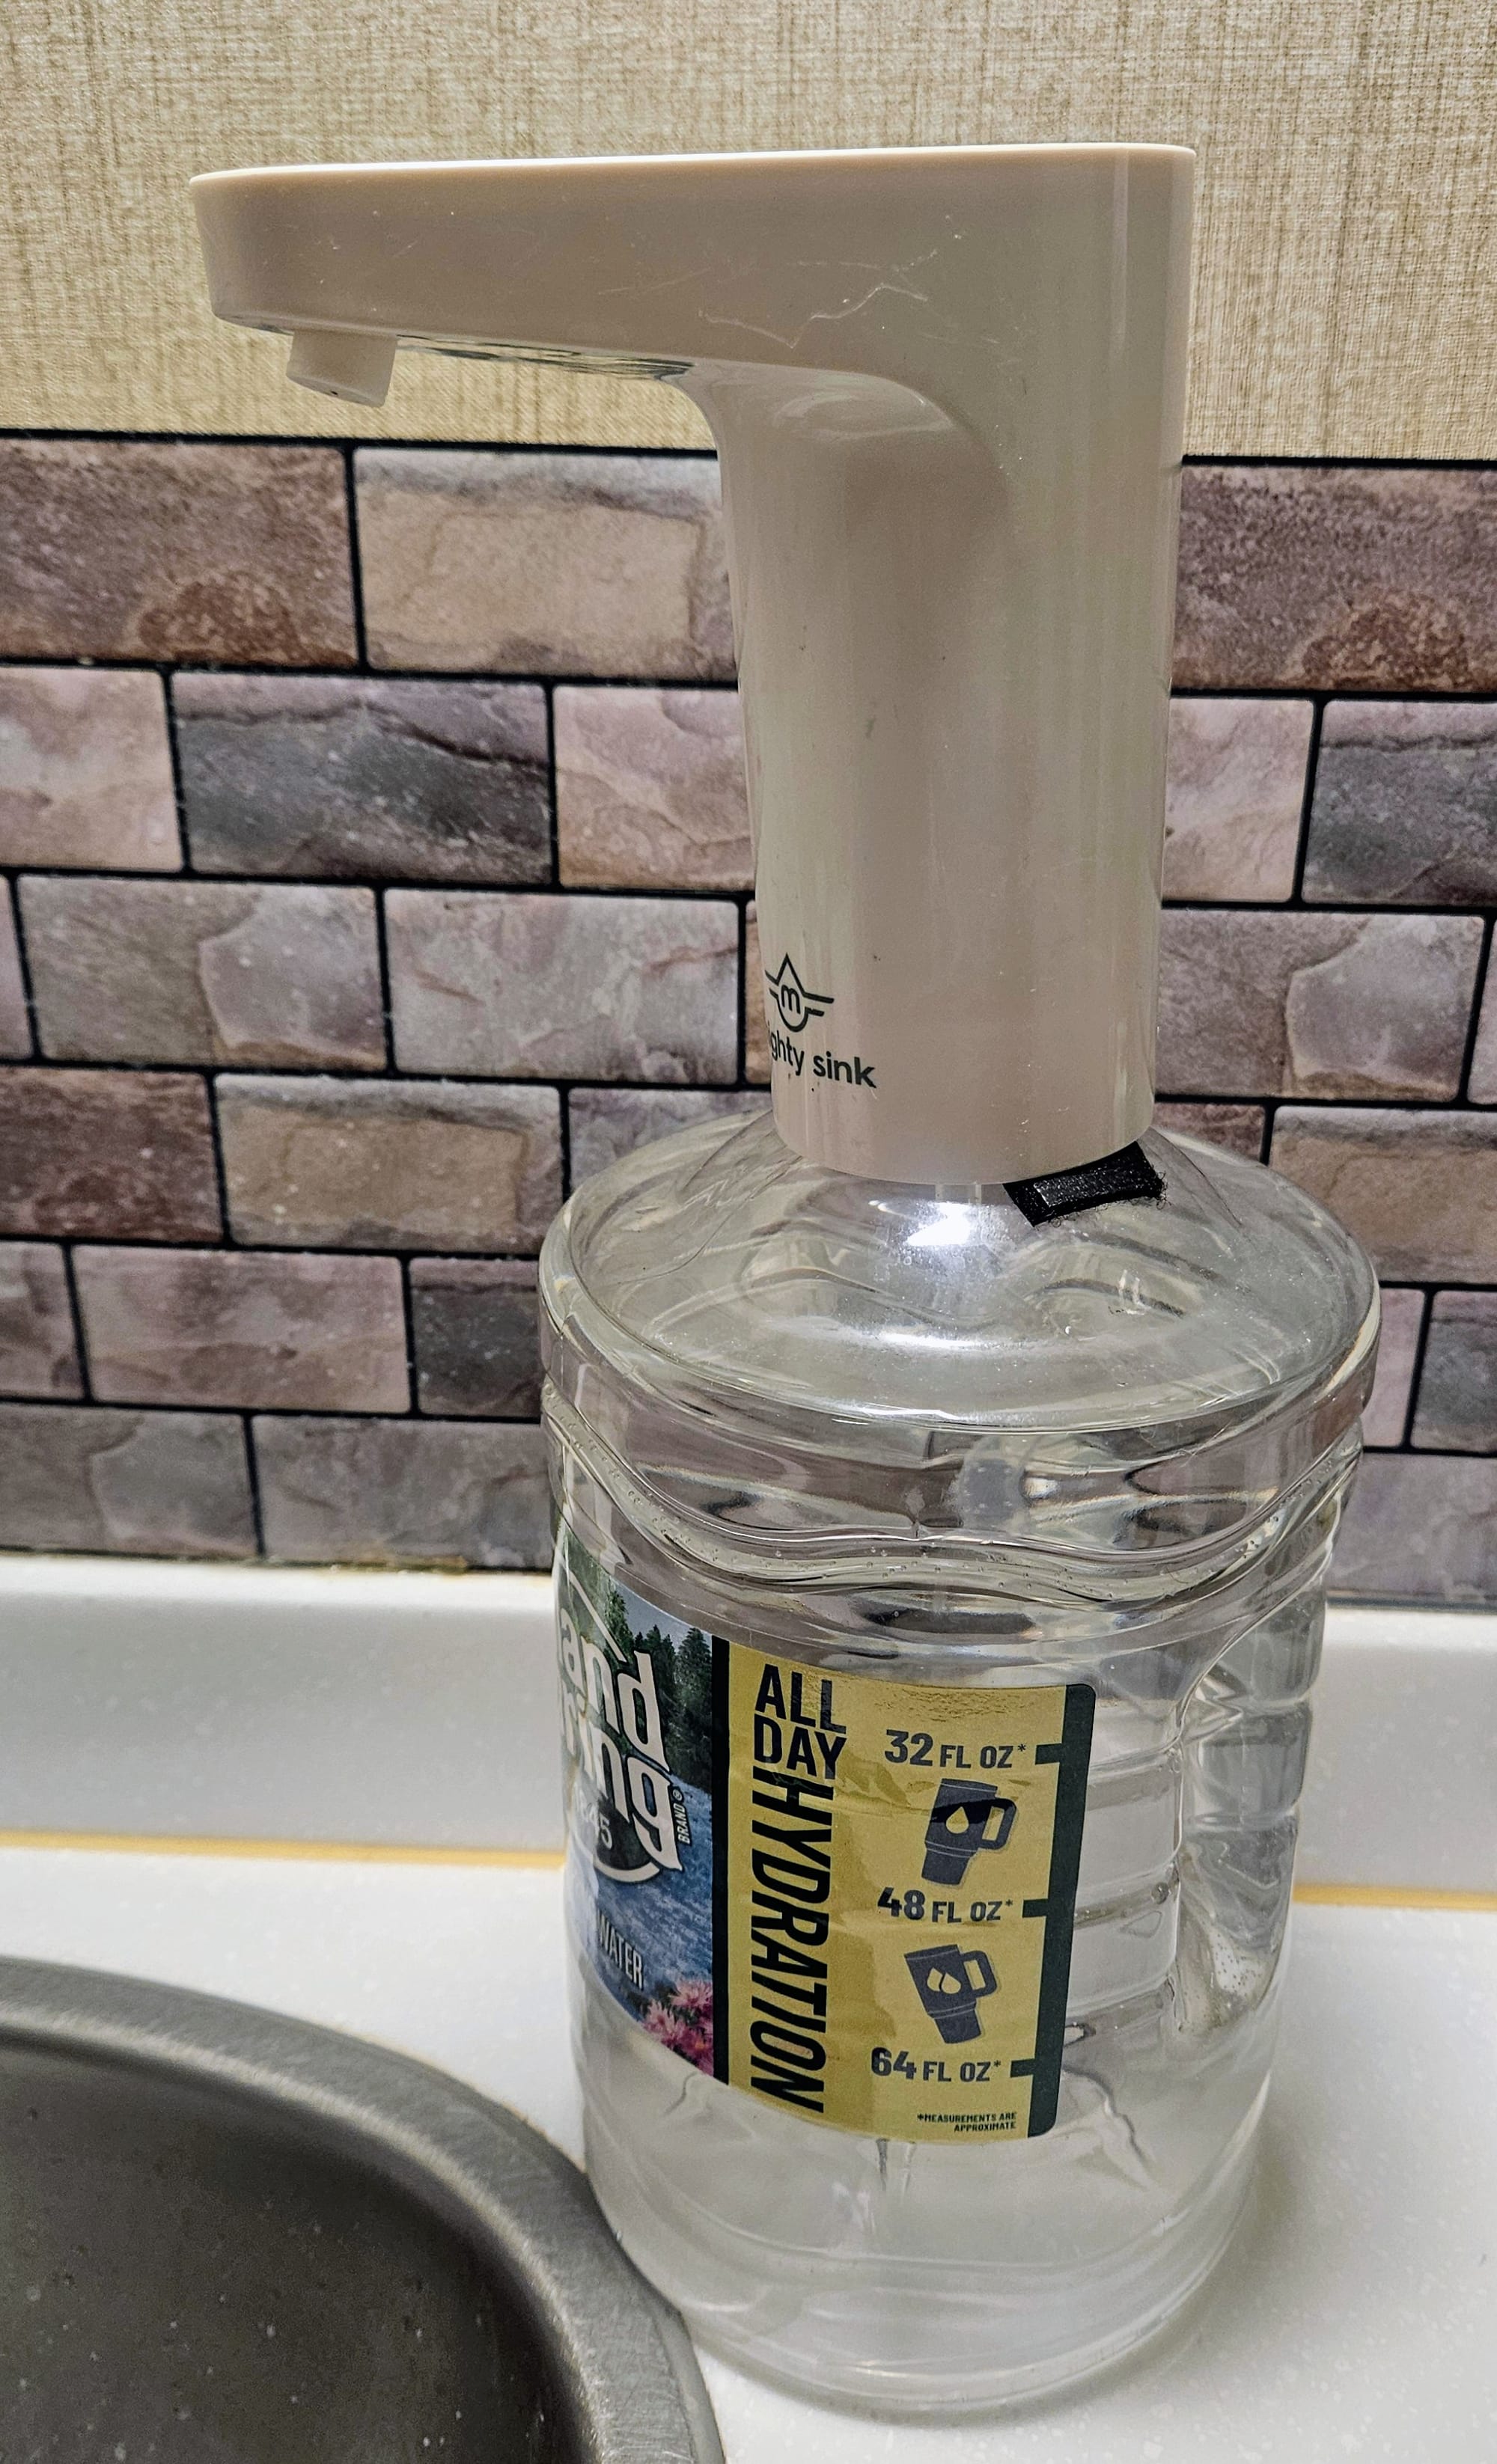
It's too cold to use the whole Mighty Sink outside this time of year, but it comes with a rechargeable faucet pump. Nicole had the idea to use the pump with a jug so that we could get a hands-free stream of water for our bathroom sink. It's not a snug fit, but we attached it to a 3-liter jug with Velcro and it worked great. The stream was a little splashy for our liking, but we loved the convenience of pressing a button and getting running water. It's amazing how something as small as "pressing a button to get water" could boost our winter camping morale.
When we're at our MA home-base, we do dishes and take showers inside the house, but if we needed to do dishes in our rig and didn't have running water, we could use the Mighty Sink faucet, or even the entire Mighty Sink, if we had a place to dump the gray water content outside. If you're wondering what we do to flush the toilet without running water, a squeezy water bottle does the trick just fine.
We used the Mighty Sink faucet for a while because we already had it, but one day, Nicole's curiosity led her to look up actual faucet pumps for jugs. She was surprised to see that they are quite inexpensive, with some going for under $10. They fit on straight top blue jugs, like the ones you would buy for an office water cooler. We debated for a while whether or not to try one, and when the weather forecast issued us a winter advisory, we decided it was time. We ordered this USB rechargeable faucet pump – the cheapest one on Amazon that was also rated well. It was no frills, just one button for both the "on" and "off." The spout is set up for filling cups and water bottles, so it only trickles out a small stream. This was perfect for us and our conservation efforts.
We got the faucet pump easily, but the bigger challenge would be finding a jug that was compatible but also small enough to fit on our bathroom counter. At first glance, the Amazon descriptions led us to believe that the pumps work with 5 gallon jugs, but details show a "universal compatibility with jugs 2-5 gallons." We scrounged around for a 2 gallon jug but came up empty handed. Local stores had 4 gallons at the smallest, which would be too big for our countertop. Amazon had lots of 3 and 5 gallons, but the 2 gallons all looked to be the wrong shape.
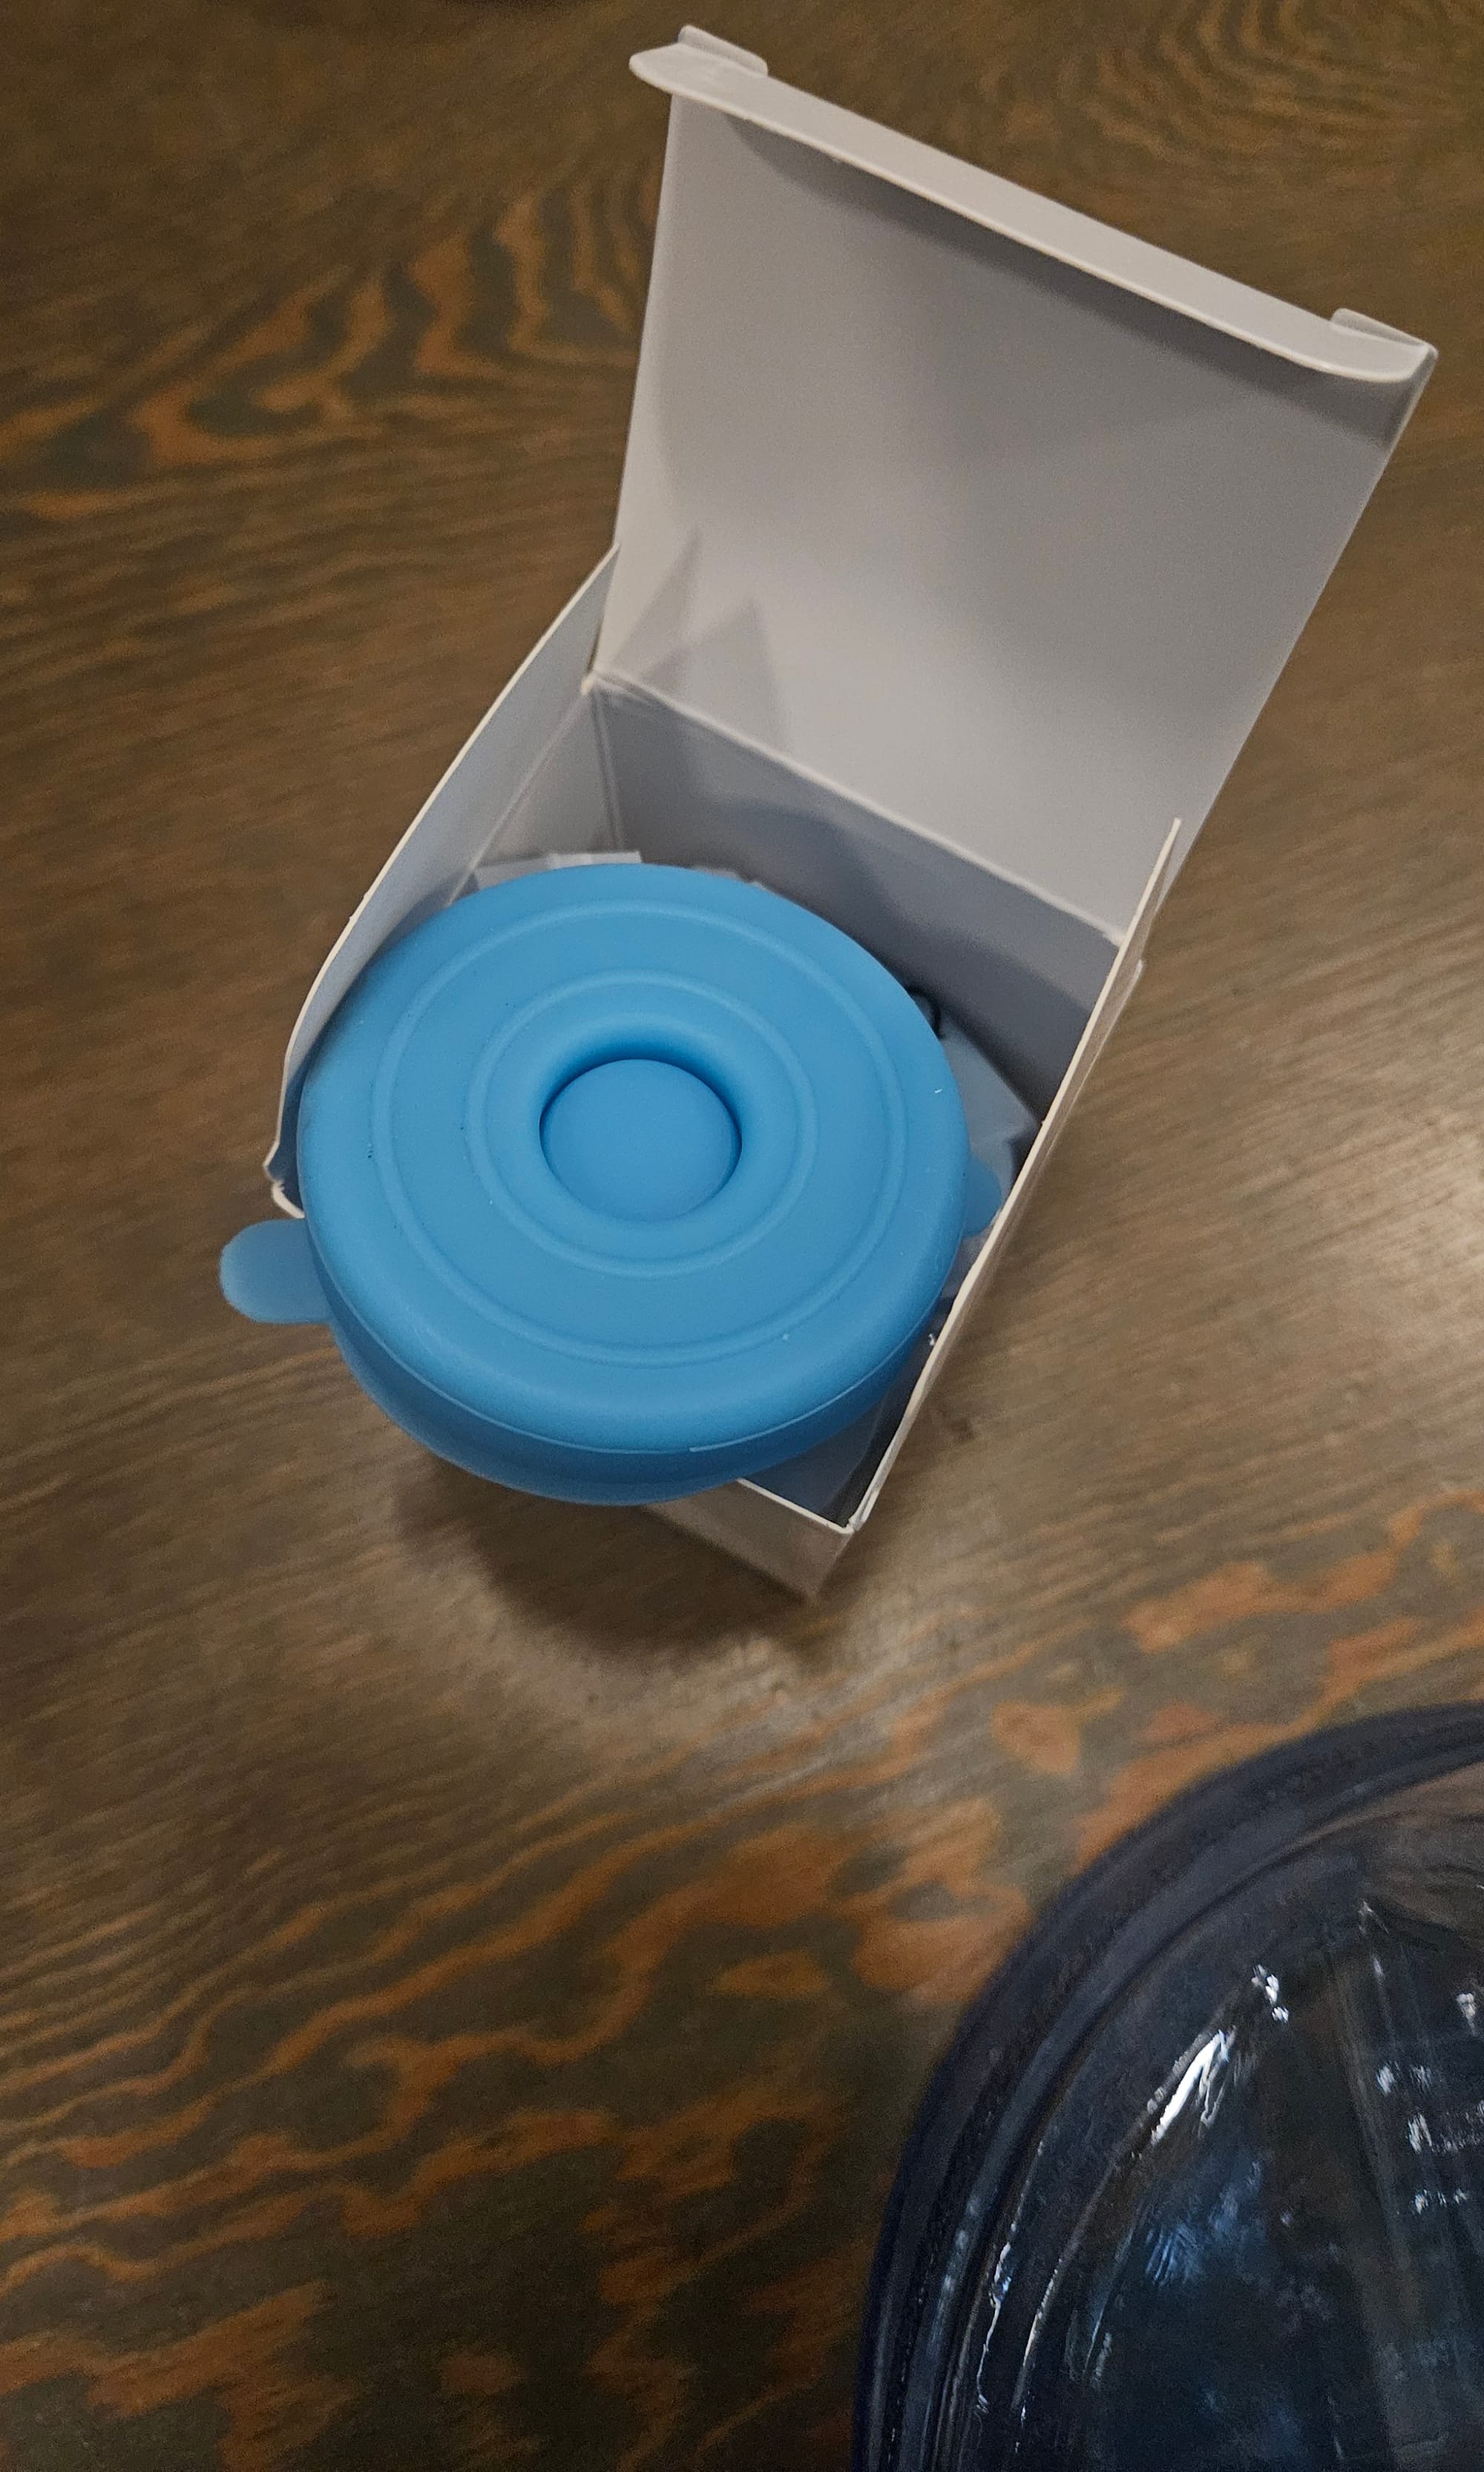
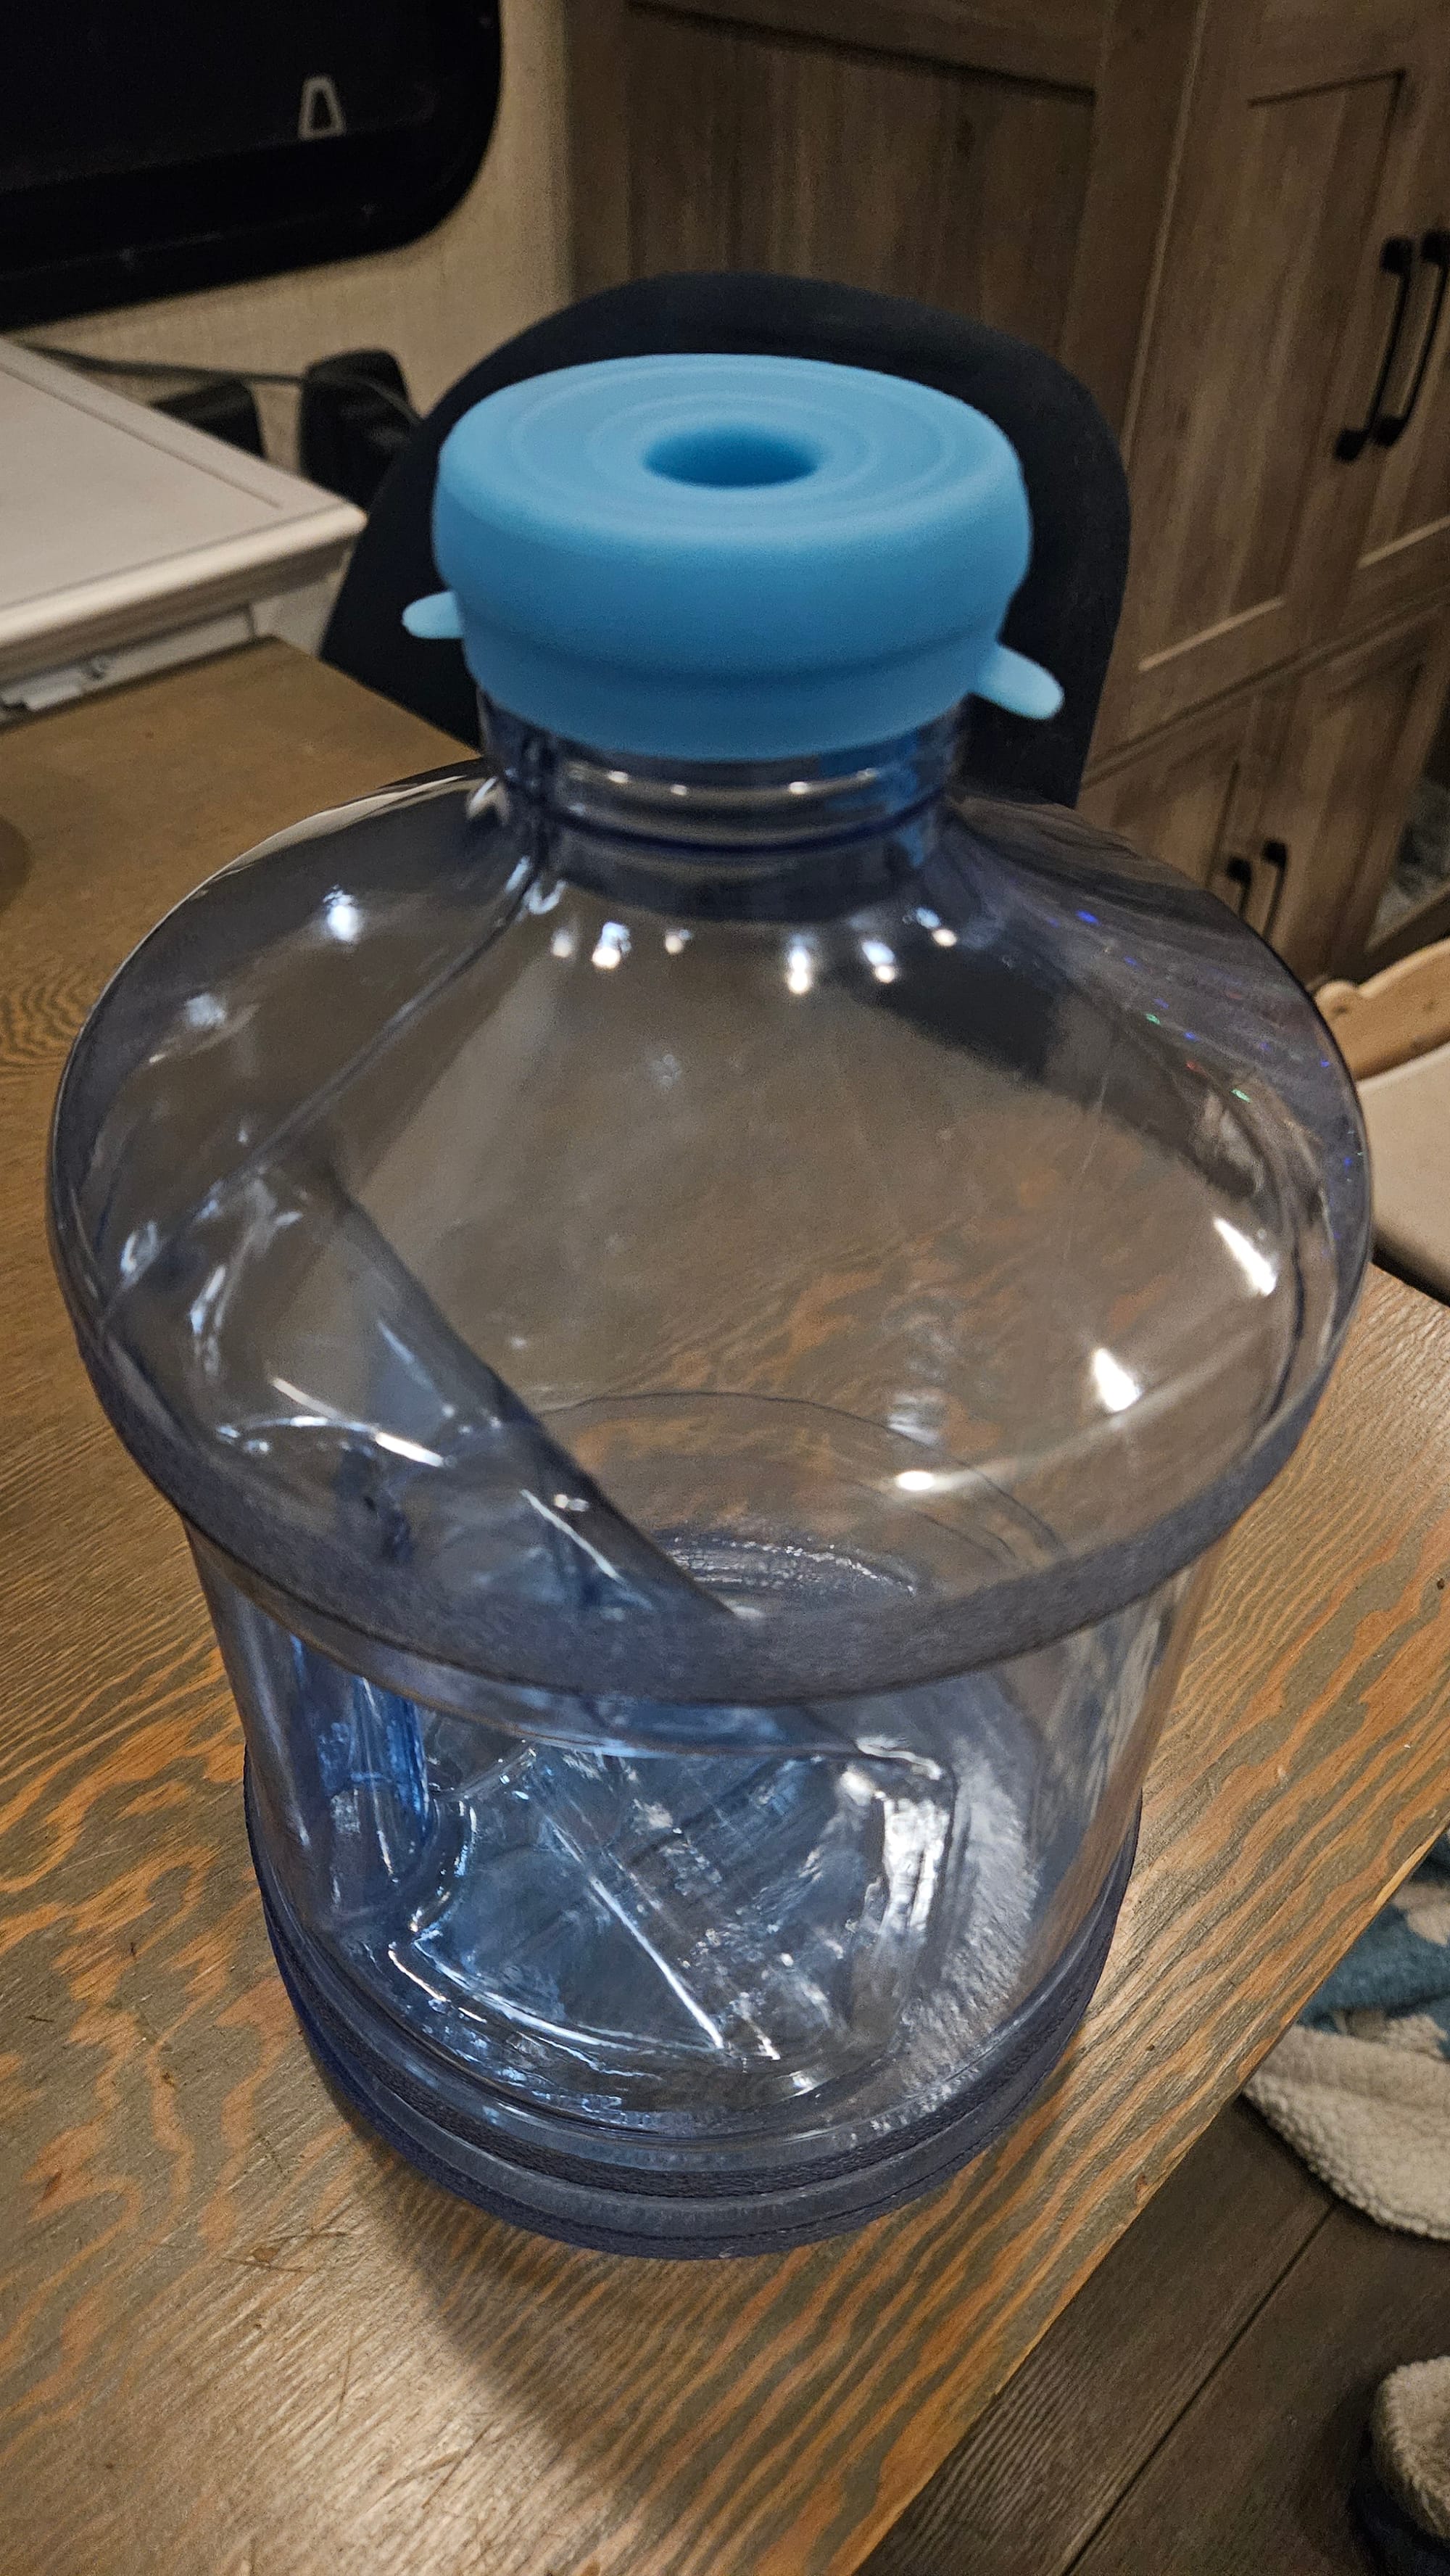
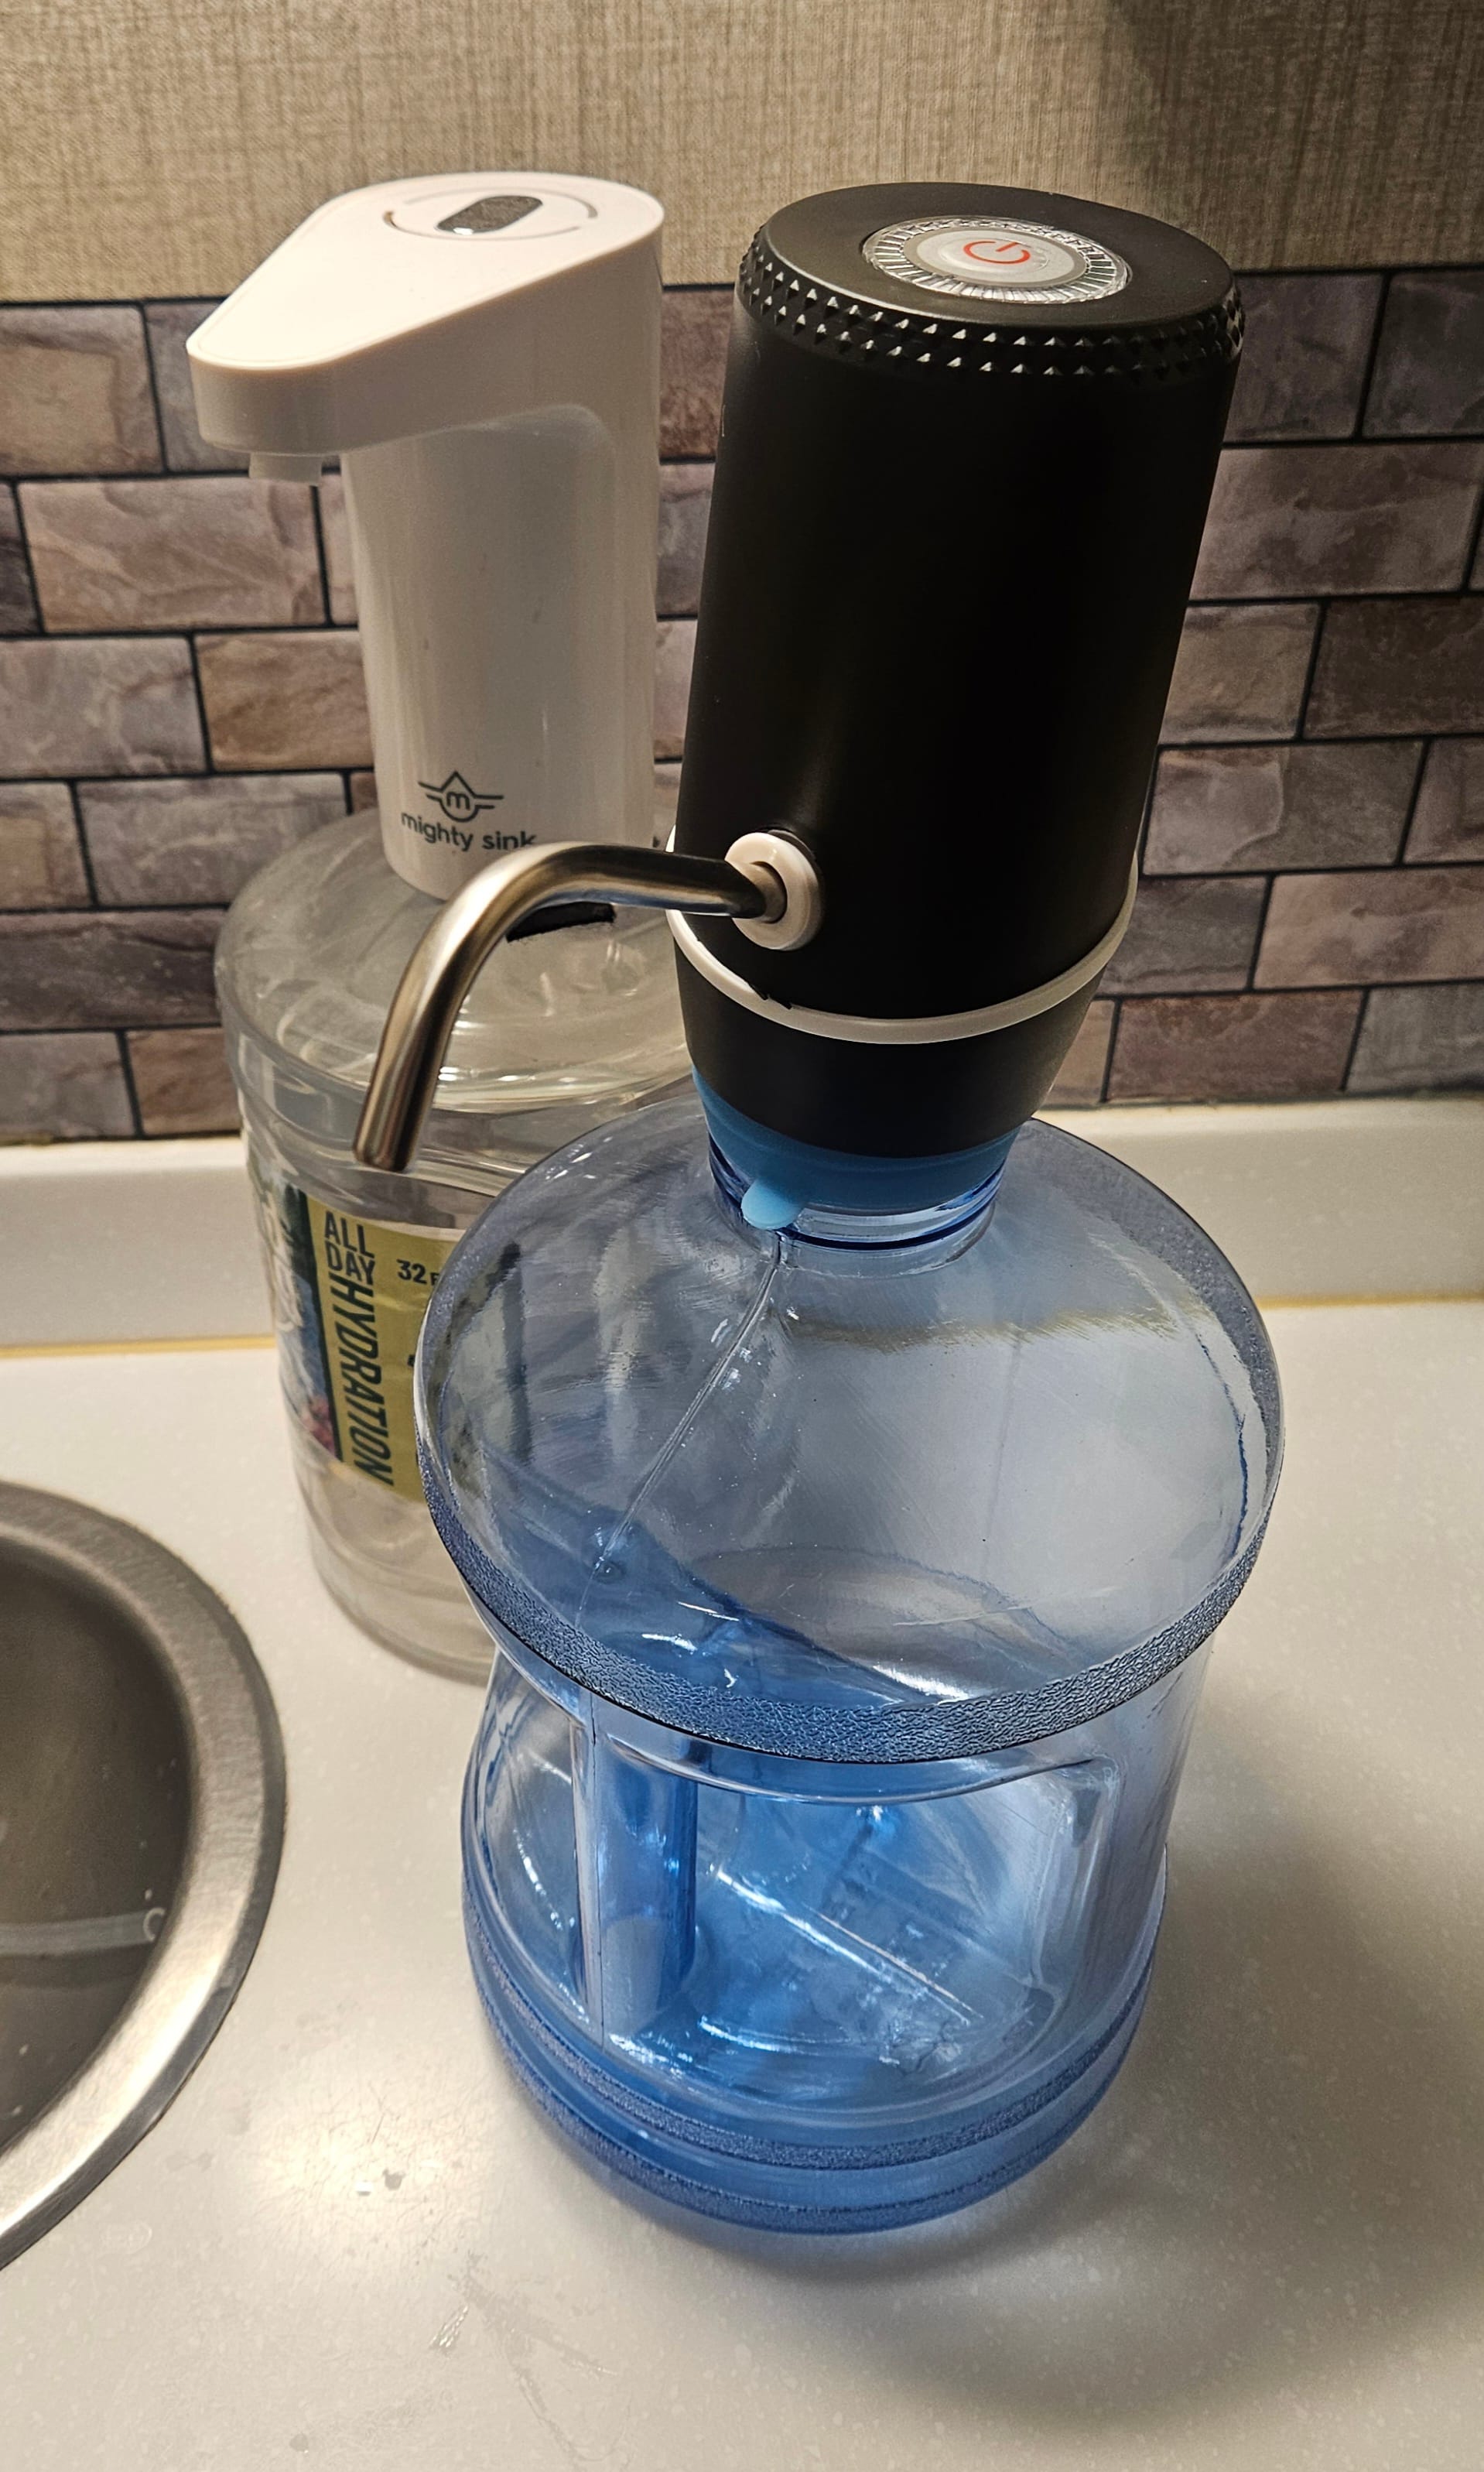
When our faucet pump came, the instructions showed a diagram that we didn't see on the sales page. The "universal compatibility" was with straight top jugs, but the manual specifically said "not with screw tops" and showed a photo of a silicone cap. It also explained that the cap needed to be on in order to fit the pump. We wondered, if we bought the silicone caps separately, could we use them on any jug with the right diameter opening? We dove back into our jug search on Amazon and found a pair of 1 gallons with an opening diameter very close to what we needed. Only, the pump specifically said it fit 2 gallons or more. Also these 1 gallons came with screw caps, not silicone. Logically, if the size was right, the pump should fit. Even if the top had ridges for a screw cap, a silicone cap should cover them right up. We weren't totally confident, but we bought the pair of 1 gallon jugs. It set us back $30, but this was cheaper than getting larger jugs from the same seller, and we knew a gallon jug would fit perfectly on our countertop. Another search turned up spare silicone caps, but we could only get as few as a pack of 5 and their description said for 3-5 gallon jugs. We had to assume these descriptions were just listing the most popular compatible jugs. A 2-inch opening is a 2-inch opening, no matter what is going on underneath it...right? We made the purchase. This was another $7 added to our contraption, but if it worked, we would have a spare jug and 4 spare caps, plus a really great solution to get running water. Our hopes were low. Surely, we were missing something obvious.
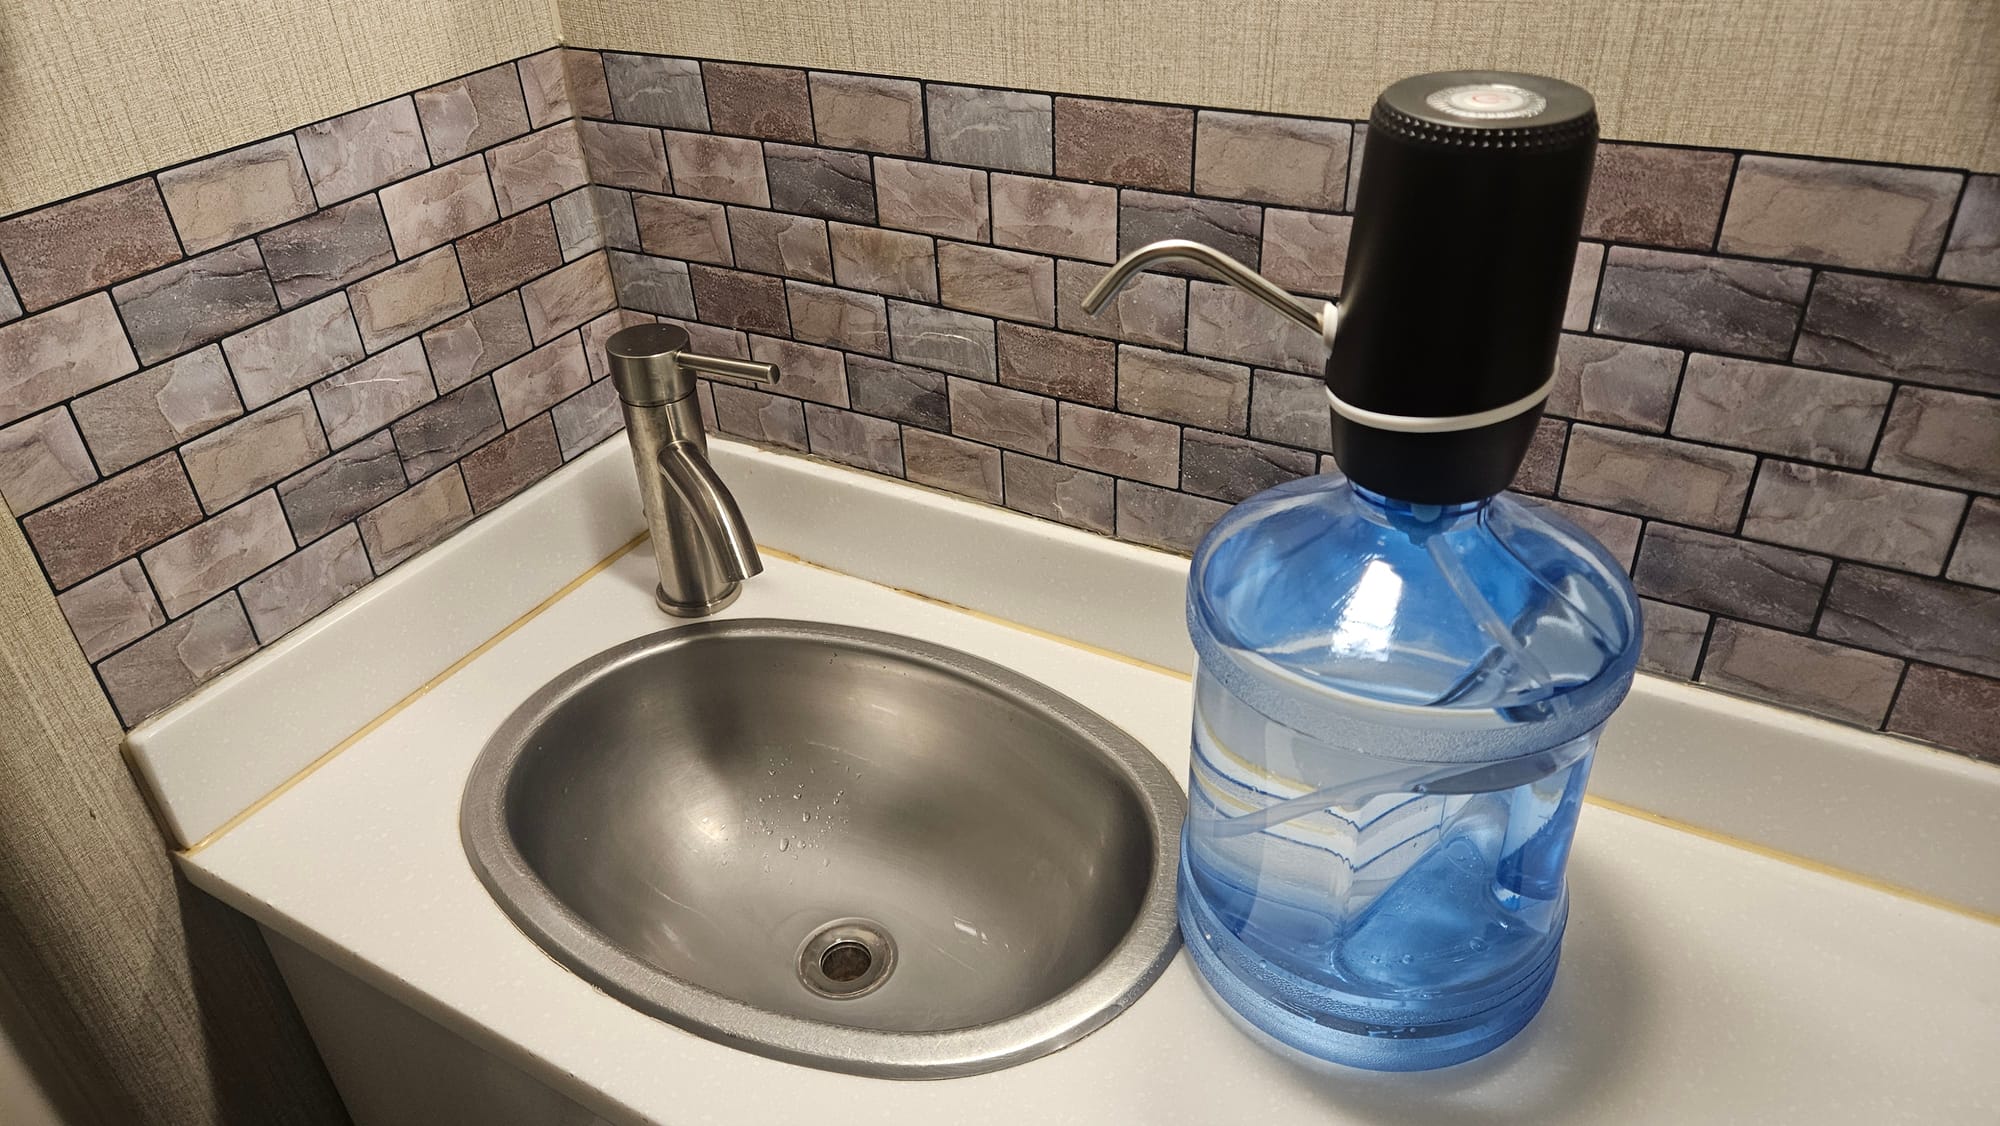
But then the caps came, and soon after, the jugs. We got to work fitting everything together. The silicone caps were perfect. They fit right over the jug tops, ridges and all, and they had flaps to open so the tube of the water pump could go through. The water pump itself was a tight fit, but it did go on with some pushing. Voila! Our new pump on our 1 gallon jug, doing exactly what it's supposed to. Perfect size to leave countertop space but still let the spout reach over the sink, and the spout lets out a low-flow trickle for less splashing and more conserving.
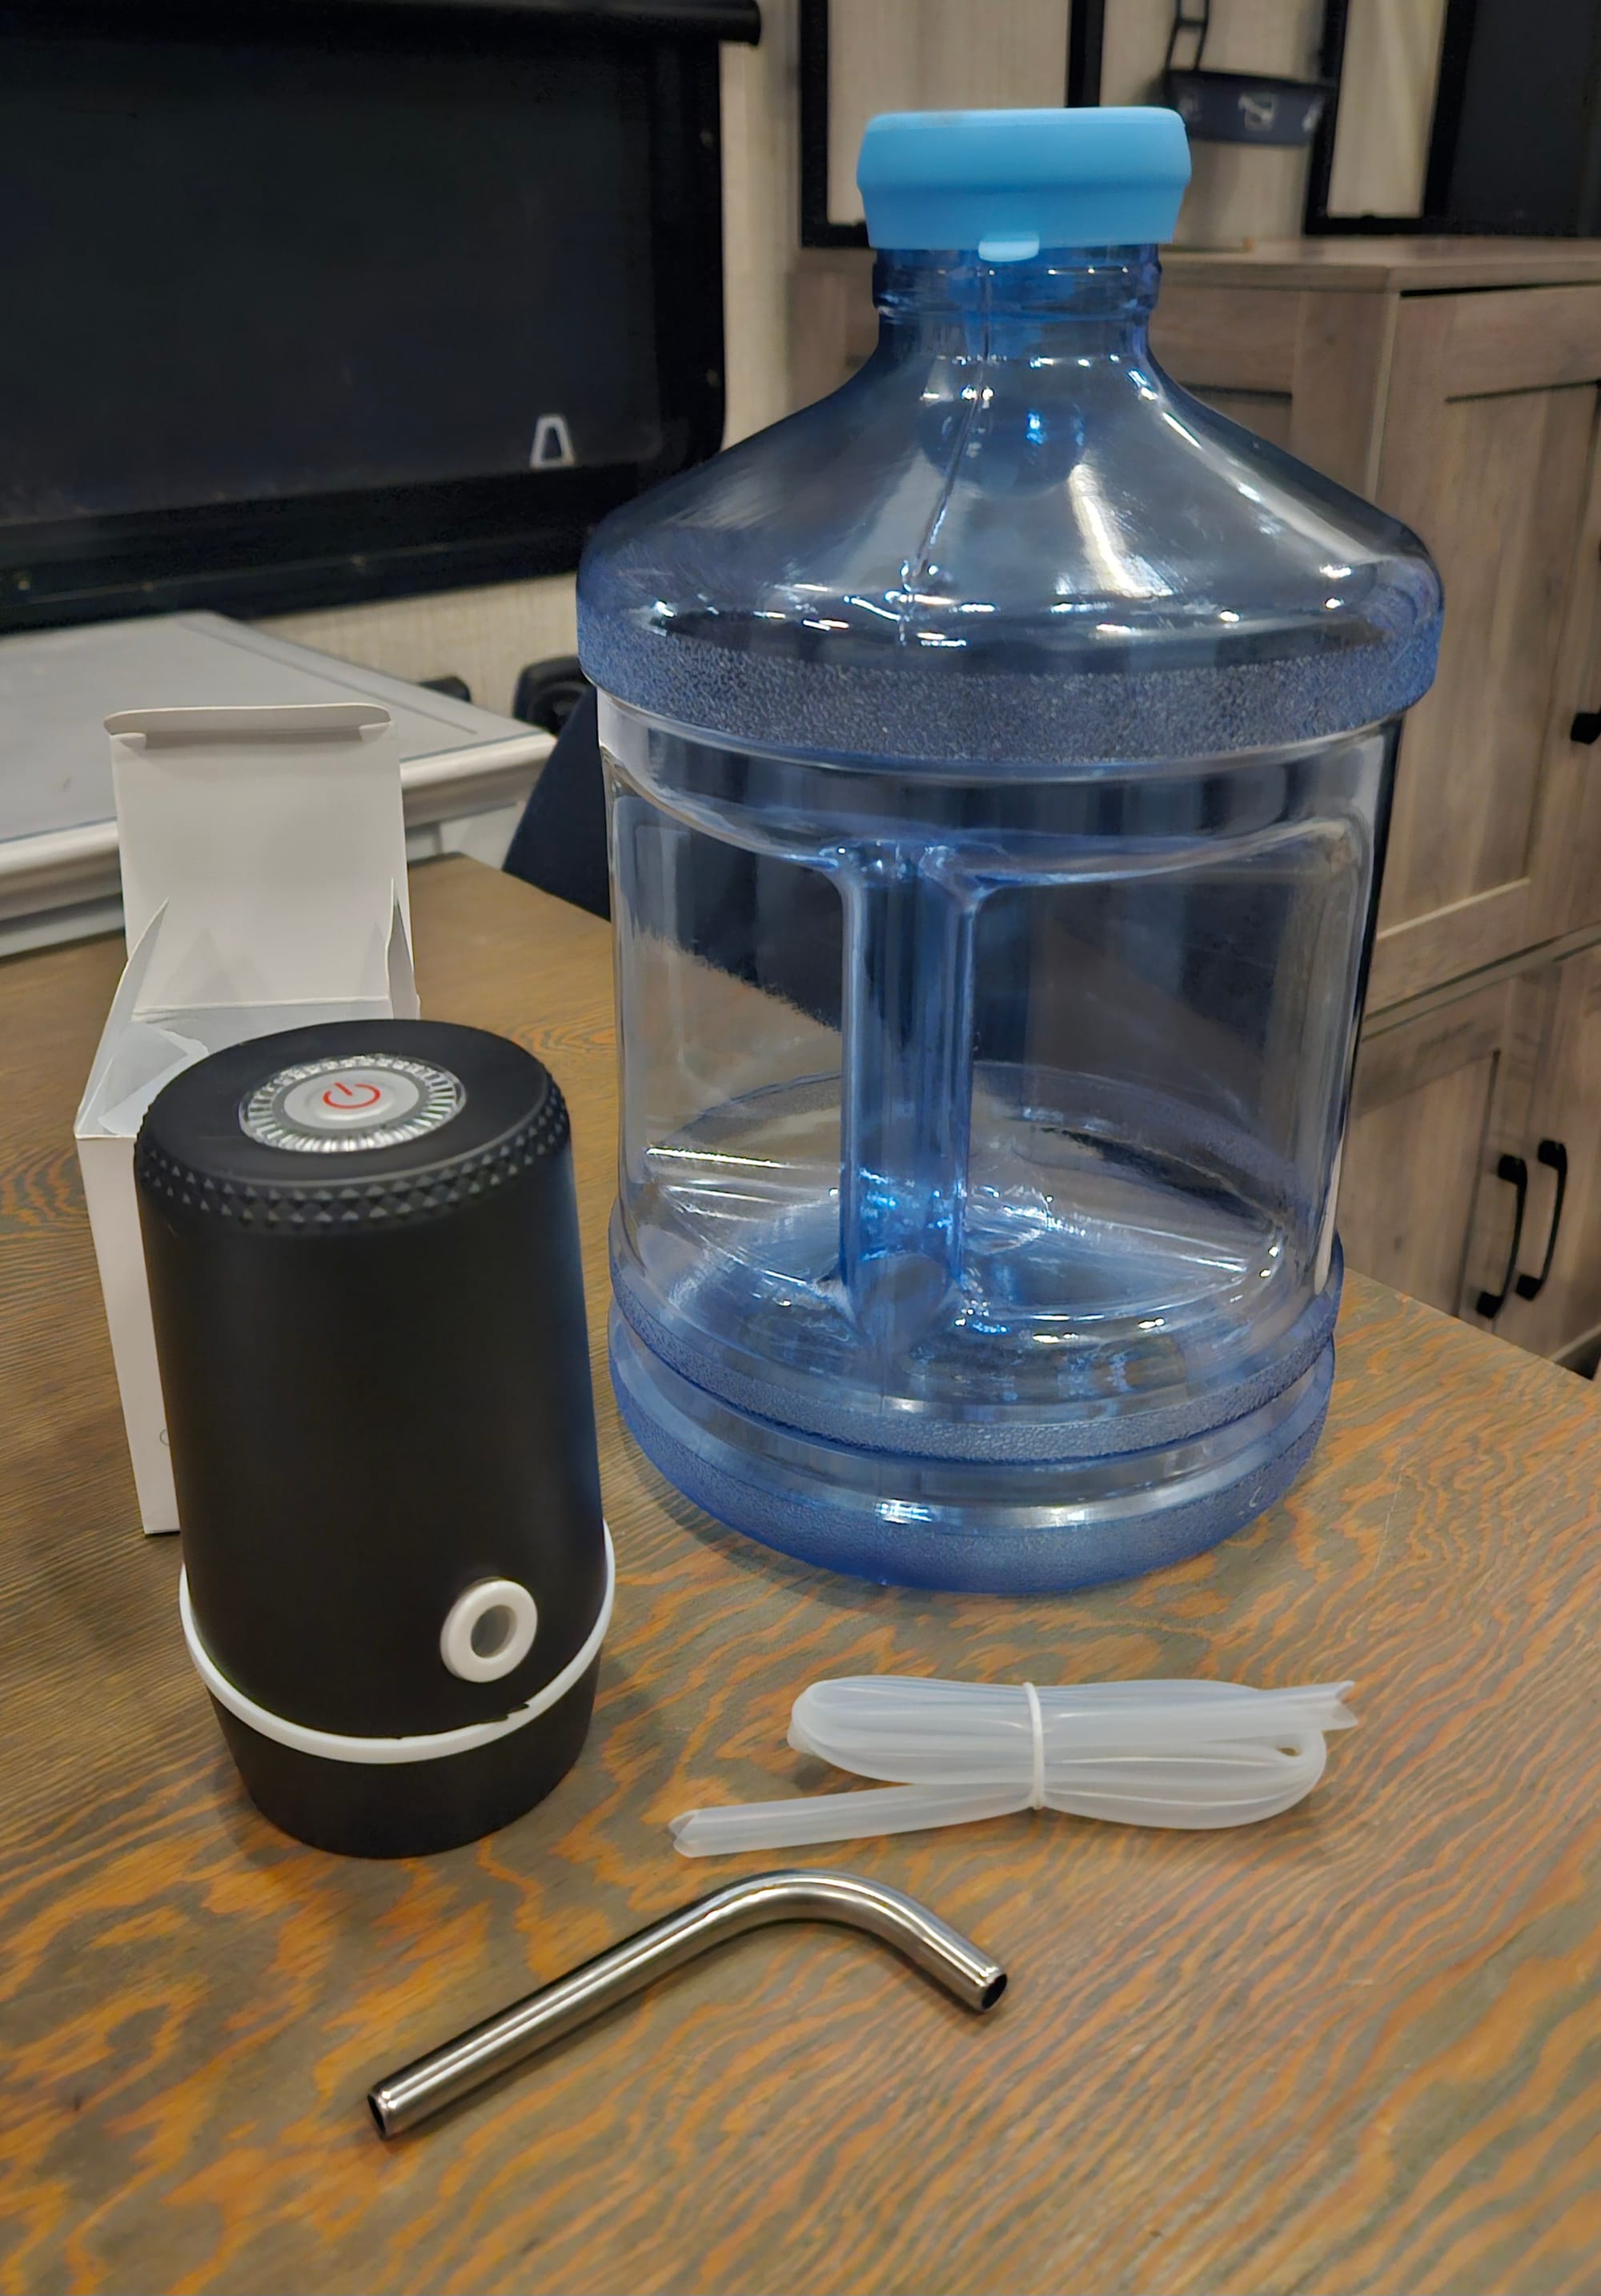
Of course, we also tested other configurations just to see how many combinations we could get. The Mighty Sink faucet fit on the blue jug less snugly but still tight enough. This is great for us to know, if we ever want to use our gallon jug as part of our whole Mighty Sink setup. The new faucet pump also fits pretty well on our old 3L jug. This is a good option for those who want a less expensive, more temporary solution. You can buy the 3L jugs at most grocery stores for just a few dollars, and they're already filled with spring water.
This winter was the best opportunity we've had to find winter water solutions that give us flexibility and peace of mind. We might not be able to always prevent our lines from freezing, but now we have ways to get some running water at all times. Which of these tricks you try will depend on your specific RV and circumstance. Just remember that, if arctic temps are on the horizon, leave room in your tanks for expansion so nothing bursts. Beyond that, give some of these hacks a go and see what works for you. If nothing else, you can tap into your intrepid nature and embrace the camping life with limited water. With the right mindset, it can be a little adventure in itself.
Editor's note: Shortly before this post went into publication, our jug pump stopped charging. We needed to return it and have been trying a different one. We kept our Amazon affiliate link active because we think these pumps are great little gadgets, but we recommend researching other pumps besides the one we've linked. (We will still receive a small commission if you click on the link but end up ordering a different pump).