The evolution of our toyhauler patio setup


Some of the links in this post are Amazon affiliate links. We may receive a small commission for items purchase through these links. Thank you for supporting our adventures!
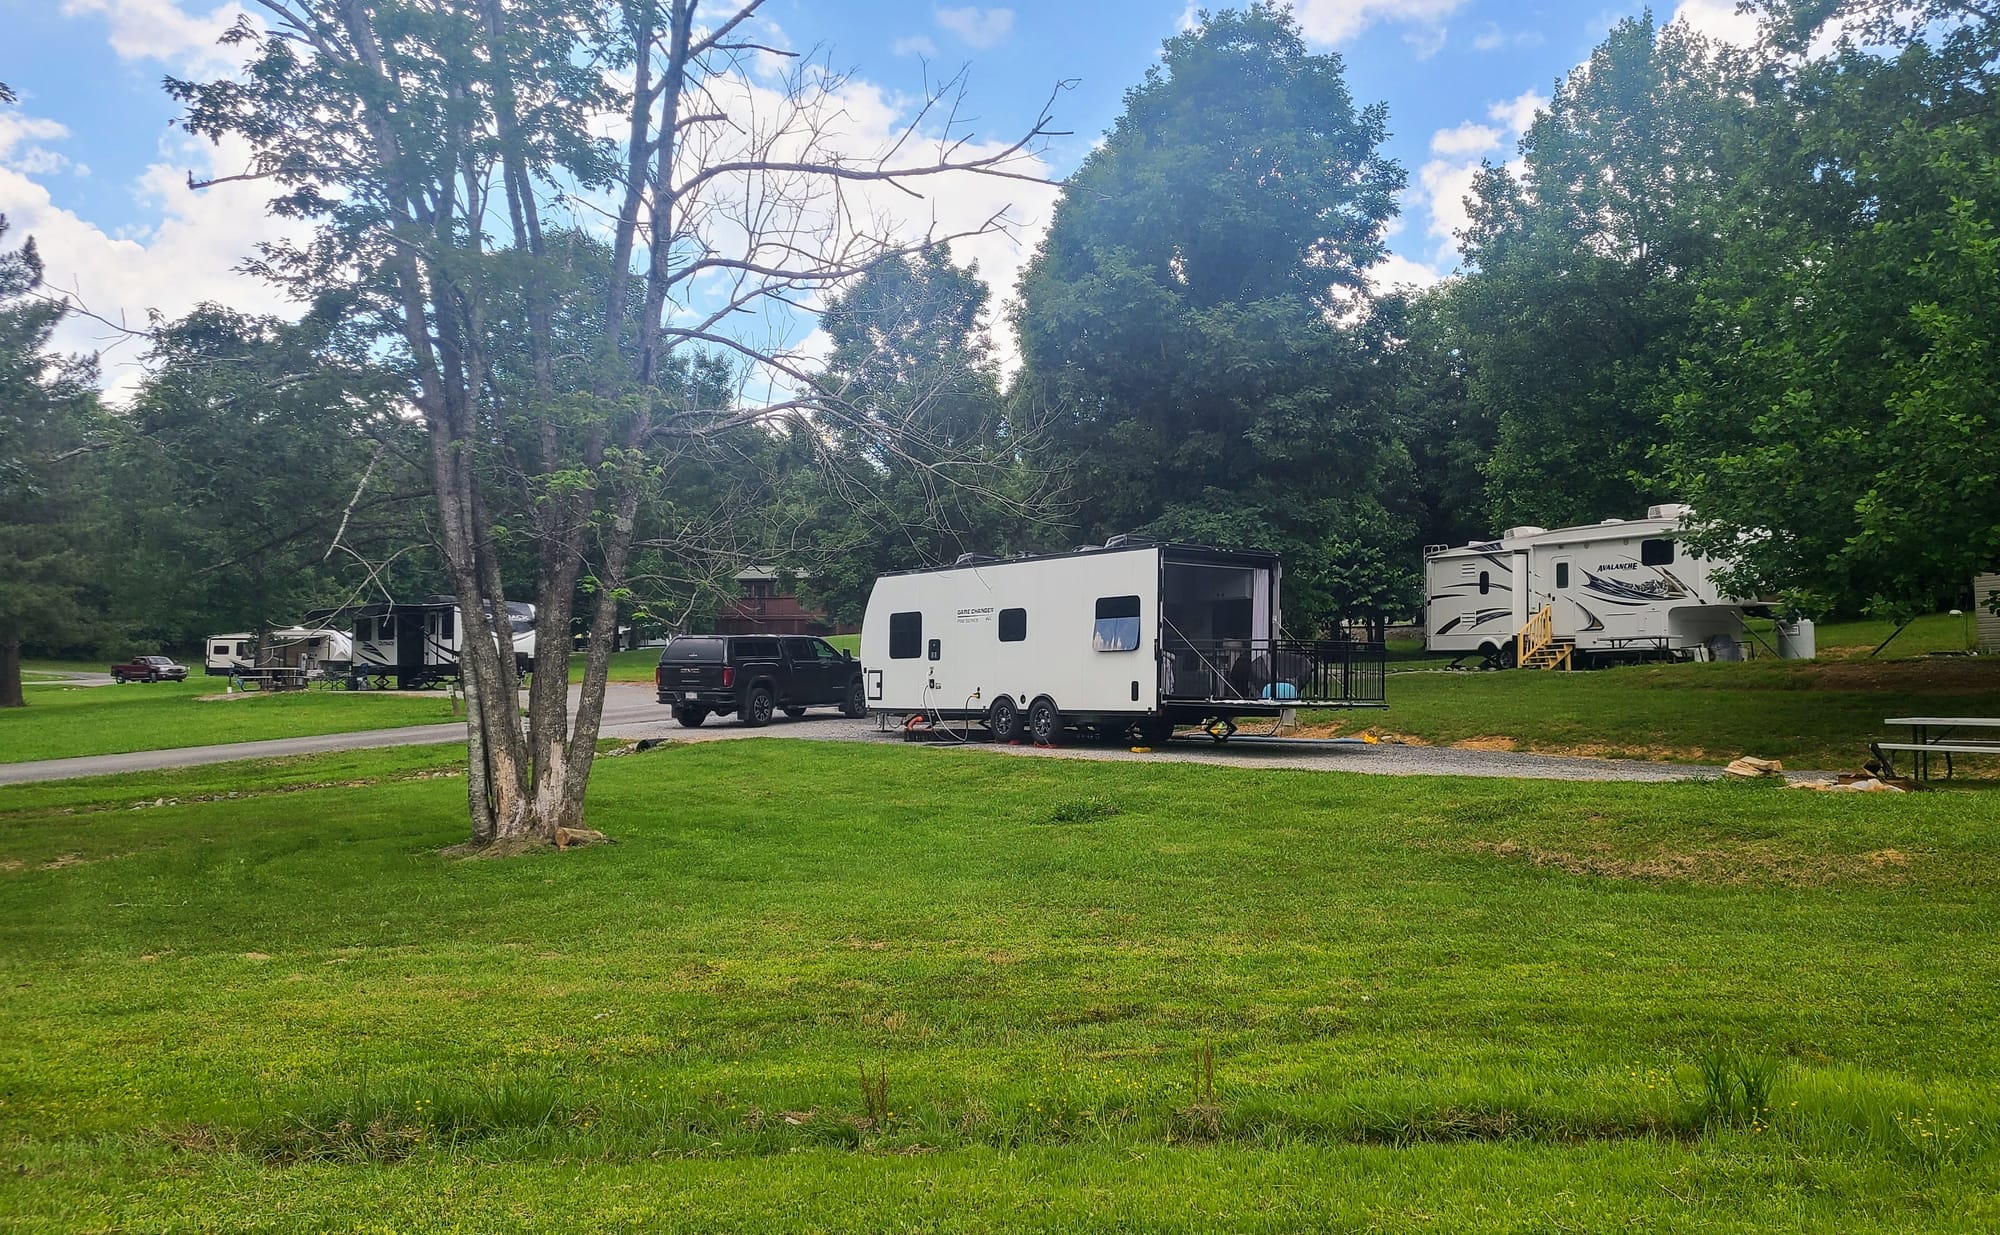
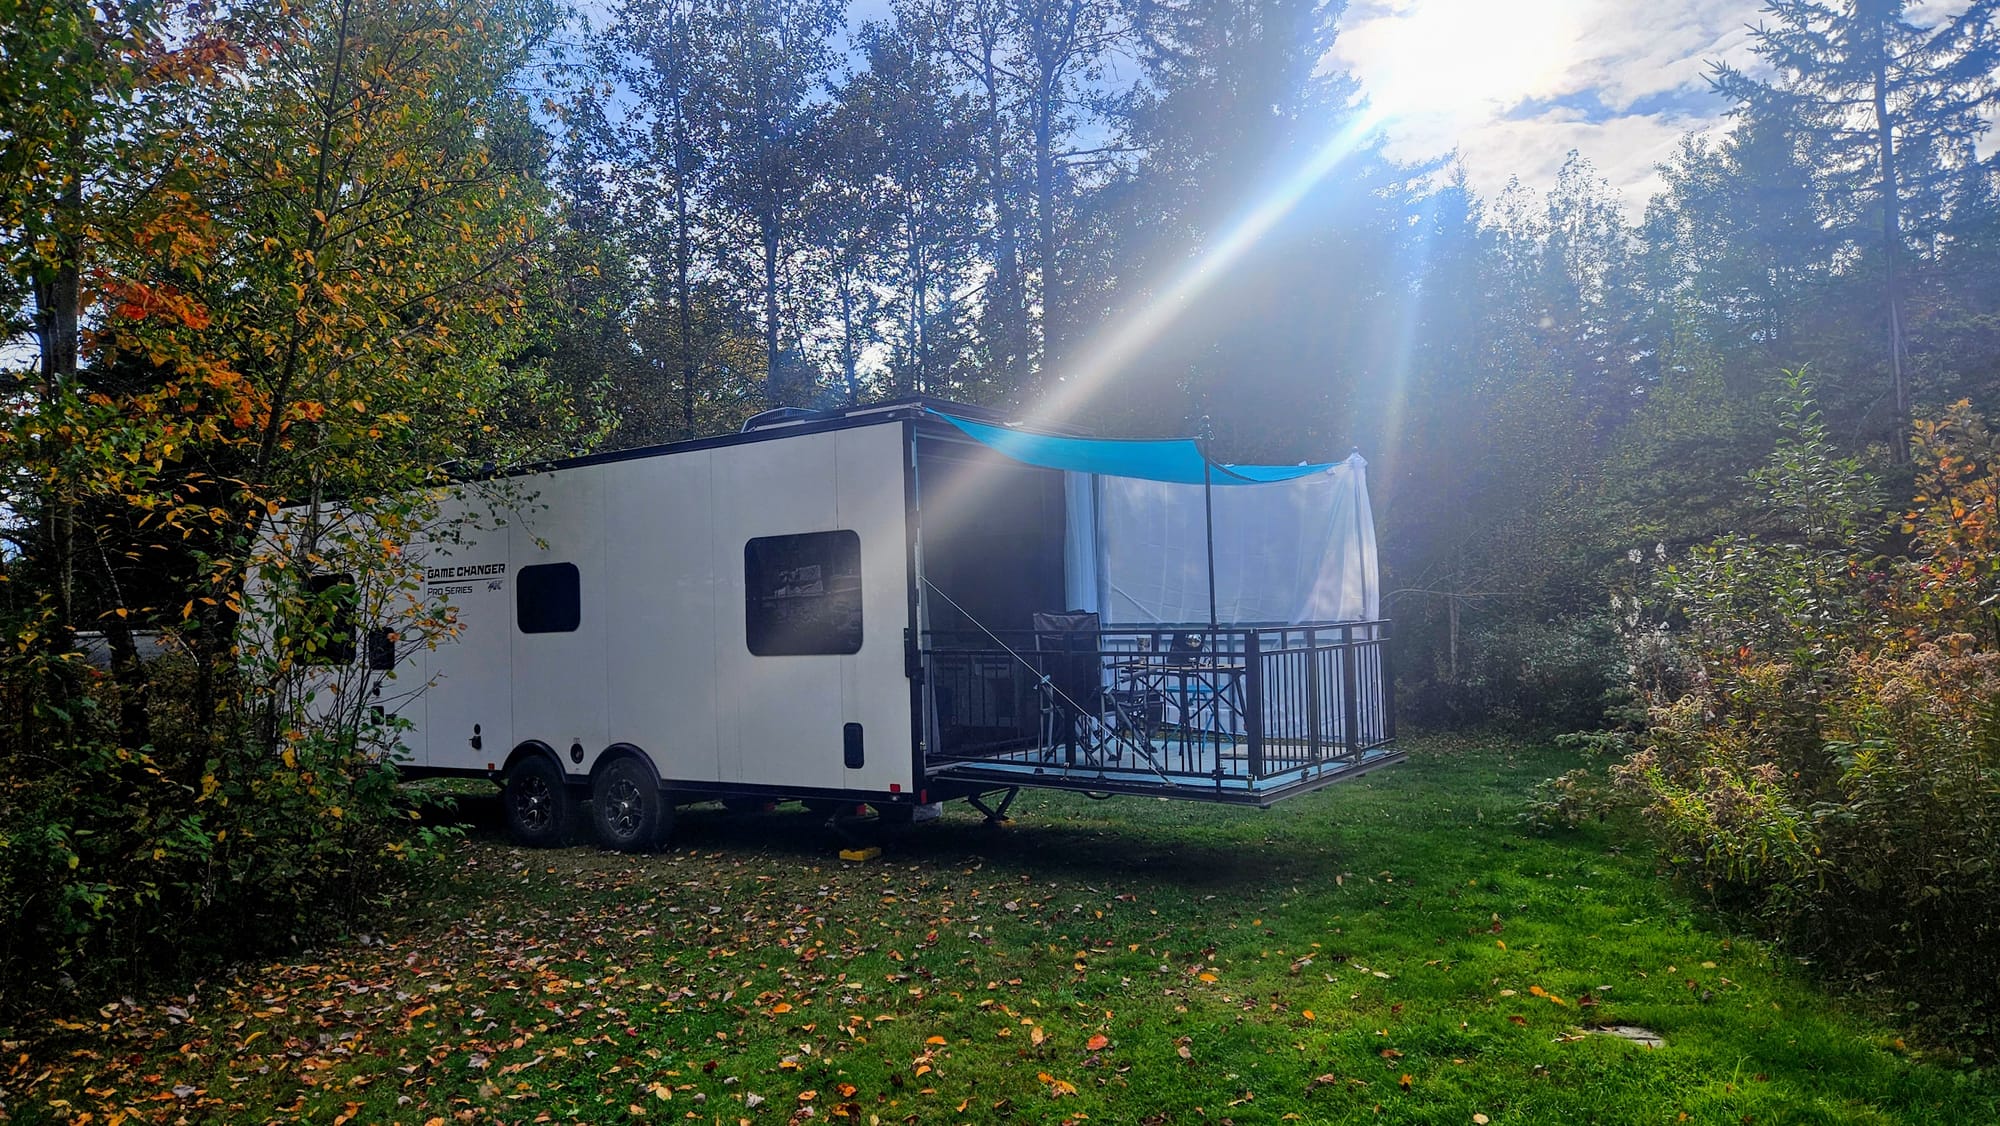
We made the decision to purchase a toyhauler as our full-time travel rig for an unconventional, yet common, reason. Toyhaulers are built with ramps in the back and often a "garage," which can hold small vehicles and recreational equipment such as ATVs, dirt bikes, motorcycles, and sometimes even larger vehicles like sports cars and jeeps. The ramps hold enough load for people to drive their "toys" up and into the rig, and then typically the garage area has options for tying and securing them for travel. Another perk of these ramp doors is that many manufacturers have an option for a patio conversion. The ramp is secured at a level plane by cables, and there are a variety of railings, screens, and doors. We do not haul toys in our rig, but we loved the idea of having a patio to bring the indoor-outdoor vibe to our RVing experience. Plus, it gives us a little bit of extra space, which is always welcome when living tiny. We're certainly not the only ones to use a toyhauler ramp just for the patio, but because we do not need to pull double-duty by also hauling toys, we're able to treat our patio as another room. Granted, it's a room we can't use all the time, which we'll get into, but our "patio days" have become some of our fondest memories in our travels.
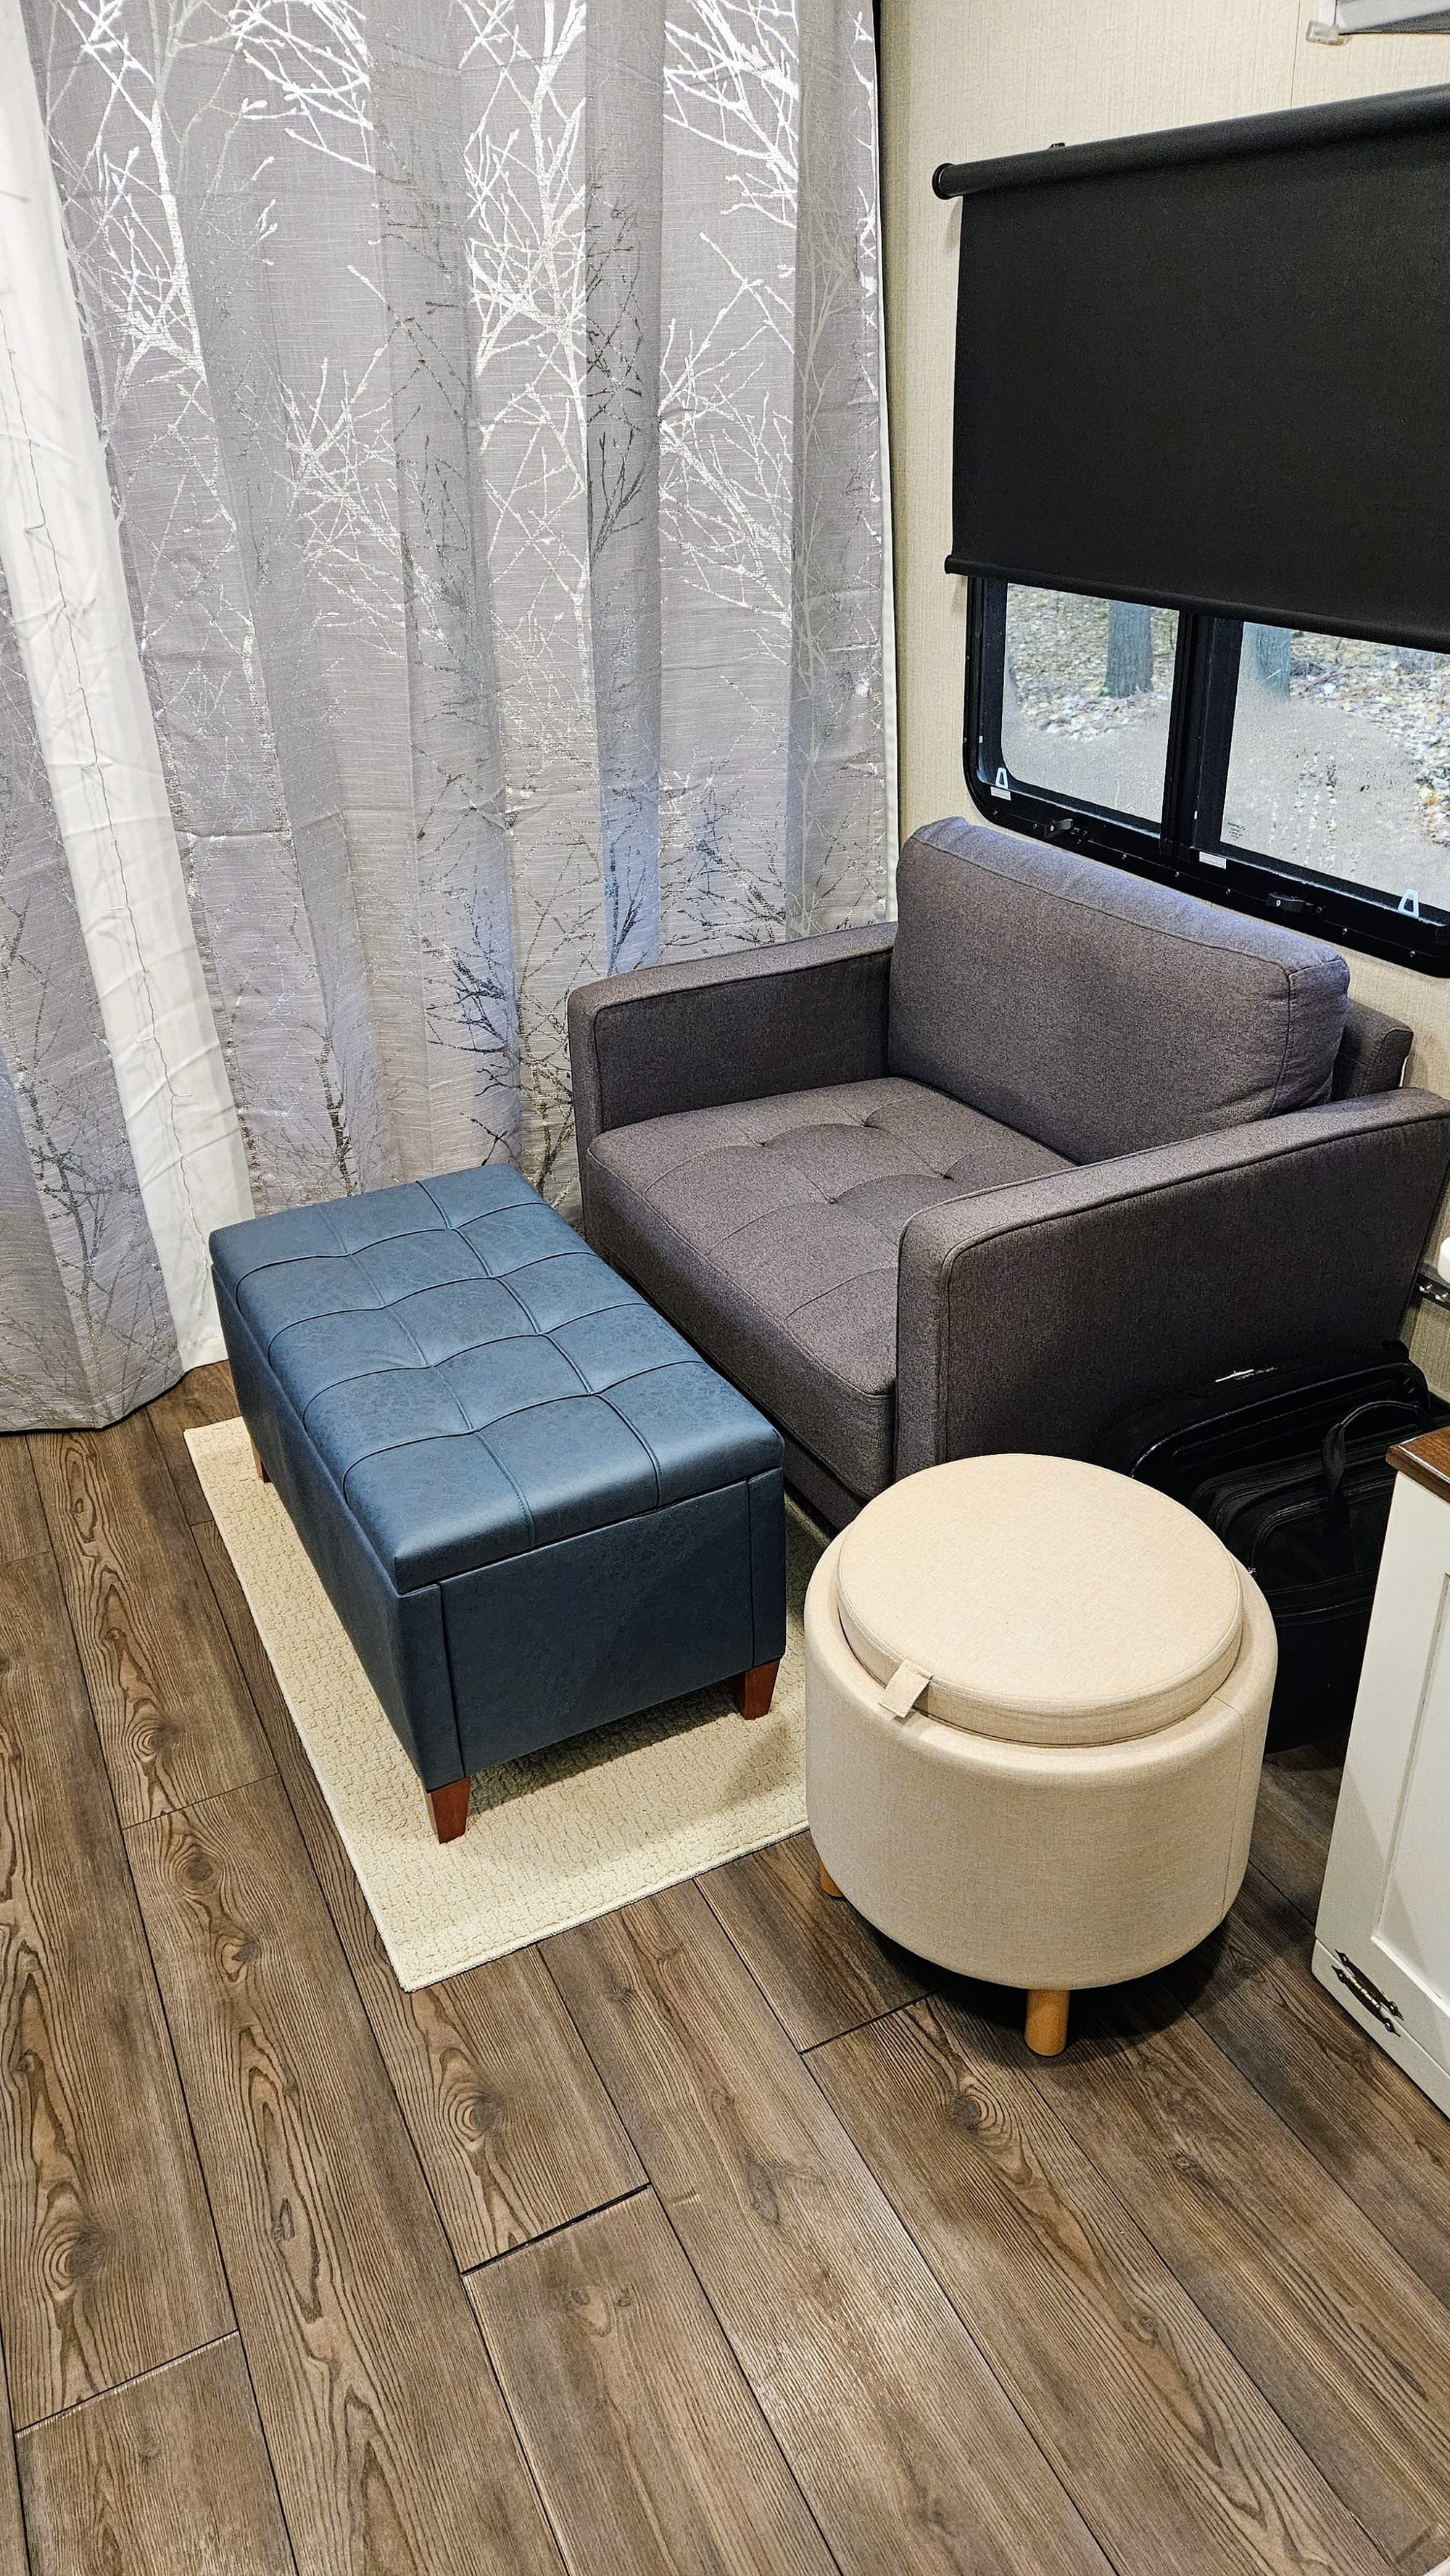
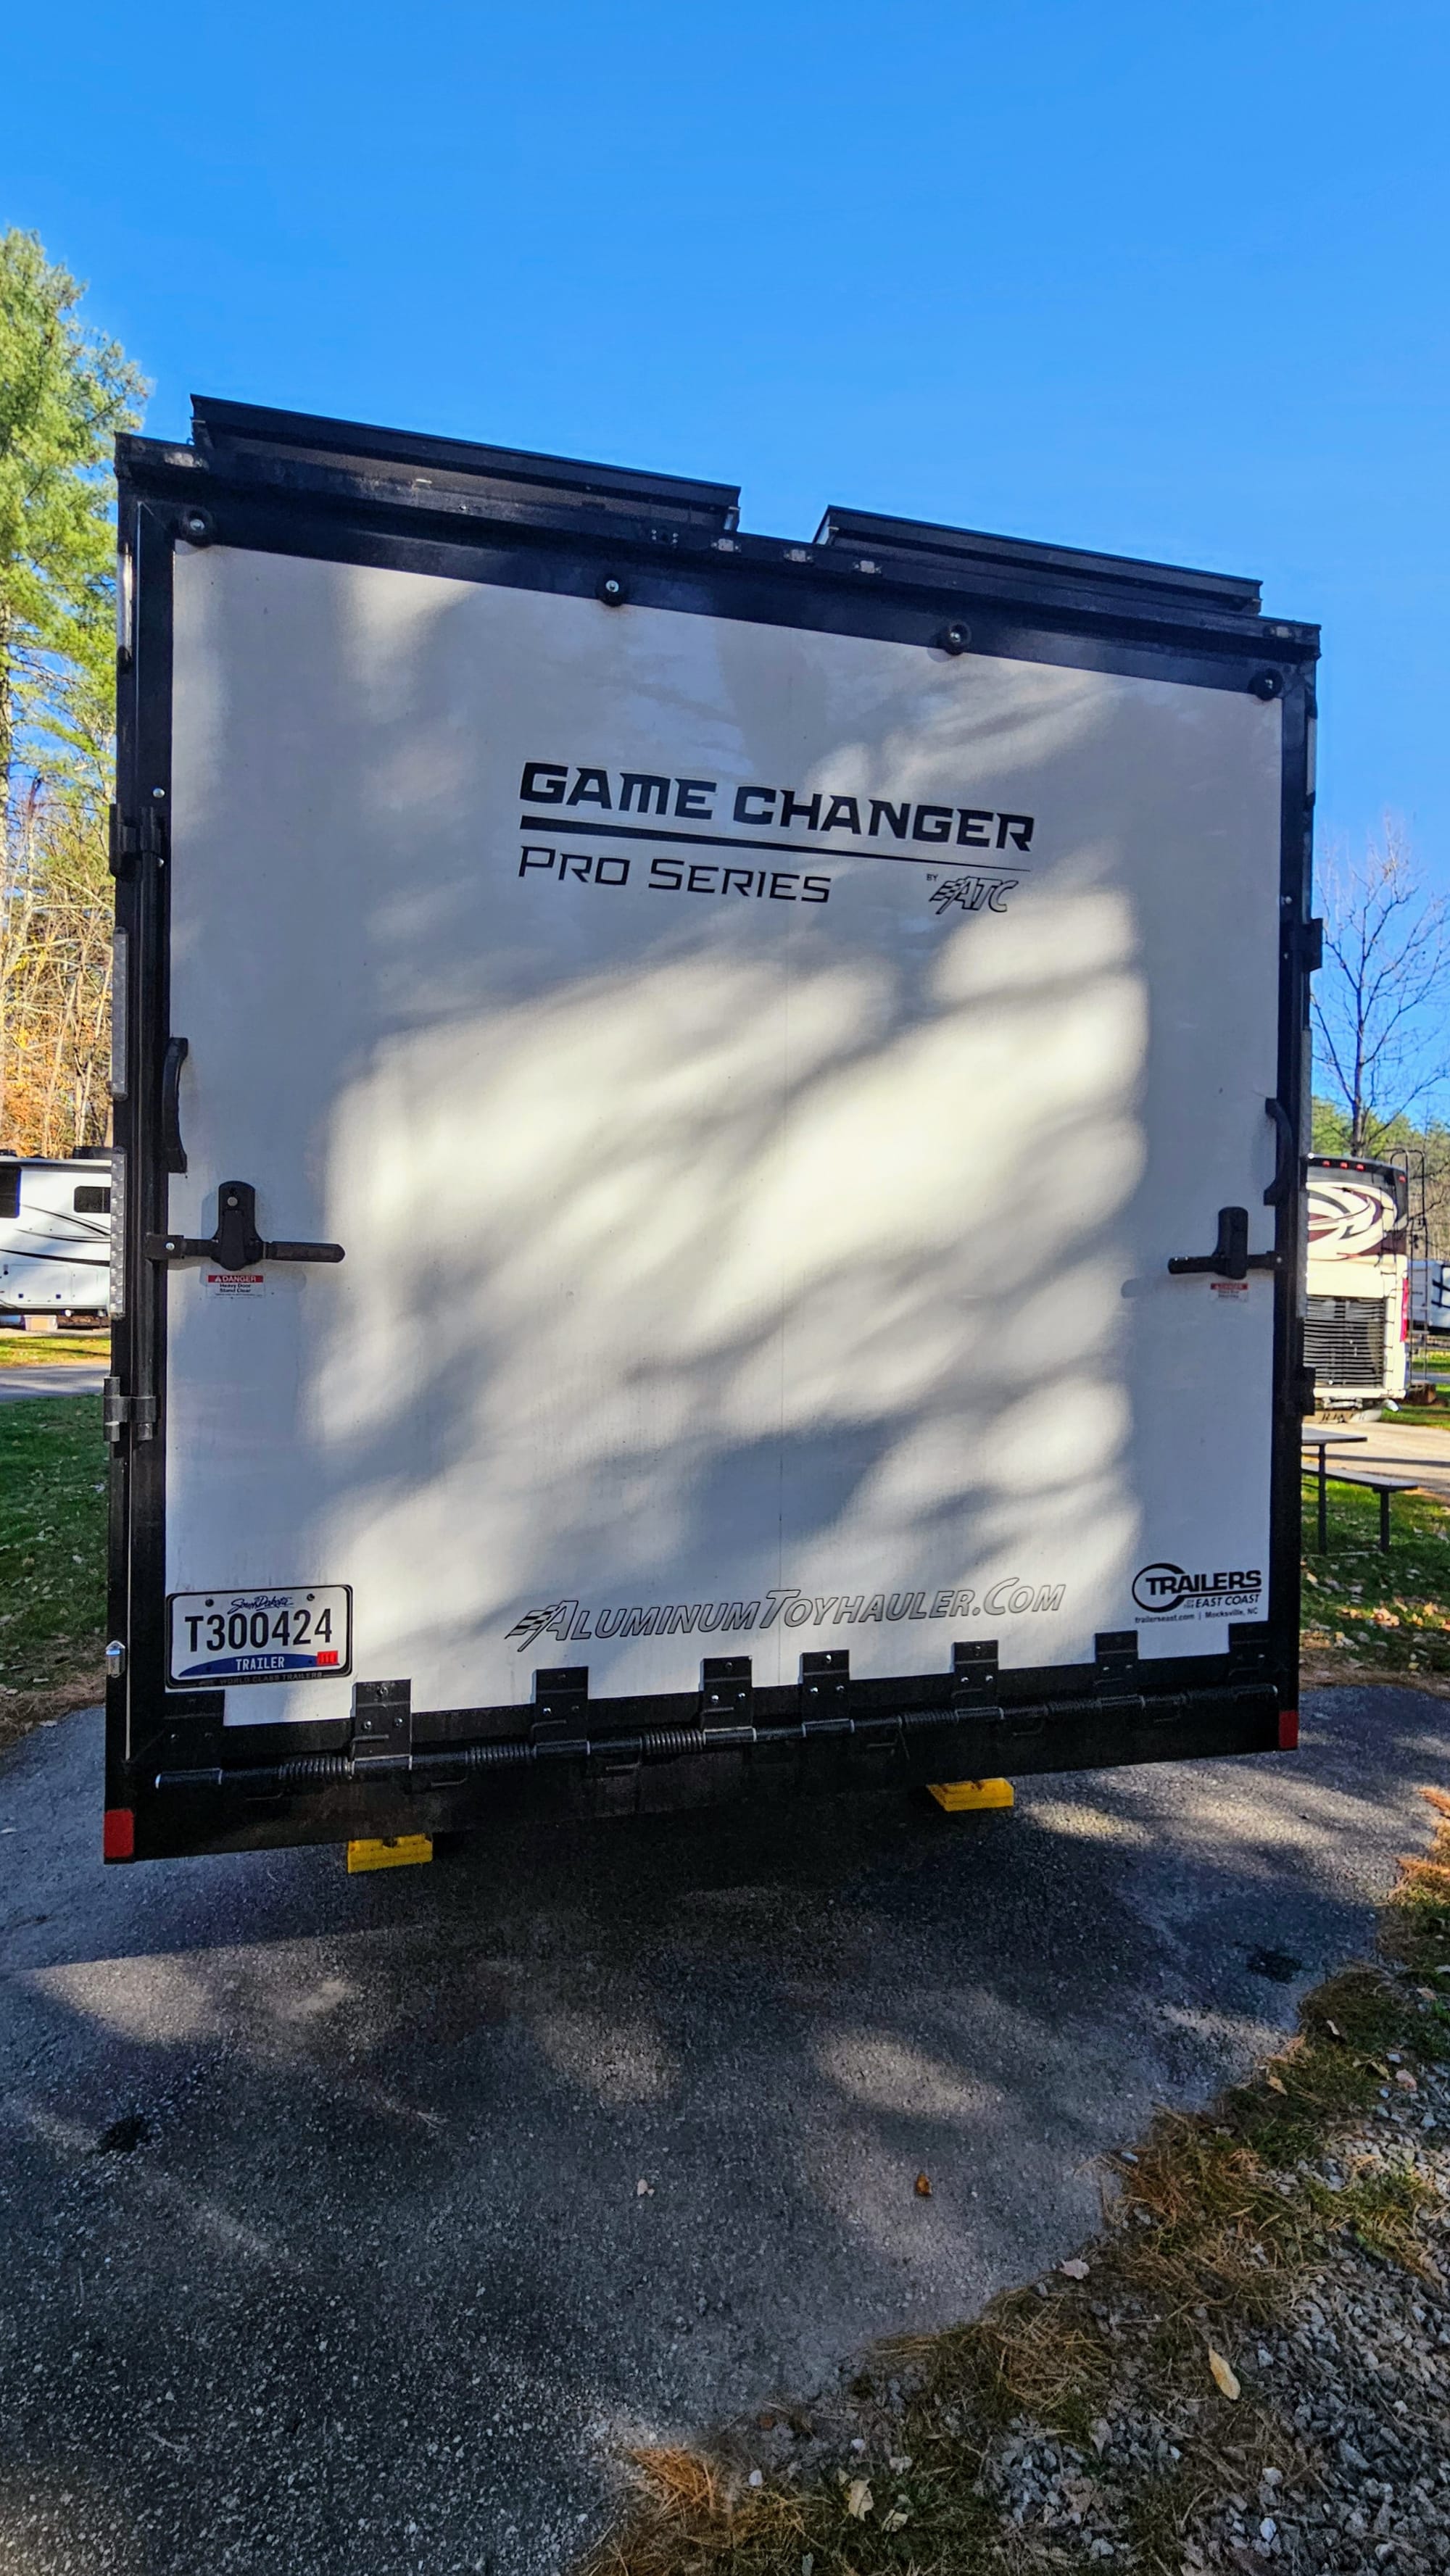
Outfitting and modifying the inside of our trailer was pretty straightforward. Our 28ft ATC Gamechanger Pro is too short to have a separate garage space. In a sense, the entire back of our trailer is the garage. However, since we didn't have equipment that needed to be stored in the back, we built it out residential, with vinyl planks, extra cabinets, and living room furniture. Though the furniture configuration has gone through a few iterations over the years, the setup has basically remained the same: Couch or oversized chair on one side, storage ottoman in the middle, and Lily's litter cubby on the other side. Throw down an area rug over the vinyl floors, and we have a little cozy living space.
Designing the patio was a little more complicated. First of all, the patio is not a permanent room, so we can't just place furniture and leave it be. We need a quick setup and takedown. Secondly, we had designed living room spaces and even balcony spaces before, but a makeshift patio off the back of a trailer was a whole new ballgame. Of all the spaces in our RV, our patio has been the one with the greatest evolution. Over the past few years, we have learned new ways to maximize the space to make it inviting and cozy, so that every time circumstances align for us to use it, we fall in love with it all over again. We're sure the evolution is not yet complete, but we want to share with you the various configurations of our patio setup over the years for a few reasons.
- If you have a toyhauler, we hope our setups will inspire you to use your space in unique and inviting ways.
- If you are unfamiliar with toyhauler patio configurations, this is a fun way to show you more about them.
- We've had many people ask us over the years about our setup – and many compliments from our camper neighbs! – so we're finally compiling lists of the items we have purchased and the ways we've used them.
So hold onto your rails, because we're about to channel the quickly dwindling warm weather and enjoy some sunny patio time!
Manufacturer options
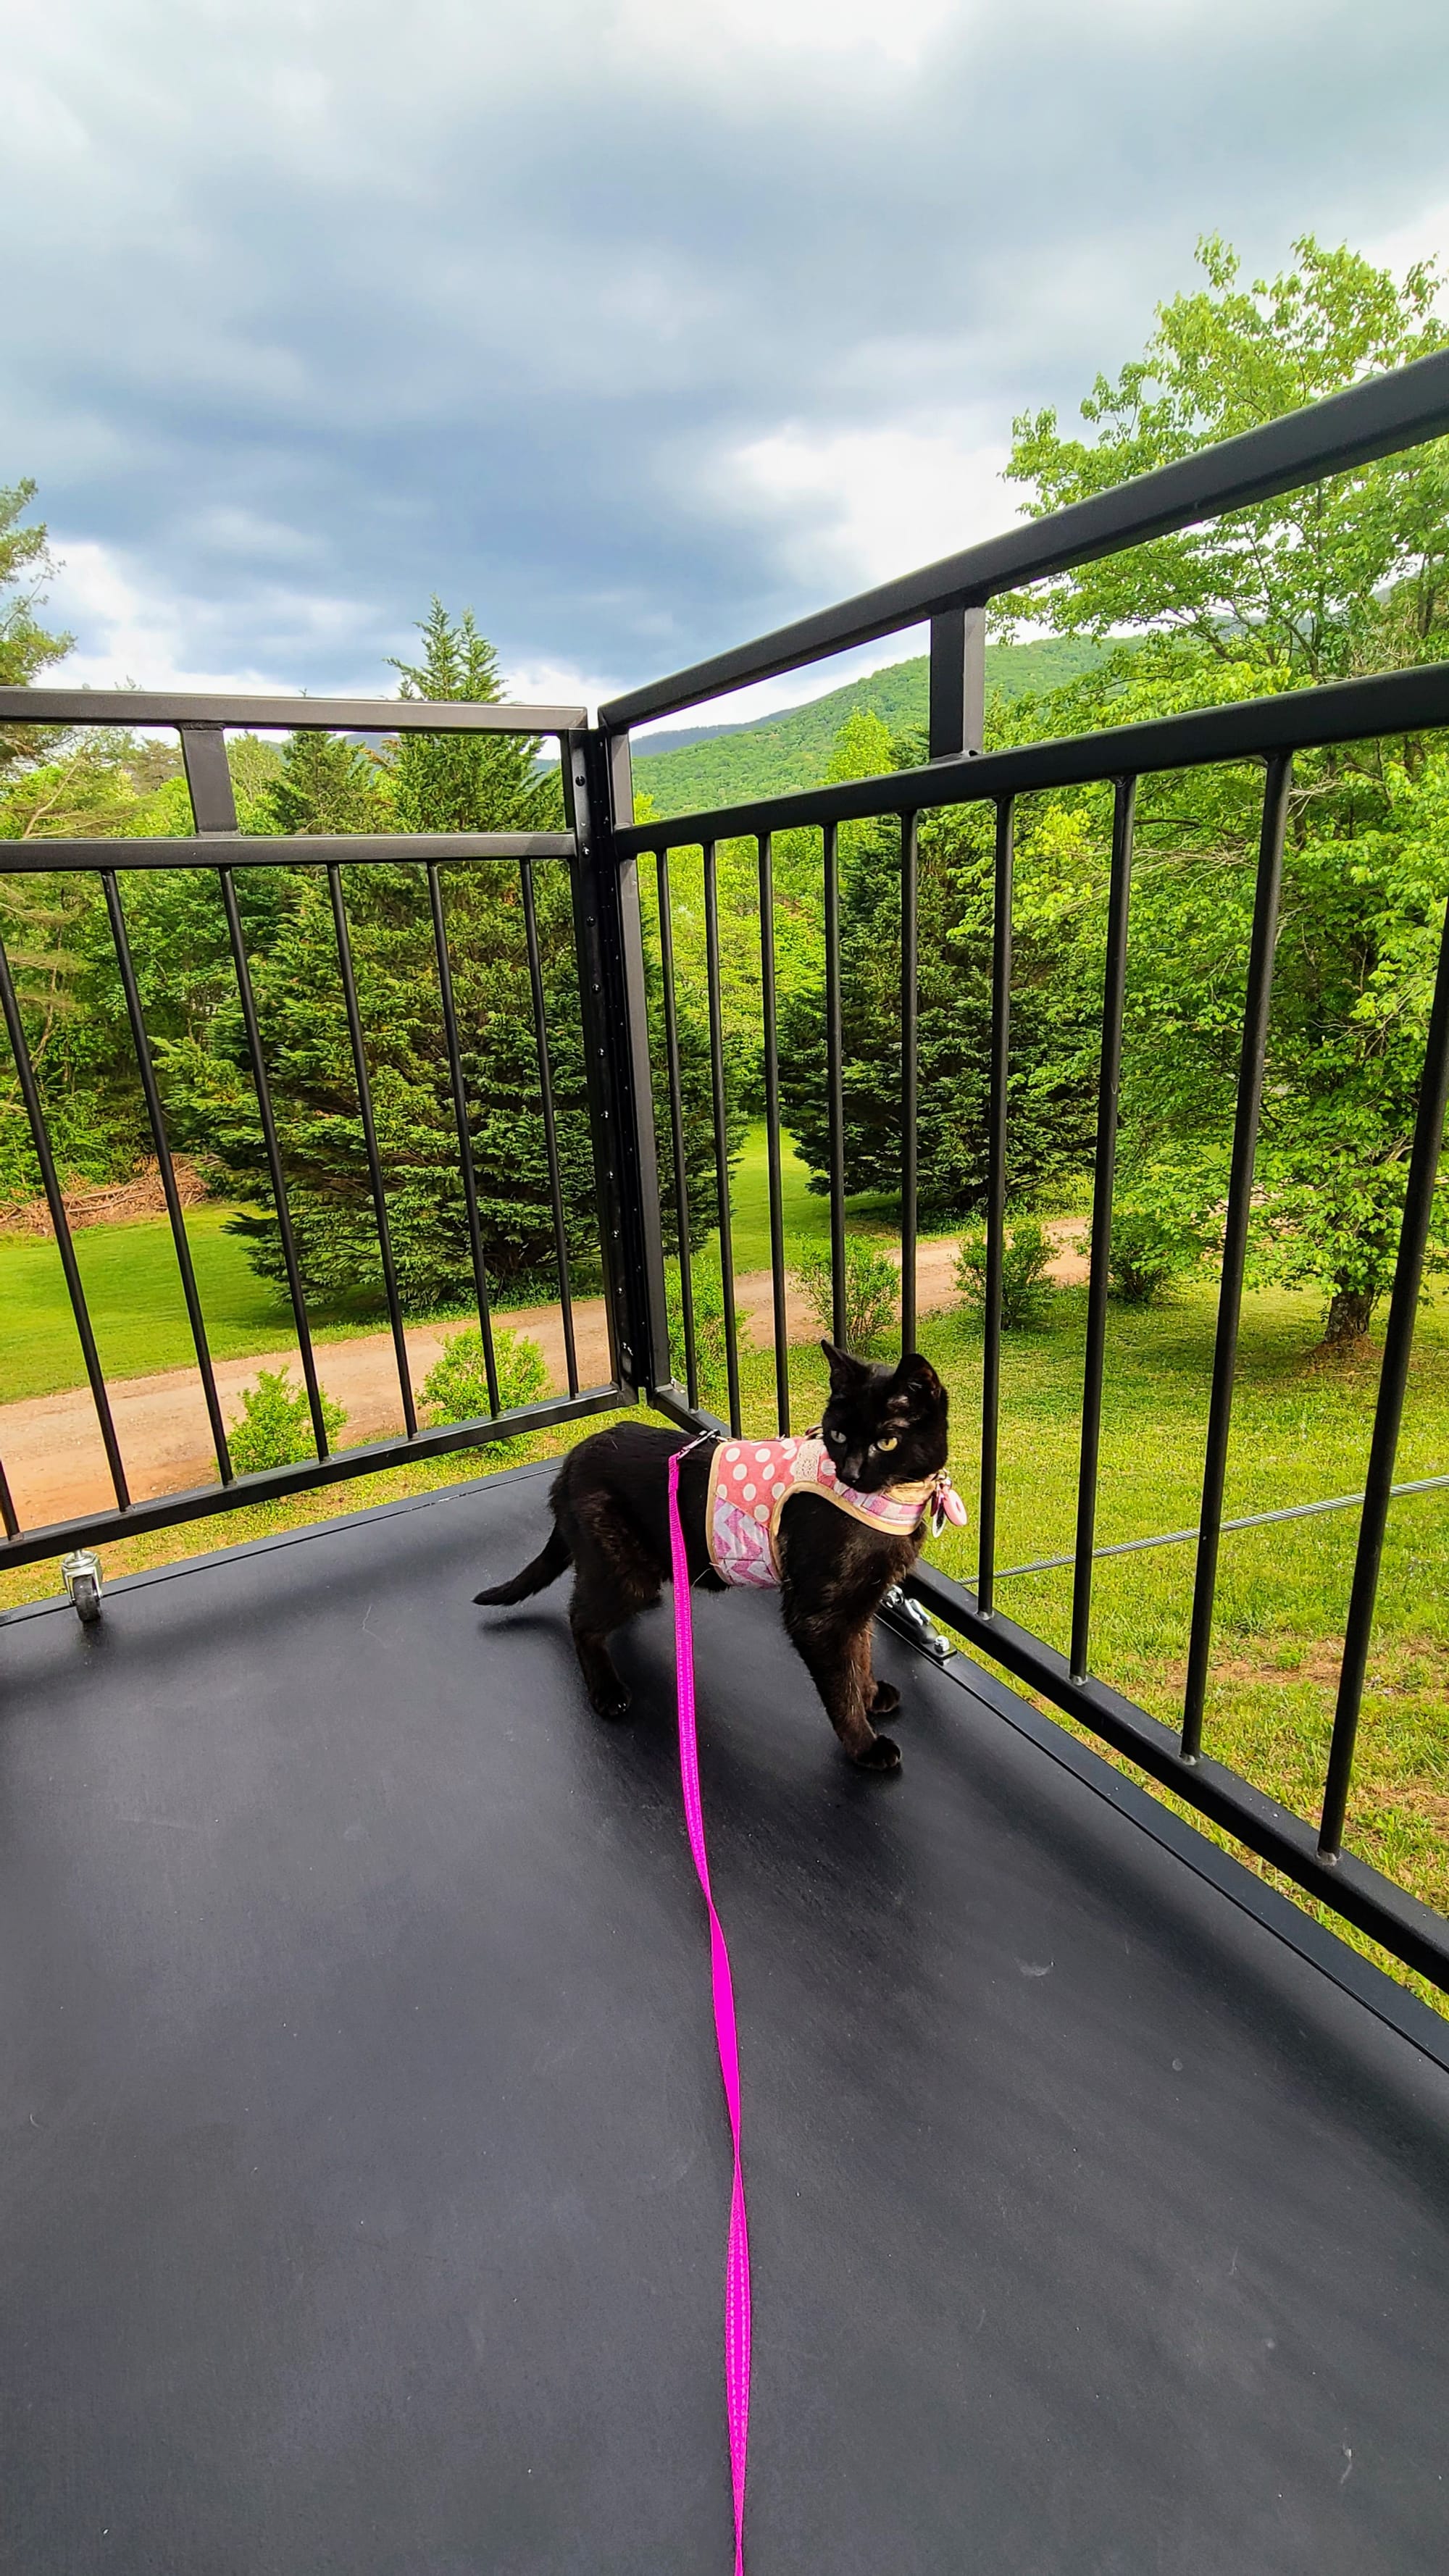
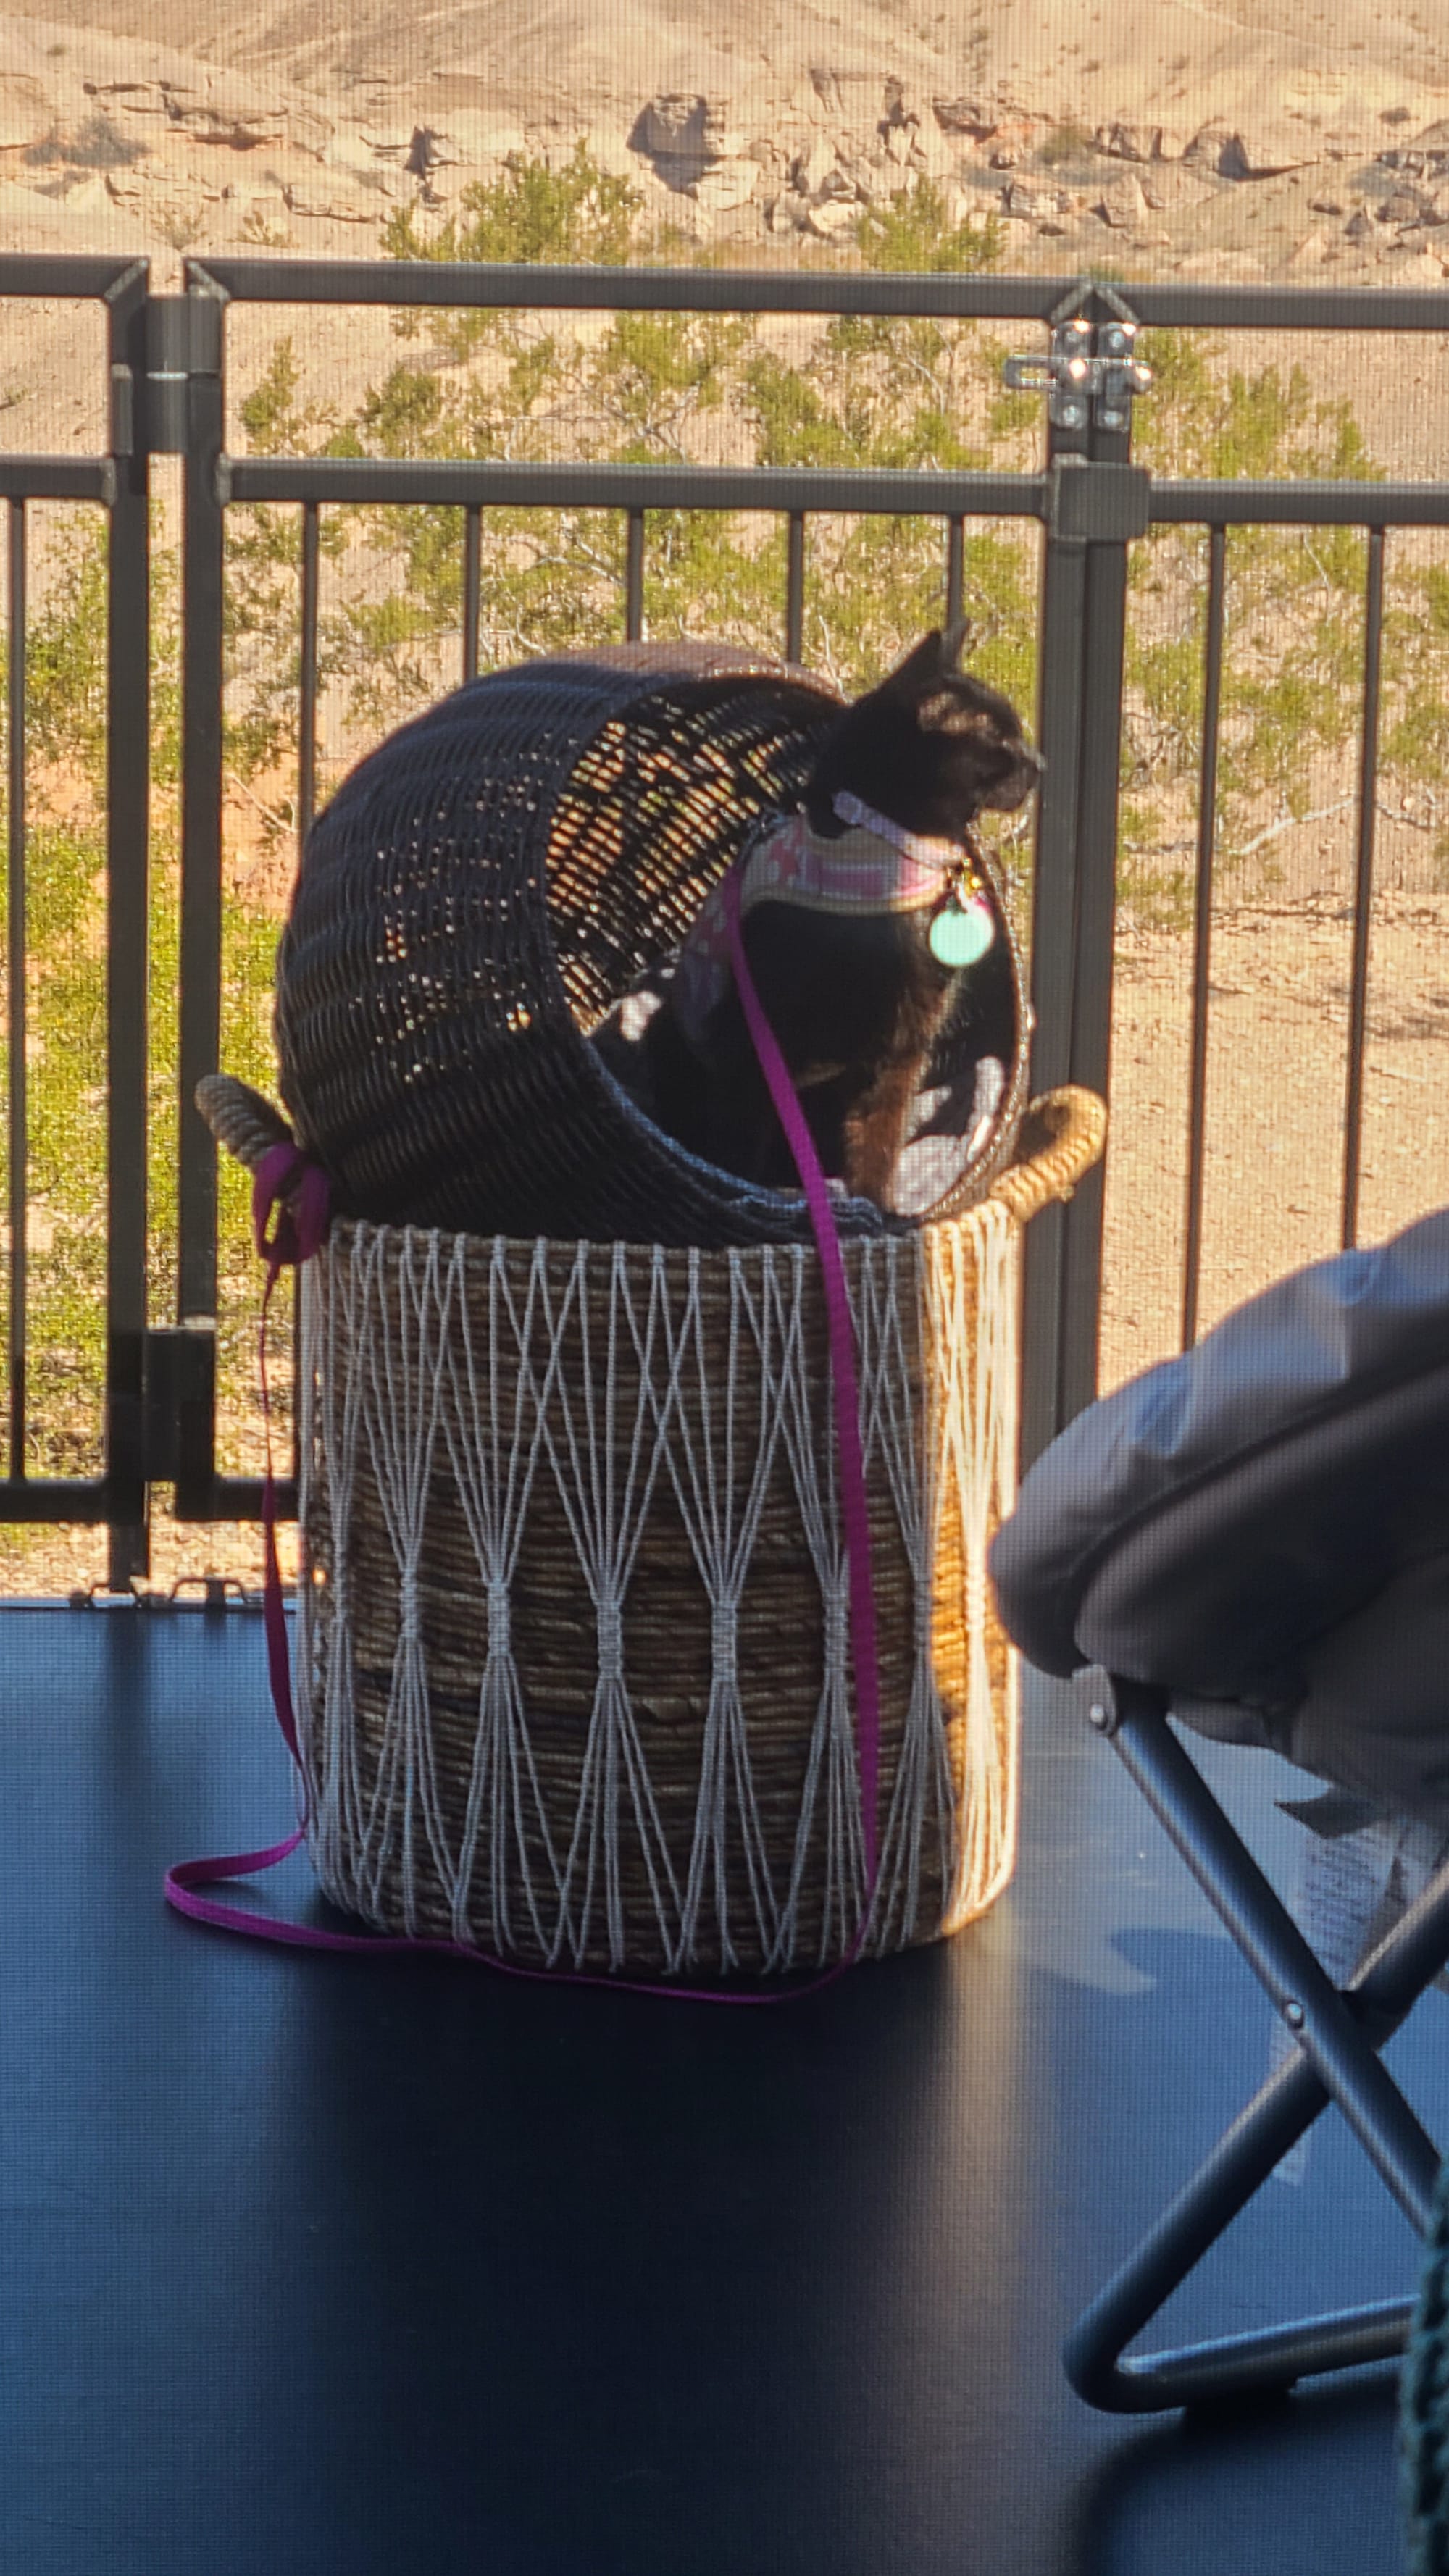
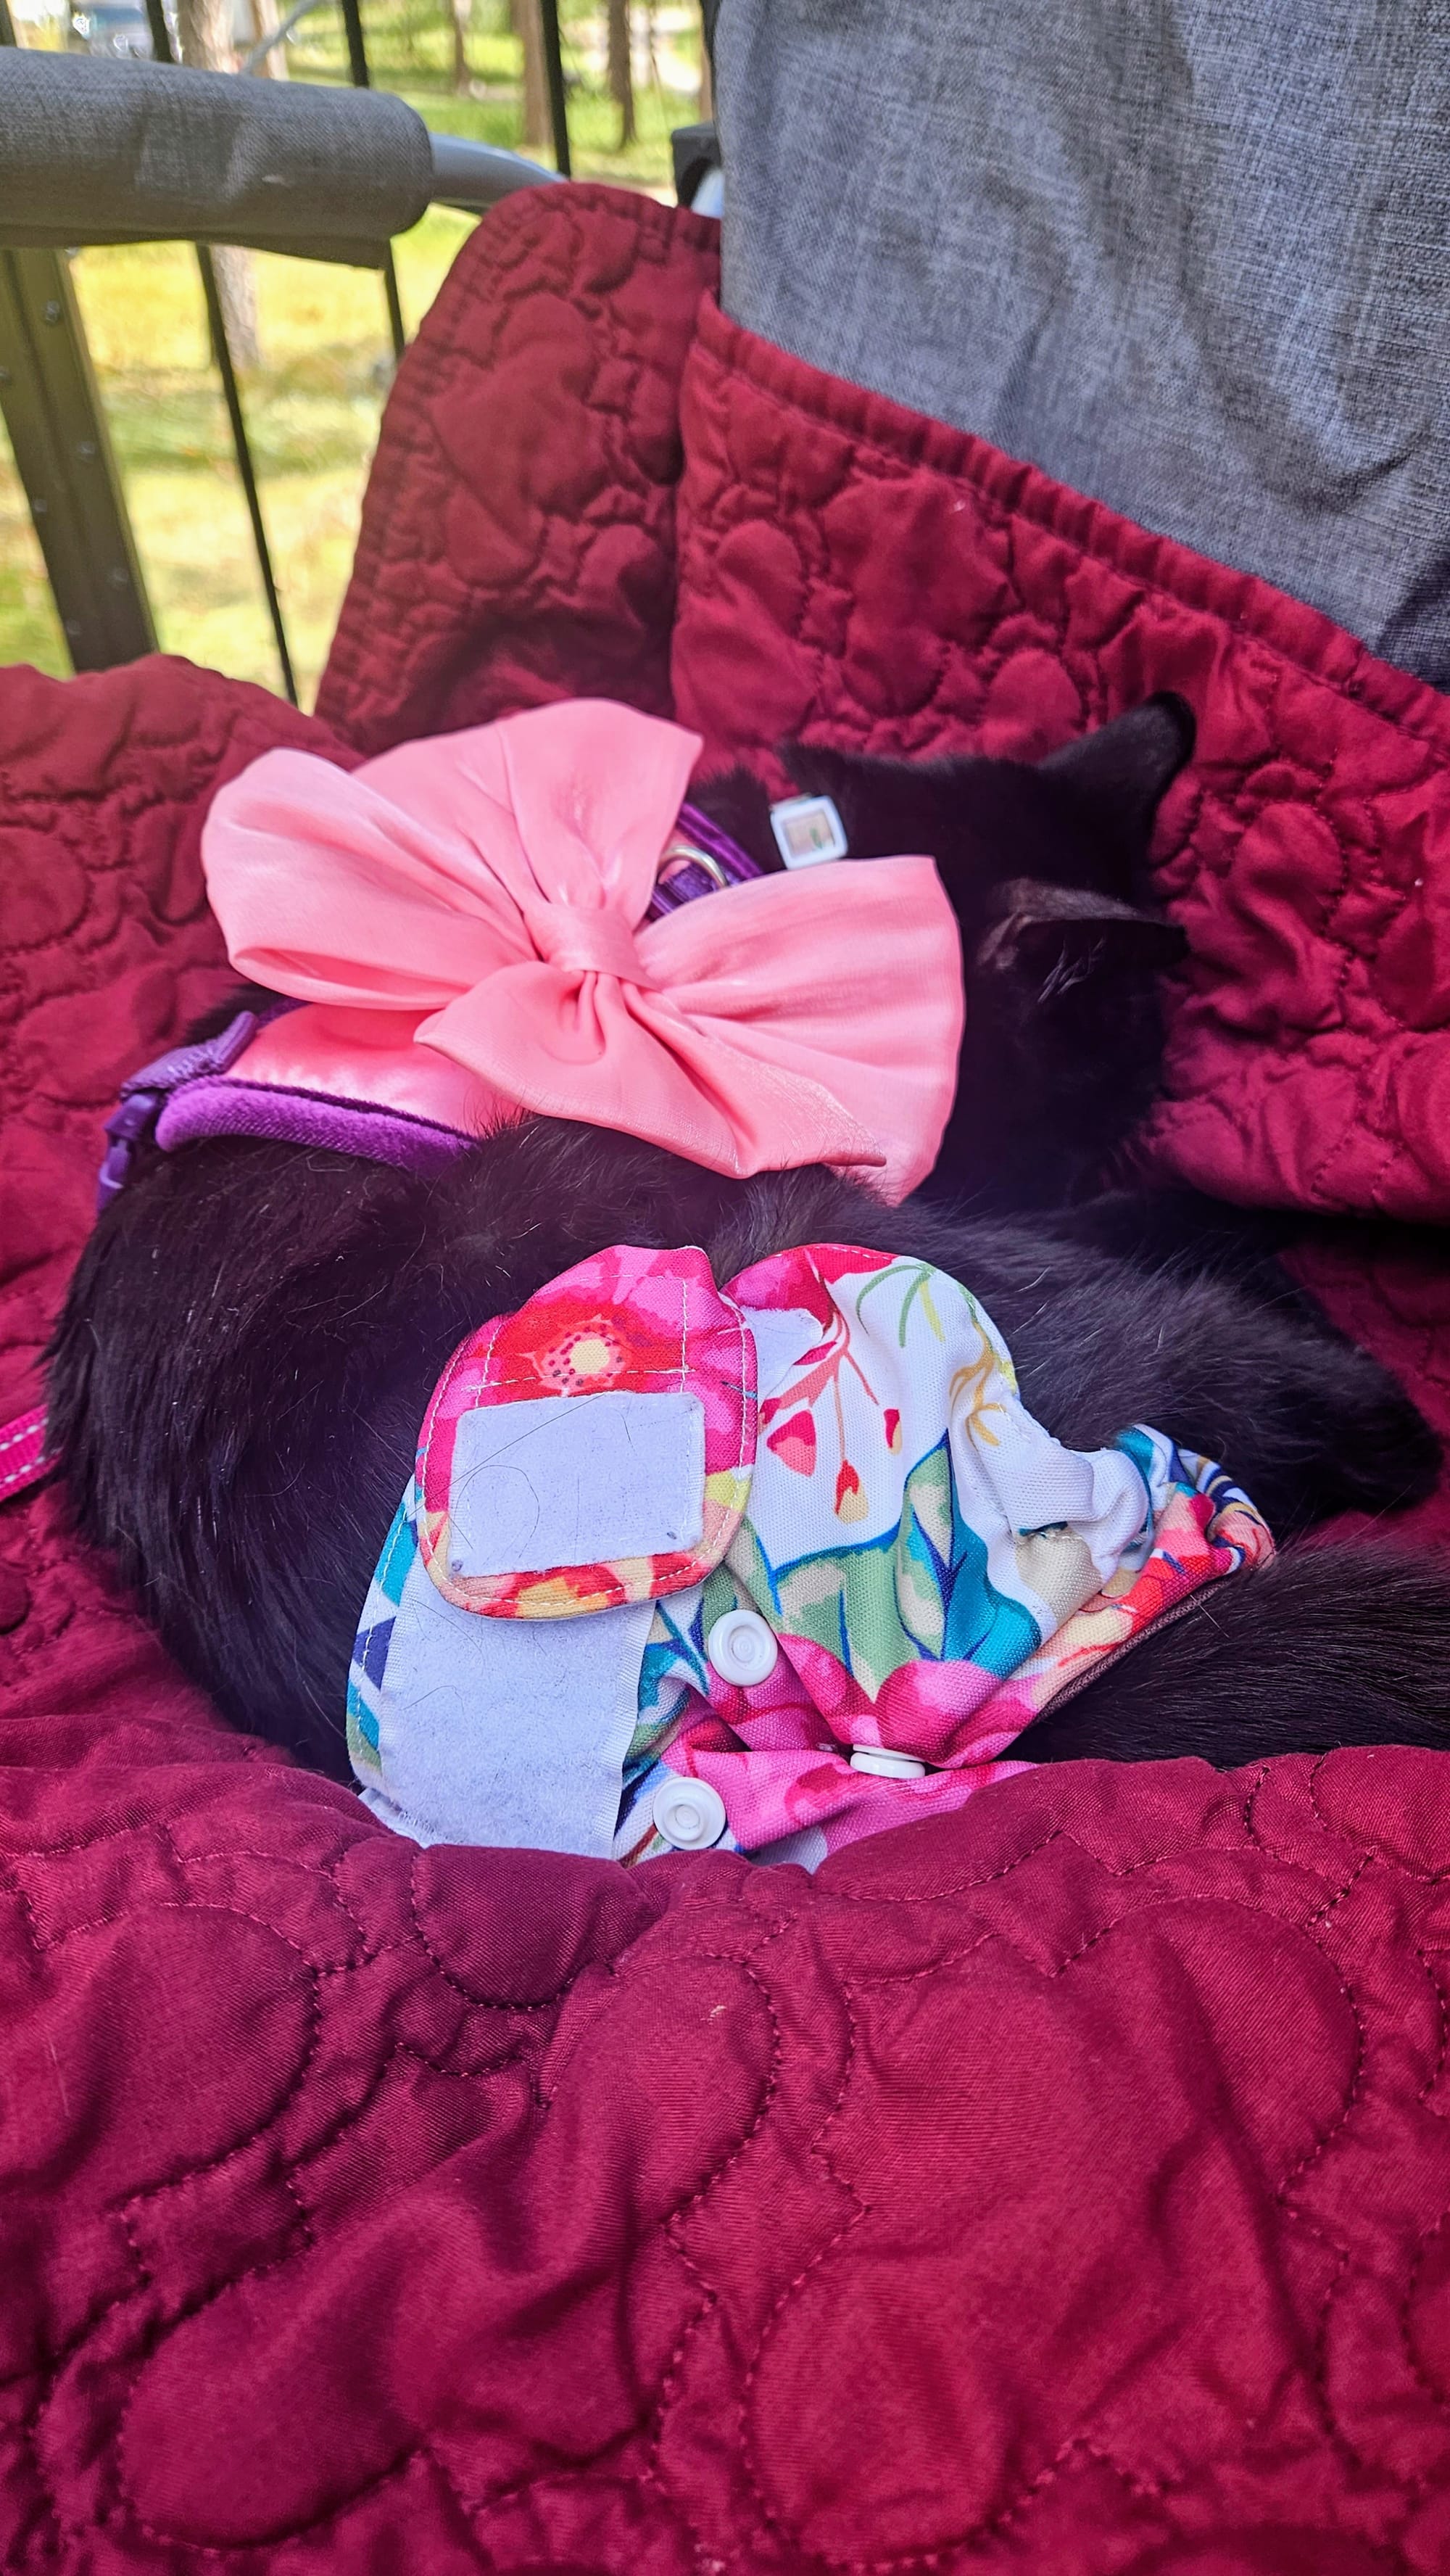
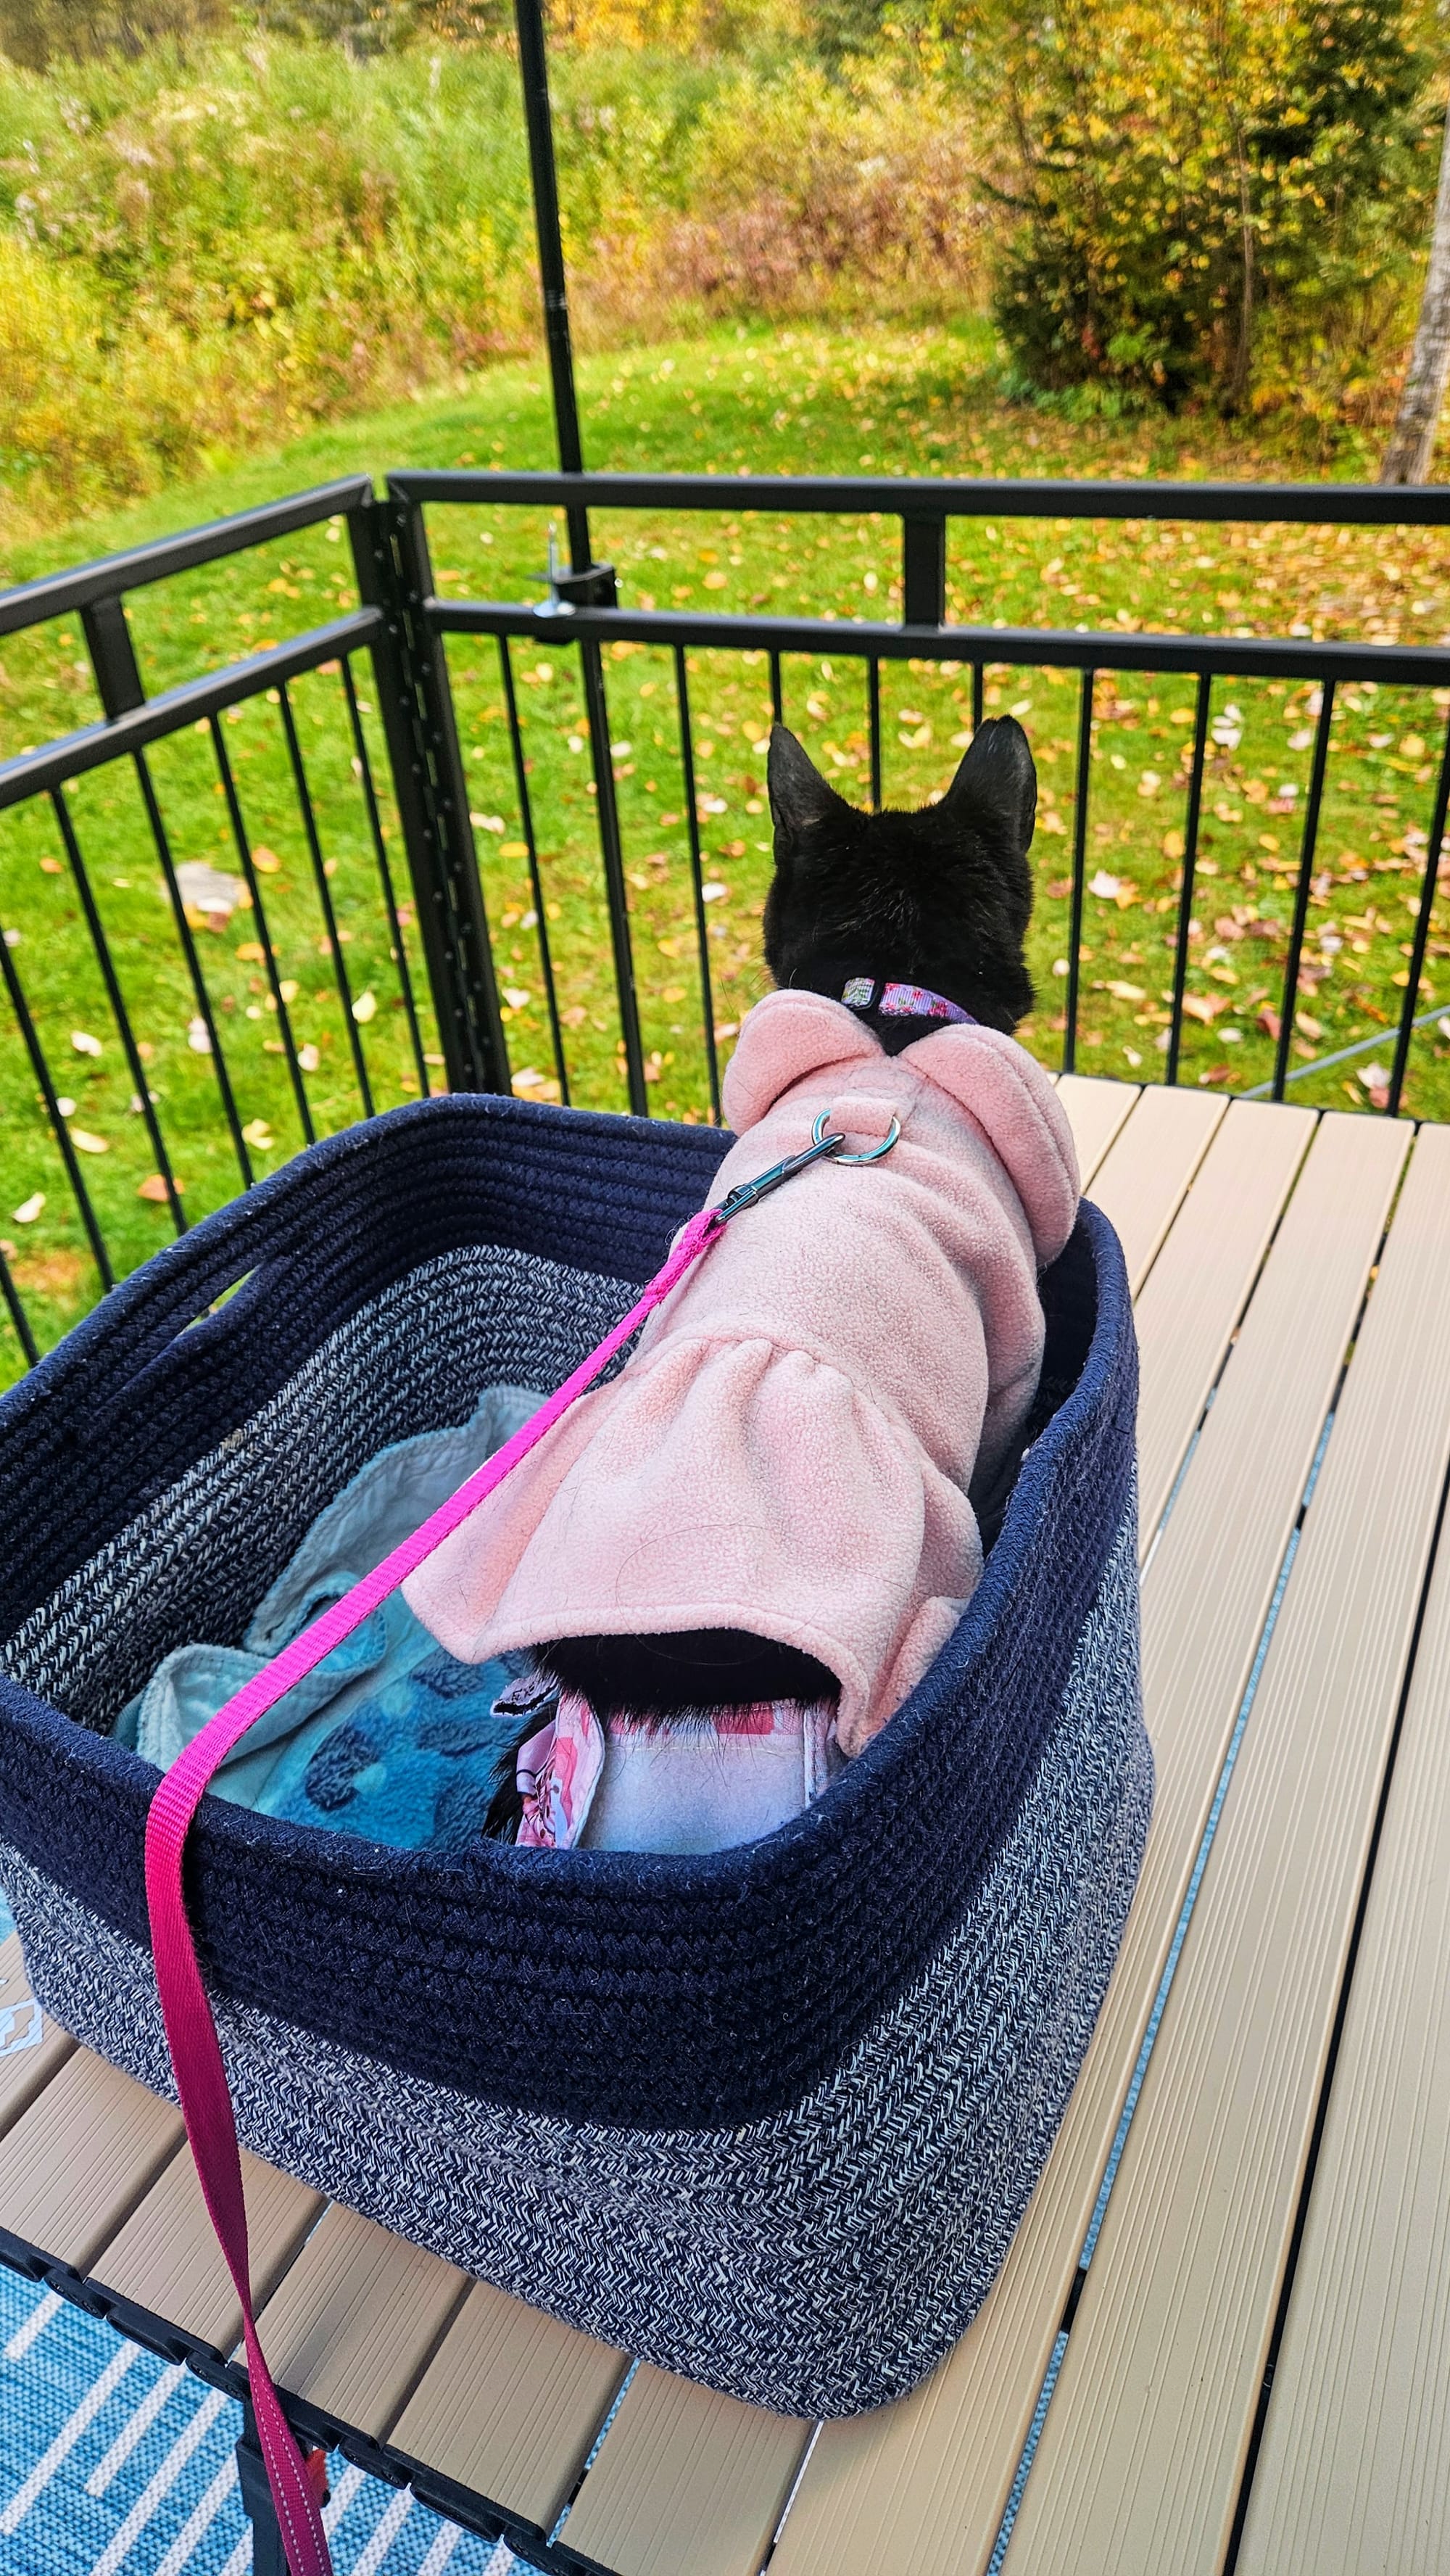
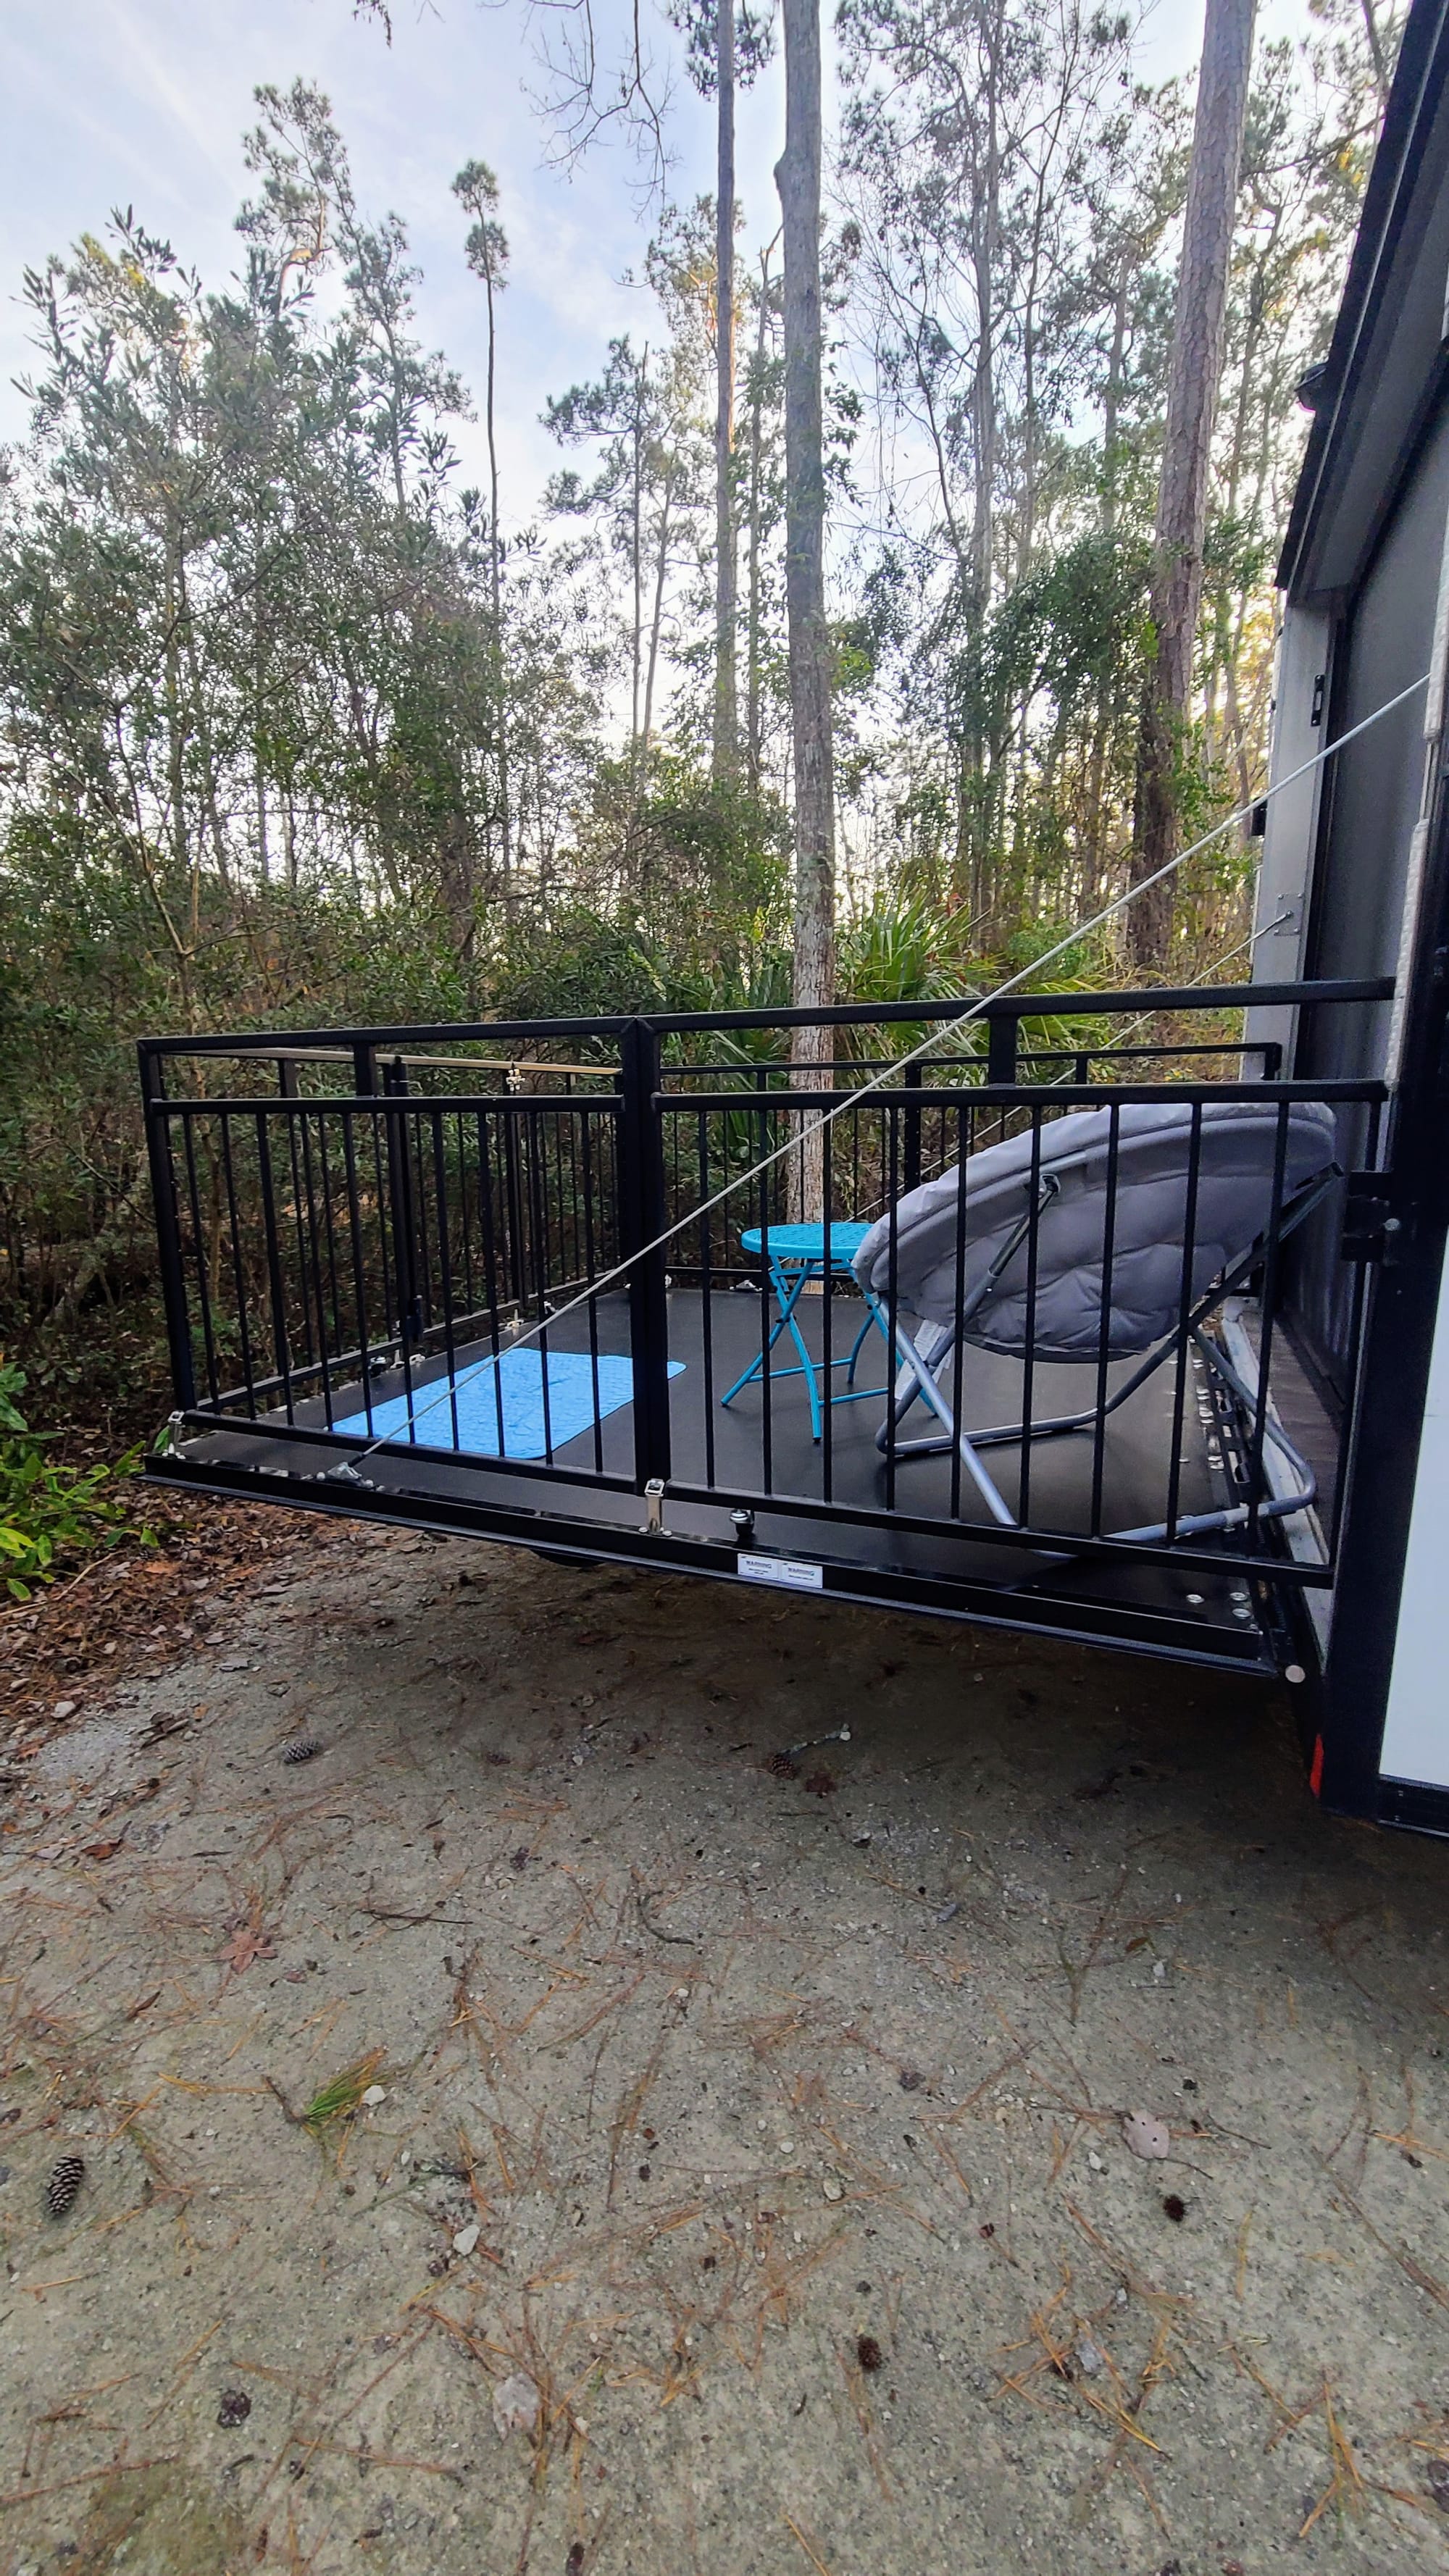
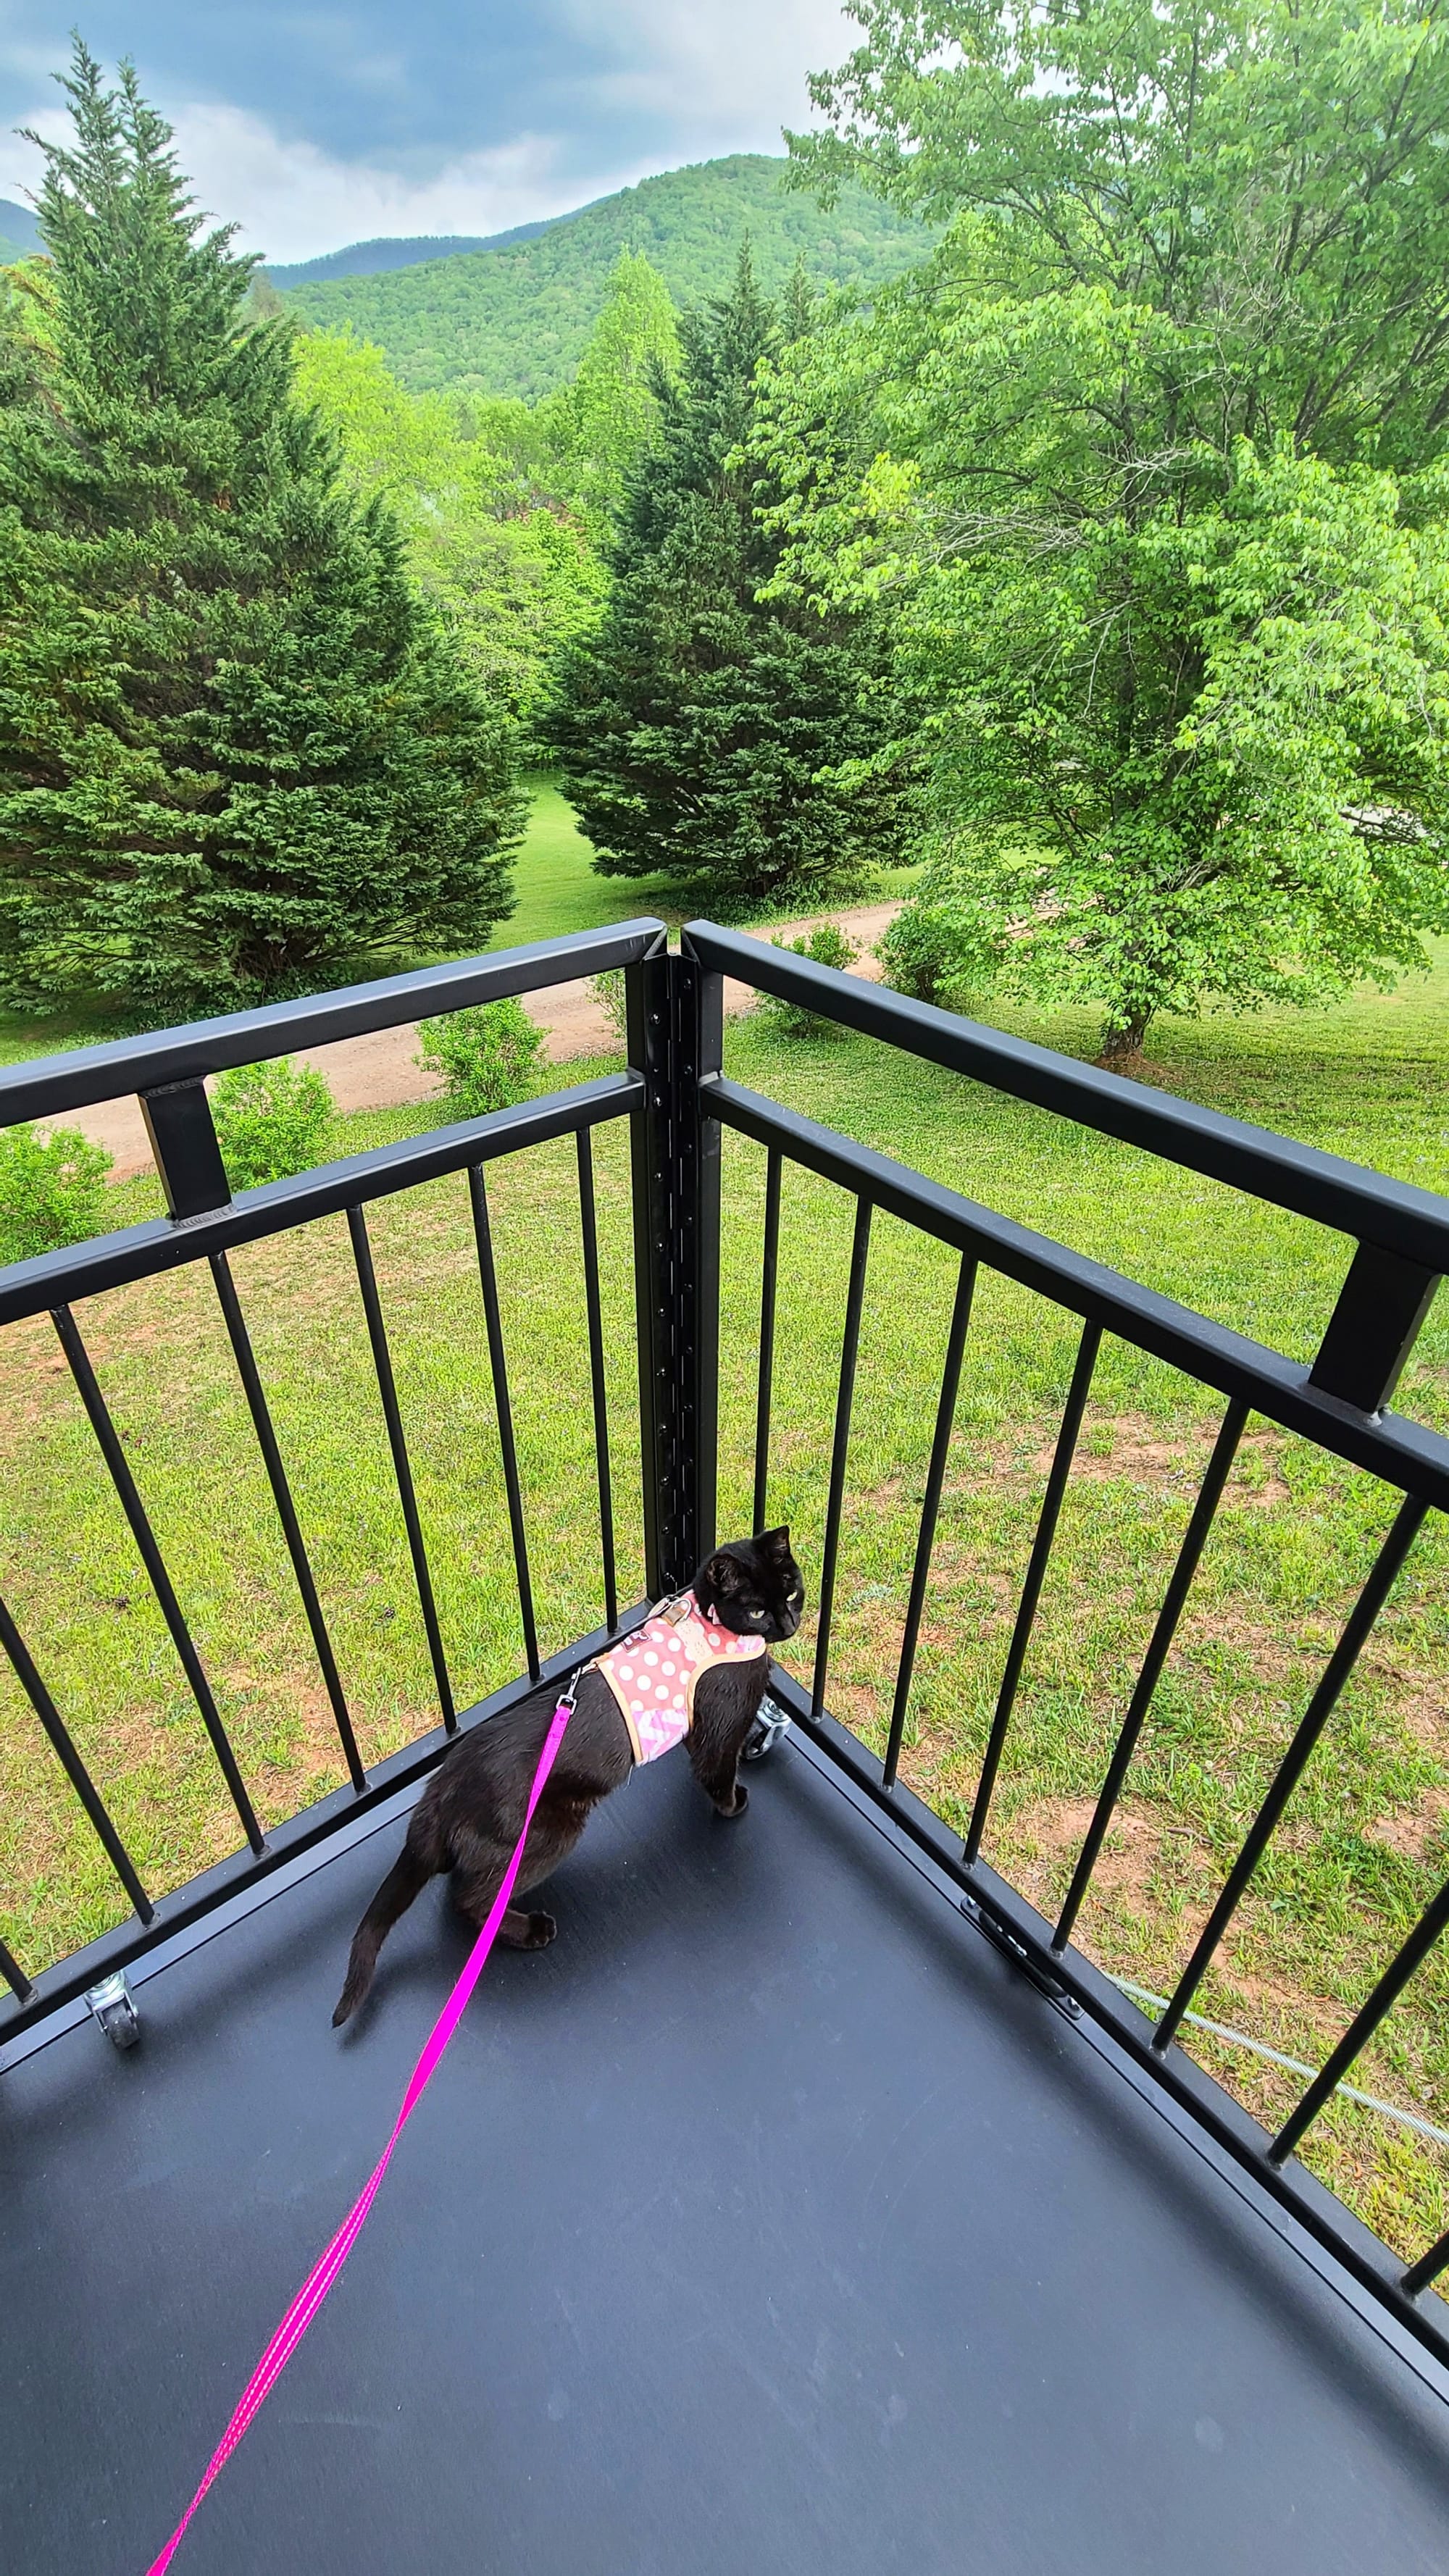
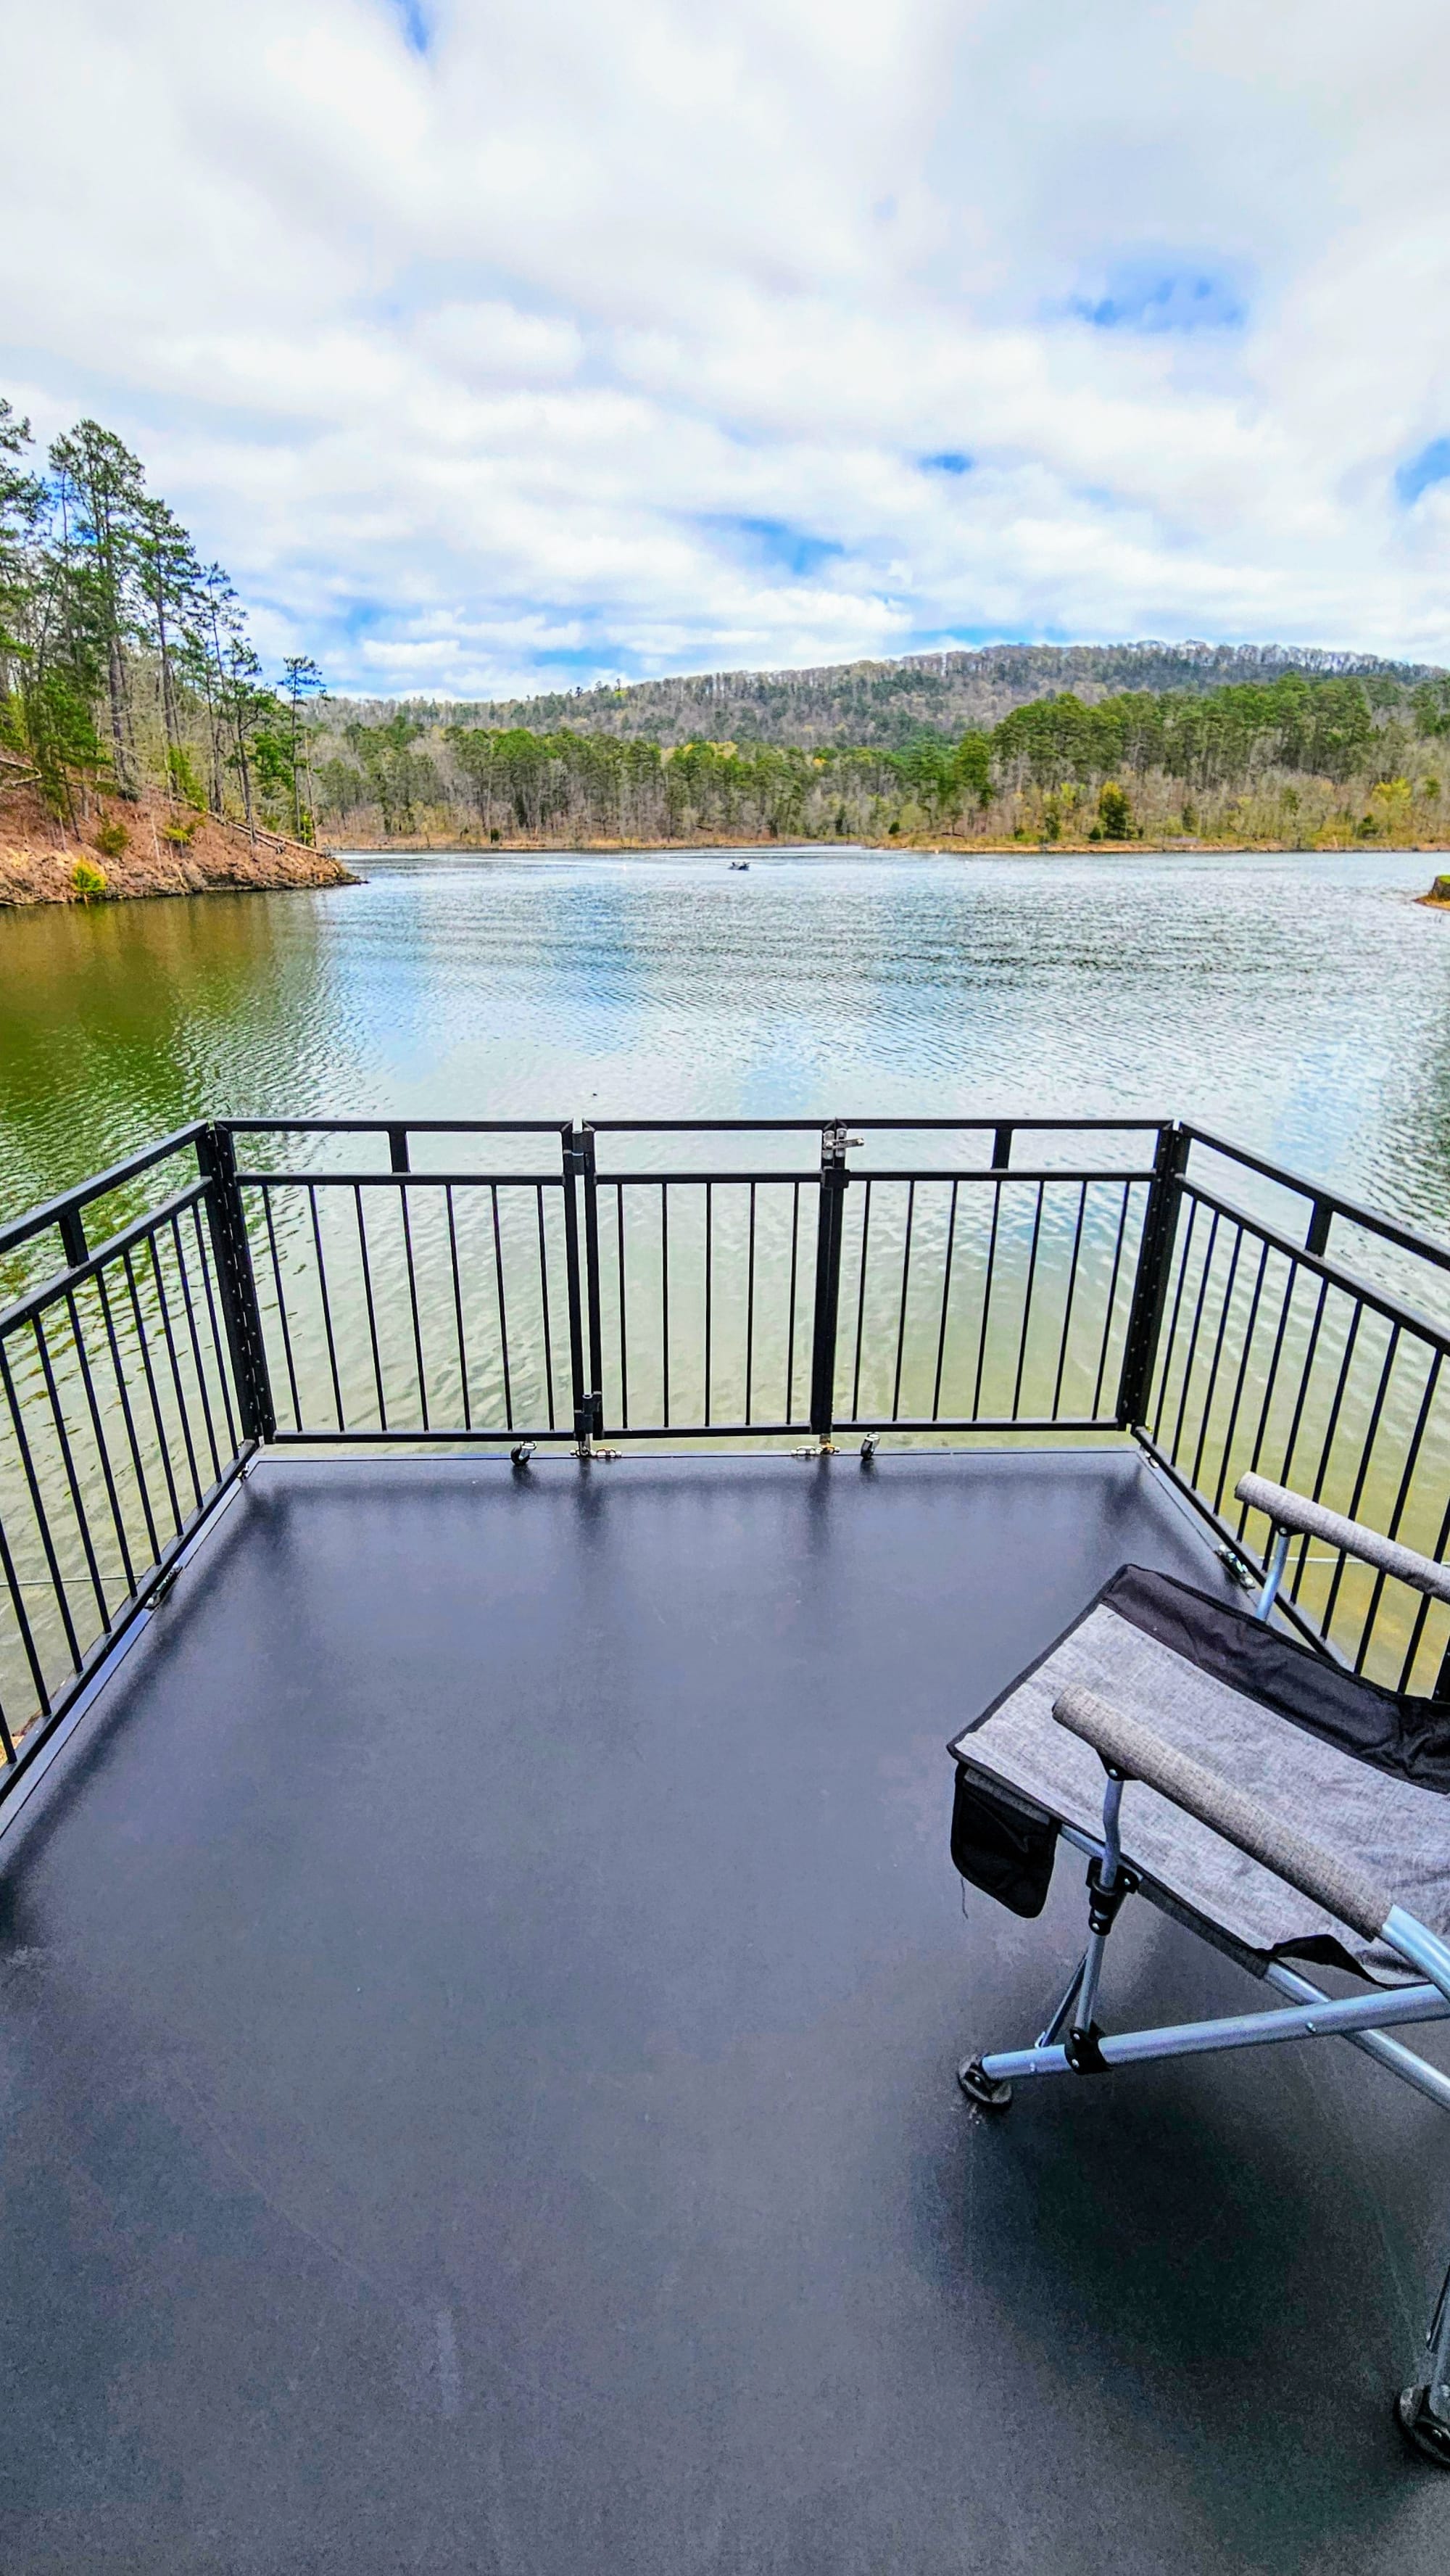
When we ordered our Gamechanger Pro, we had a couple of options for patio packages. These have since changed along with the release of new models by ATC, but we purchased patio rails, which included a gate and a set of stairs so we could go up and down the back. We never even took the staircase on the road, but we do close in the patio using the gate. This way the pets can go on the patio and stay secured. Well, sort of. Lily is so small that she fits through the railing, so we always leash her when she's on the patio. To her, it's worth it. The patio is one of her favorite places to be.

The steel cables are permanently affixed to our trailer, and they connect to our ramp door with heavy duty latches. We never need to disconnect the cables because we don't need to lower our ramp door any lower than patio height.
We opted for a retractable screen, which was an upgrade from a roll-up screen that is the main option. The retractable screen option has since been discontinued, but we've never regretted getting it. It's sleek and allows us a great view out the back while keeping the bugs out. Our only issue is that, on really windy days, sometimes the screen comes out of its tracks on the sides. It's easy to pop back in, but we do need to watch and make sure Lily doesn't squeeze through the gap! She's known to be quite the little escape artist at times.
The operation of the patio is really simple and only takes a couple of minutes. The ramp door in its "up" position secures with handlebars and locks, so to put down the patio, we unlock and release the handlebars and pull the ramp door down. A rubber seal around the rear frame of the trailer keeps it weather tight, so pulling the door releases it from its seal. It's fairly heavy, but the hinges help it to not fall straight down as long as we hold it for some leverage.
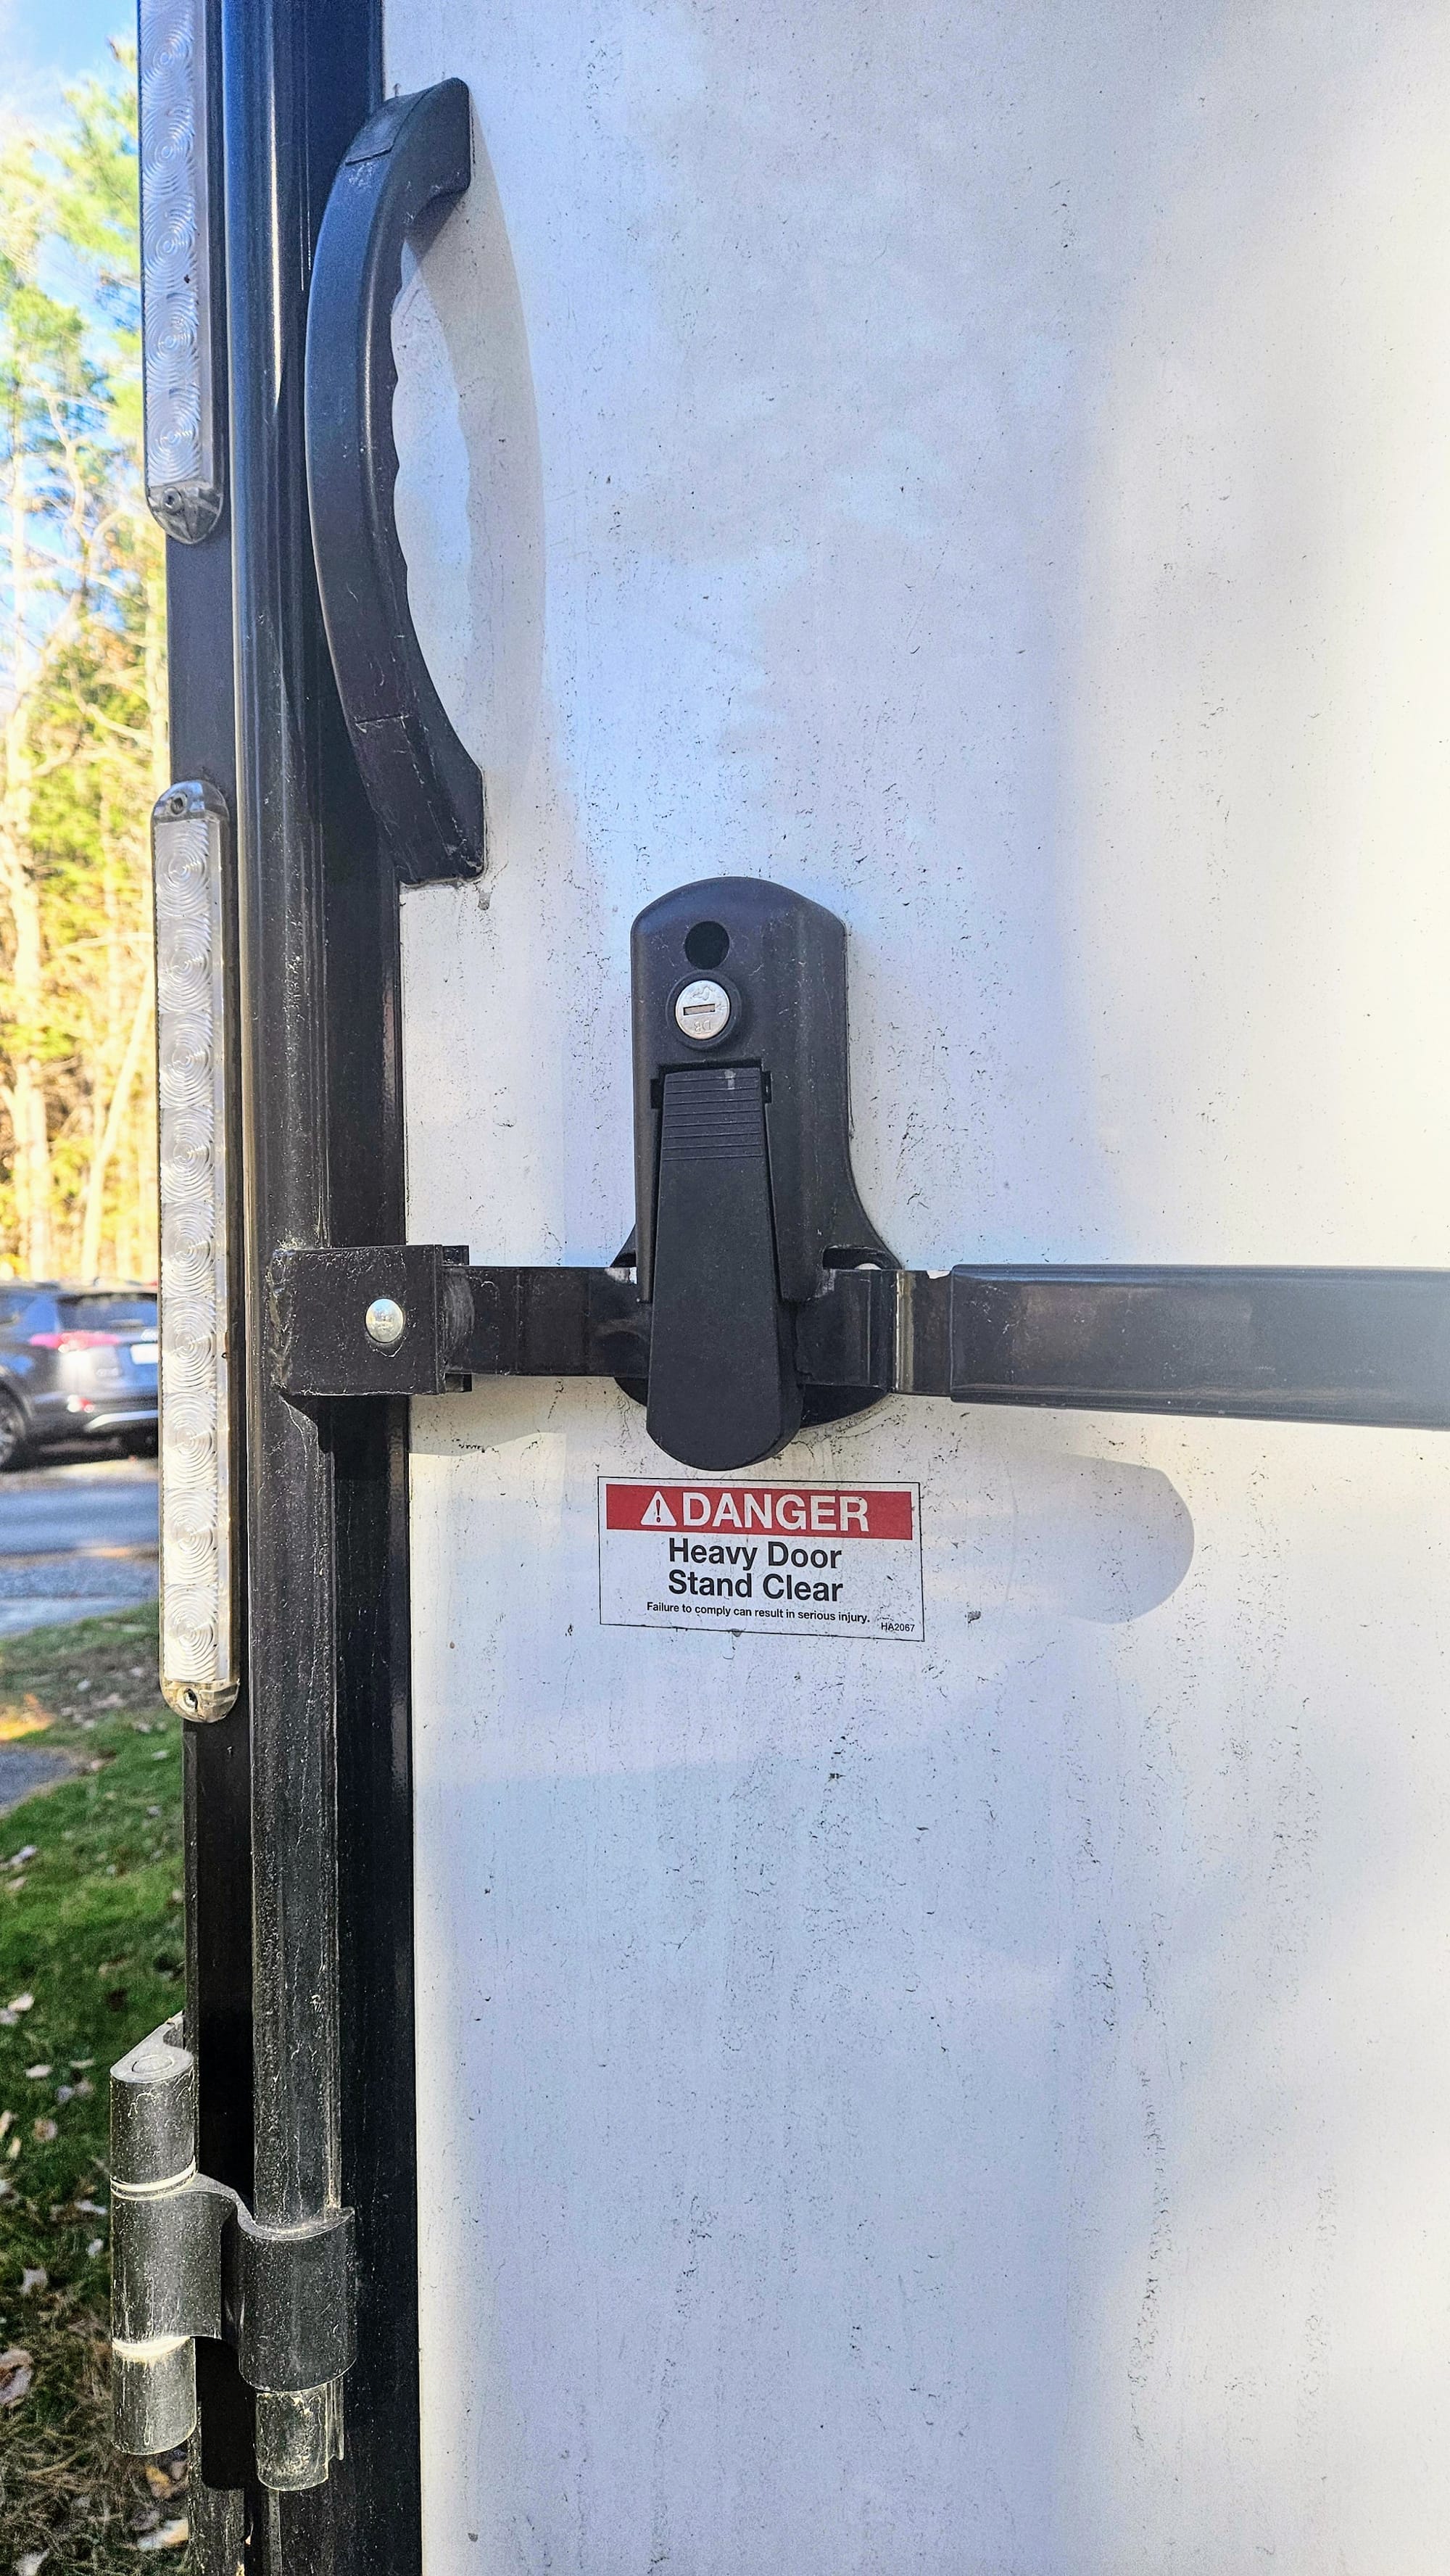
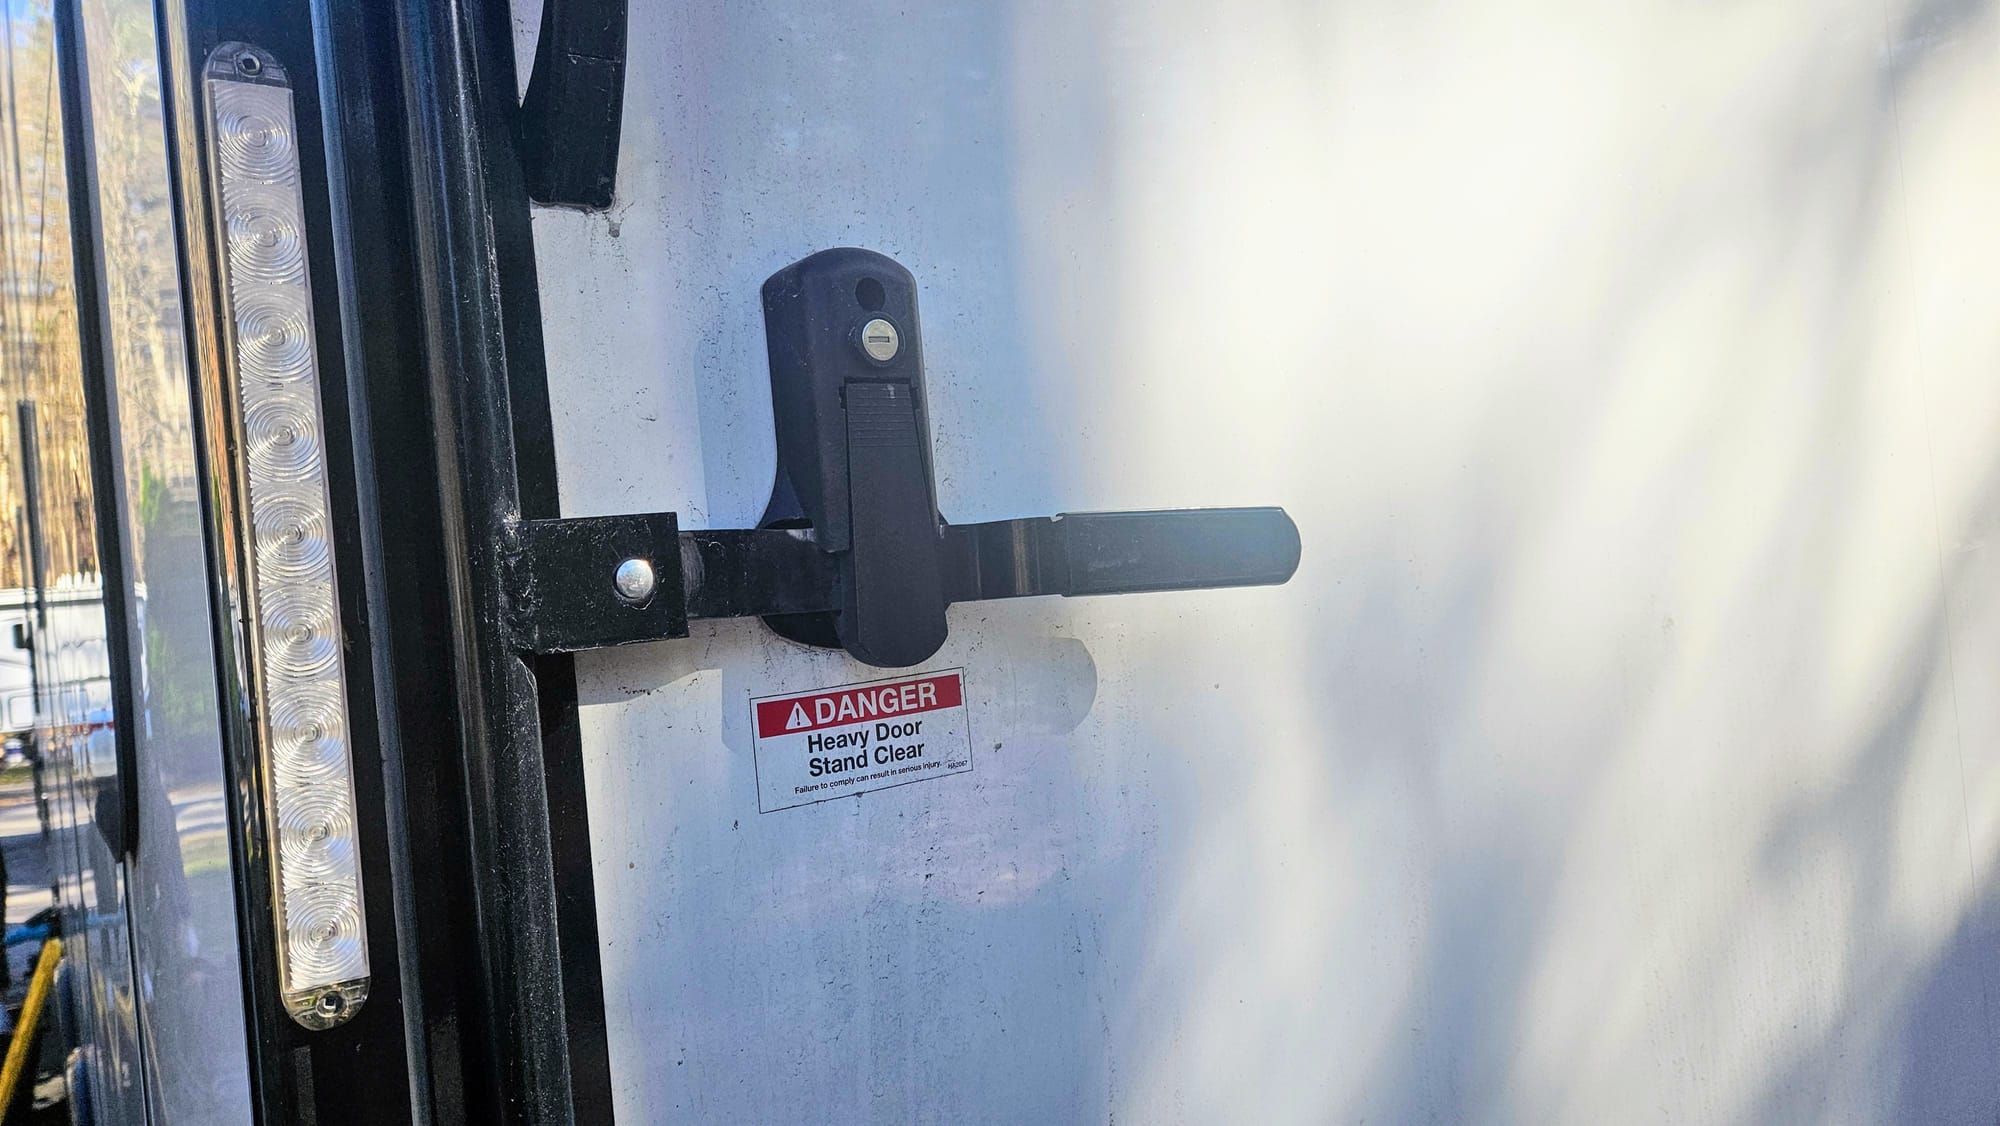
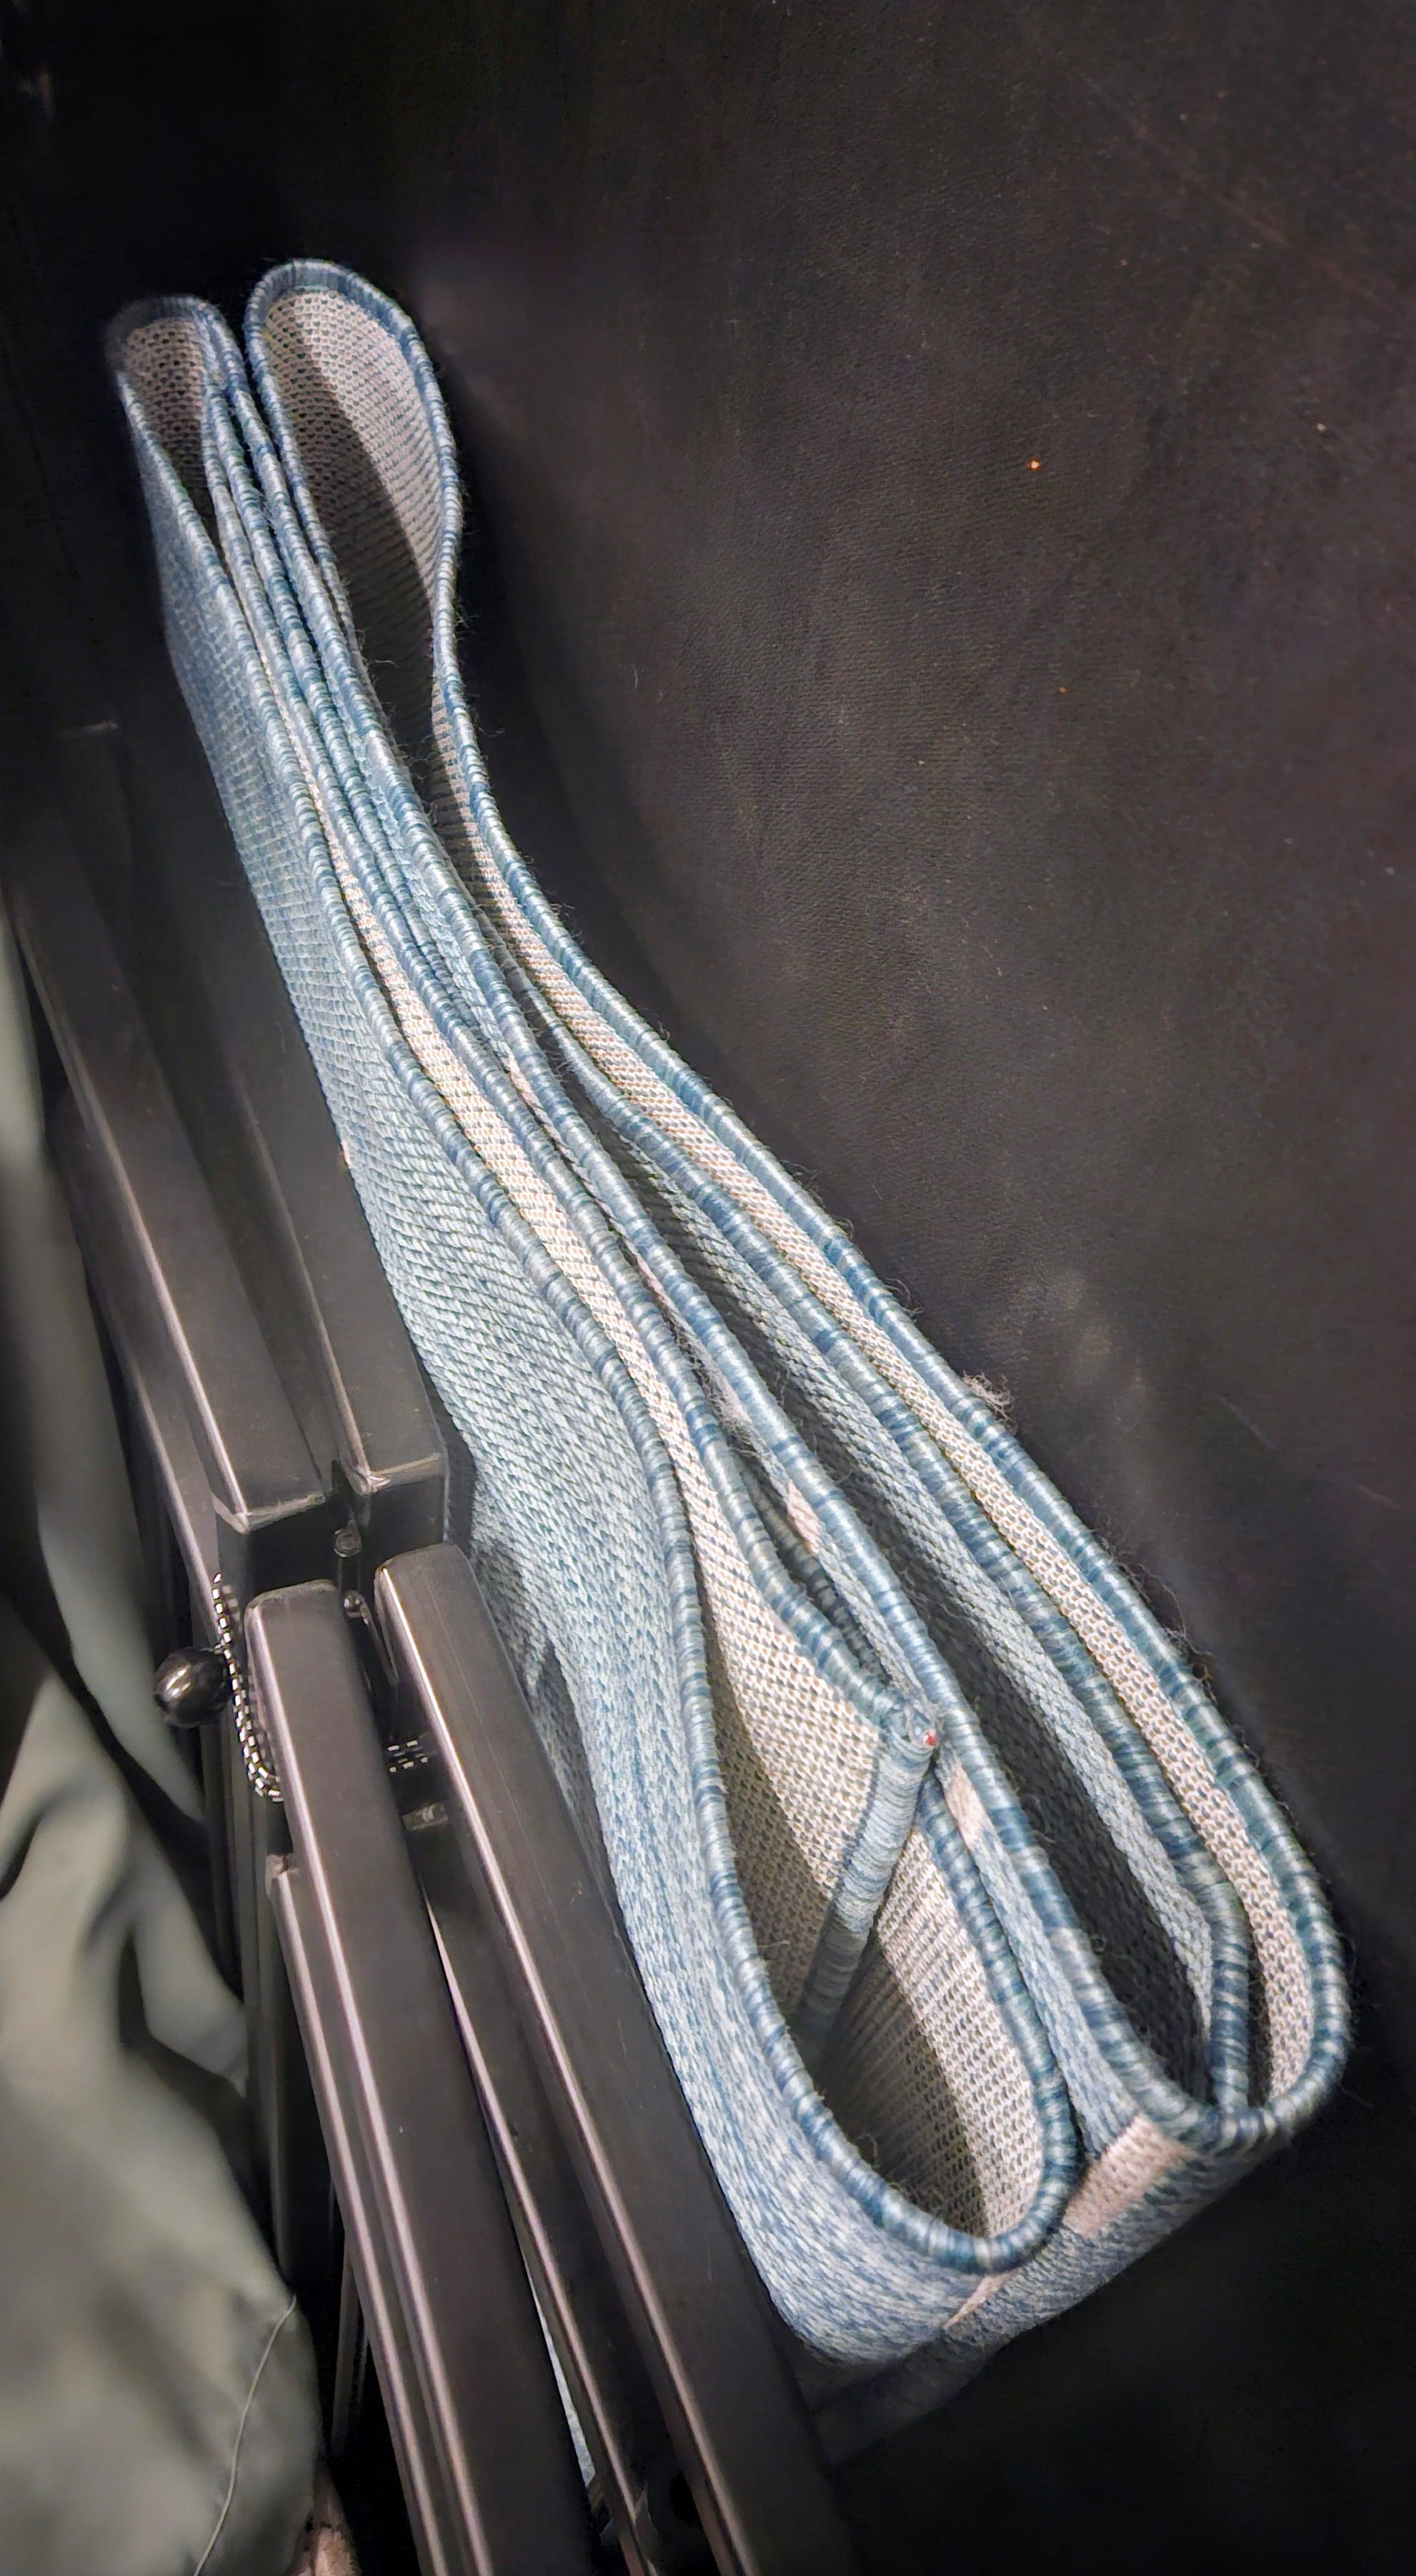
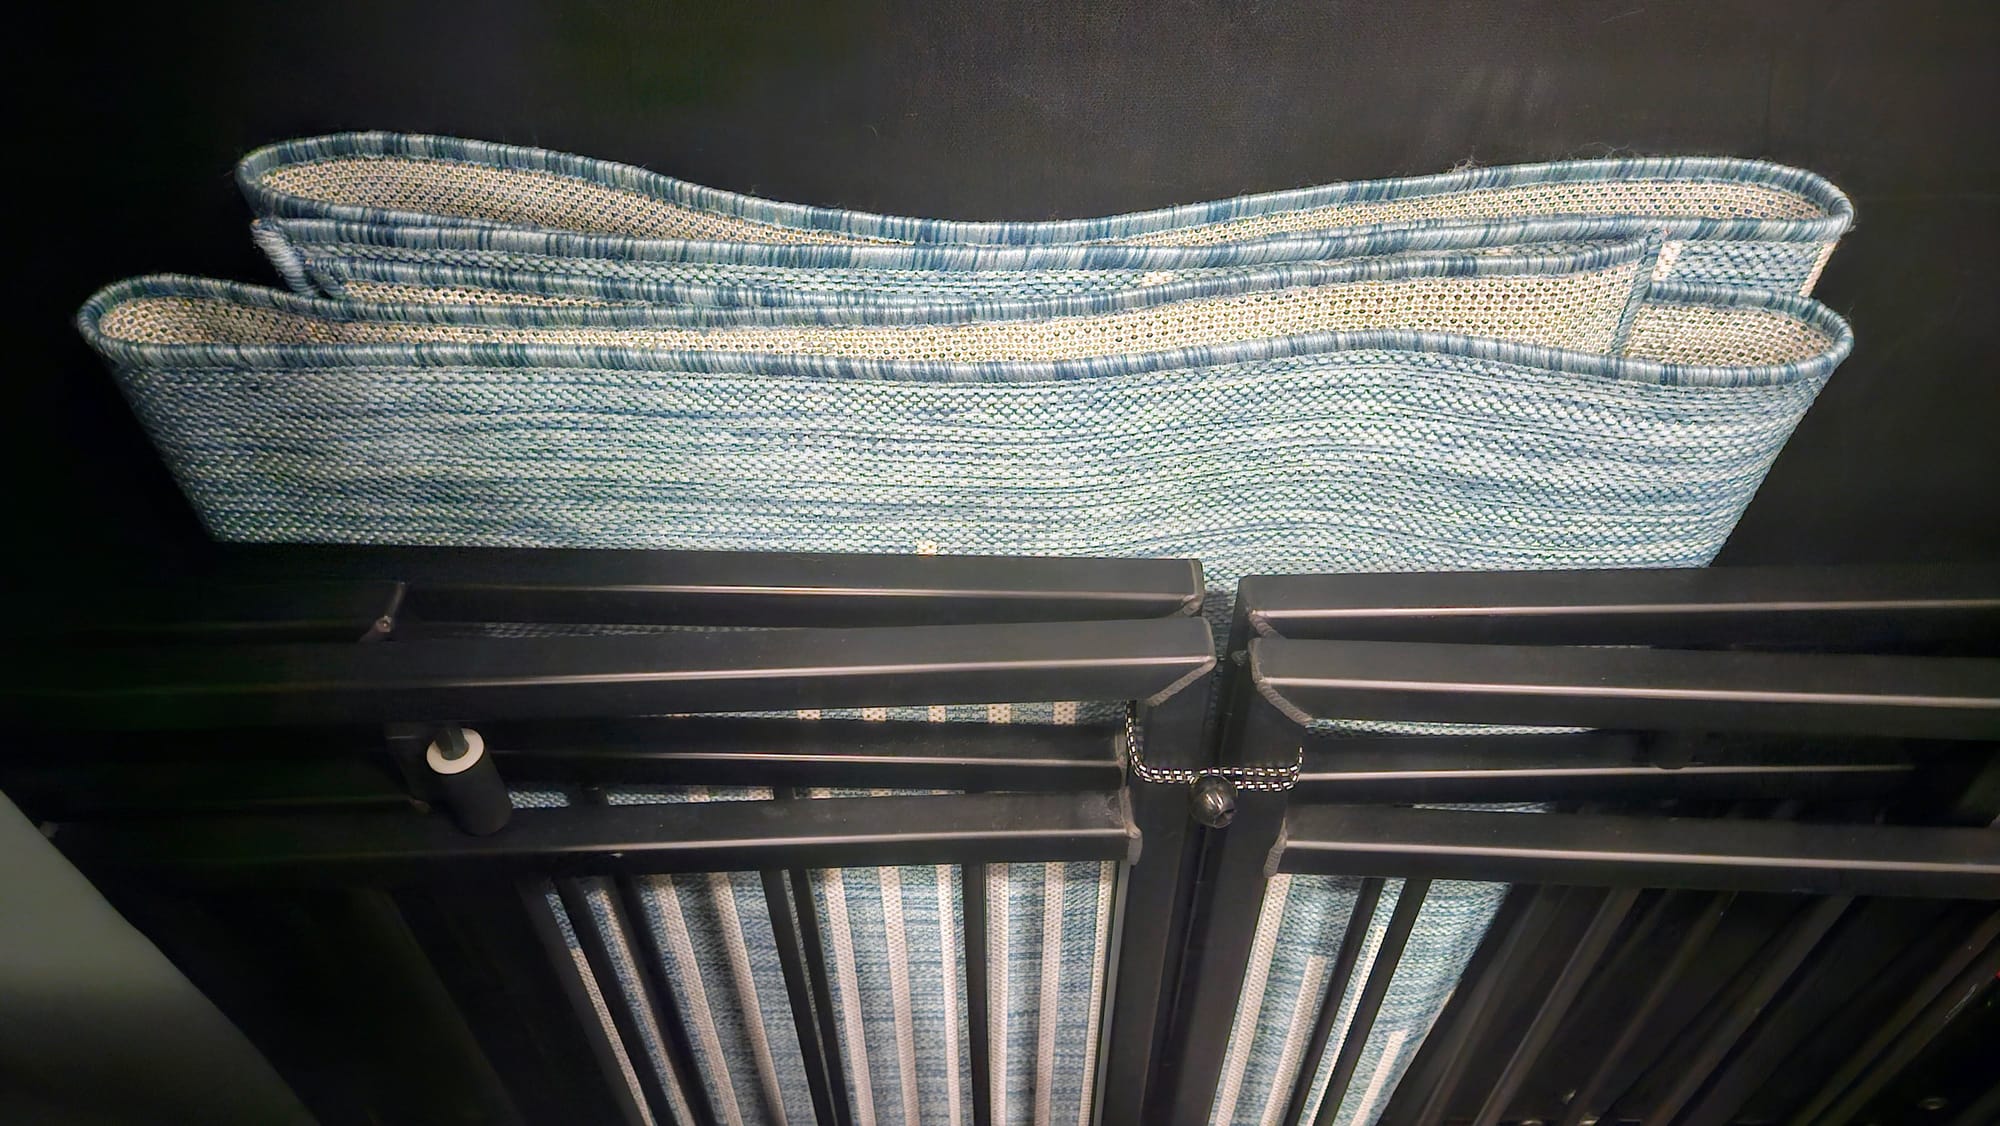
On the inside, the rails tuck into the back of the trailer. They take up about 8 inches of space, but they're already attached inside the trailer, so it's really quick to unfold them. When tucked inside, they're held with ball bungees so they don't rattle too much in transit. They have casters to wheel them into their unfolded position, and then they're secured with latches on the edge of the ramp door, or in this case, patio floor.
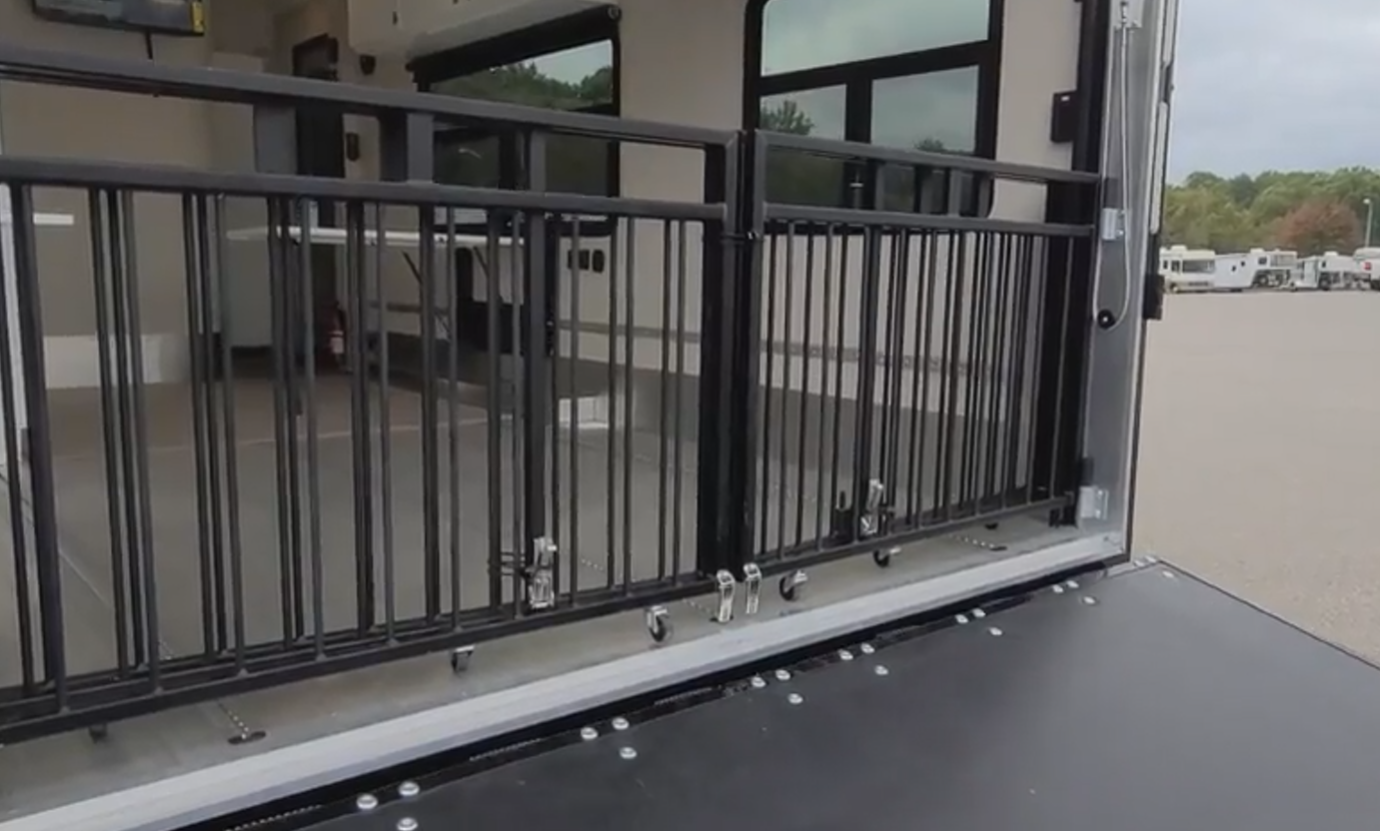
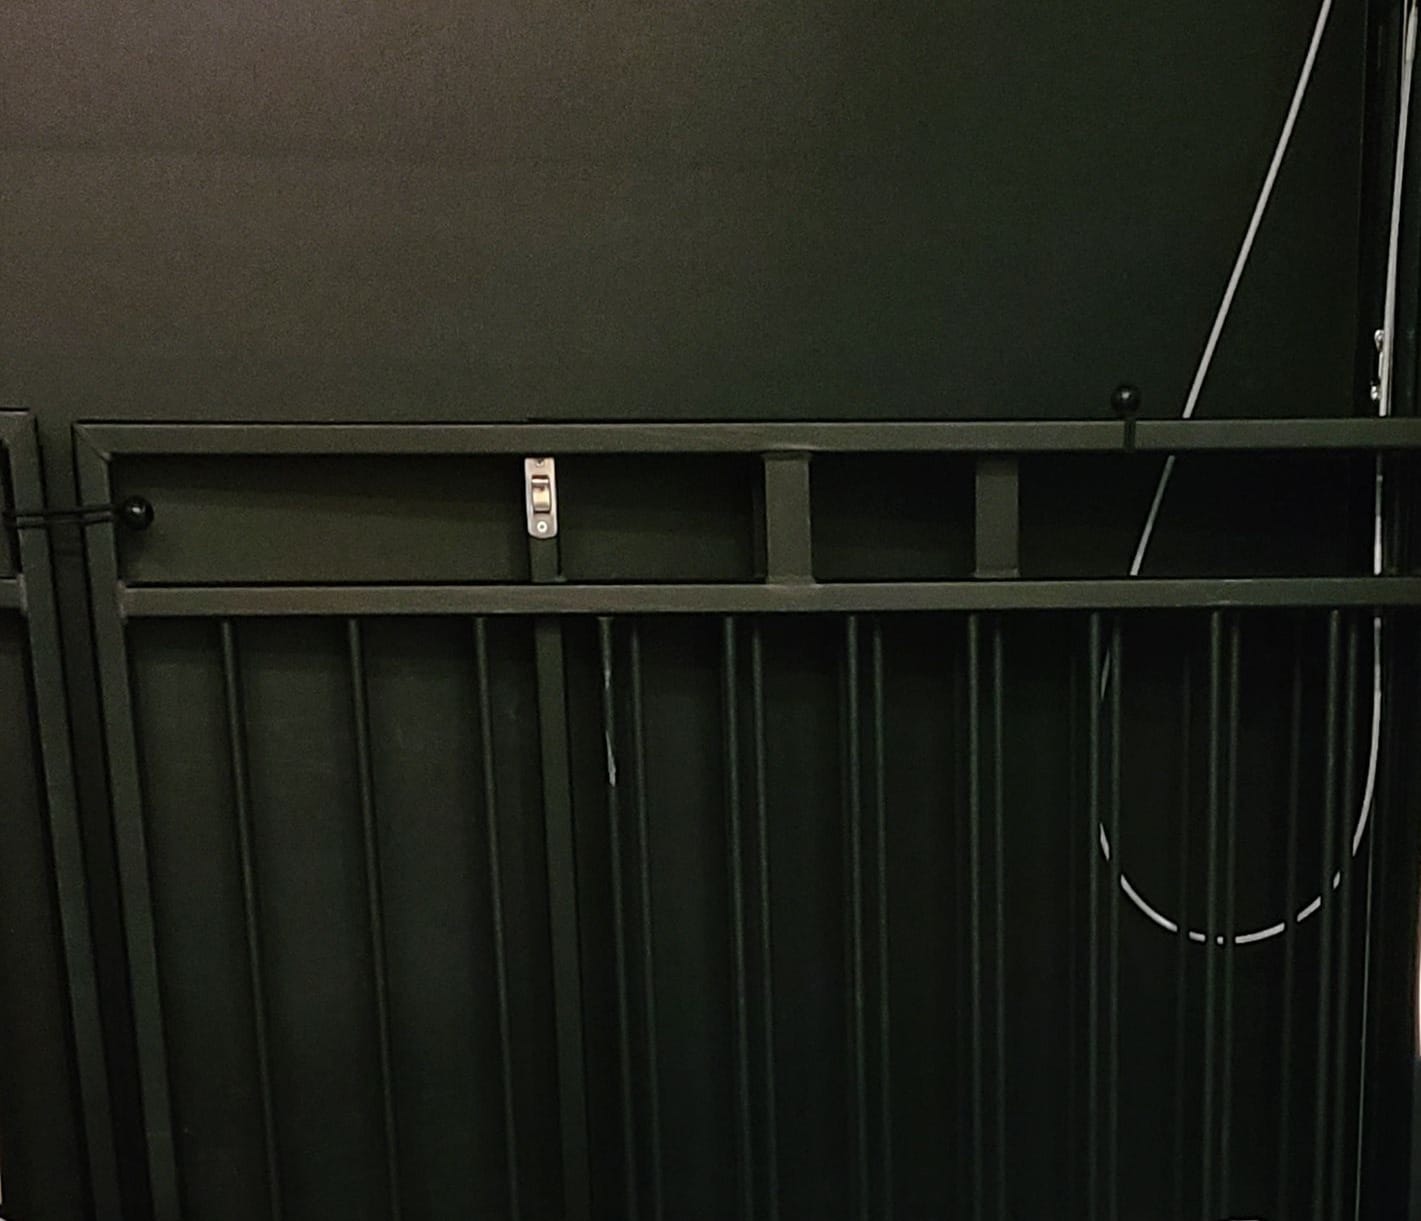
While we wouldn't change anything about this fundamental setup, we have had some issues and wear-and-tear. The casters loosen and fall out constantly. We spent the first several months screwing them back in, but eventually we decided to just leave them off. As long as we still have a couple of wheels to roll on, we don't need them all. The latches that secure the rails are also pretty flimsy. Some have bent. Recently, we've also noticed one of the welds starting to bend and break, where the railing connects to the inside of the trailer. This was probably due to forces over time, but it makes us question the strength of the welds.
All of those problems are small, but our biggest problem is that we simply cannot set up our patio all the time. The ramp door material is not weatherproof, and technically should not be sitting exposed to sun, rain, and other elements for days at a time. People will still keep their ramp down constantly despite this, and we're sure there are protectants one could use to better weatherproof the material, but we see no need. We still wouldn't be able to use our patio all the time. Some toyhaulers have real doors at their rear, and other patio options include a "3 season room" like this one from MORryde. Our patio setup isn't weather resistant, nor is it secure. We've brainstormed tons of ways we could remedy this and actually put our patio down for days at a time, but nothing has been feasible.
And so, we decided to create a configuration that would be extremely quick and easy to setup and take down each day we want to use our patio. We've always operated under the notion of, if it takes more than 5-10 minutes, we just won't do it. A 5-minute setup would be ideal, and so, we started small.
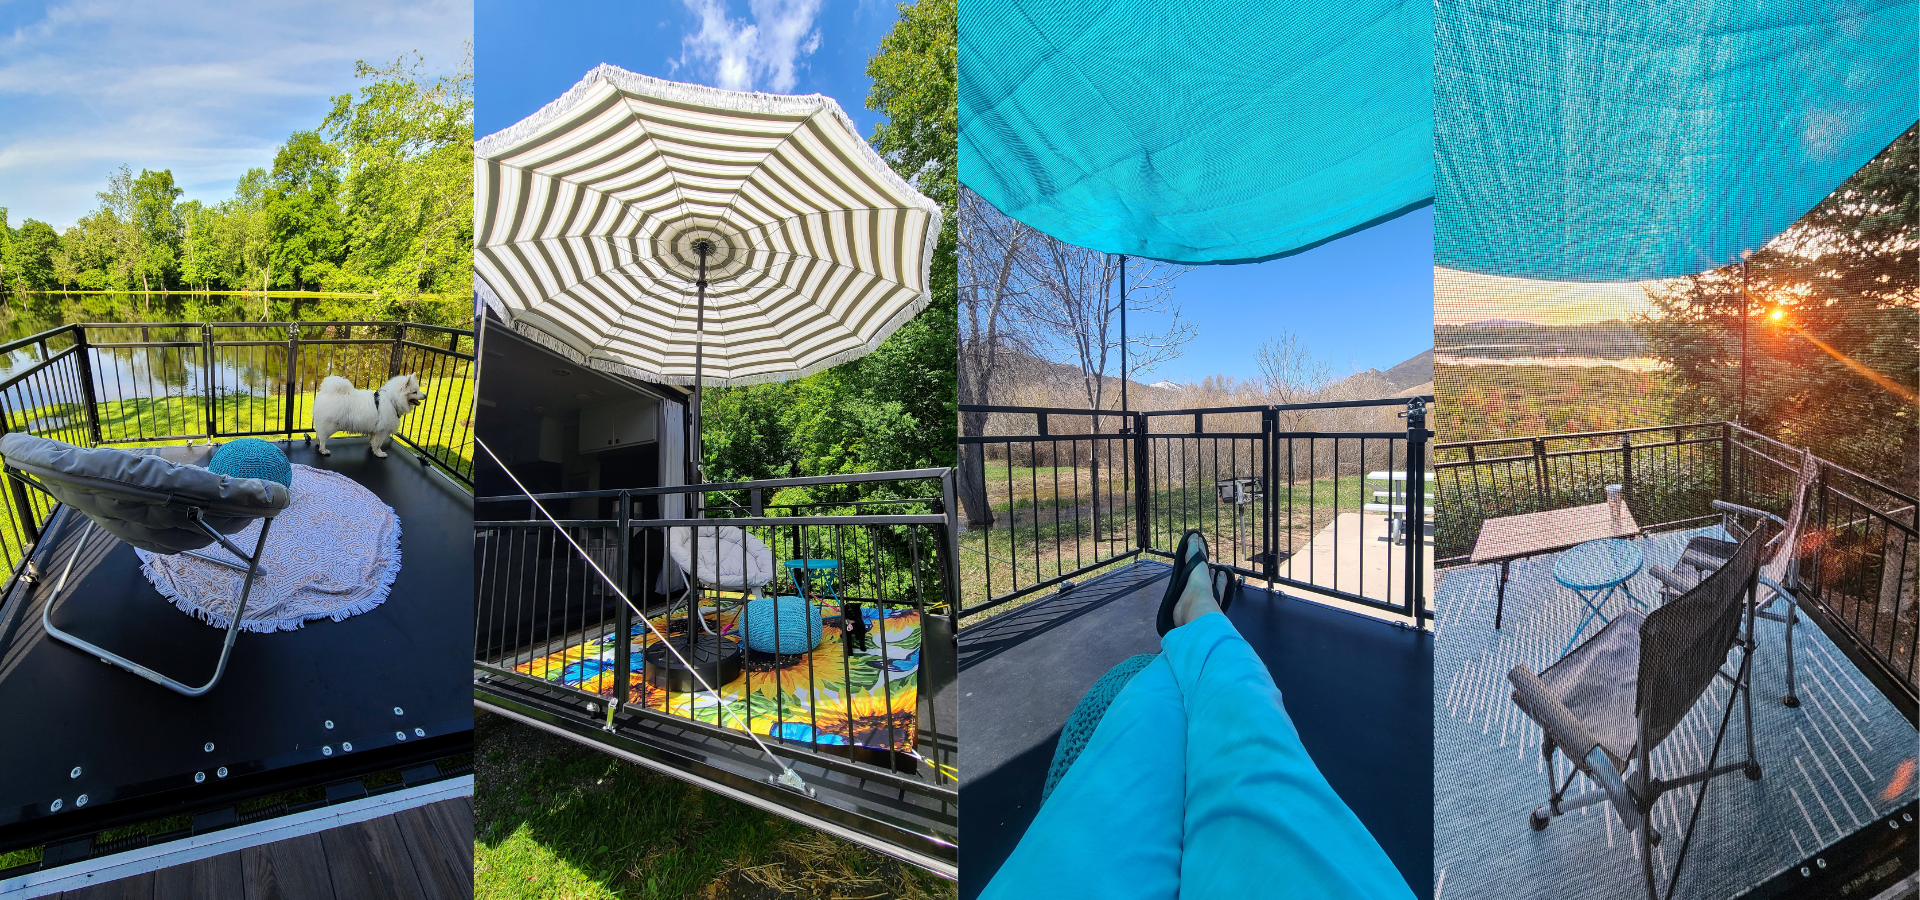
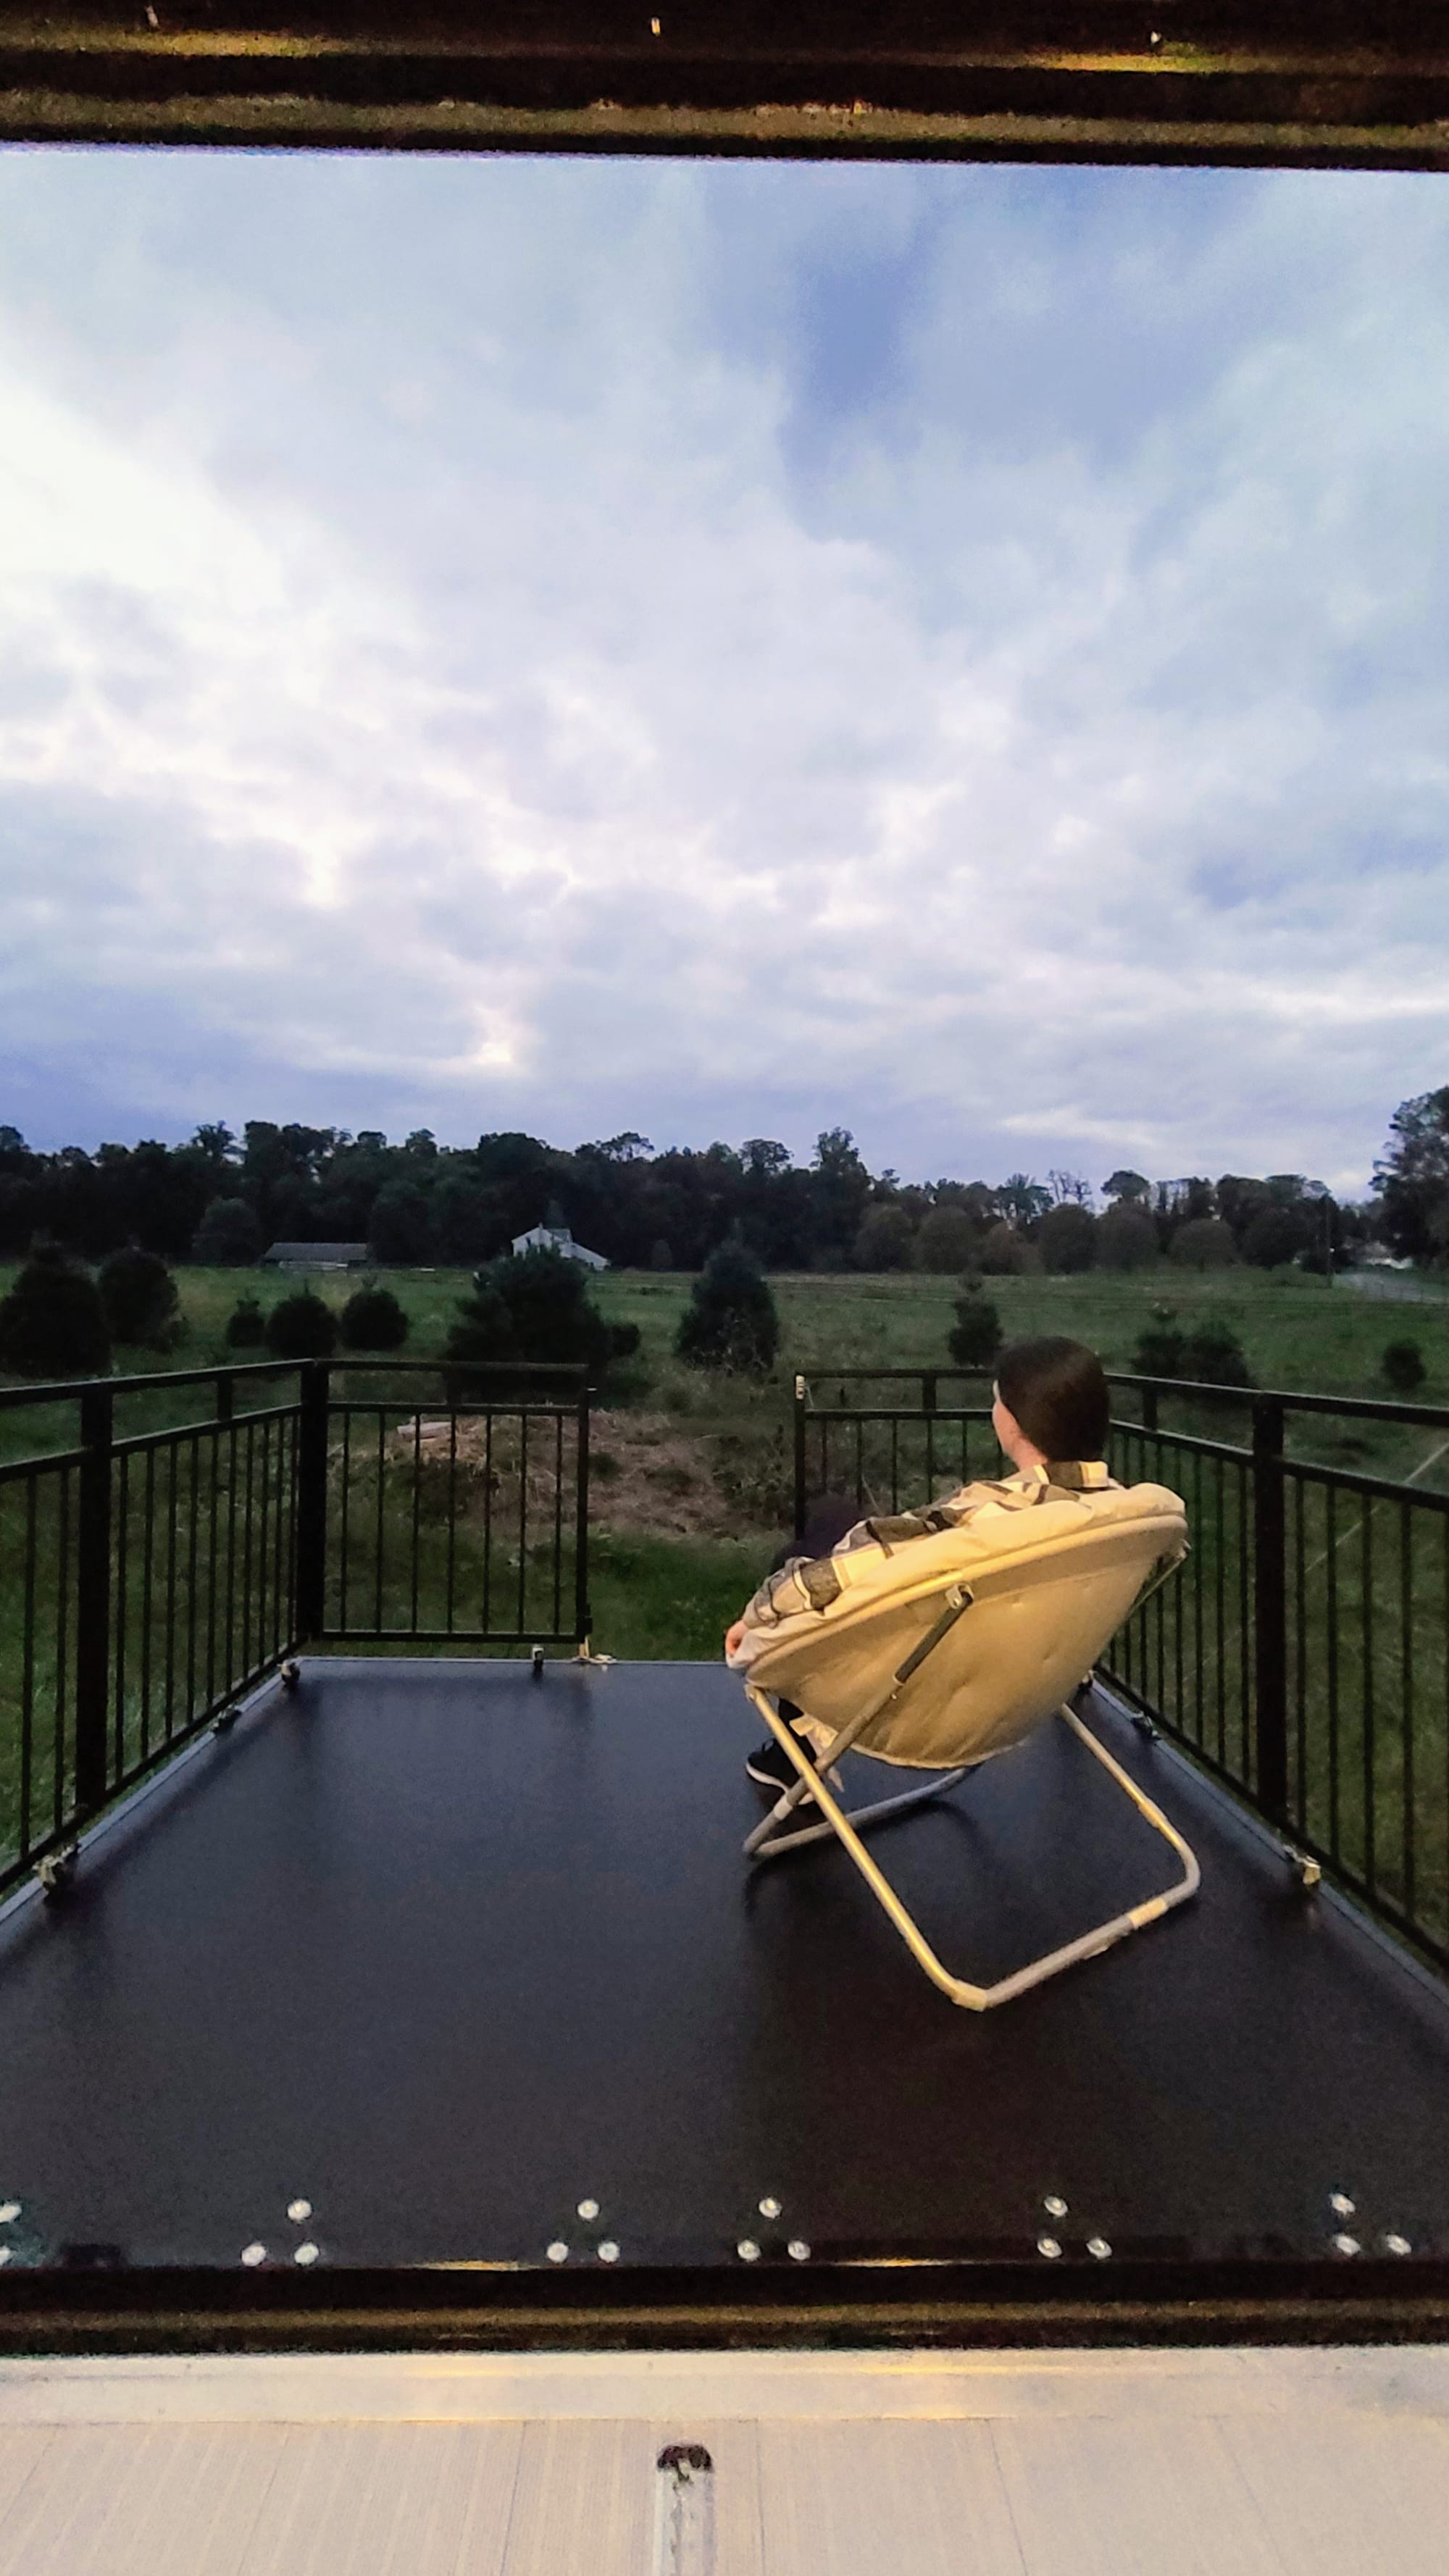
Iteration 1: Nothing but a chair
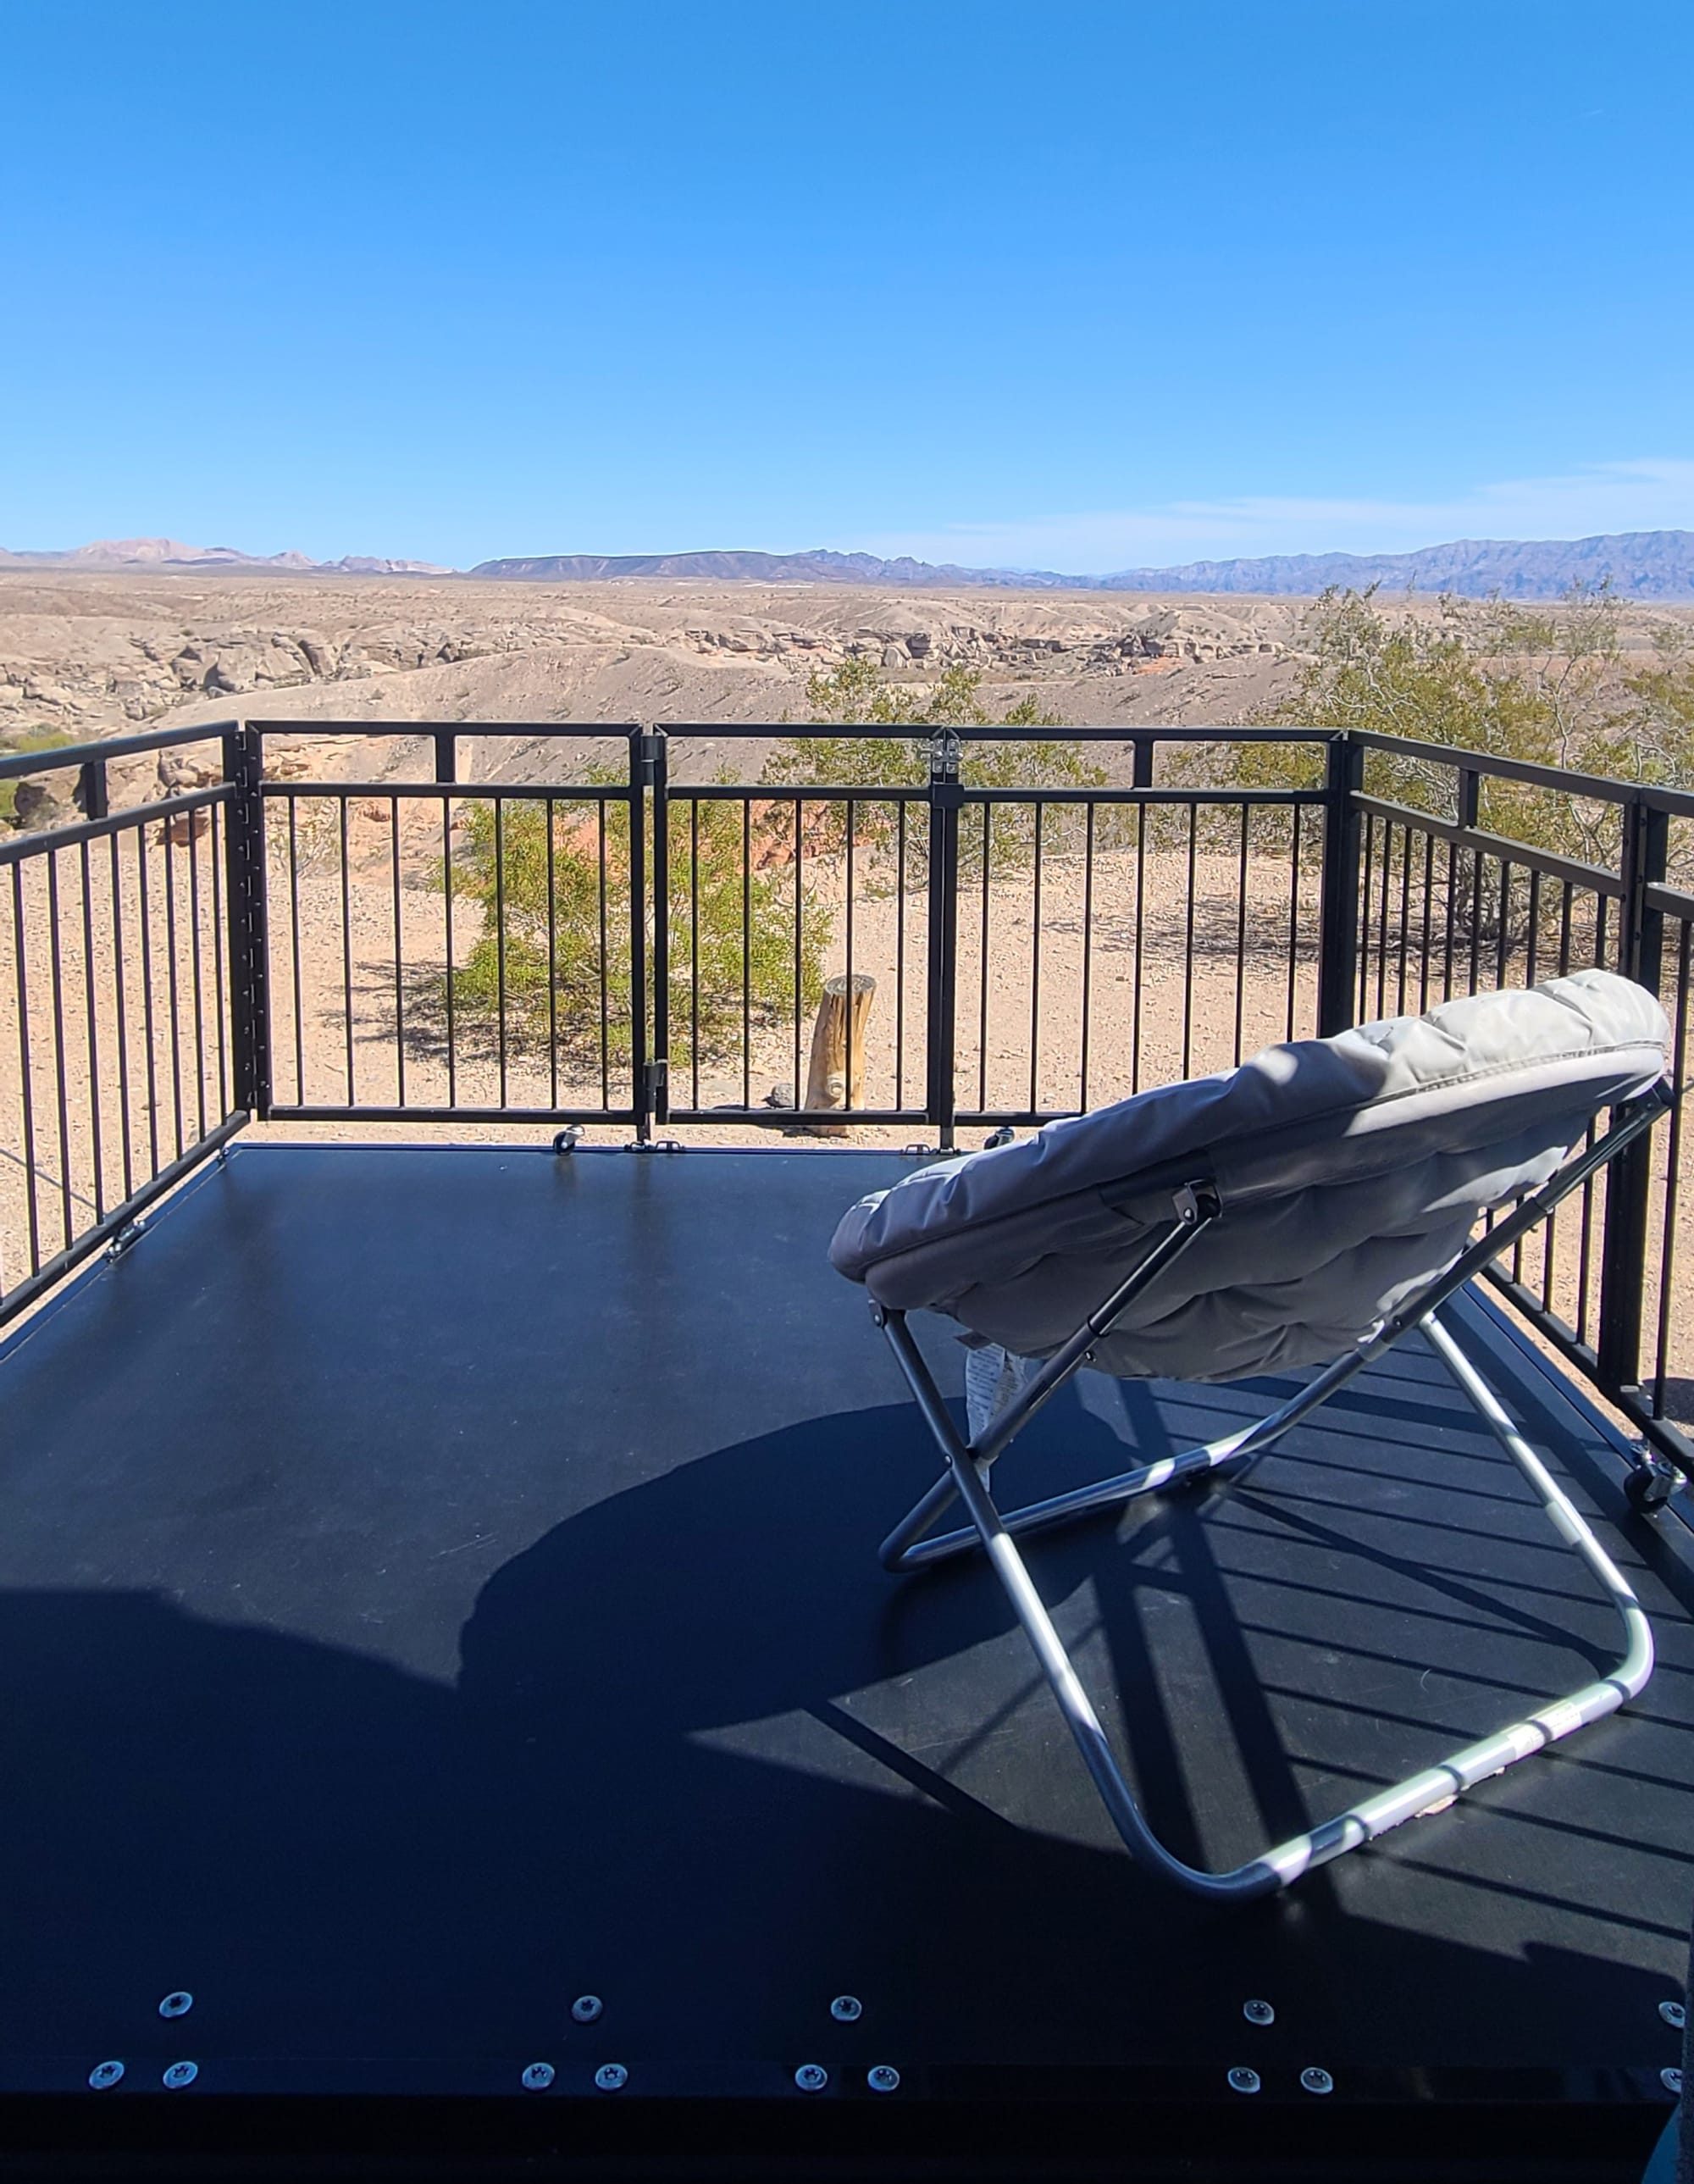
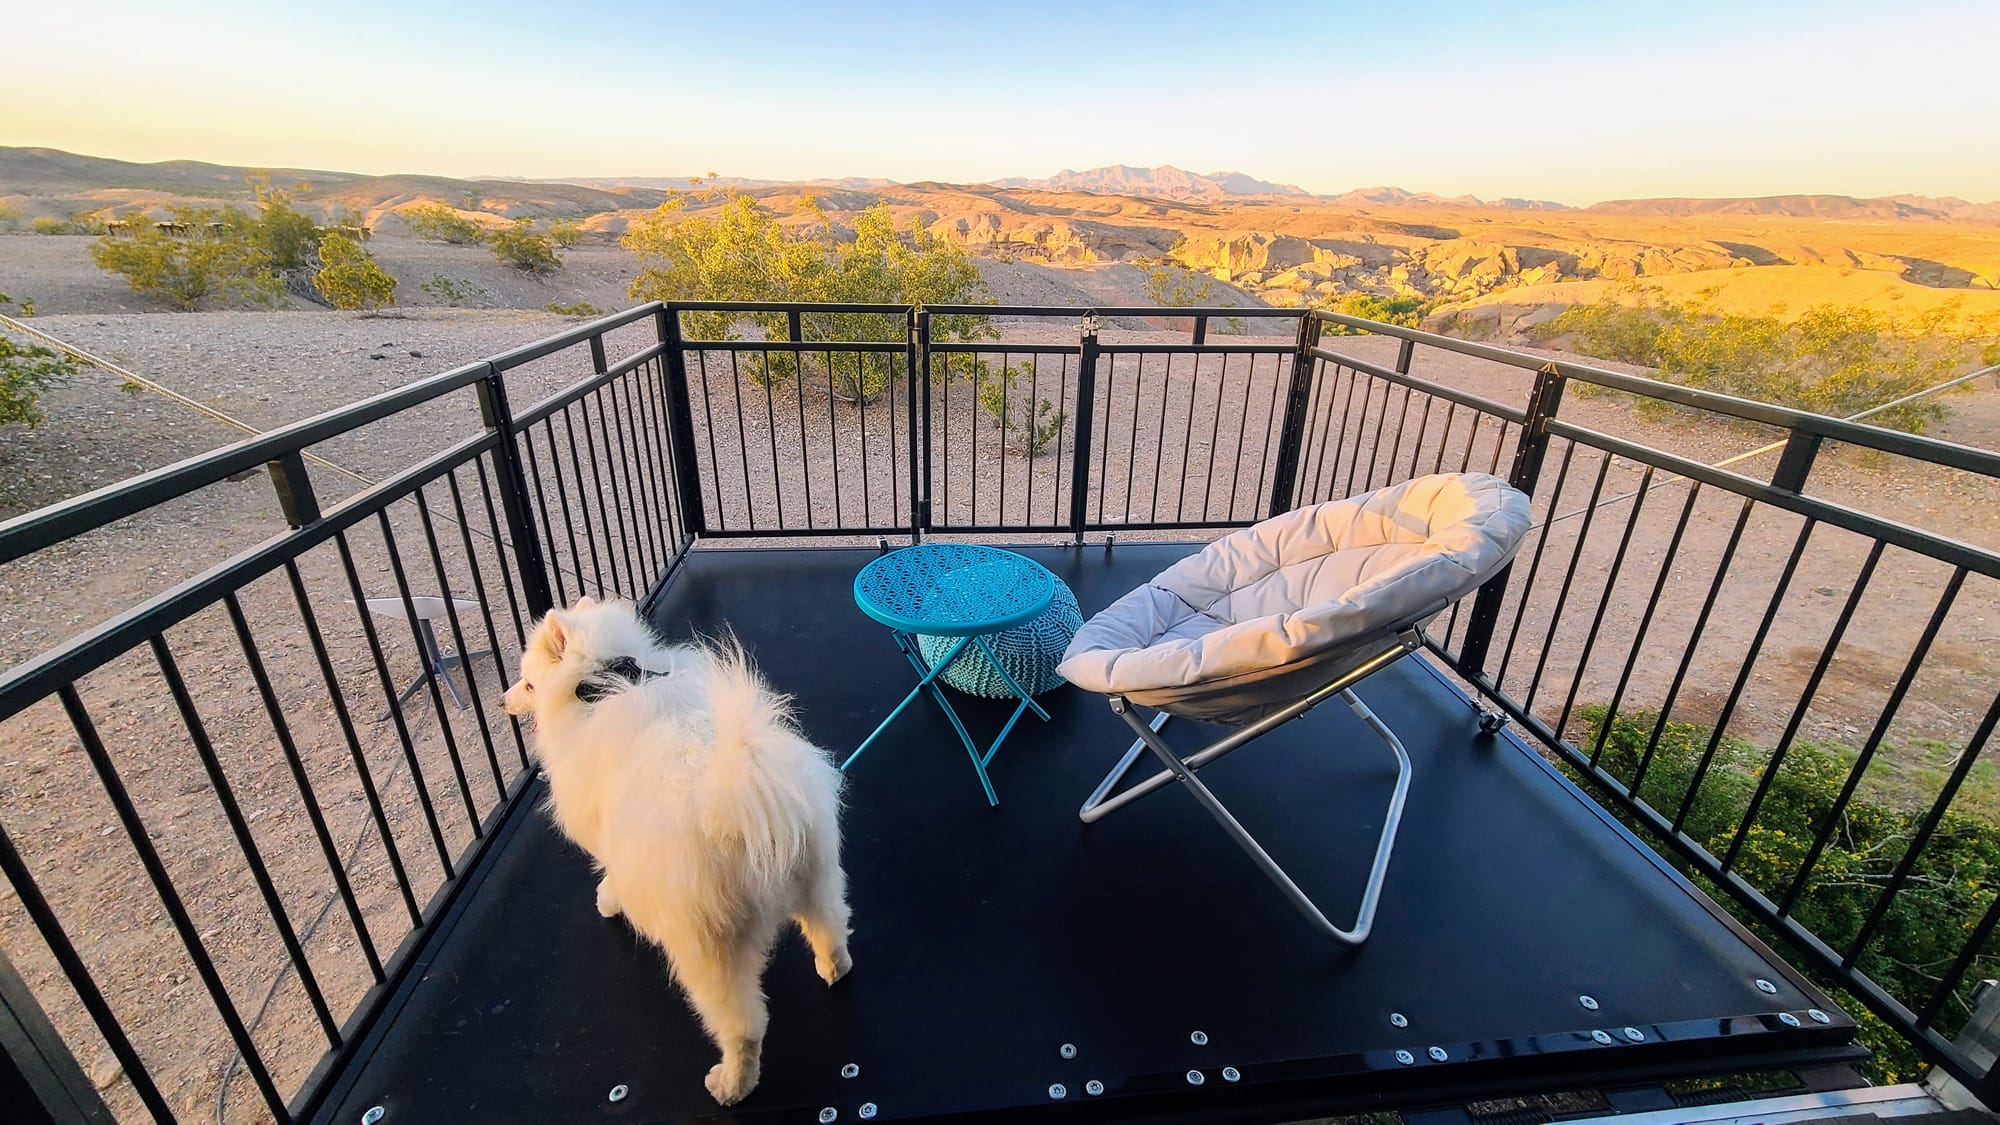
We first used our patio on our maiden voyage, after just 2 days of having our trailer. We had the perfect campsite to spread out and enjoy a view. But, since we hadn't actually packed anything into our rig yet, all we had was one folding chair to serve as our patio furniture. Despite getting our rig completely outfitted over the next couple of months, we continued using basically just that chair. Eventually, we also added a little poof as a footrest. This was our setup for a long time, and it was perfect for the months we were getting used to putting our ramp into patio mode. Once we had the door down and the railings latched, all we needed to do was take out the two pieces of furniture, and we were good to go. If both of us wanted to sit on the patio at the same time, we would just pull out one of our dining chairs. Sometimes we'd also get fancy and put one of Nicole's meditation roundies down to serve as a mat/blanket for Tanner.
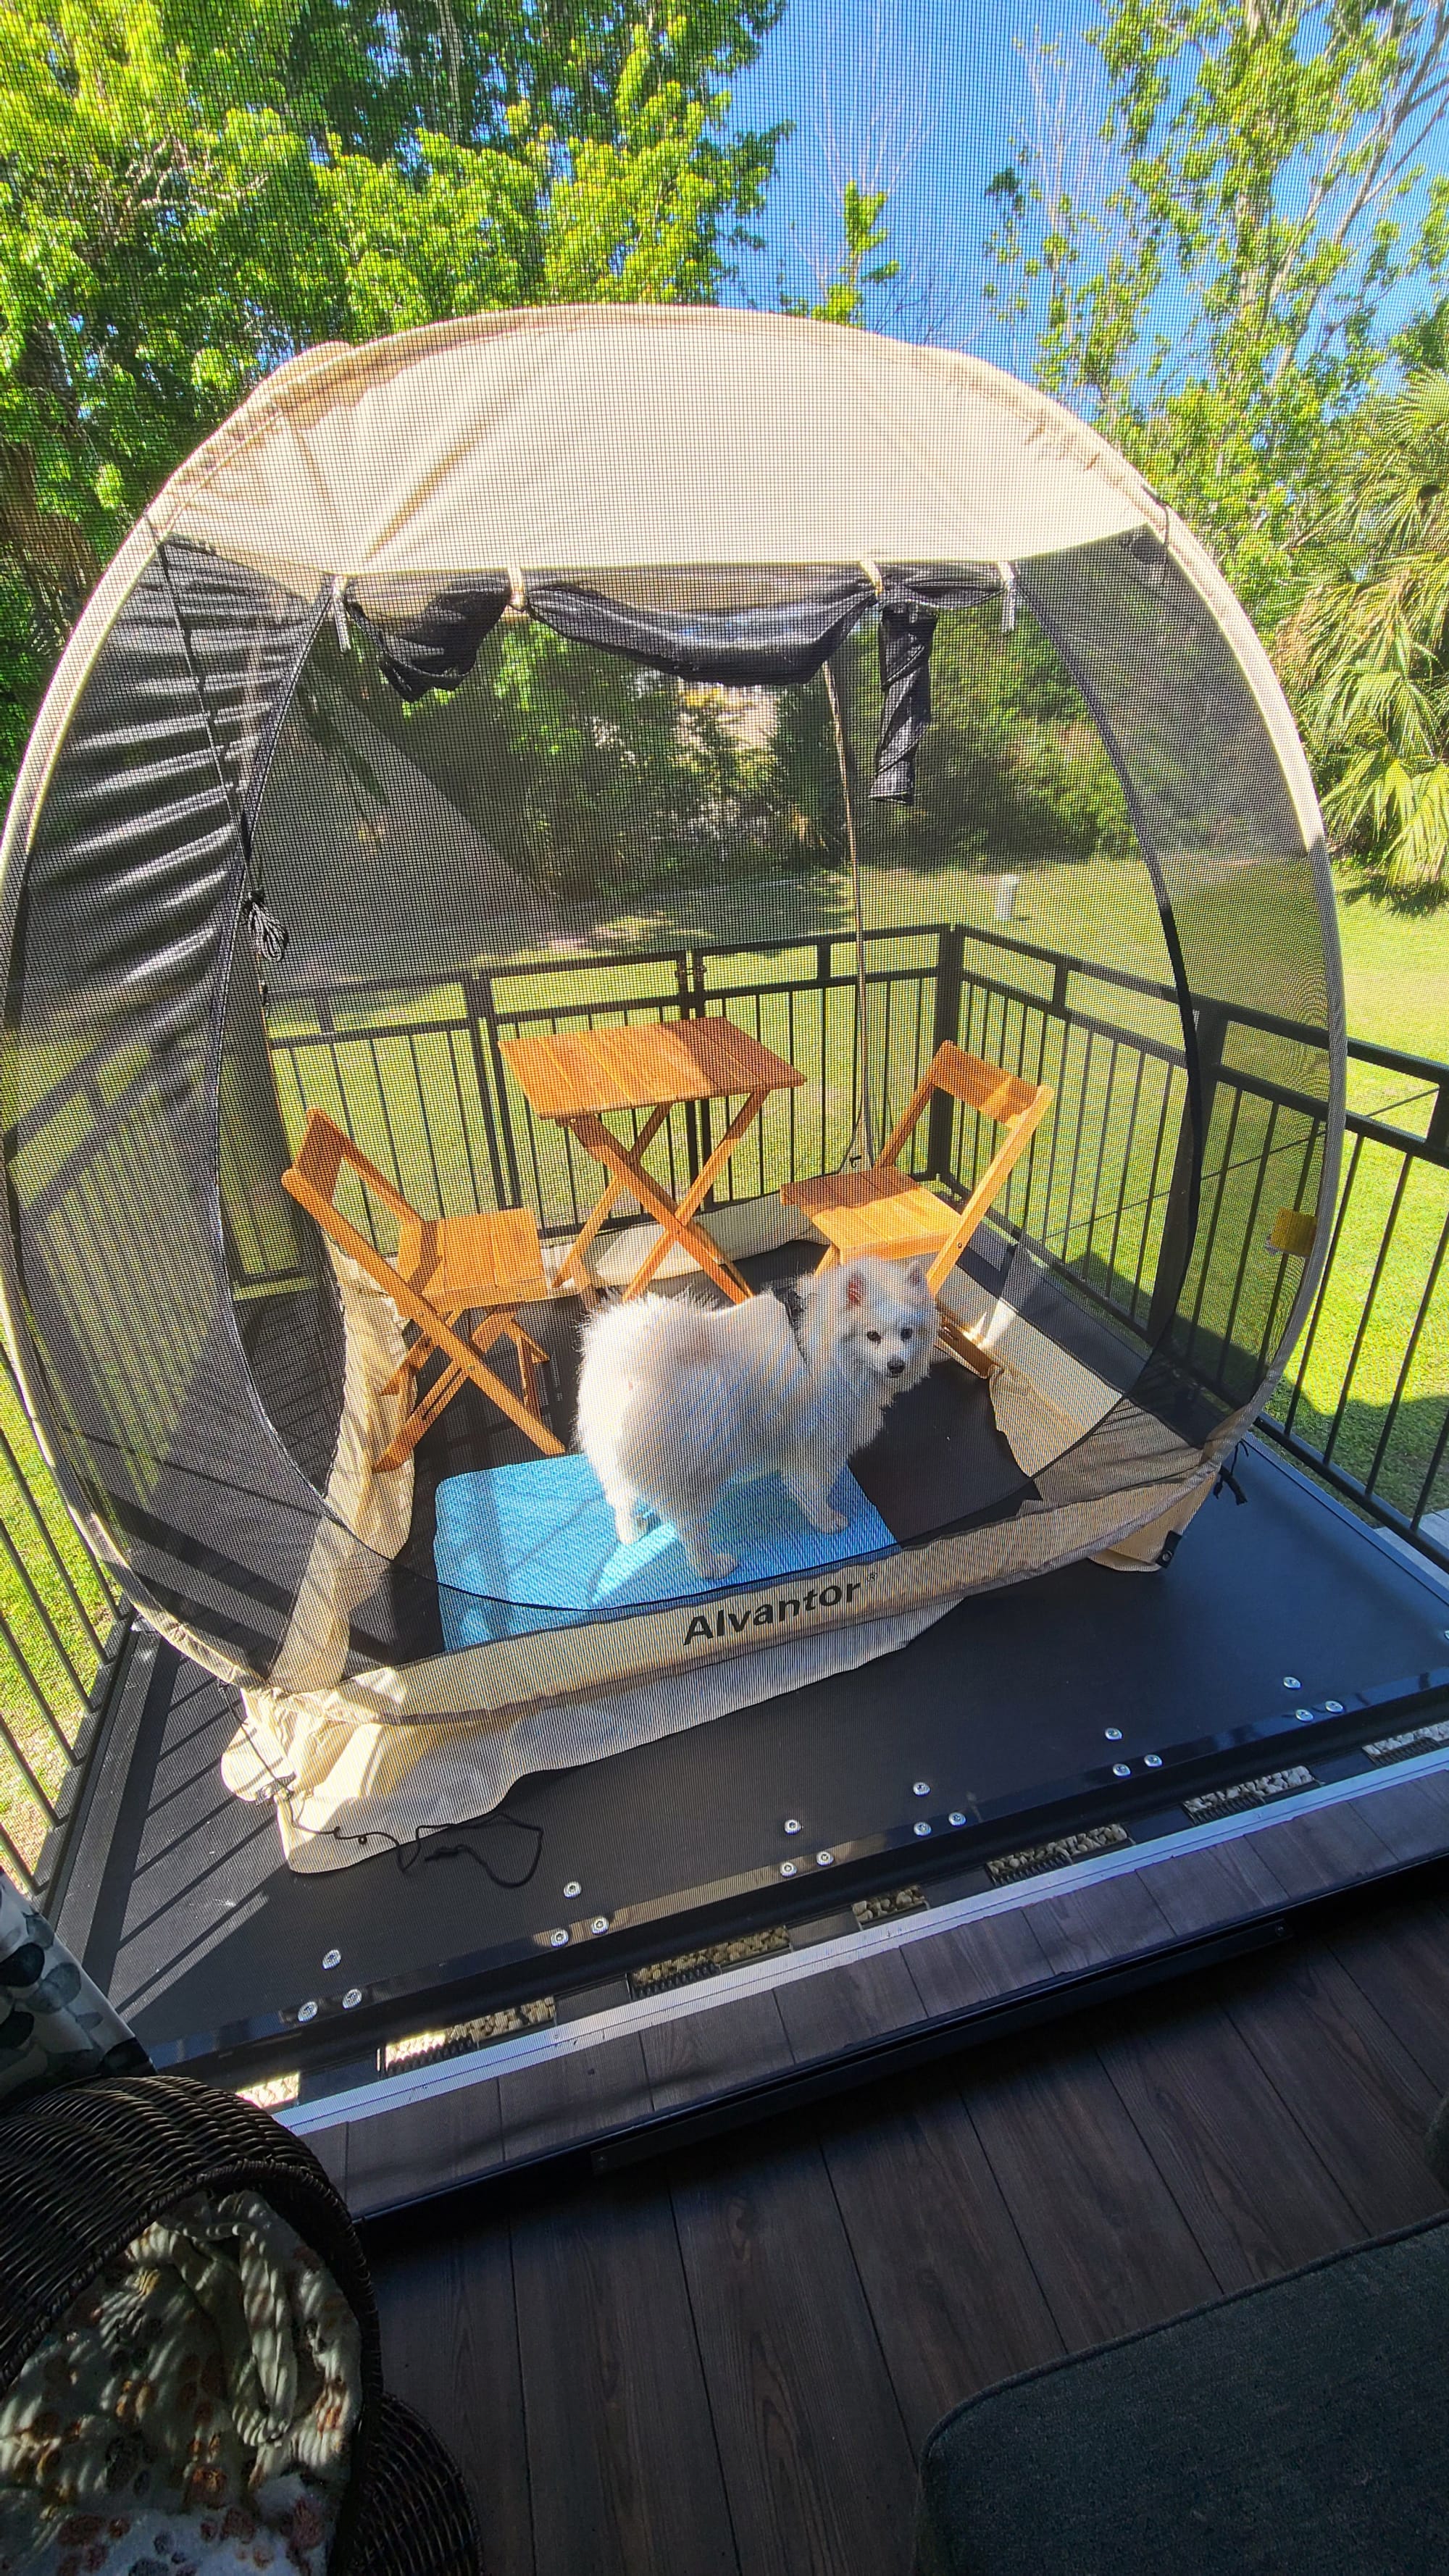
Iteration 1B: The tent (with bistro set)
For the first few months of full-timing, we traveled with a 6x6ft Alvantor tent, just to serve as extra outdoor space and shelter from the sun and bugs. We usually kept it off to the side of our rig, but a couple of times we did put it on our patio. Our patio is 7ft, so the tent fit perfectly. However, it wasn't our favorite setup because we would need to go through the main patio screen and the tent screen. Also, when the tent was on the patio, there wasn't room for anything else. Lastly, we didn't have a way to secure it unless we wanted to weigh it down with sandbags. We didn't have much time to contemplate solutions to this last one, because somewhere along the way, we lost the tent altogether.
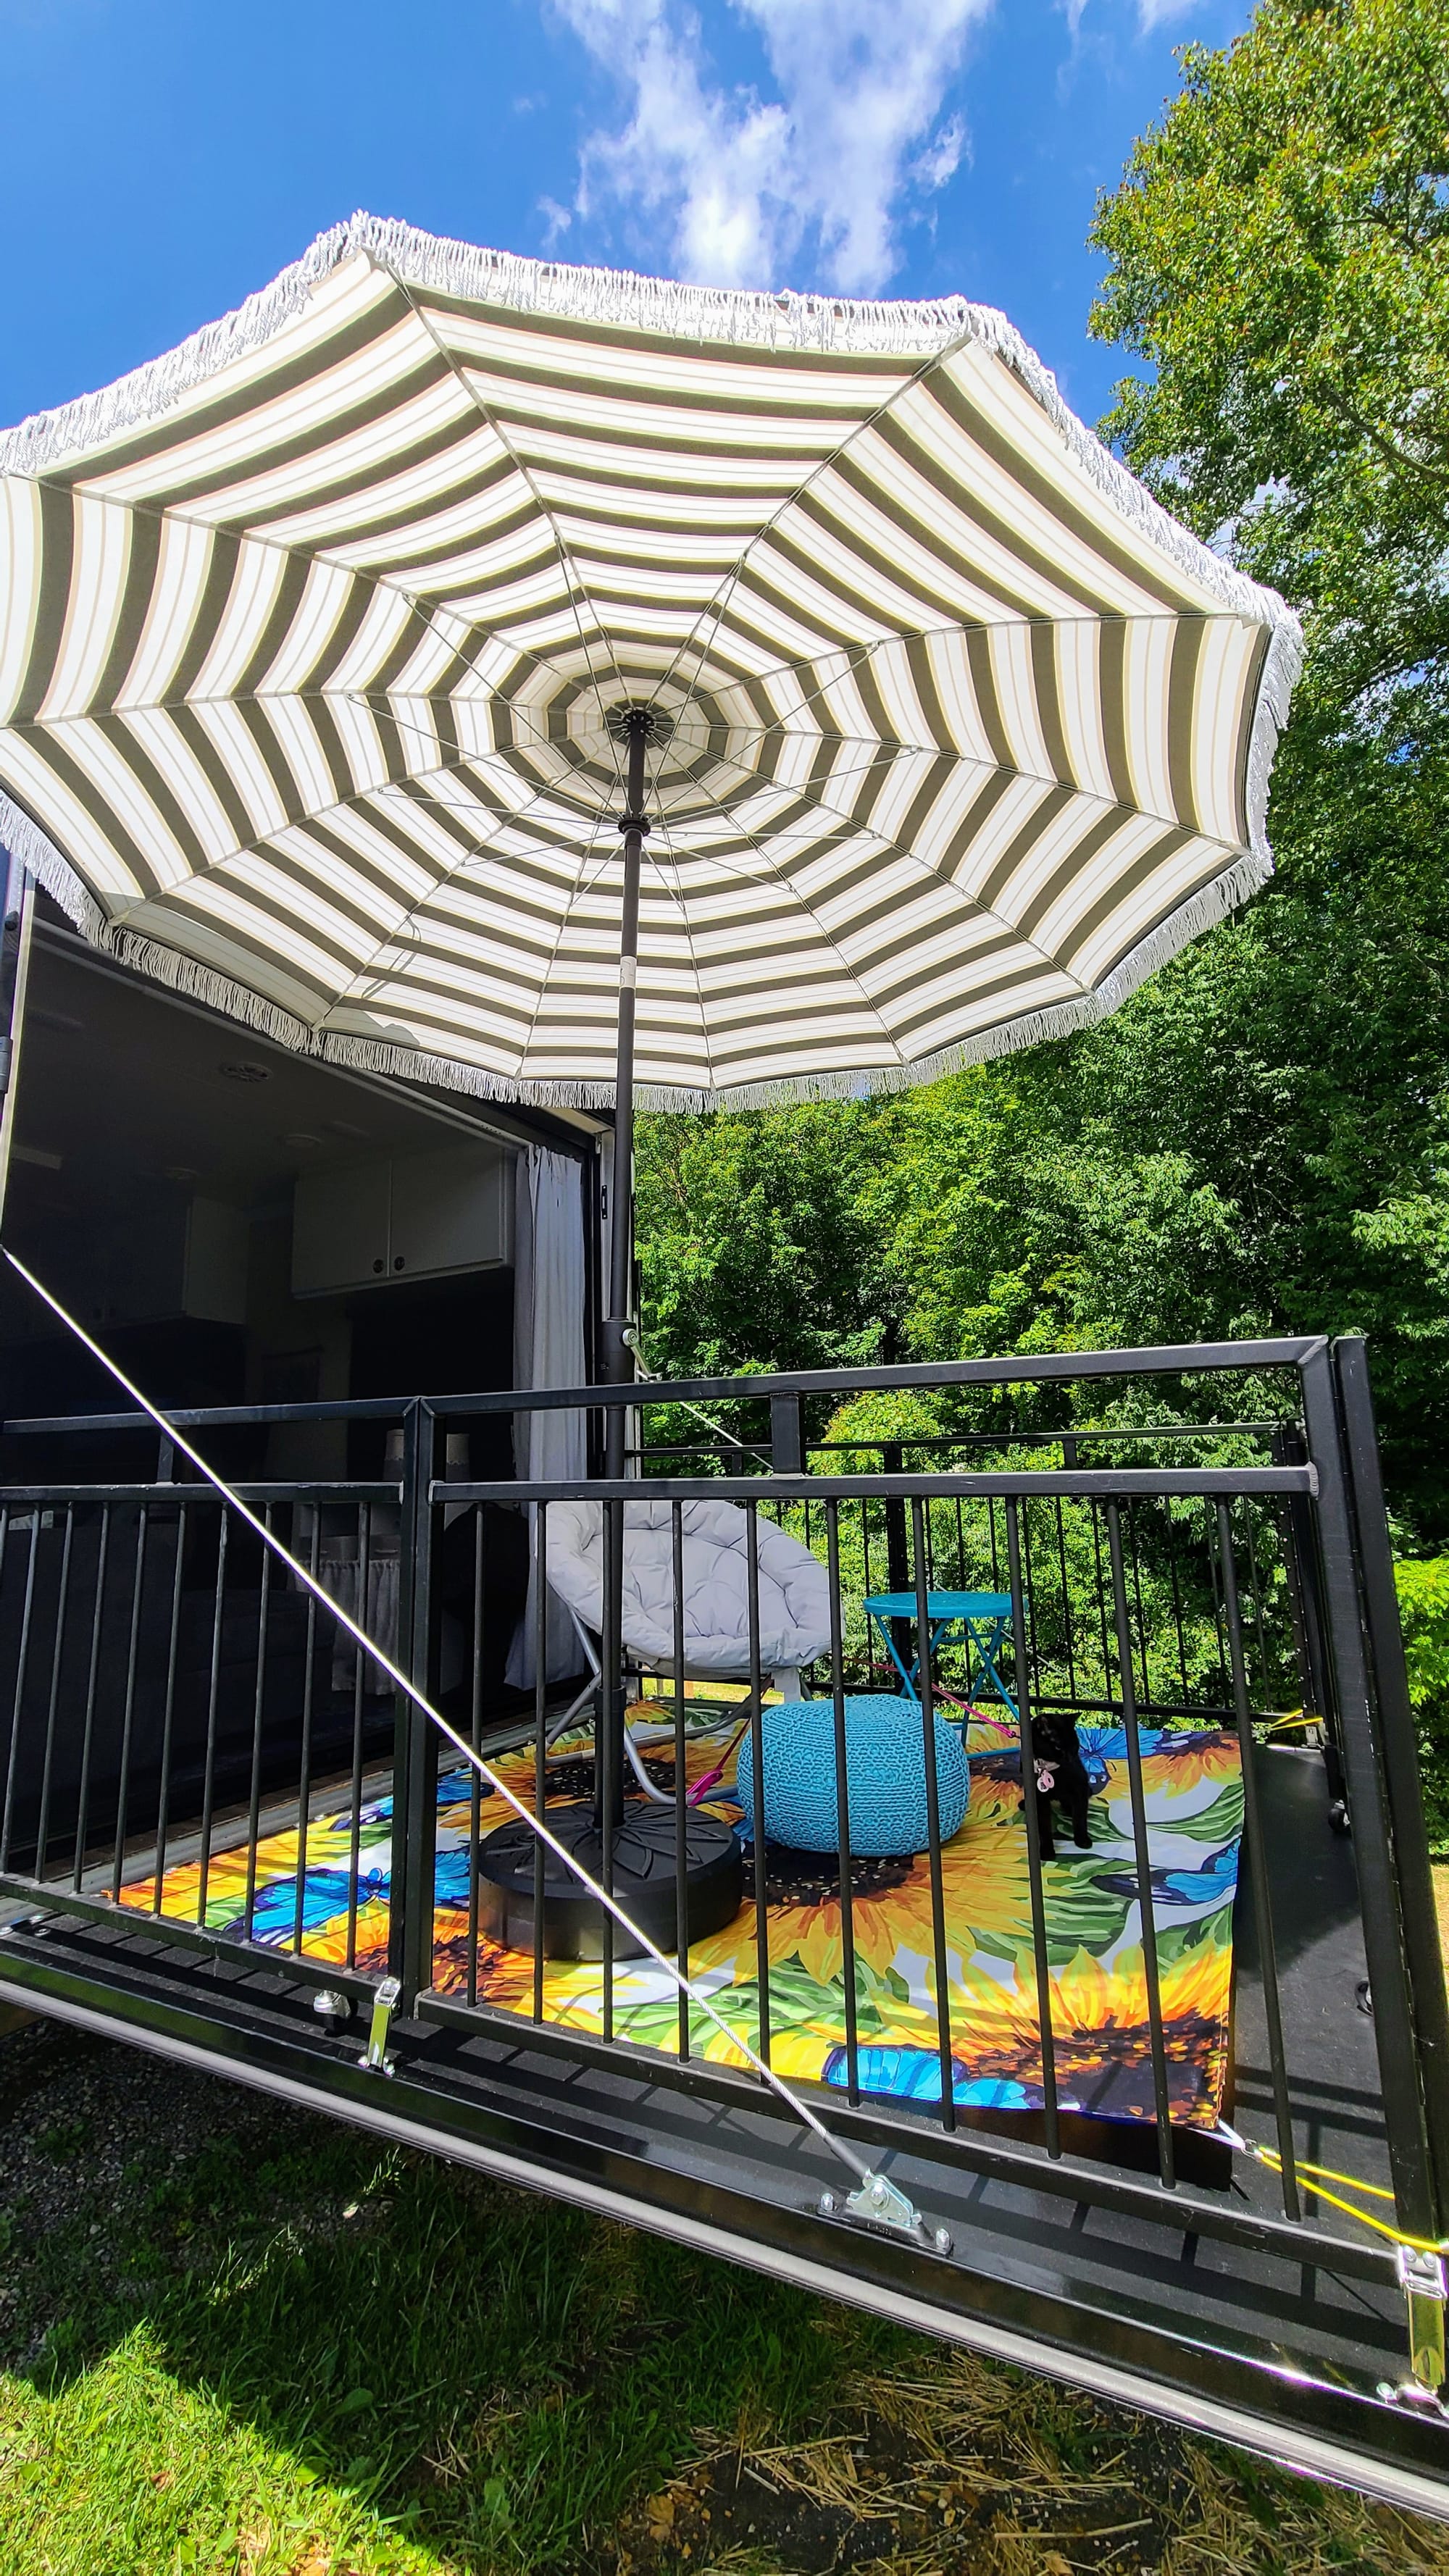
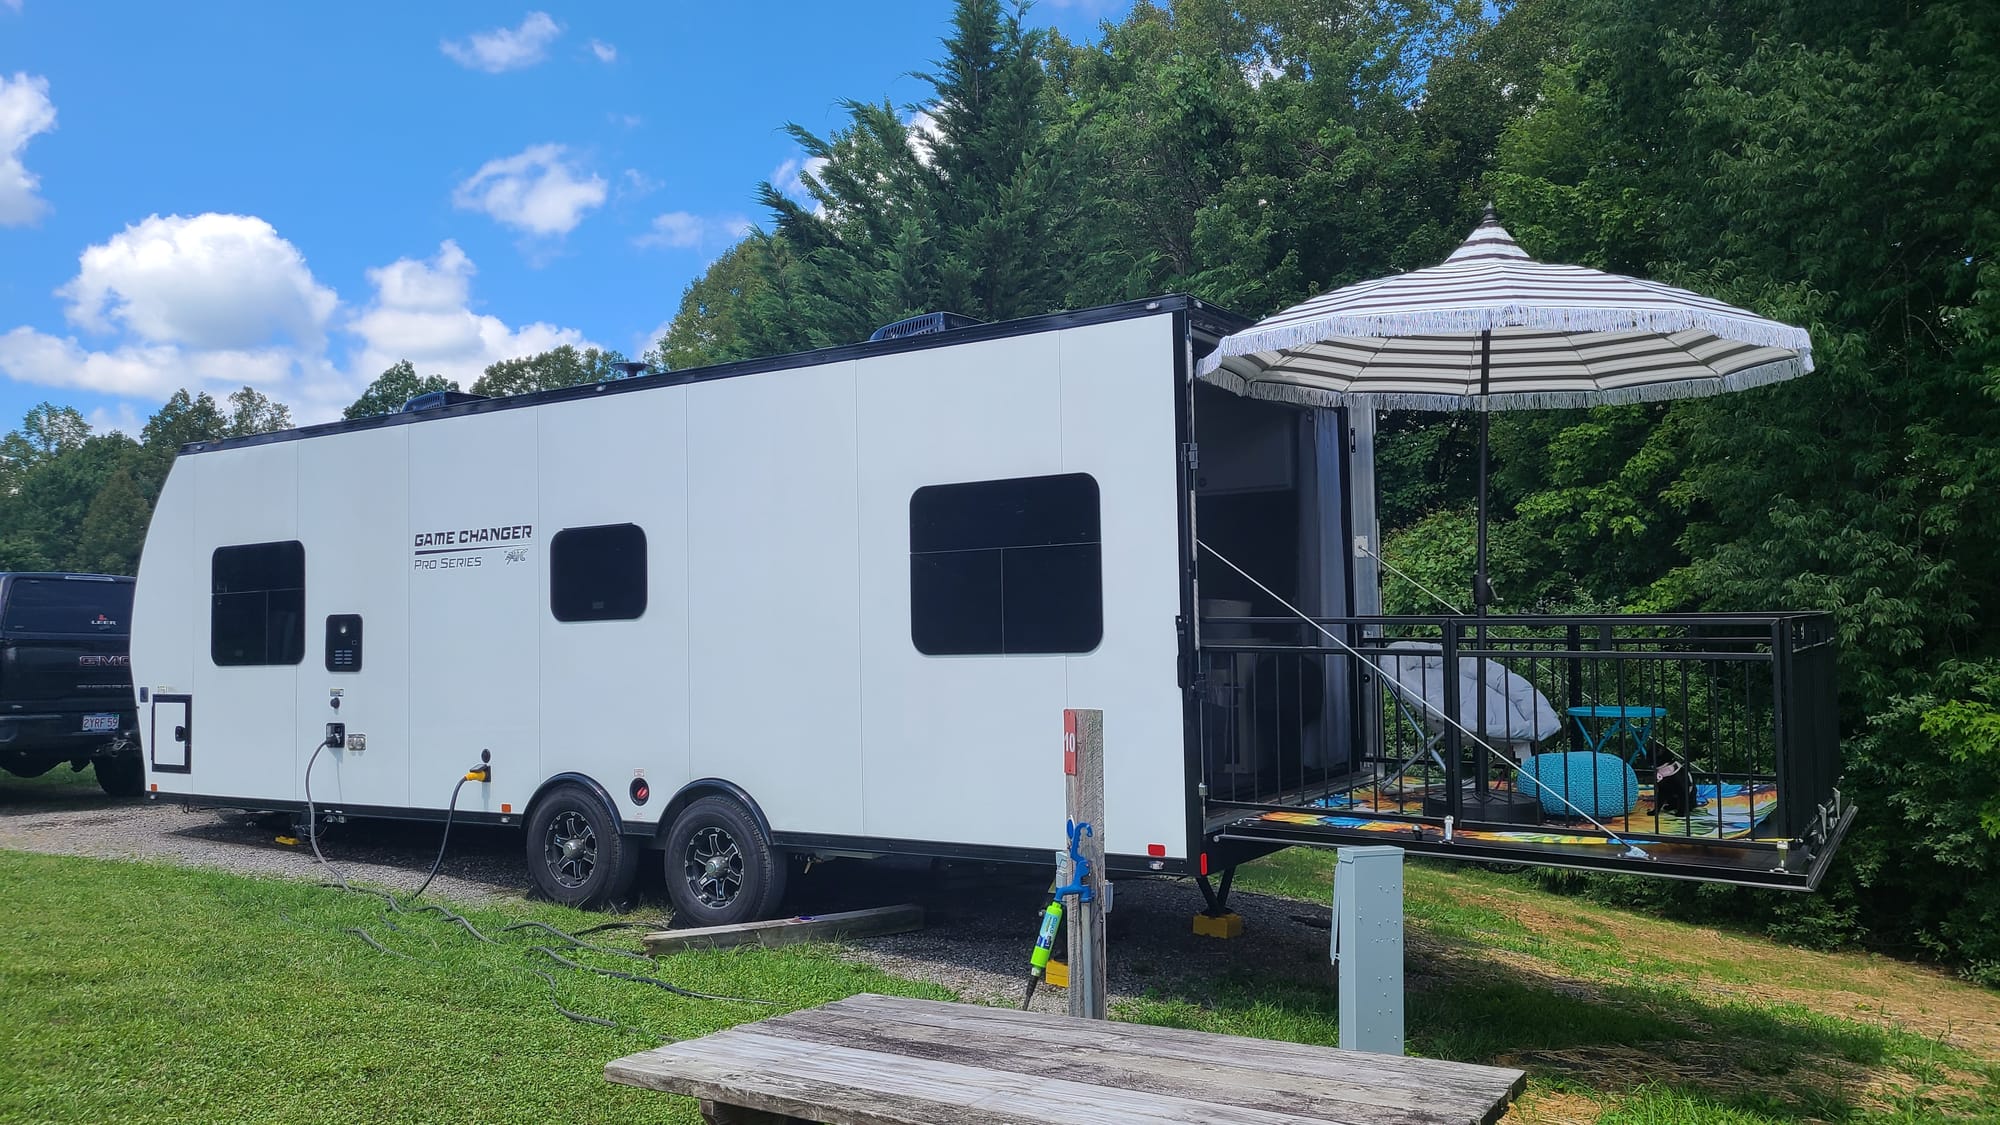
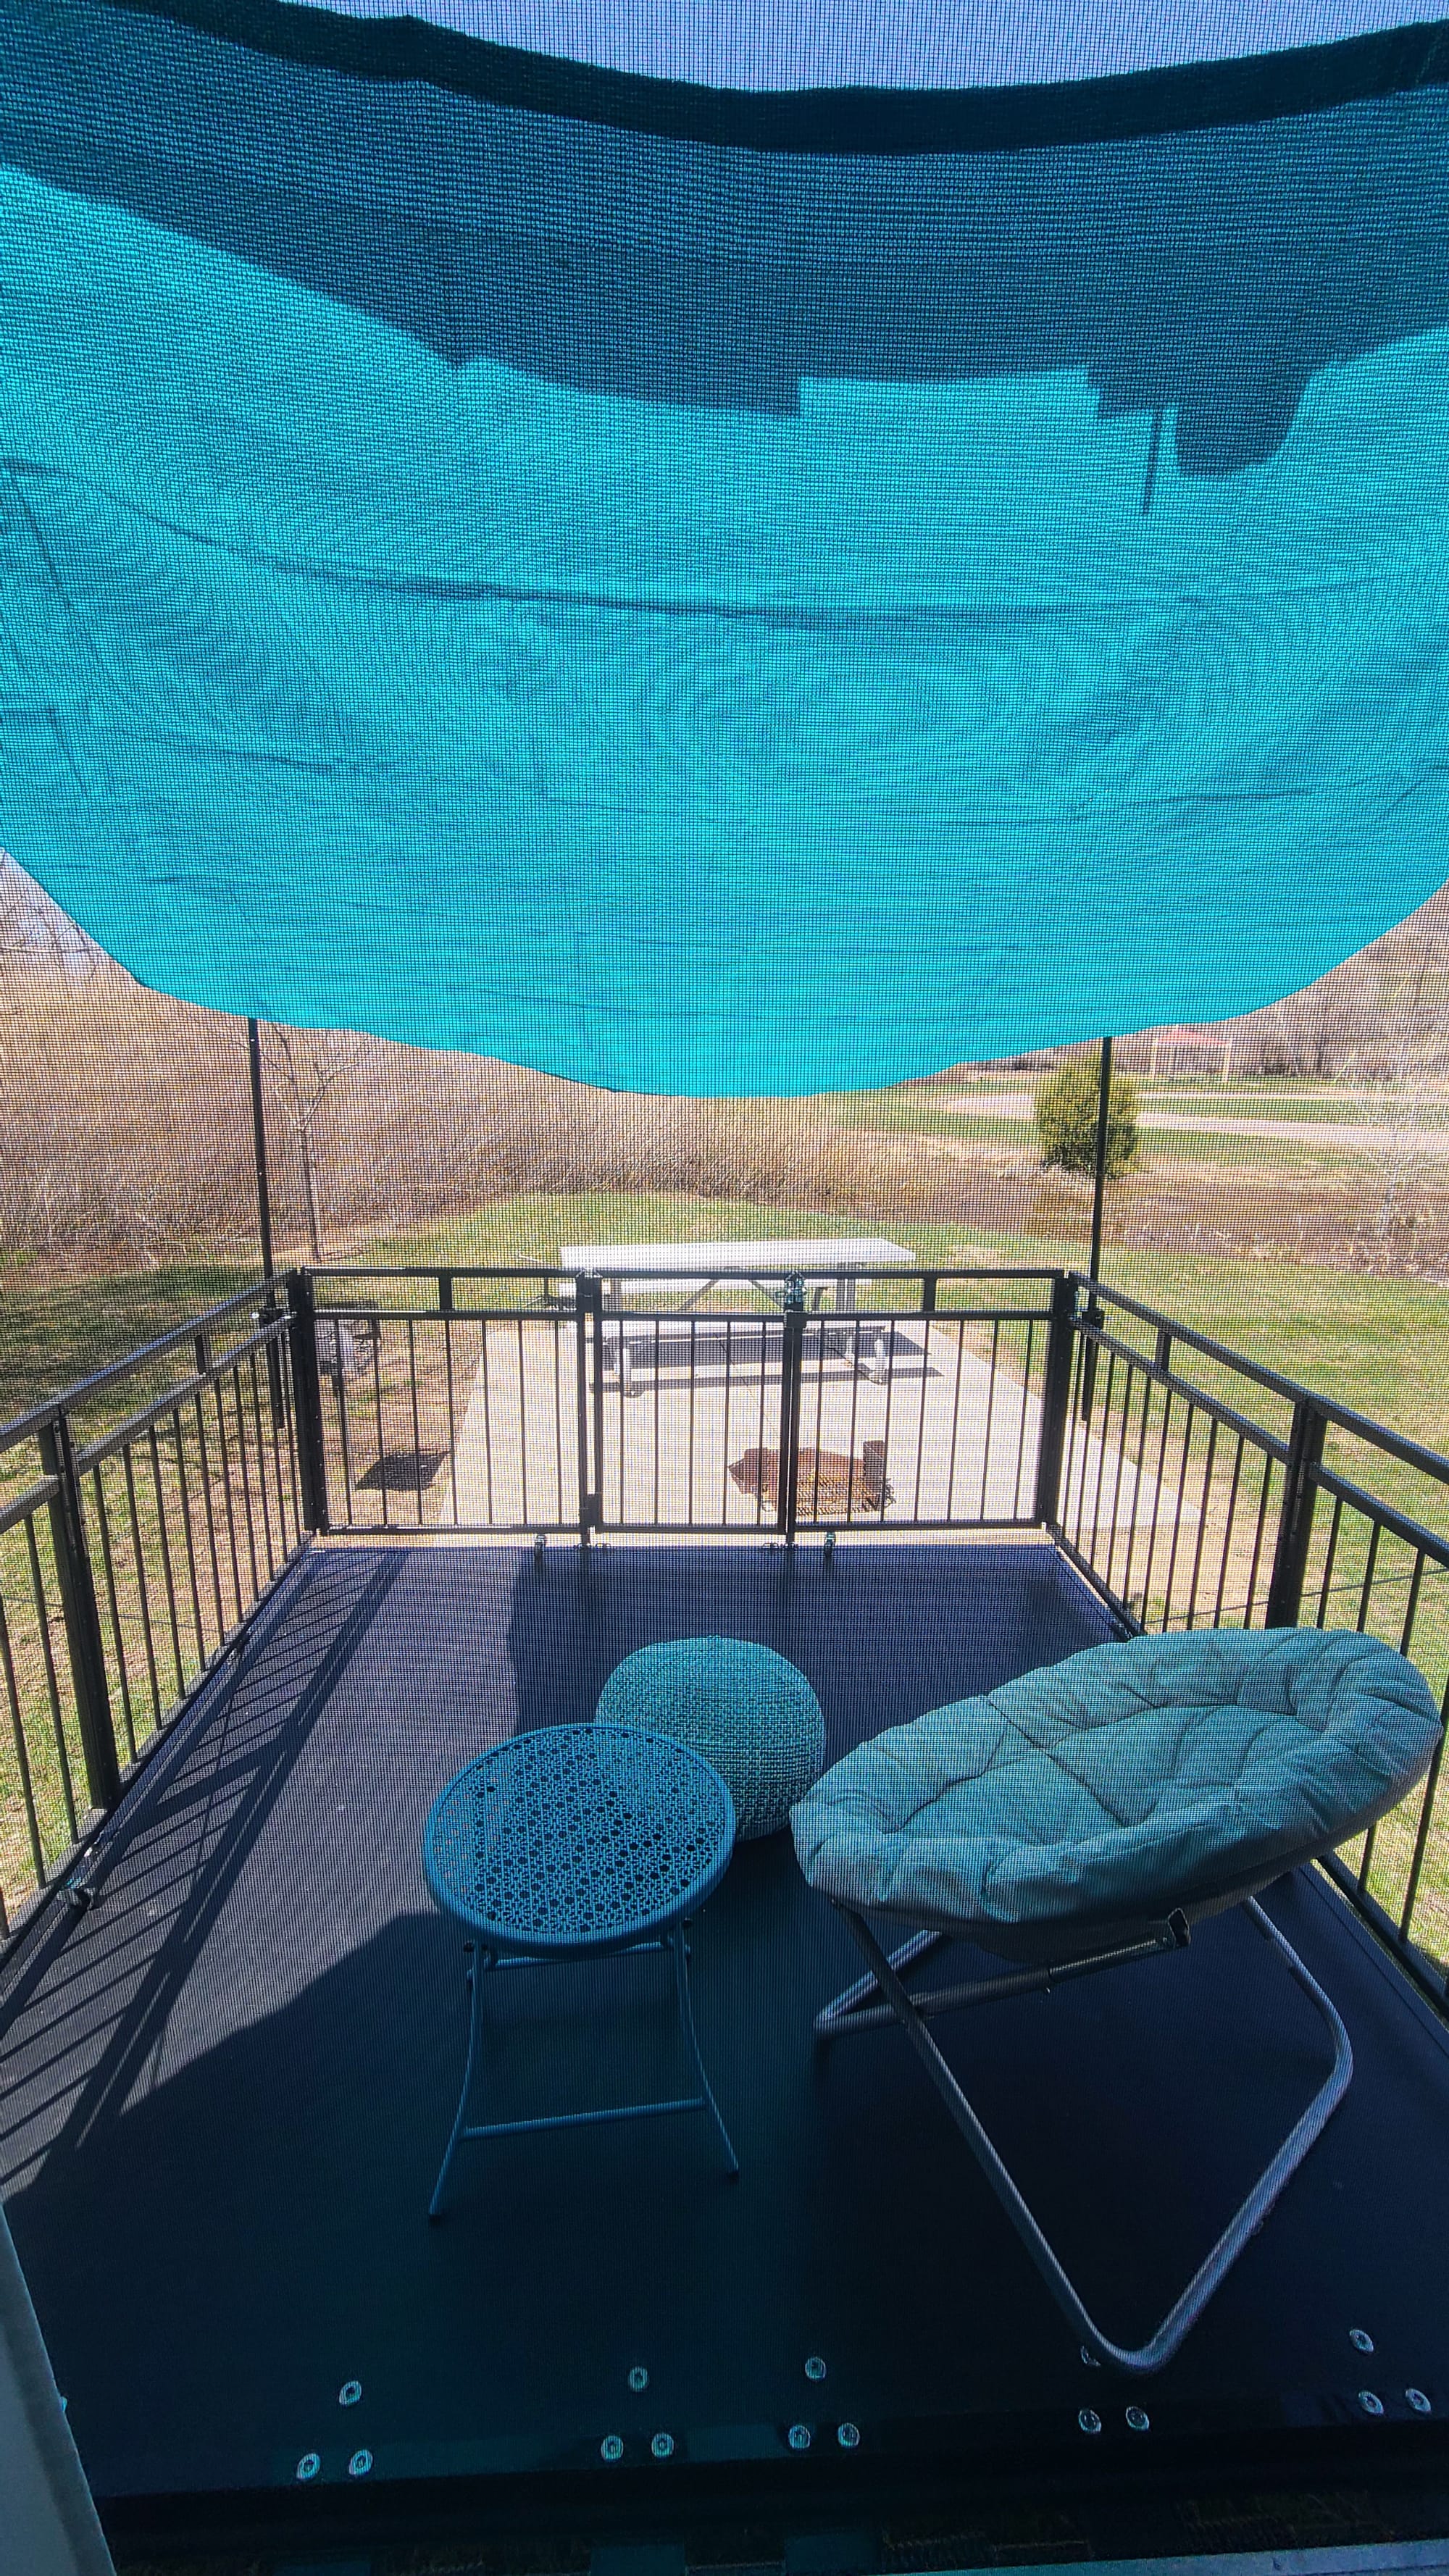
Iteration 2: Glam patio
The tent accomplished something important. It gave us shade. Now, summer was approaching and sunlight would become a major factor. We would put our patio down on days we could take full advantage, and this meant using it for several hours. But, the sun would come around, creating hot hot heat and blinding brightness. We contemplated solutions that would not involve drilling into our roof or frame. This meant a rear awning was out, and honestly, we don't think there is room to install one anyway because our backup camera is in the way. We were in the middle of Kentucky at this point and just wanted a simple but effective solution. Hmm...well, it was kind of effective. It was not simple.
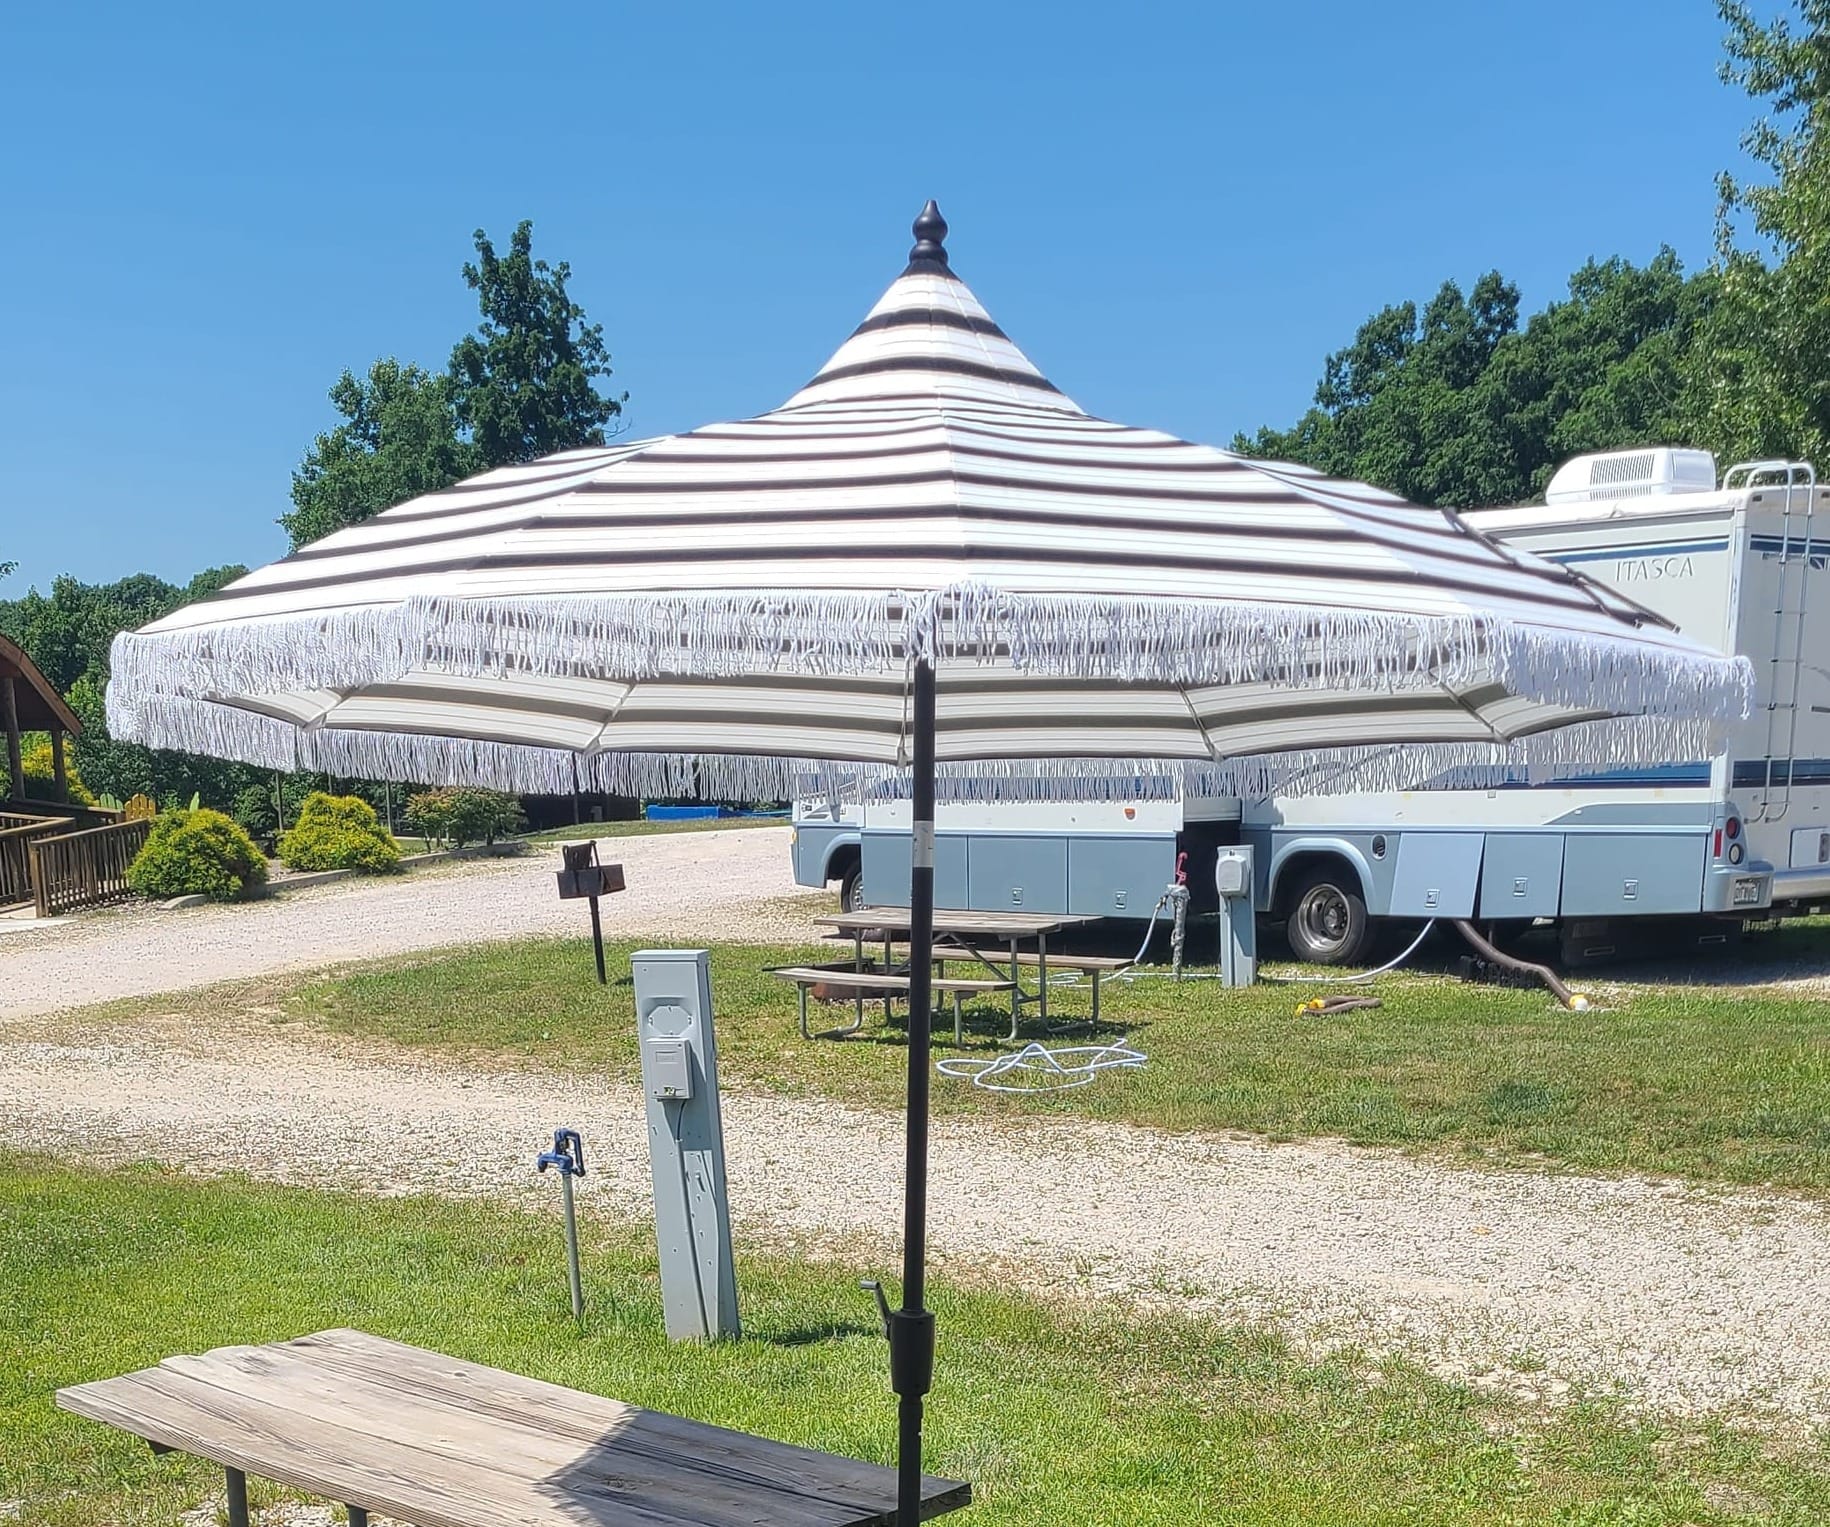
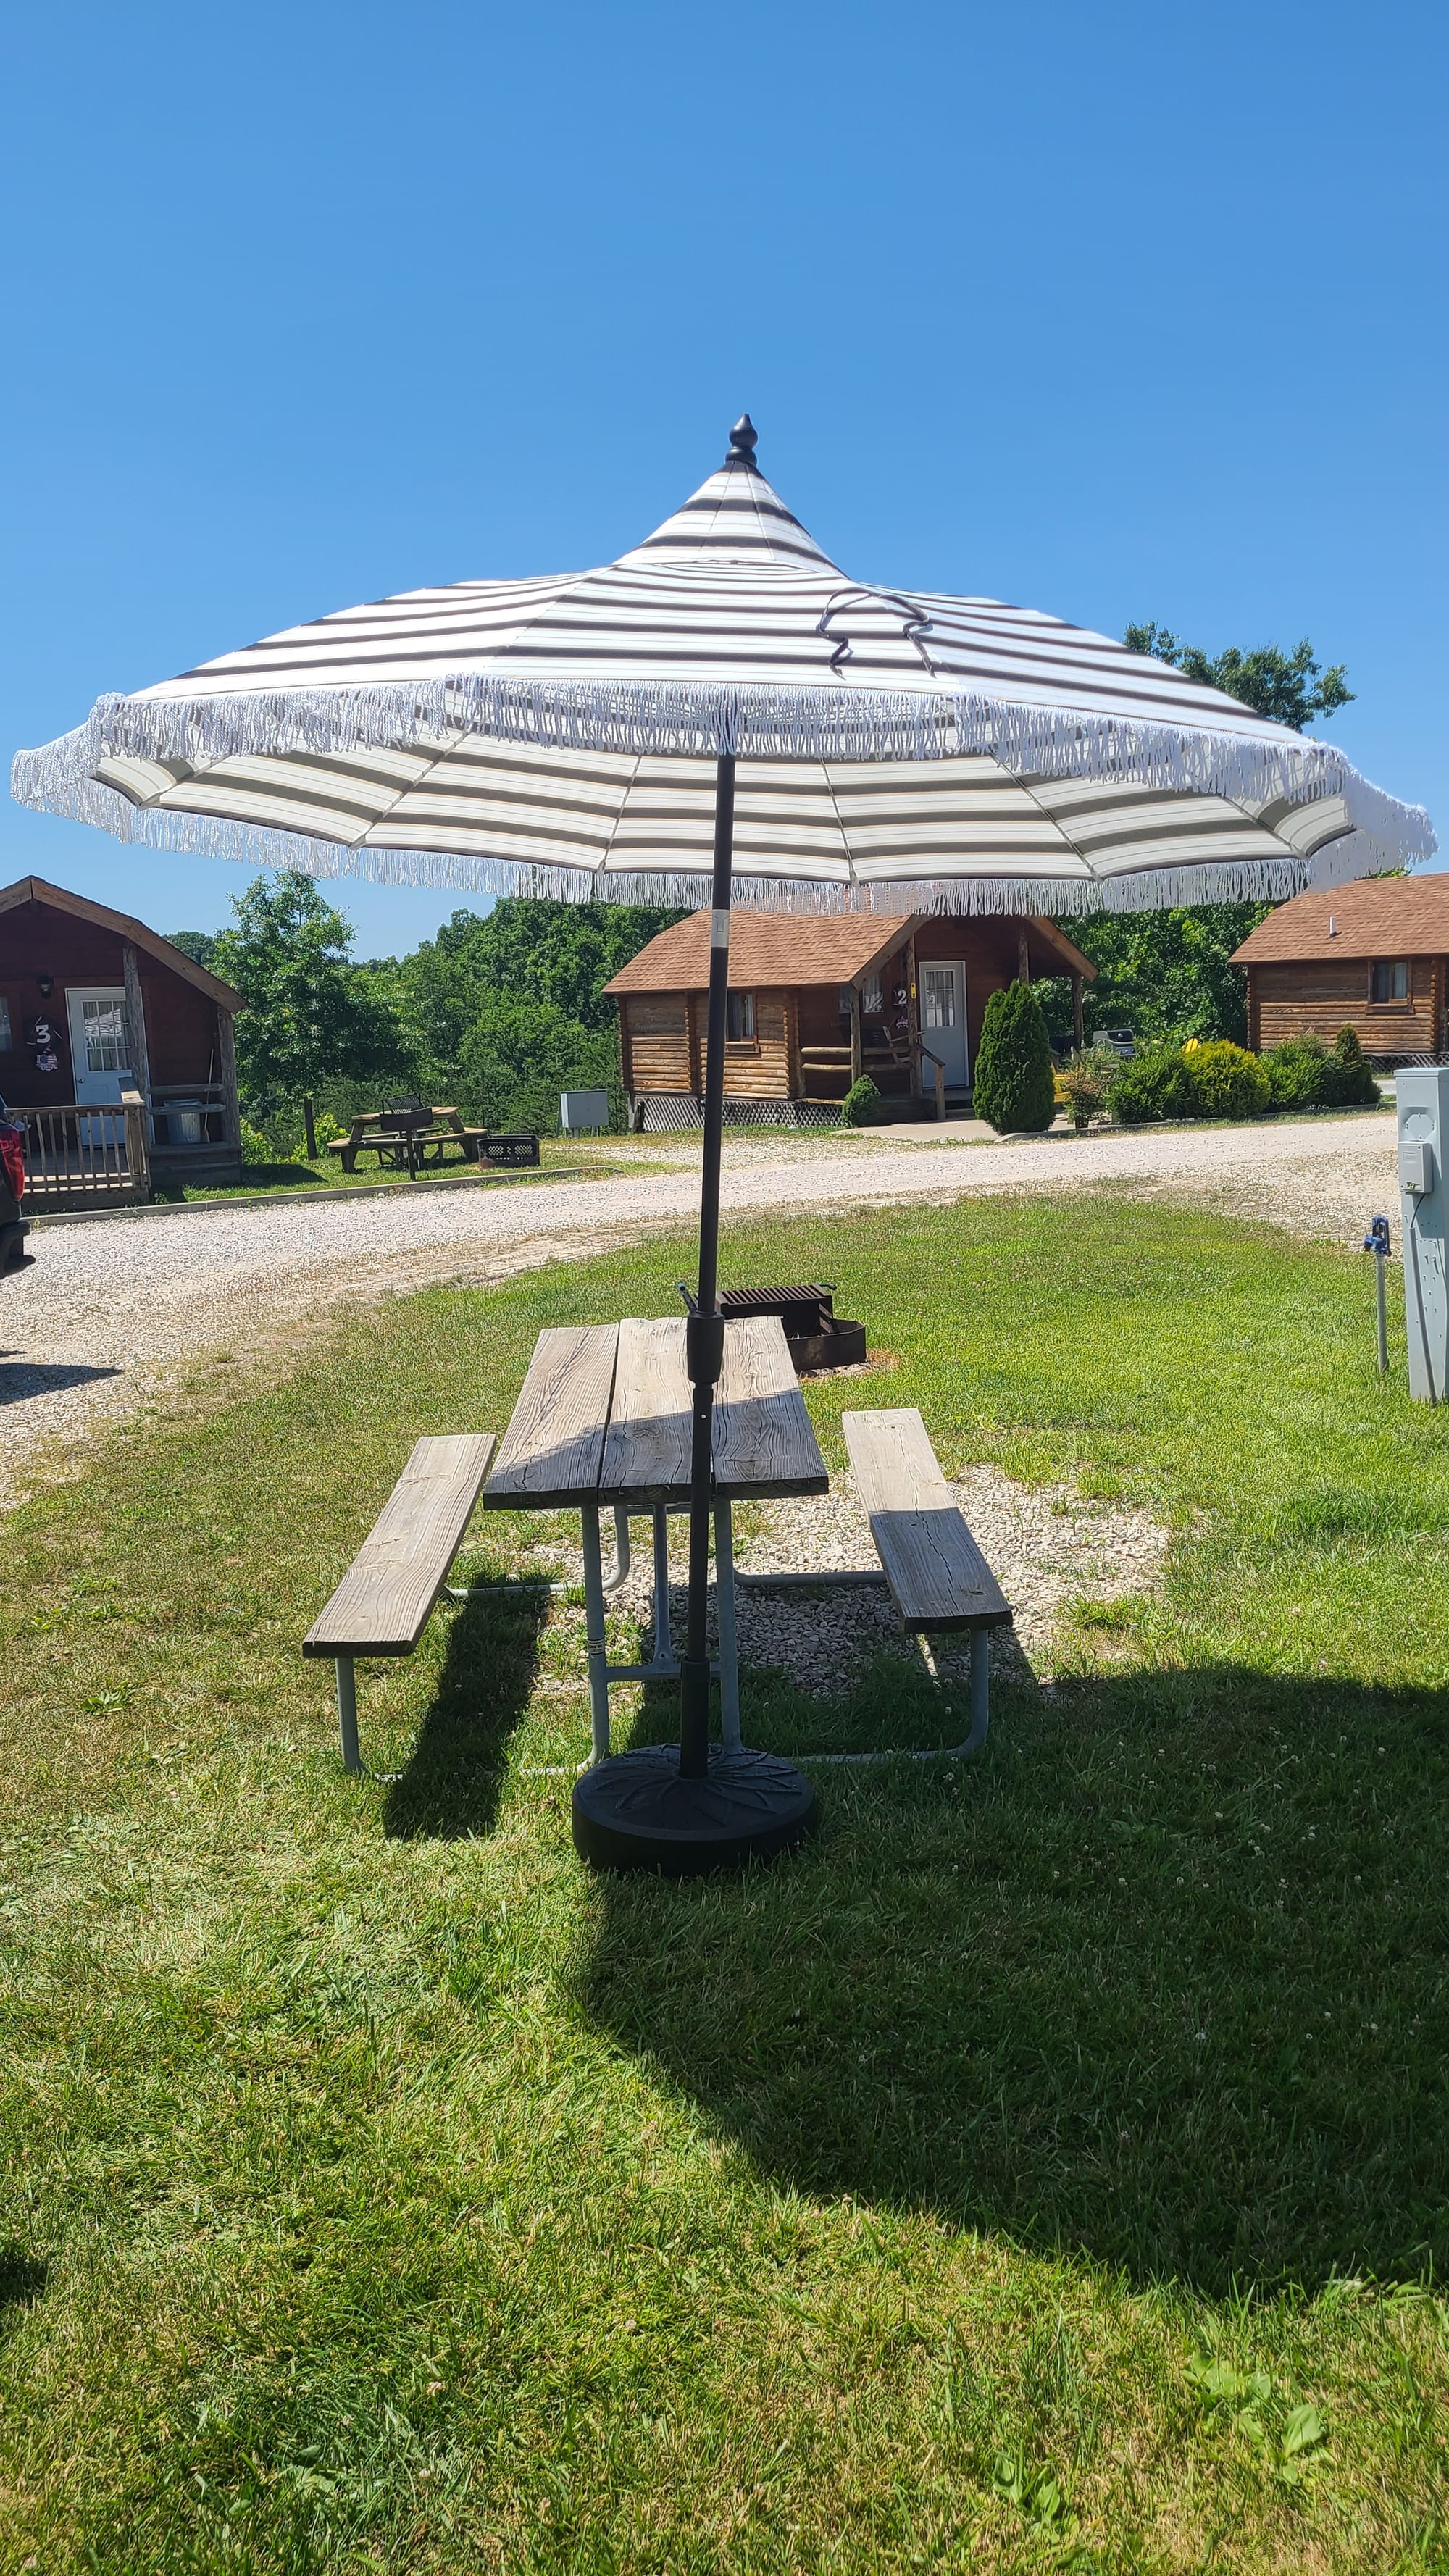
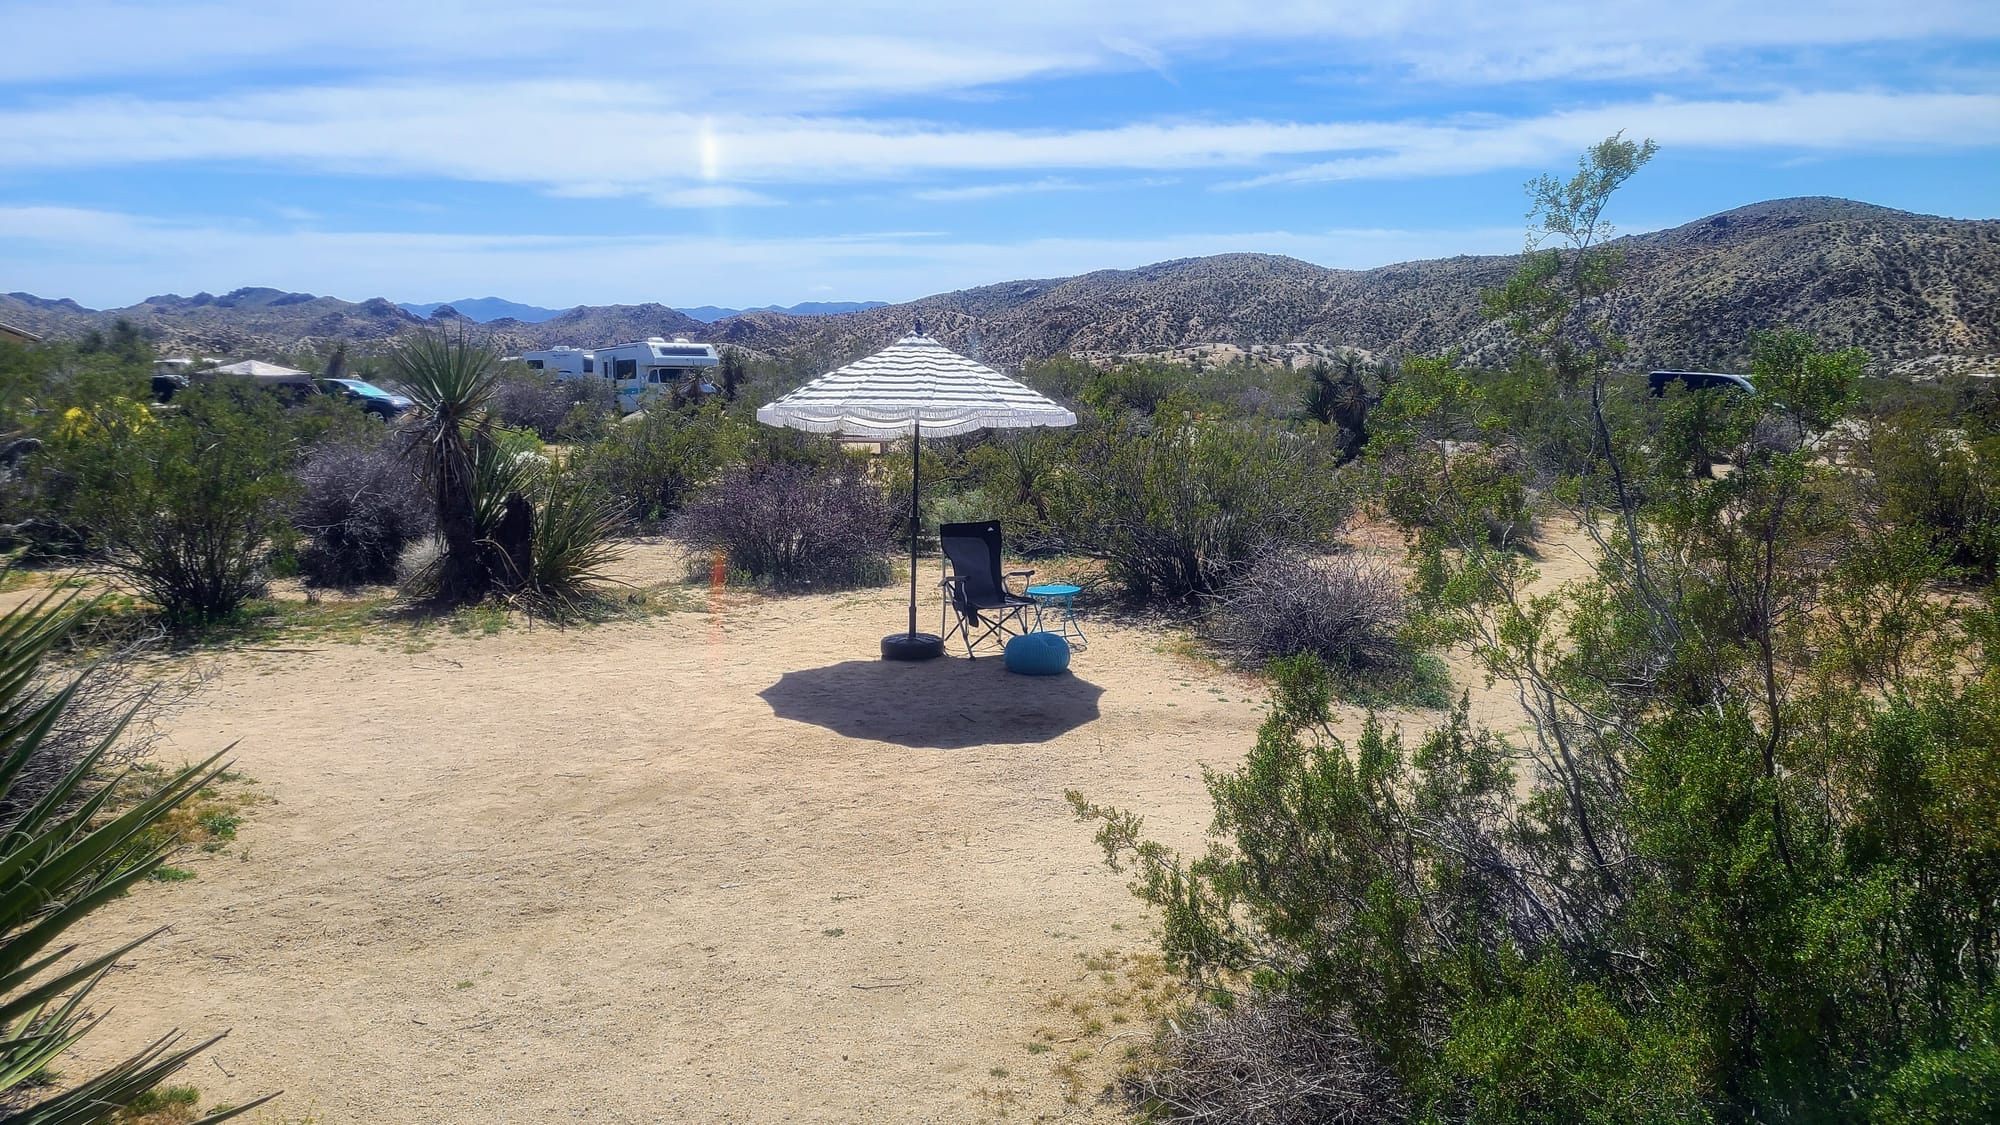
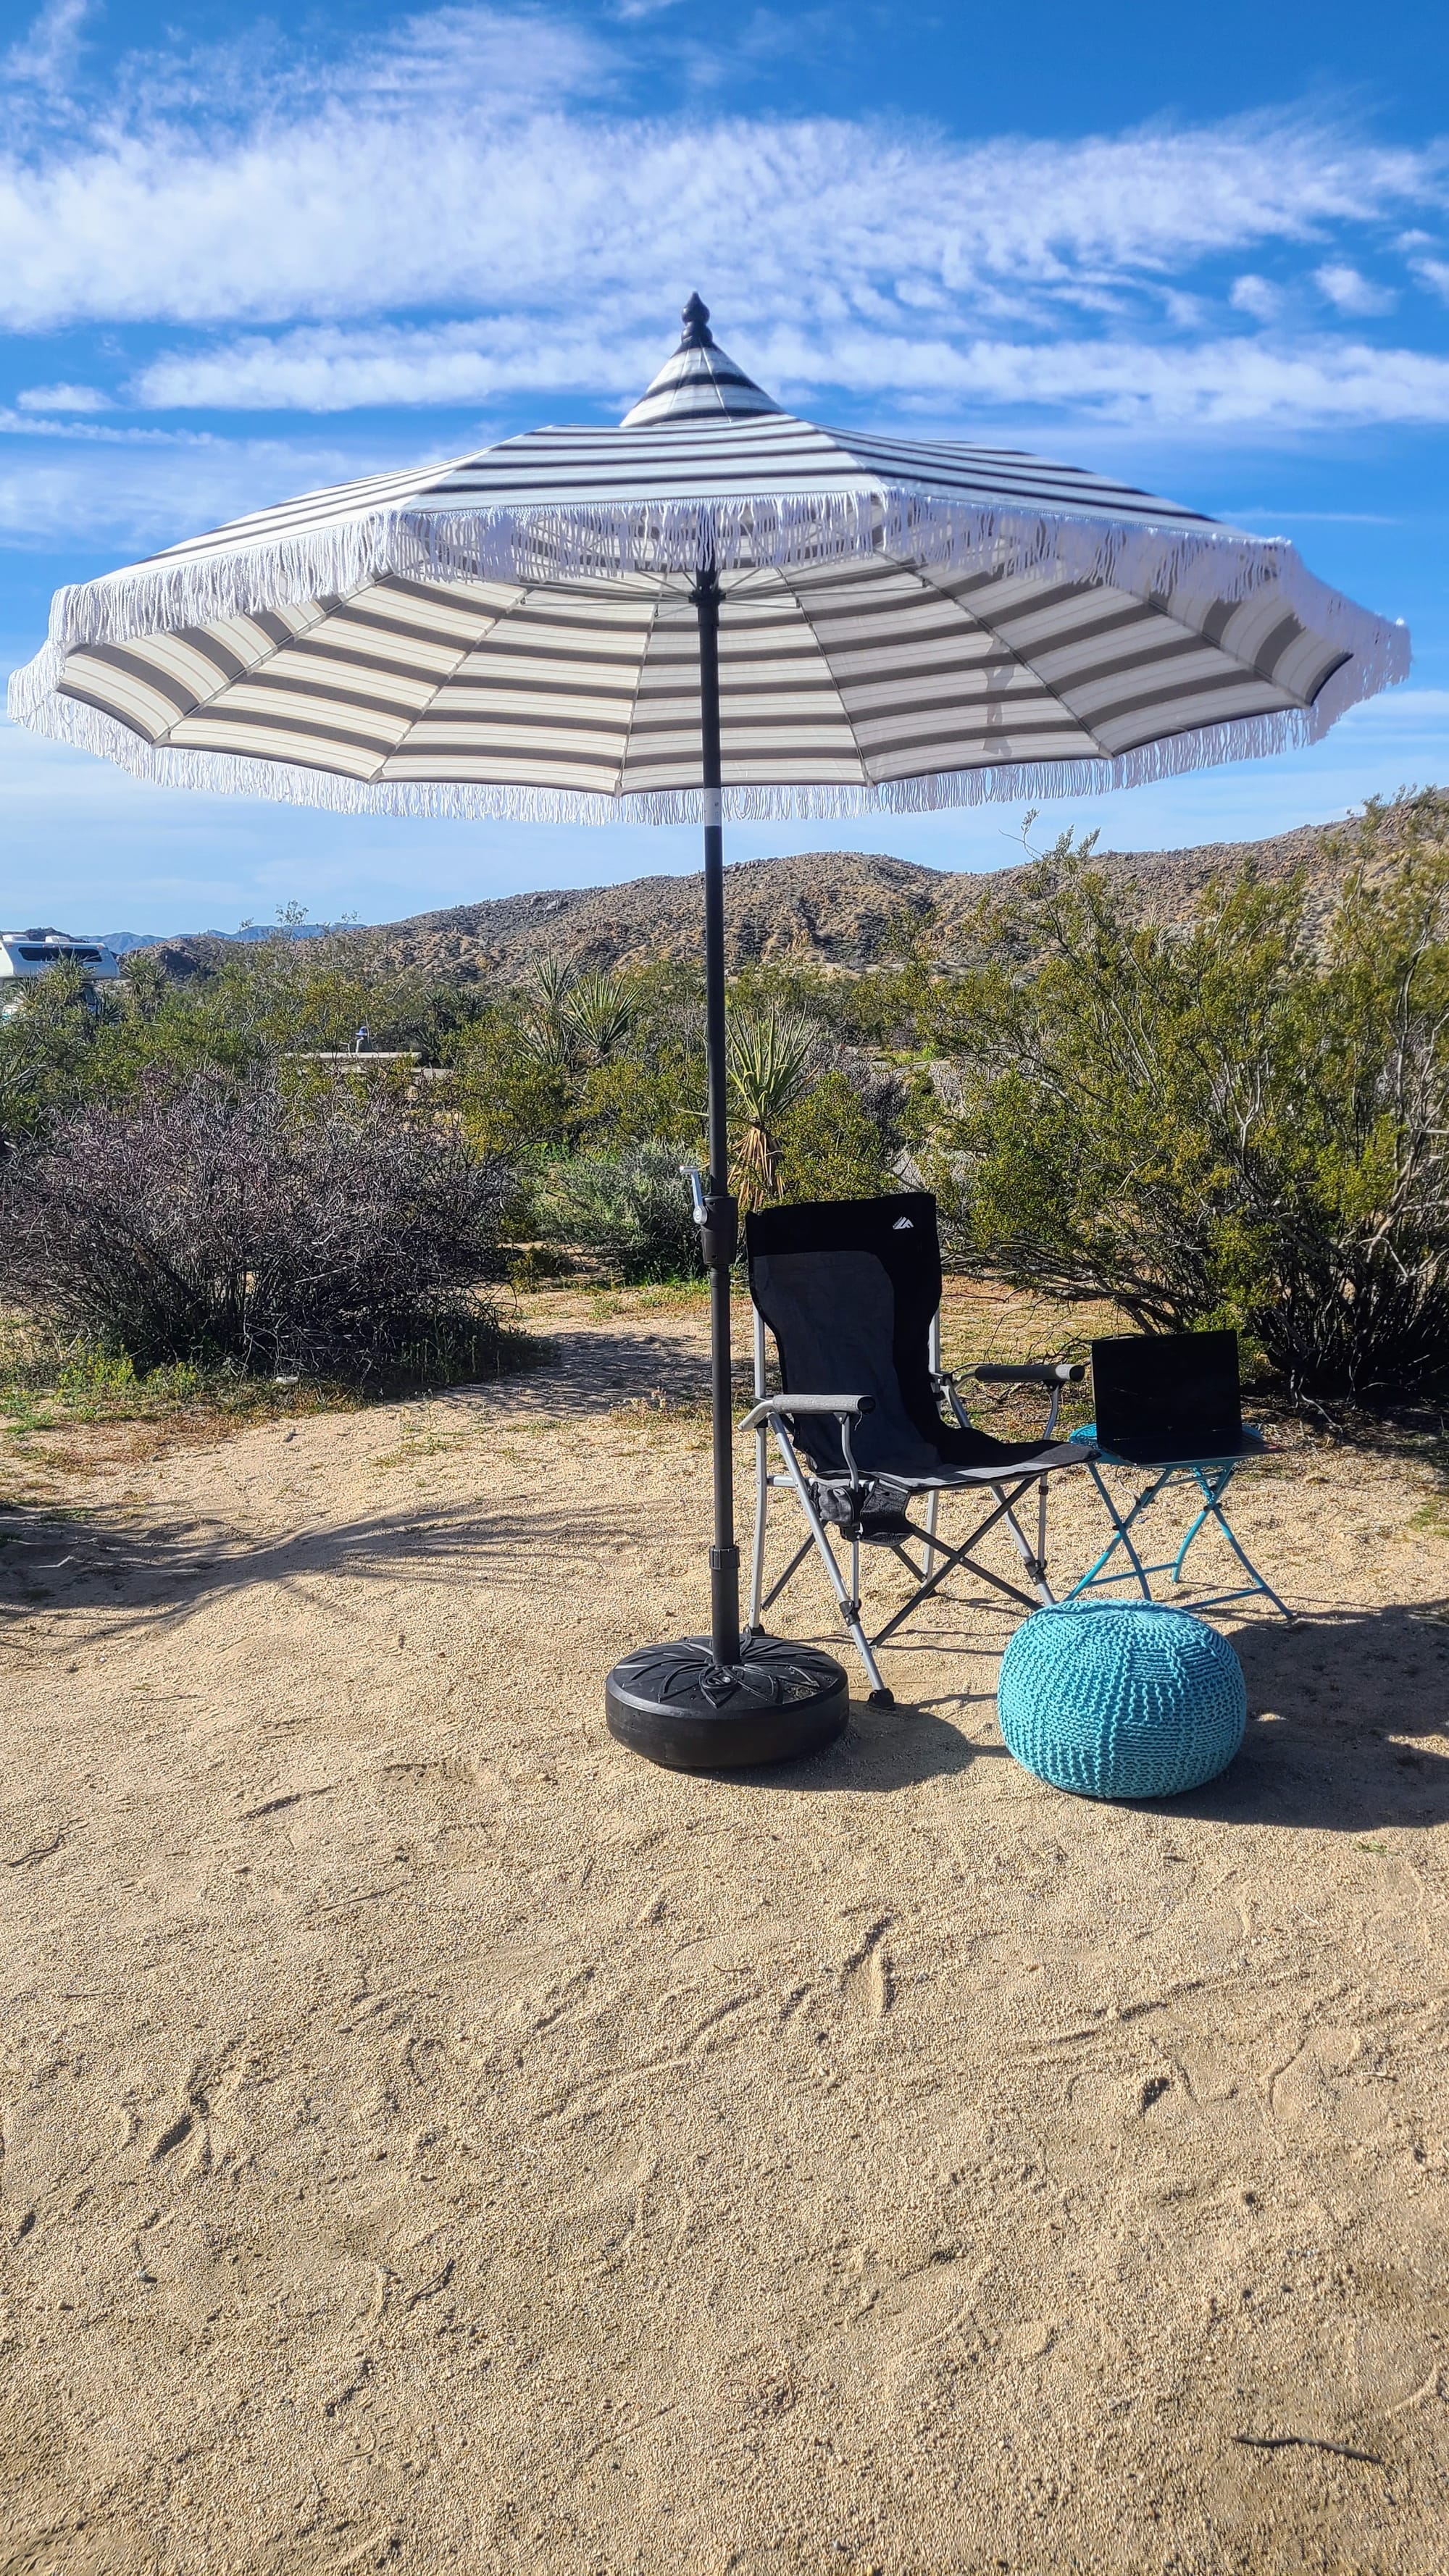
In theory, it worked great. We could adjust the angle of the umbrella to shield us from the sun no matter where it was shining. We could retract the umbrella and store it in the truck when not in use. But in practice, the umbrella was cumbersome, and we weren't quite factoring in that when it comes to giant sun umbrellas, it's all about that base.
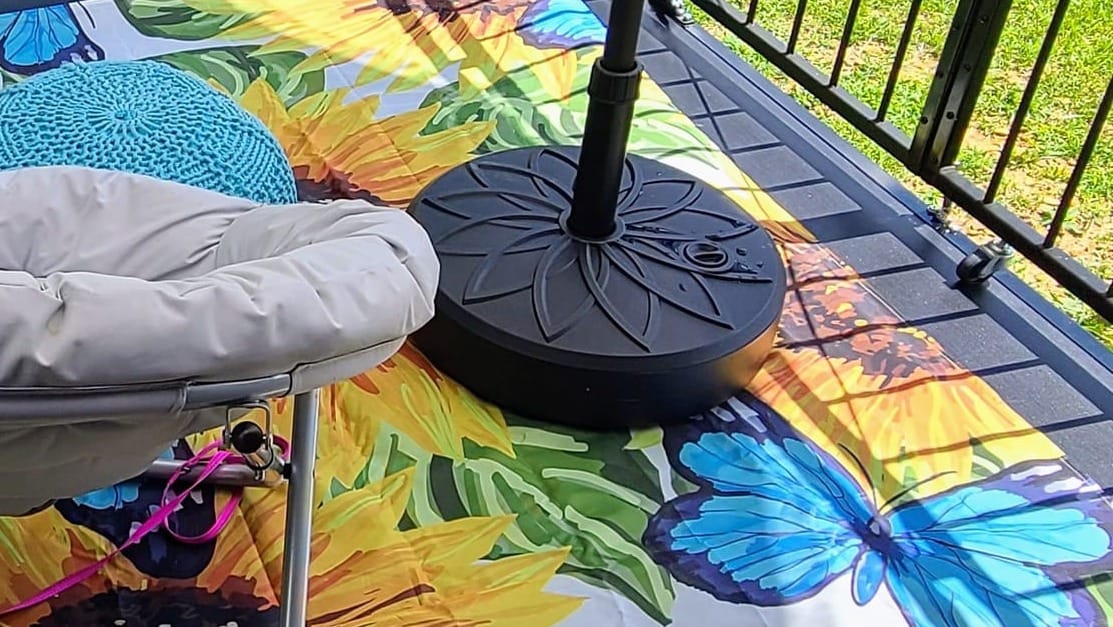
We had to keep the umbrella sturdy and upright, but we didn't want to cart a heavy base around. We got one that we could fill with sand or water. We always opted for water, but this raised a whole other host of problems. Once we filled it, it was hard to lift it up onto the patio. We sometimes didn't have water hookups and wasted gallons just filling the base. If it wasn't filled enough, the umbrella would topple over in the wind, or sometimes in still weather just because. The base was also tough to store, due to its size and shape.
This setup did have its perks, though. The umbrella was incredibly stylish, a big departure from the rather "blah" gray chair setup from Iteration 1. The umbrella inspired us to go all-out and add some bold, bright colors for summer. We had a lightweight mat that we secured to the corners of the patio with small bungees, and we also got a matching folding table. Our patio usually turns heads, but we got so many compliments from our neighbs with this one! It even got featured by ATC.
The umbrella's portability meant it could also grace our non-patio outdoor setups, like when we shaded our picnic table in Kentucky, or when we created a mobile office in the desert sands of Joshua Tree. It may have toppled over in the winds that day, but who's to say?
The biggest problem was that our 5-10 minute setup goal flew right out the ramp door. We hardly ever took the time to set up the full patio. Most times, it looked more like "blah" Iteration 1.
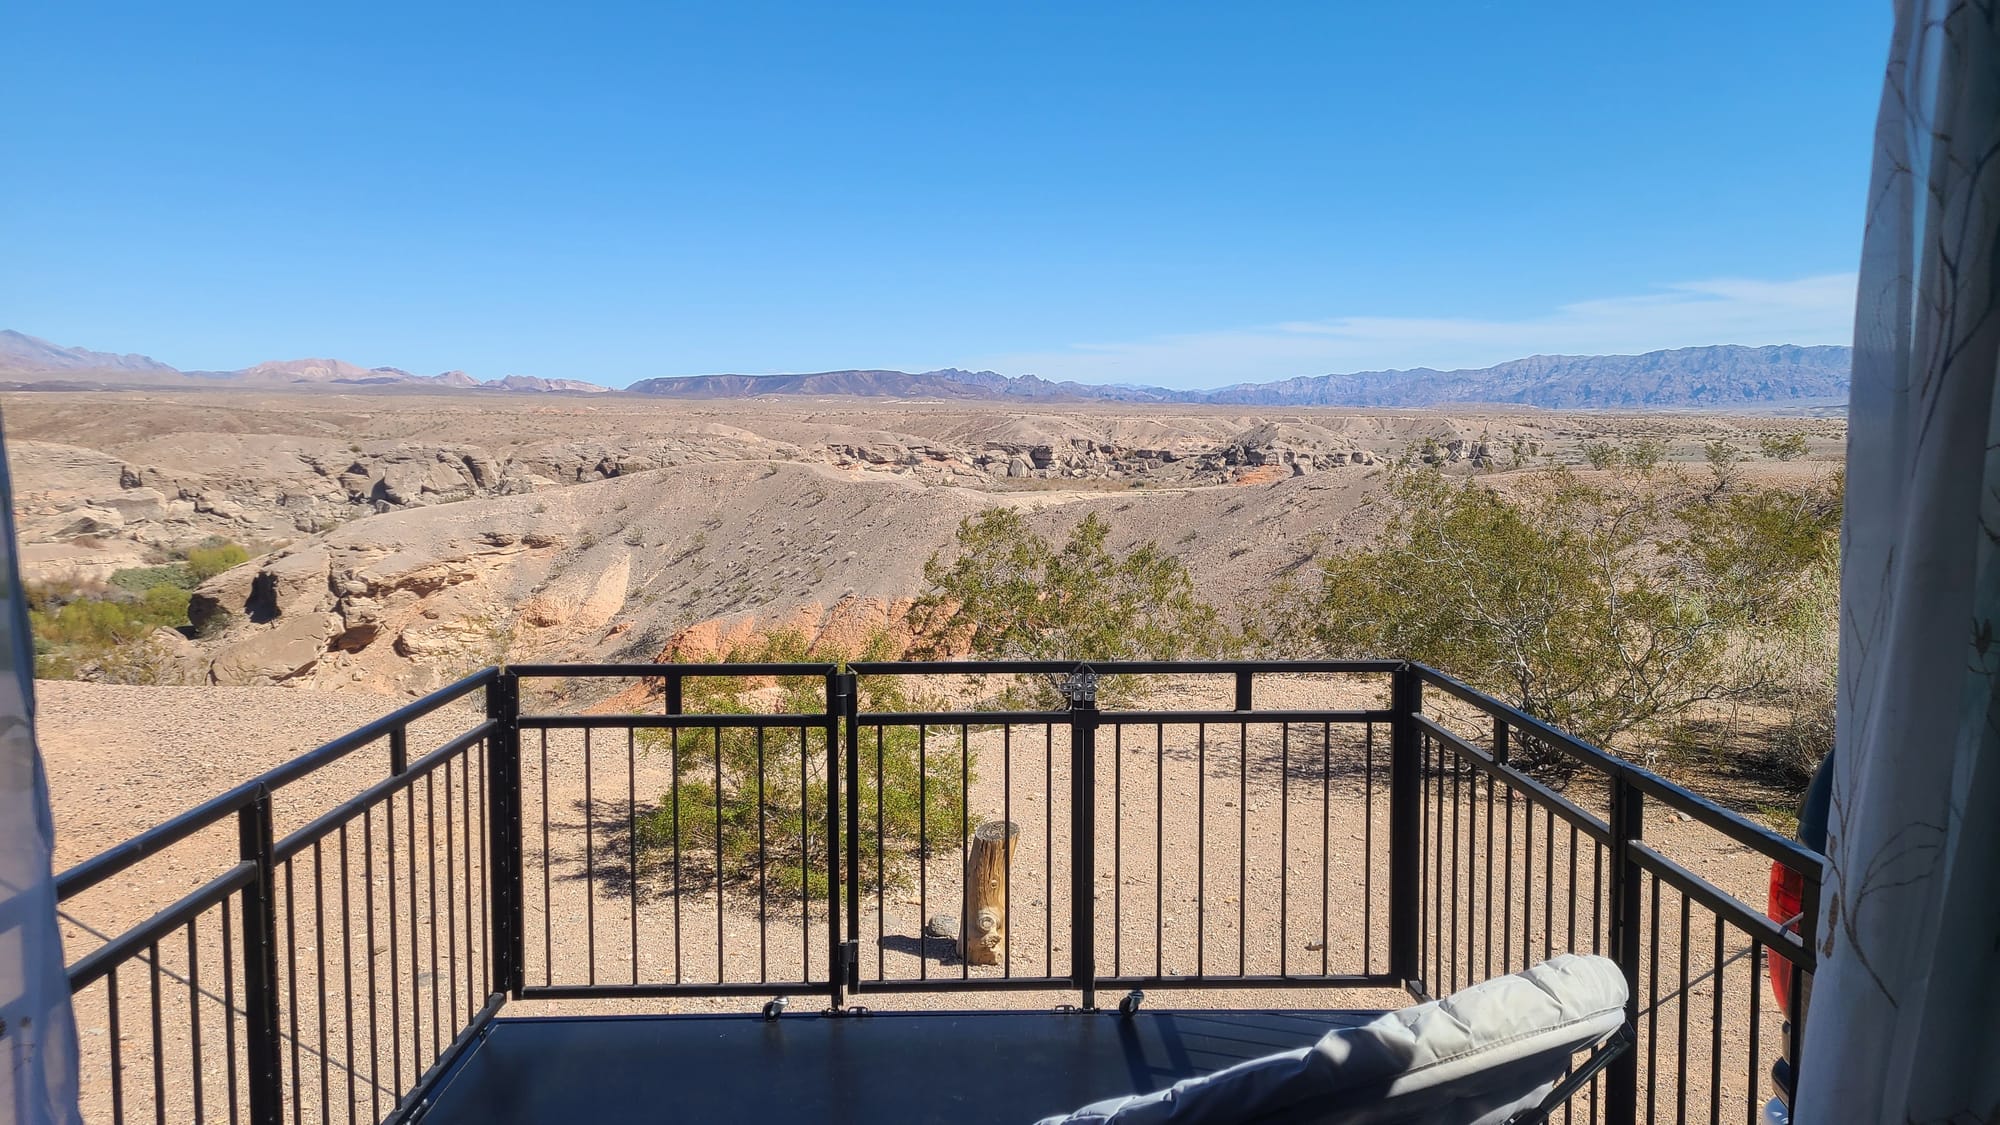
At least sometimes, the views were the opposite of "blah."
Eventually, we decided to part ways with the umbrella. The glam design was not worth the stress of setup or the large footprint. Besides, we had inadvertently solved the very problem that led us to buying the umbrella in the first place.
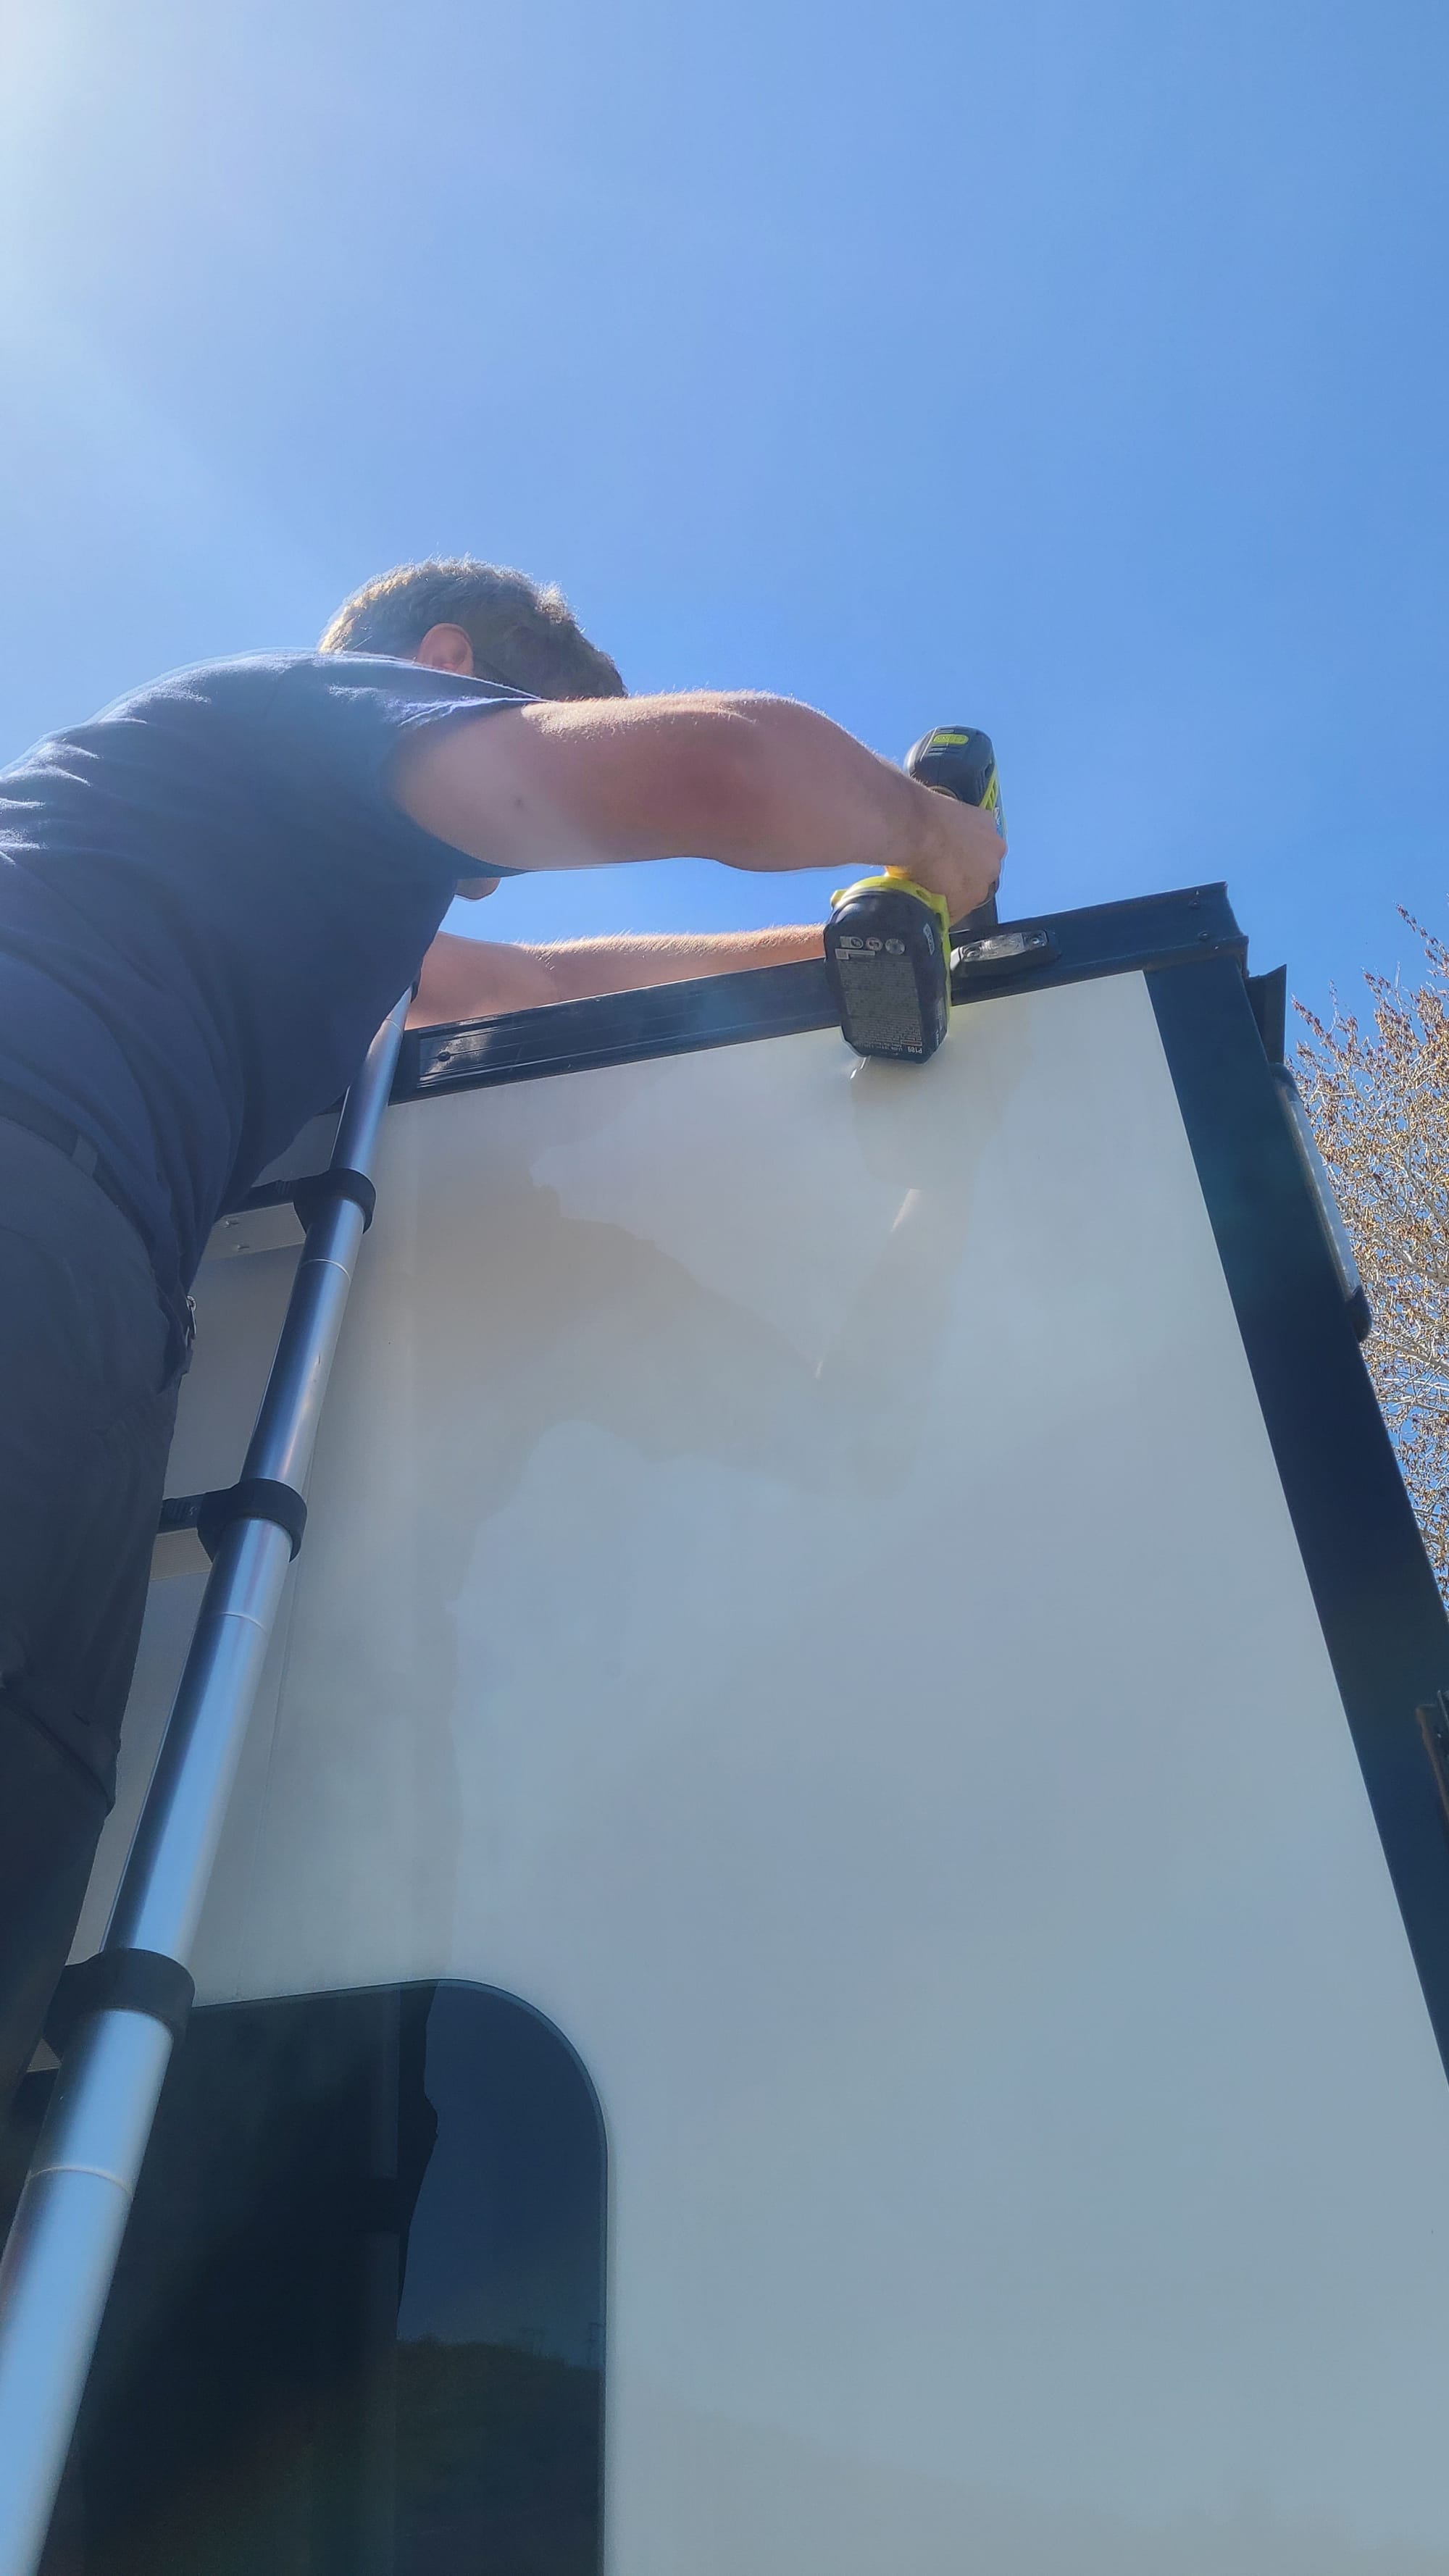
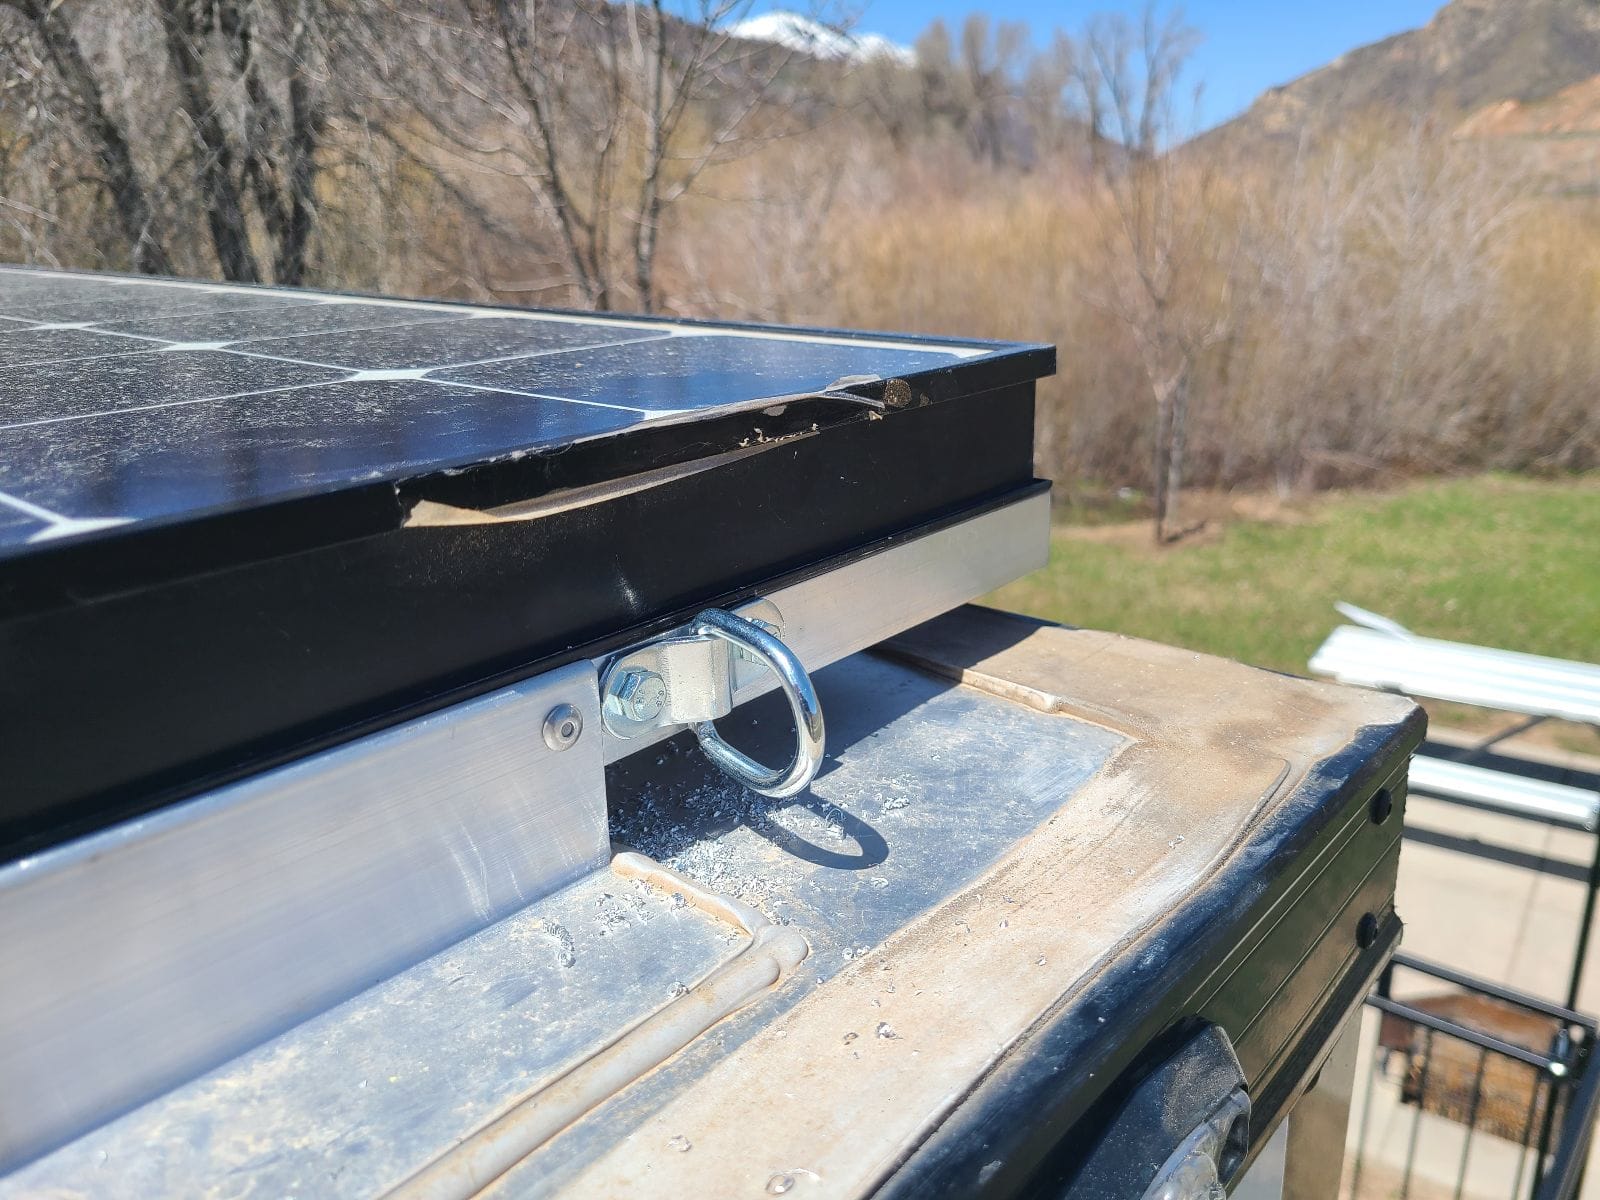
Remember when we said we didn't want to drill any holes in the RV? We didn't. Boondoctor John did. He bracketed our solar panels to the roof, and we realized this gave us an opportunity. If we wanted to hang a sun shade, we could drill into the brackets and avoid our roof entirely.
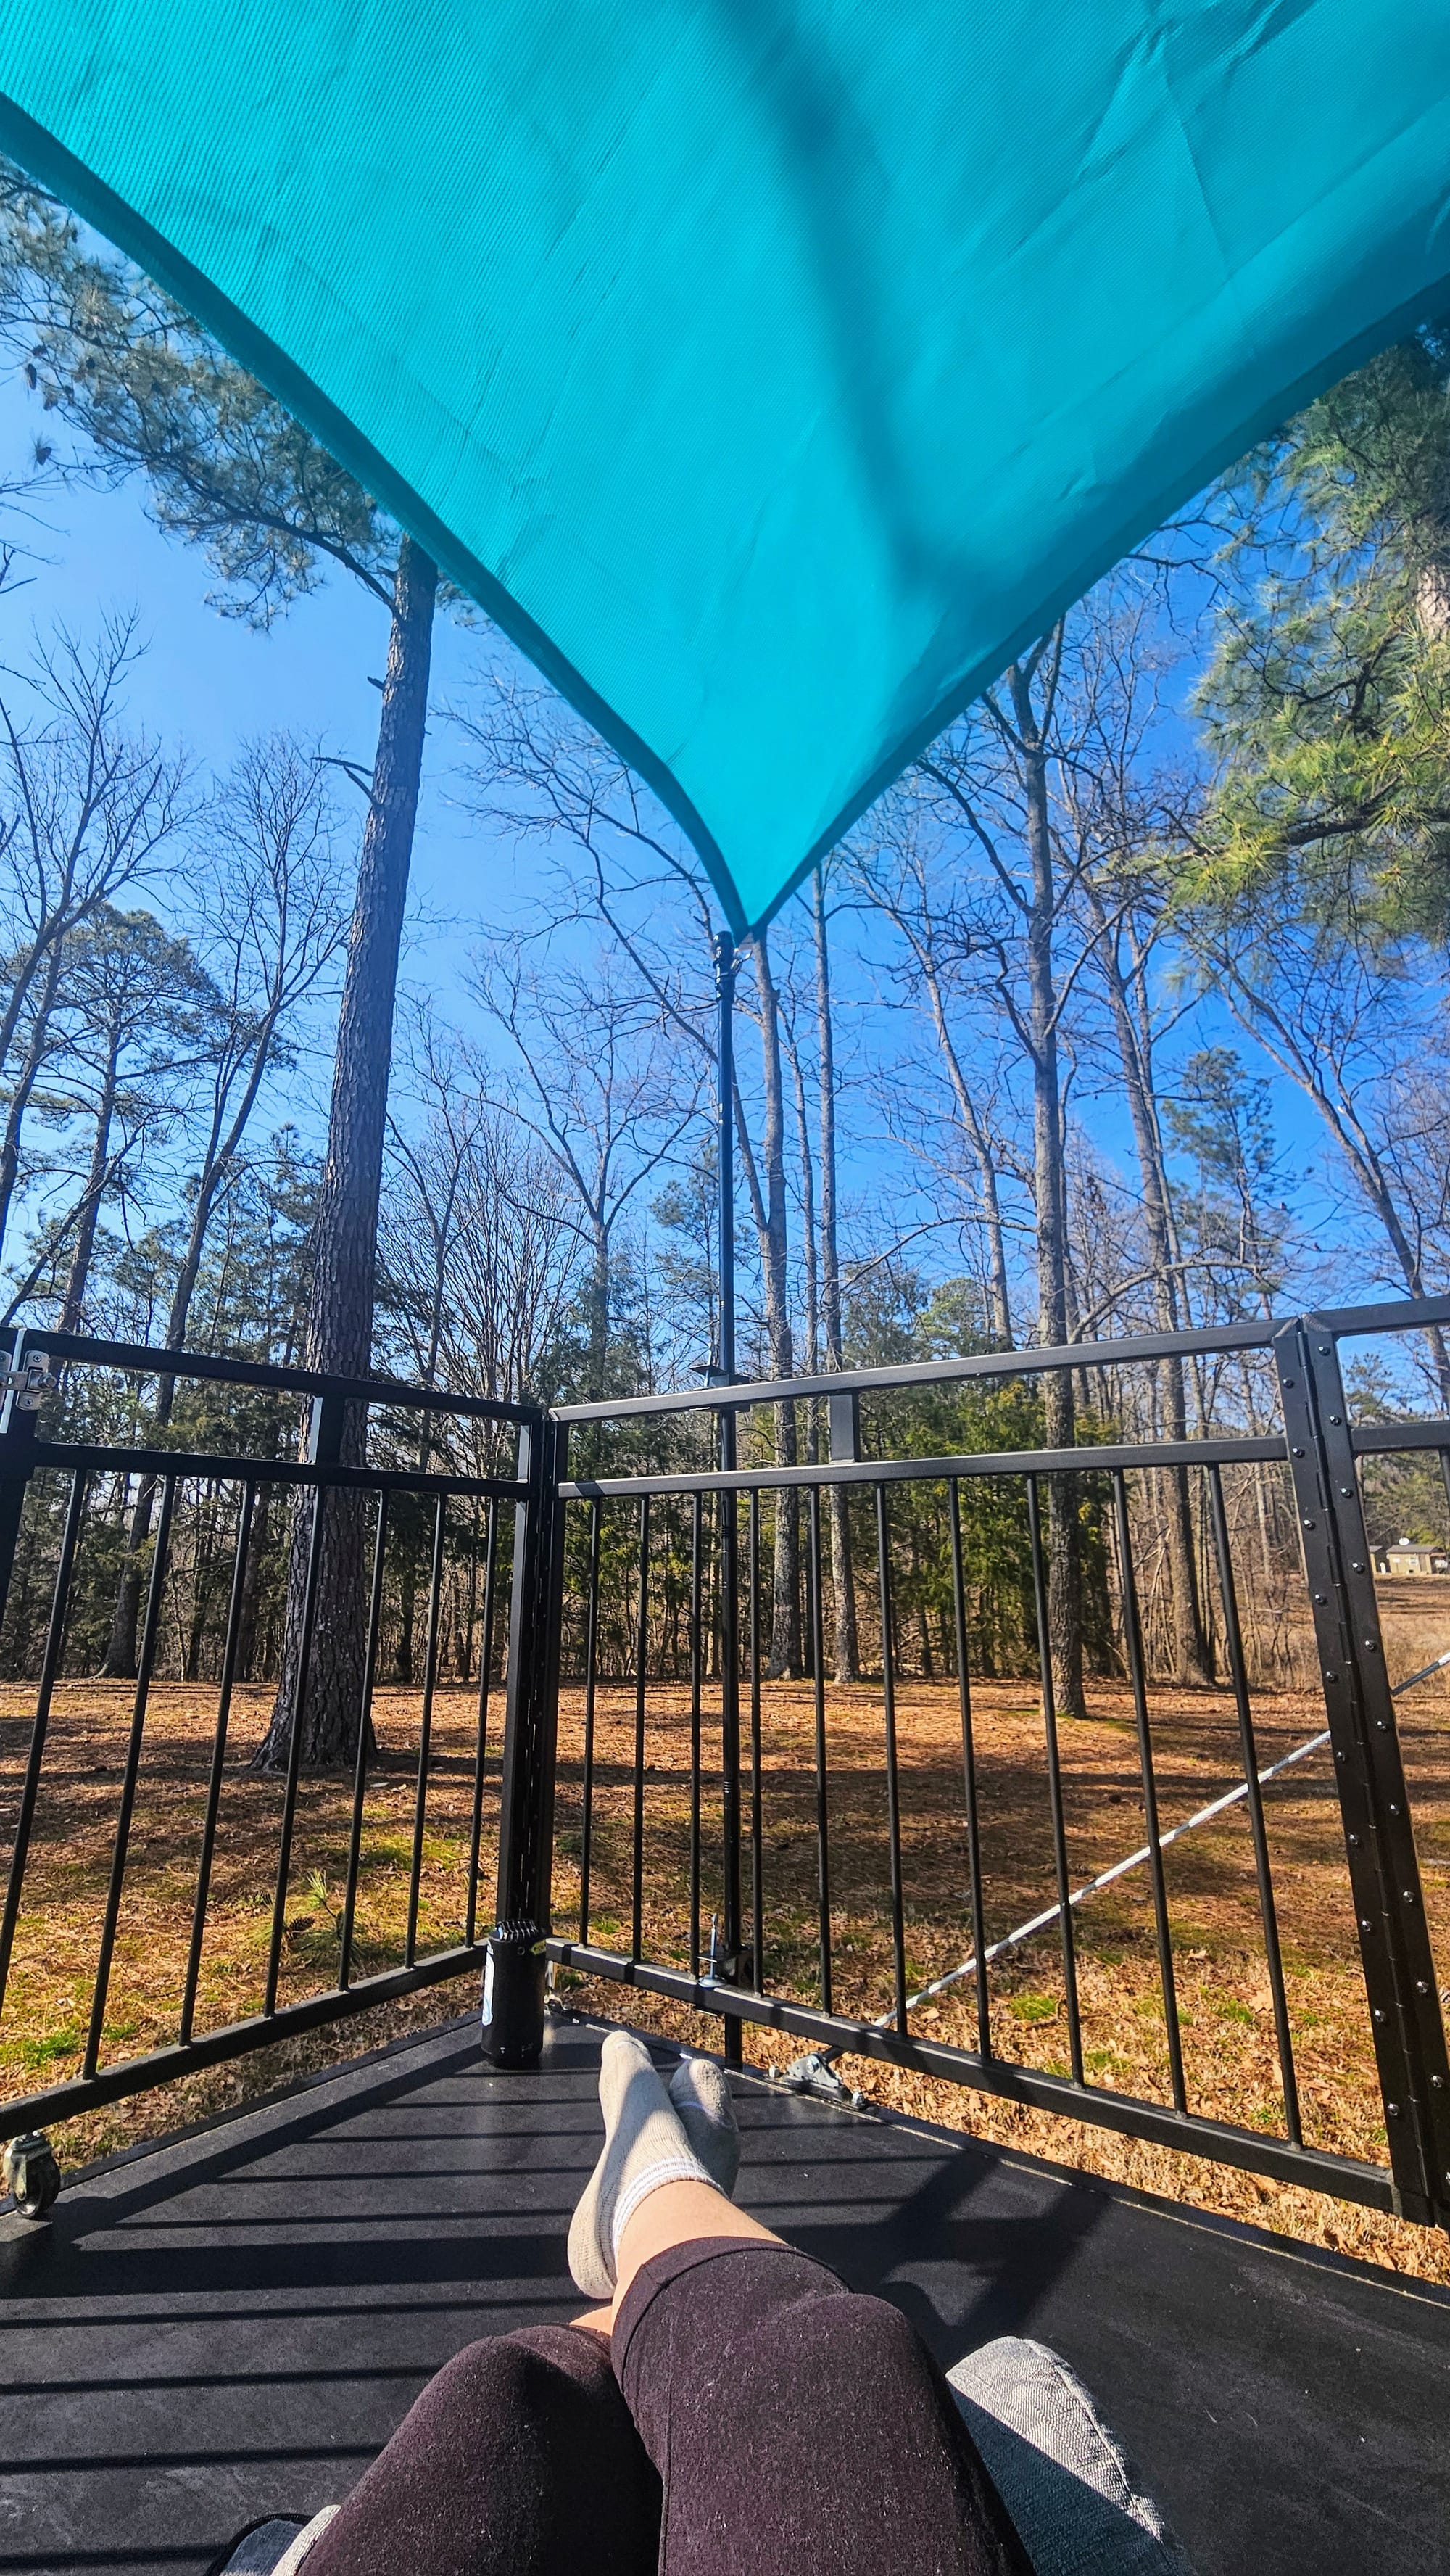
Iteration 3: The sun shade
The idea was budding, but we still needed to think through a lot of logistics. What could we actually bolt into our brackets to hold the shade? What size shade would we need? How would we secure it to the far side of our patio? We ultimately came up with this materials list:
- D ring set with anchor rings and carabiners
- 8x8 sun shade
- Expandable flag poles
- Deck clamp mounting brackets
We bolted the anchor D-rings into the solar panel brackets and secured one end of the sun shade to them with the carabiners. (The shade already had rings attached to each corner). Then on the other side of the patio, we attached the deck clamp brackets to our patio rails opposite one another, and we secured two flag poles in them. The tops of the flag poles already came with carabiner hooks, so we used those to secure the remaining two corners of the shade.

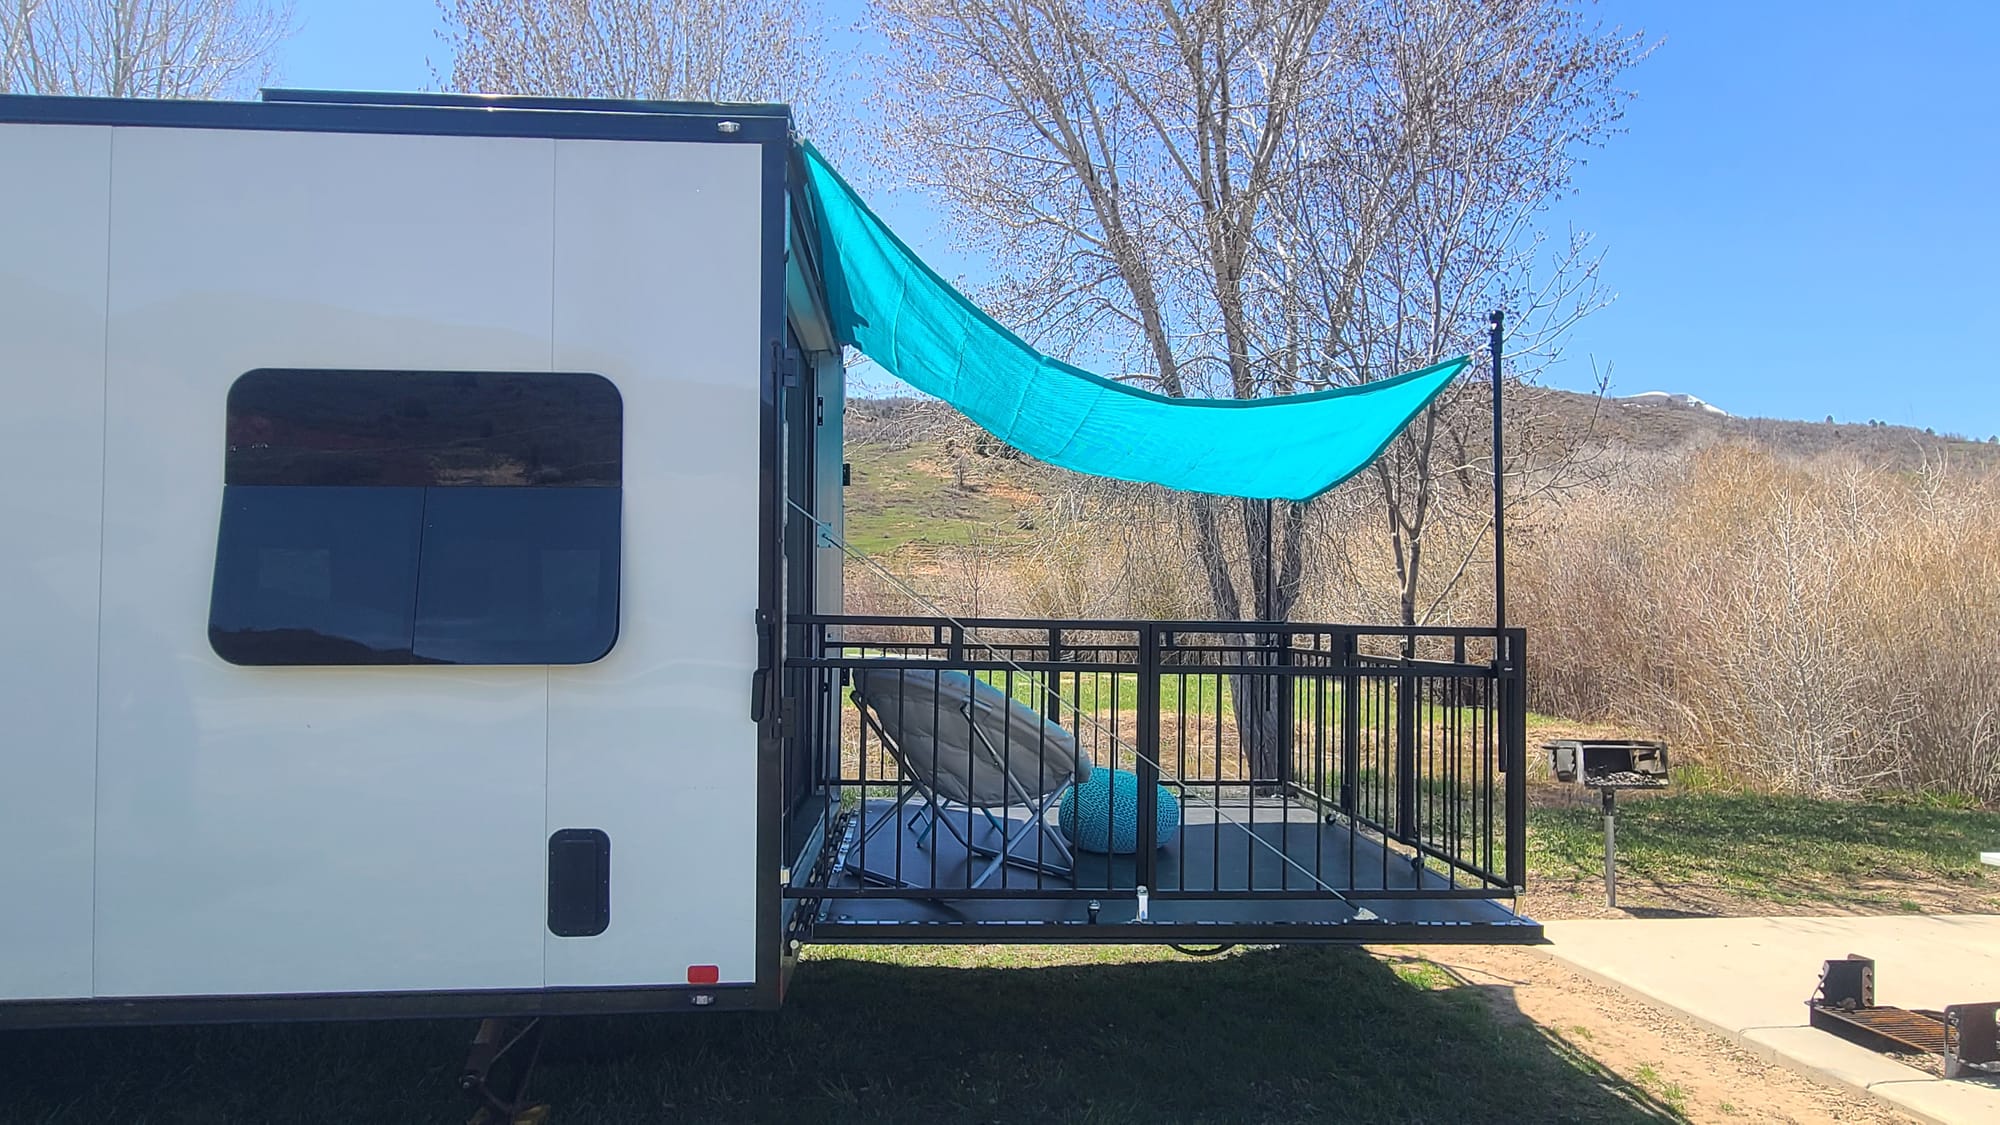
We felt like this was our best setup yet, but it had some shortcomings...or in the case of the shade...longcomings. Basically, the shade was too big. We chose an 8x8 because it was really cheap, but it sagged just a bit too much, so that if a gust of wind blew in, it would blow under the shade like a sail, and the flag poles would become disengaged from their holders. We needed a smaller size, but we first needed to ask ourselves, will it be worth spending the extra money? It was 3x more money for 1ft less shade! This setup is not as cumbersome as Iteration 2, but it still takes time. With practice, we got the timing down to right around 10 minutes, if everything went smoothly with tightening and connecting things. It also involved bringing our dining chair out to the patio to climb up and hook the shade to the solar brackets. But, we really loved the potential of this setup and felt it would be worth the tweaks.
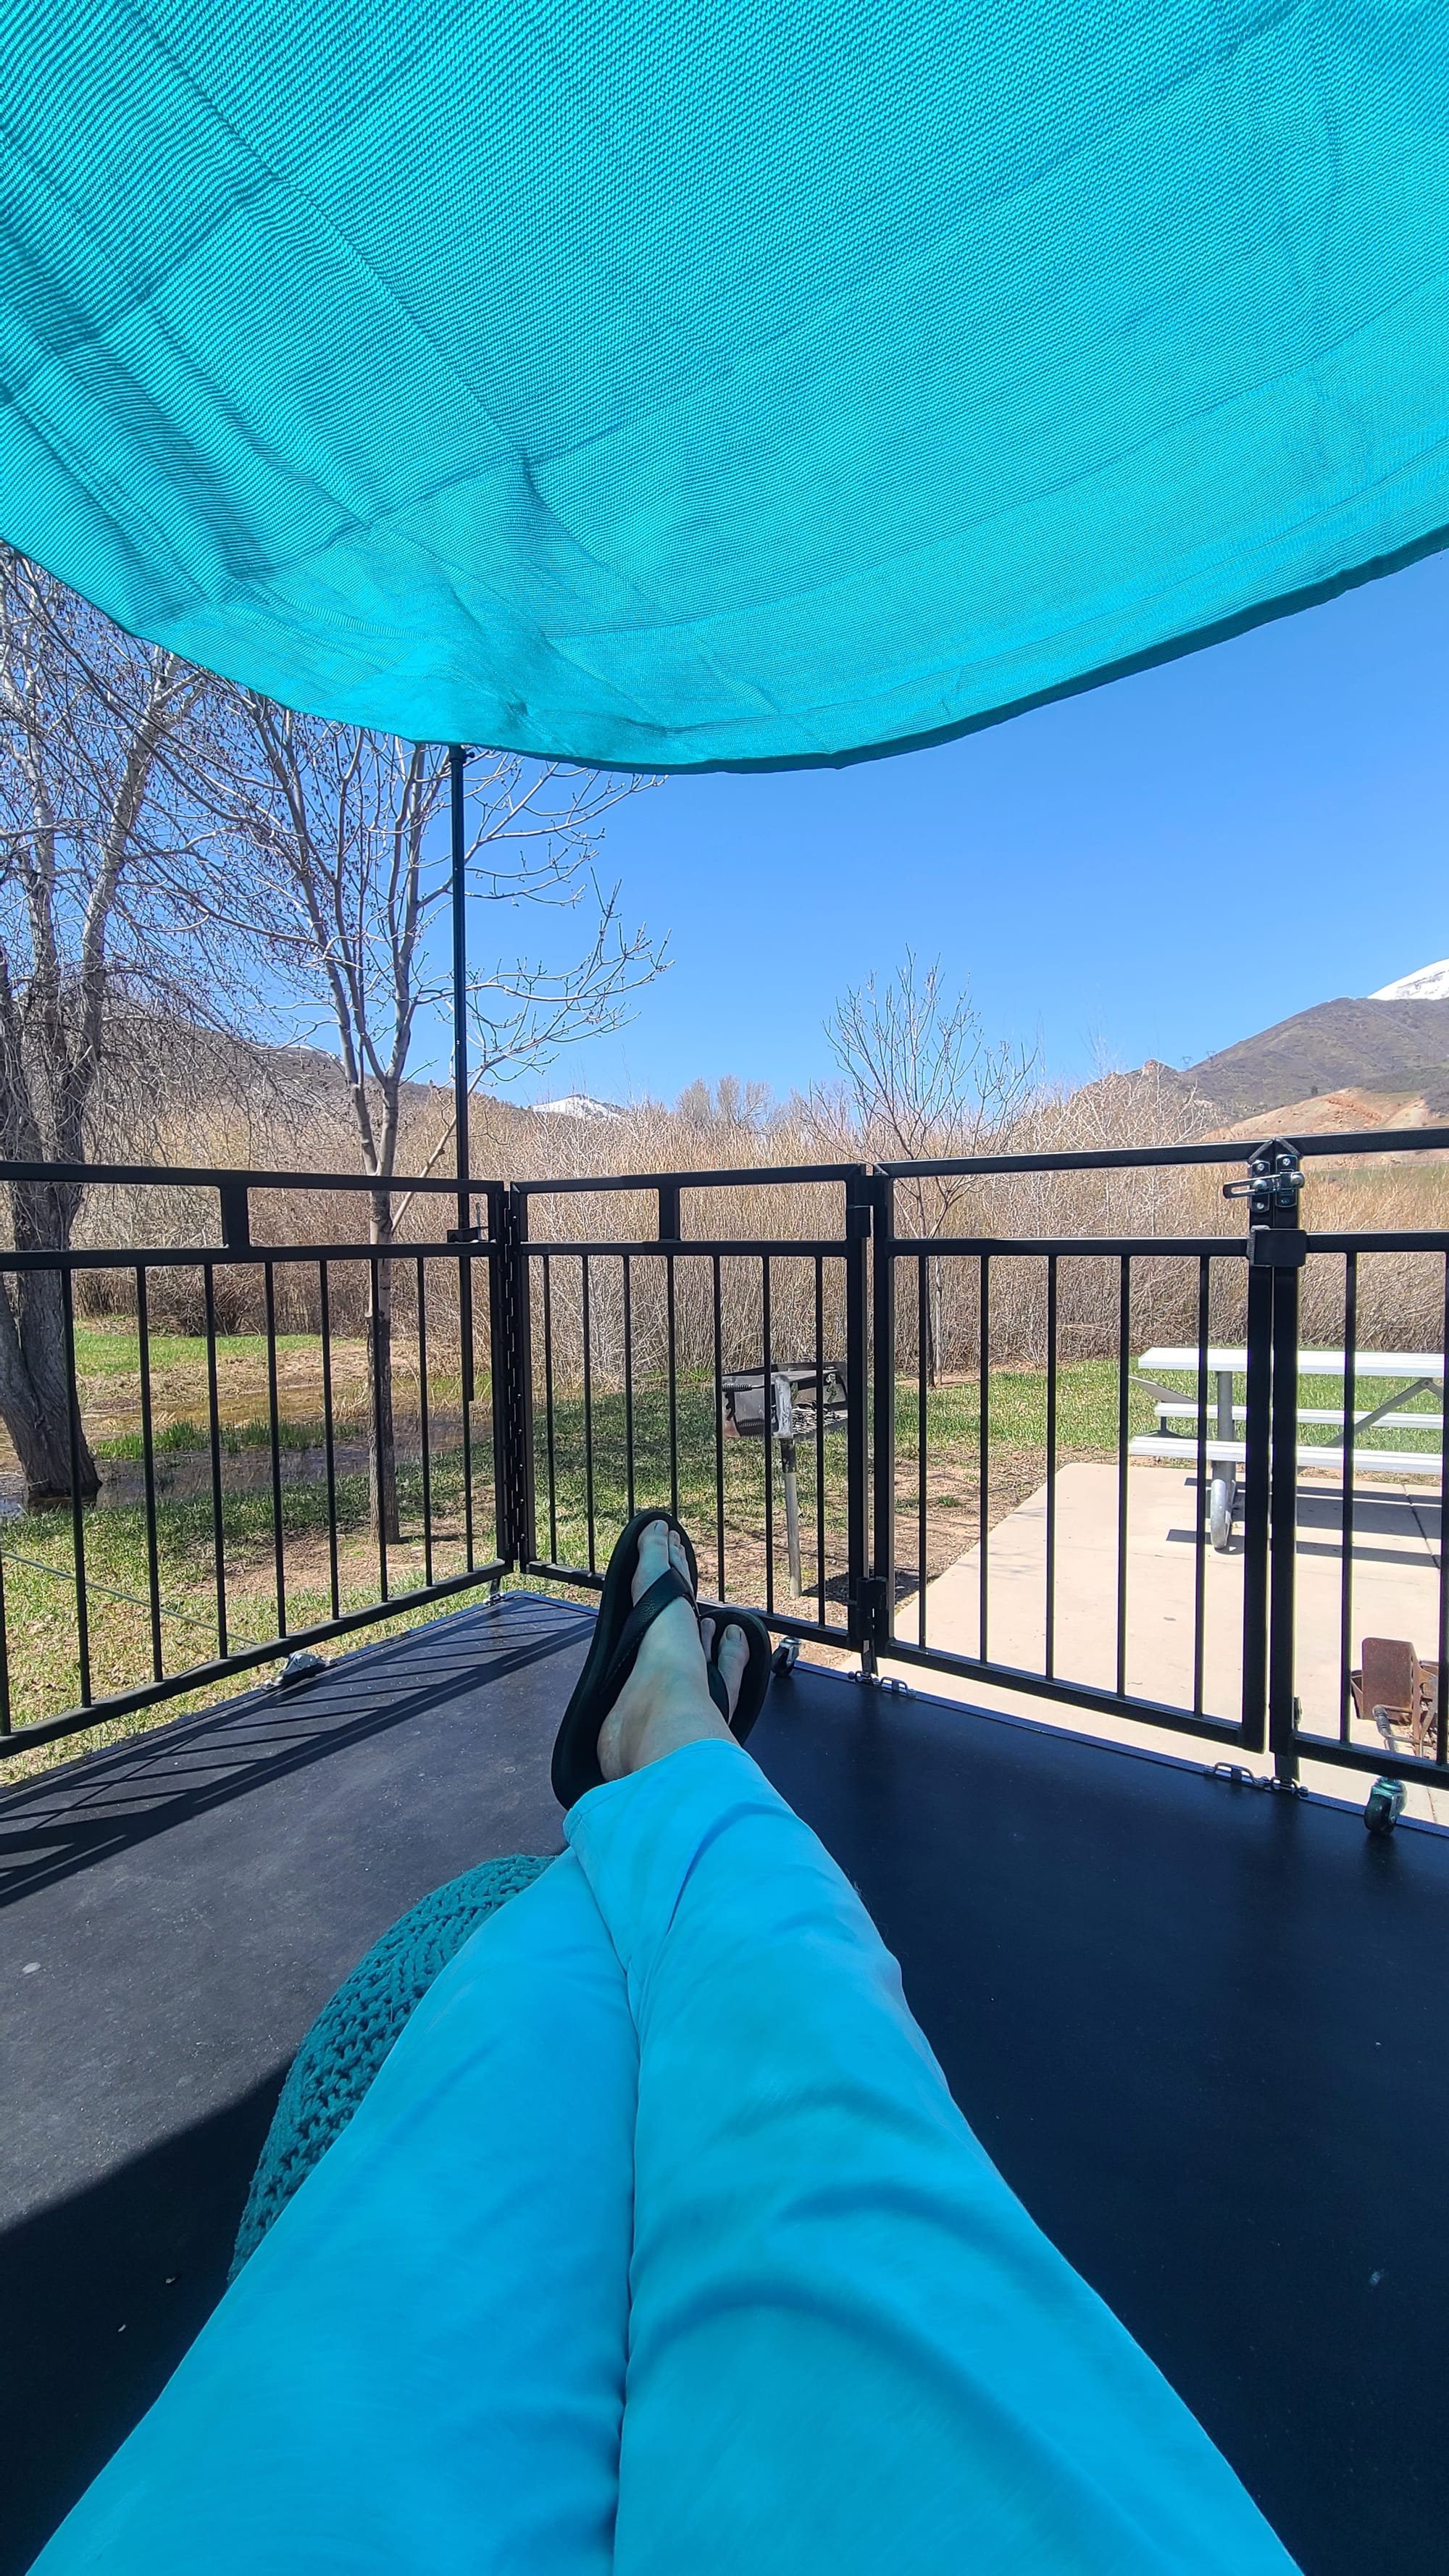
And tweak, we did. We bought a 7x8 shade, and that 1ft difference plus two extra clamp brackets successfully kept our shade from sailing away. The shorter side meant we needed to place our flag poles slightly inward, so the shade wouldn't cover the entire patio, but this wasn't a big deal at all. In fact, it allowed us to buy a couple more poles and increase the height of our shade, so we could stand up underneath it. This also allowed less obstruction of our views.
Iteration 3B: Homey touches
Something happened after we committed to the sun shade. We stopped caring so much about the time it took to set up. Before, we just wanted to get our stuff out on the patio as soon as possible, but now, we actually took pride in this new configuration. After all the time it took to innovate, what's a few extra minutes to enjoy the innovation?
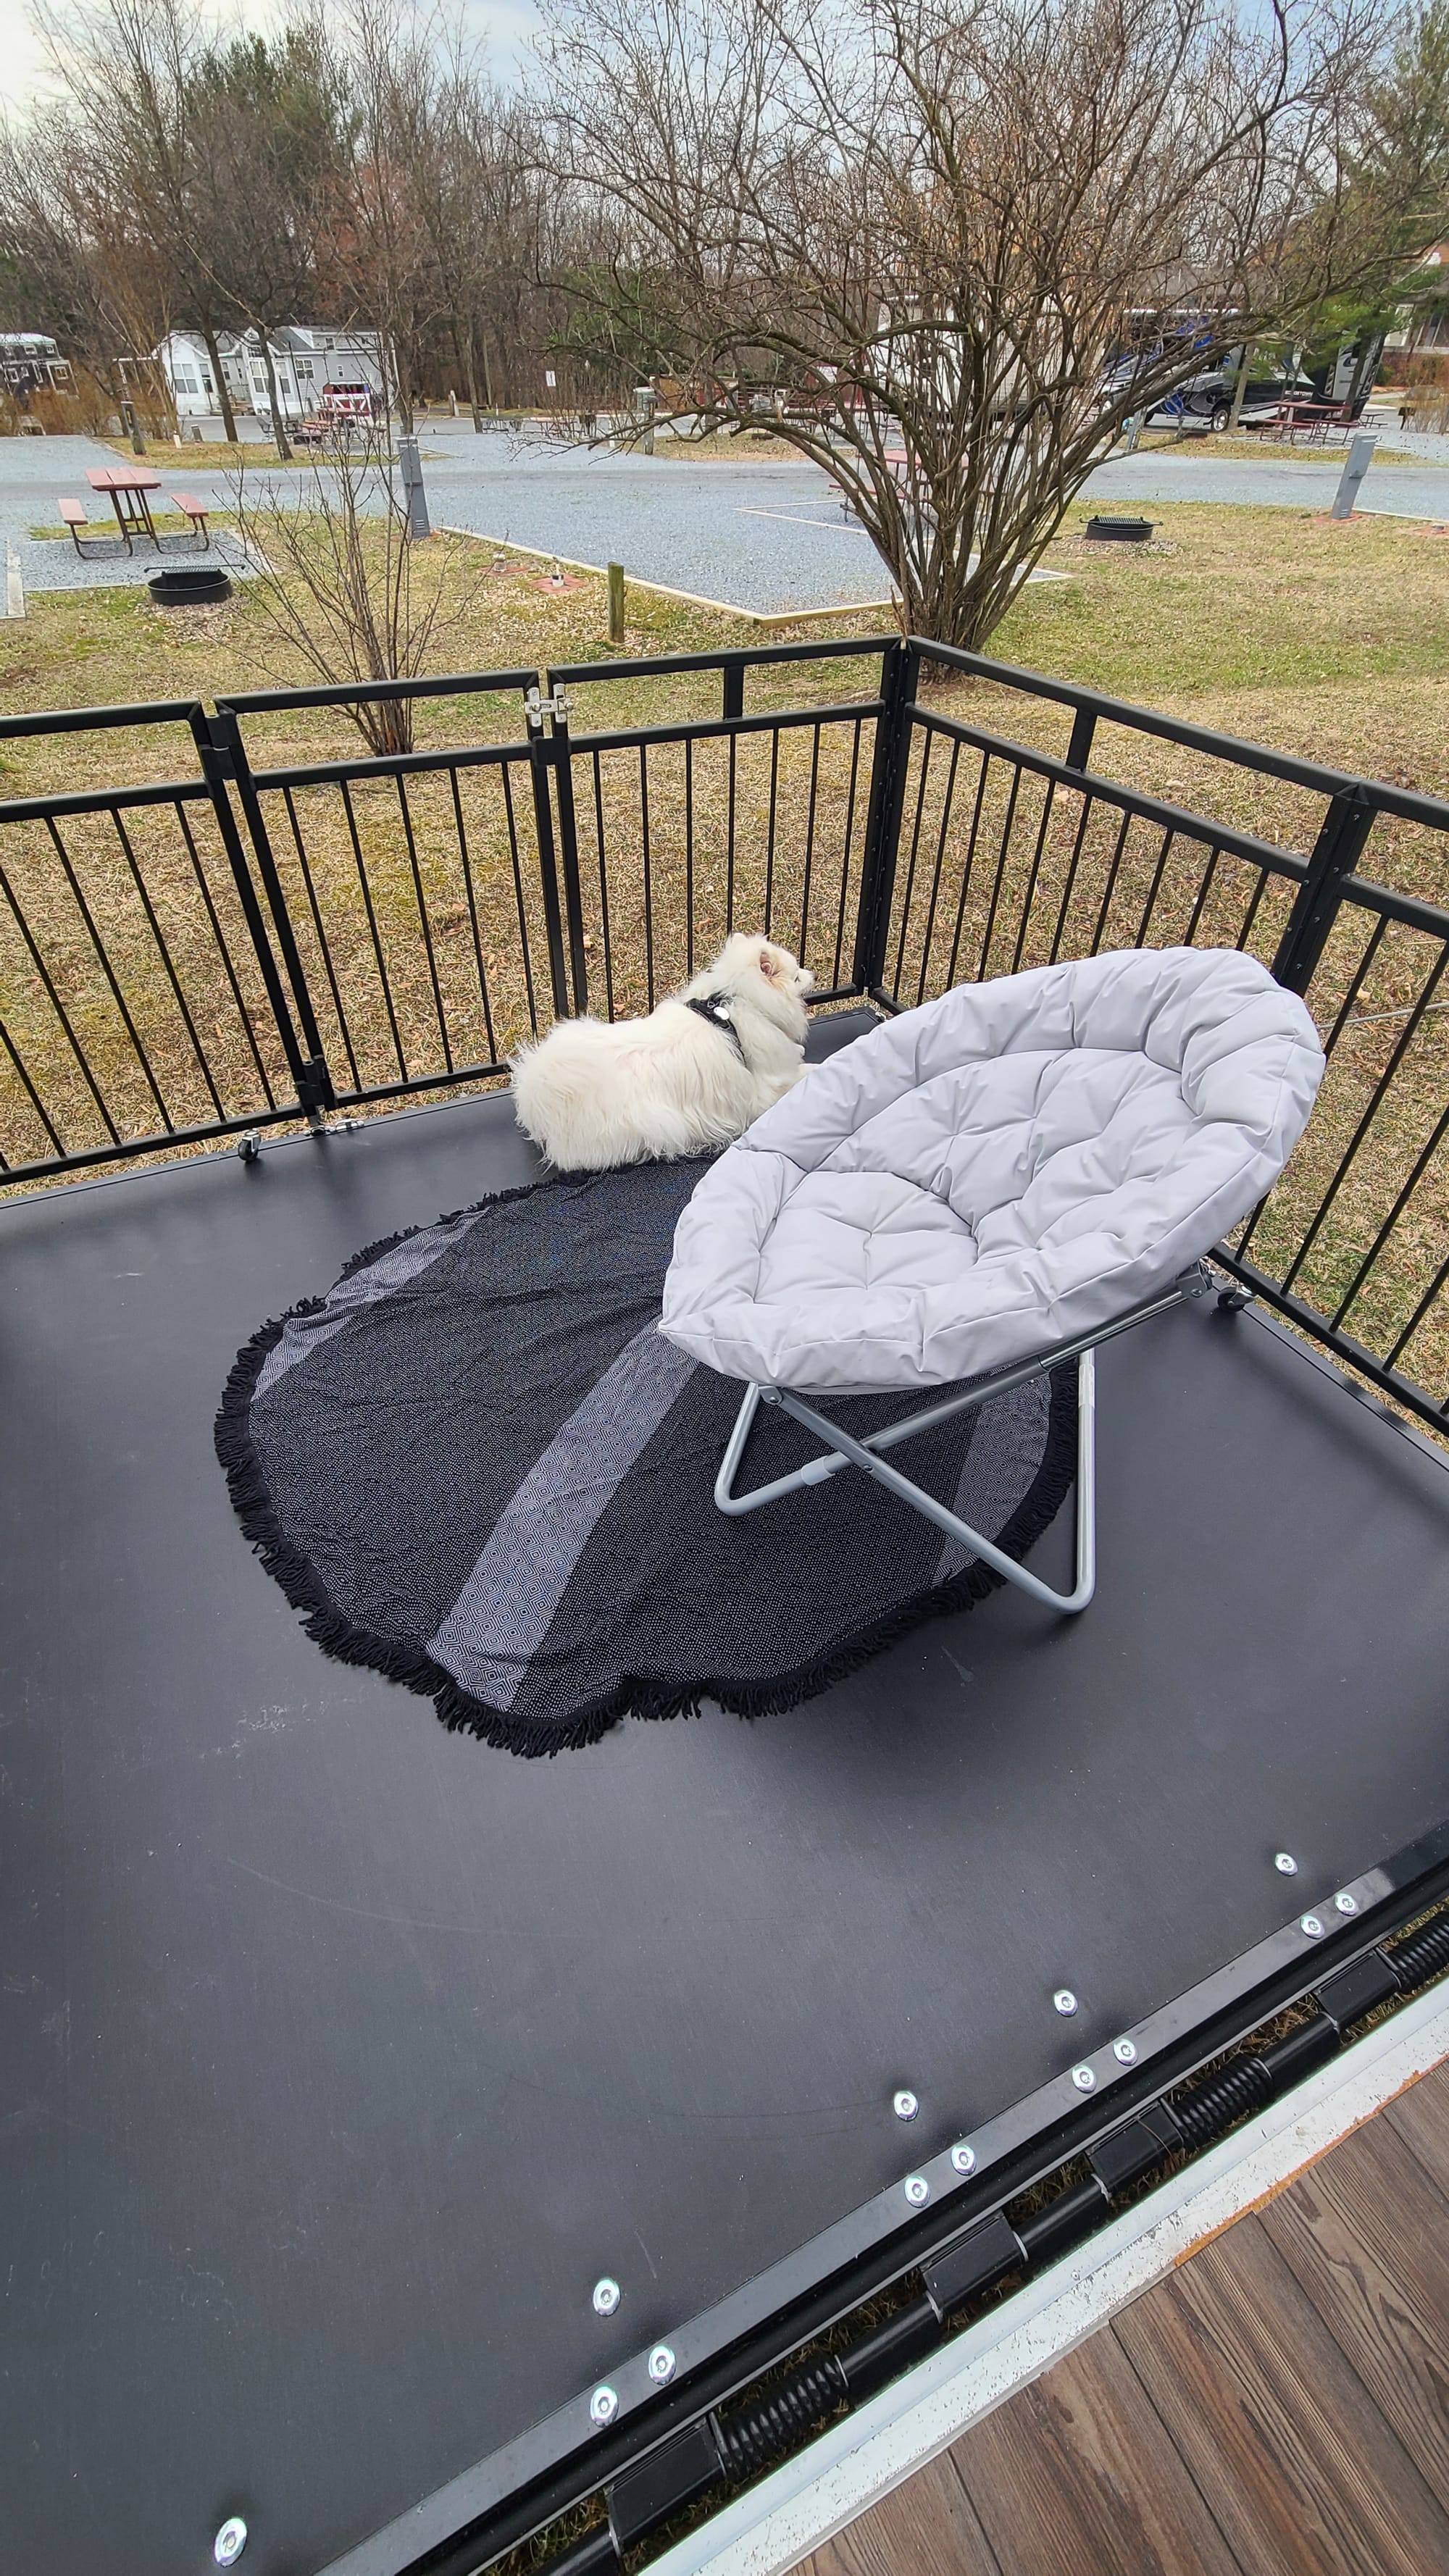
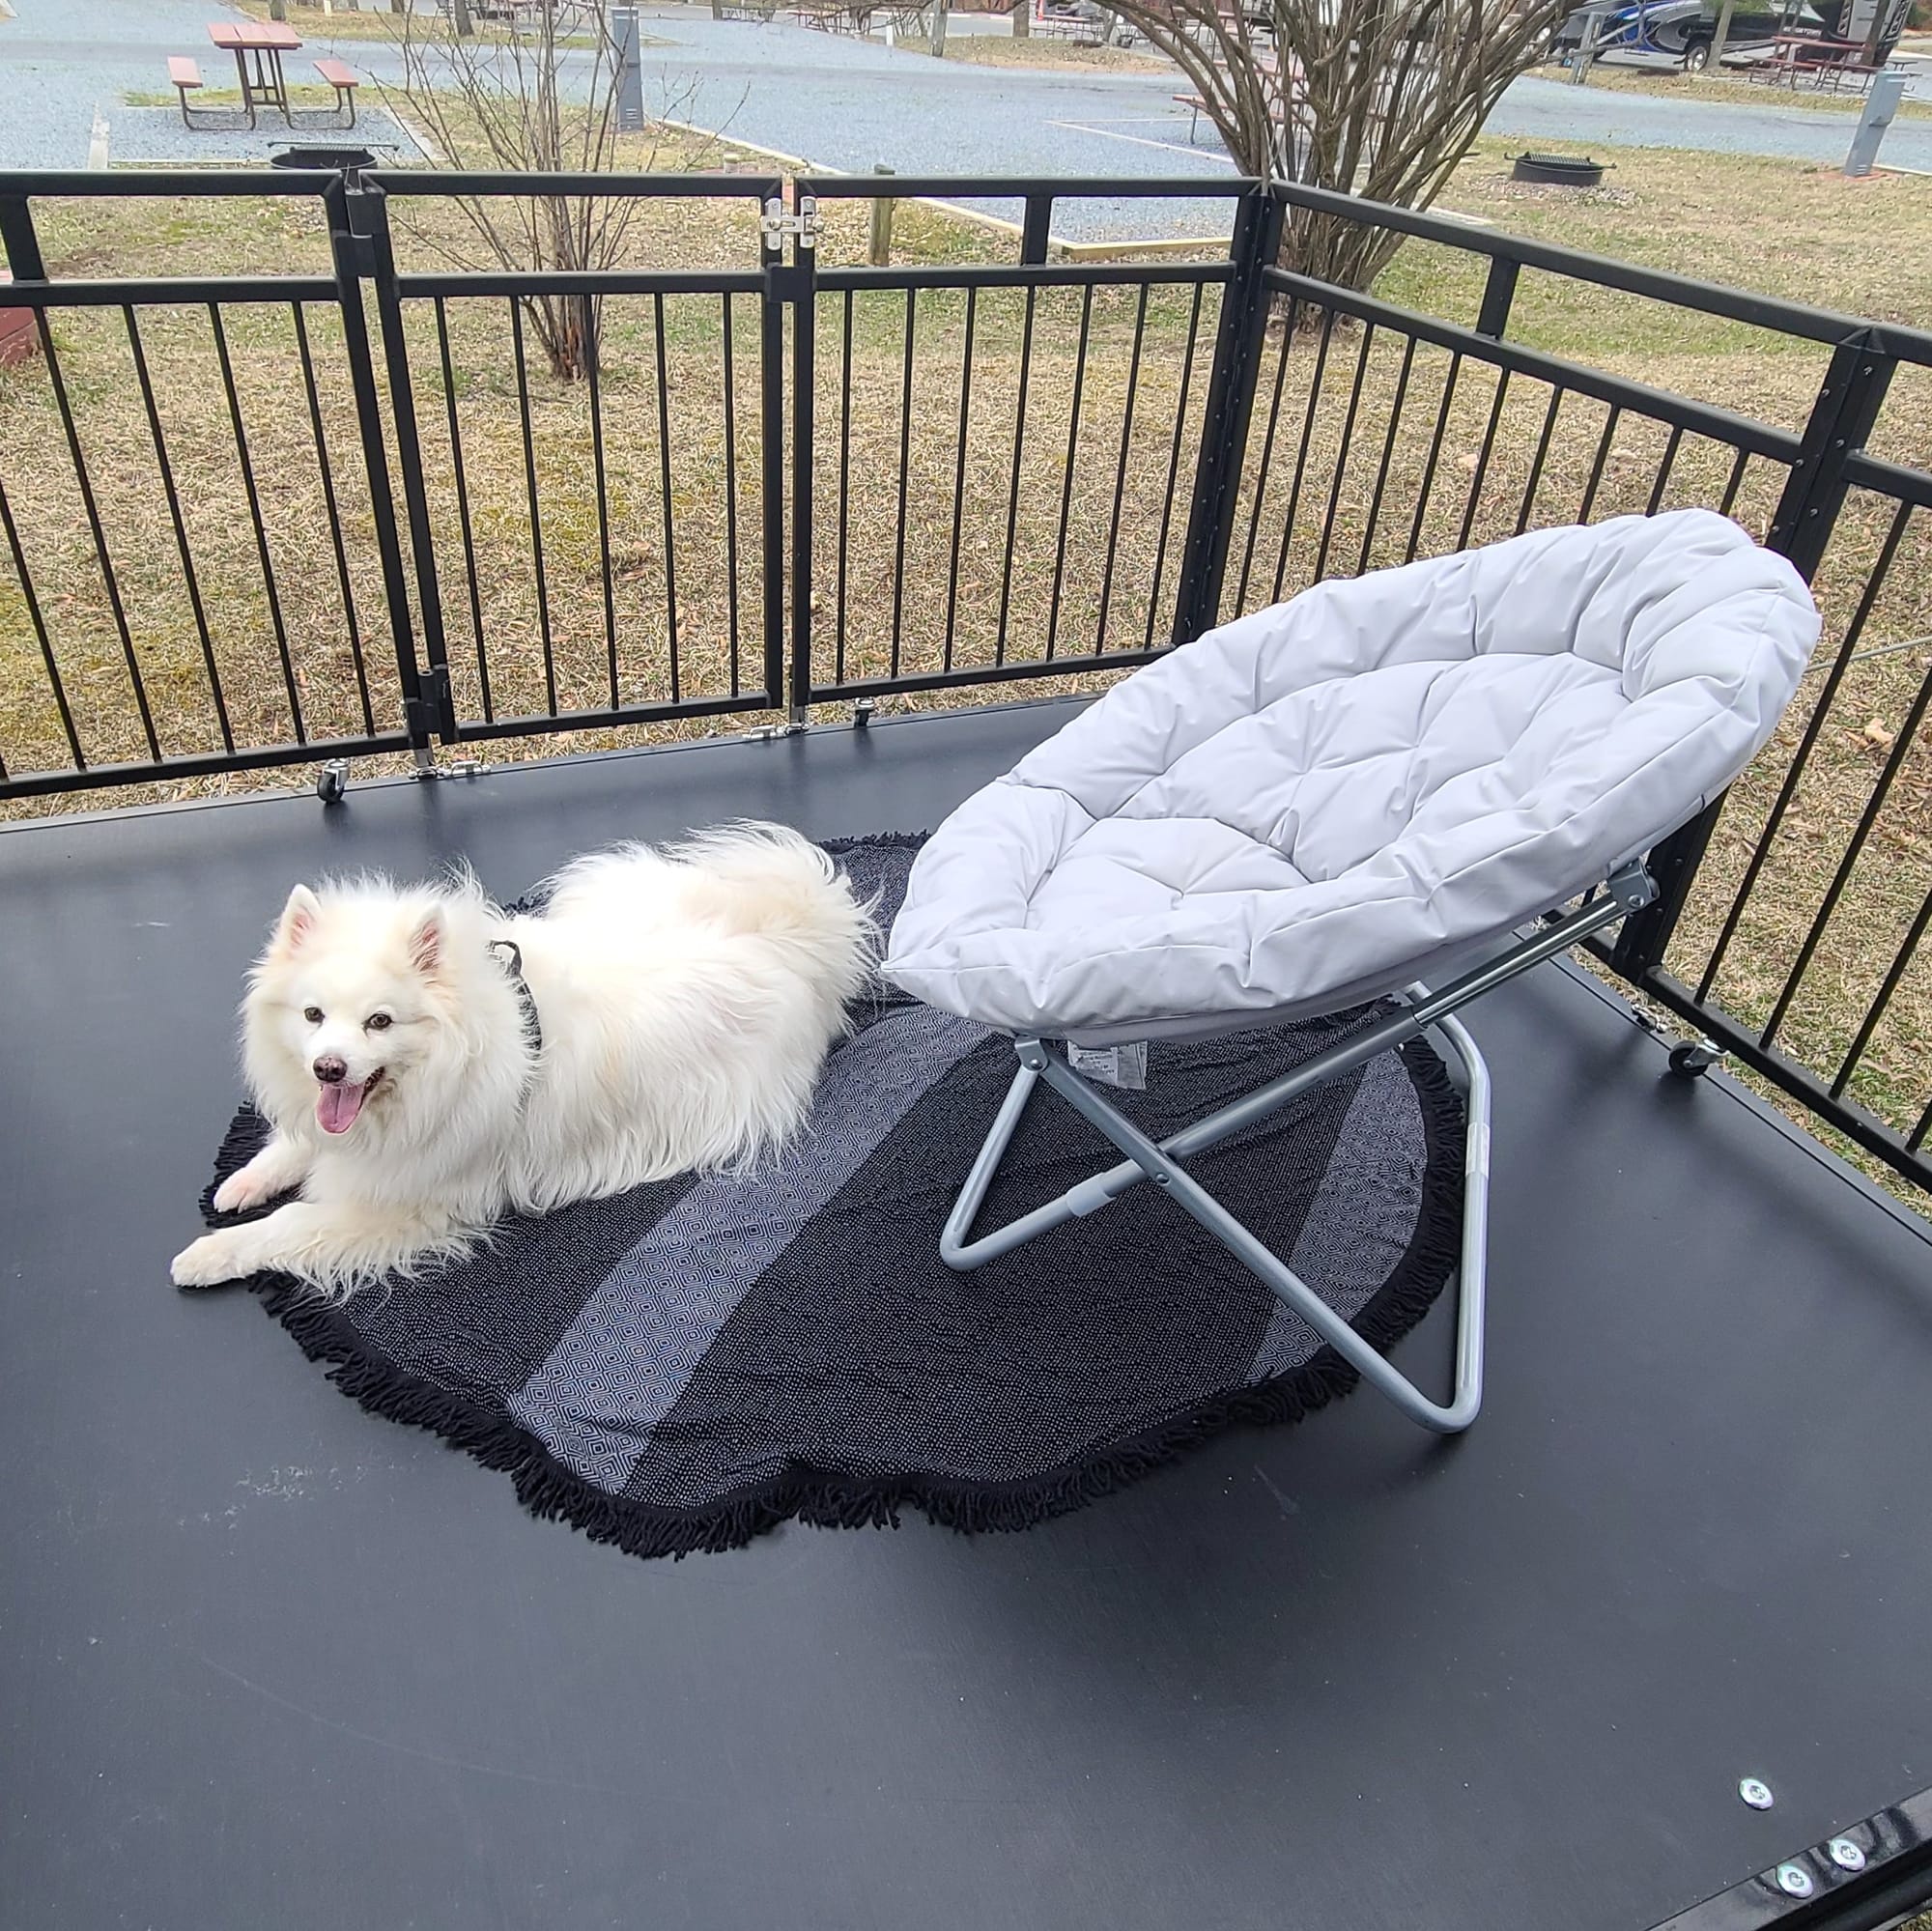
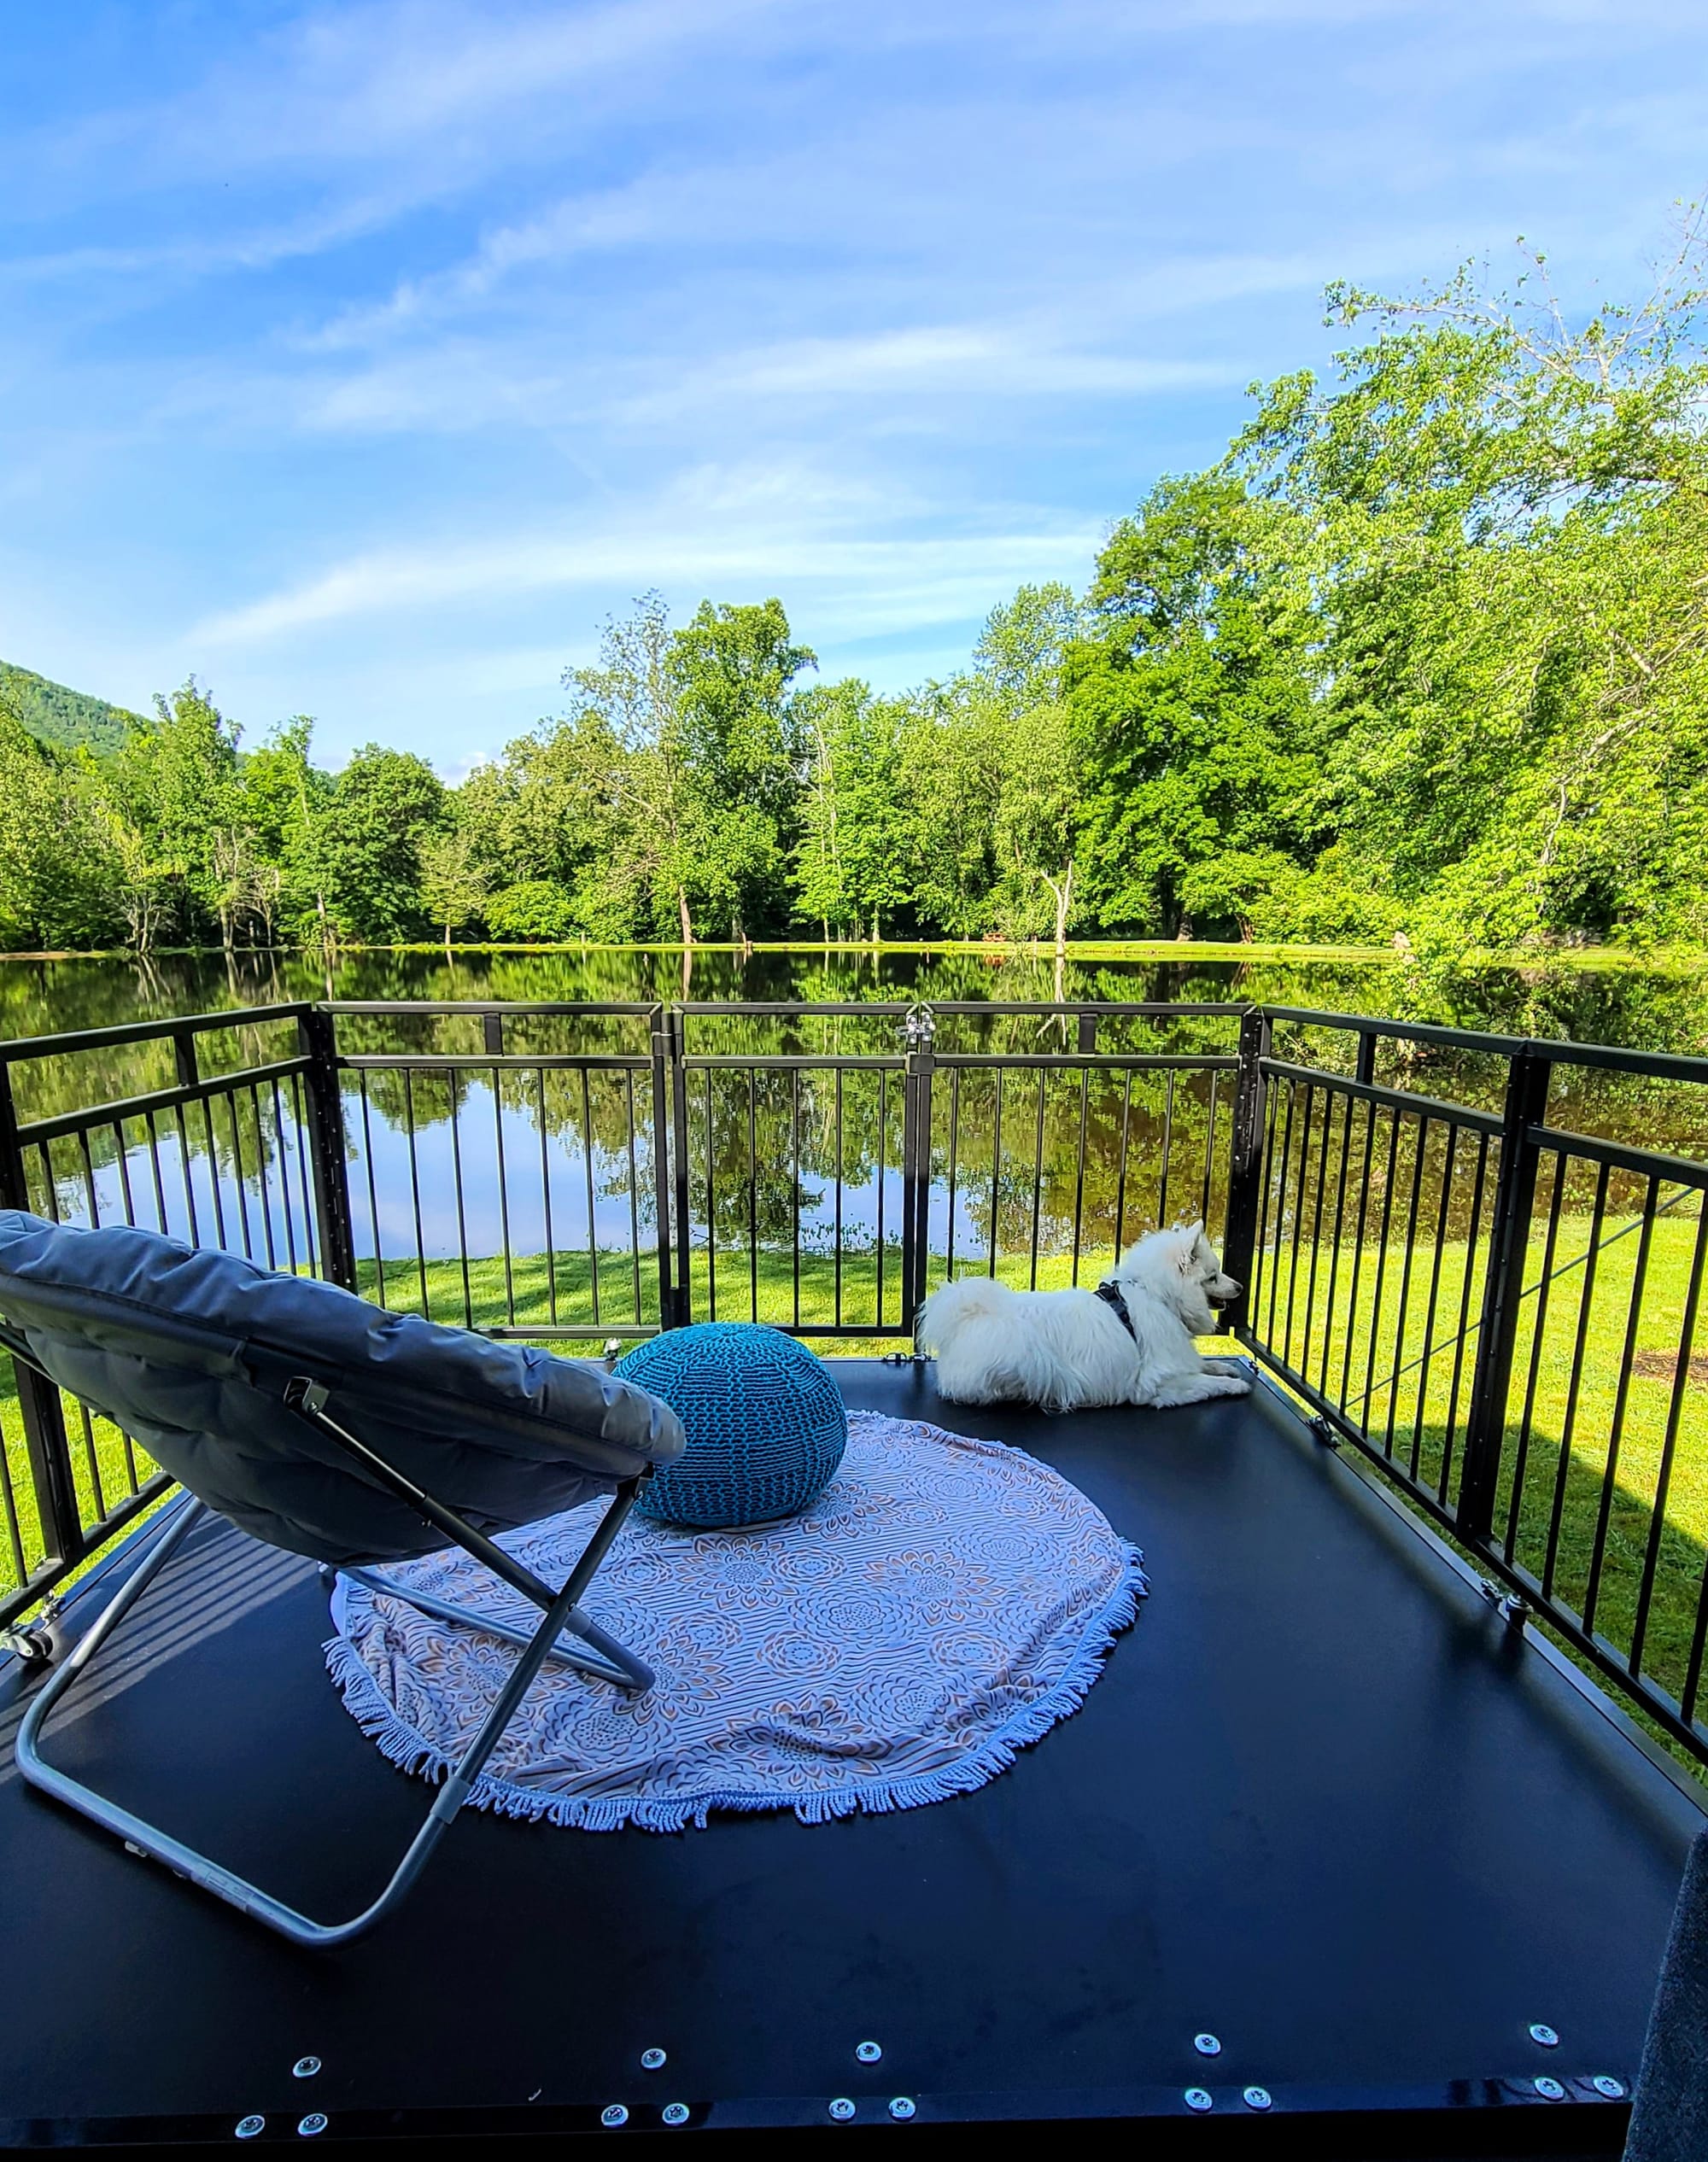
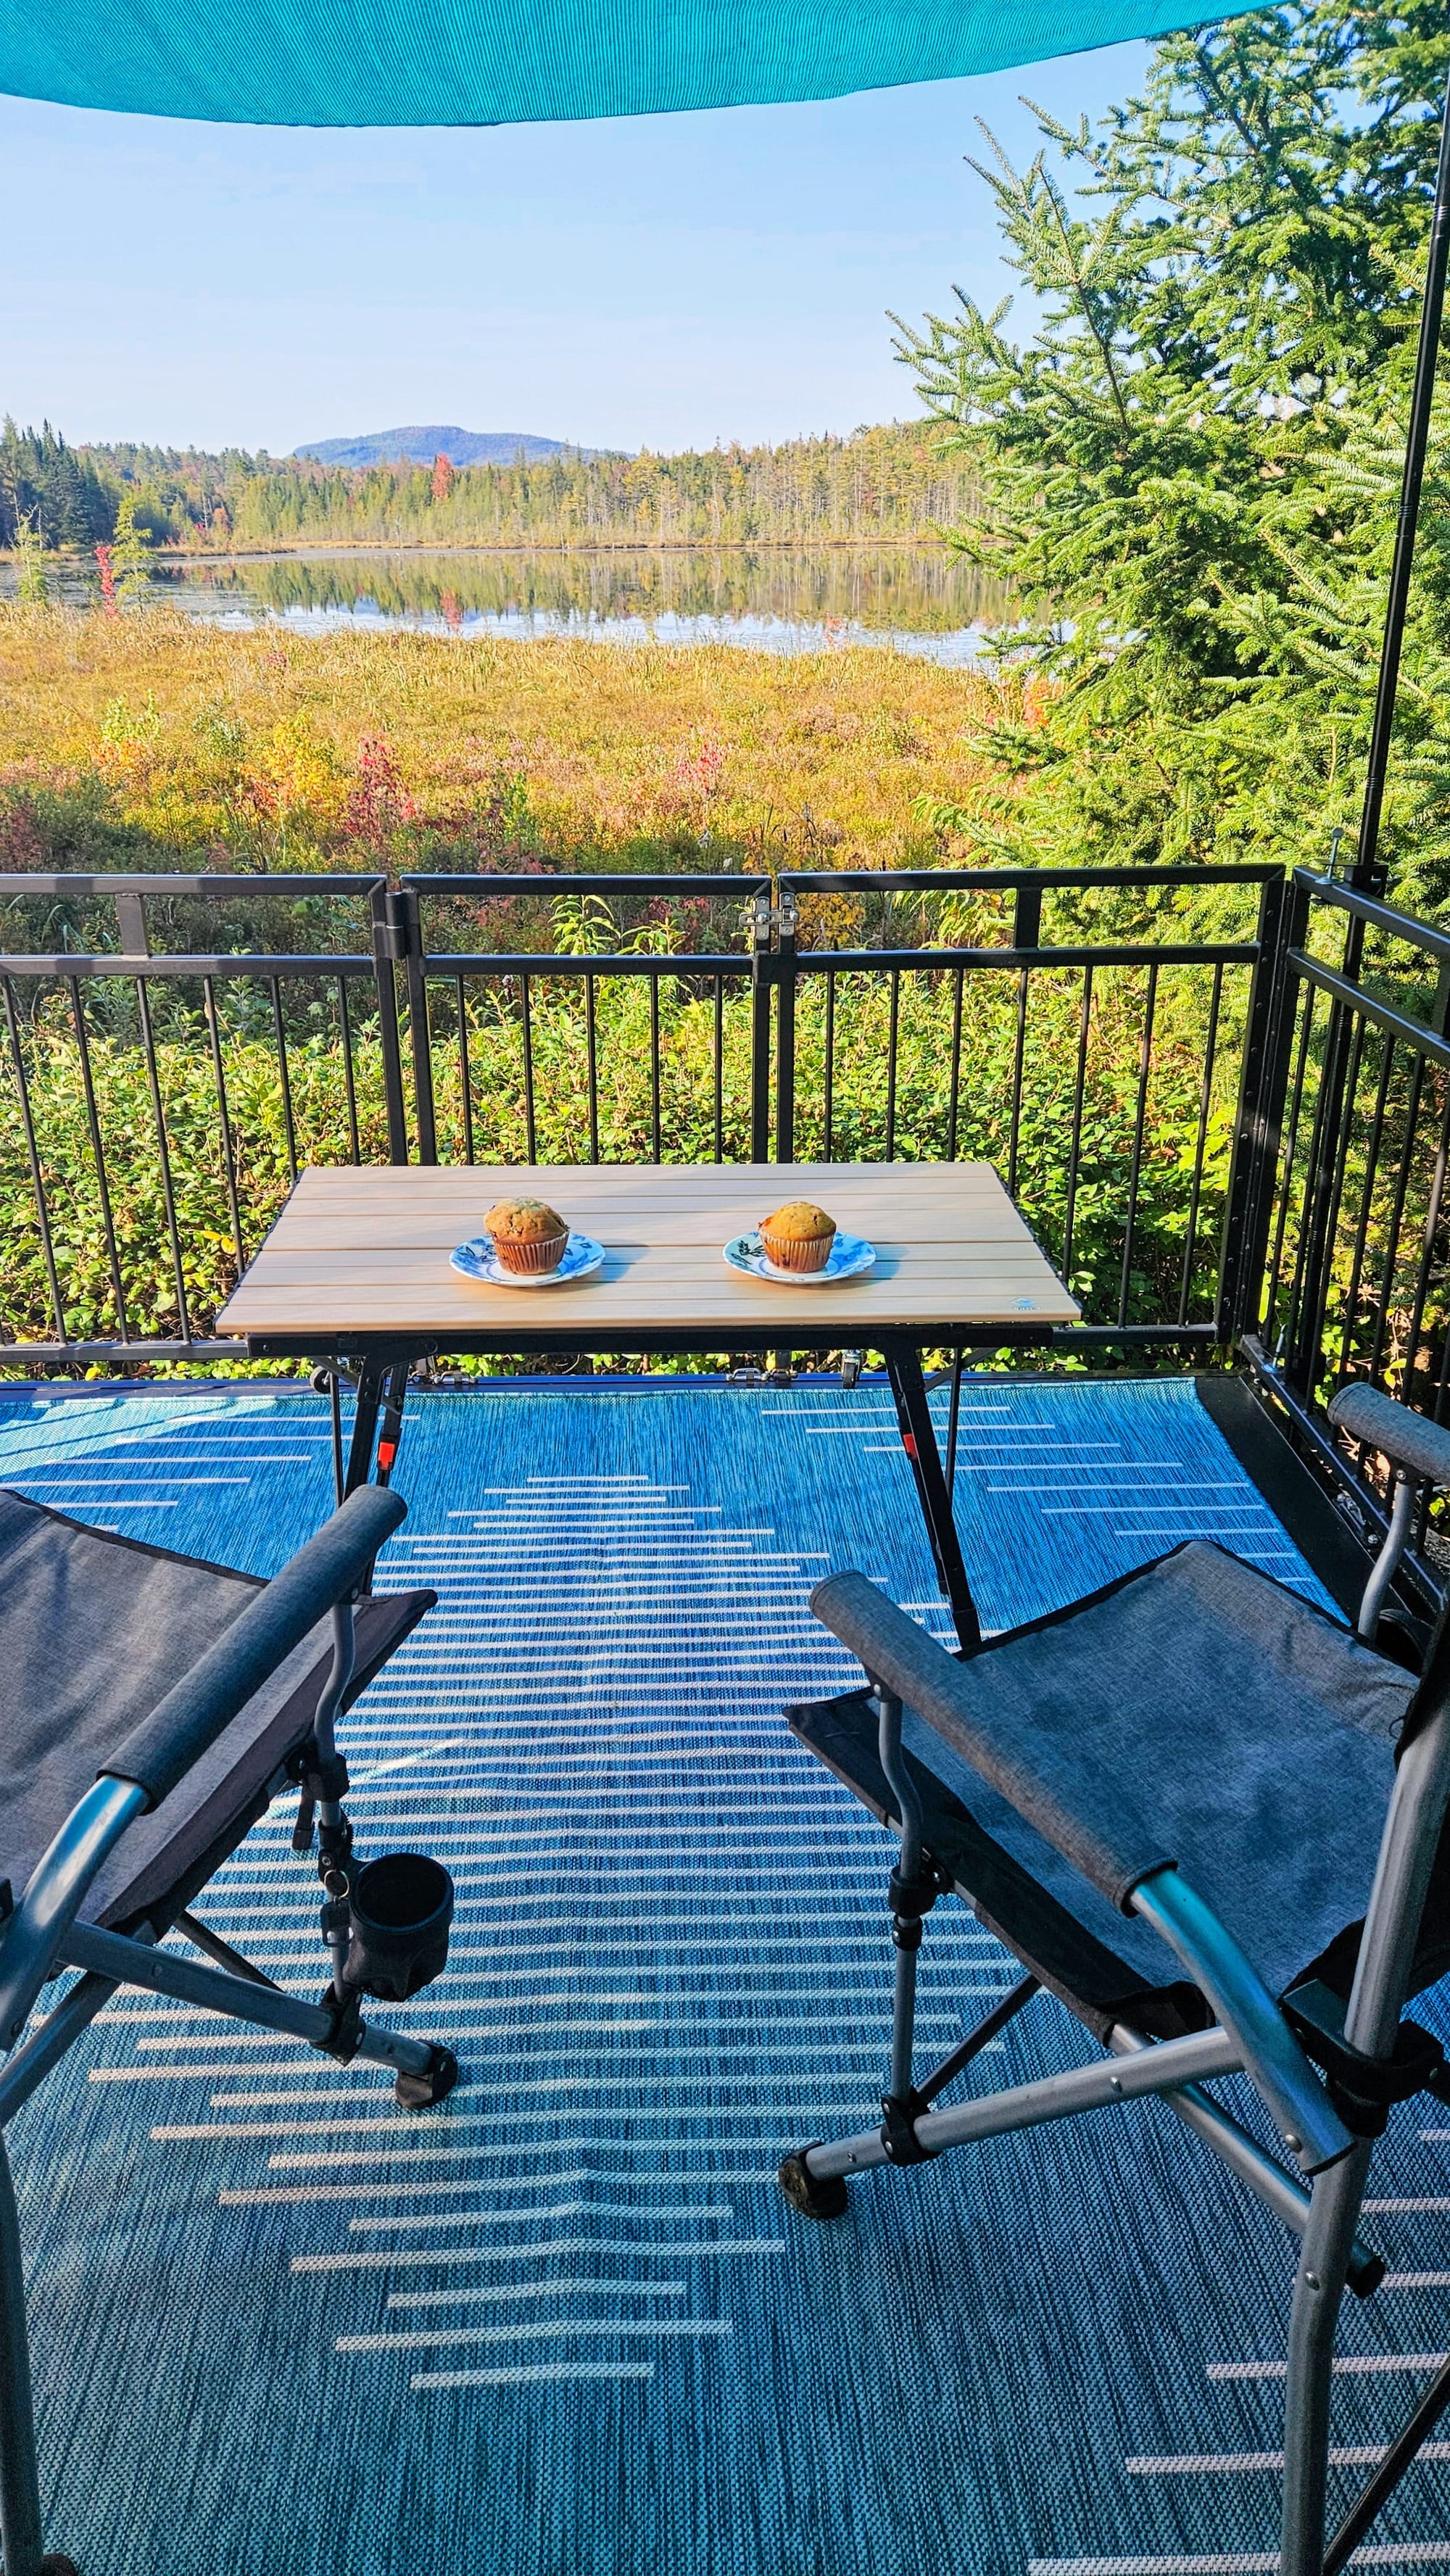
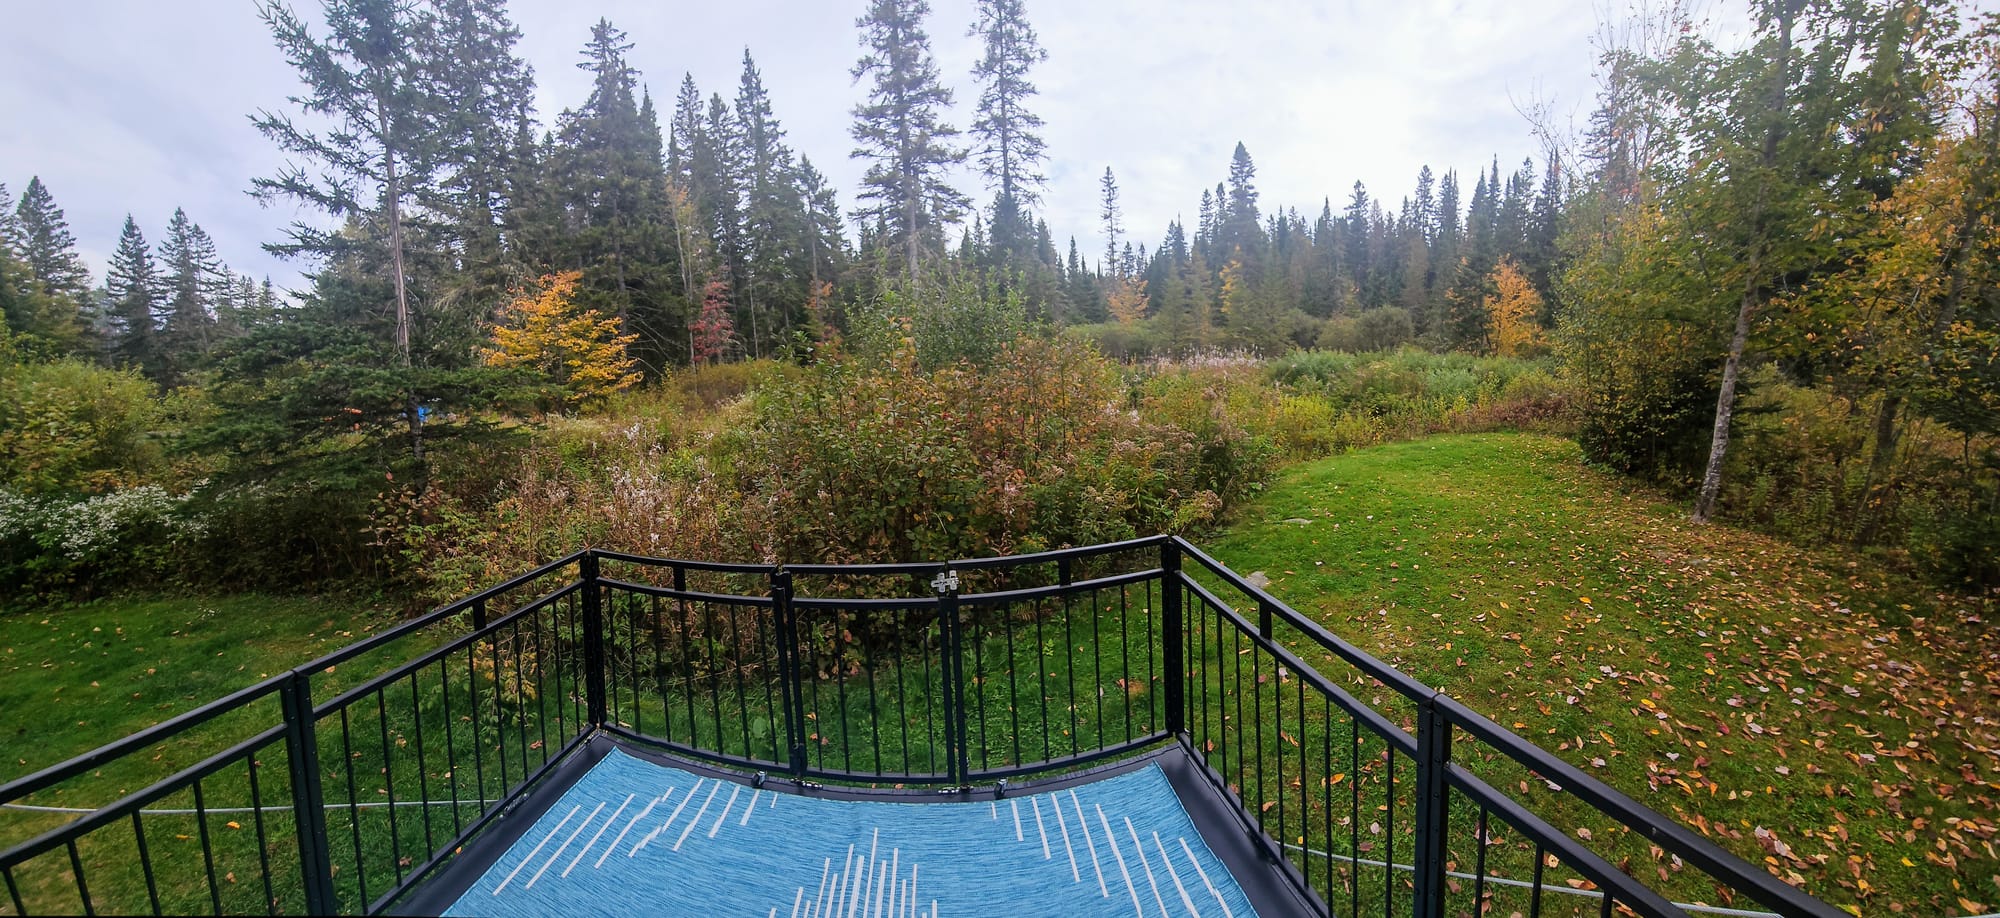
We didn't use the sun shade all the time, though. Sometimes we had shade from trees, or it was a cloudy day. We liked that we could do as little or as much setup as we wished. After enjoying several patio days throughout Season 3 of travels, summer came around and we decided to make a purchase we had been avoiding since we took delivery of our rig. We finally bought an outdoor rug. It was surprisingly difficult to find one that was a 7x7 square, but we found this one and decided to give it a try. We hoped it would be relatively foldable, because we didn't want it to take up too much storage space.
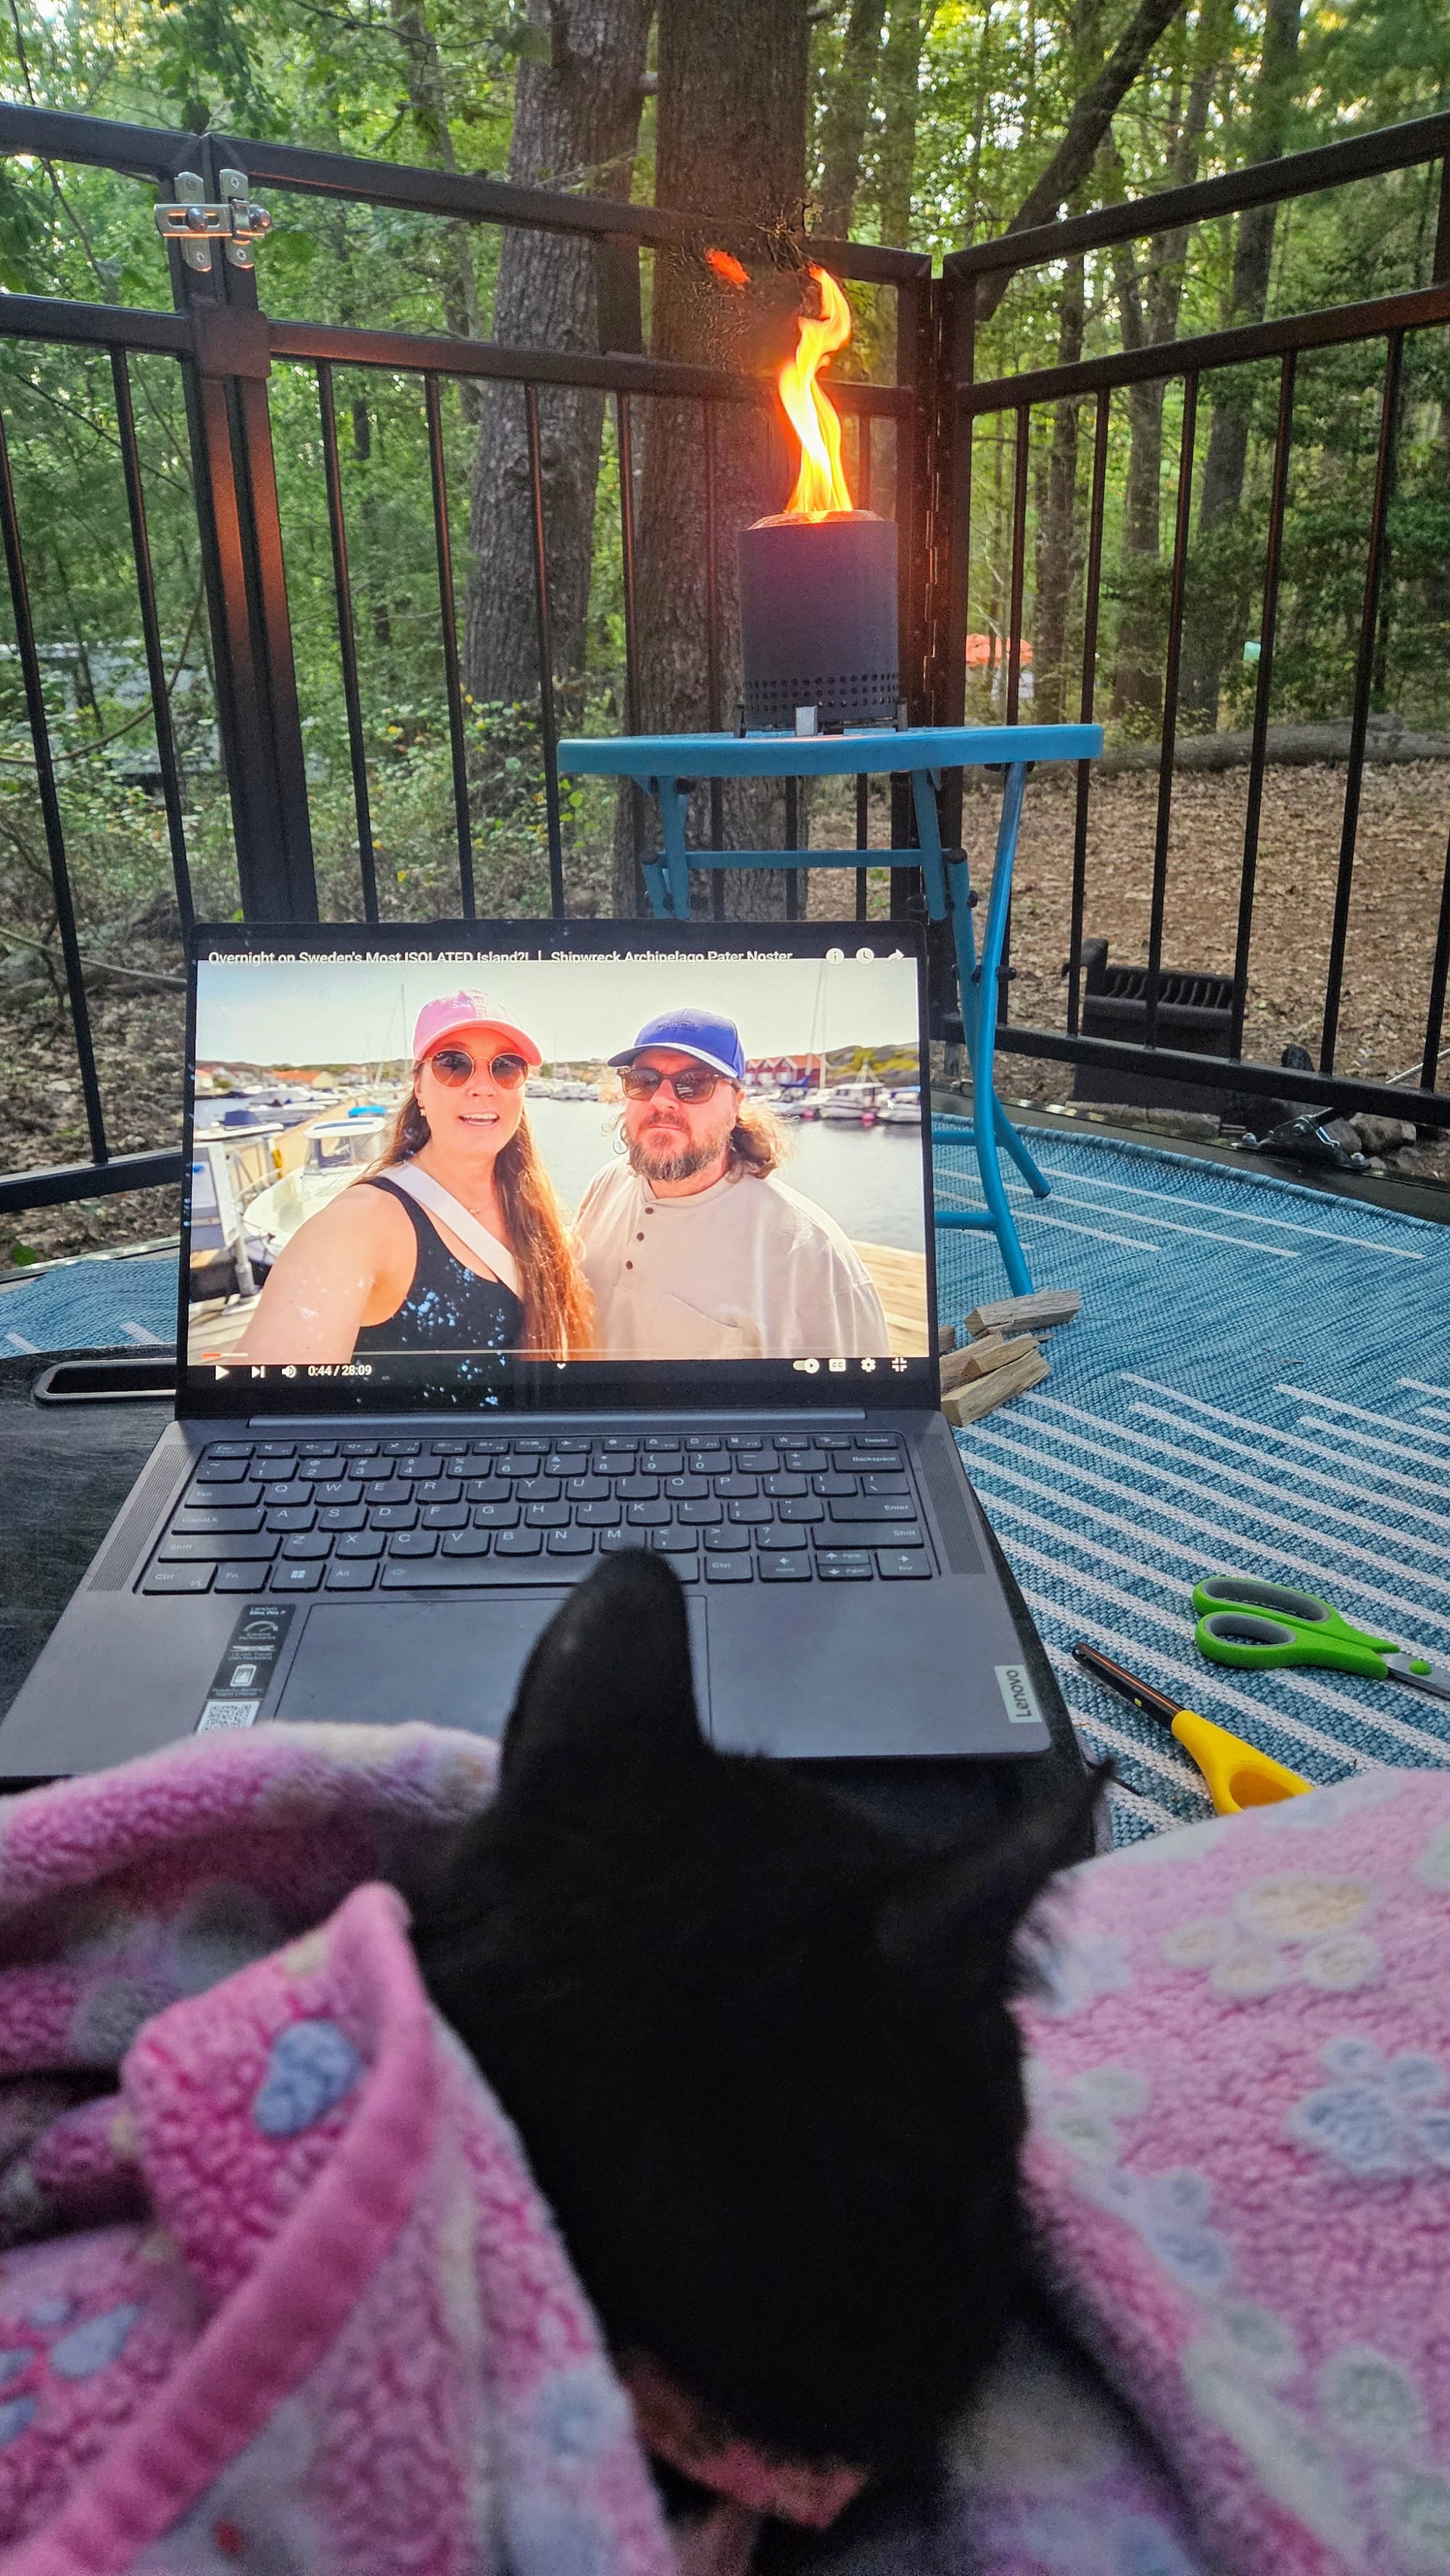
It took us a little while to warm up to it because it definitely had a fairly large footprint, but we couldn't deny that it upped the homey feeling of our patio exponentially. When we put out some loungers/chairs and our Mesa firepit, we felt like we had created a little outdoor living room.
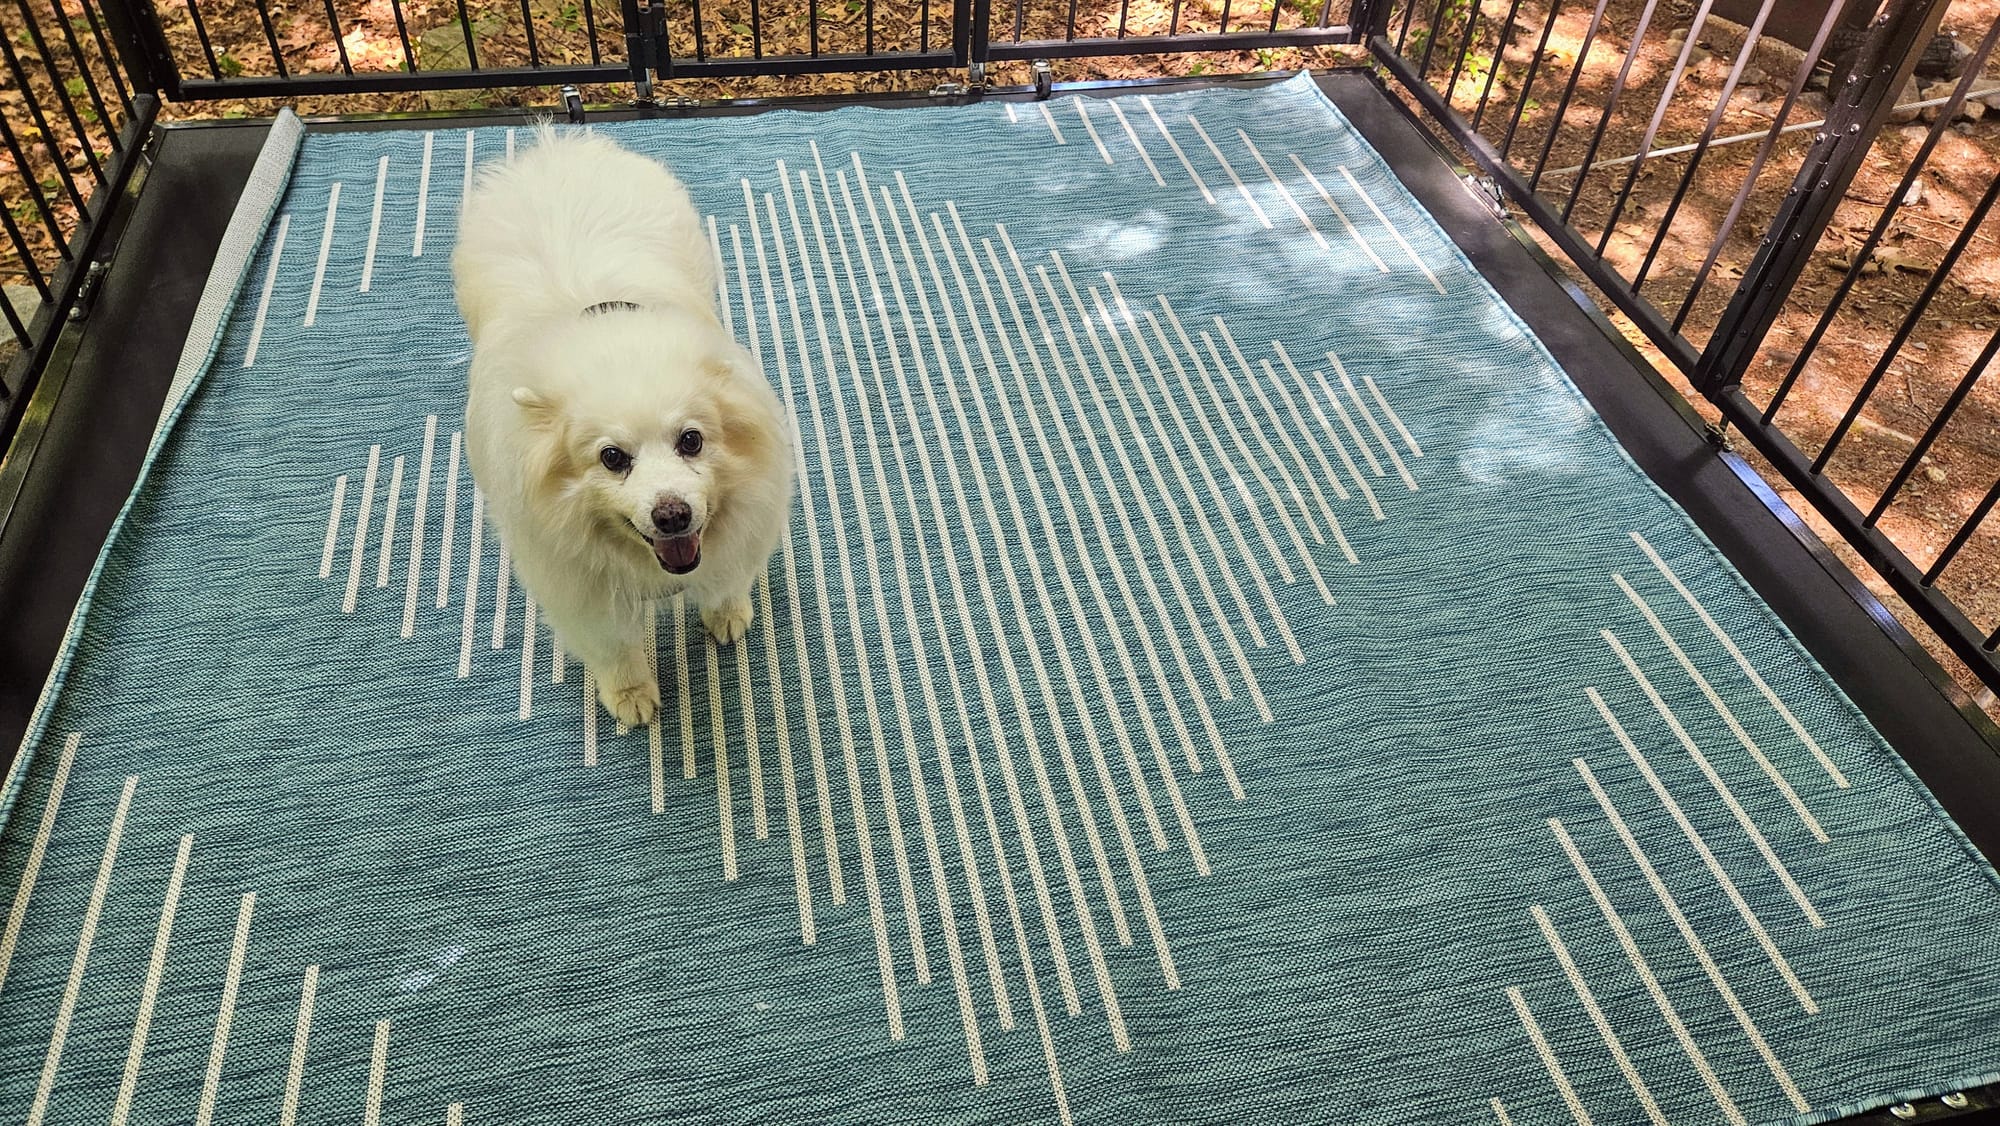
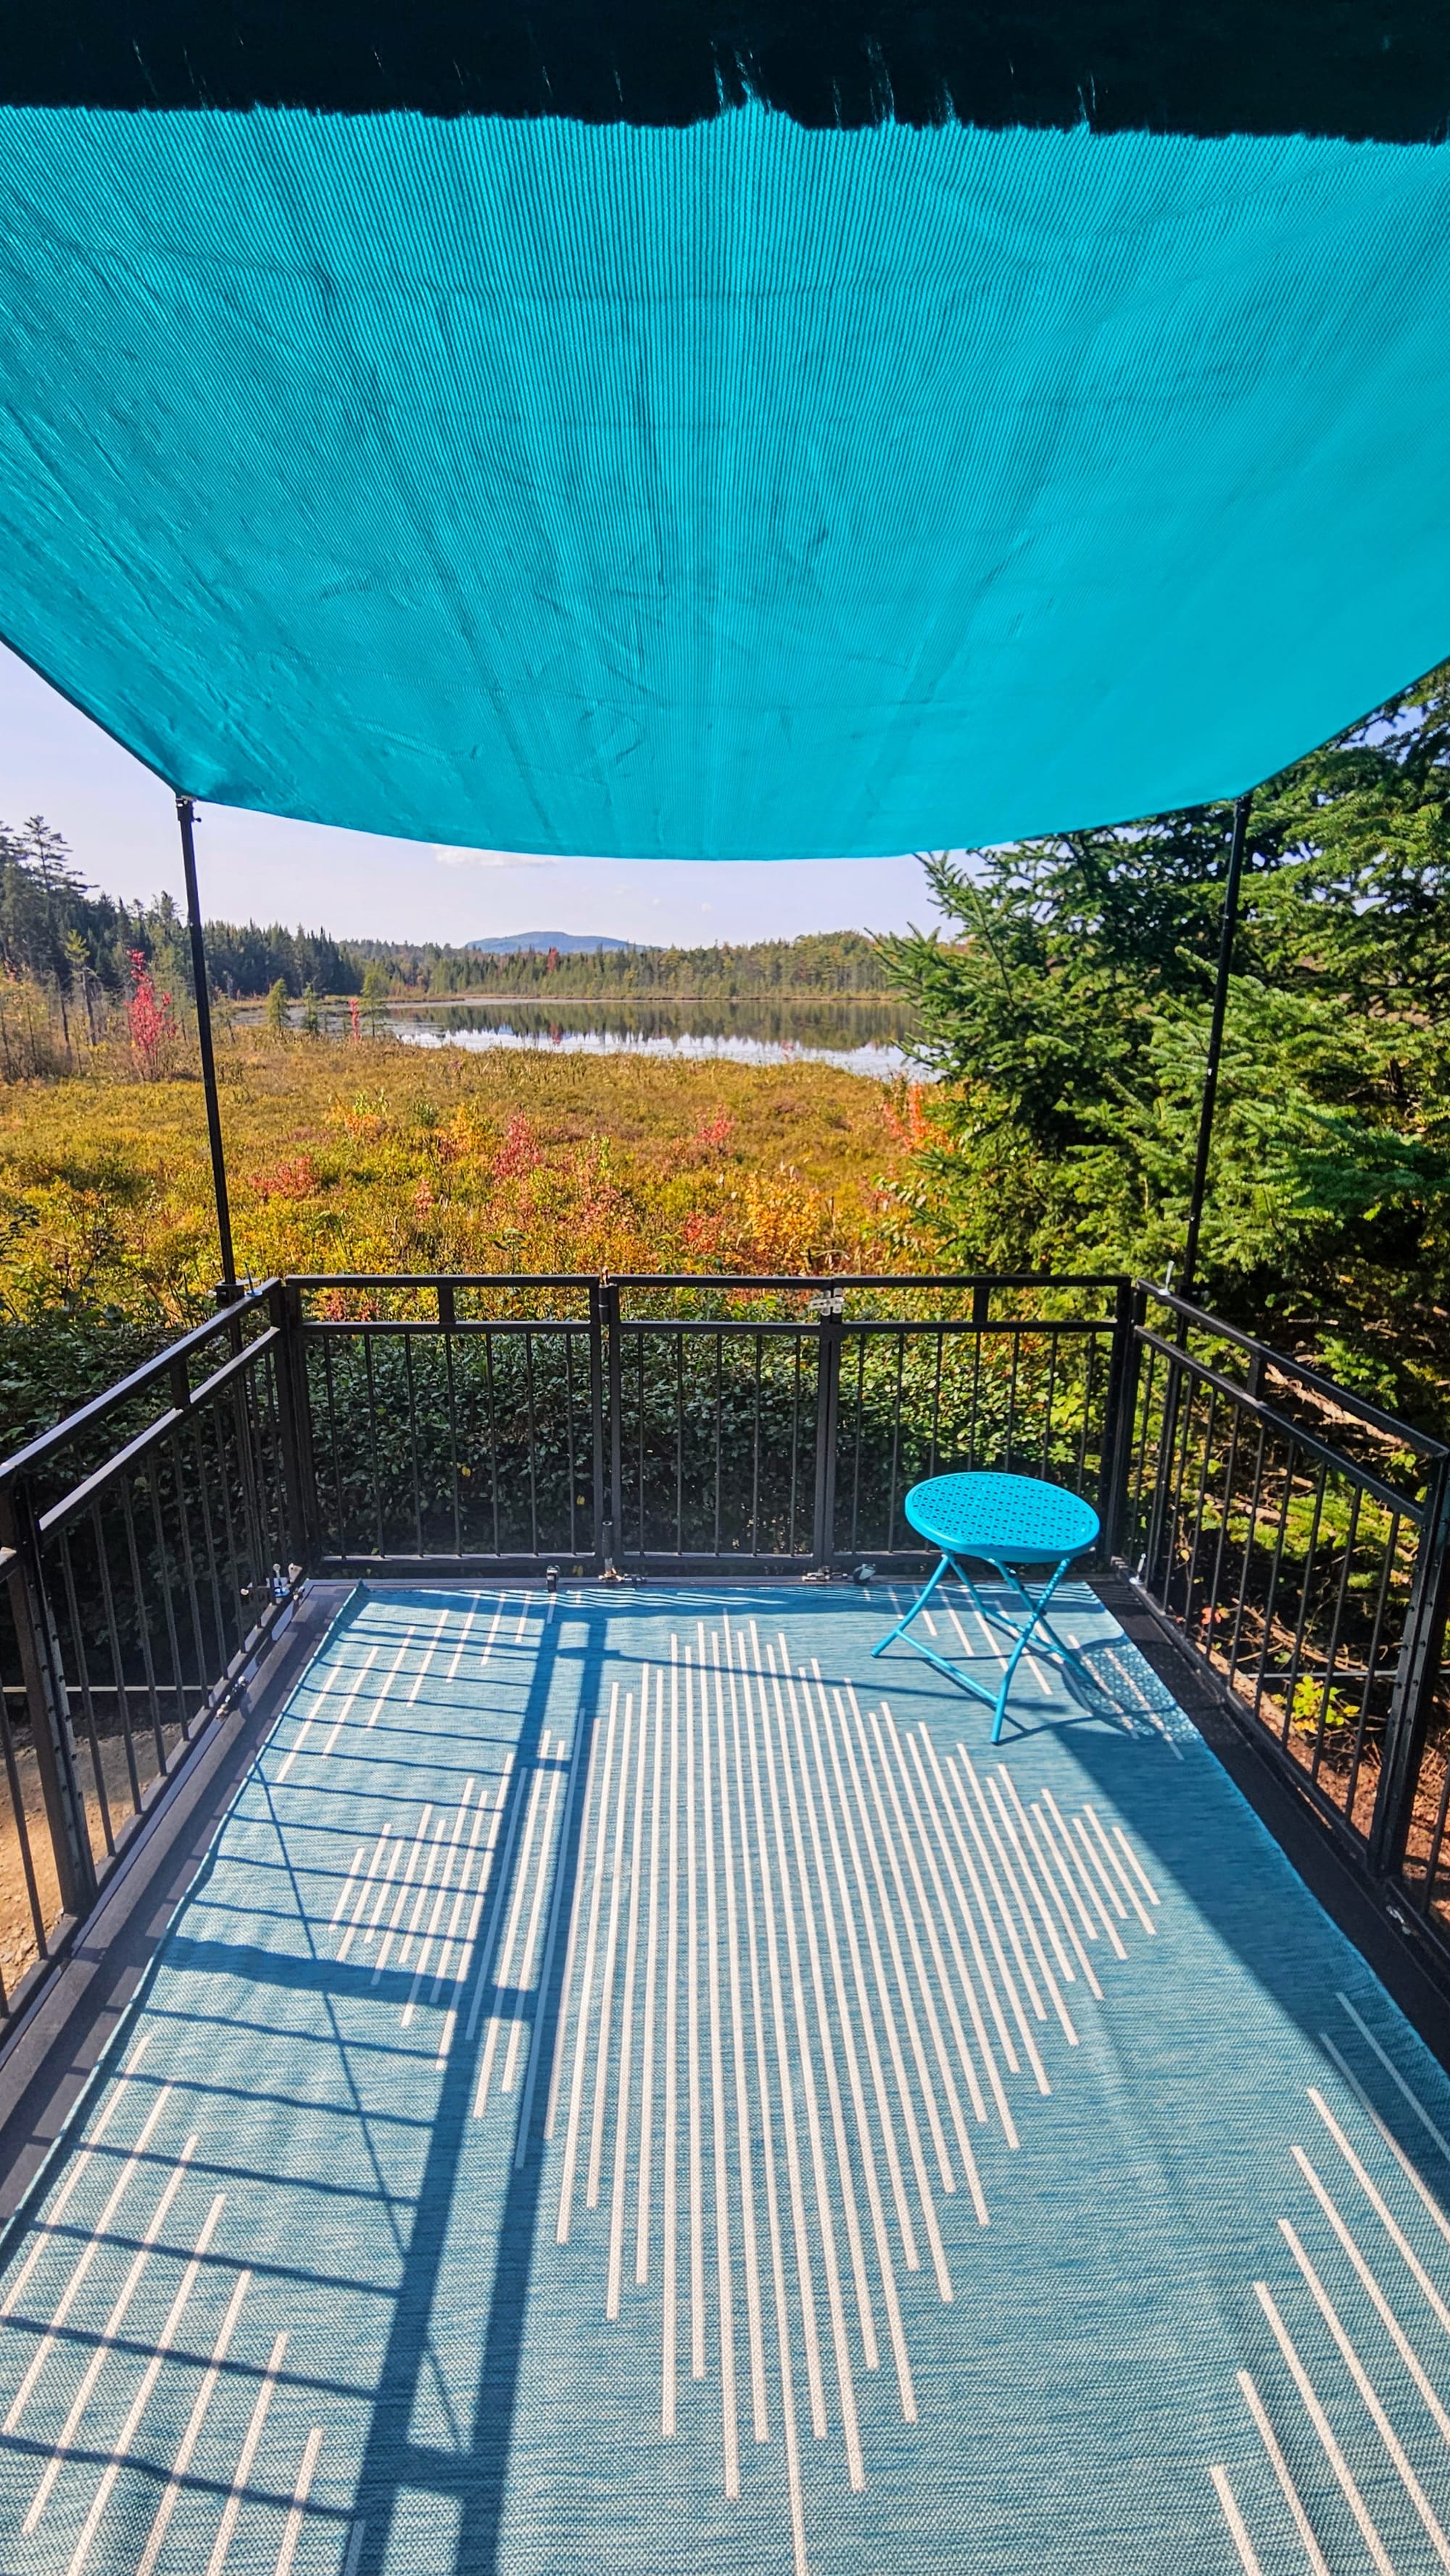
Best of all, we found the perfect spot to store the rug: Folded up behind the patio railings. It fits great, and it's available right when we lower our ramp door.
Inspired by the extra homey vibe we were creating with our patio, we wanted to add some items that would allow us greater utilization of the space. In our first season of travels, we had a wooden bistro set that we found at HomeGoods, consisting of a small folding table and two folding chairs (as seen in our Iteration 1B pics). It was a little clunky and we didn't use it often enough, so we purged it during our mid-year cleaning. We had been seeing these types of camping tables recommended by RVers all over social media and decided to buy one. The legs fold and the top rolls up, creating super easy storage. We absolutely love ours. We can set the height to either be dining table or coffee table height. Now we can set up a dining table situation with our camping chairs and have meals al fresco! You heard us rave about Muffin Monday.
At this point, we were convinced even more. If we take pride in our patio, we will put in the extra time and effort to set up a space we'll truly enjoy using. Sure, it's always a little bit annoying to set it up just to take everything down again when night rolls around, but we've gotten into the routine of just tucking everything under our trailer so it's all easily accessible the next day.
We've gotten pretty good at this setup. With everything – the shade, rug, table, and camping chairs – we clock an average of 15 minutes from the unlocking of the patio door, to the unfolding and positioning of the chairs.
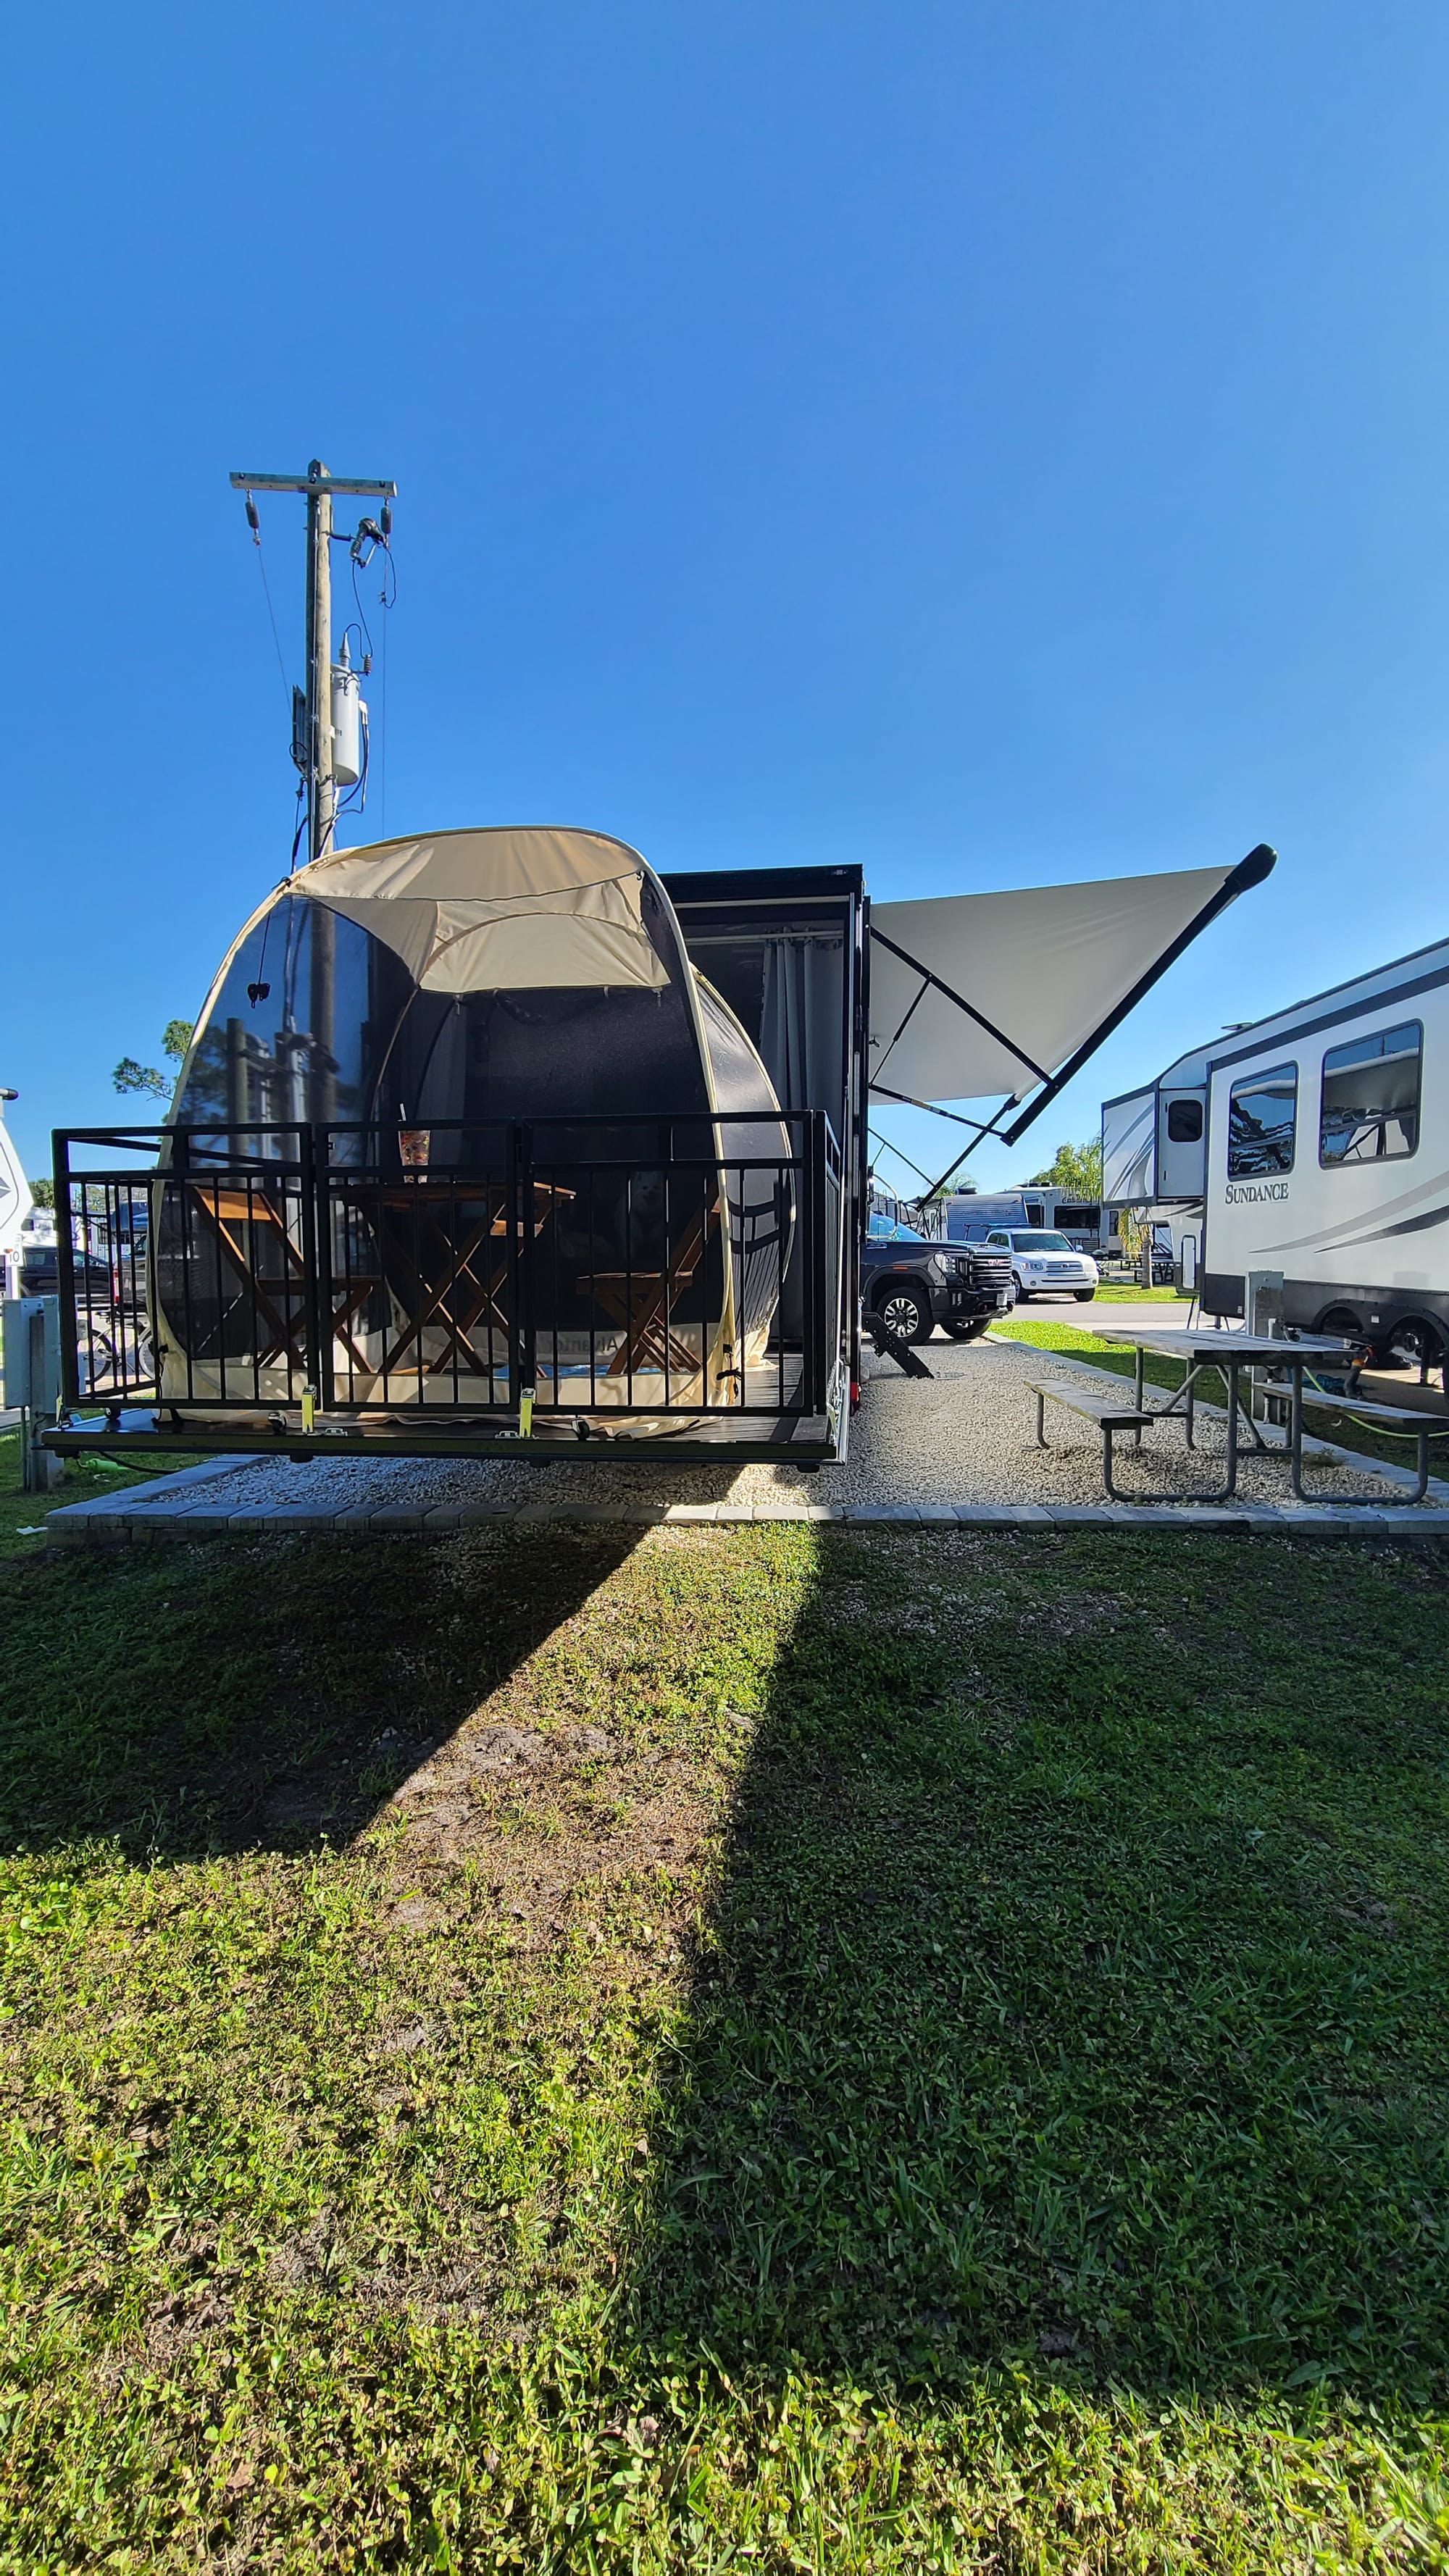
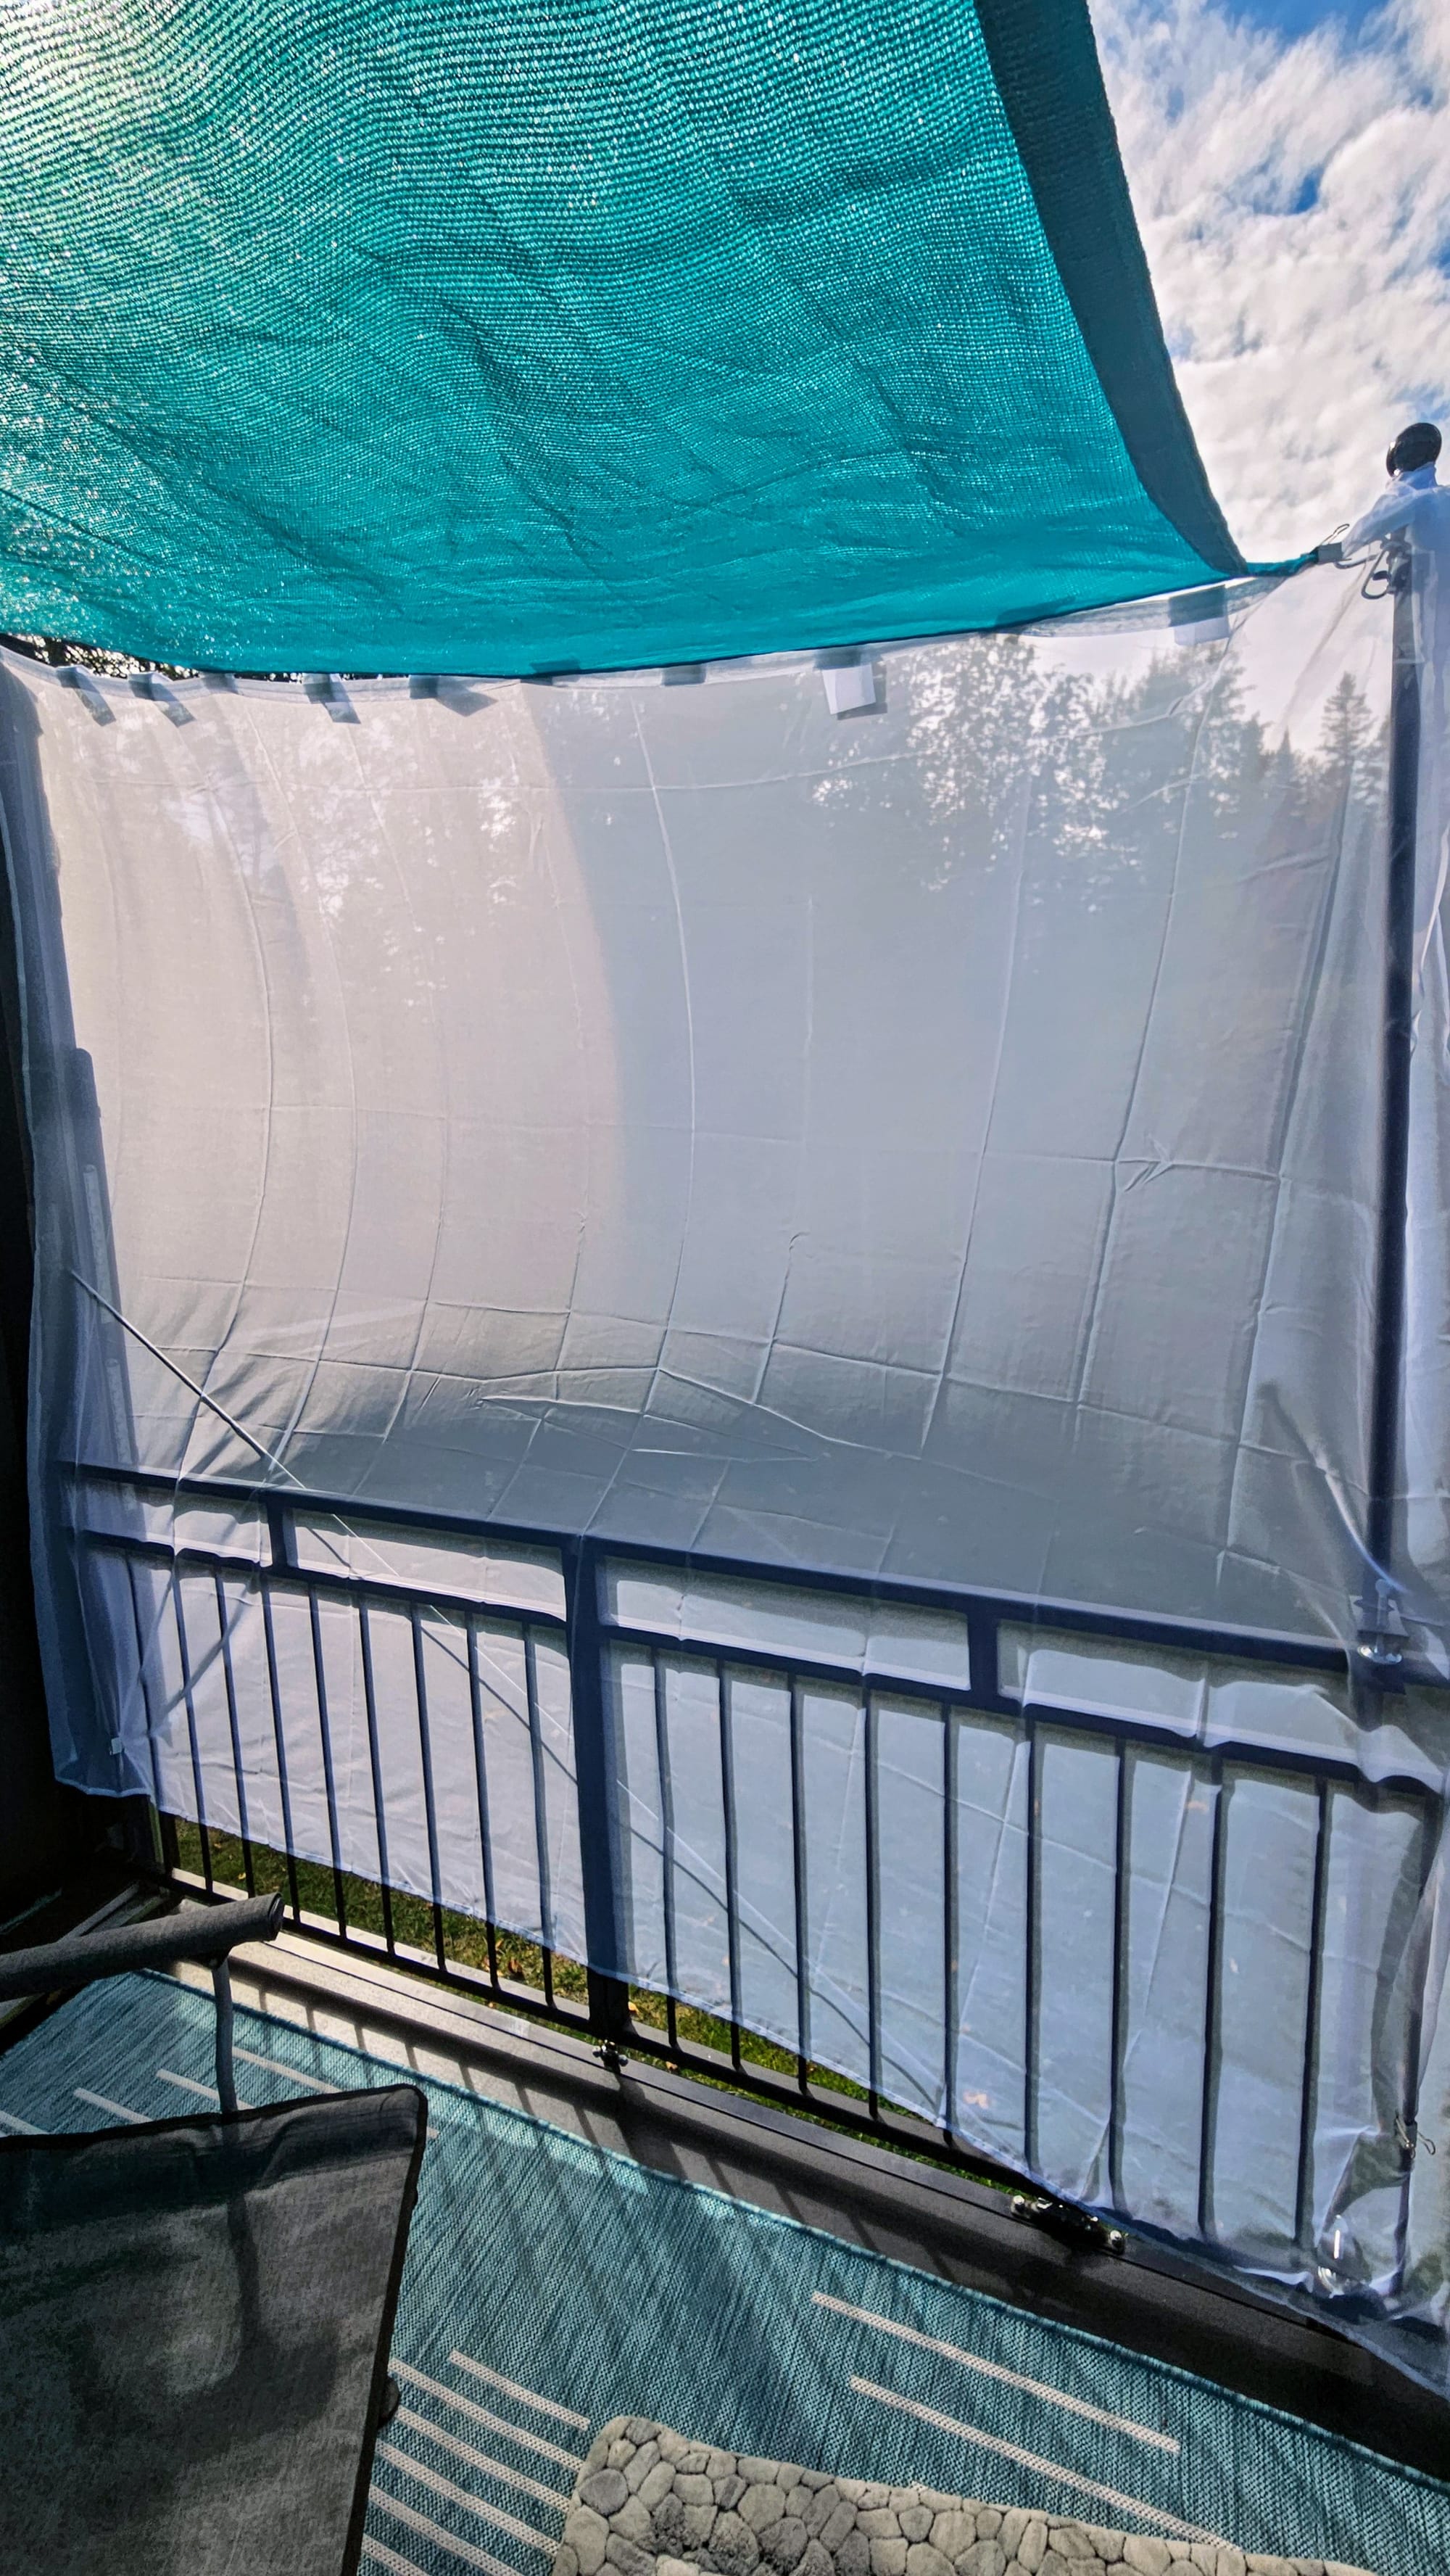
Iteration 4: Full shade
Our extra setup time hadn't deterred us yet, and so we considered adding even more to our patio. We enjoyed many patio days as we voyaged through New Hampshire in the late summer/early fall, but a heatwave made us think again about ways we could block the sun. Our shade was great, but only when the sun was high in the sky above us. What about as it lowered? The days were getting shorter, and we had long hours of bright sunny glare.
We've noticed many times in the RV life that sometimes the simplest solution is the best. We had an extra curtain and quickly hung it up using binder clips.
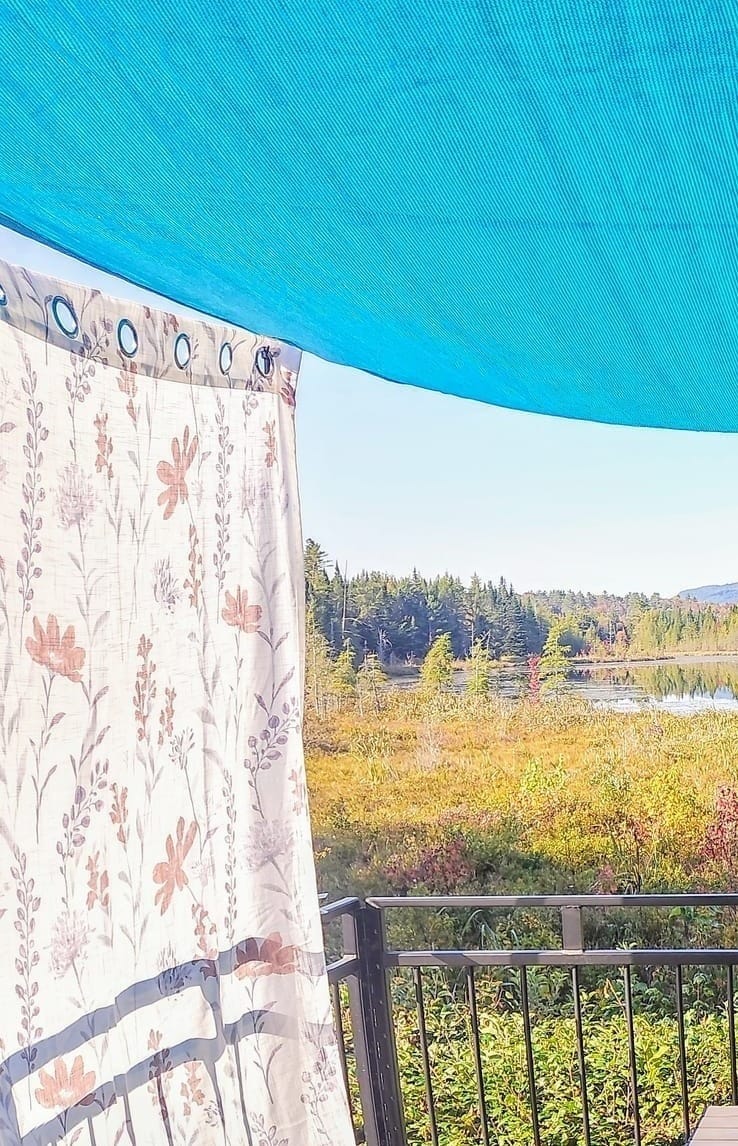
When the curtain is lightweight enough, the sun shade doesn't sag. Medium binder clips are also the perfect size to secure the edges of the curtain to the patio rails so it doesn't blow in the wind. We were onto something. Then and there, we decided to order some patio curtains and prettier binder clips. We ended up ordering one shade for each side and also got one to put in front of the patio screen on the outside. We haven't tried it yet, but since the patio curtains are slightly rain resistant, technically this should be enough to keep rain from blowing into our RV if a sudden storm comes in.
Now, we can completely enclose our patio if we choose, but if not, we can just hang as many curtains as we want. If we only want one, we can rotate it along with the sun, first positioning it eastward, then southward, then westward. The light filtering has been great, but the curtains also keep our patio several degrees cooler! Plus we feel like we can have a sense of privacy if we have nearby neighbs. It's a win-win-win!
For the cherry on top, we ordered a carrying bag that fits all of the smaller components of our patio setup, so everything is easily within reach when we put down our patio.
With these additions, we now have a personalized and versatile patio setup that can work for a variety of locations and contexts. If we don't need the shade, we don't need to put it up. If we're short on time, we can just lay the rug and bring out a couple of chairs. No matter what, we've accomplished the homey vibe that our patio deserves. We can't wait to see what gorgeous views we gaze upon next!
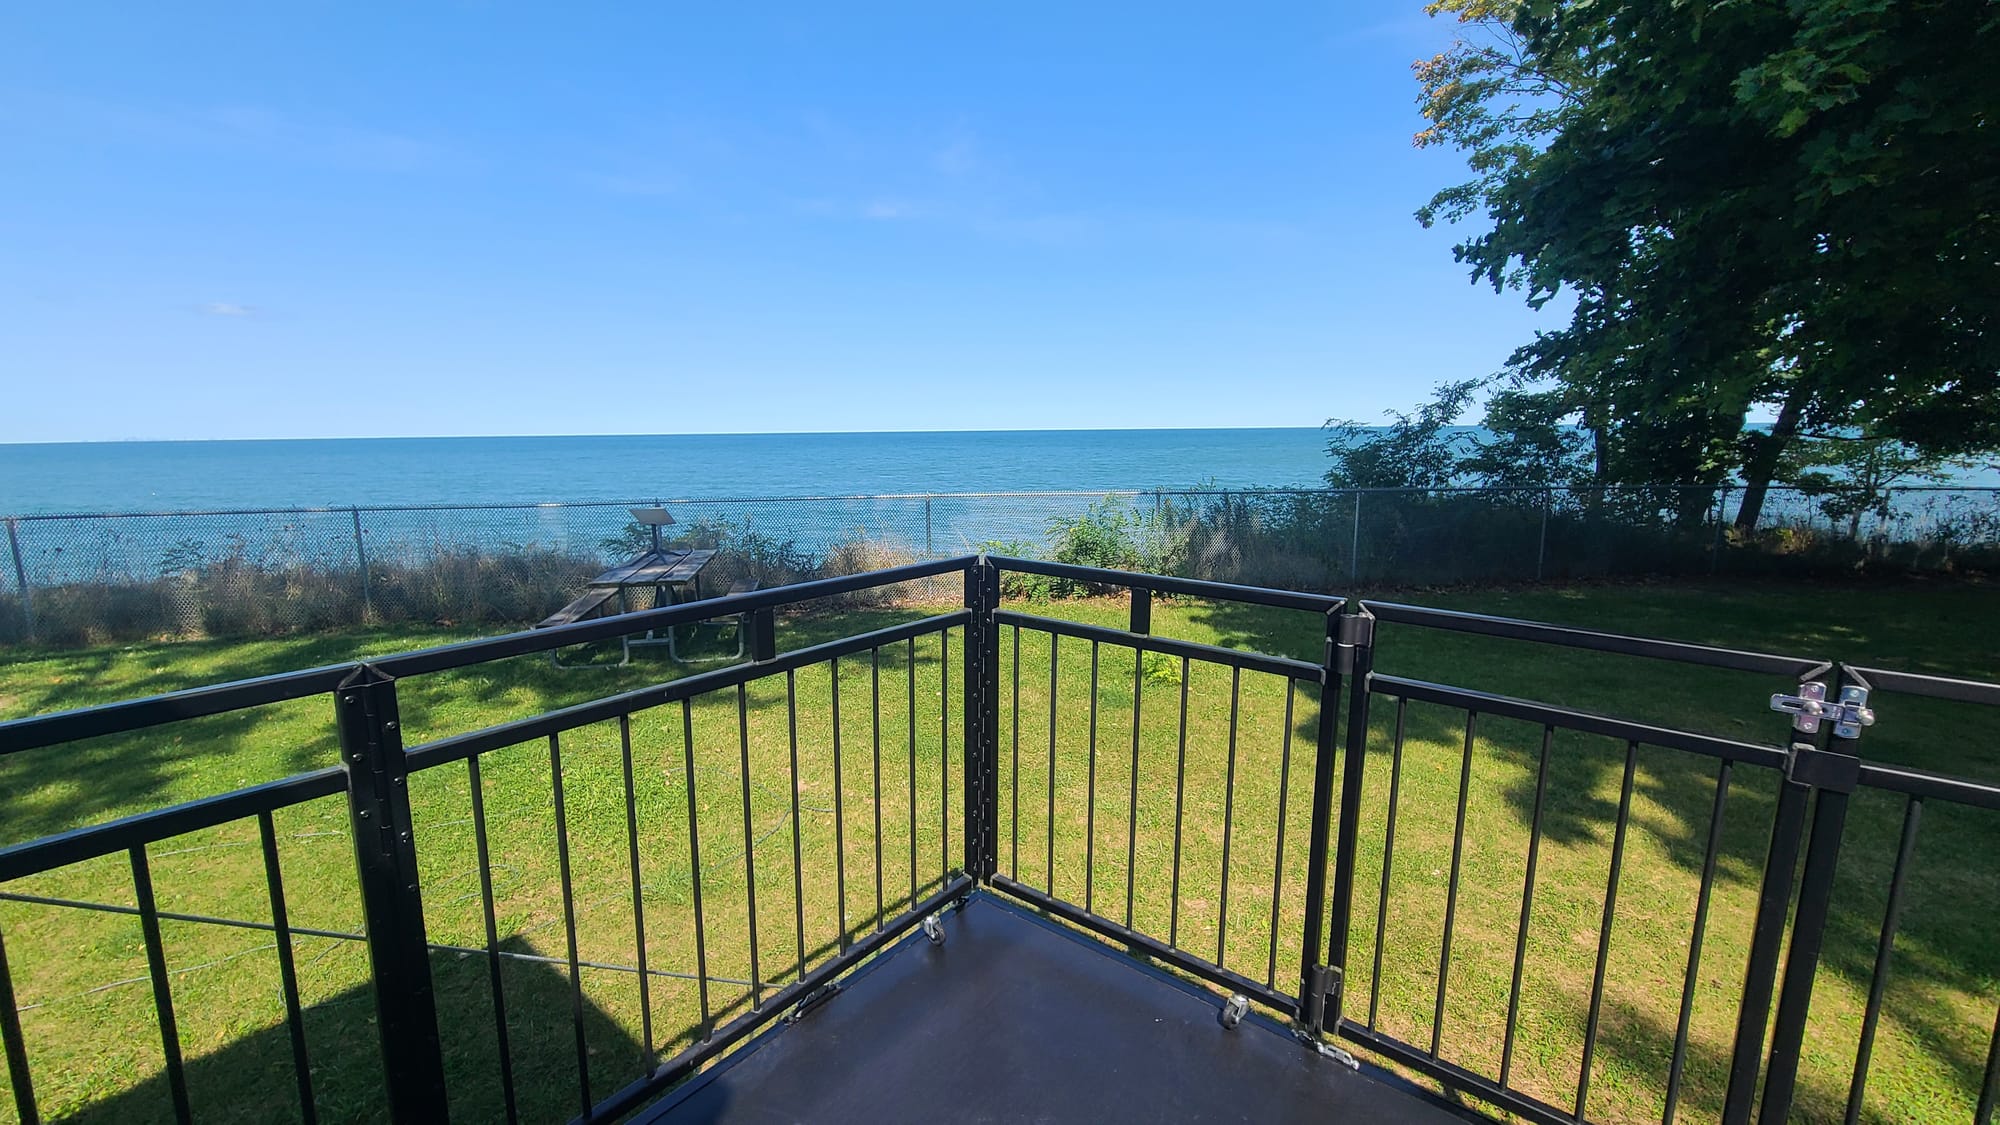
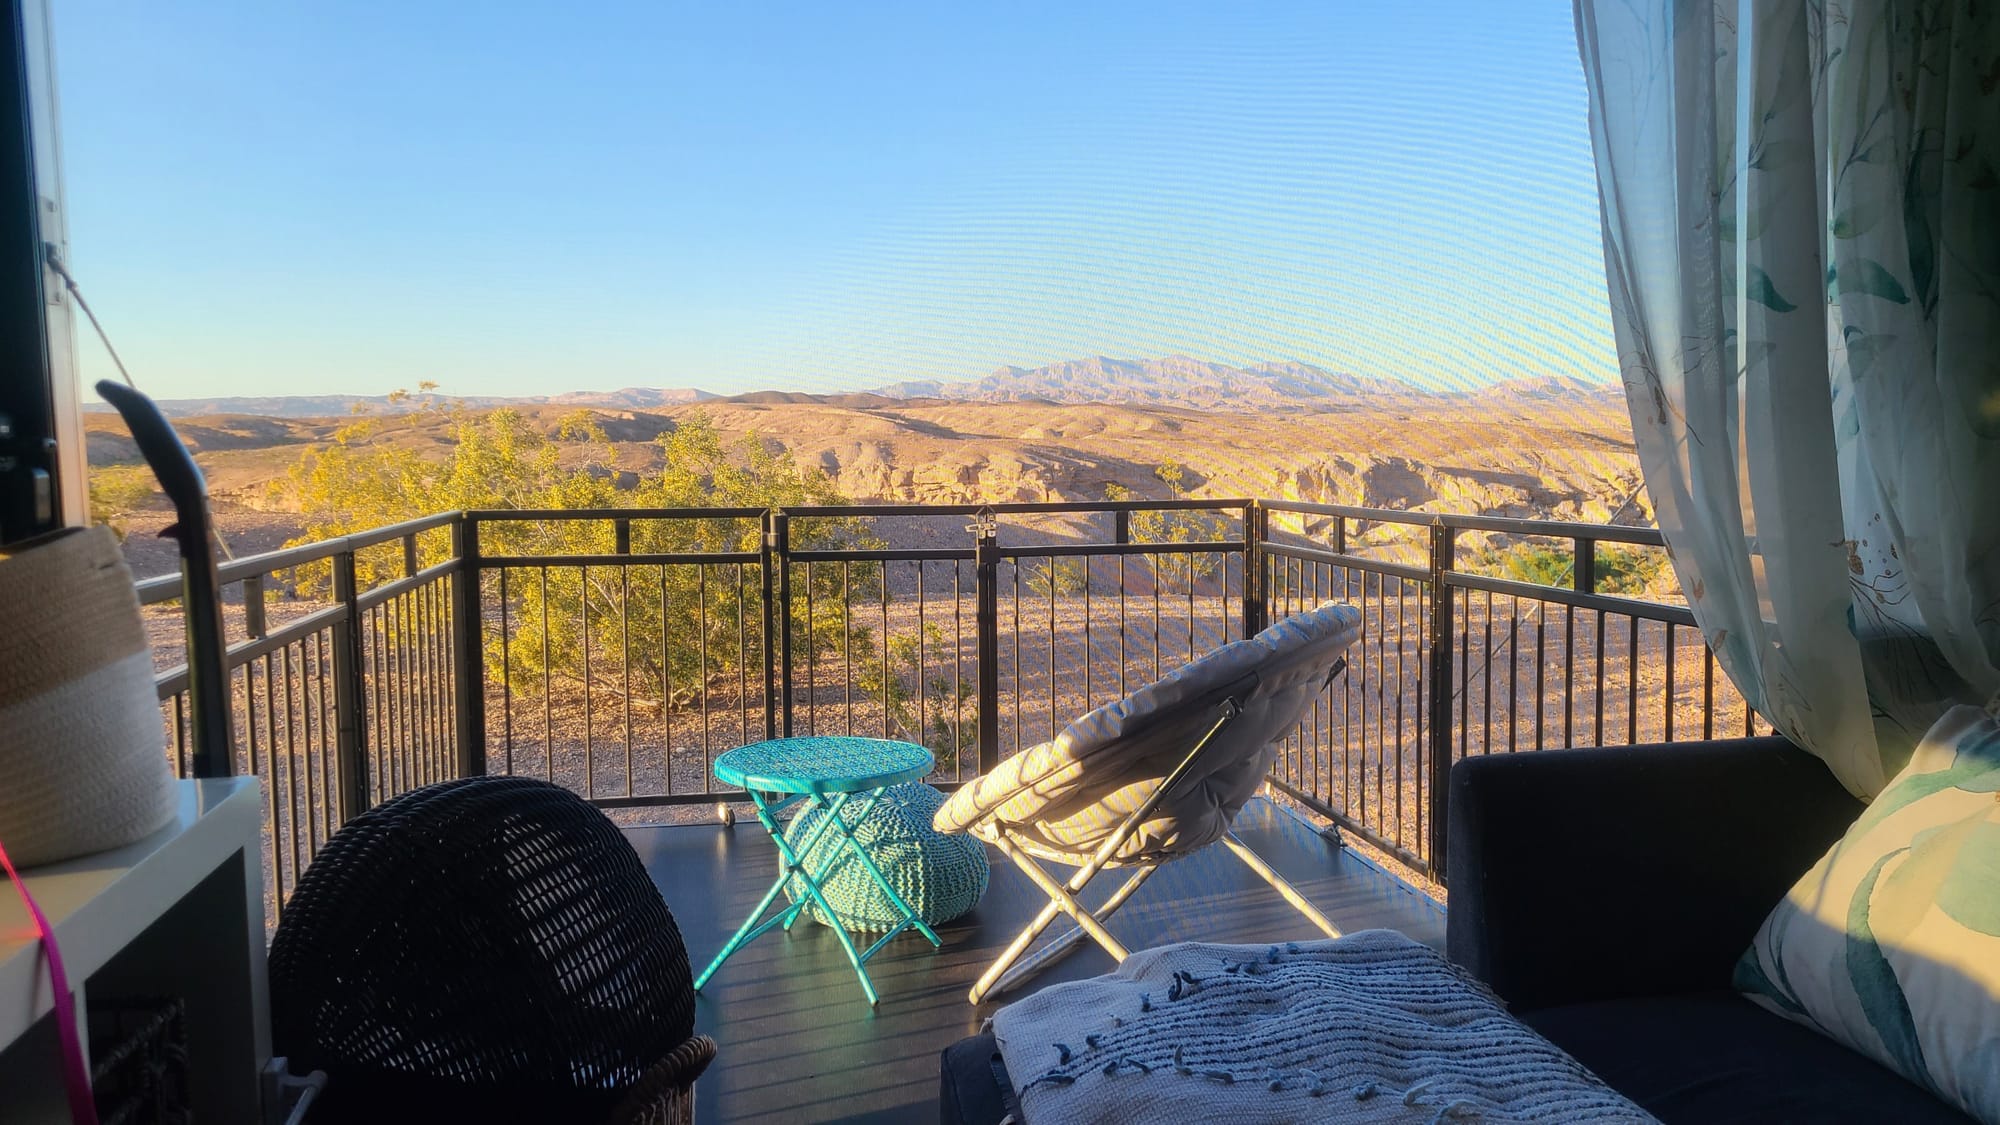

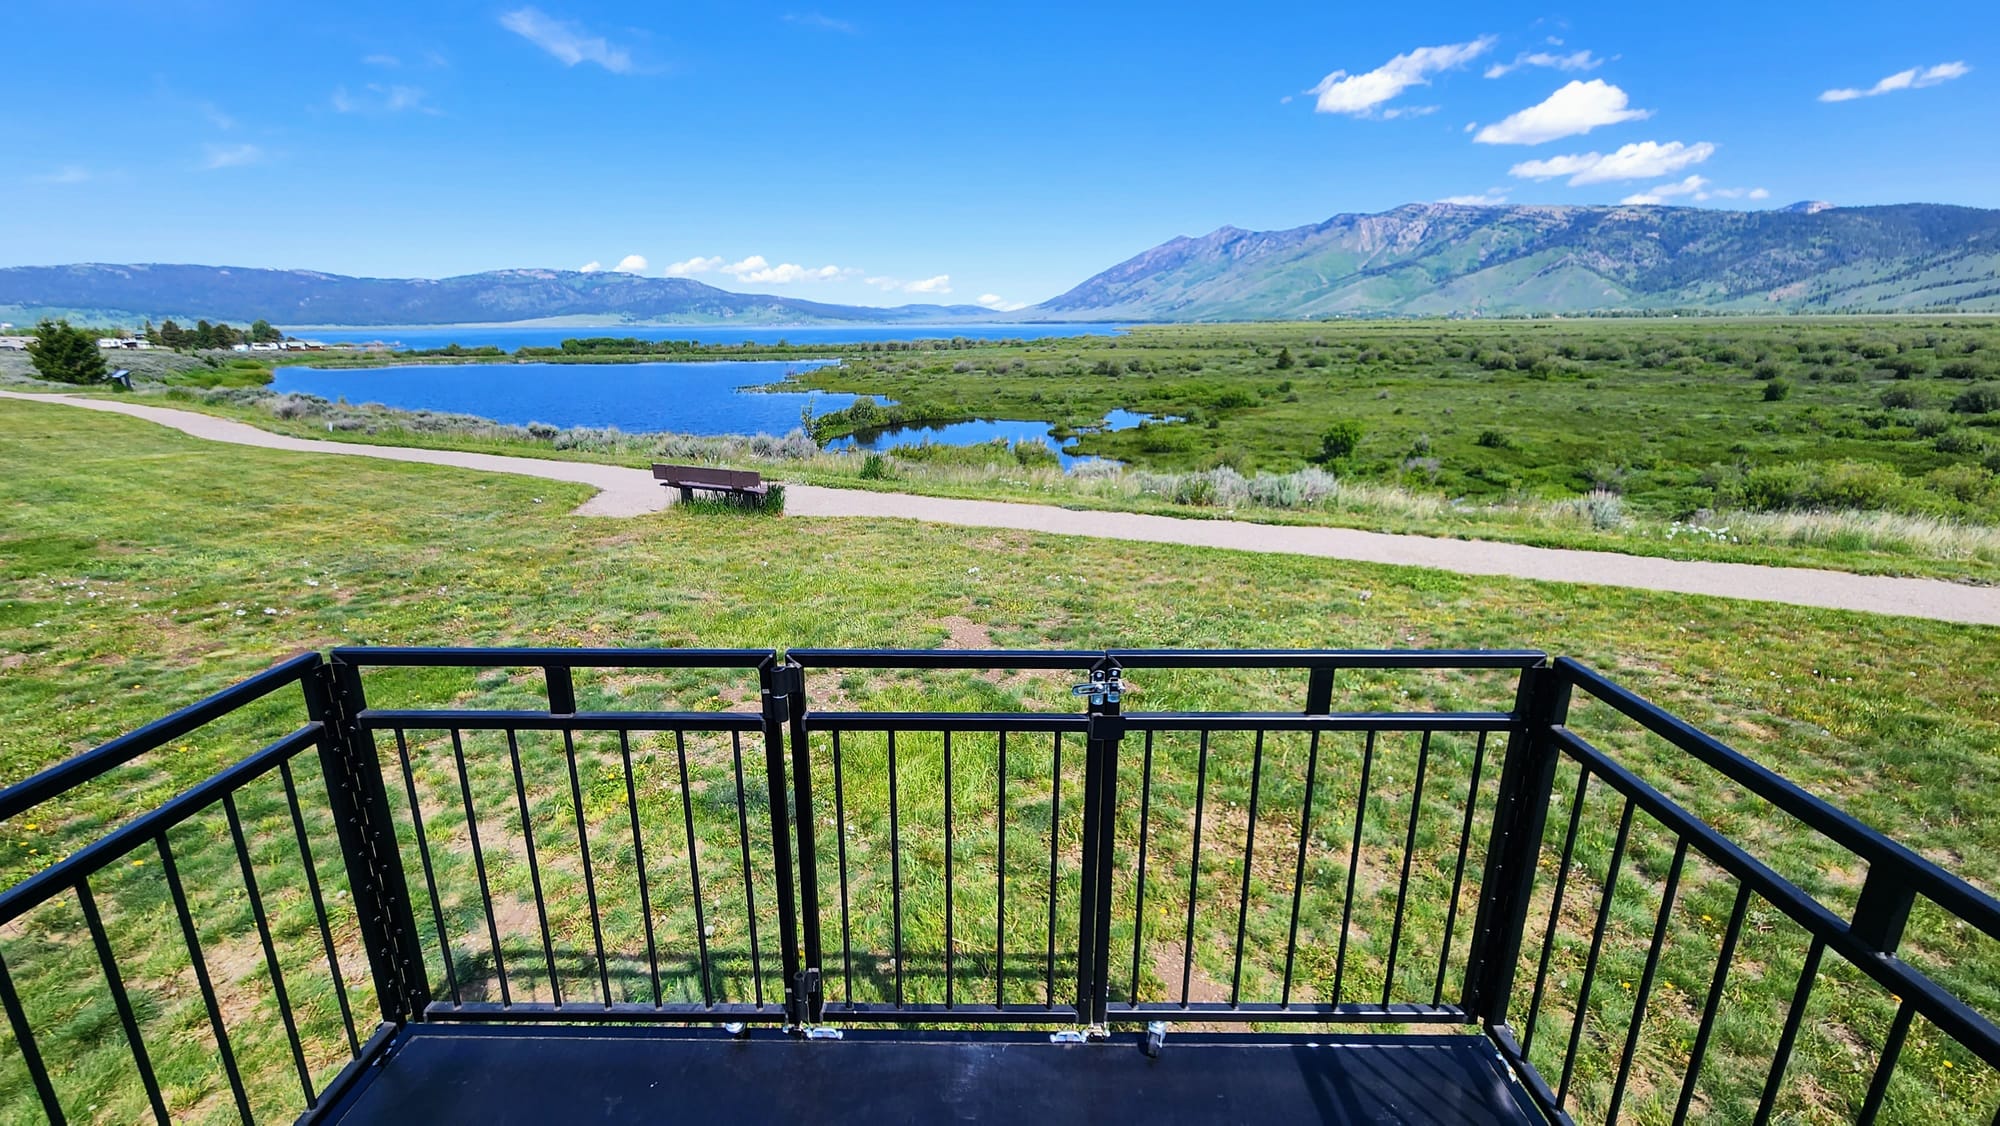
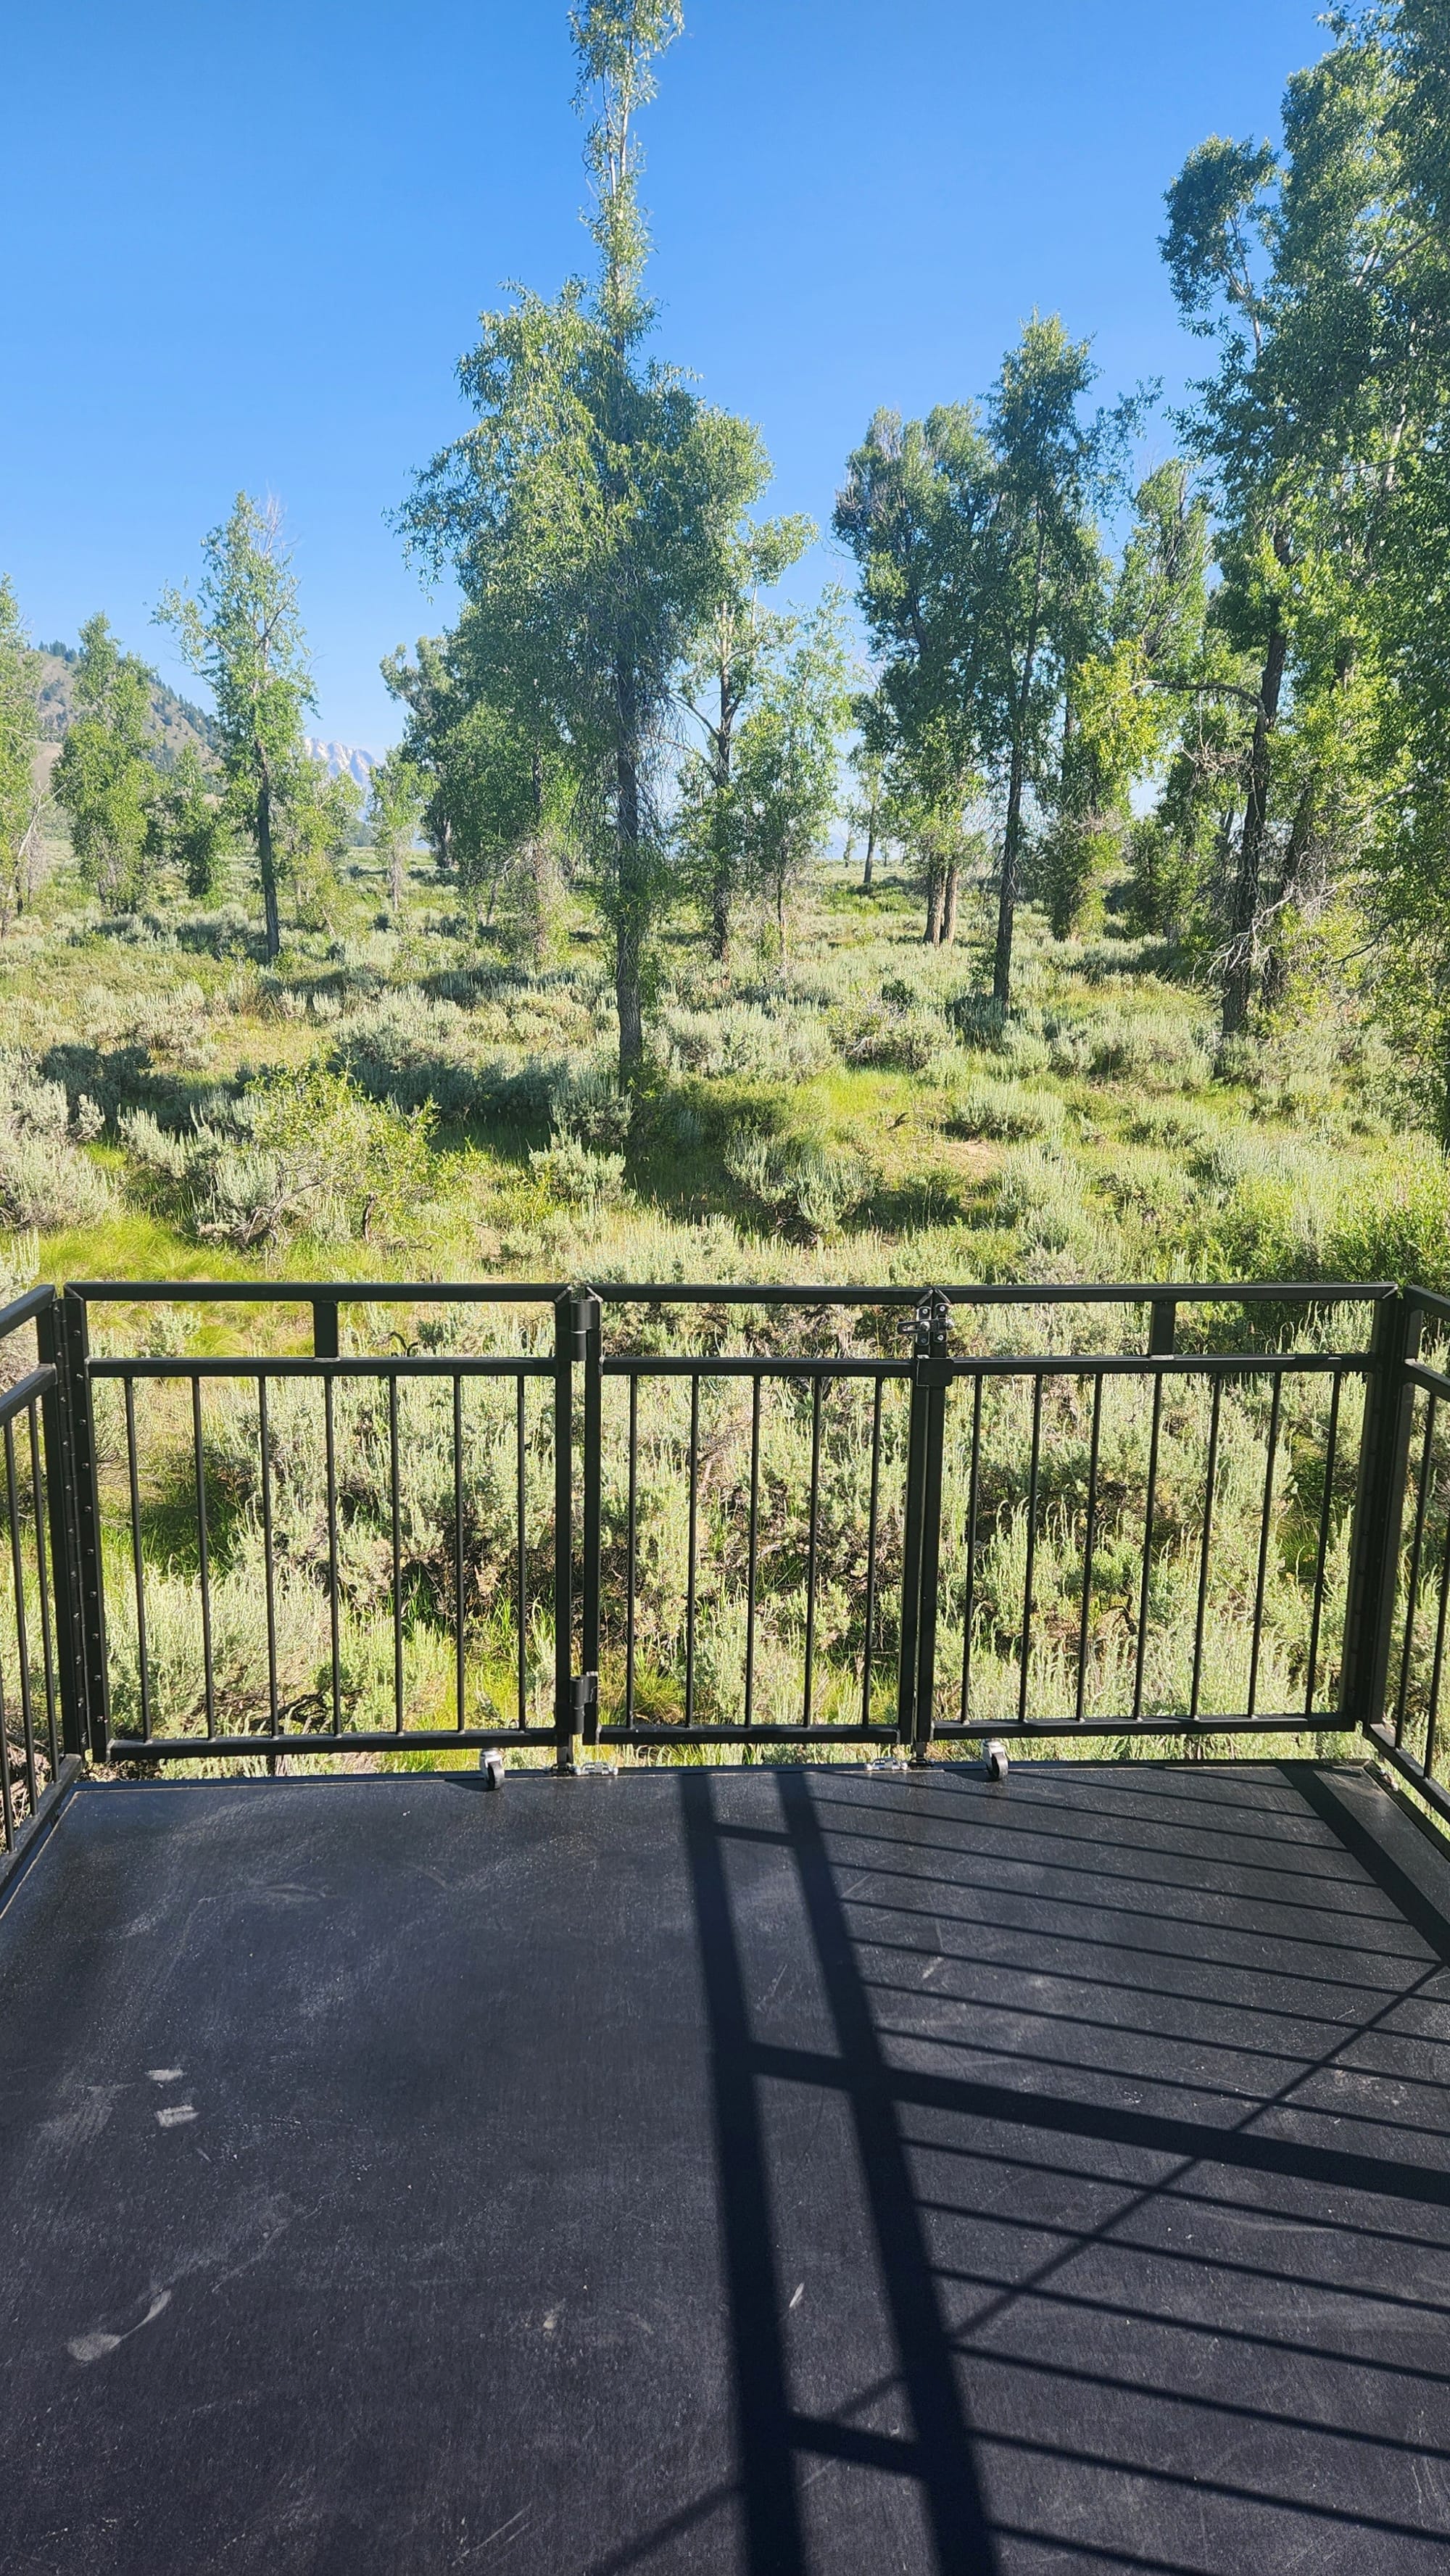
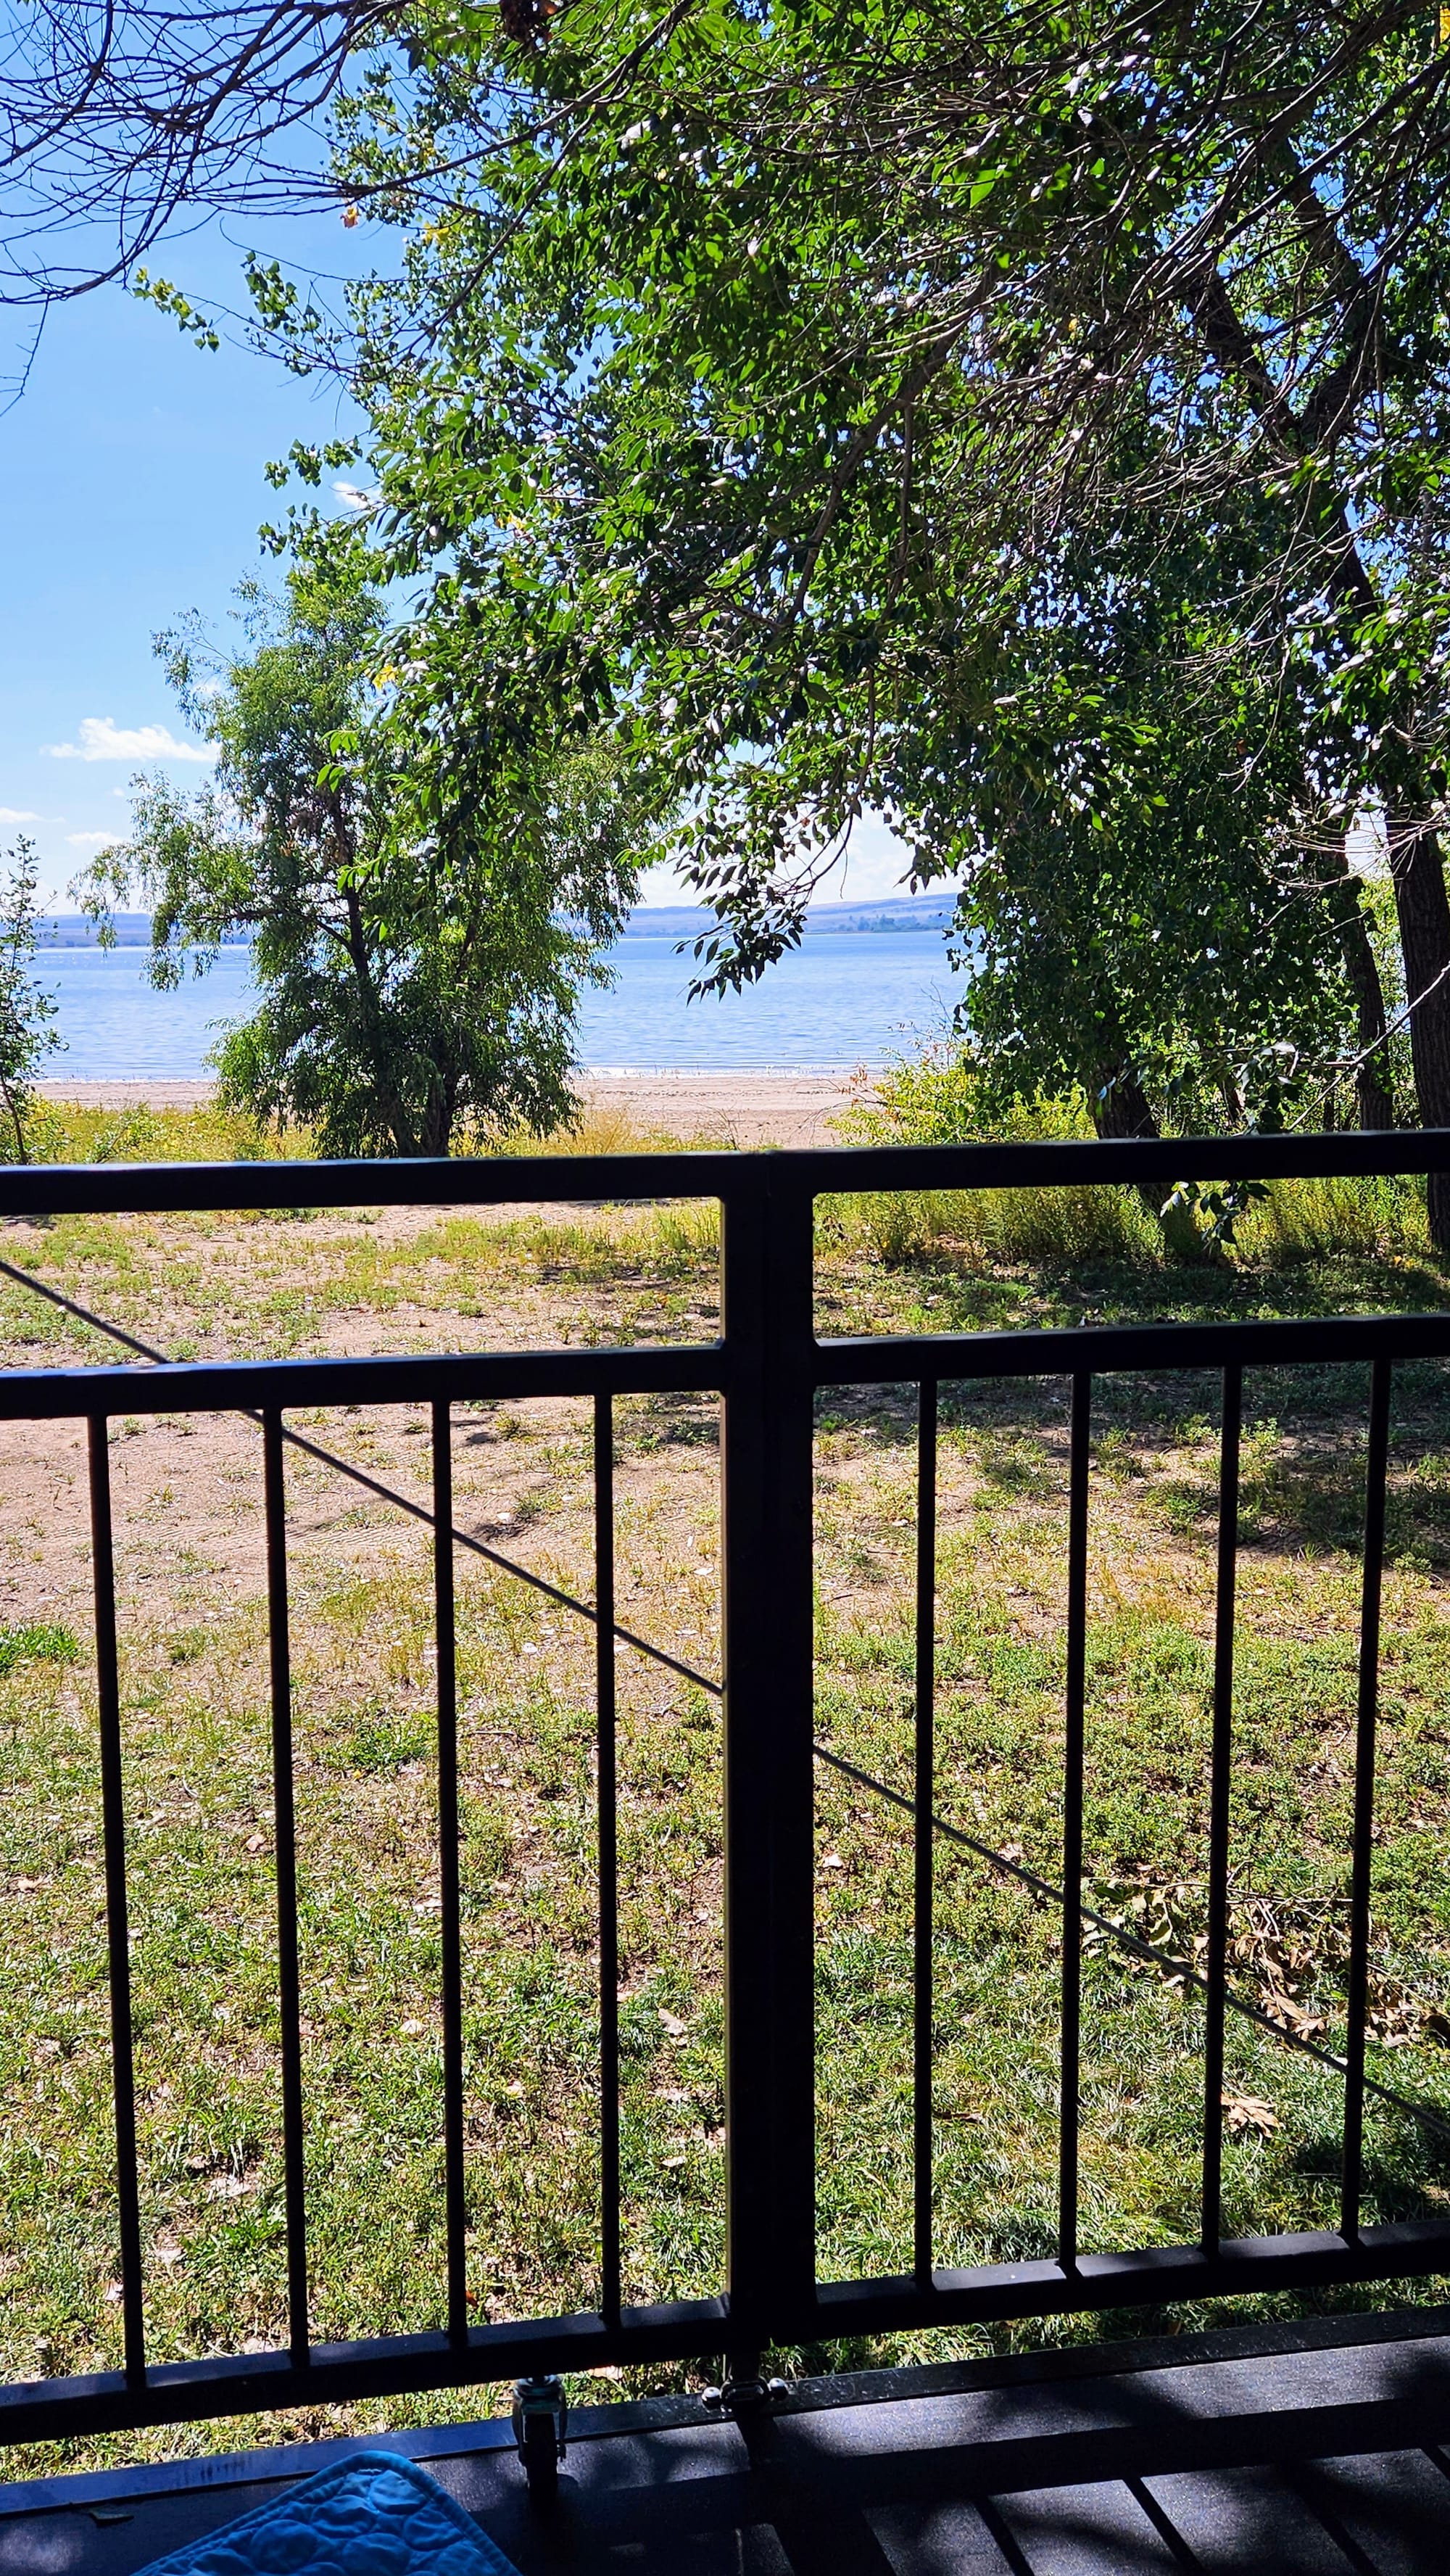
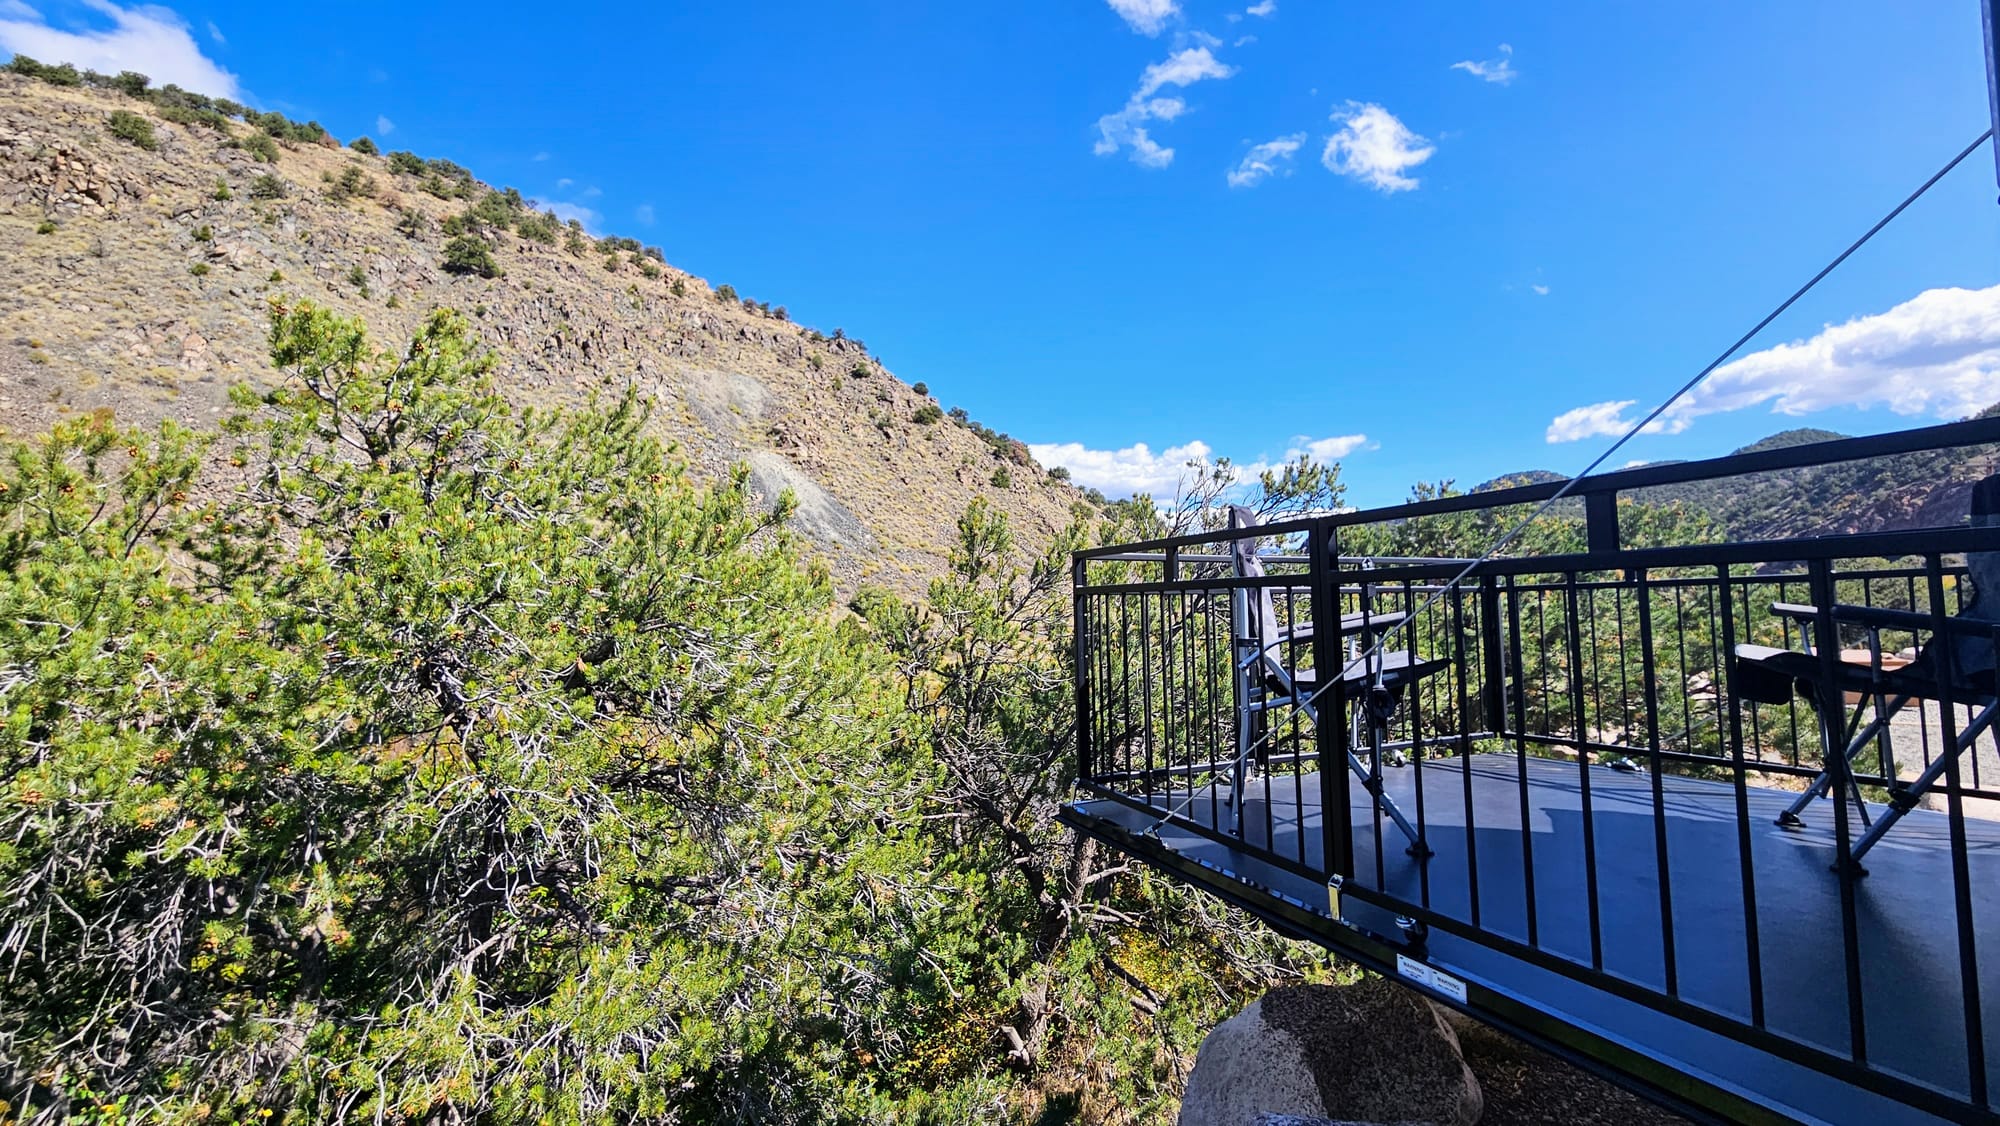
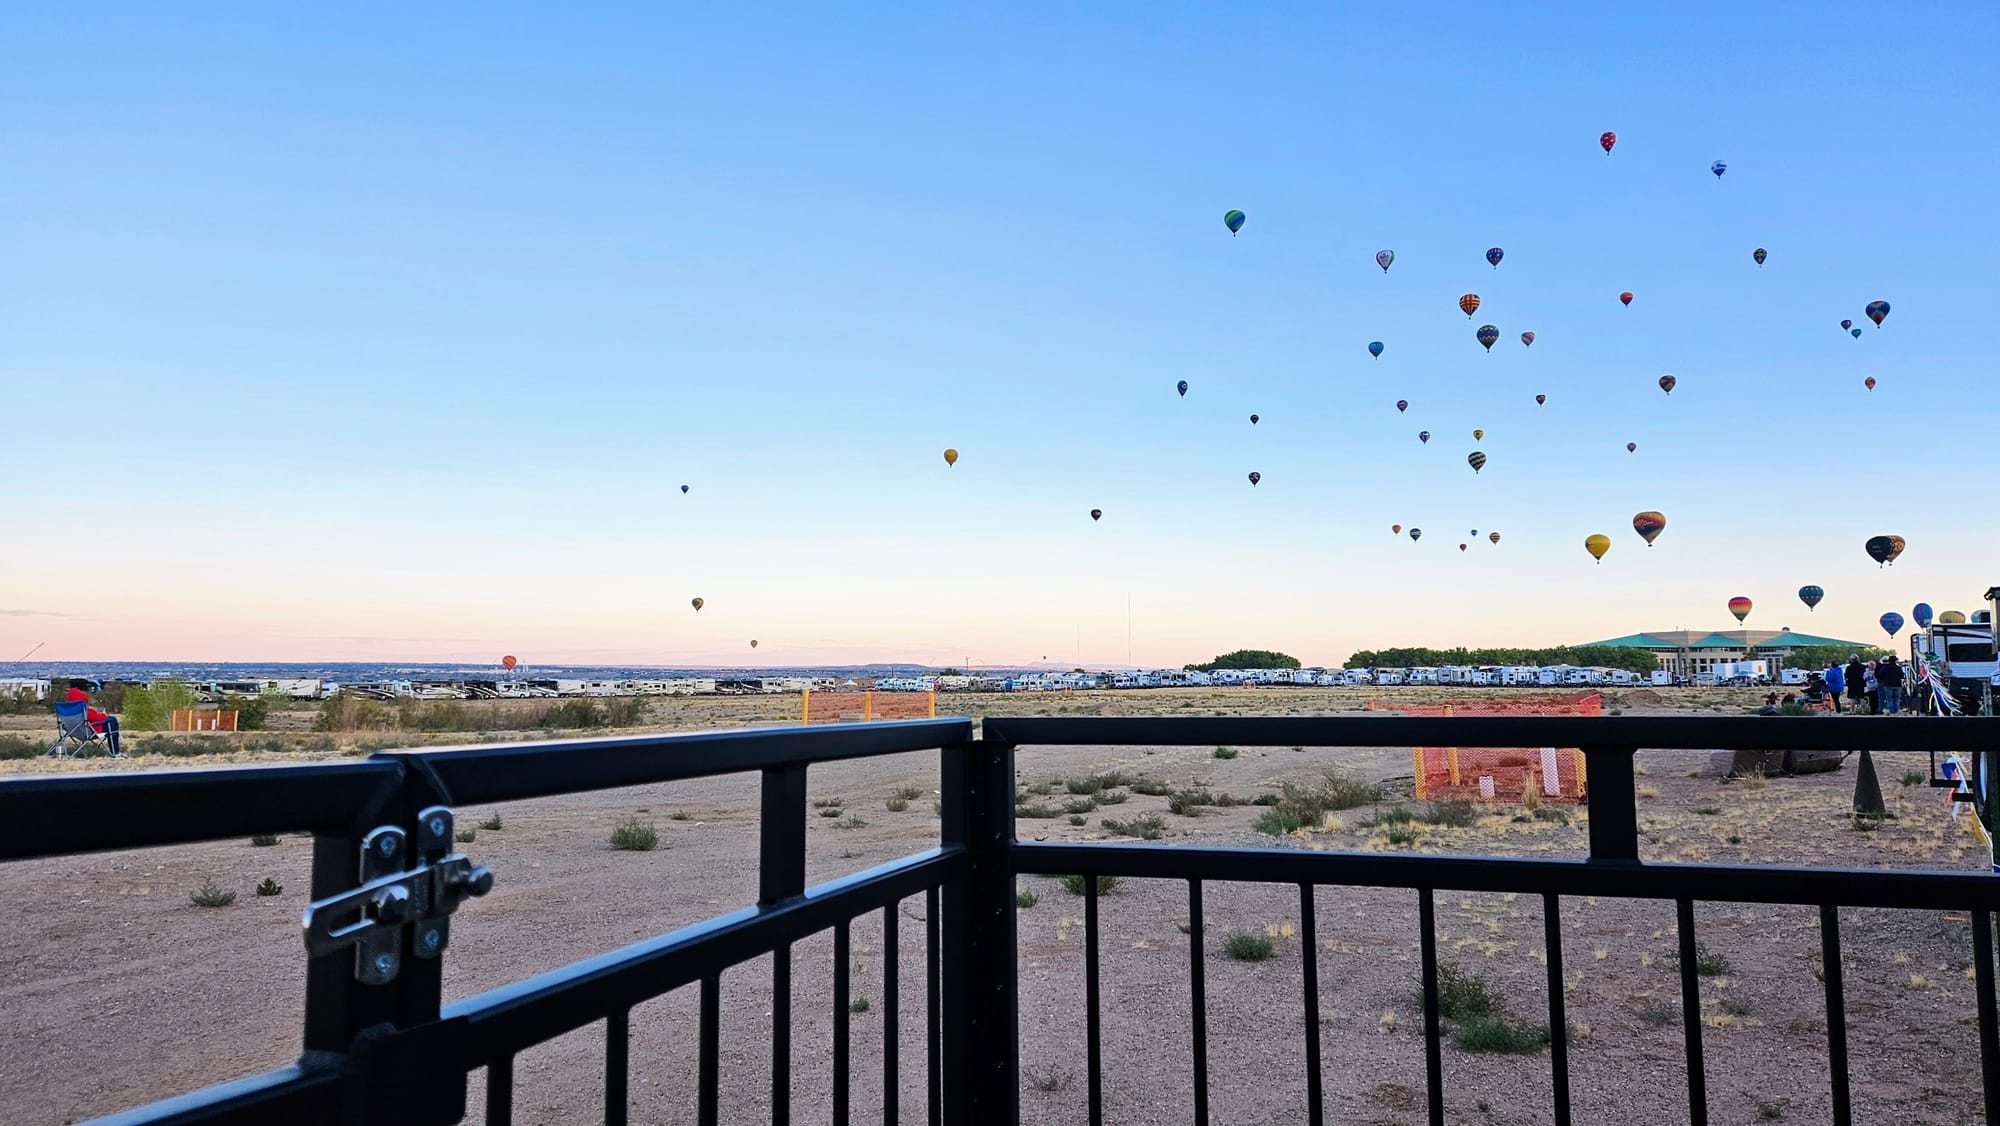

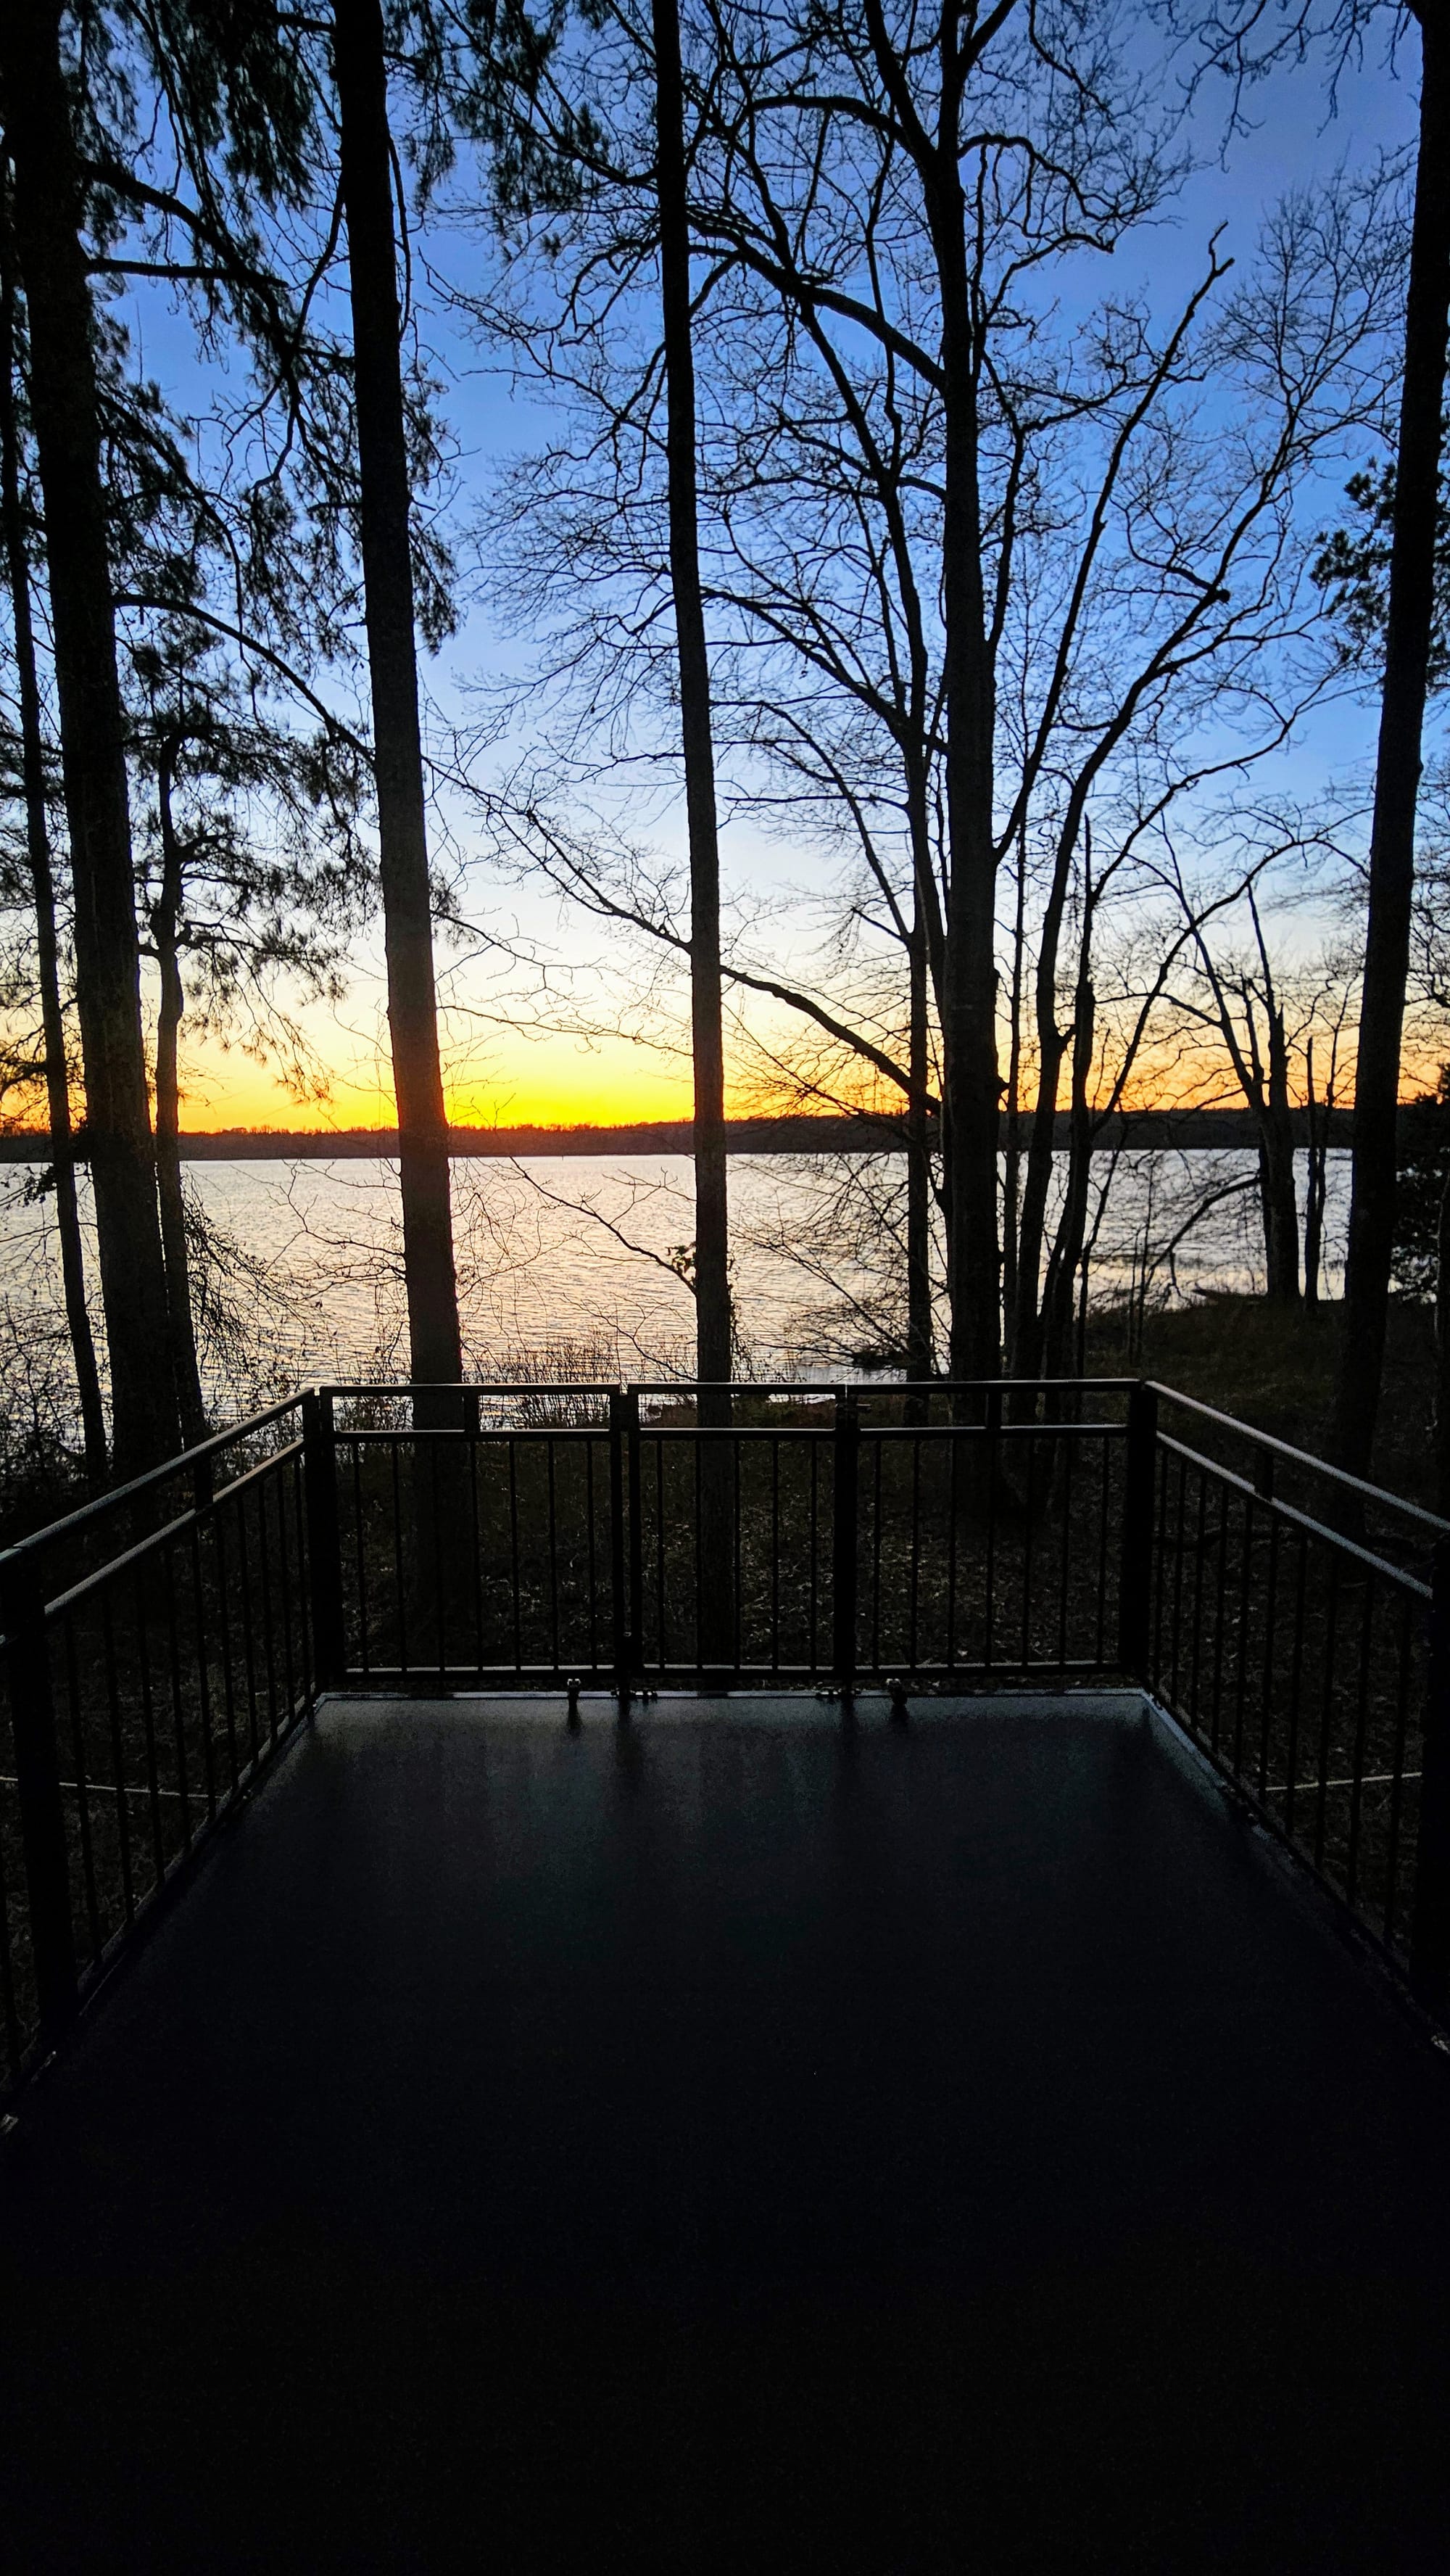
Some of our favorite patio views over the years
And last but not least, we leave you with this gem that could not have happened if not for our patio.