
This oversight nearly led to a flood in our trailer

Continued from Taking the trailer out of storage already?!
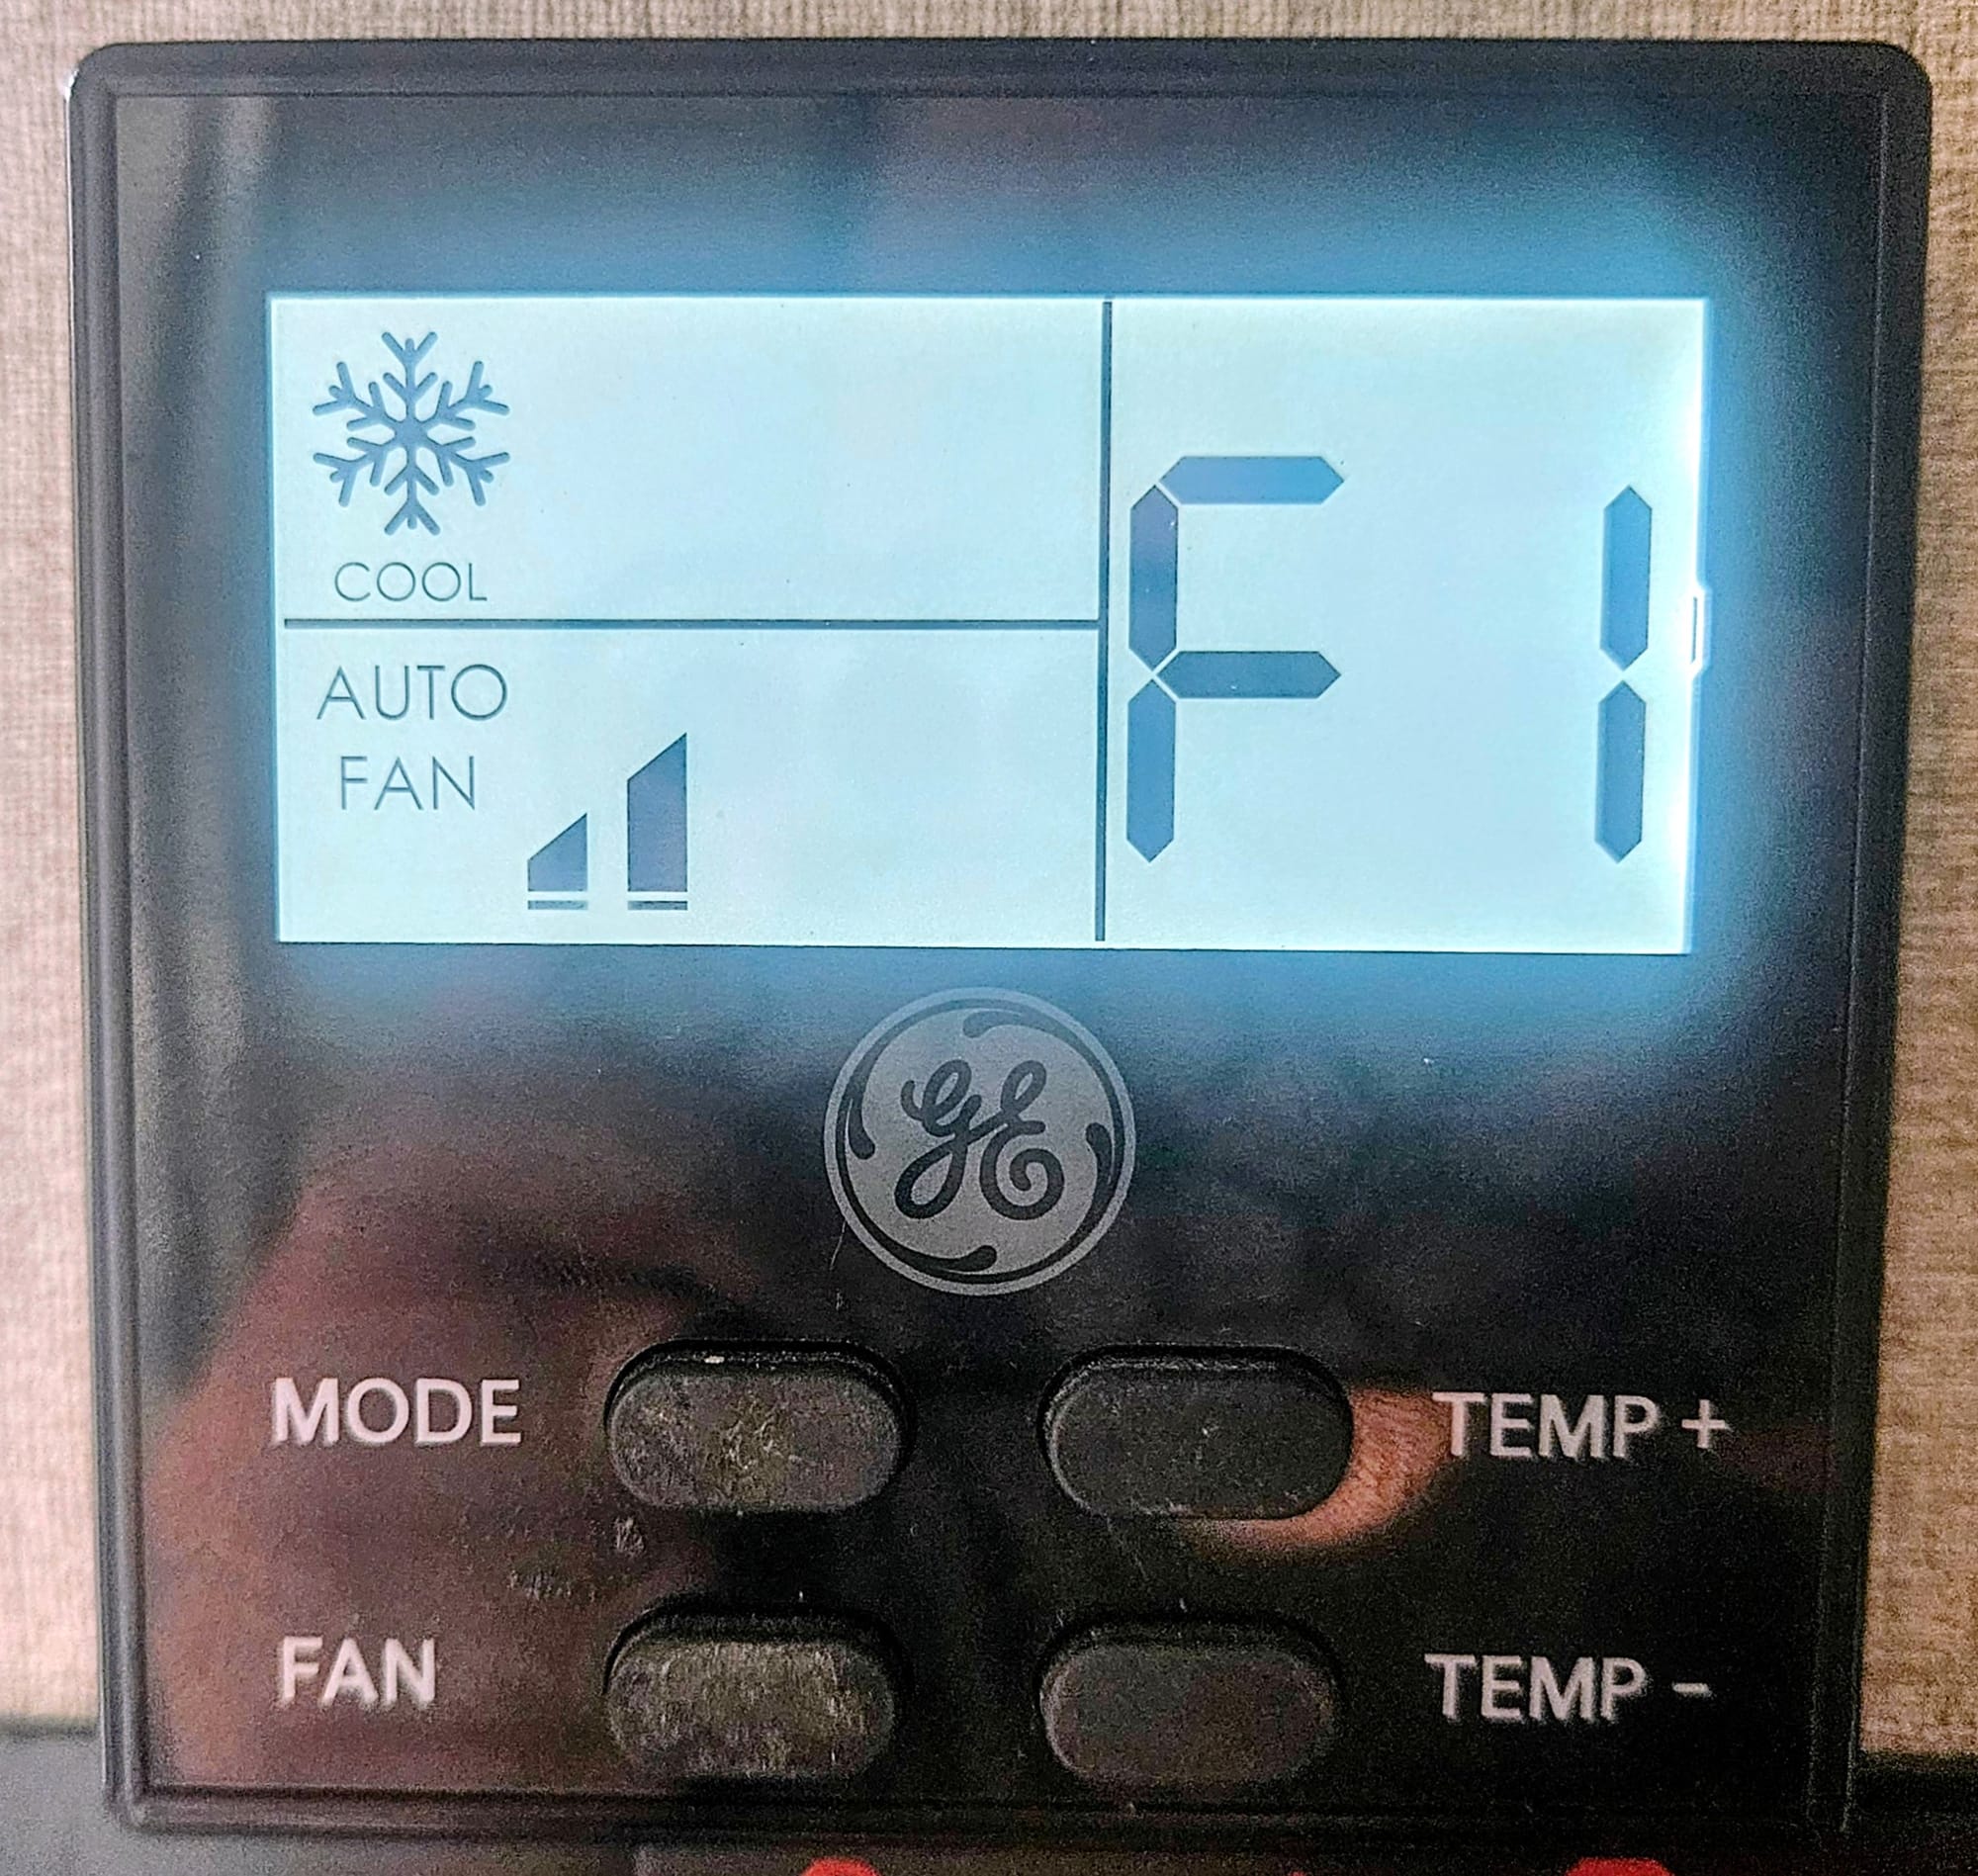
We made a command decision to move our RV out of storage and get it on full hookups, so we could adequately prep it to endure the relentless humidity in Myrtle Beach. We brought it over to Hideaway RV Resort, where we booked an extra long pull-thru to ensure enough room to clean and organize. Things started out less than ideal. The main reason for getting on hookups was so we could run our air conditioners, but they weren't working. We got an F1 error code, indicating that the thermostat wasn't communicating properly with the unit.
We got to work anyway, opening the back of the trailer up so we could finally move the loads of gear that we had stuffed in the trailer, back in the truck. We were so productive that we ended up offloading a bunch of items we no longer use. Then, somewhere in our productivity, our AC decided to be productive, too.
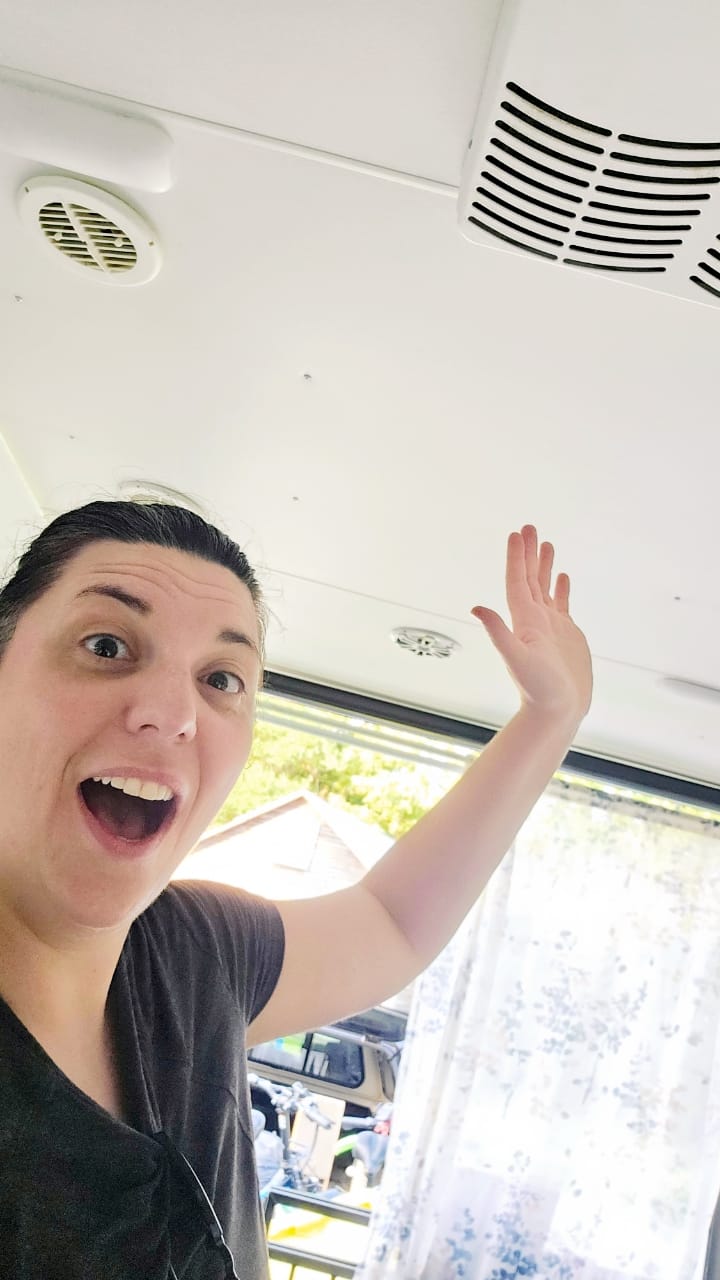
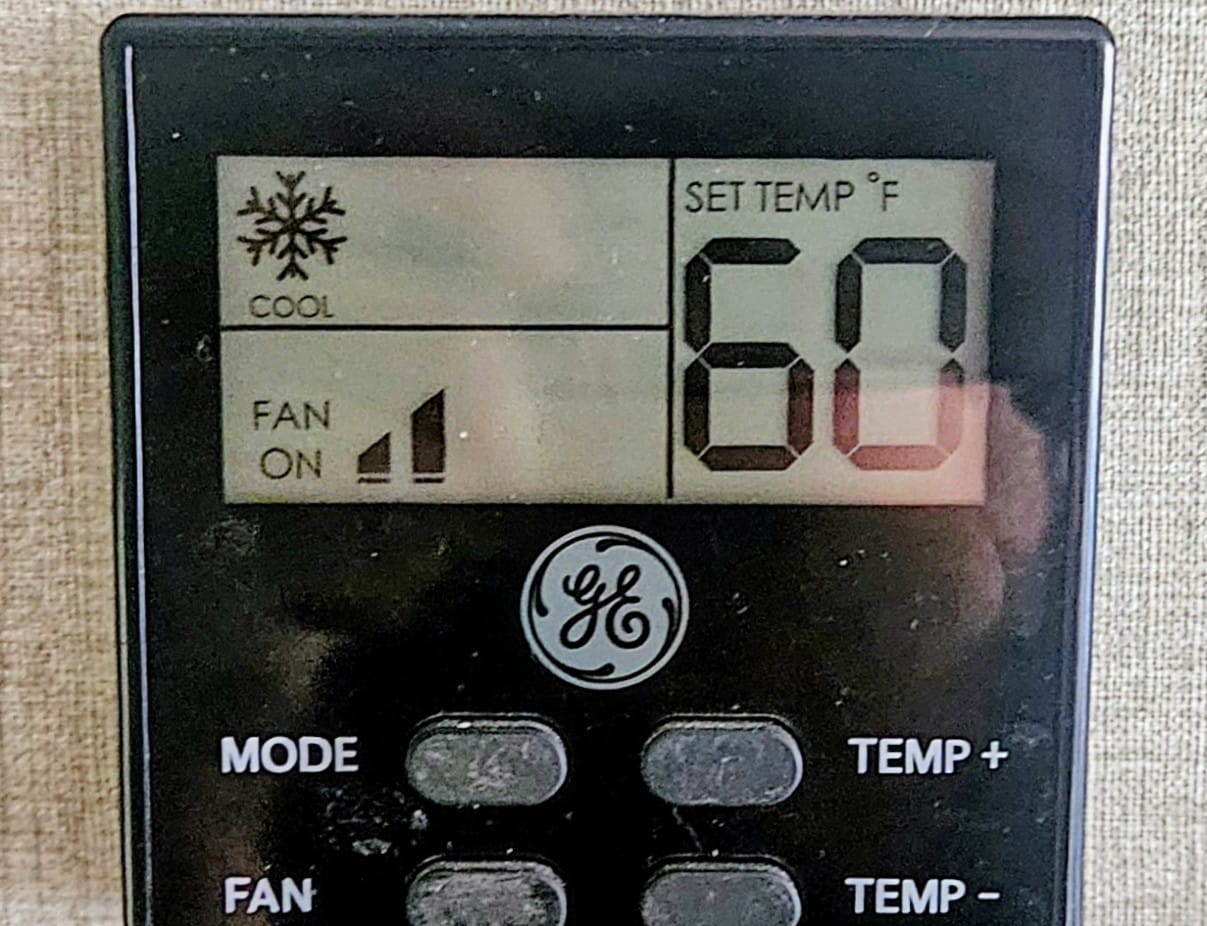
That's the face of disbelief of someone who just discovered, against all odds, cool air blowing out of the AC. After hours of only getting warm air, the compressor kicked on, and the error message went away. We were thrilled. This meant that we could run the AC overnight, and the next day, come back to a cool rig and start cleaning it right away.
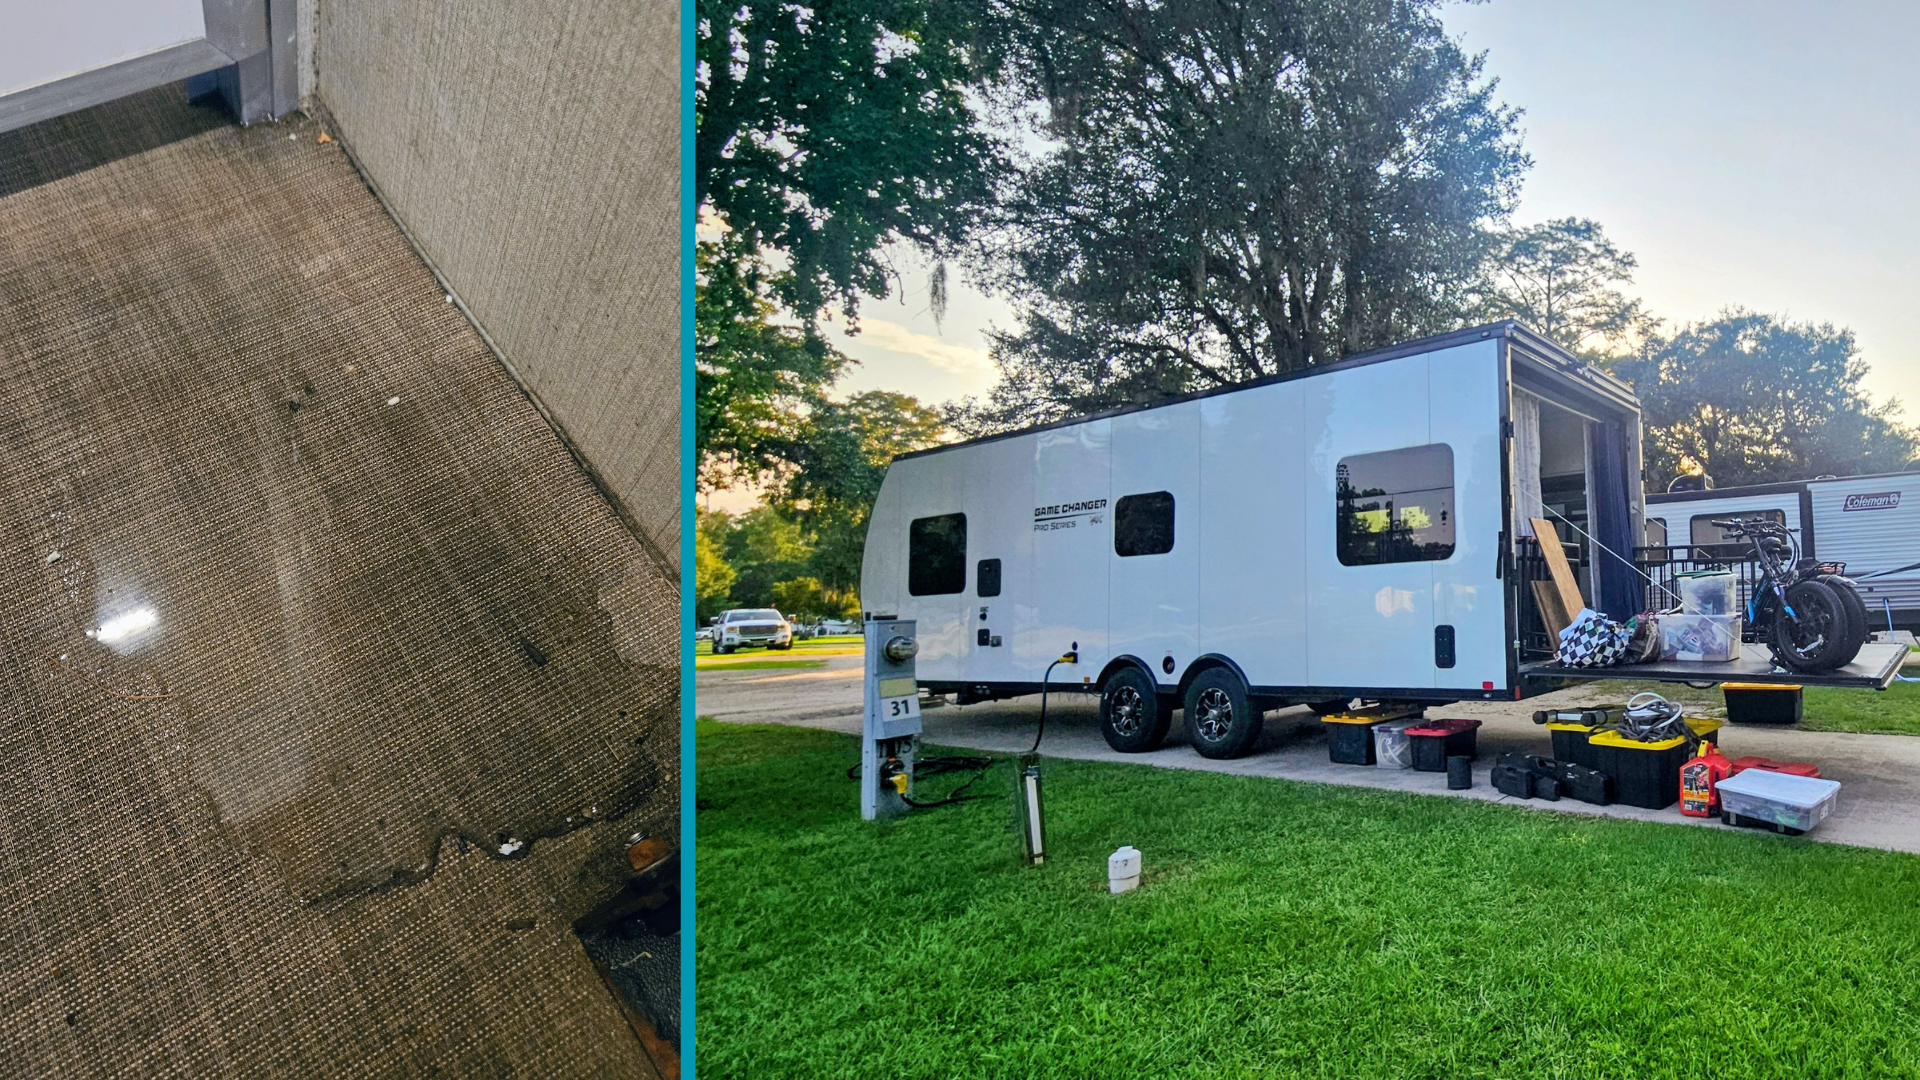
But shortly before we left, we noticed a new problem. Now that the ACs were both functioning, they produced a lot of condensation on the roof, and soon, that condensation came dripping down the bedroom walls and pooling all over the window and floor.
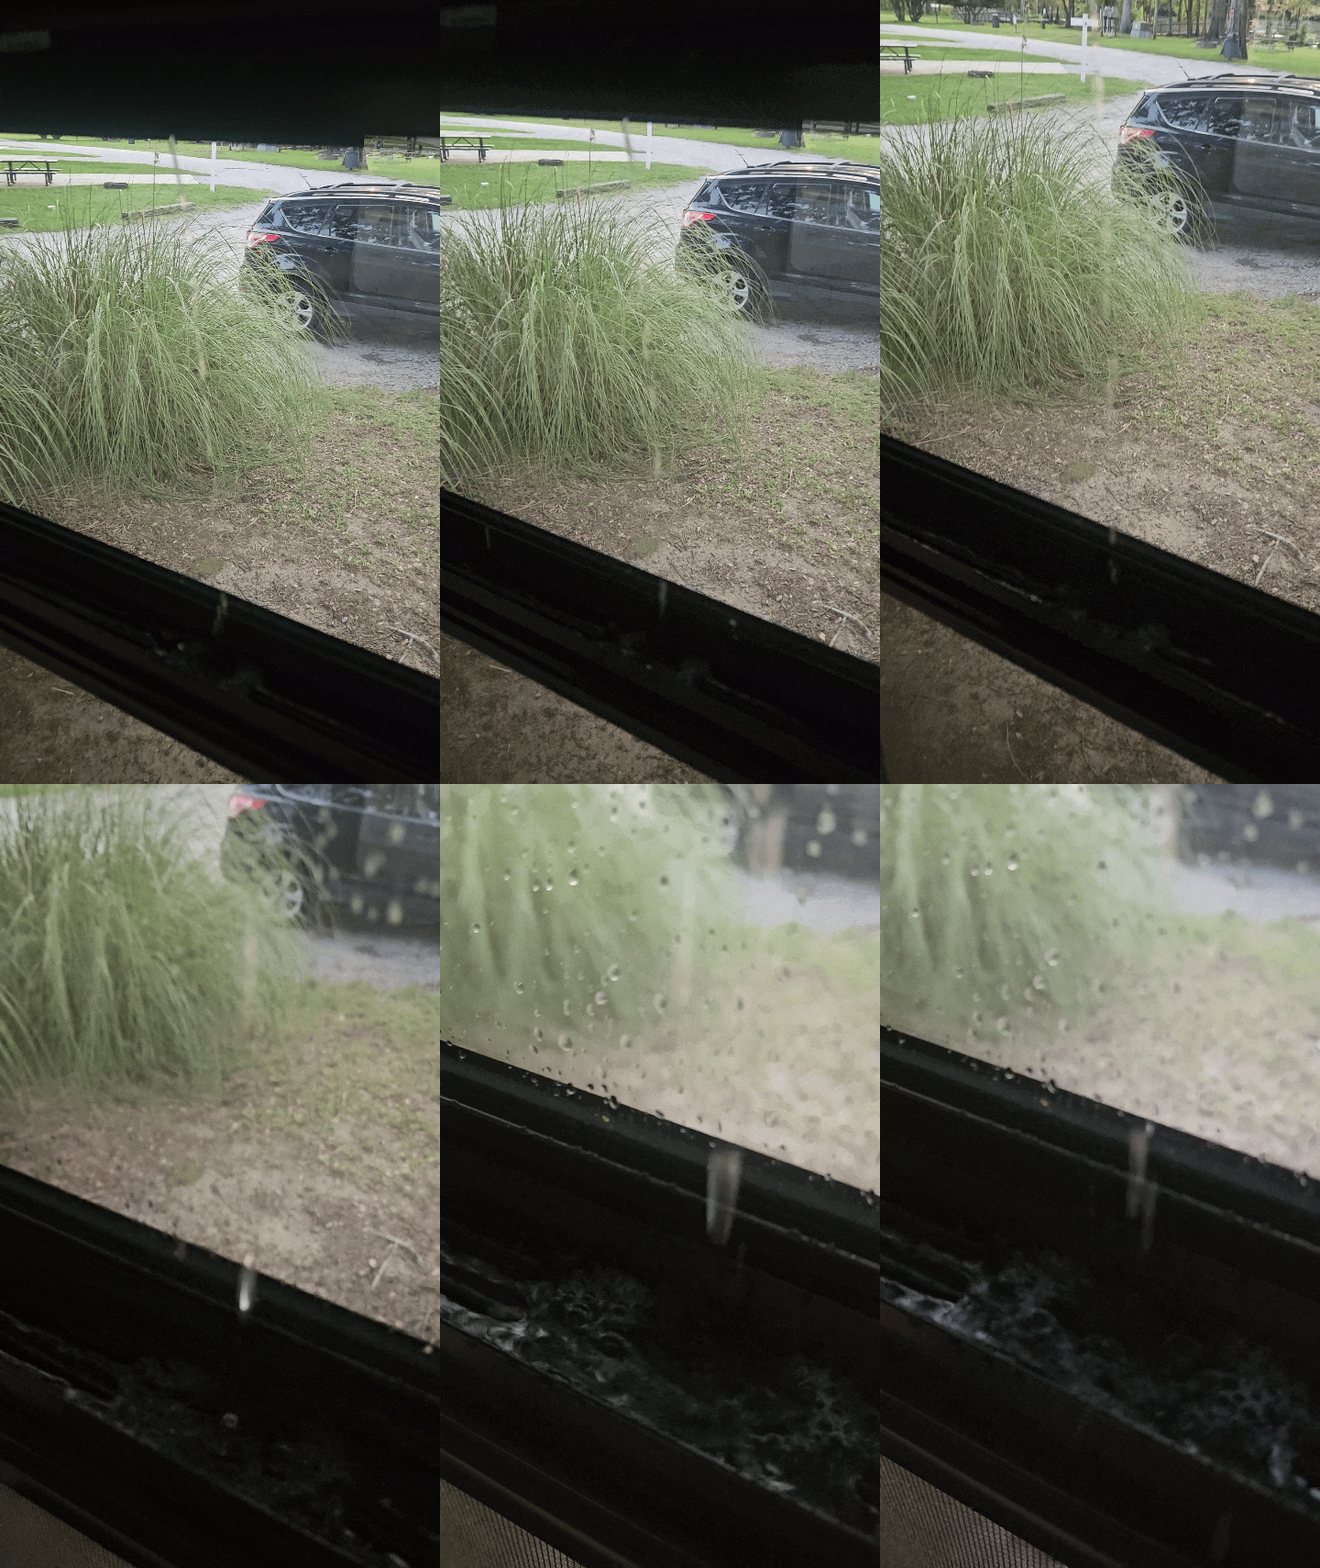
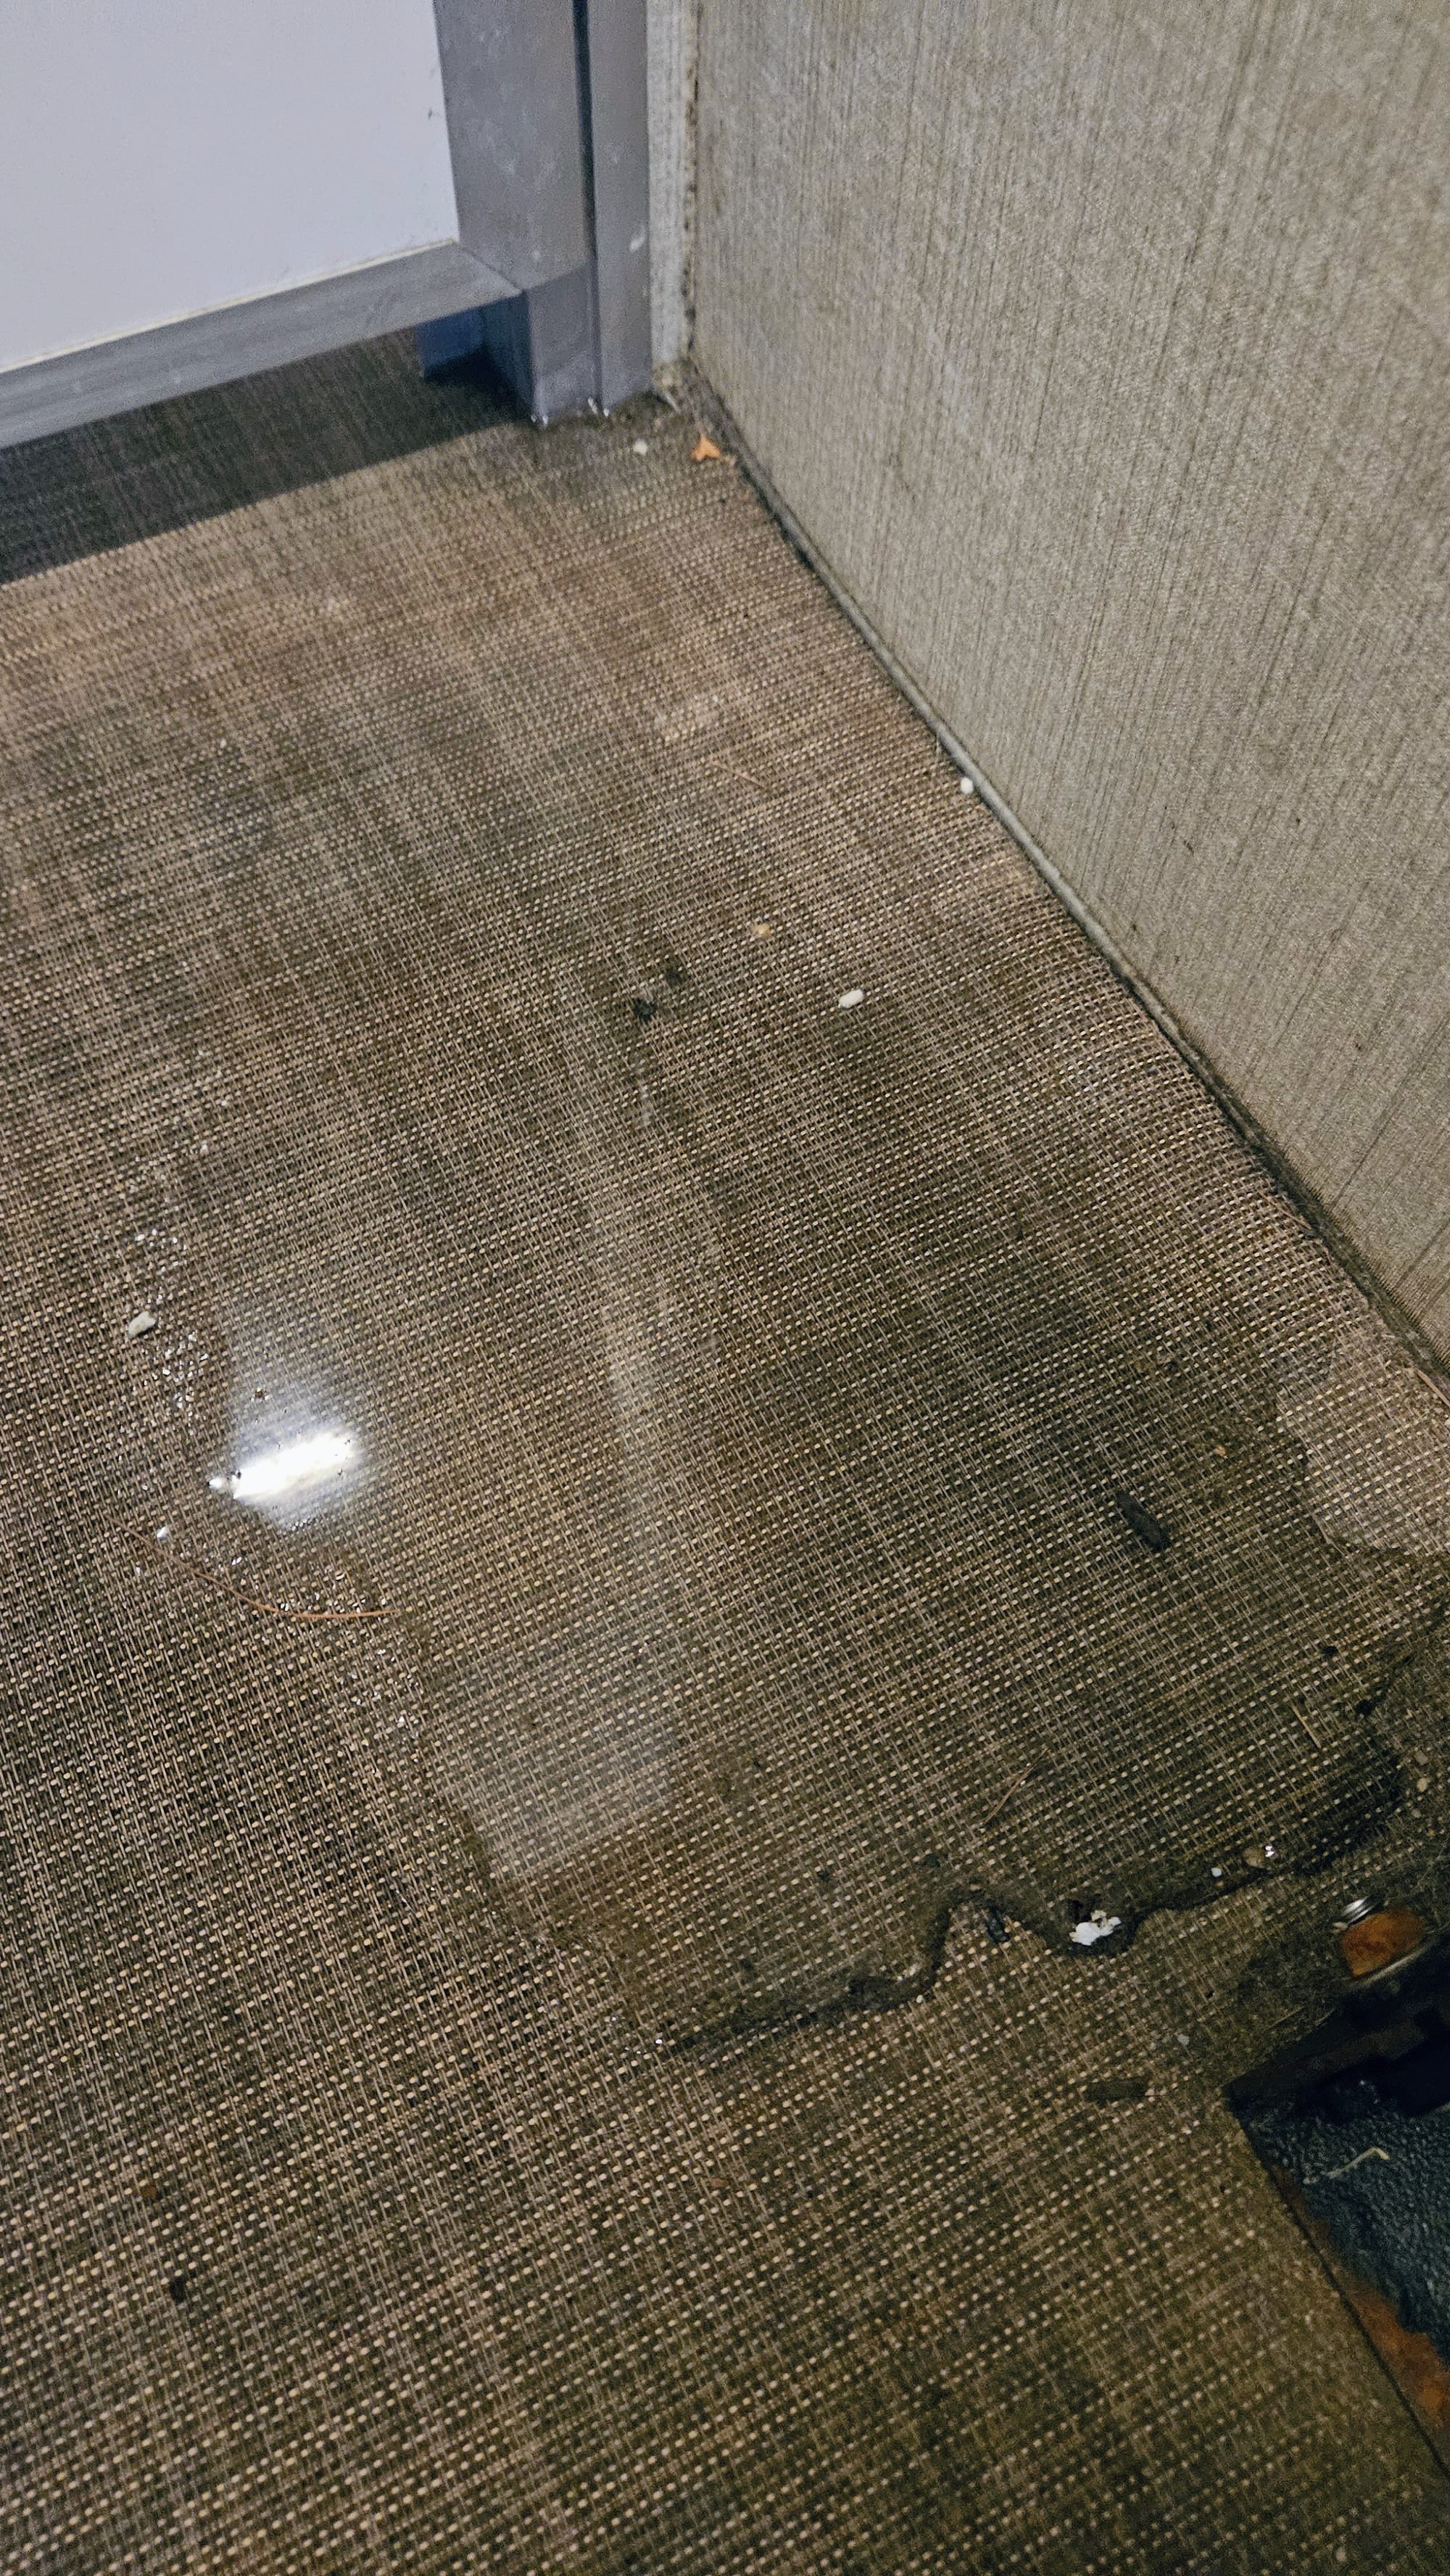
This wasn't an ordinary leak; this was a literal cascade that created a small river from the bedroom towards our front door. Ceiling cascades had sort of become a thing lately. Every time it rained, we noticed new or worsening leaks. Whenever enough condensation pooled from the AC units, the leaks started up again.
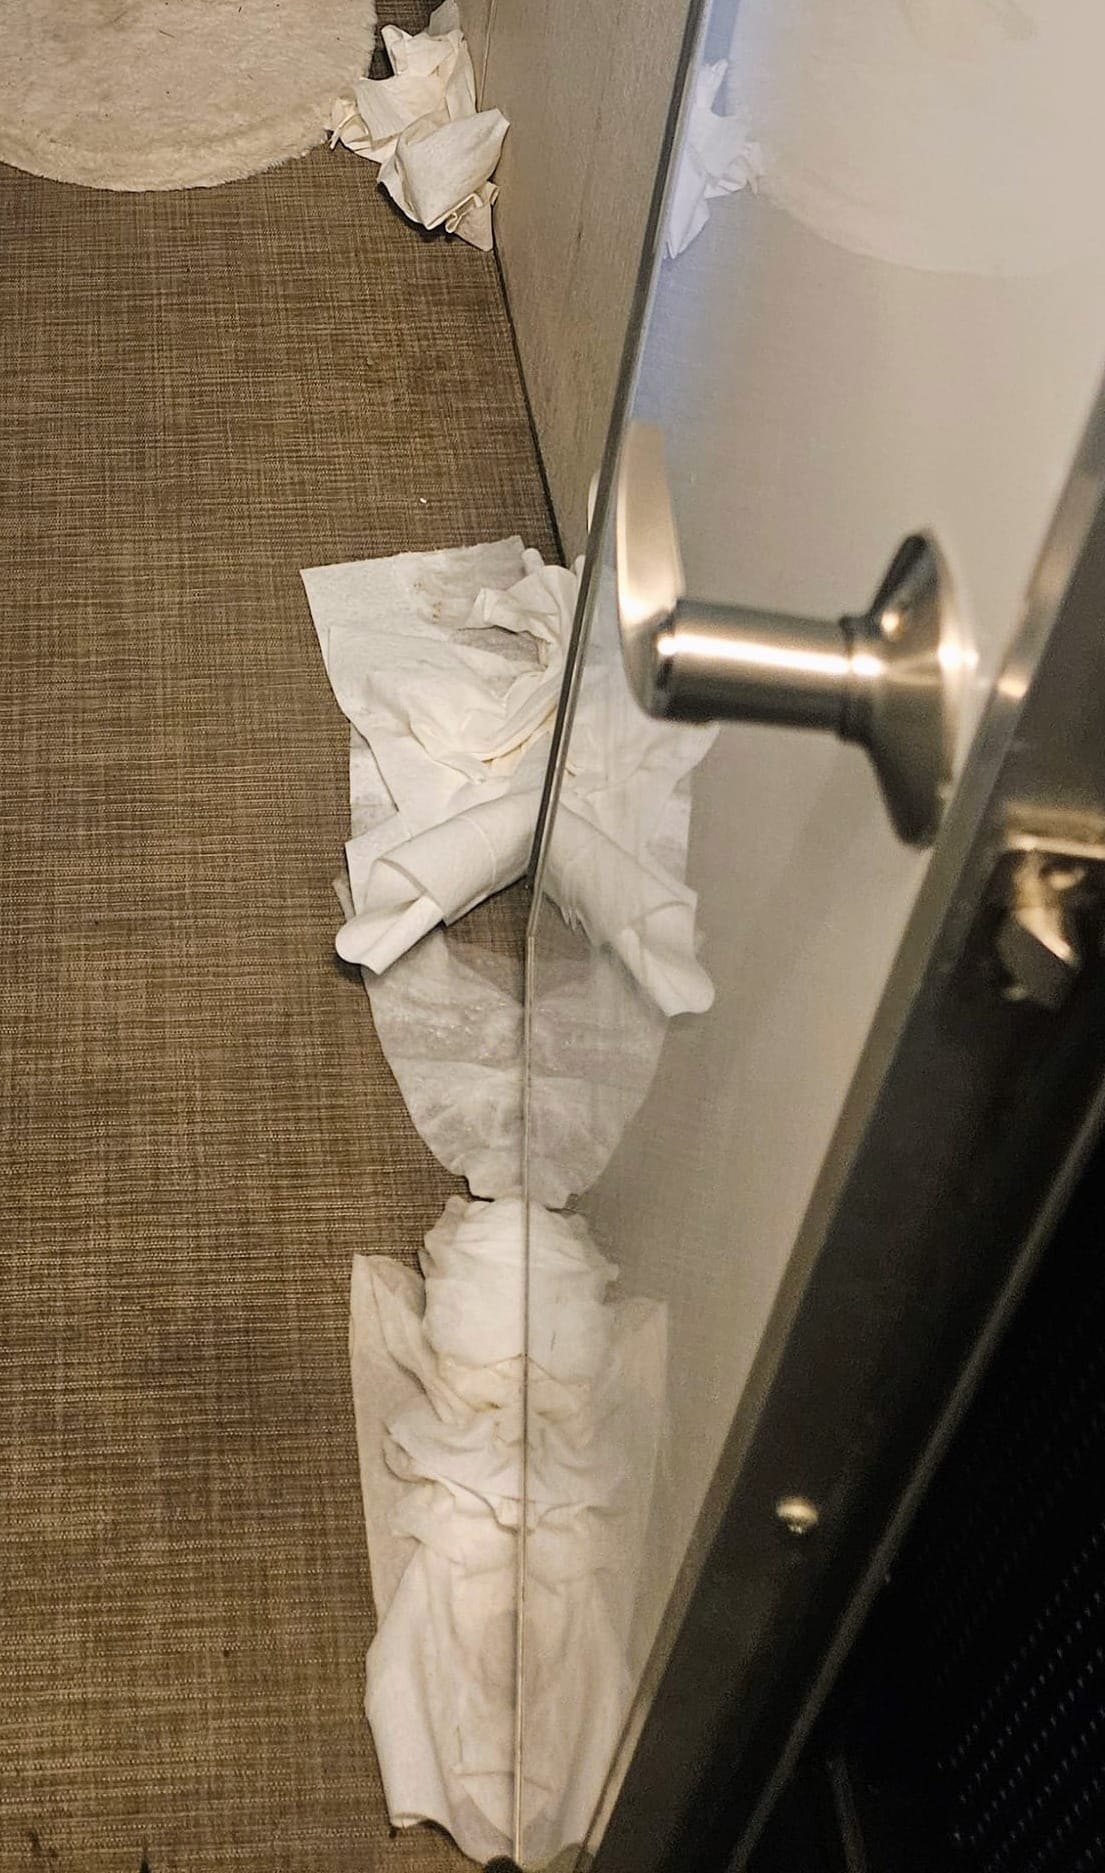
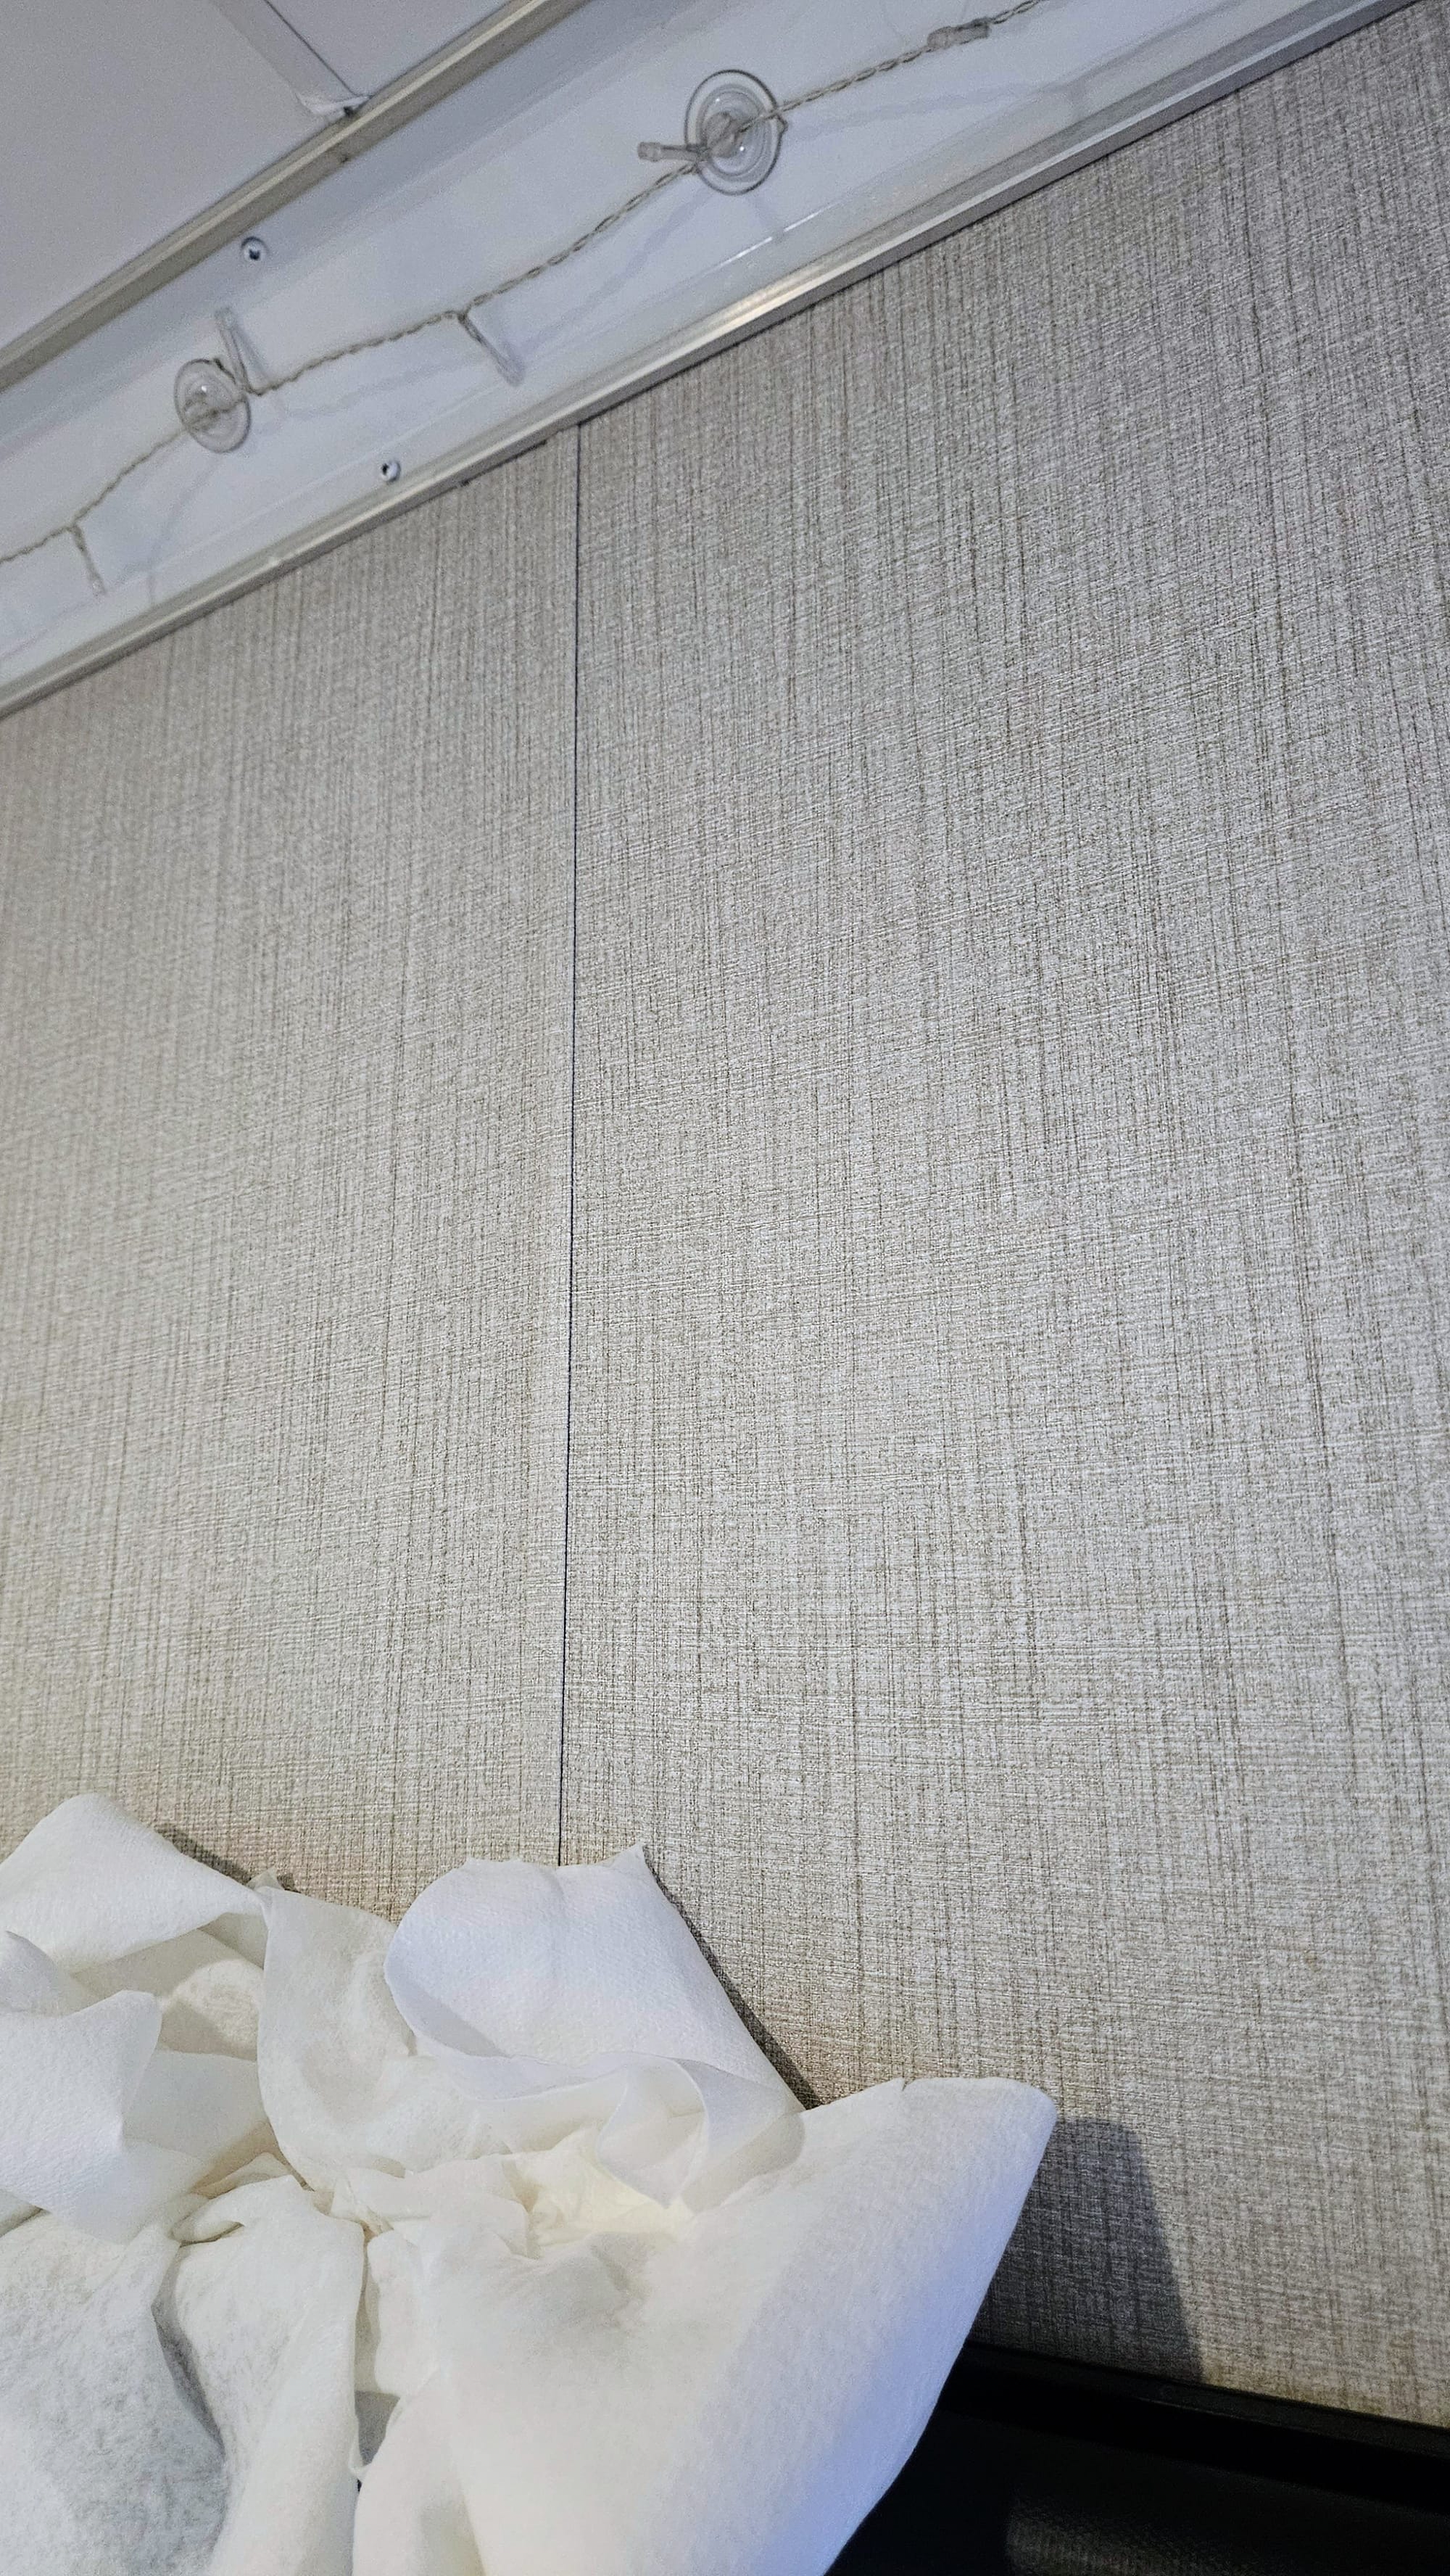
Out of an abundance of caution, I covered the bed with a tarp we had found during our organizing. This way, if the bedroom leaks got worse, the mattress and topper would be protected.
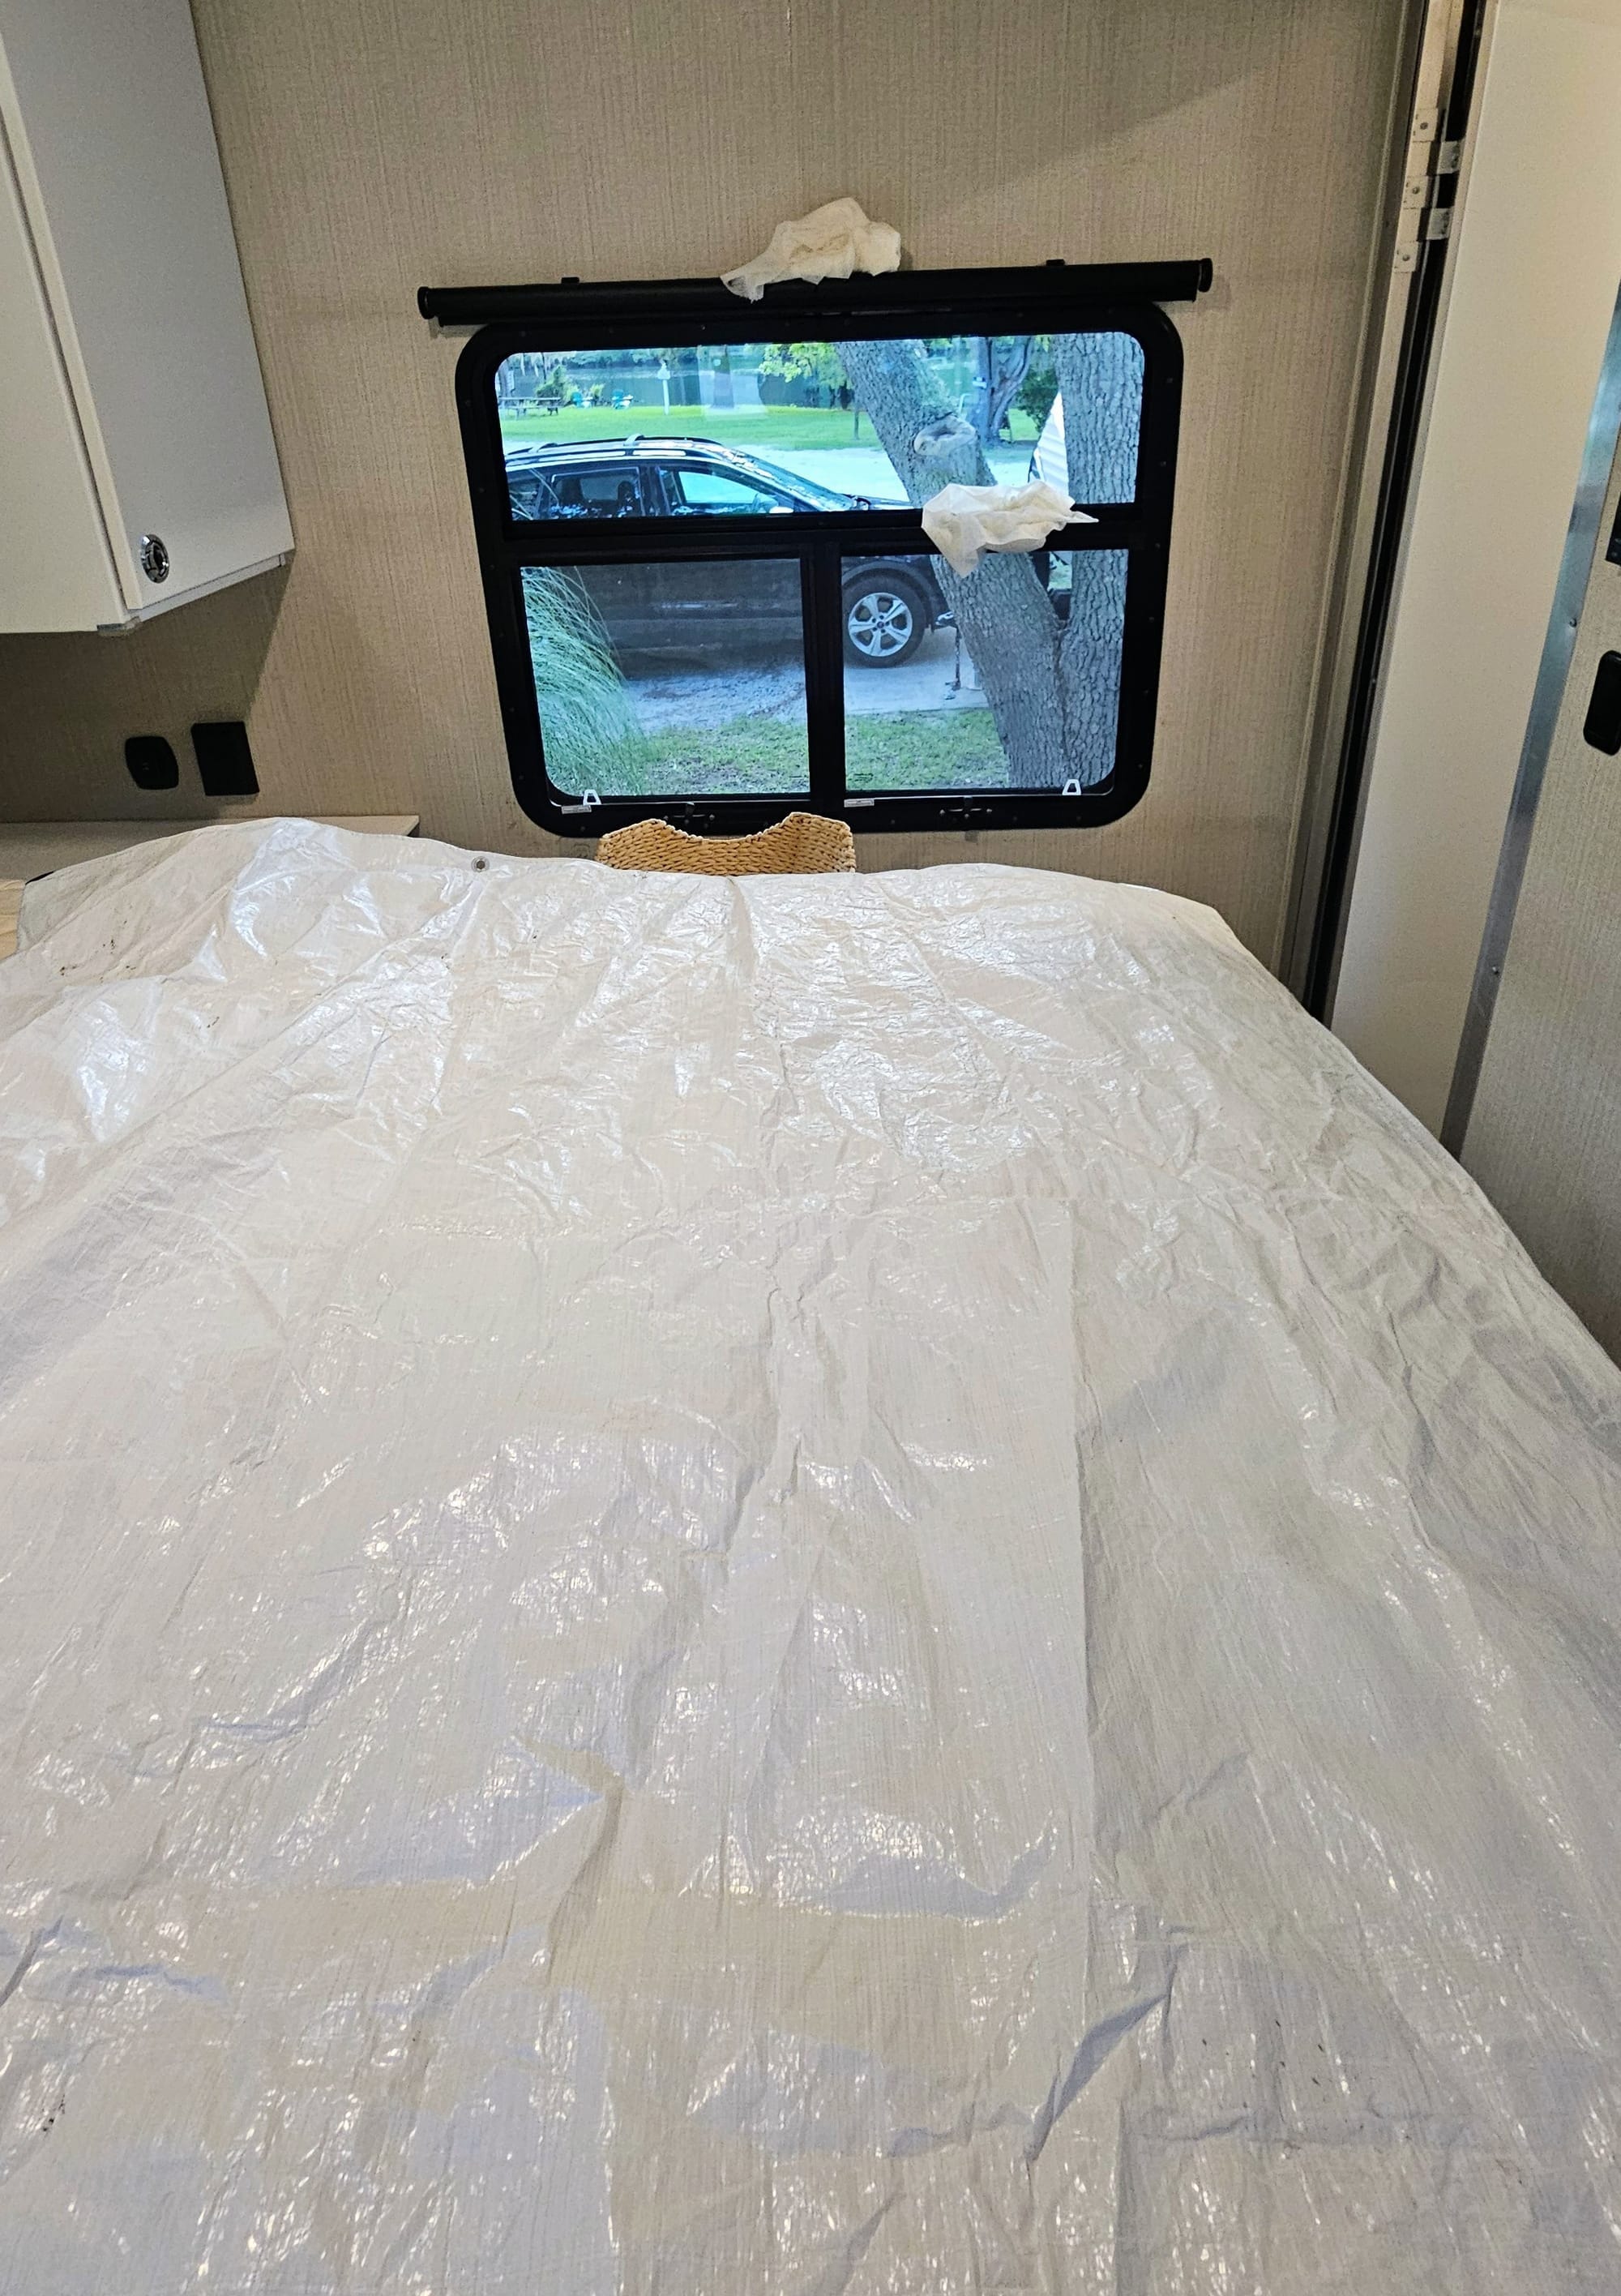
But the tarp and some paper towels were all we had to protect against the leaks. We had to face the fact that we couldn't run the ACs overnight. We wouldn't be there to monitor the leaks, nor would we trust the ACs to function properly if they got wet. We would surely come back to a flooded RV.
I thought about how many times this year the leaks had fallen off my radar. We had so many other problems that took precedence, that I kept forgetting about the leaks until they recurred. It happened again most recently when we booked our trip back to SC and were about to willingly stay in the path of severe weather in VA.
Suddenly, I had an epiphany. There was another time I had ignored the risk of leaks: at our overnight on our way to get our inverter replaced. I discovered what I called an "unfortunate side effect of not leveling." Because we were only staying for one night and were level enough, we didn't bother going up on blocks. This time, same thing. We pulled in and I saw that we were 1.25 inches down on the passenger side. Not too bad, and since we weren't staying in the RV for more than a few hours, we didn't need to put in the extra effort to level.
Well, wasn't that dumb da-dumb dumb dumb! 1.25 inches might not matter to us, but it matters to liquid! That's why all the water dripped onto the passenger-side bedroom wall. Had we just leveled, it would have stayed pooled on the roof and hopefully run off fast enough to not seep inside when we left (we've had varying results on this).
So much for saving us the effort before. Now we knew that our only chance of stopping the leaks and being able to keep the AC on was if we hitched back up, leveled, and unhitched again. And so that's what we did. Once we headed outside, I noticed that the leaks had gotten so bad that they even dripped through the floor and onto the ground. Our roof replacement cannot come soon enough!
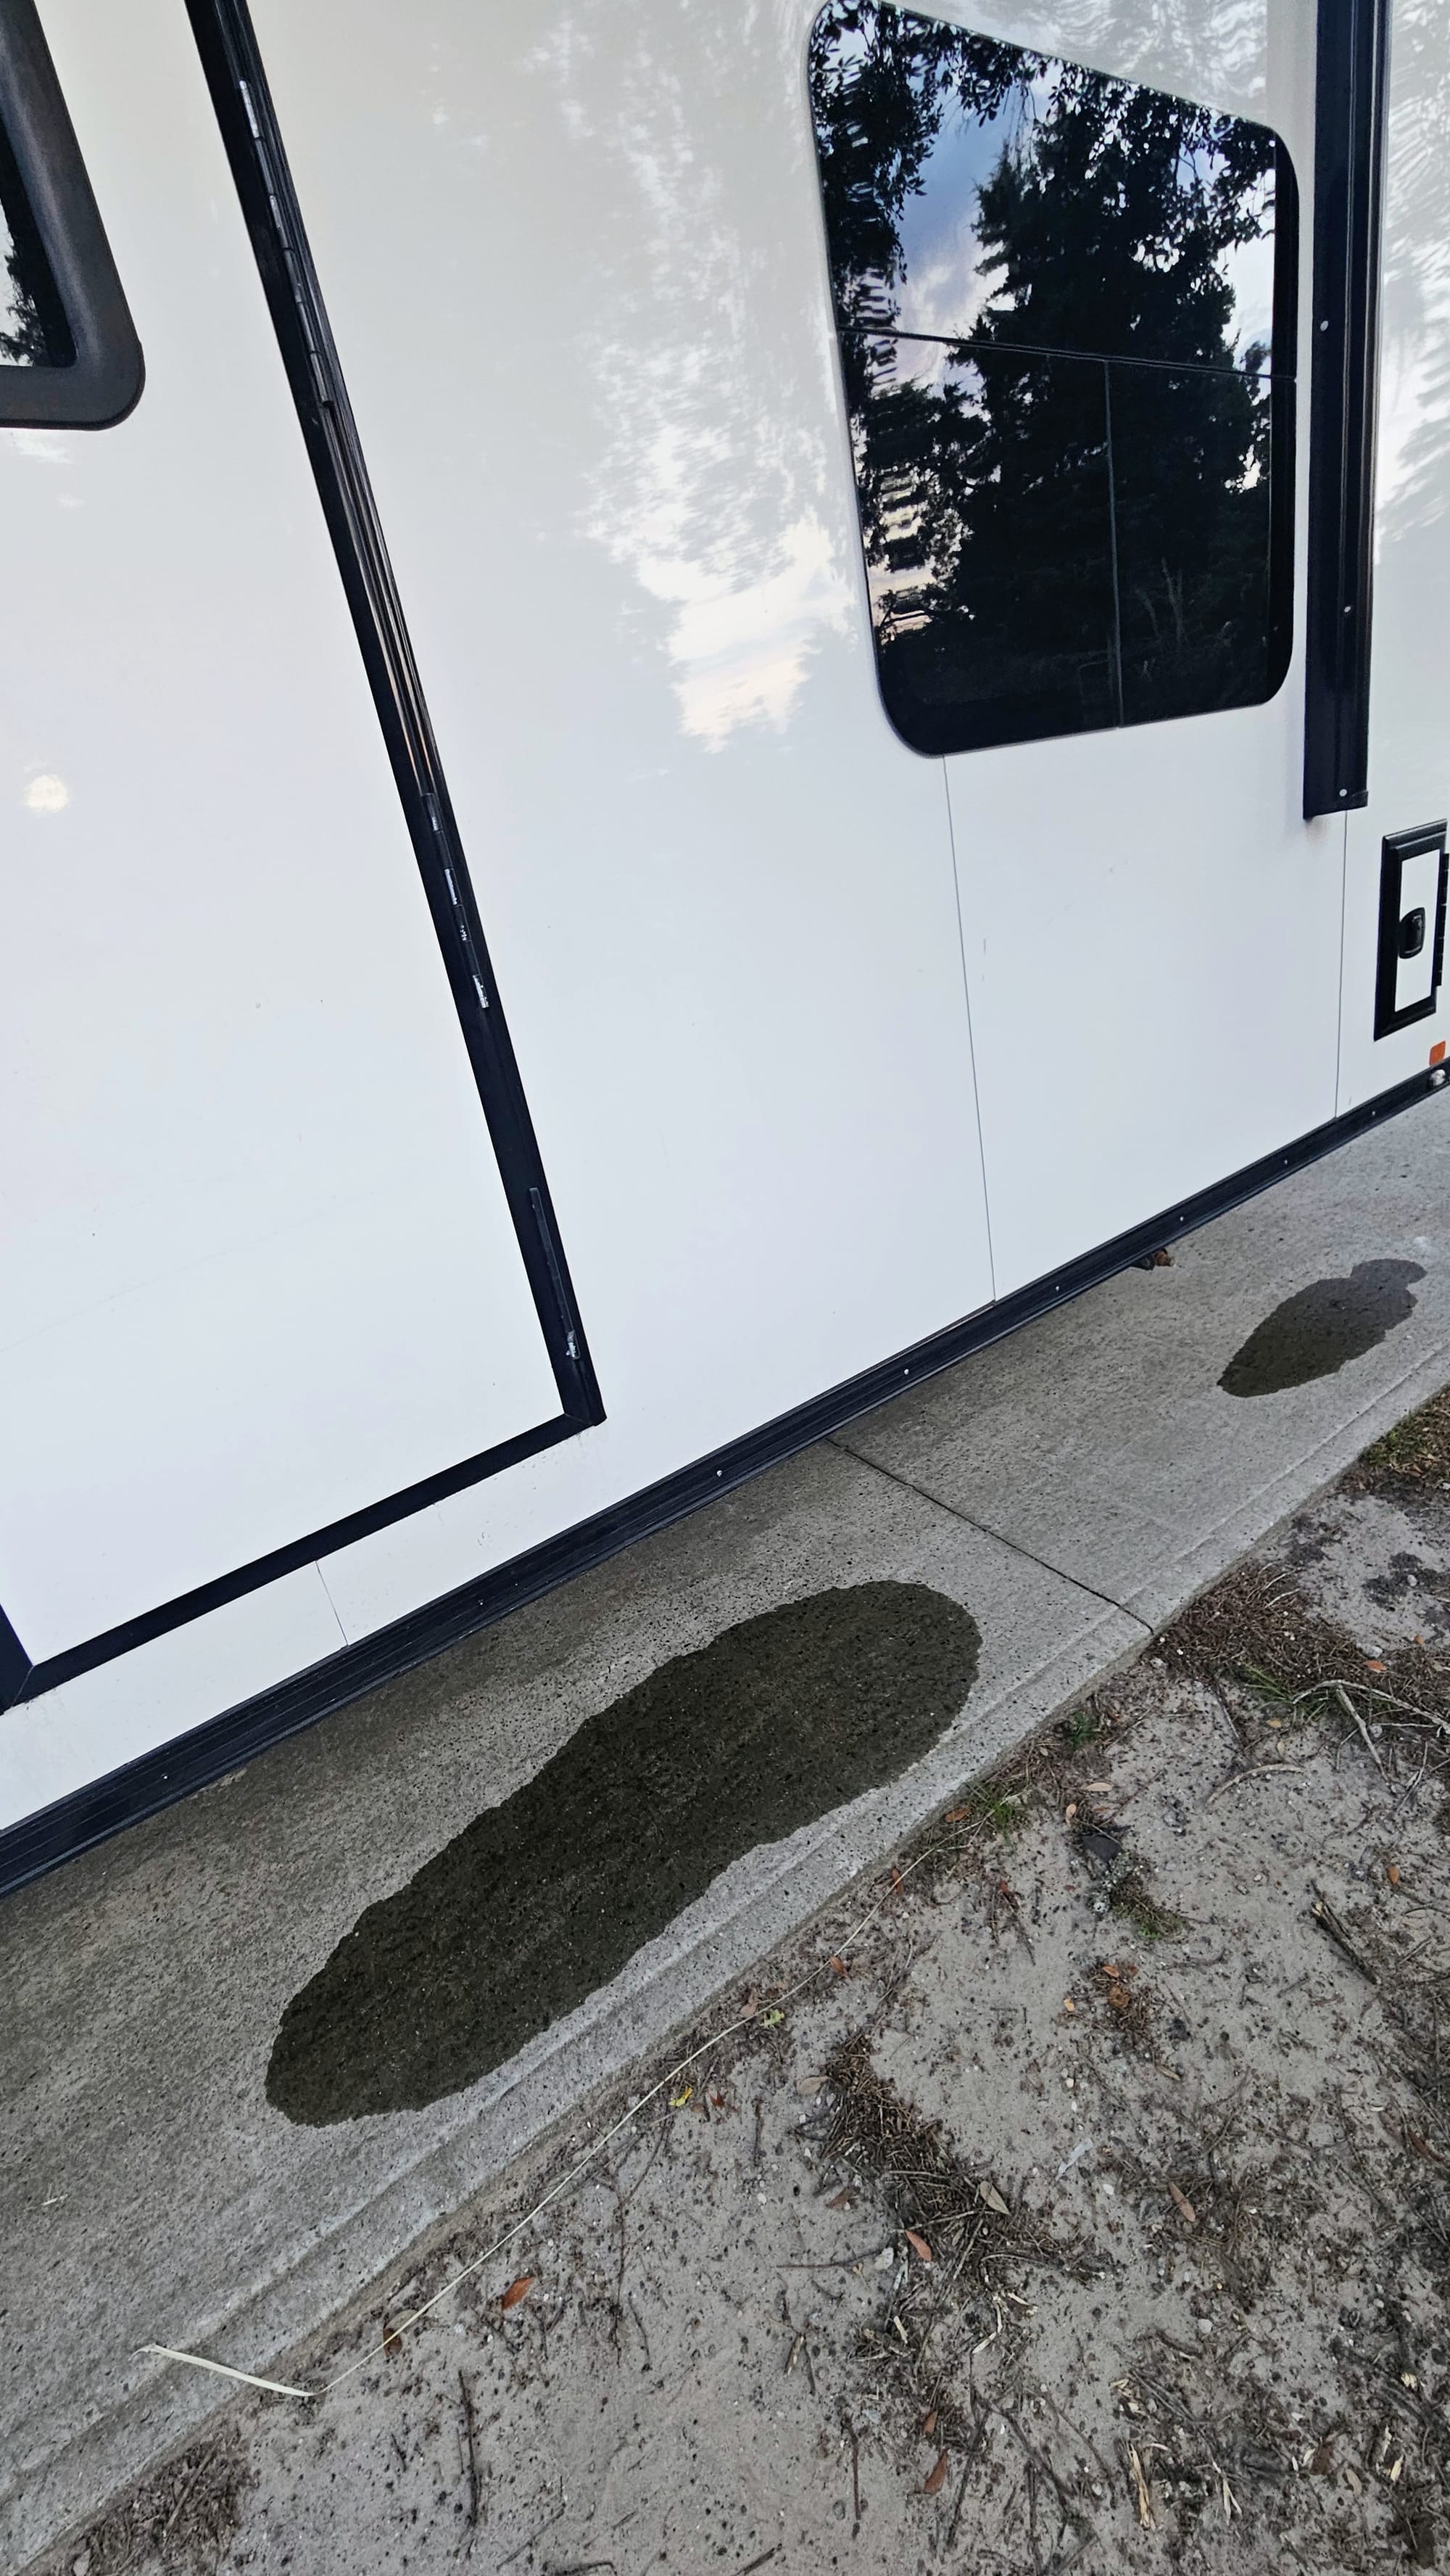
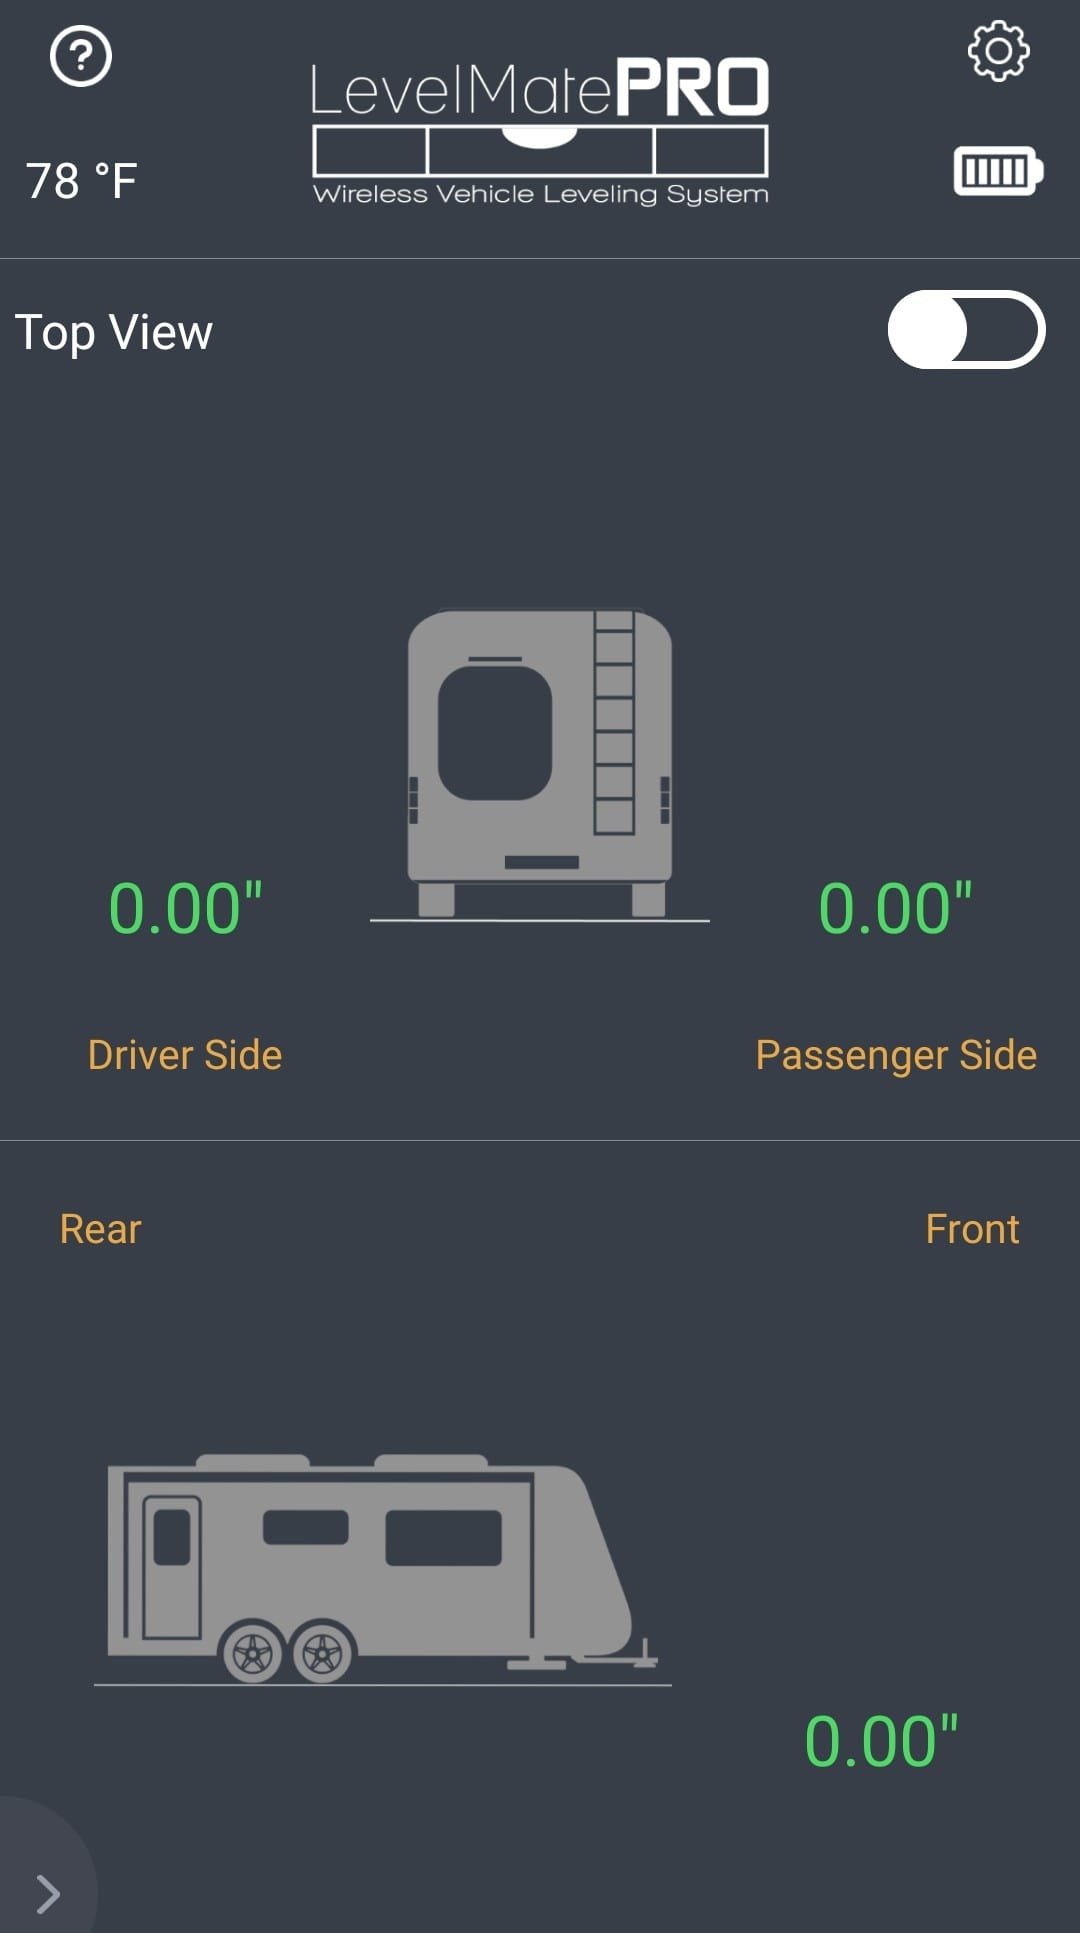
Within minutes, all the leaking stopped. We kept the paper towels down just in case, but we felt confident that we could keep running the ACs for the night. That was a huge relief, but we couldn't breathe easy just yet.
Soon, my weather alerts started pinging.
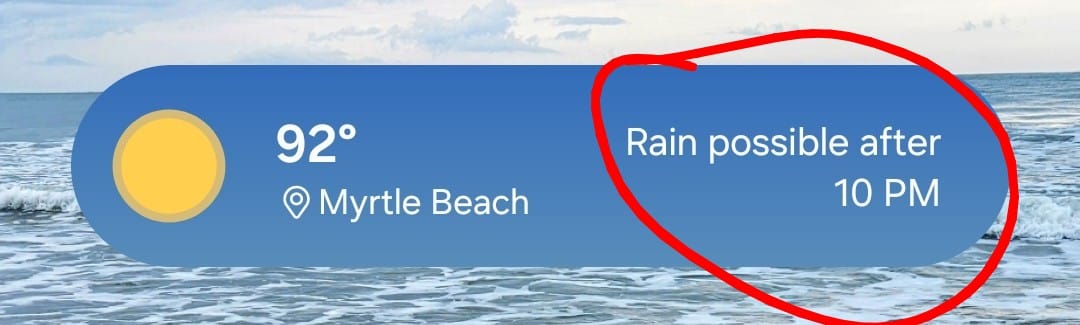
This is the problem with mesoscale storms. The long-term outlooks often can't detect them, but if there's a high enough dew point and enough instability in the atmosphere, thunderstorms will fire. We took a risk moving our RV from its covered storage, but the forecast had continued saying no predicted storms until Friday, the day after it'd be back under its cover. "Predicted" being the operative word, of course. We knew a pop-up storm was always a possibility.
That night, we got hammered. But Myrtle Beach is a big place, and storms are often isolated, so instead of checking weather for our region, I checked Socastee, where Hideaway RV Resort is. For a while, the storms skirted the area, but around 11:45pm, they hit hard.
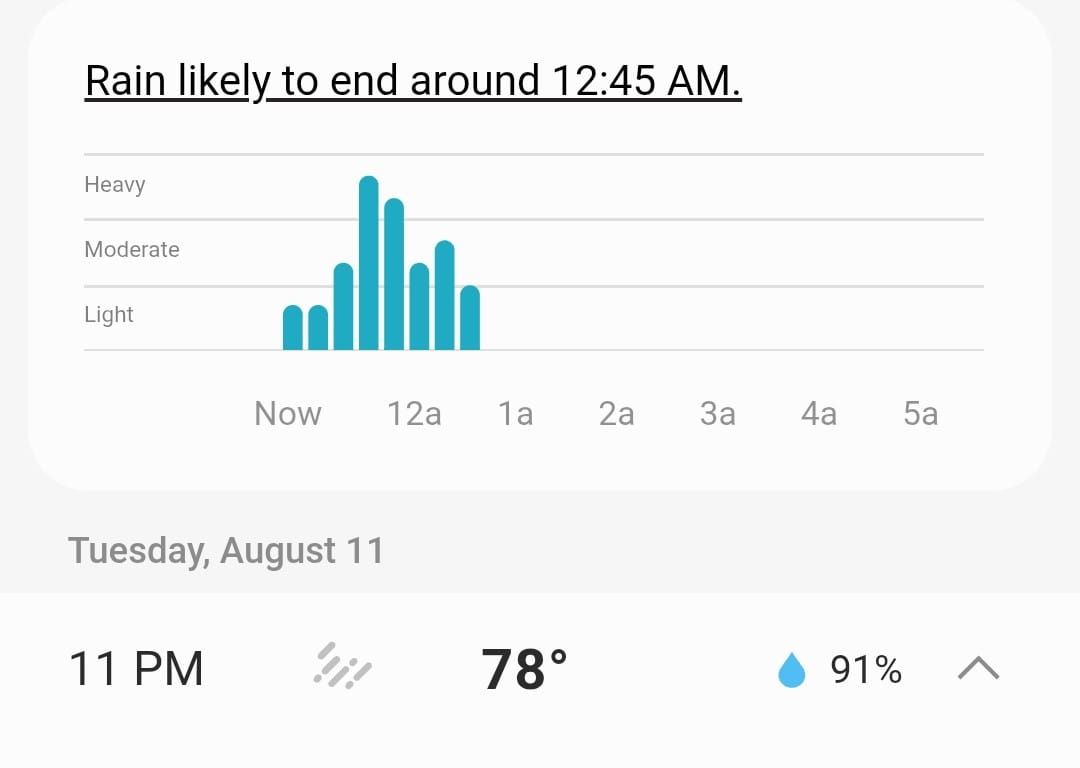
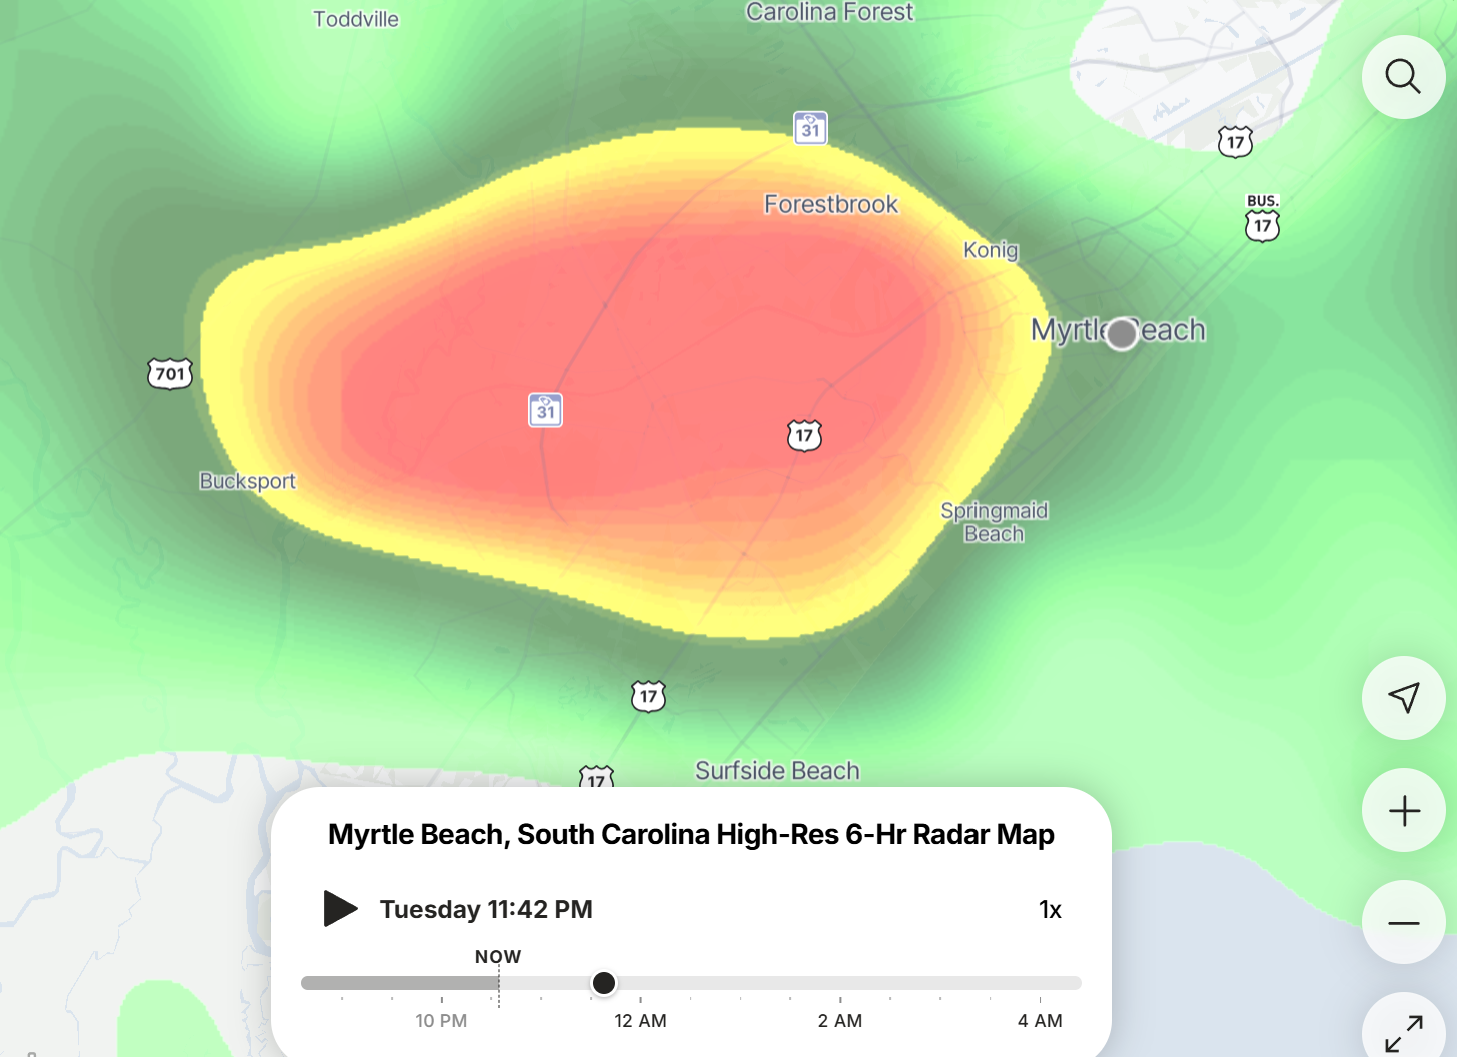
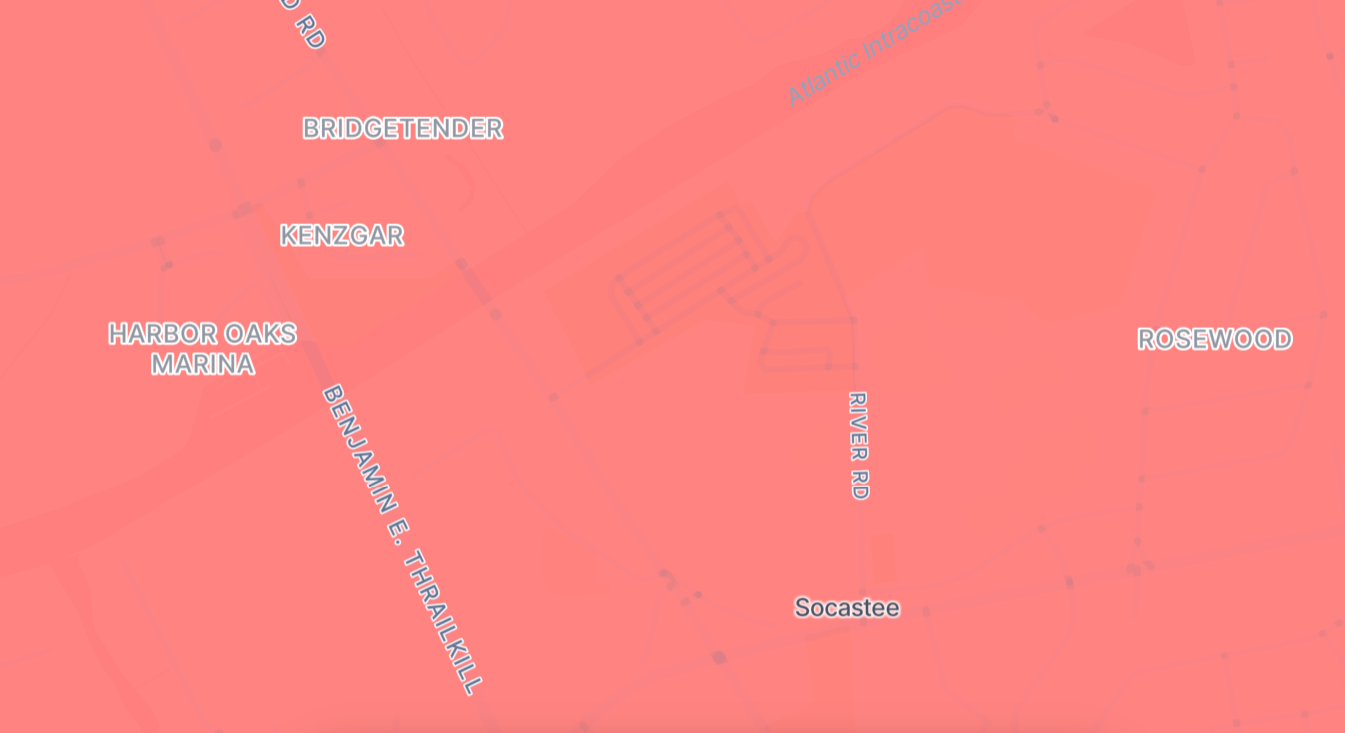
The red shows the heaviest rainfall occurring right over Hideaway
The next day, we braced ourselves to enter into a drenched trailer, but once again, we need to give points for the all-aluminum. If the floor was wet, at worst it might ruin our vinyl or cork underlayment, but none of that is structural and it's nothing that hasn't been ruined before. The bed was tarped, so we felt good about that. I even joked with Anthony the day before that the very leaks that should make me never want another ATC actually make me want to buy only ATCs for the rest of my life! There is an odd peace of mind when the rig gets flooded and we don't immediately have to stress about wood rot. Of course, we have many other issues to worry about, but the rot ain't one!
Only, when we got to the RV, it was bone dry! No wet floor, no wet walls, no wet tarp.
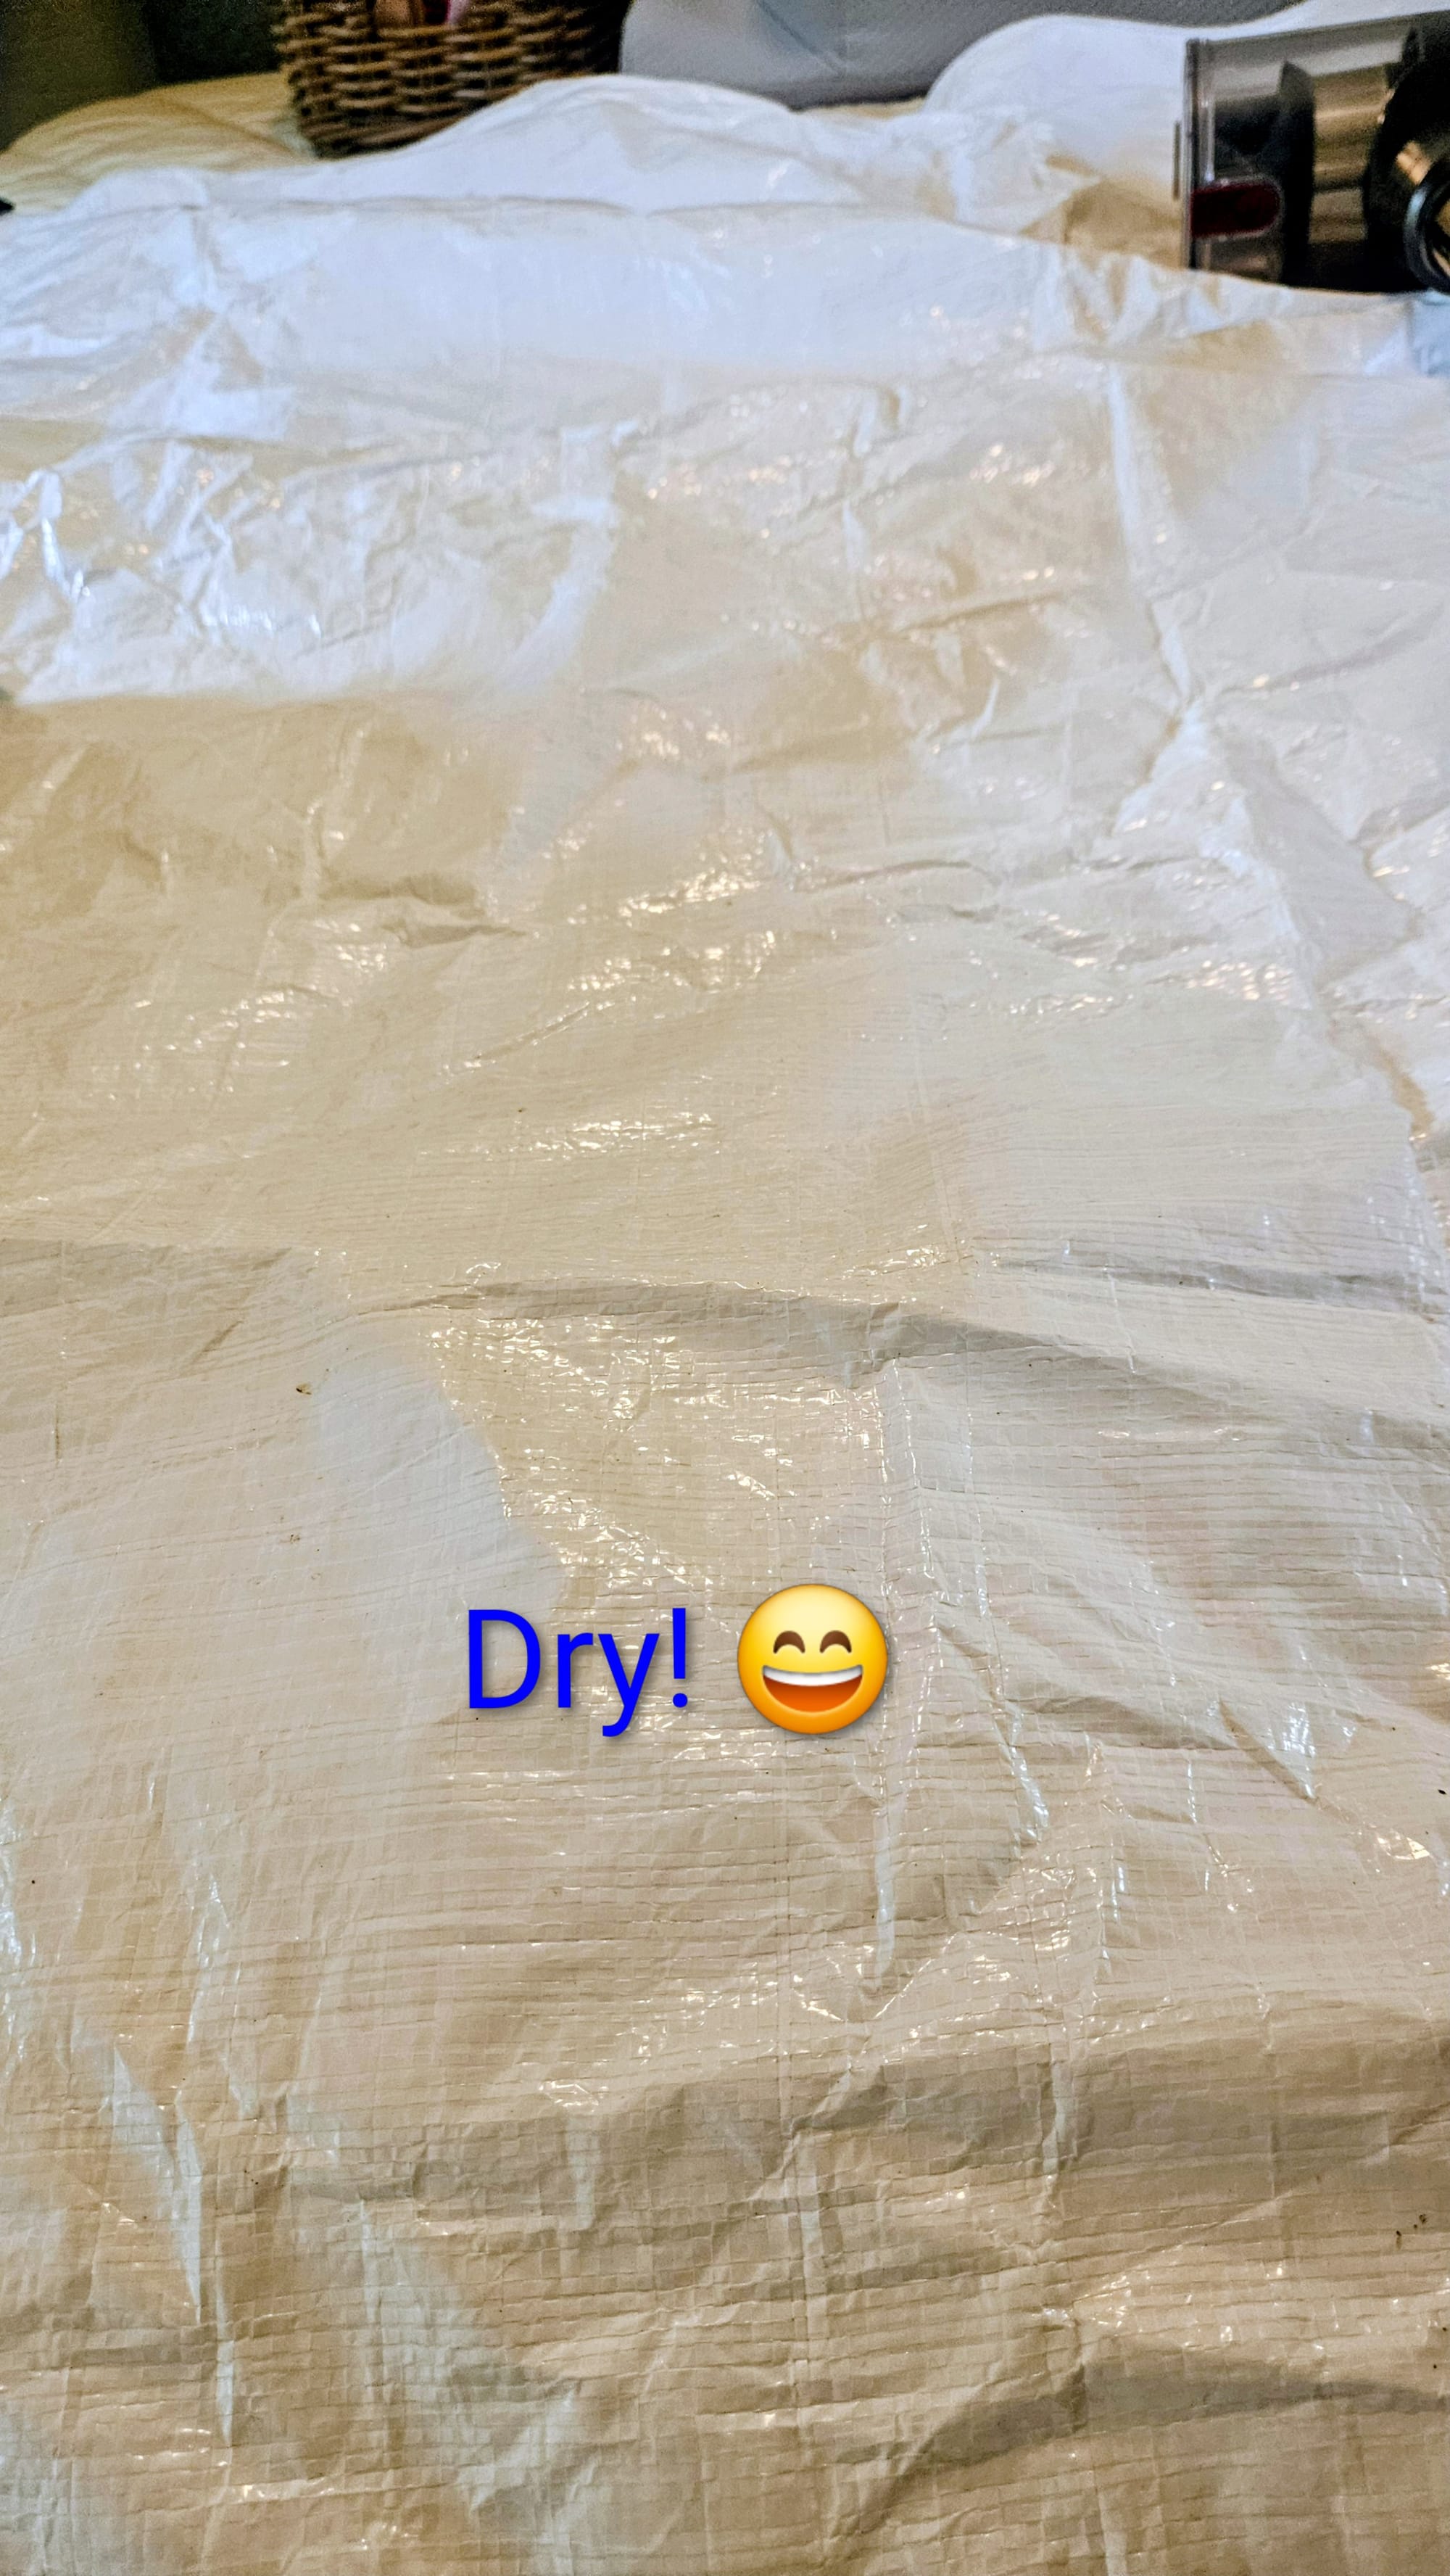
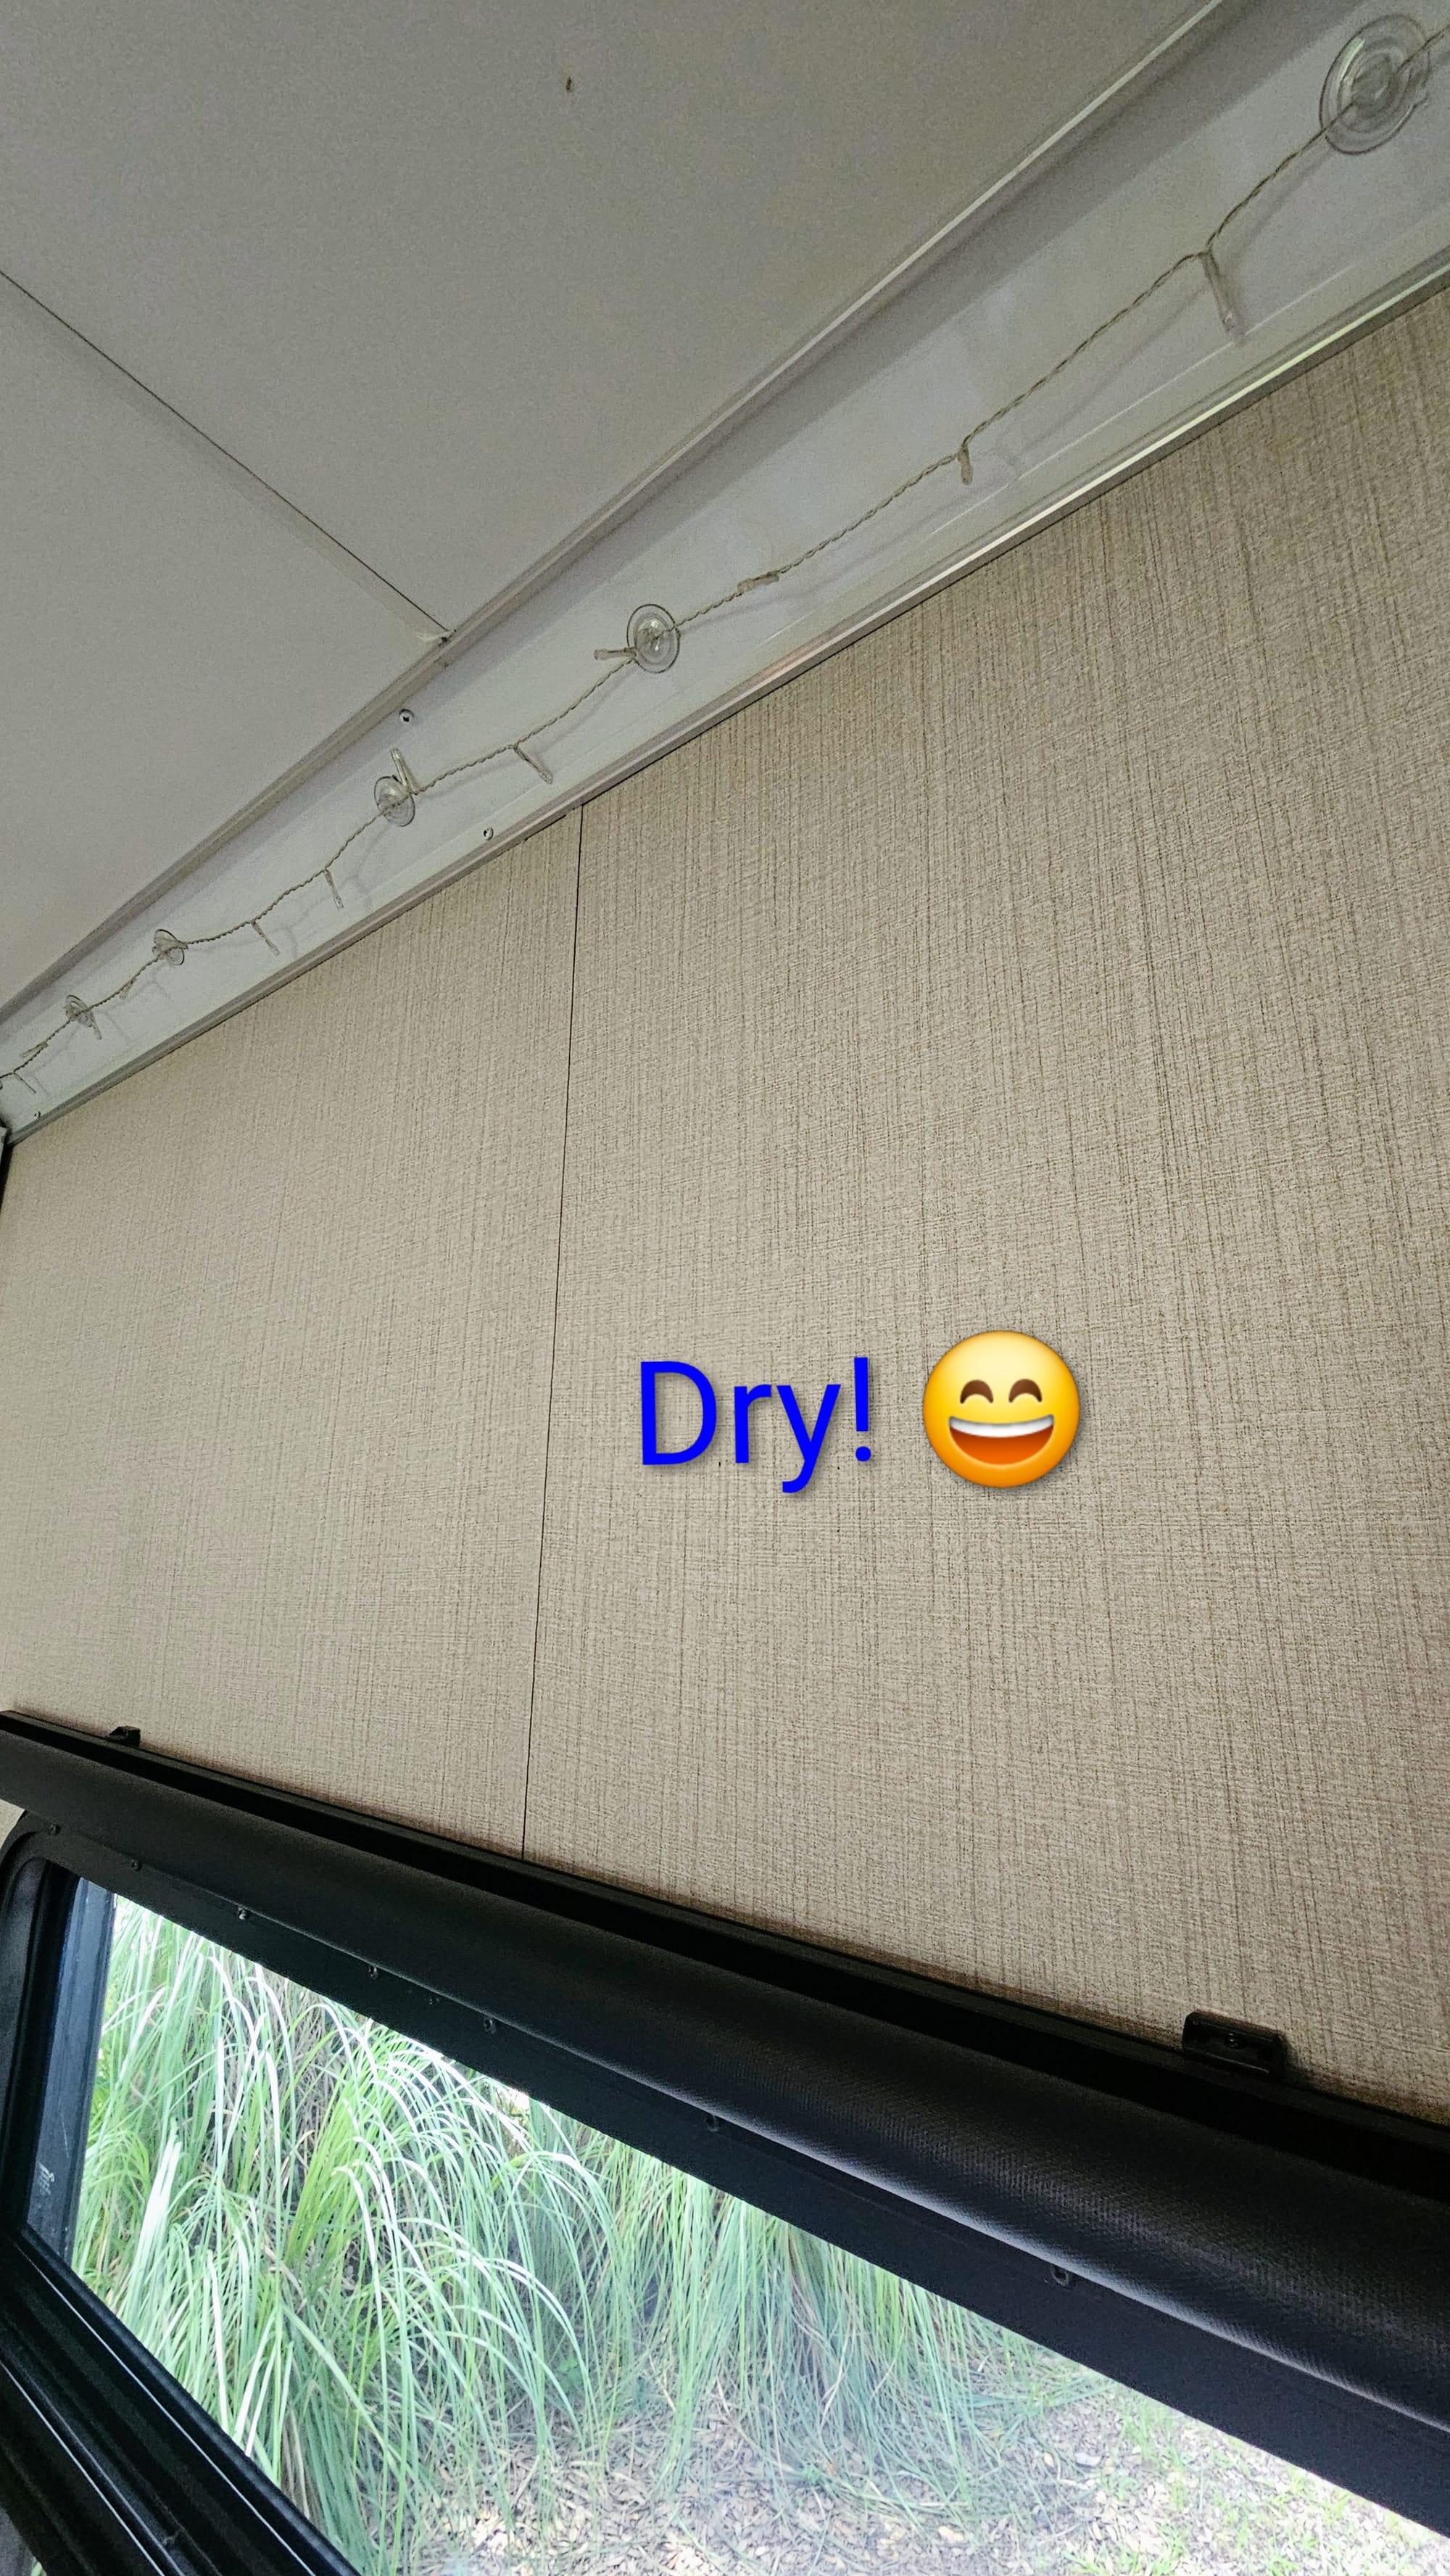
Perhaps the downpour was brief enough that not enough water pooled. We've noticed that the rain needs to be sustained for a long period for the leaks to occur.
And even better, the ACs had stayed on all night, and the rig was nice and cool! Time to jump back into the grind. We opened the patio back up to remove the remaining items. That morning, Anthony went to the trash/recycling center to empty out the truck bed, so it was ready for more. This time, we loaded it mostly with things we were keeping...though we did find even more to get rid of. We ended up looking at a bunch of our stuff that had gotten old and grimy, and we asked ourselves, "Do we want to clean and store this, or would we rather just toss it and get a new one whenever our next trip is?" We got pretty ruthless, even discarding some furniture items that had been with us since the very beginning. (If you're thinking a redesign might be in our future...subscribe and stay tuned 😉).
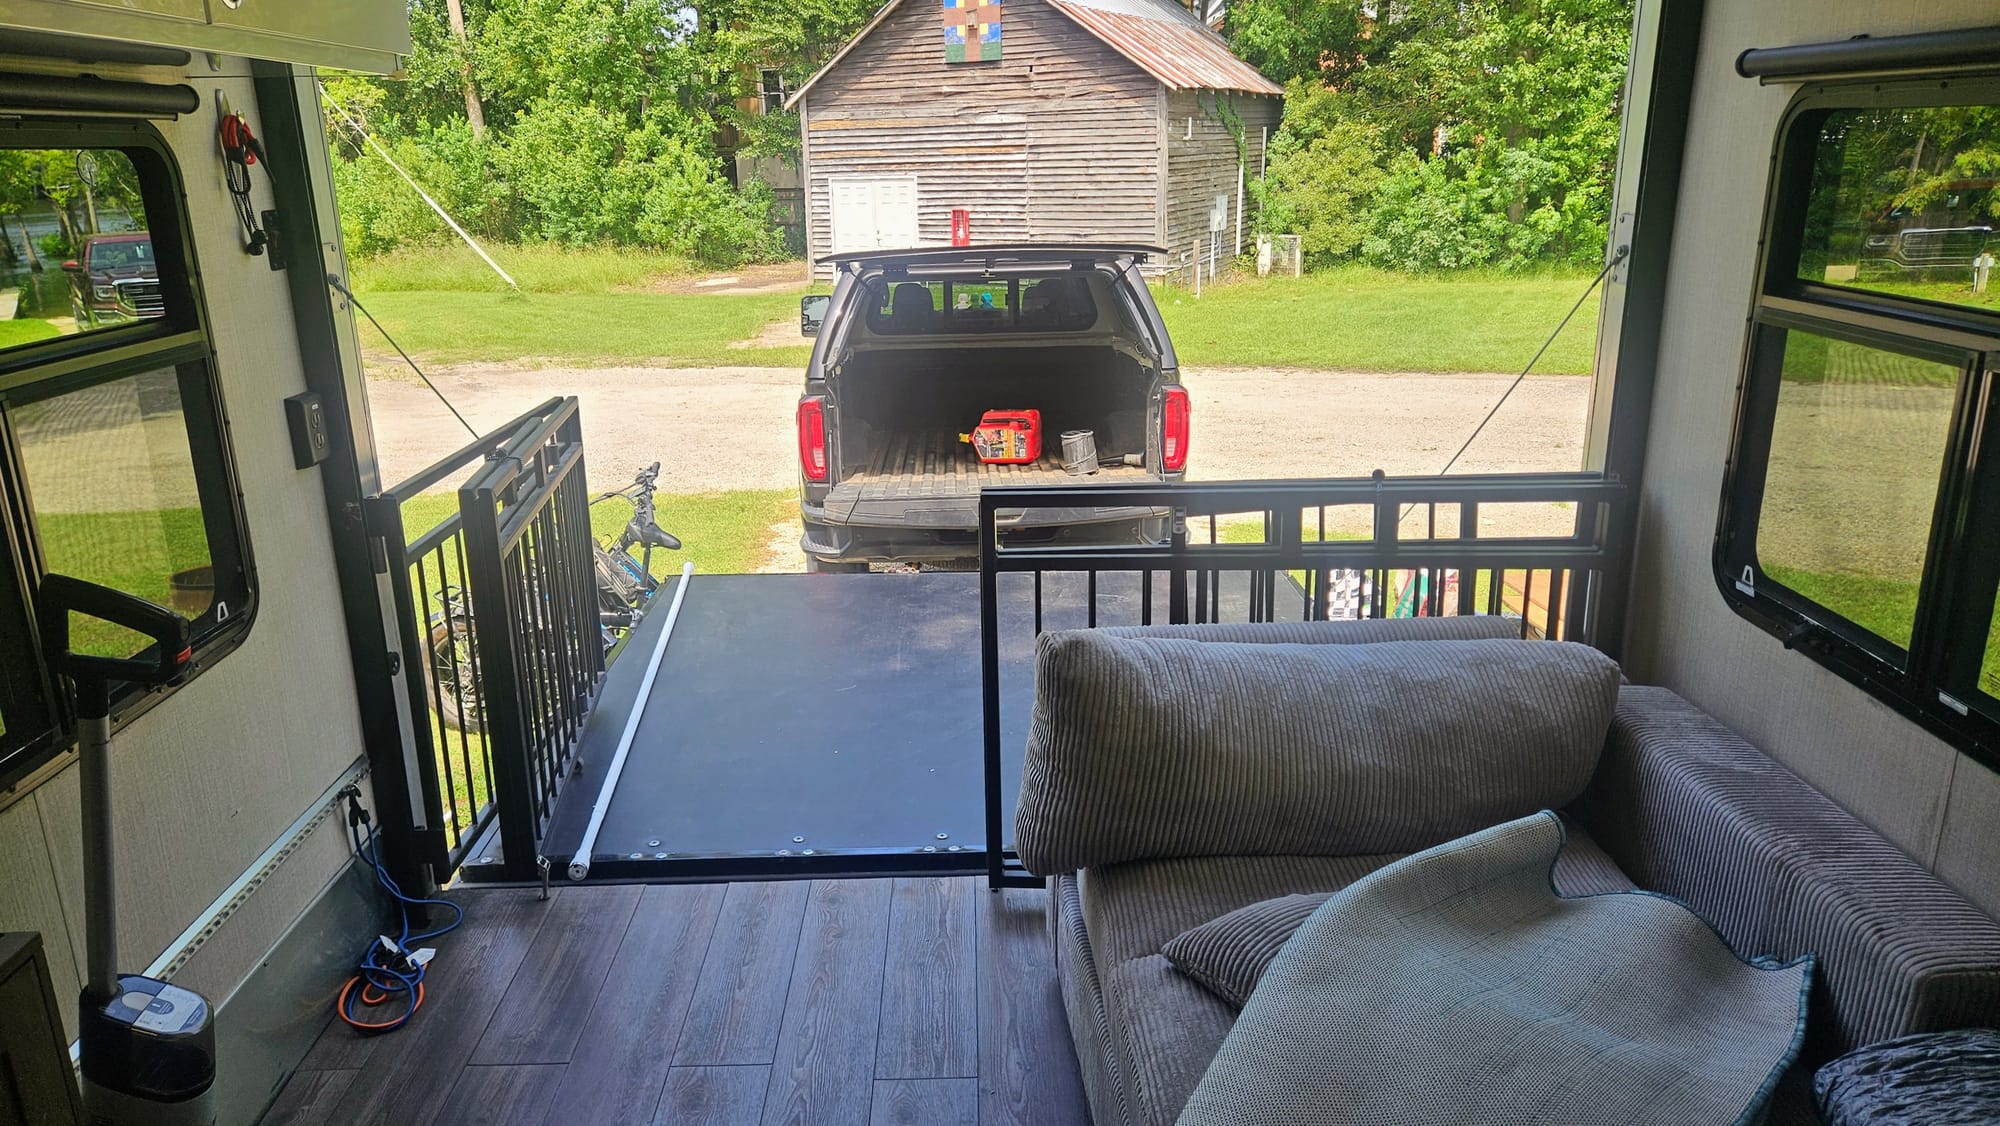
Cleaning may have given us ringworm flashbacks, since we decided to use a very similar process to when we needed to defungify our rig last year.
- Clear out as much as possible (done!)
- Remove all loose dirt and debris
- Dry vacuum
- Wet vacmop
- Spray hypochlorous acid
The only real difference this time was that we didn't need to spray any antifungals before dry vacuuming. I could also break out my handy dandy air duster, and since we were on electric, I could use my extra strong plug-in one! I've raved about it in the past, but seriously, I'd recommend this baby to anyone with a toyhauler. I just open the back and blow the dirt right out. I've also used it to clean bugs off our window screens.
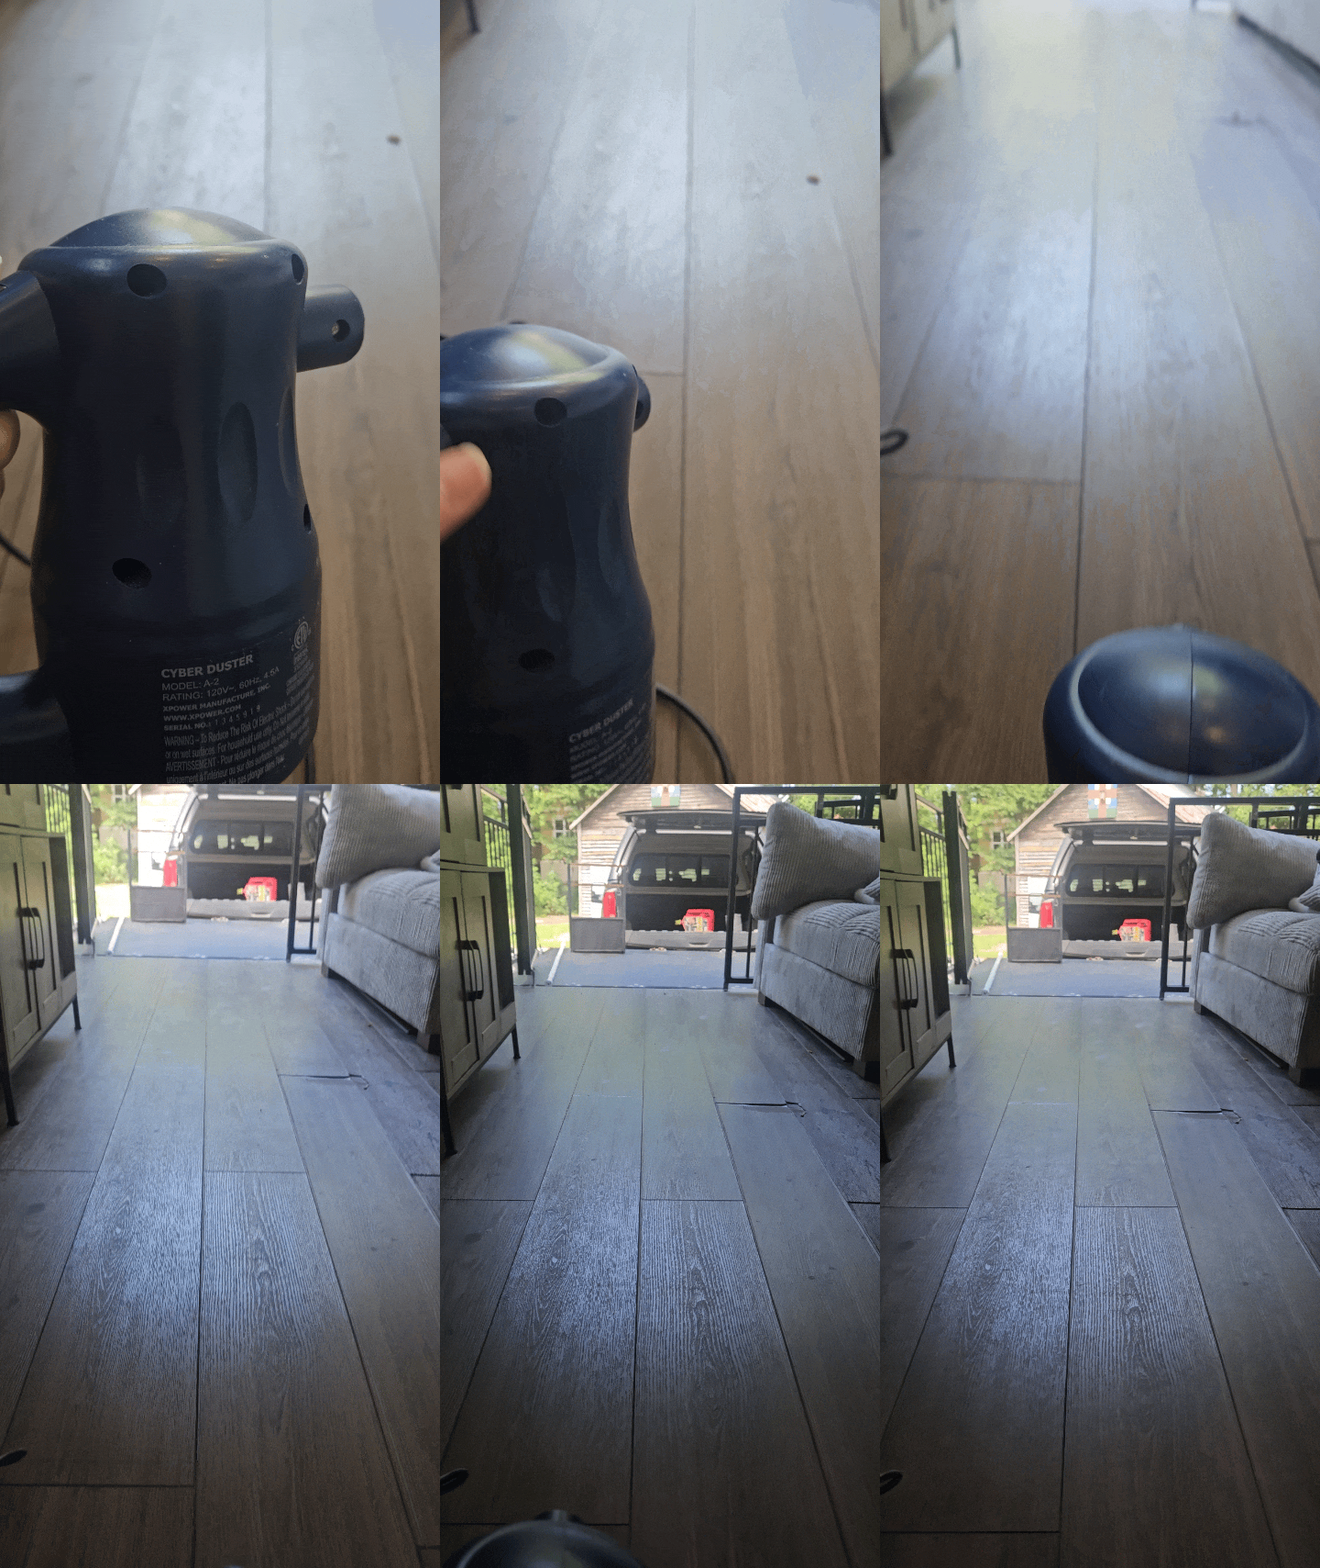
Once I got going, I couldn't believe we almost waited until after the repair appointments to give the rig a good cleaning. We kept justifying the delay with, "But the workers will be in and out and it'll just get dirty again!" Um, no. Wrong. If we want to store our trailer for weeks, we need to make sure we aren't enticing critters. We took out our food and even removed our kitchenware from our cabinets, but there was more to do. As soon as I moved the furniture, I discovered what messy eaters our cats are.
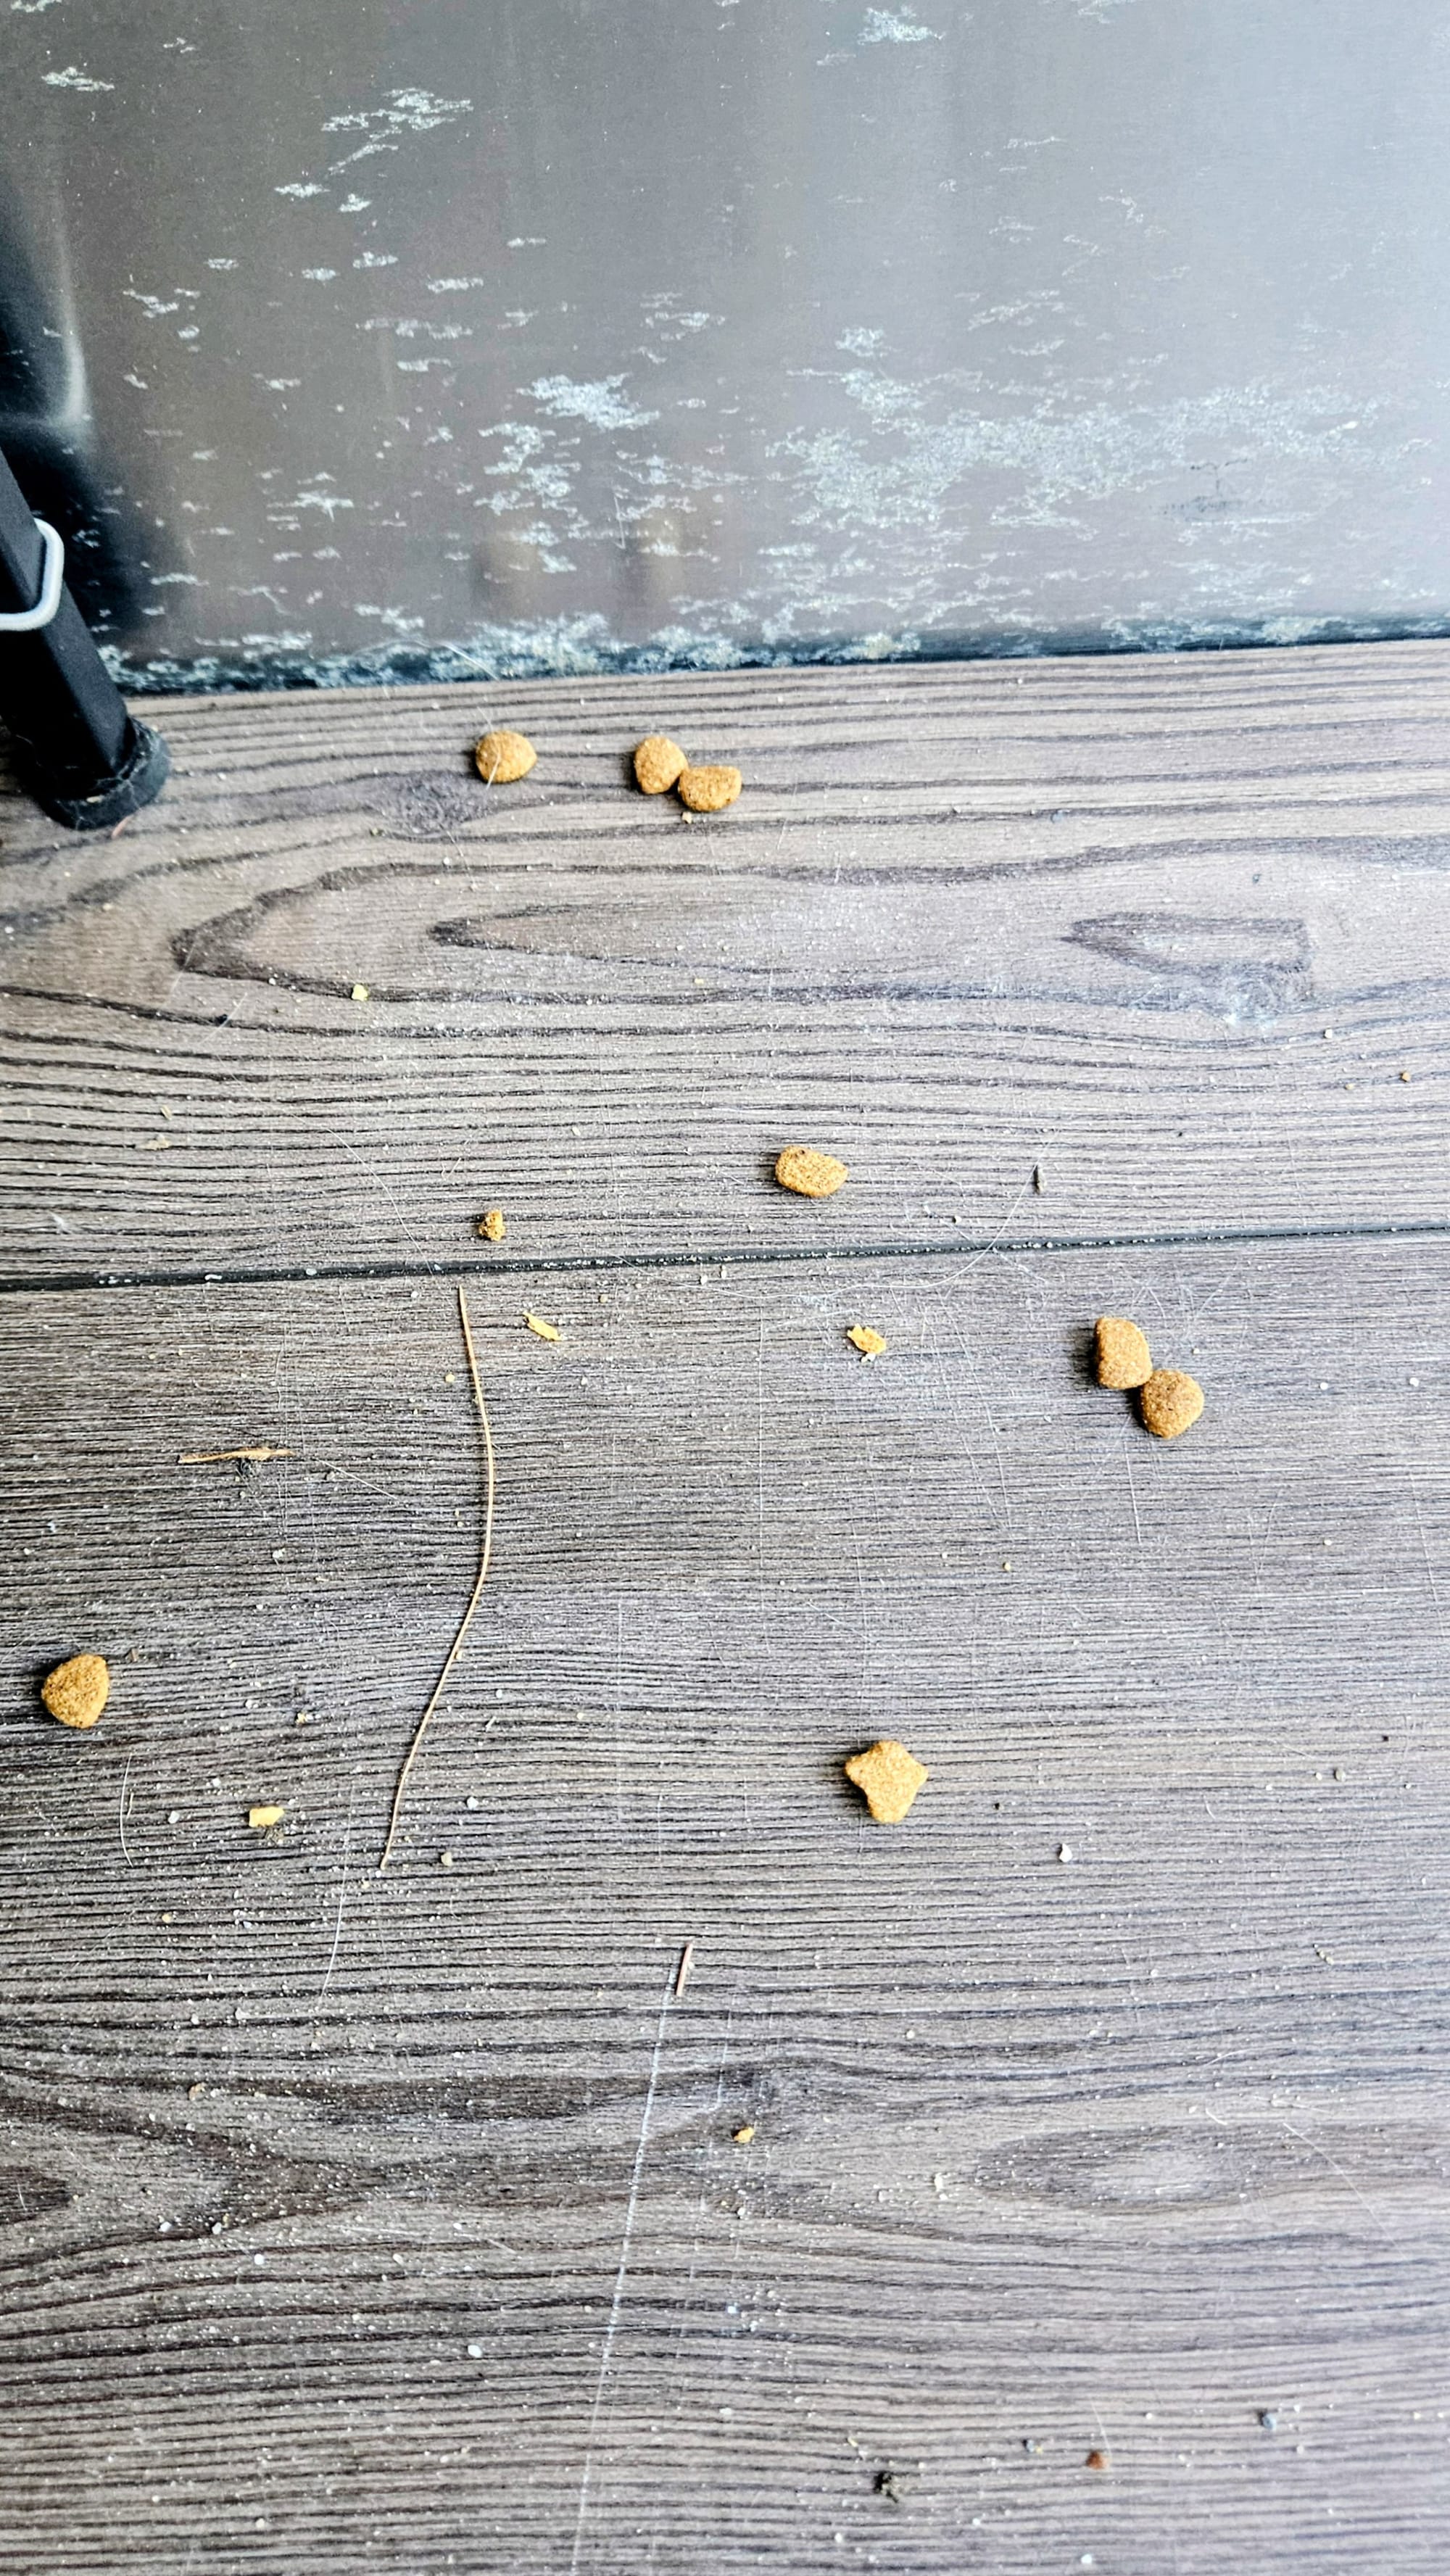
You think that's bad? Just be happy I'm not showing the pieces that got moistened and started growing mold!
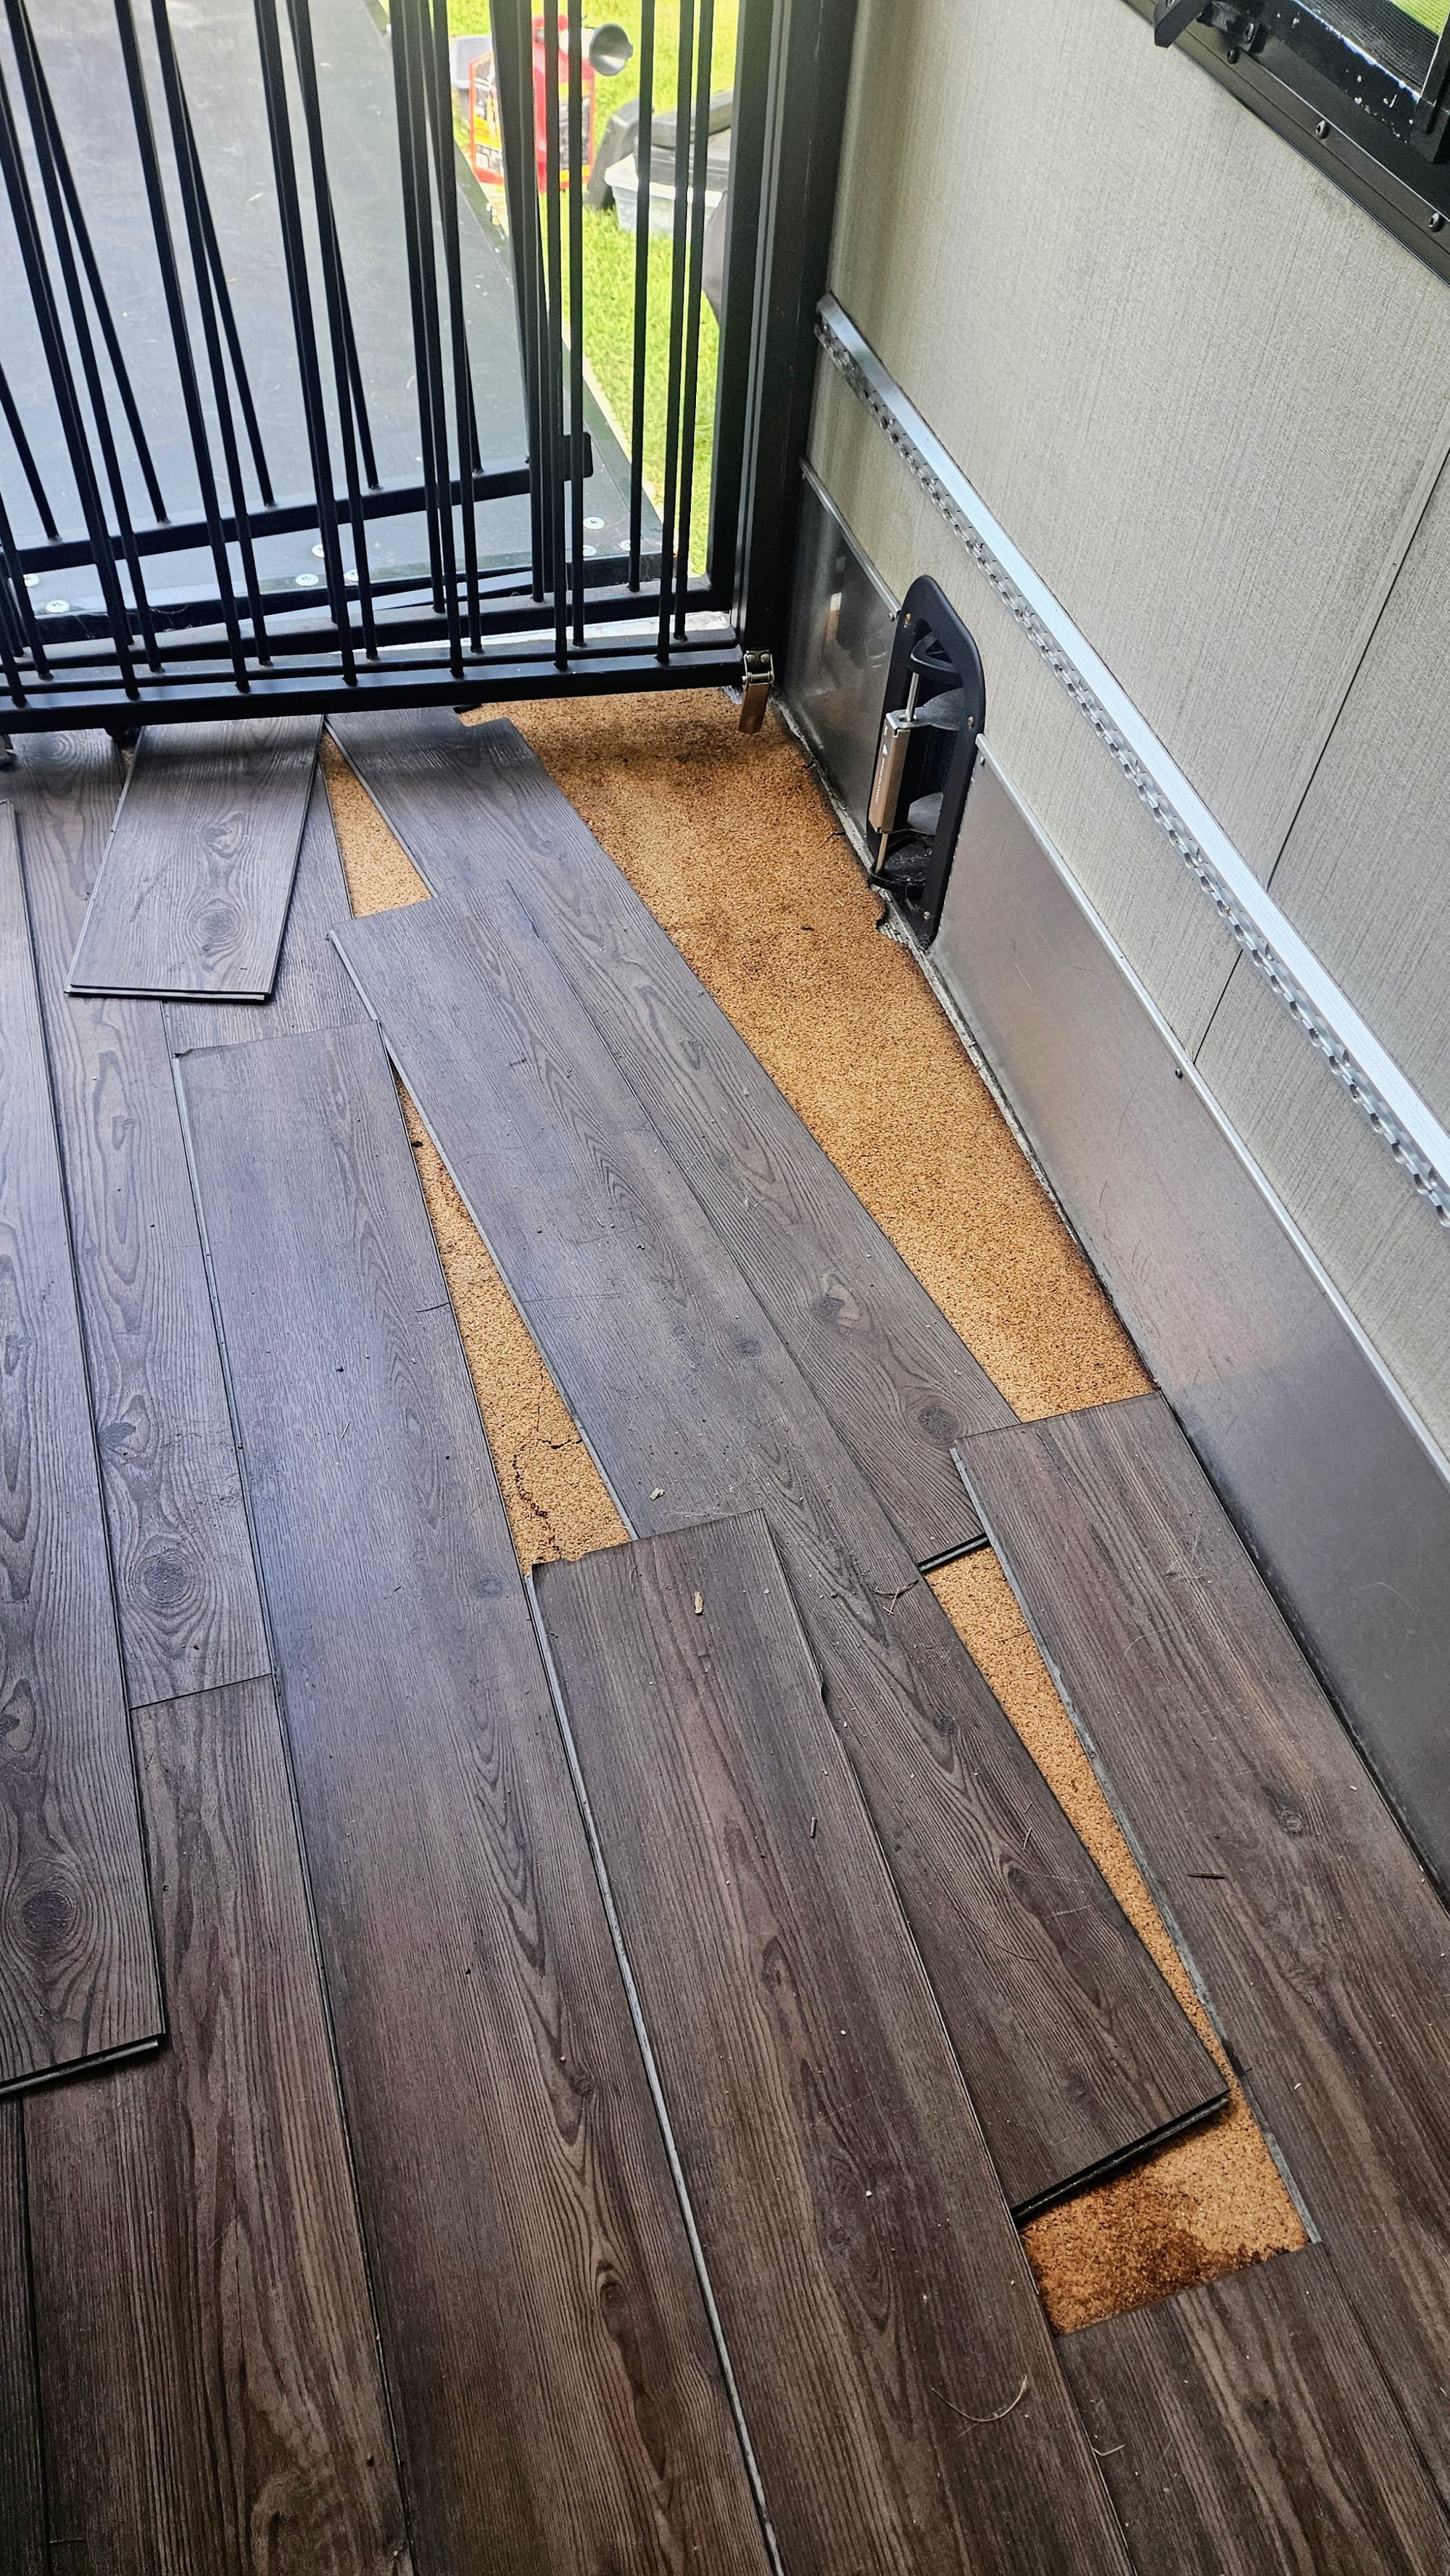
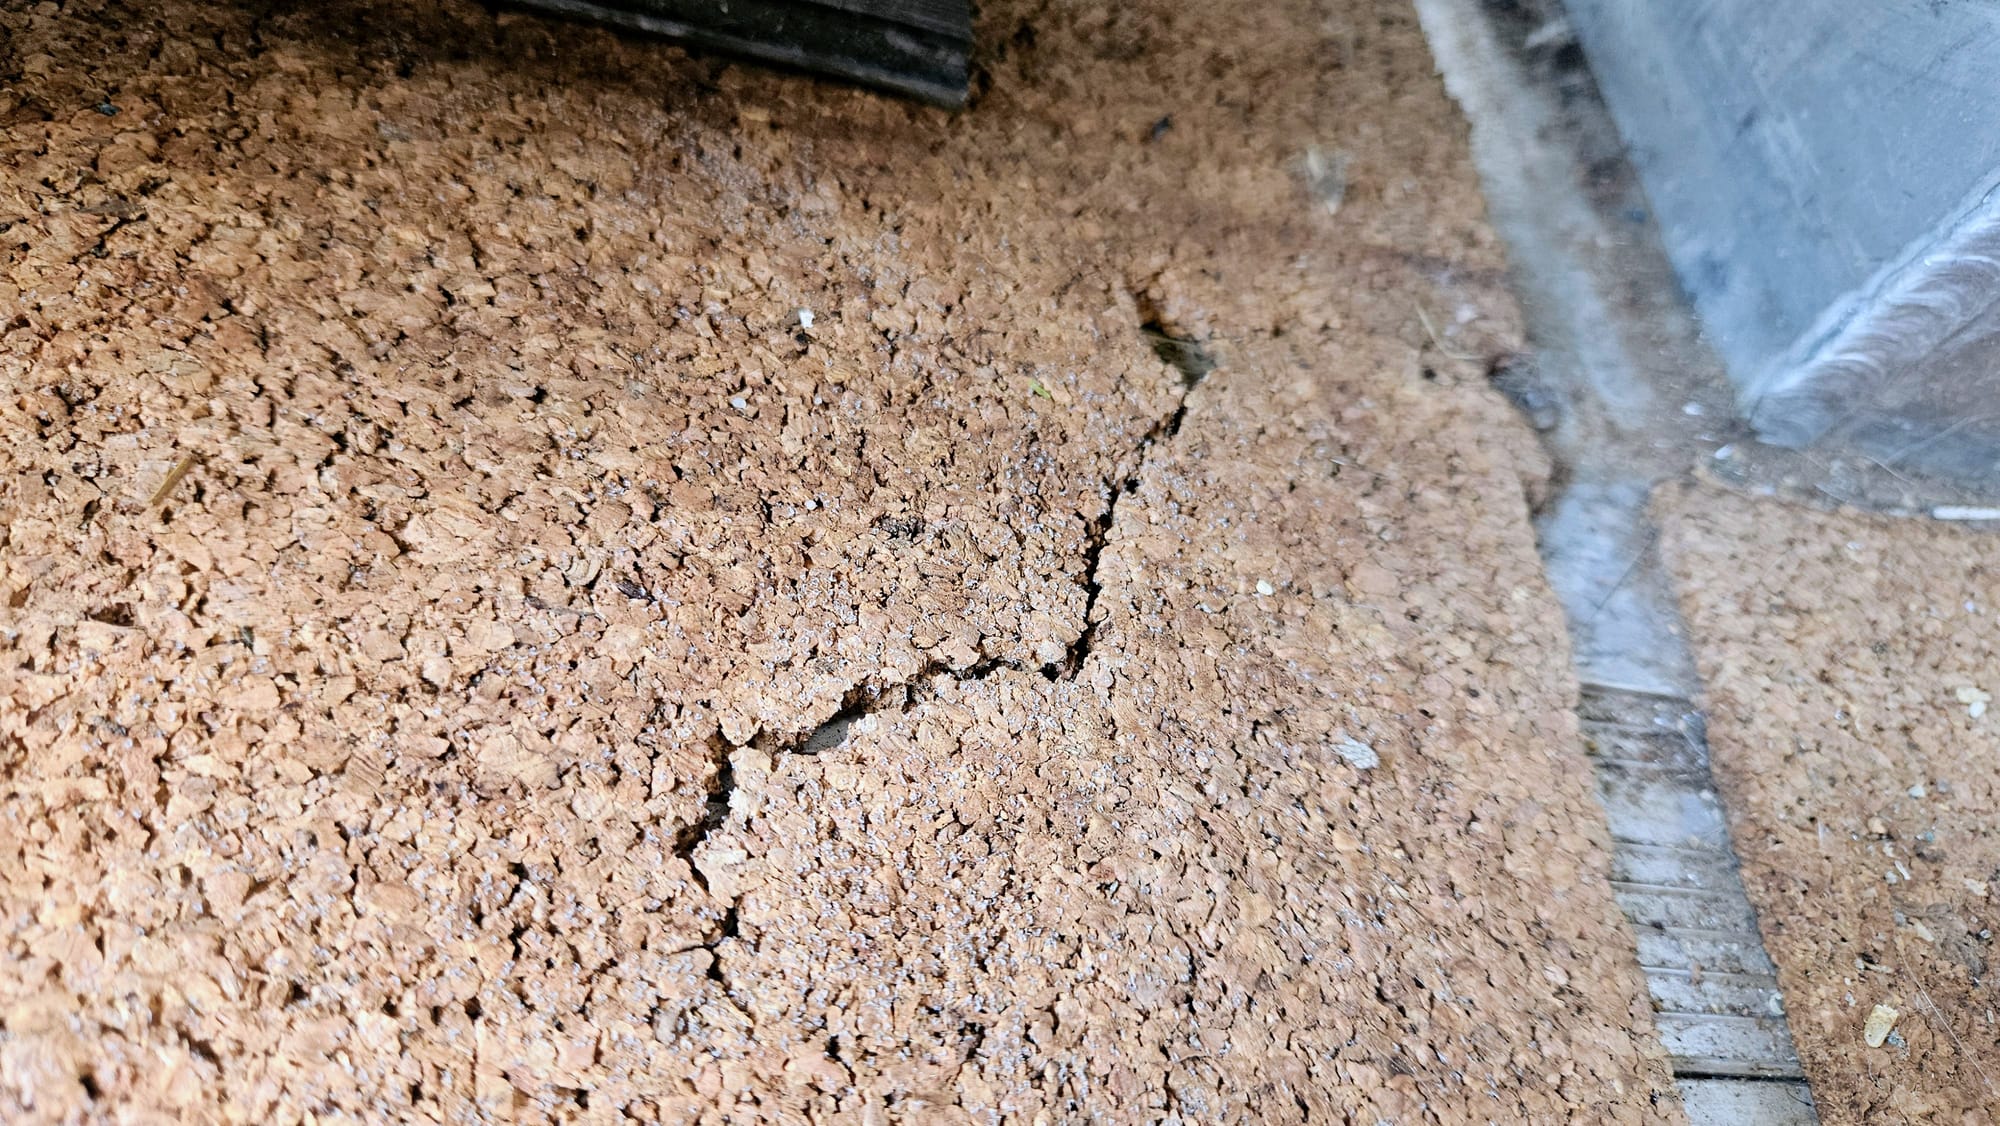
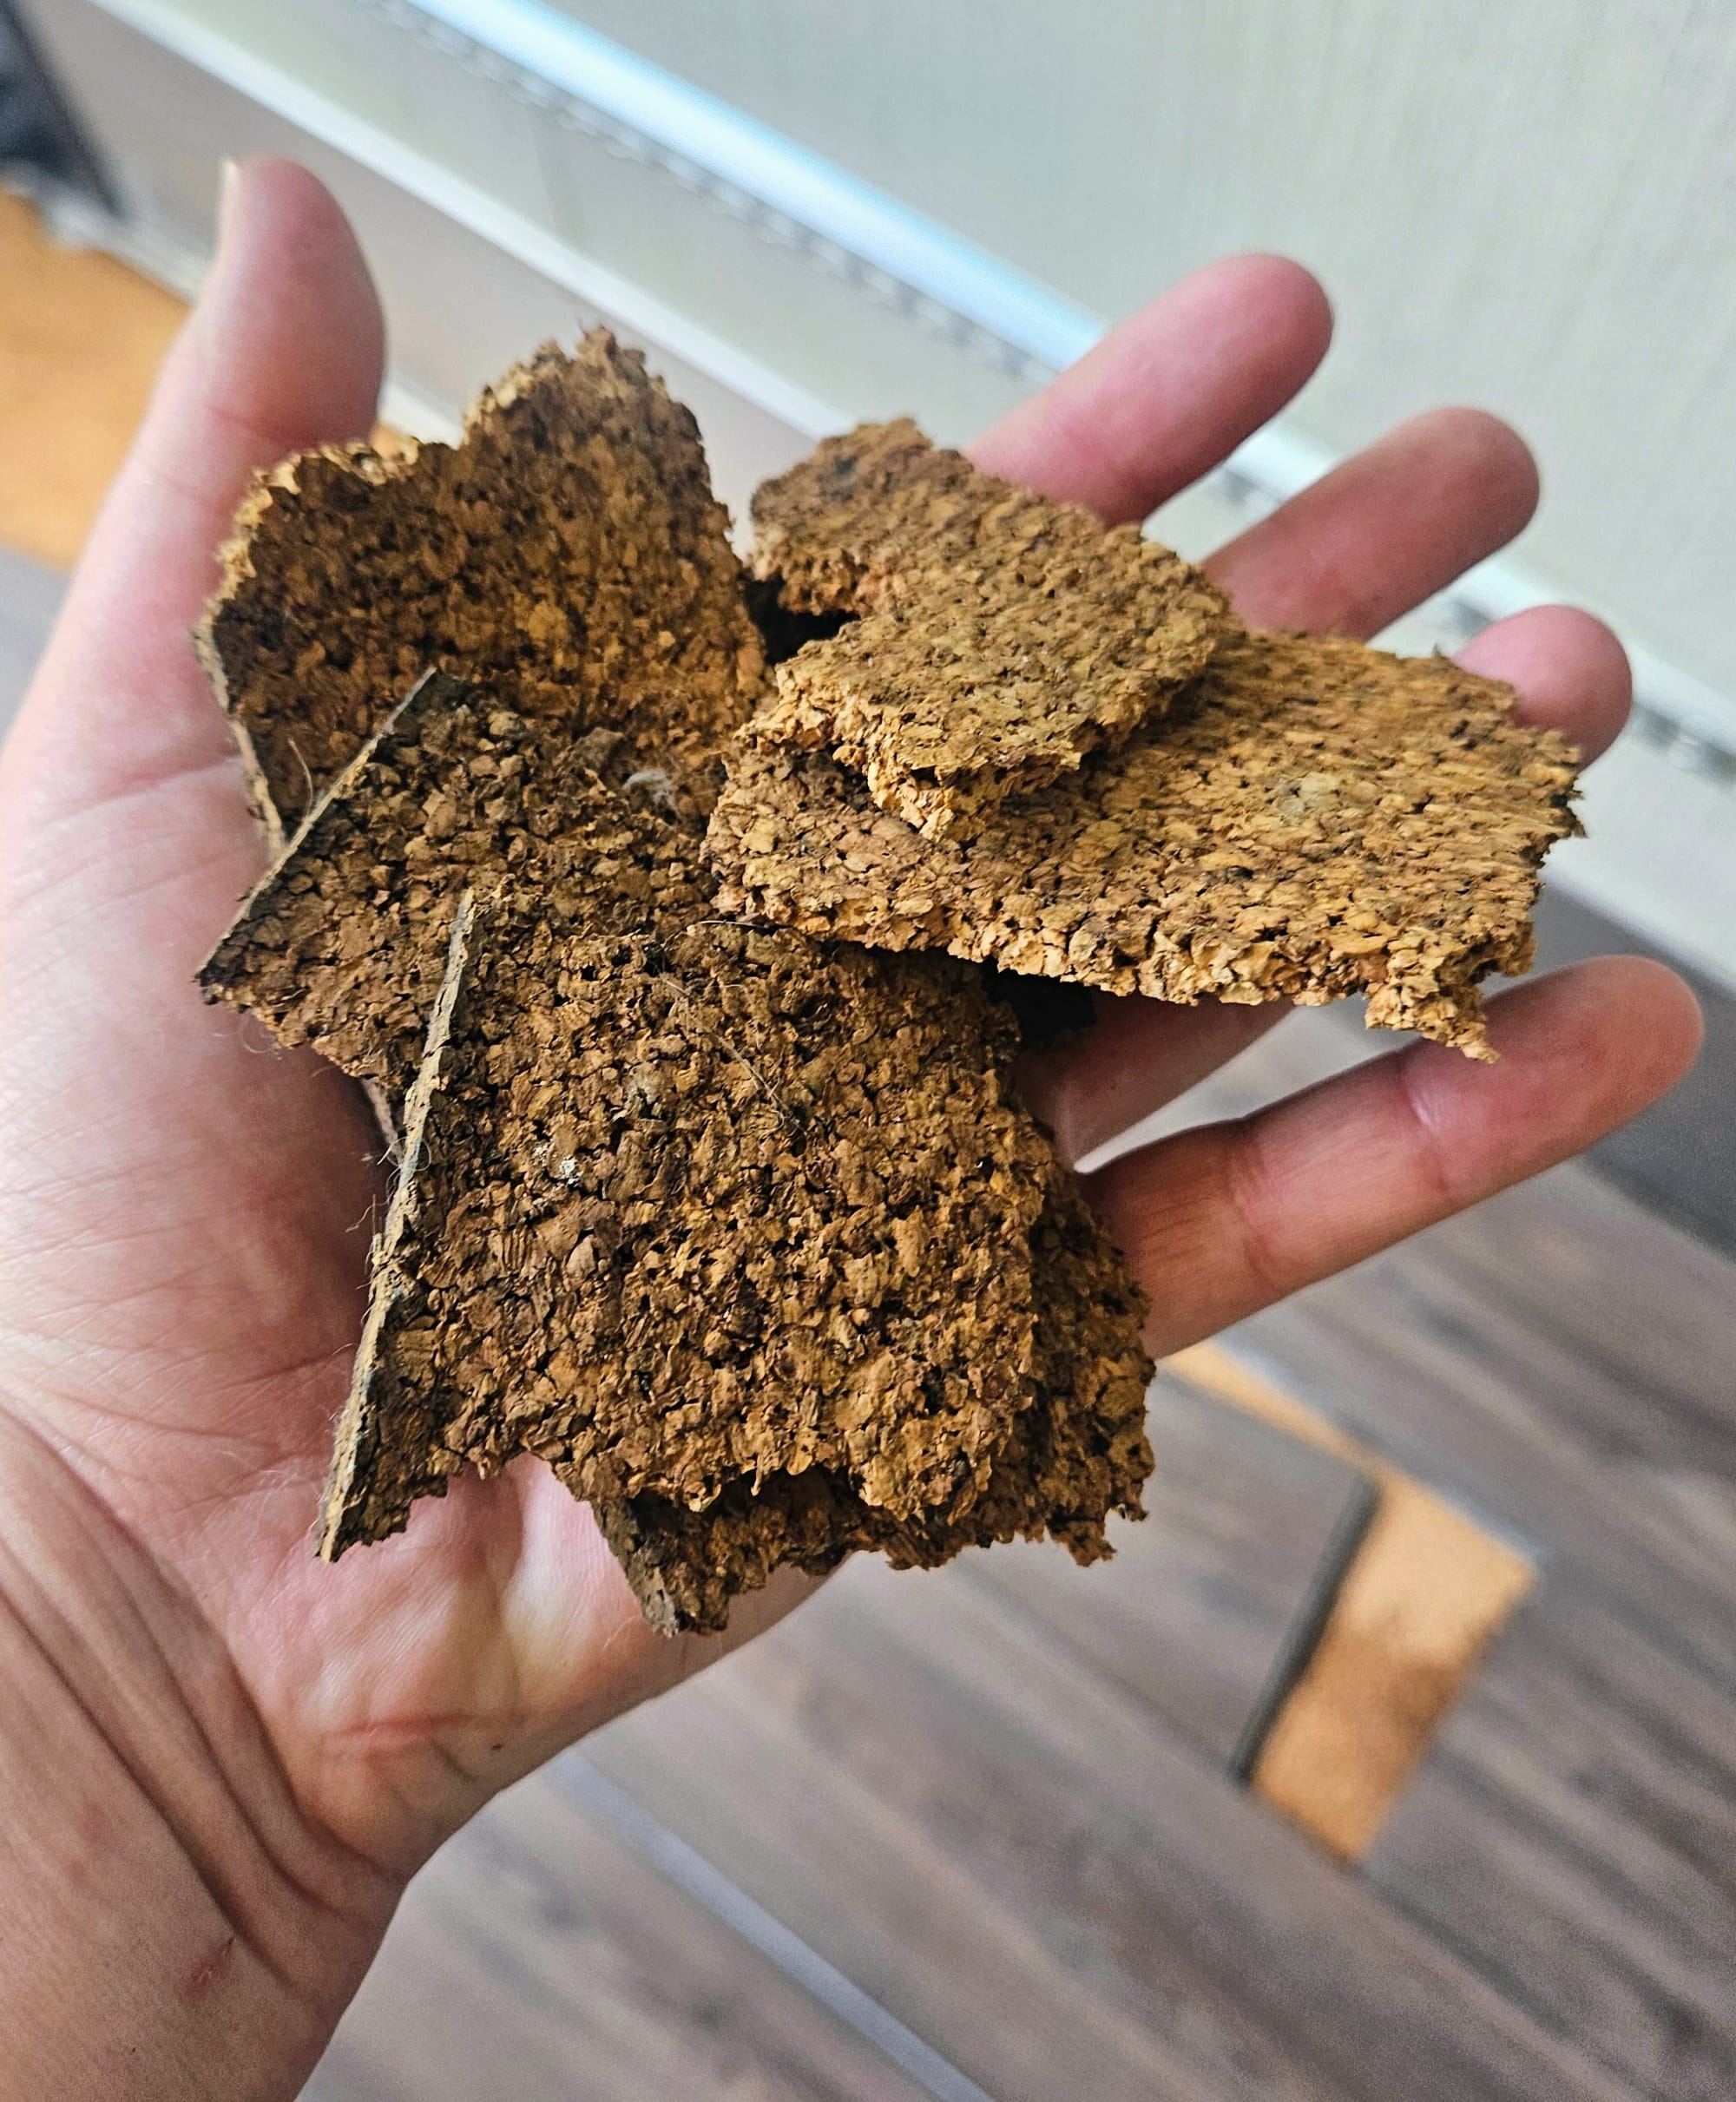
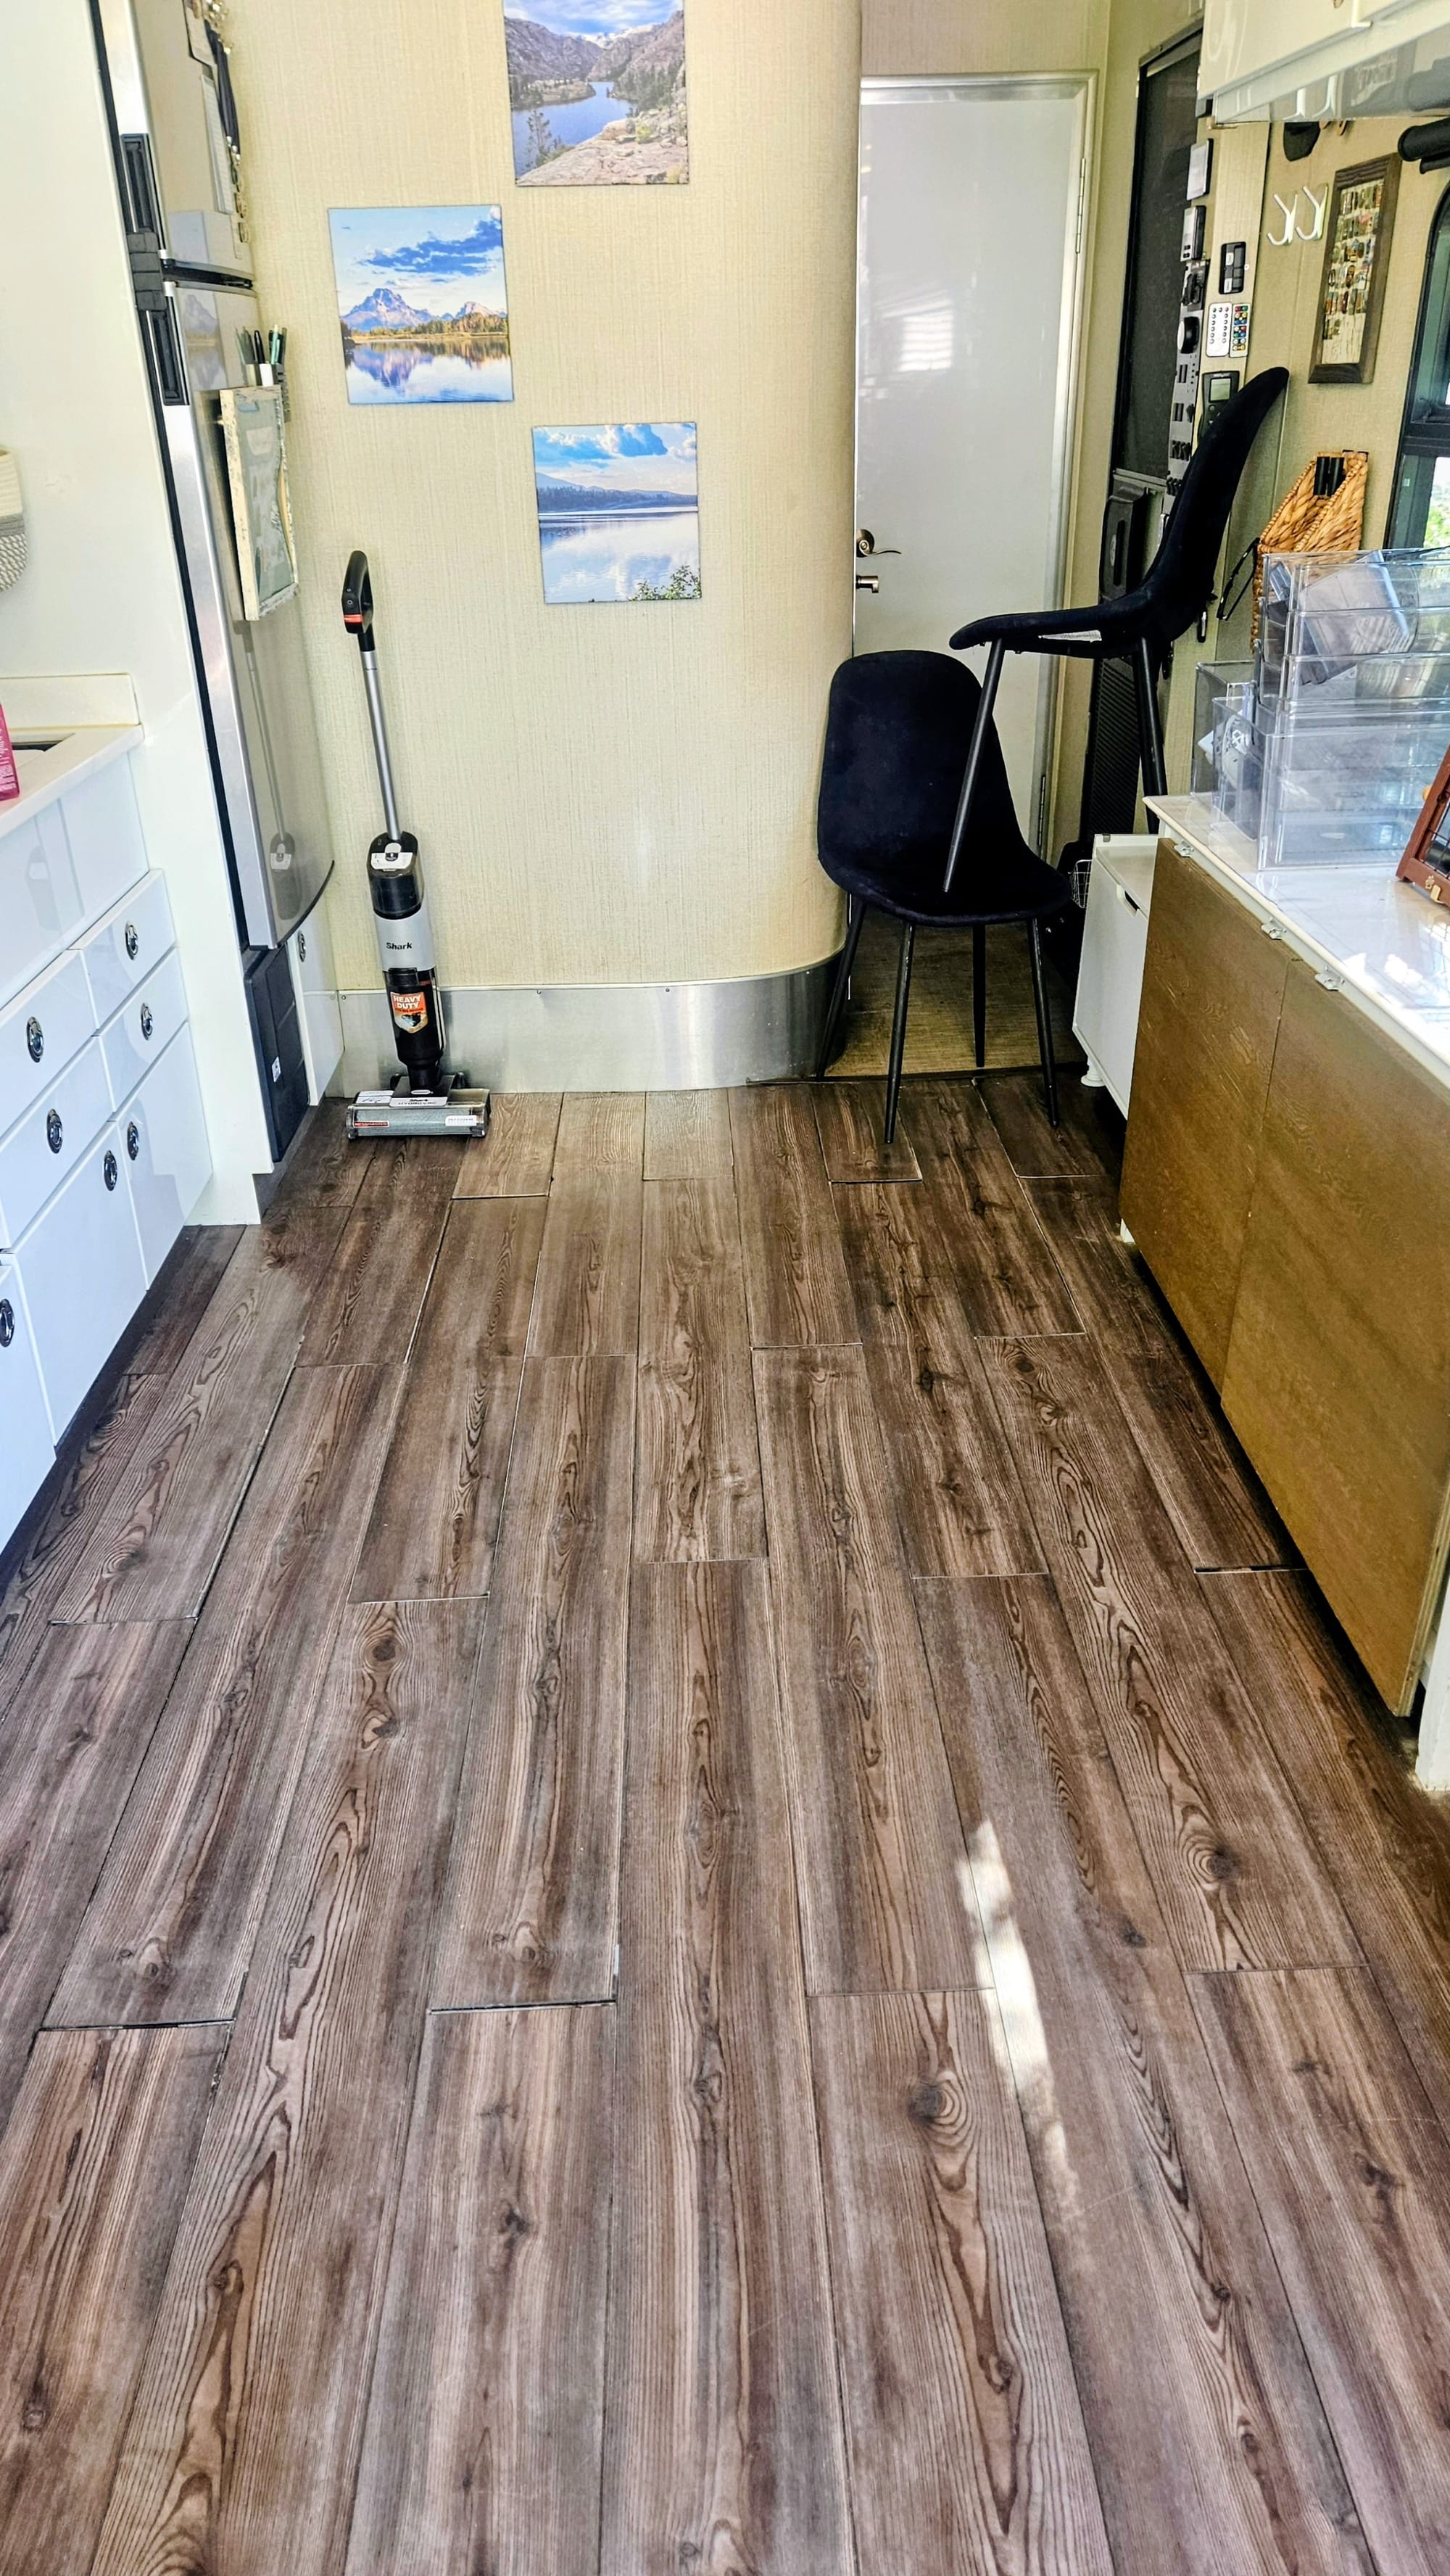
Speaking of moisture, I took the opportunity to make sure our cork underlayment seemed mostly dry. As I've said, we've had issues with it in the past, and even though it was dry now, parts were very crumbly, which means they had been wet at some point. Some of the vinyl planks I purposely lifted, but all the ones that are askew in the back corner are just like that now. 5 years of having this floor, and the planks are finally warping to the point where their grooves don't fit anymore. I'm able to do temporary fixes, but on rough travel days, they just pop out again. (What's that about a future redesign? Seriously, subscribe)!
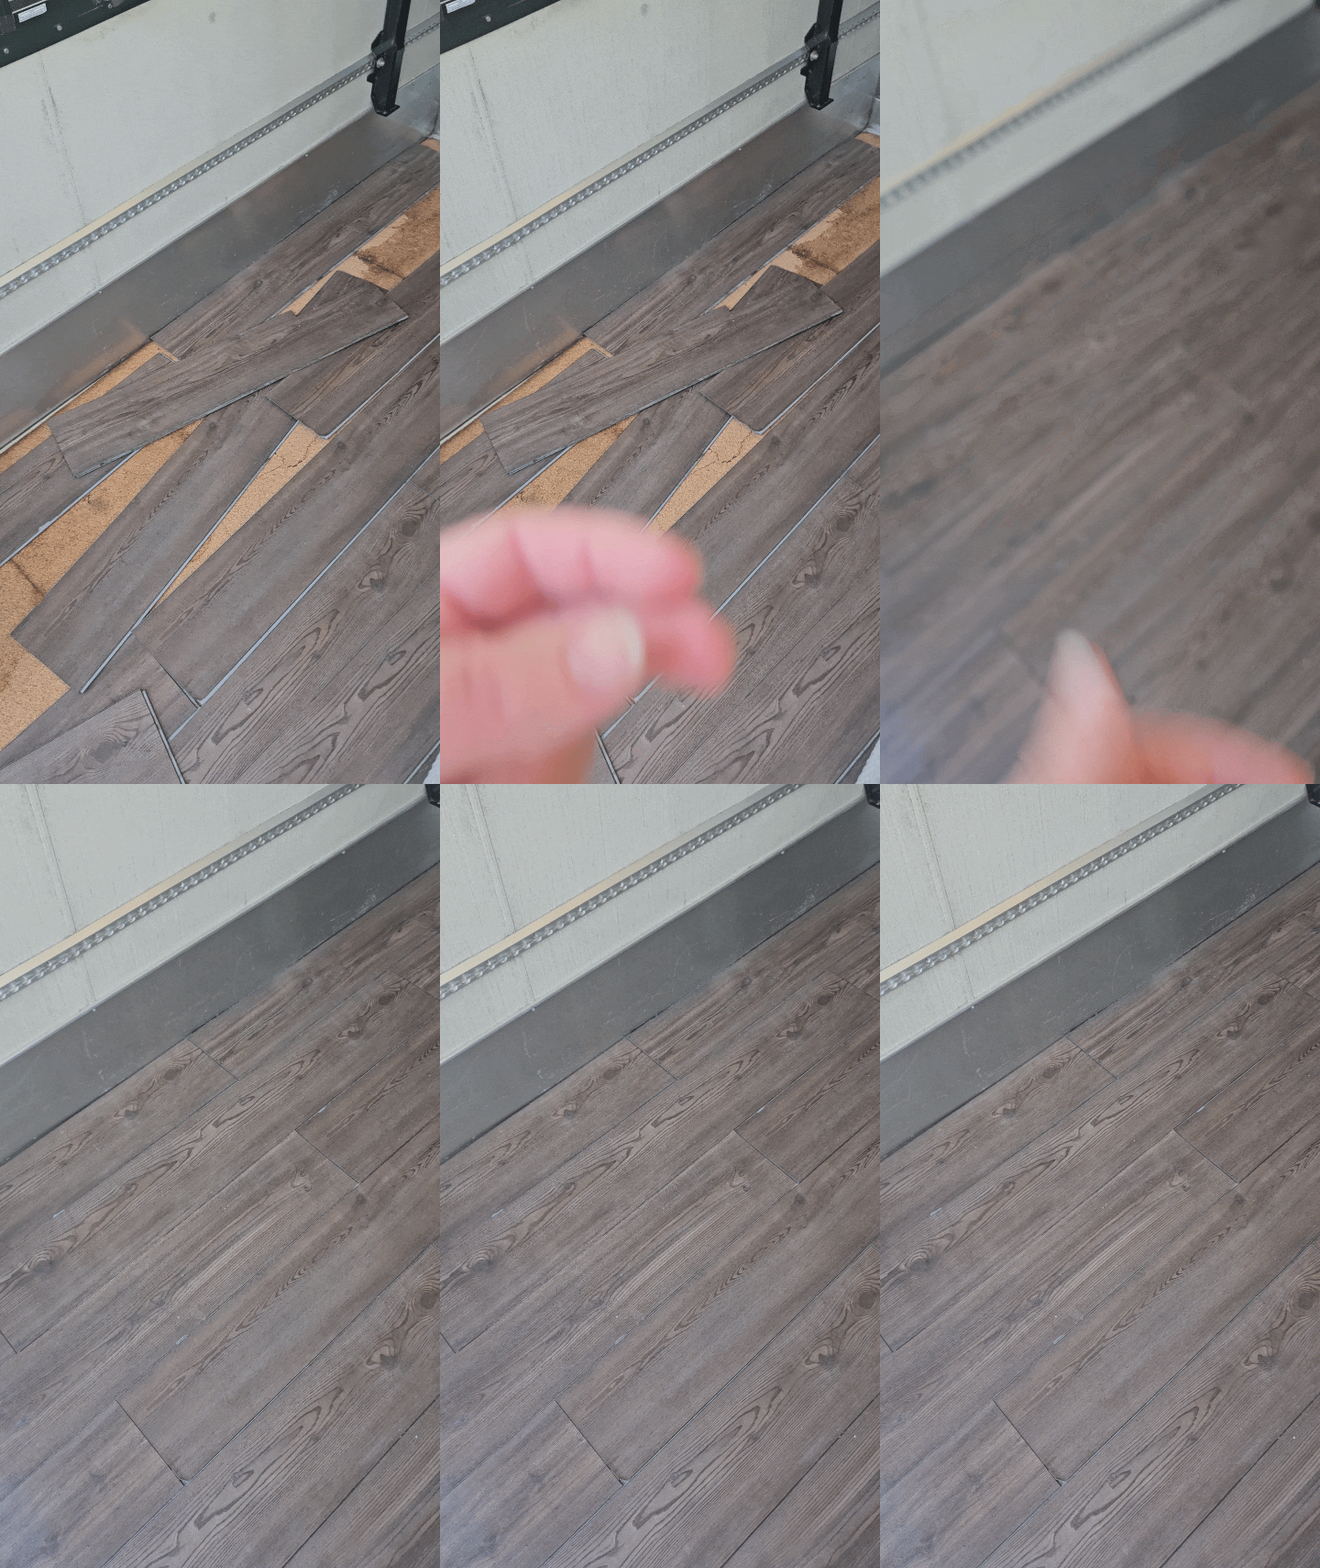
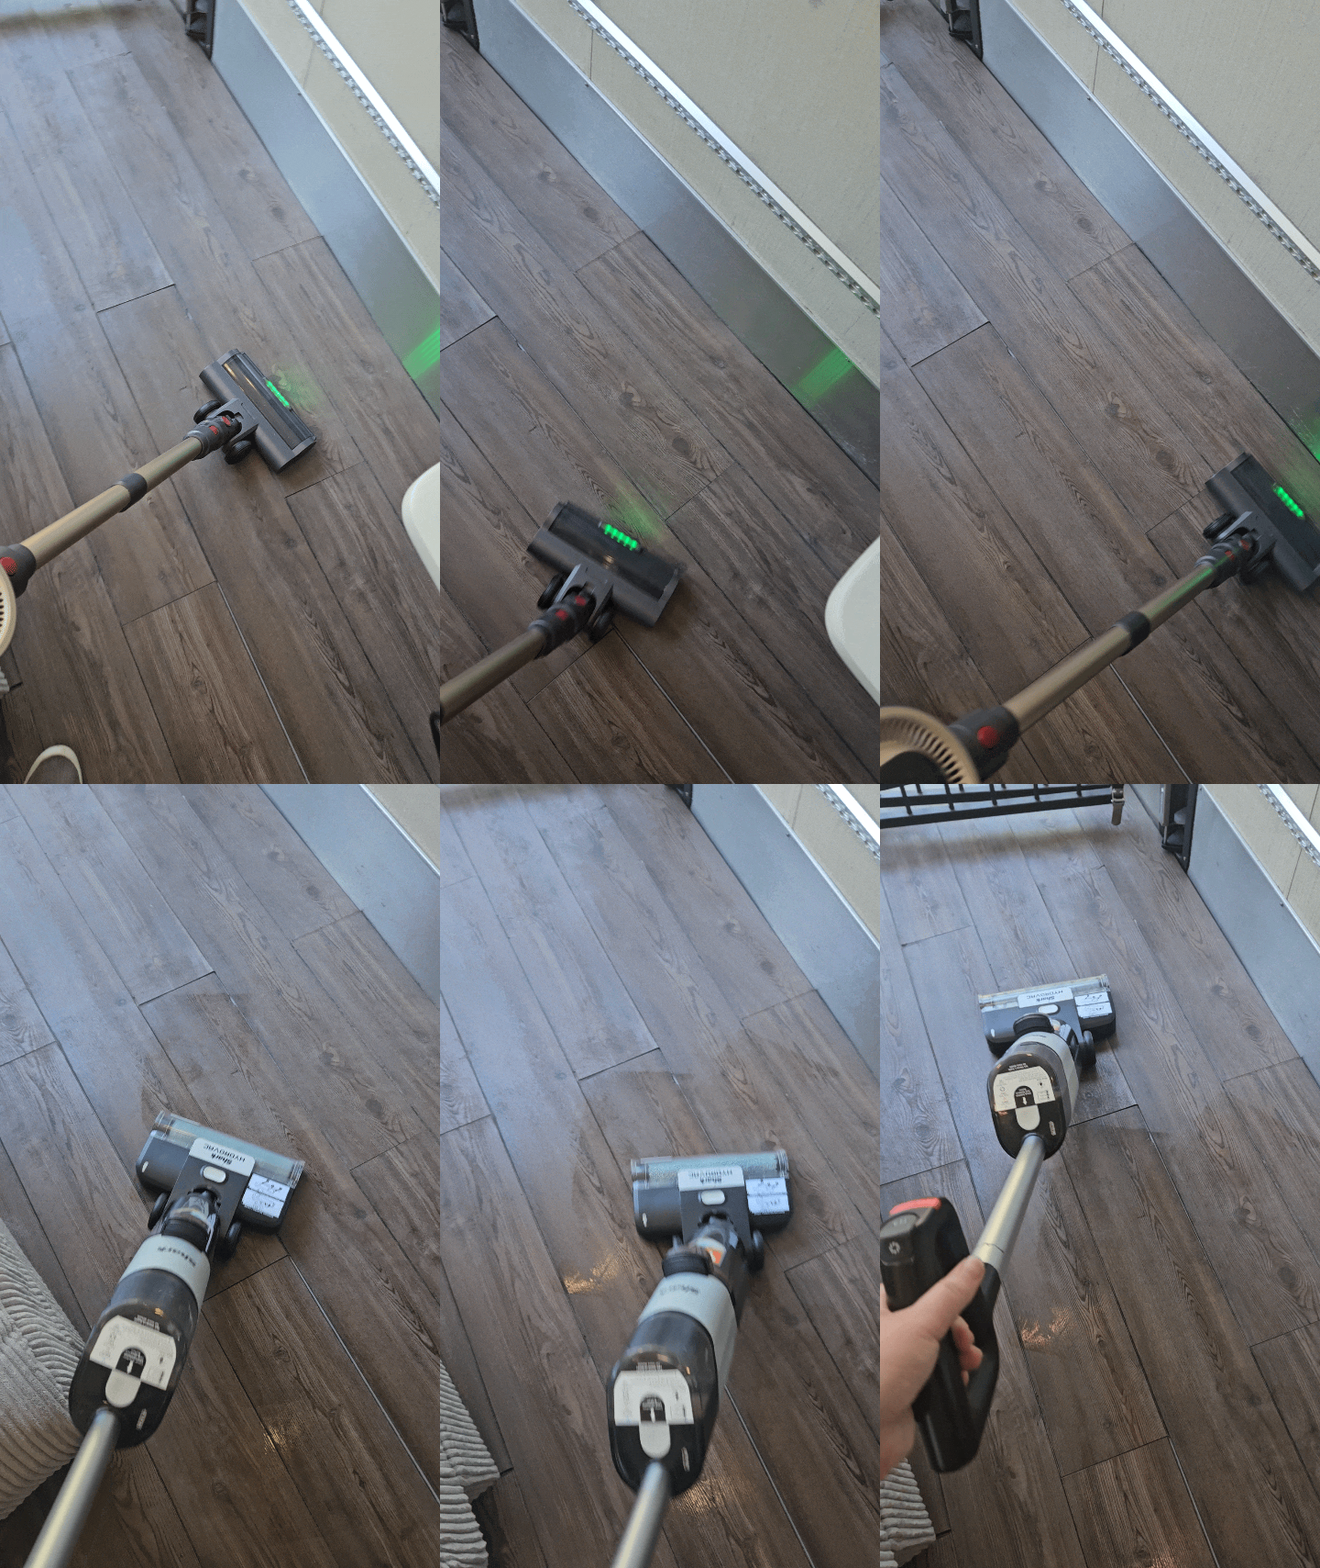
I've always had some iteration of a stick vacuum in the RV, and this is the latest version of our current one. I also traveled for several months with this vacmop, and while we didn't have tons of room for it, it's worked great for cleaning tracked-in dirt. At present, both of these live in the cottage, but I took them to the RV because I knew together, they're an unbeatable combination in a small space. The air duster and stick vacuum took care of the first layer of dirt (plus I used a dust pan for the hard-to-reach areas), and the vacmop got the deeper grime.
And lastly, some hypochlorous acid spray to eliminate any residual bacteria, fungus, and odor. We started using hypochlorous acid during the ringworm fiasco, and we've never looked back. It's naturally occurring – like literally, our white blood cells produce it – which means it's non-toxic to humans and pets. We even started using it to sanitize our water lines instead of using bleach. That's what Anthony was doing while I was inside cleaning. We really did clean Buggy from the inside out.
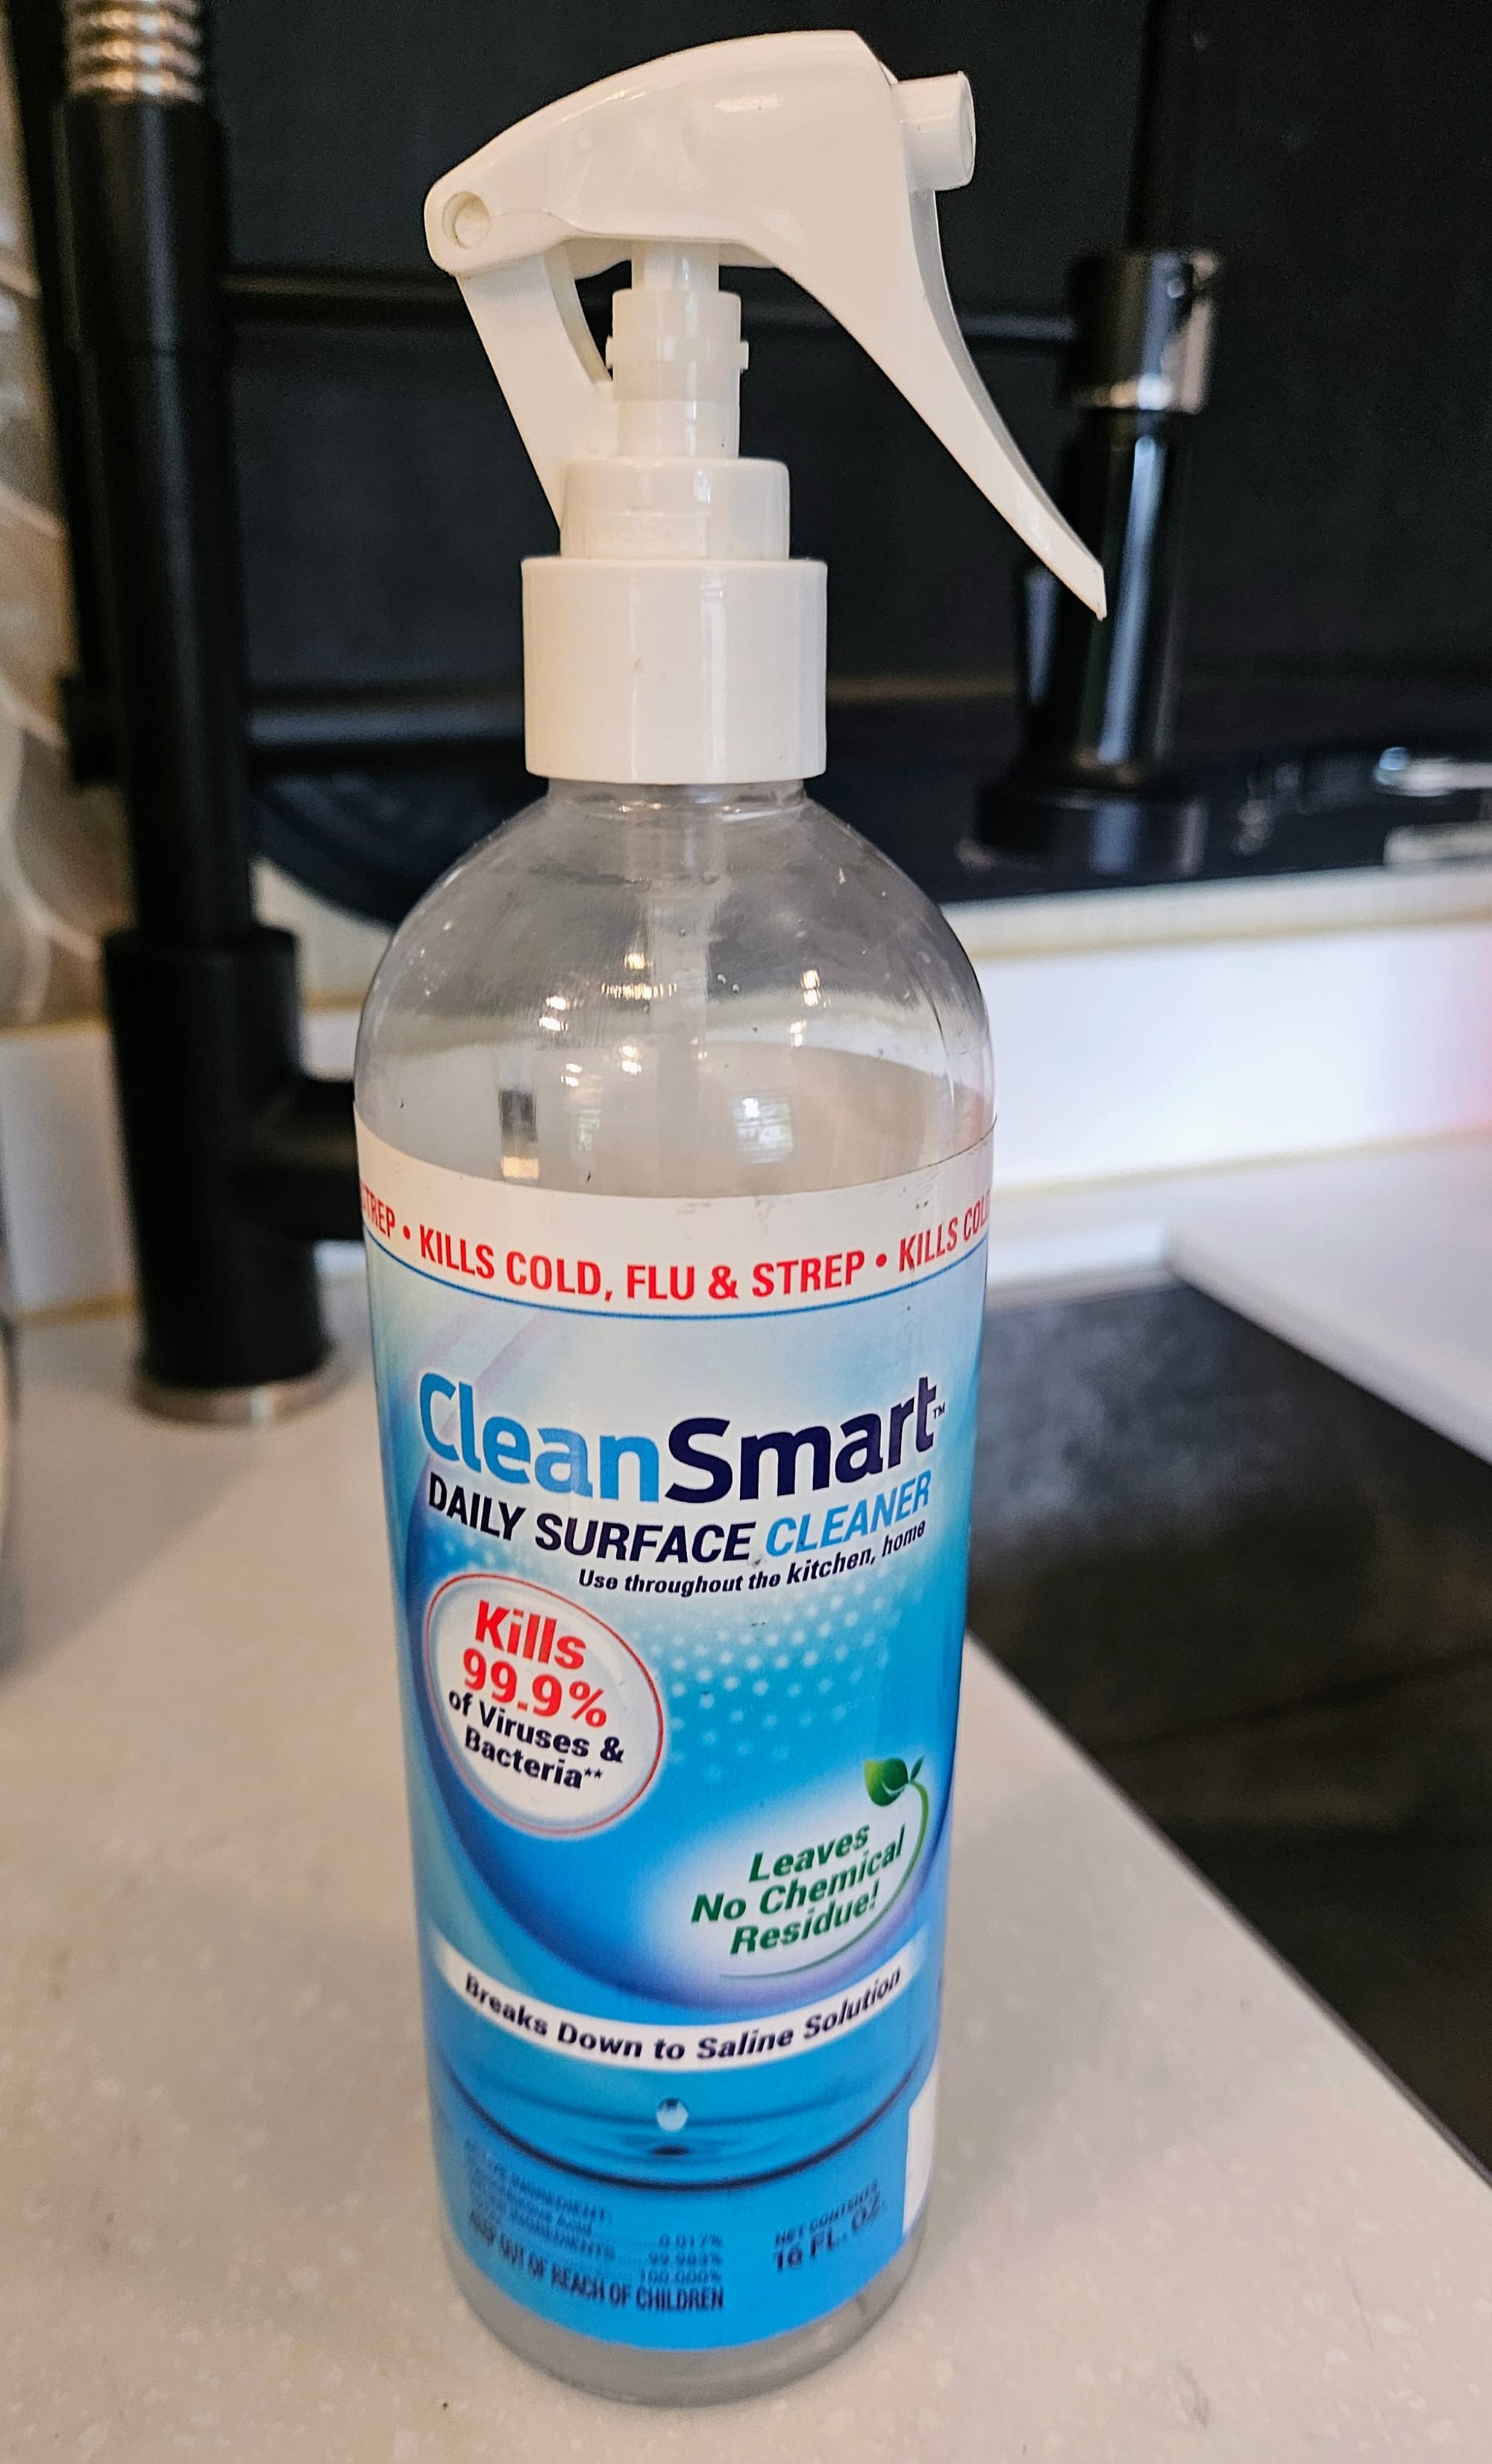
This is the spray we commonly use, but there are tons of brands of hypochlorous acid, plus you can buy large refills and tablets for more cost-effective solutions.
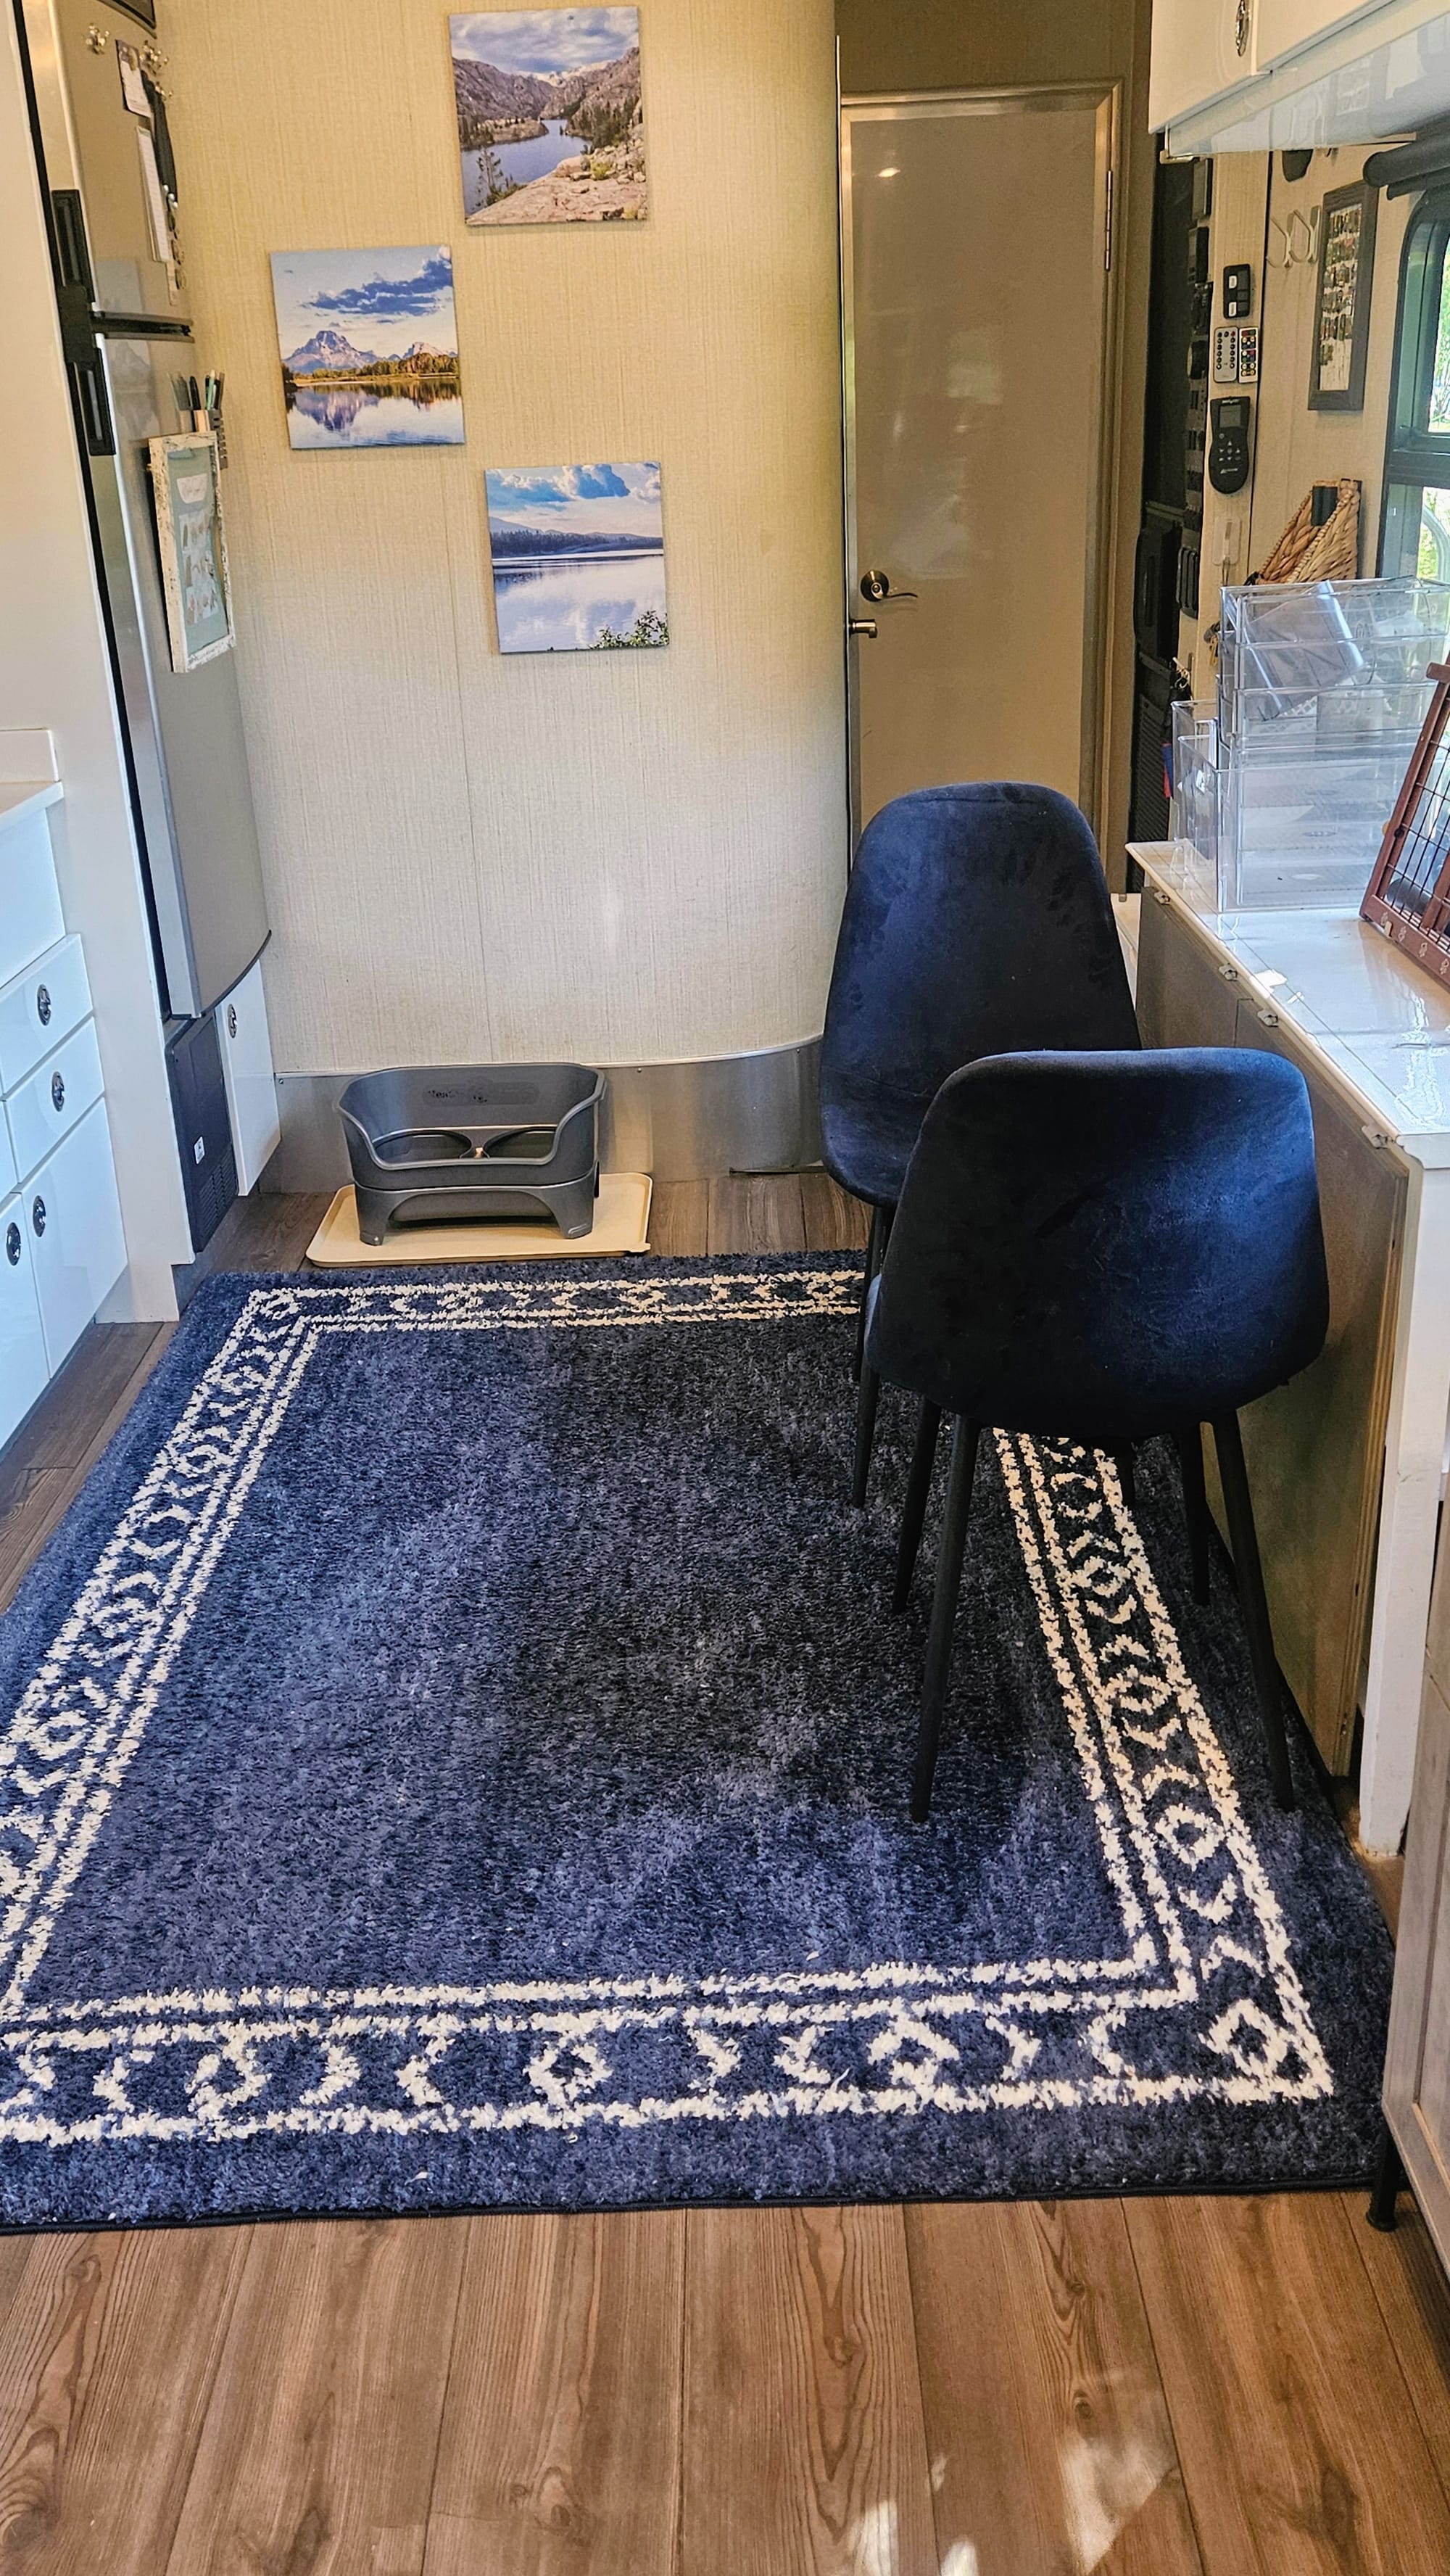
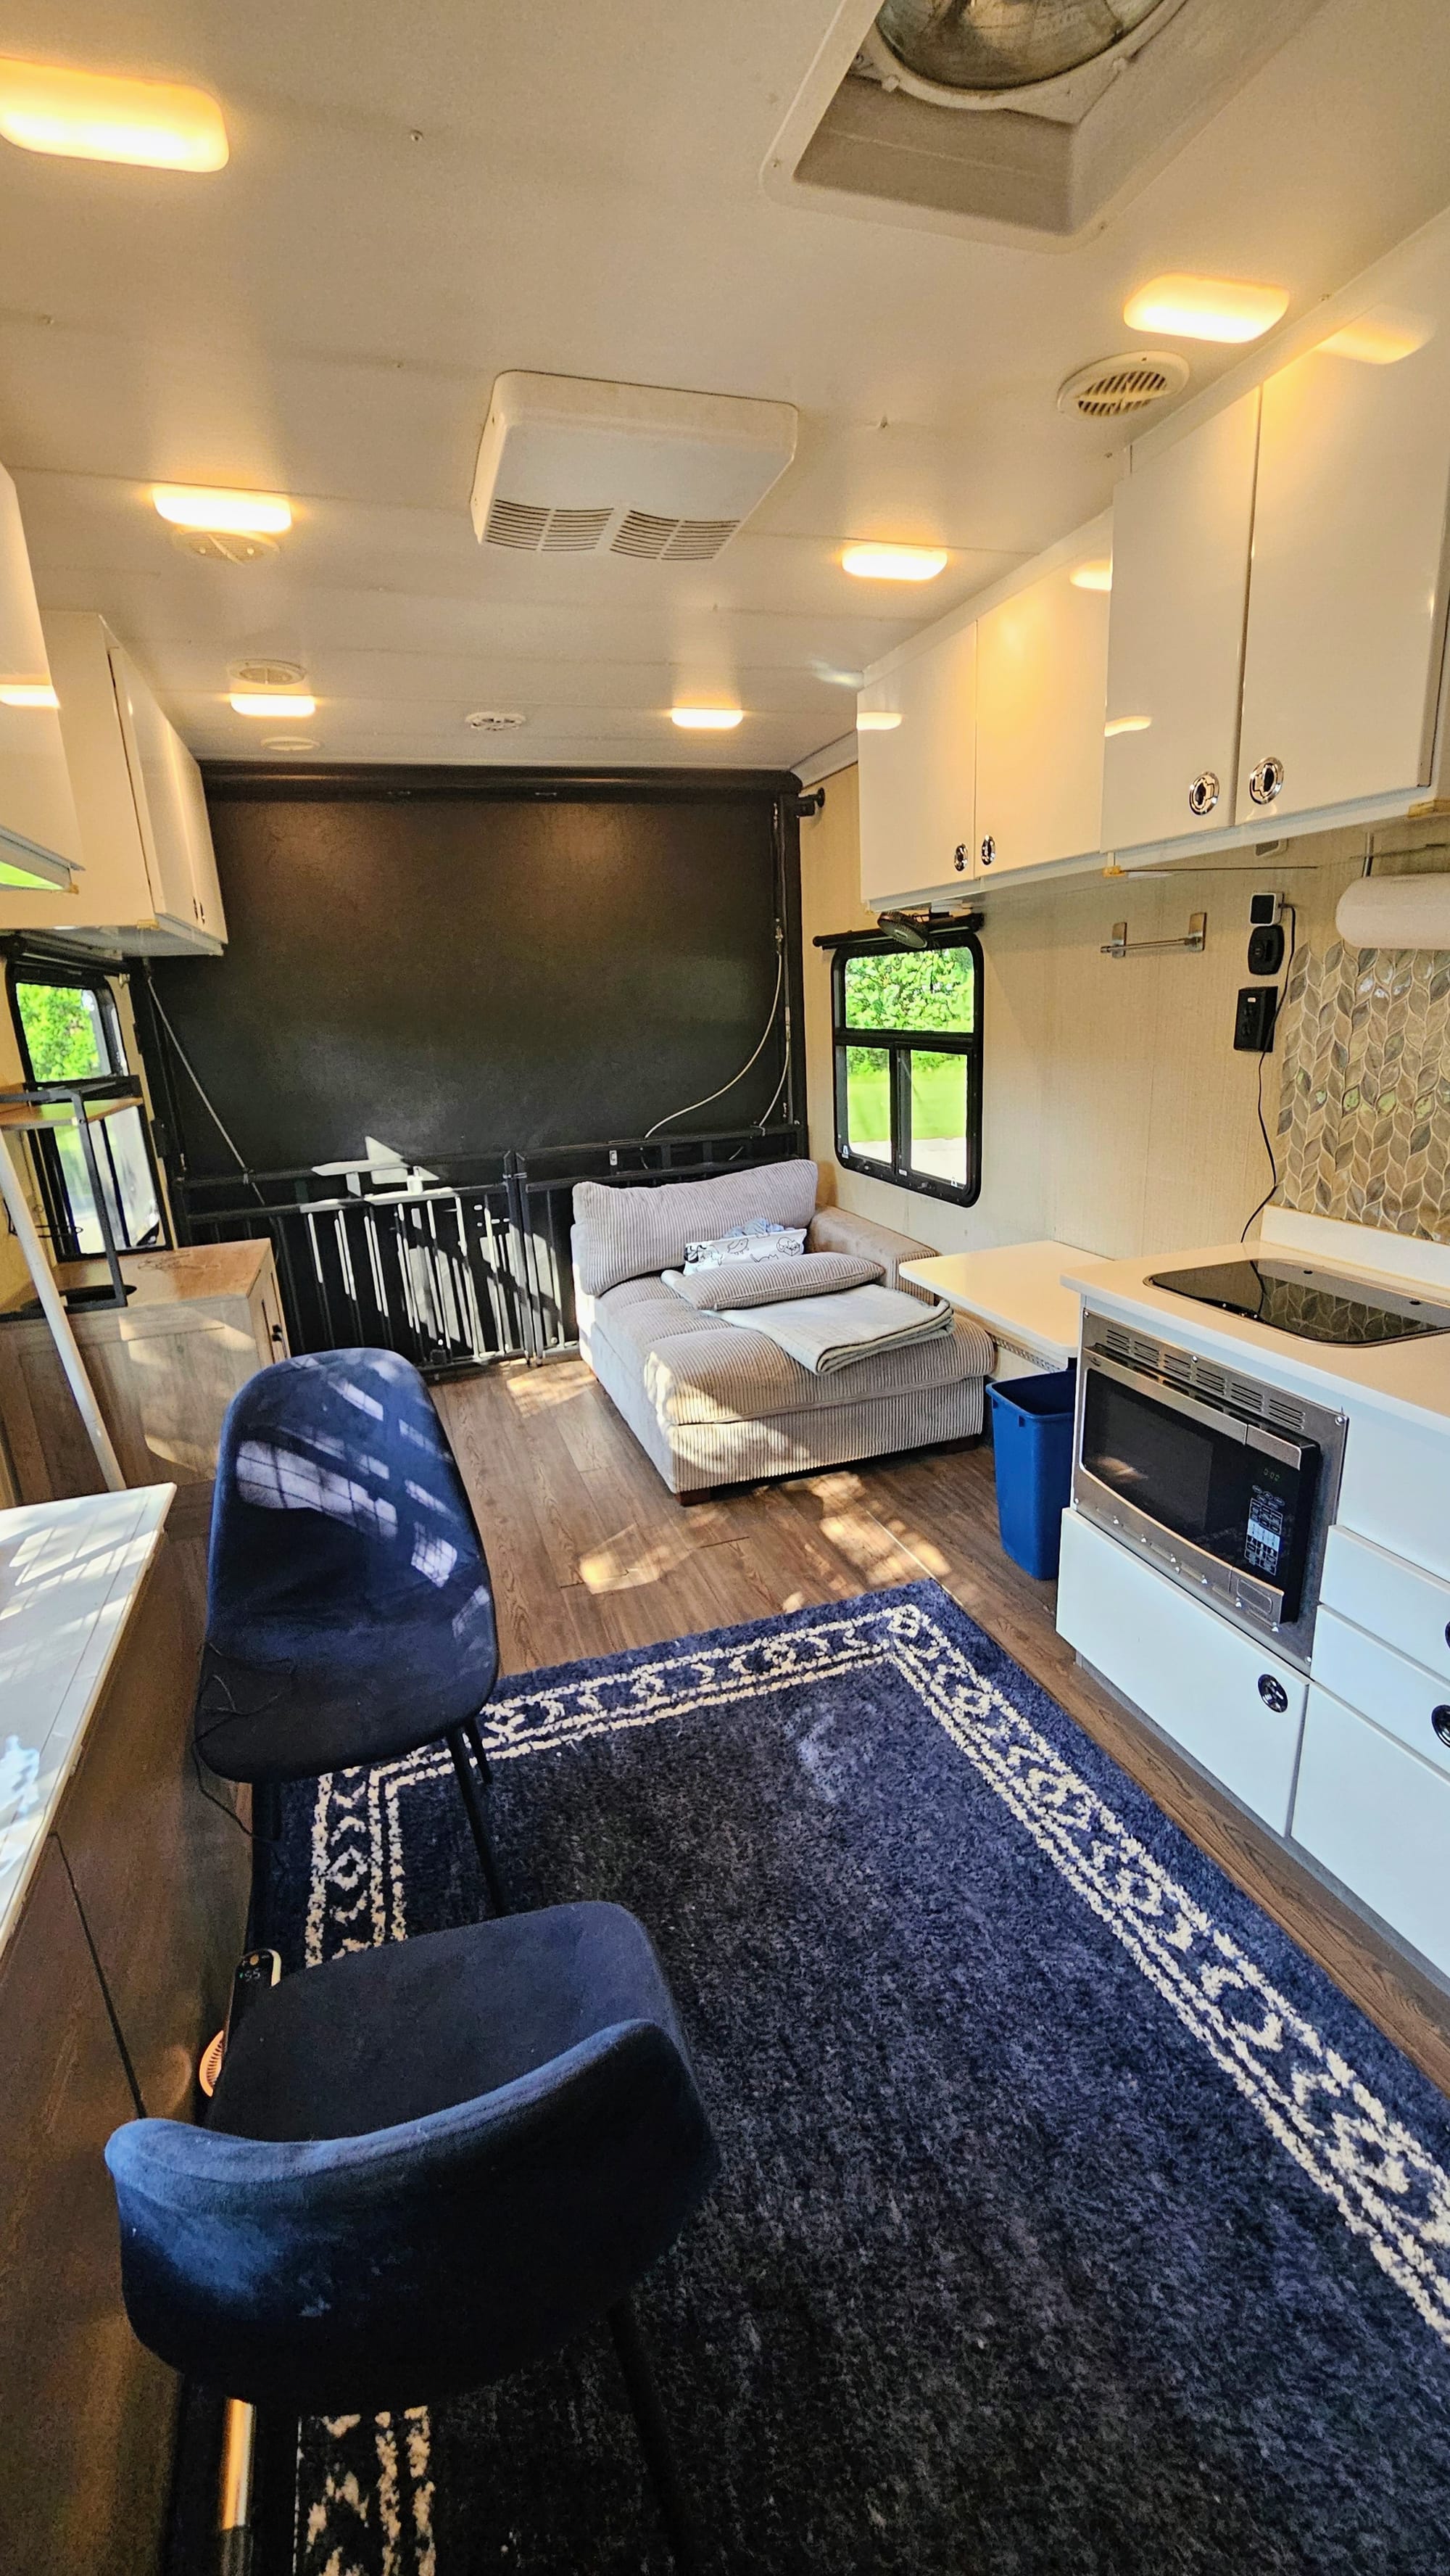
I repeated steps 2-5 in the bathroom and bedroom, plus we finally finished clearing out the non-perishables from our cabinets, taking what we wanted for the cottage and leaving the rest. Now that most of the drawers and cabinets were empty, I swept them, wiped them down, and sprayed hypochlorous acid in them.
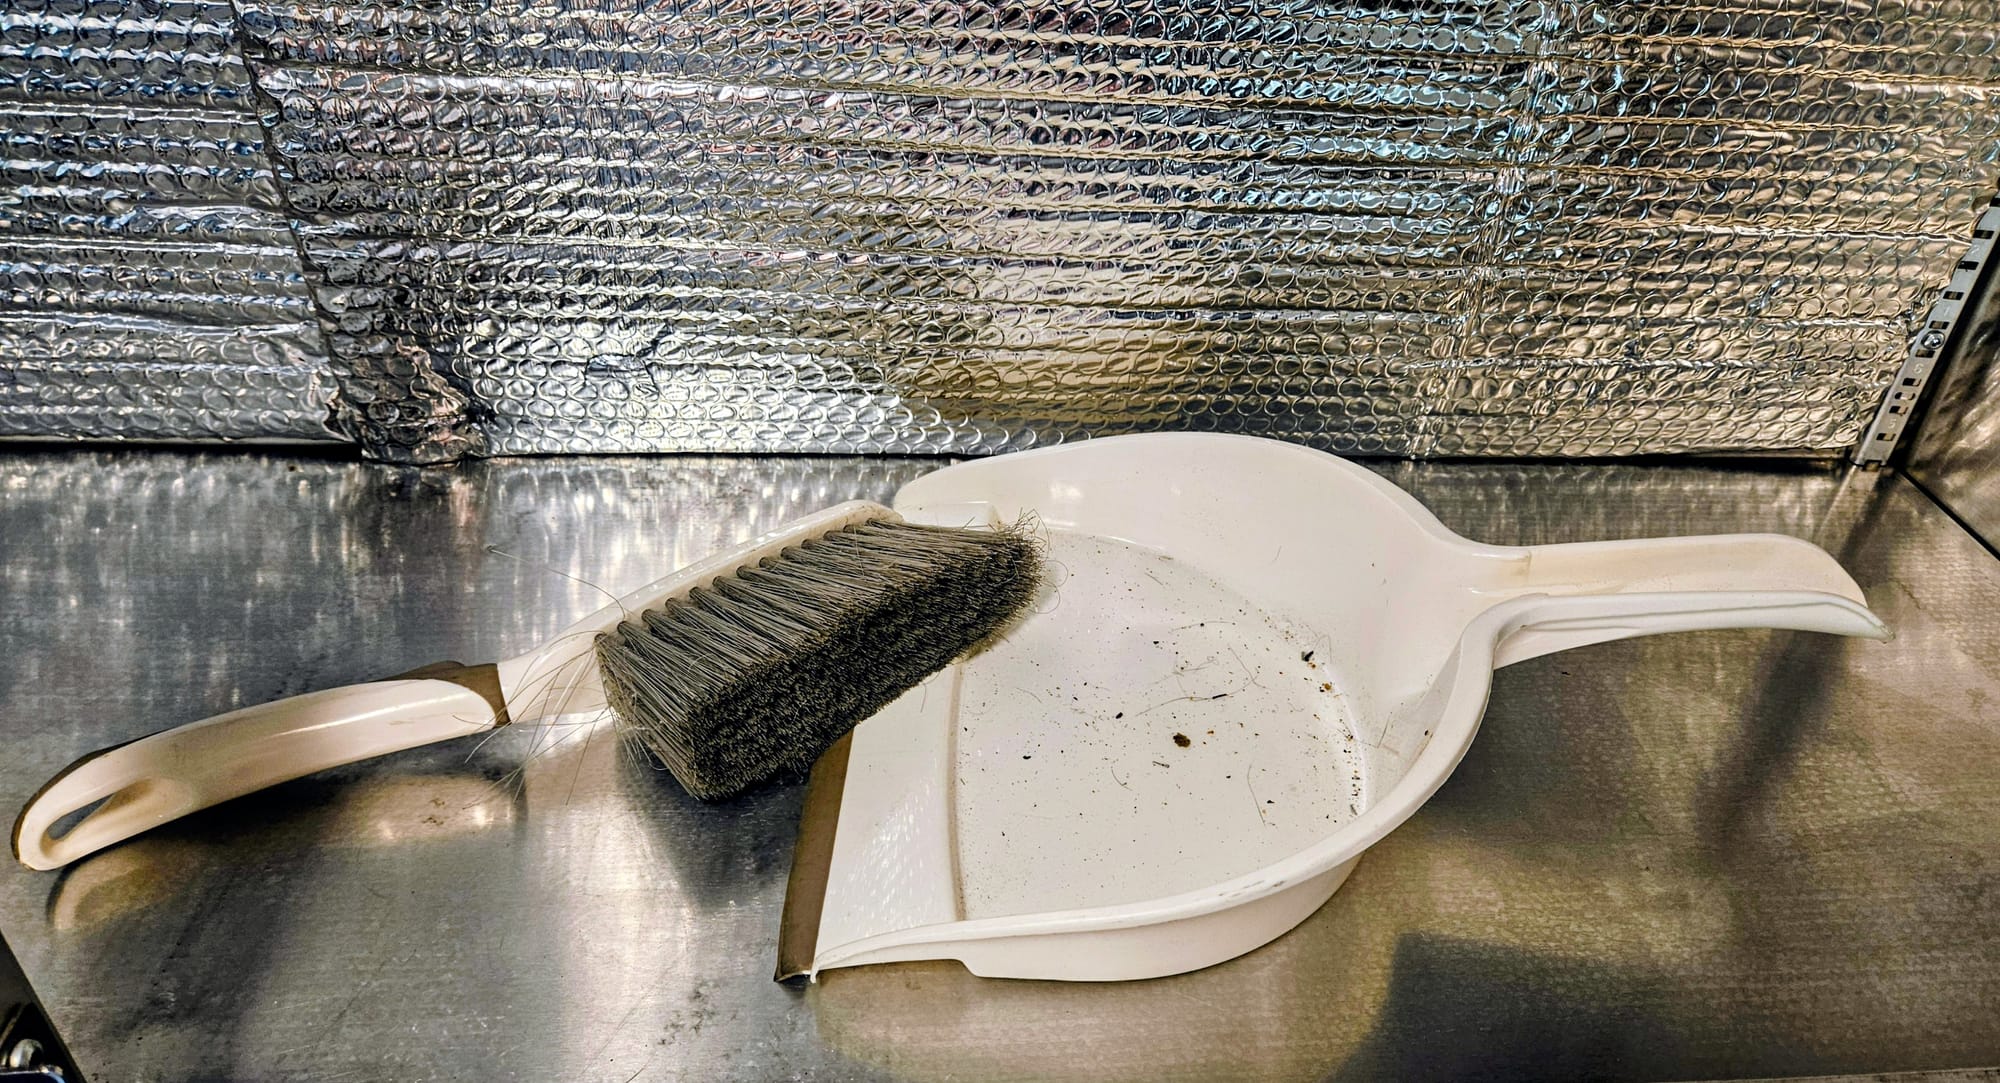
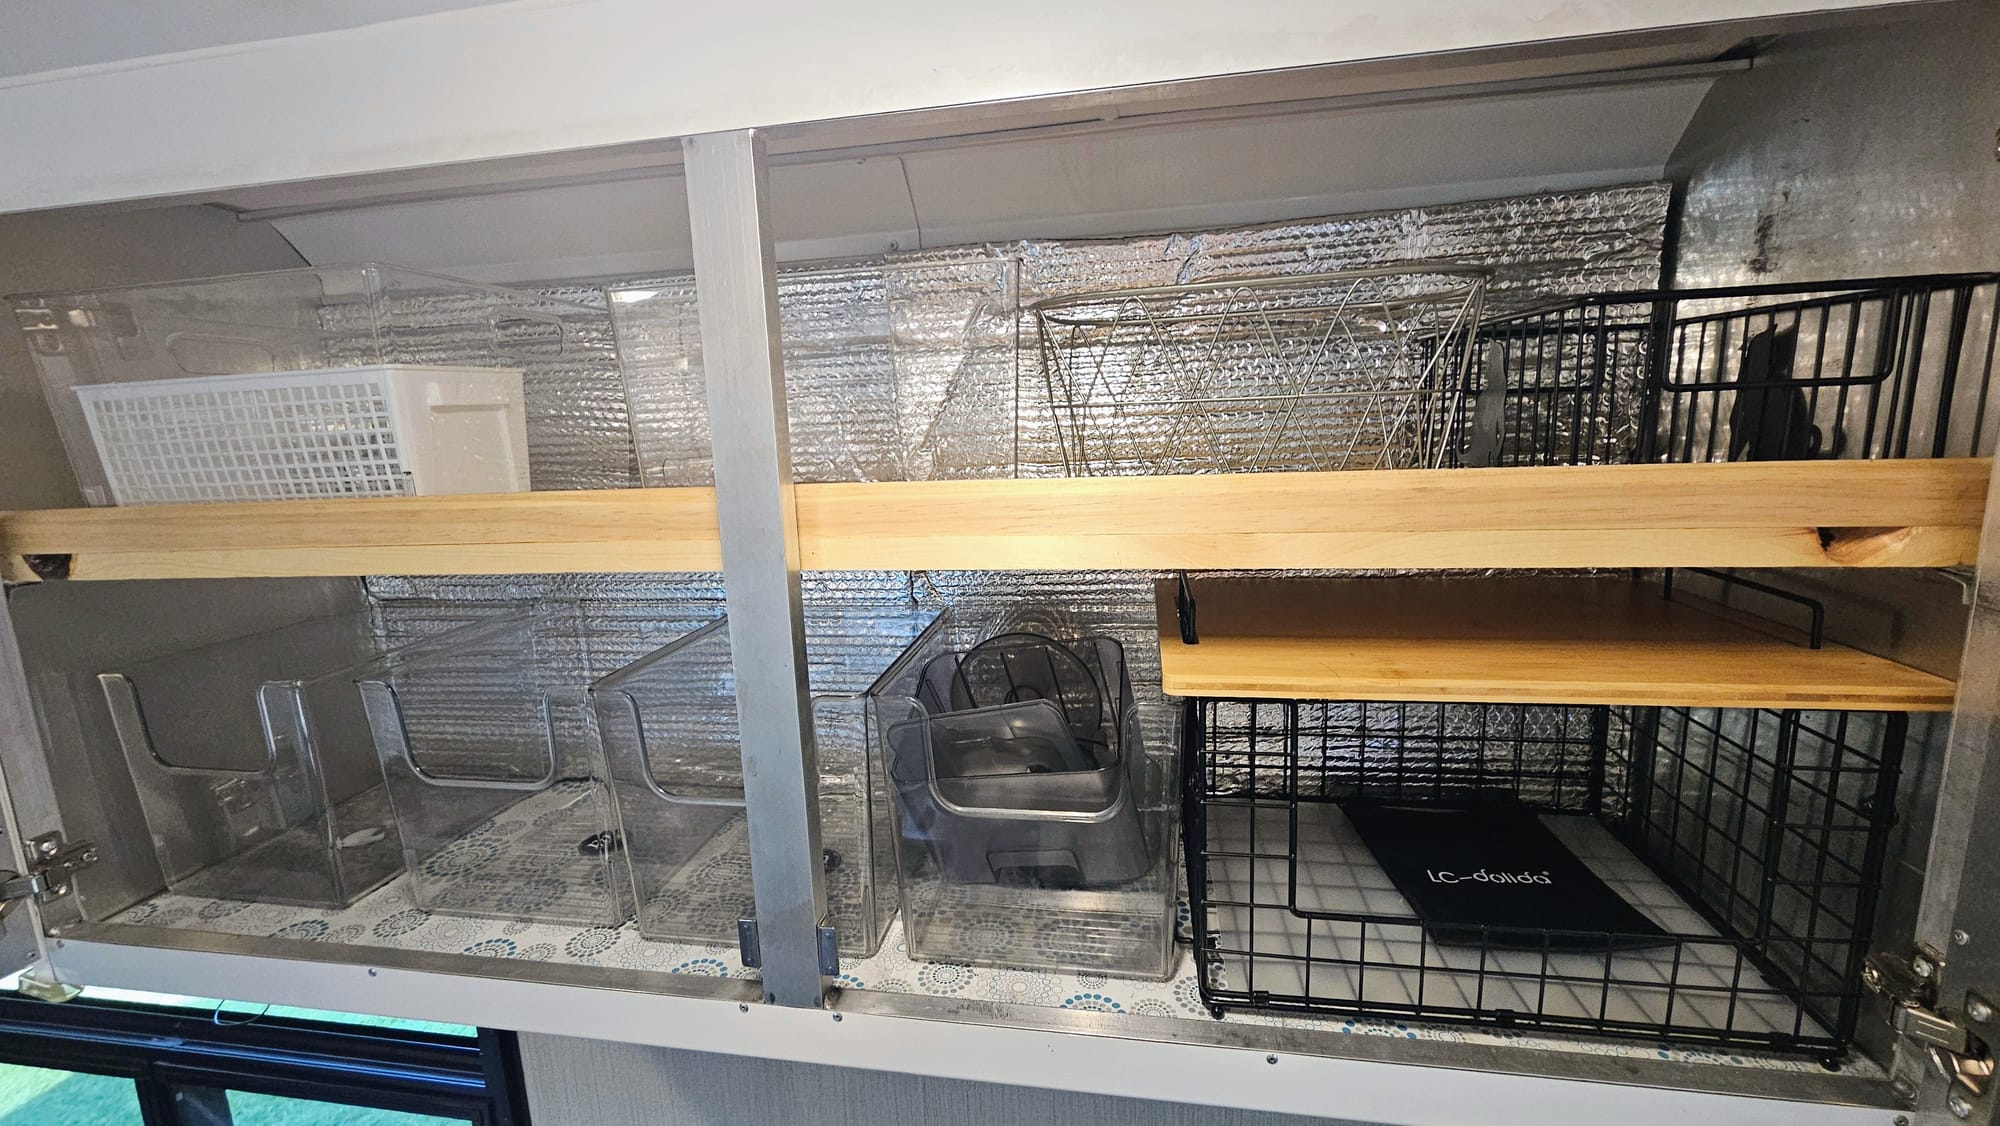
Yes, we're still using our makeshift wooden shelf. No, we don't plan on replacing it with an aluminum one anytime soon.
We ended up doing 2 shifts on Wednesday, one before dinner and one after. We wanted to leave as little as possible for Thursday, so we weren't scrambling before checkout time. All we needed to do that morning was grab a few items, close our fridge, unhook electric, and hitch up. And get off our levelers, of course.
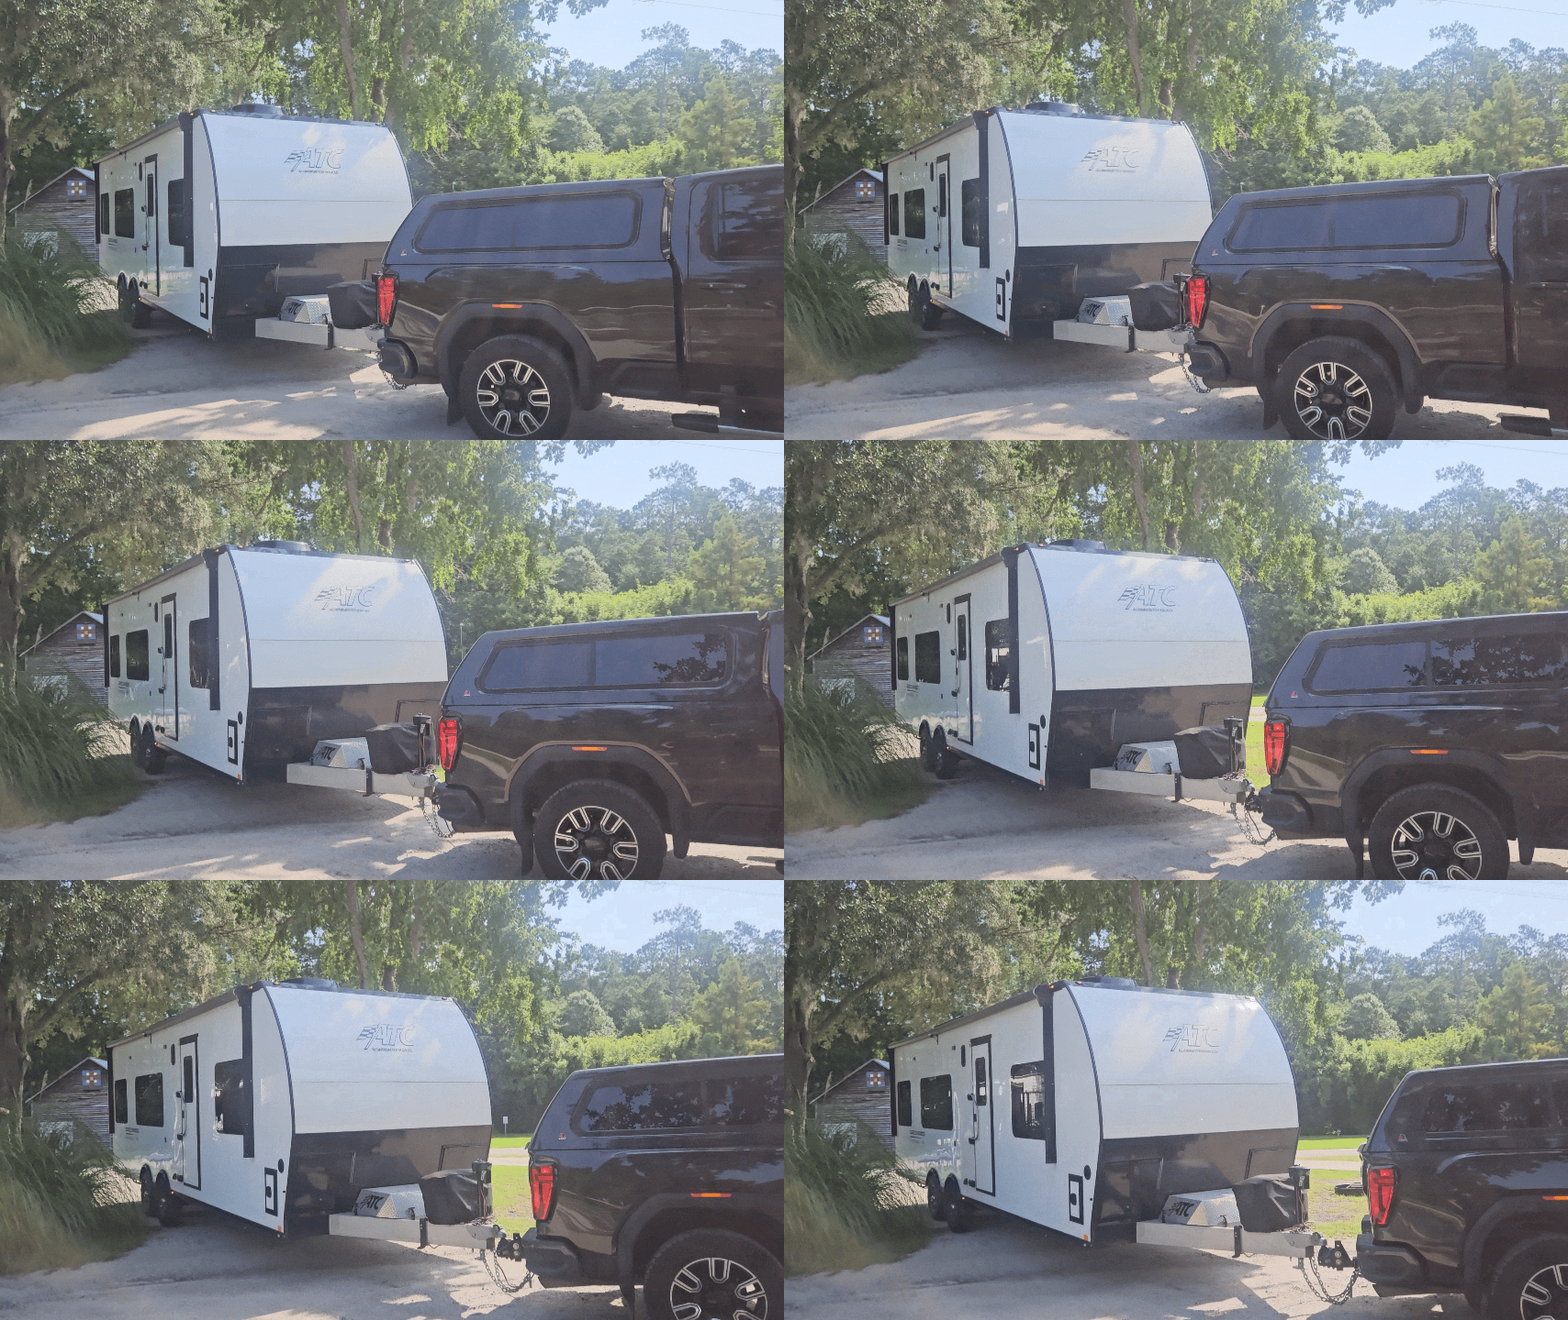
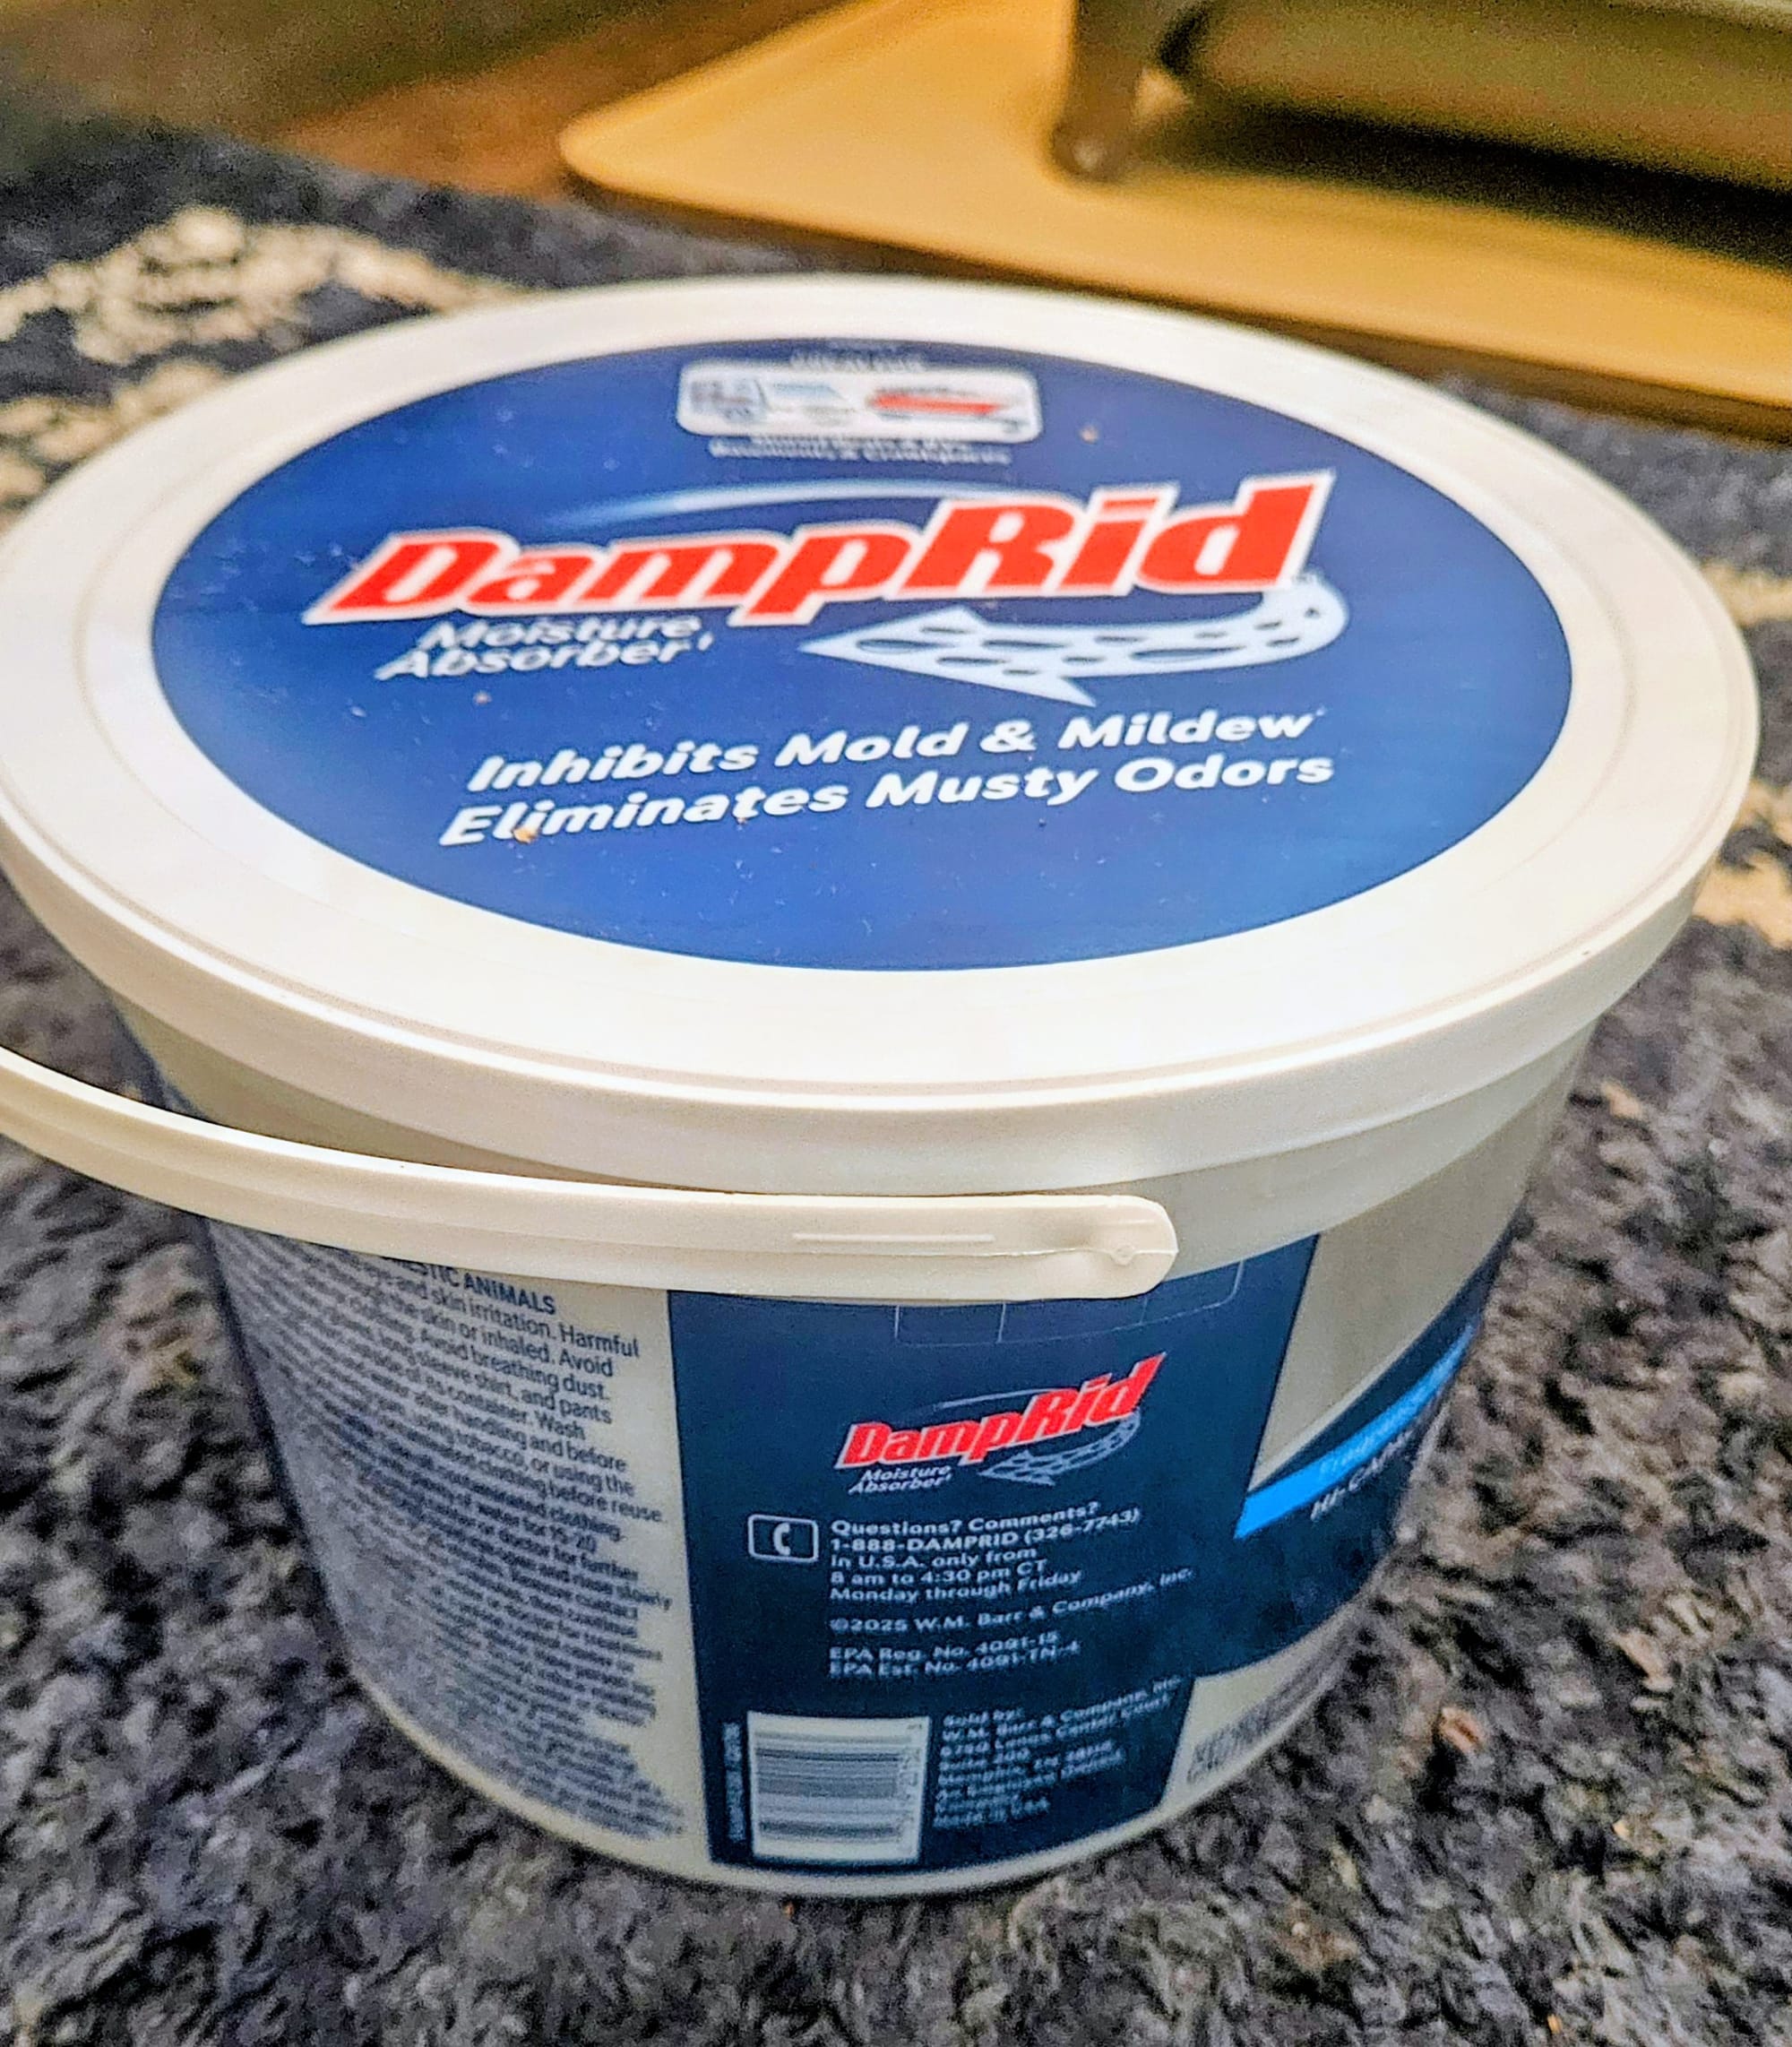
We decided to wait until Buggy was back in storage to put out our desiccants. Based on our research as well as our own experiences with odor and moisture-absorbent products, we landed on these 3 items to help combat the humidity:
The other advantage to running our AC was that the trailer was dry when we placed the desiccants. Hopefully this way, they would gradually fill with moisture instead of soaking up all the humidity right away.
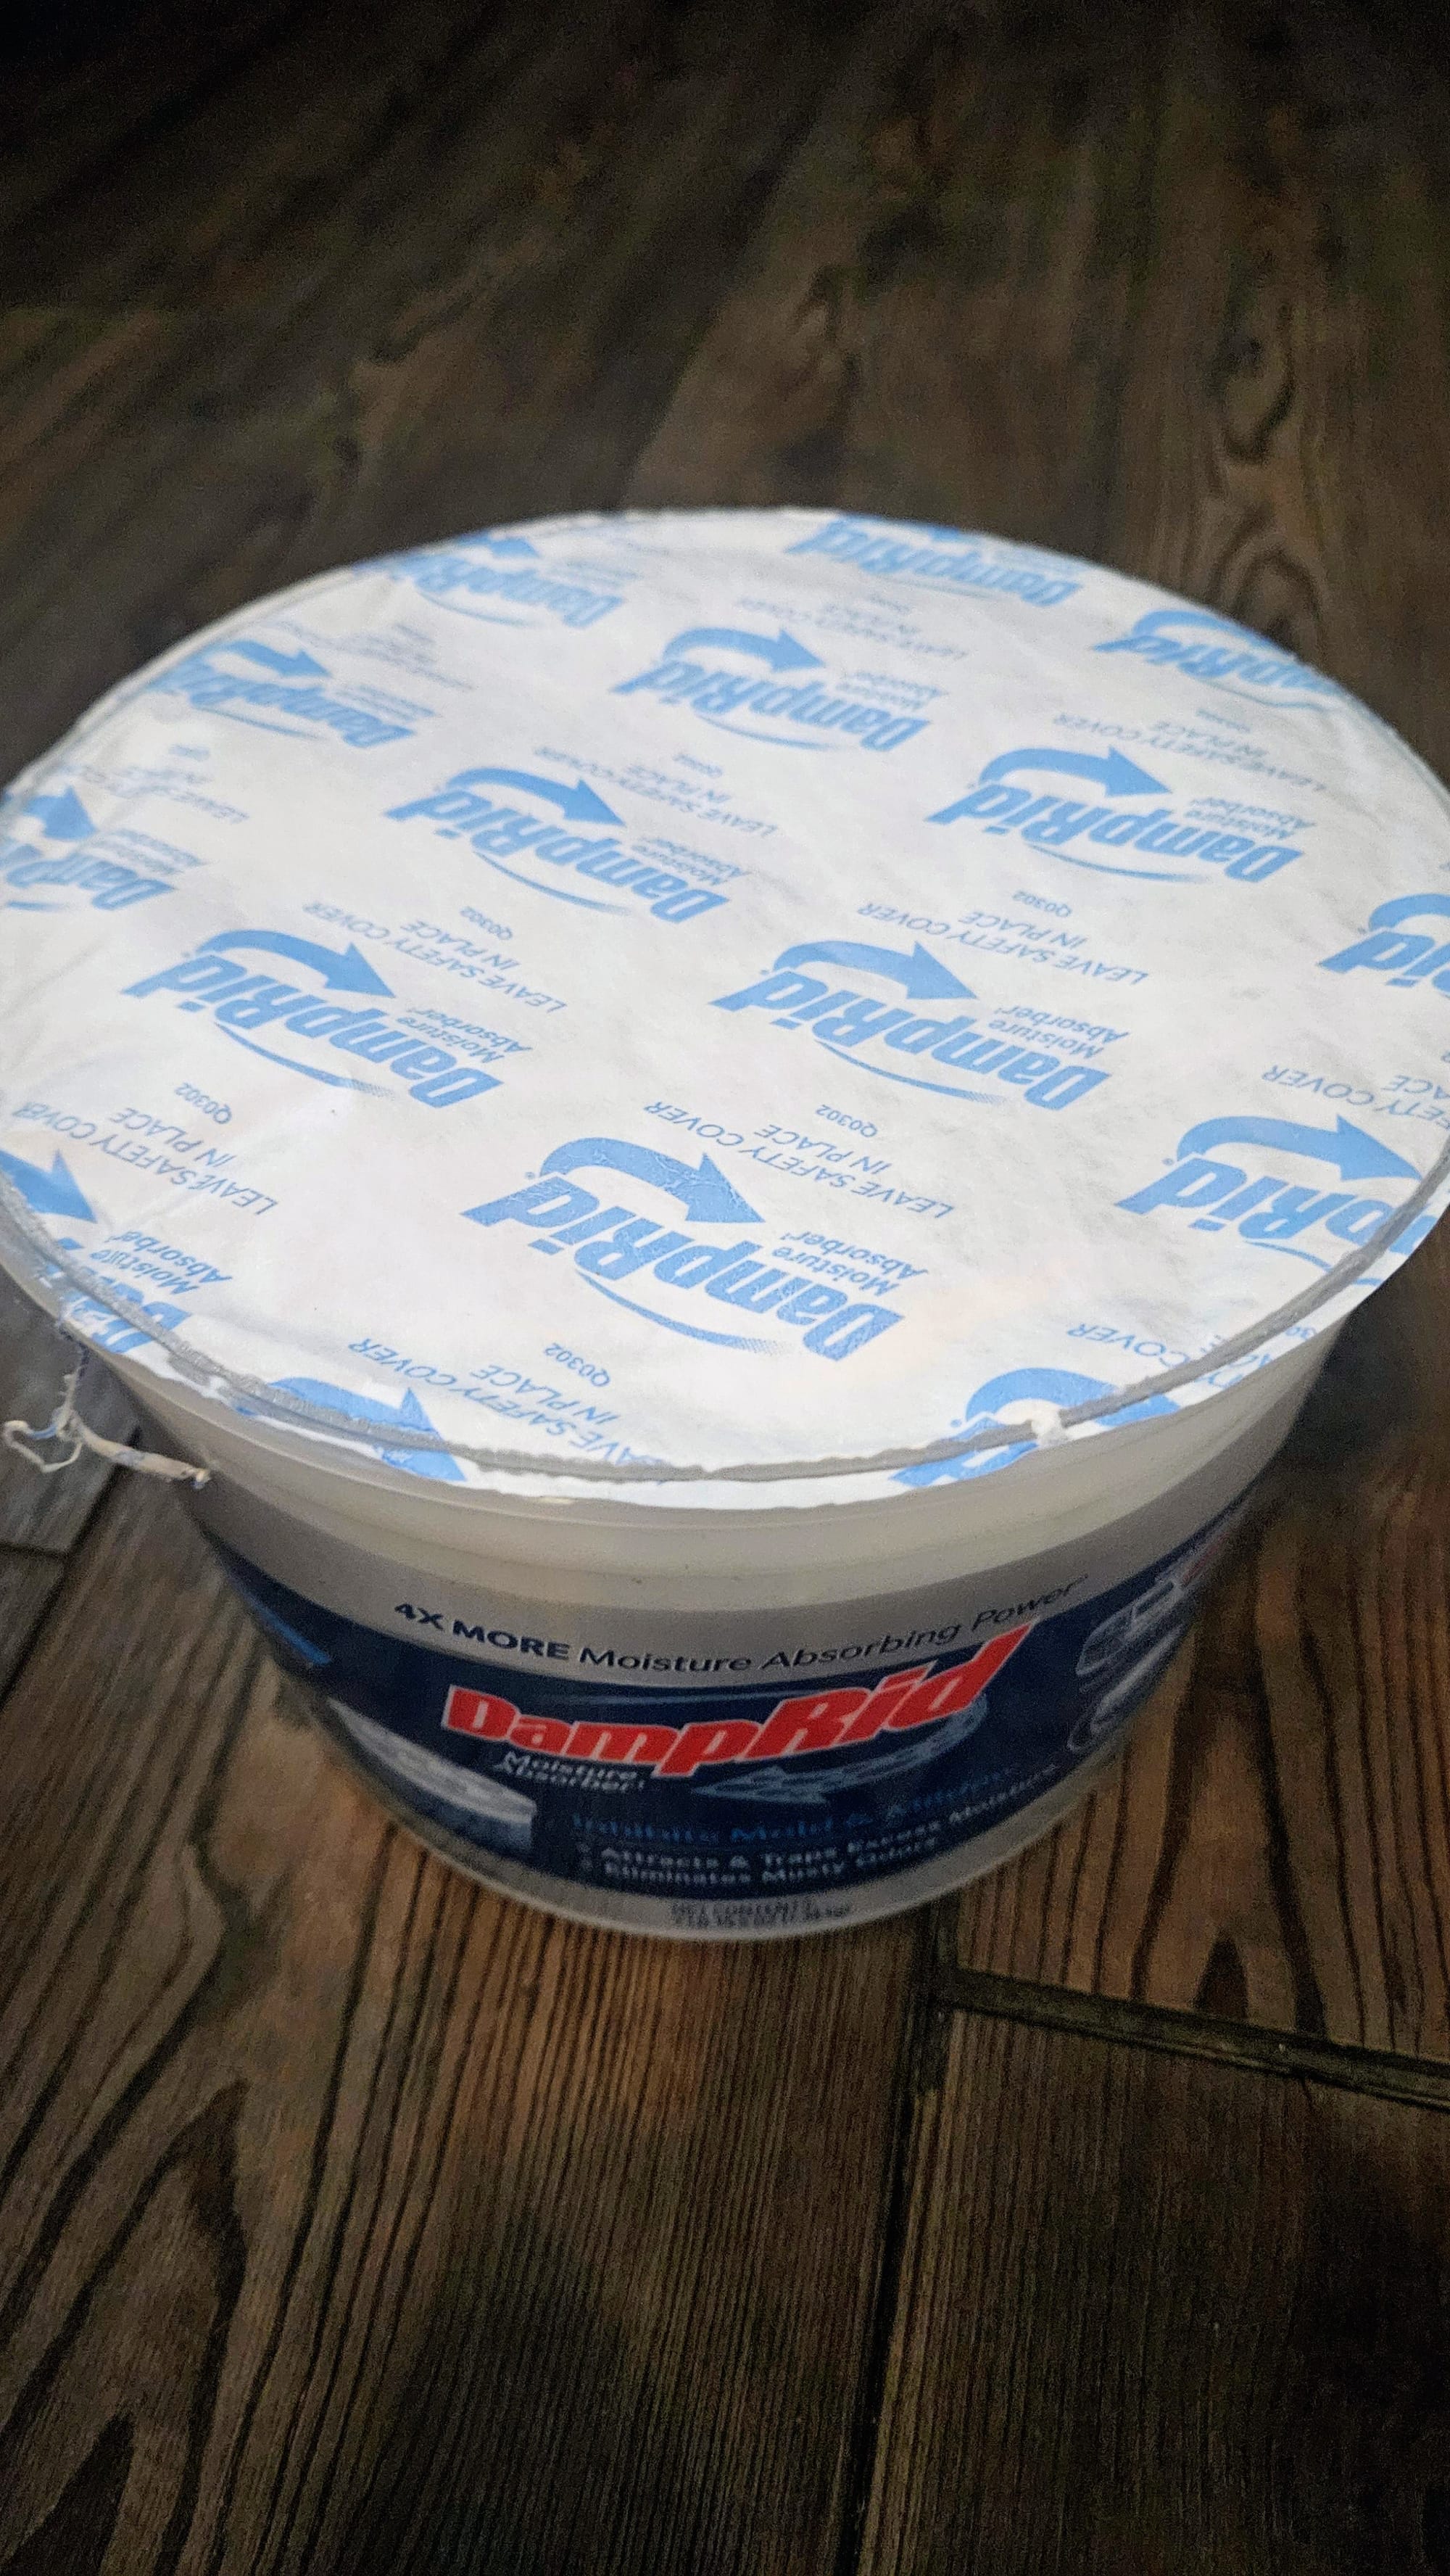
We bought 4 Damprid buckets, only because they came in packs of 2, and we wanted 3. We put one under each of our sinks, one in our mechanical cabinet where our water pump is, and the remaining one we placed in the middle of the trailer. This is the go-to product for RV storage and definitely one of the more recognizable brands. The buckets are filled with absorbent materials underneath a safety cover. Moisture gets absorbed through the cover, and once the bucket fills, you replace it.
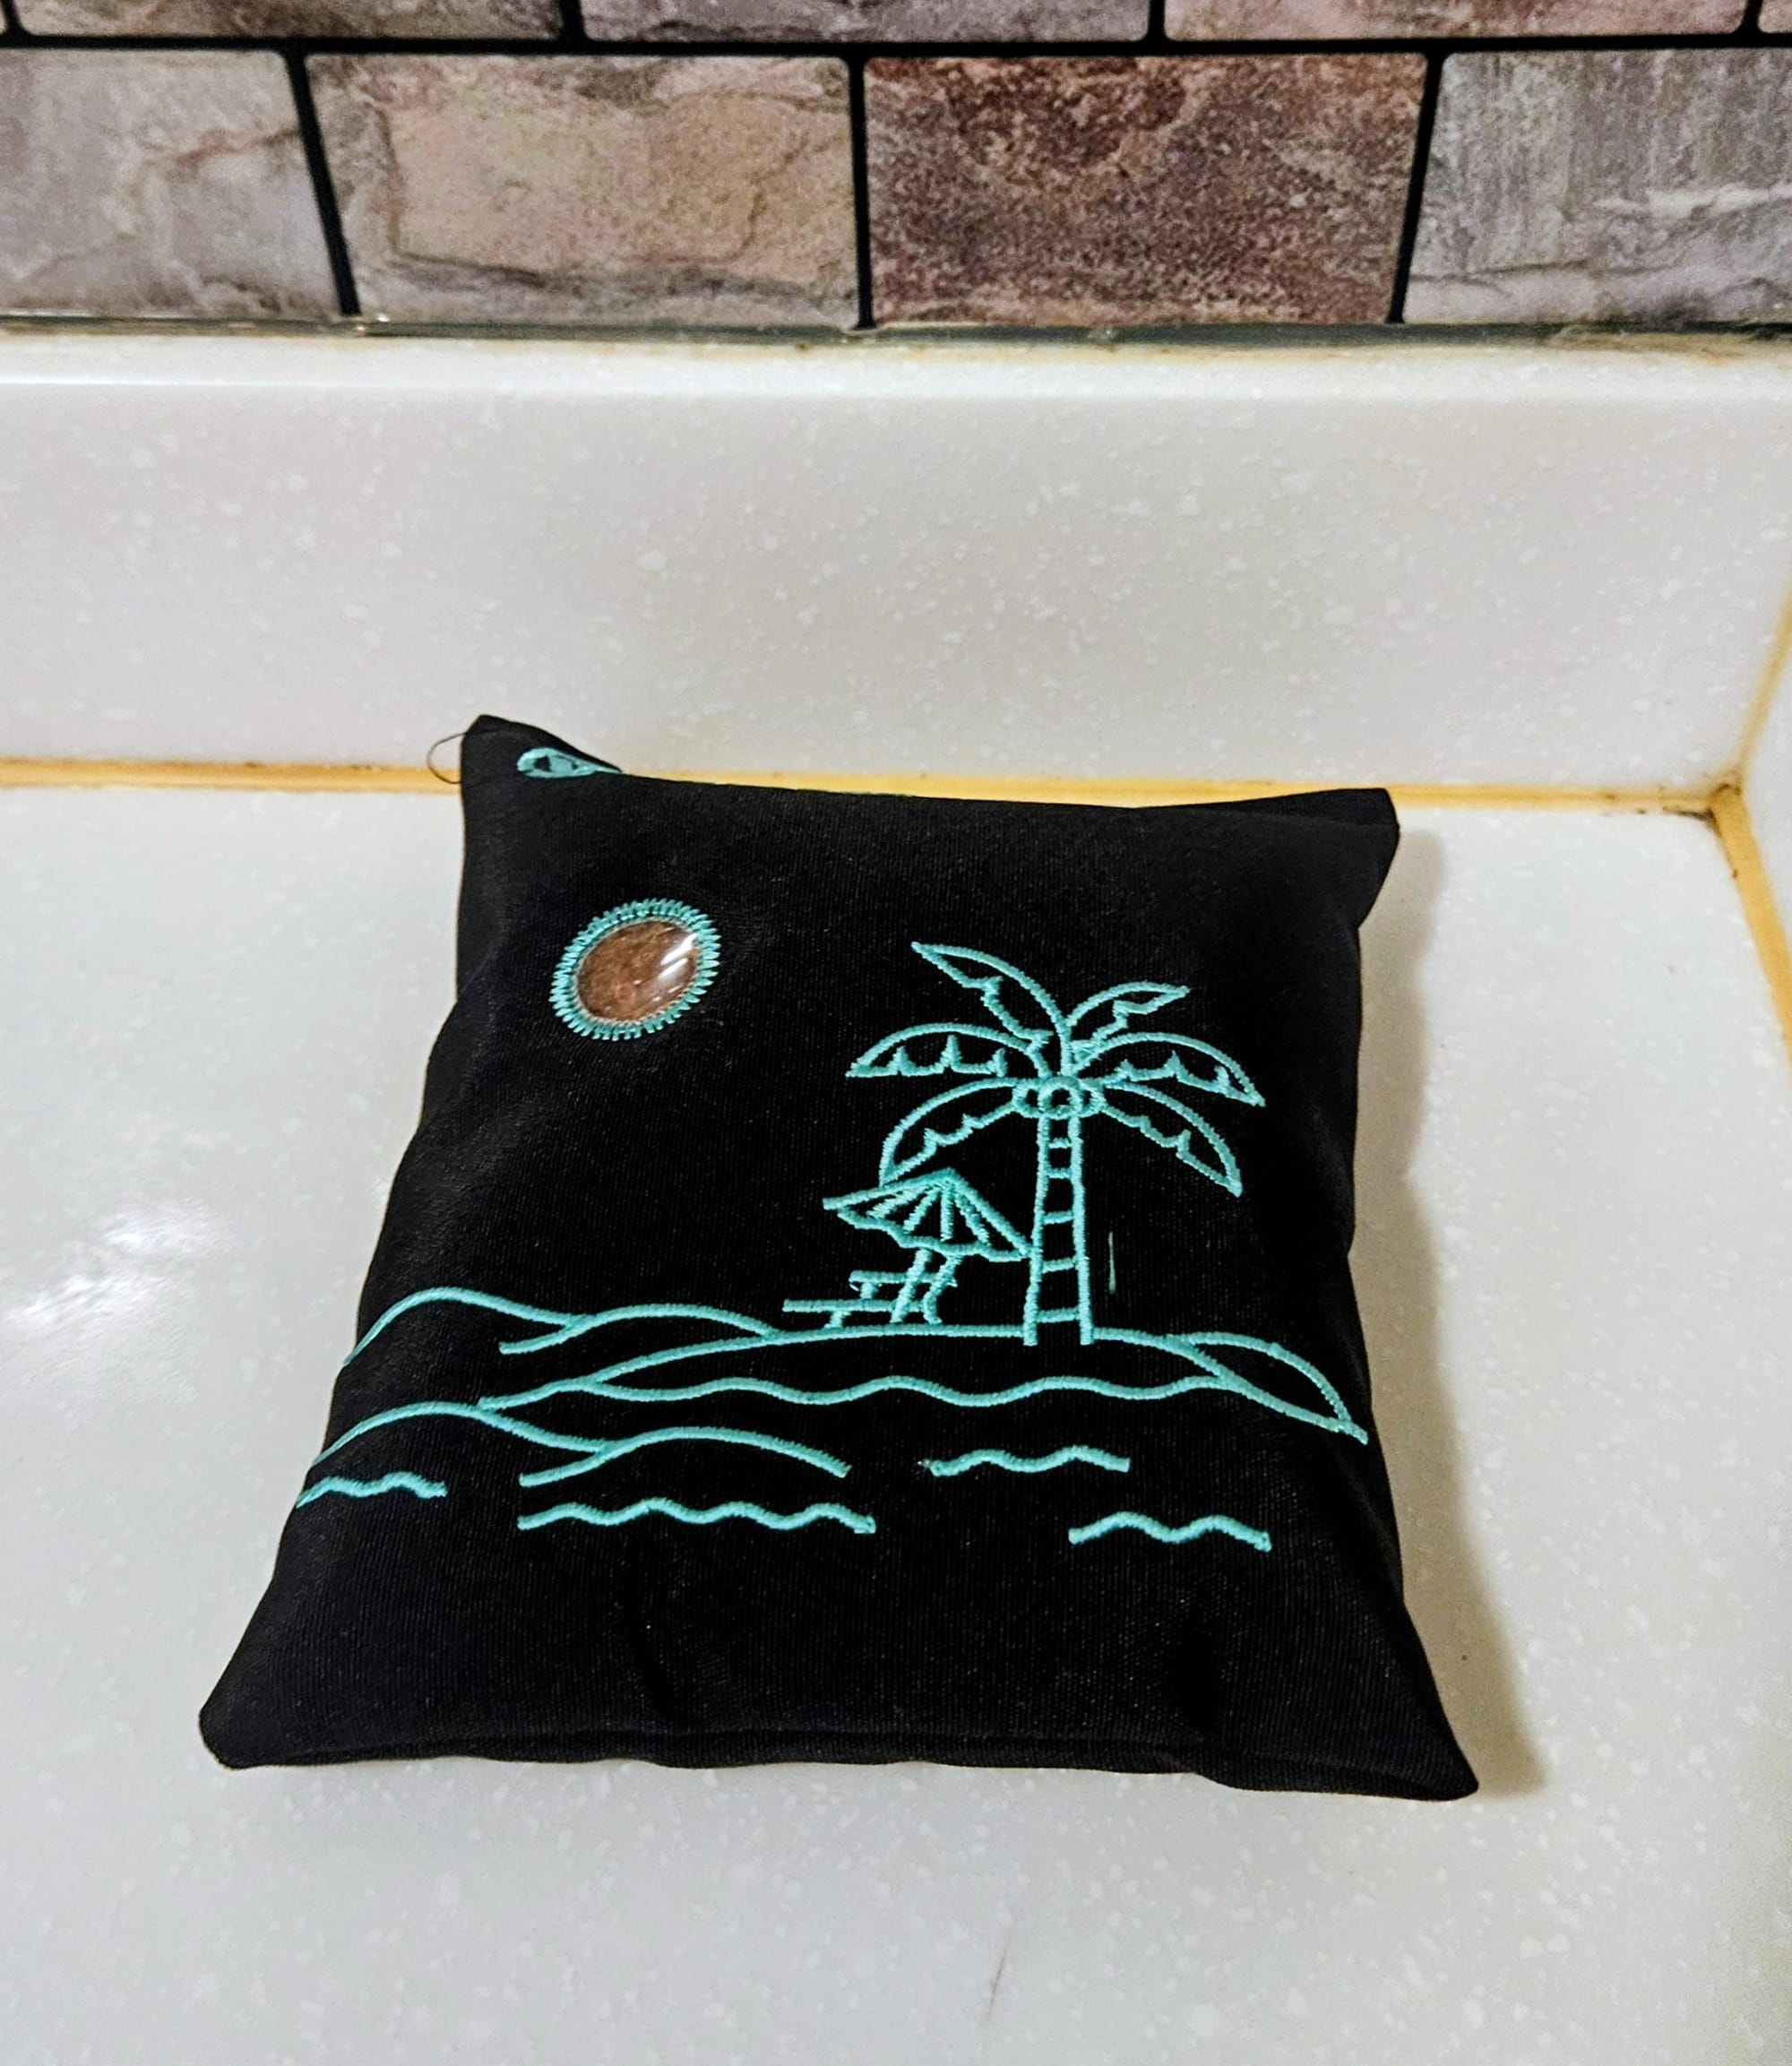
We went a little fancier with the rechargeable desiccant pouches, but they're small enough to put anywhere, and as the description states, are rechargeable. We'll need to bring them home and microwave them to dry them out, but we put them in places that shouldn't accumulate too much moisture to begin with. 4 came in a pack, so we put one in the bedroom closet, one on the bed, one under the workstation by the wheel well, and one on the bathroom counter. Even their design is a little nod to SC!
And finally, we bought a multipack of charcoal pouches that we've used for years for odor control. We initially bought these to hang in Lily's litter cubby, but since then we've used them all over the place. They contain activated charcoal, so they're also technically moisture absorbers, but the charcoal has always worked wonders for odor elimination. We put pouches in a bunch of the cabinets and even hung some on walls and windows where we already had hooks.

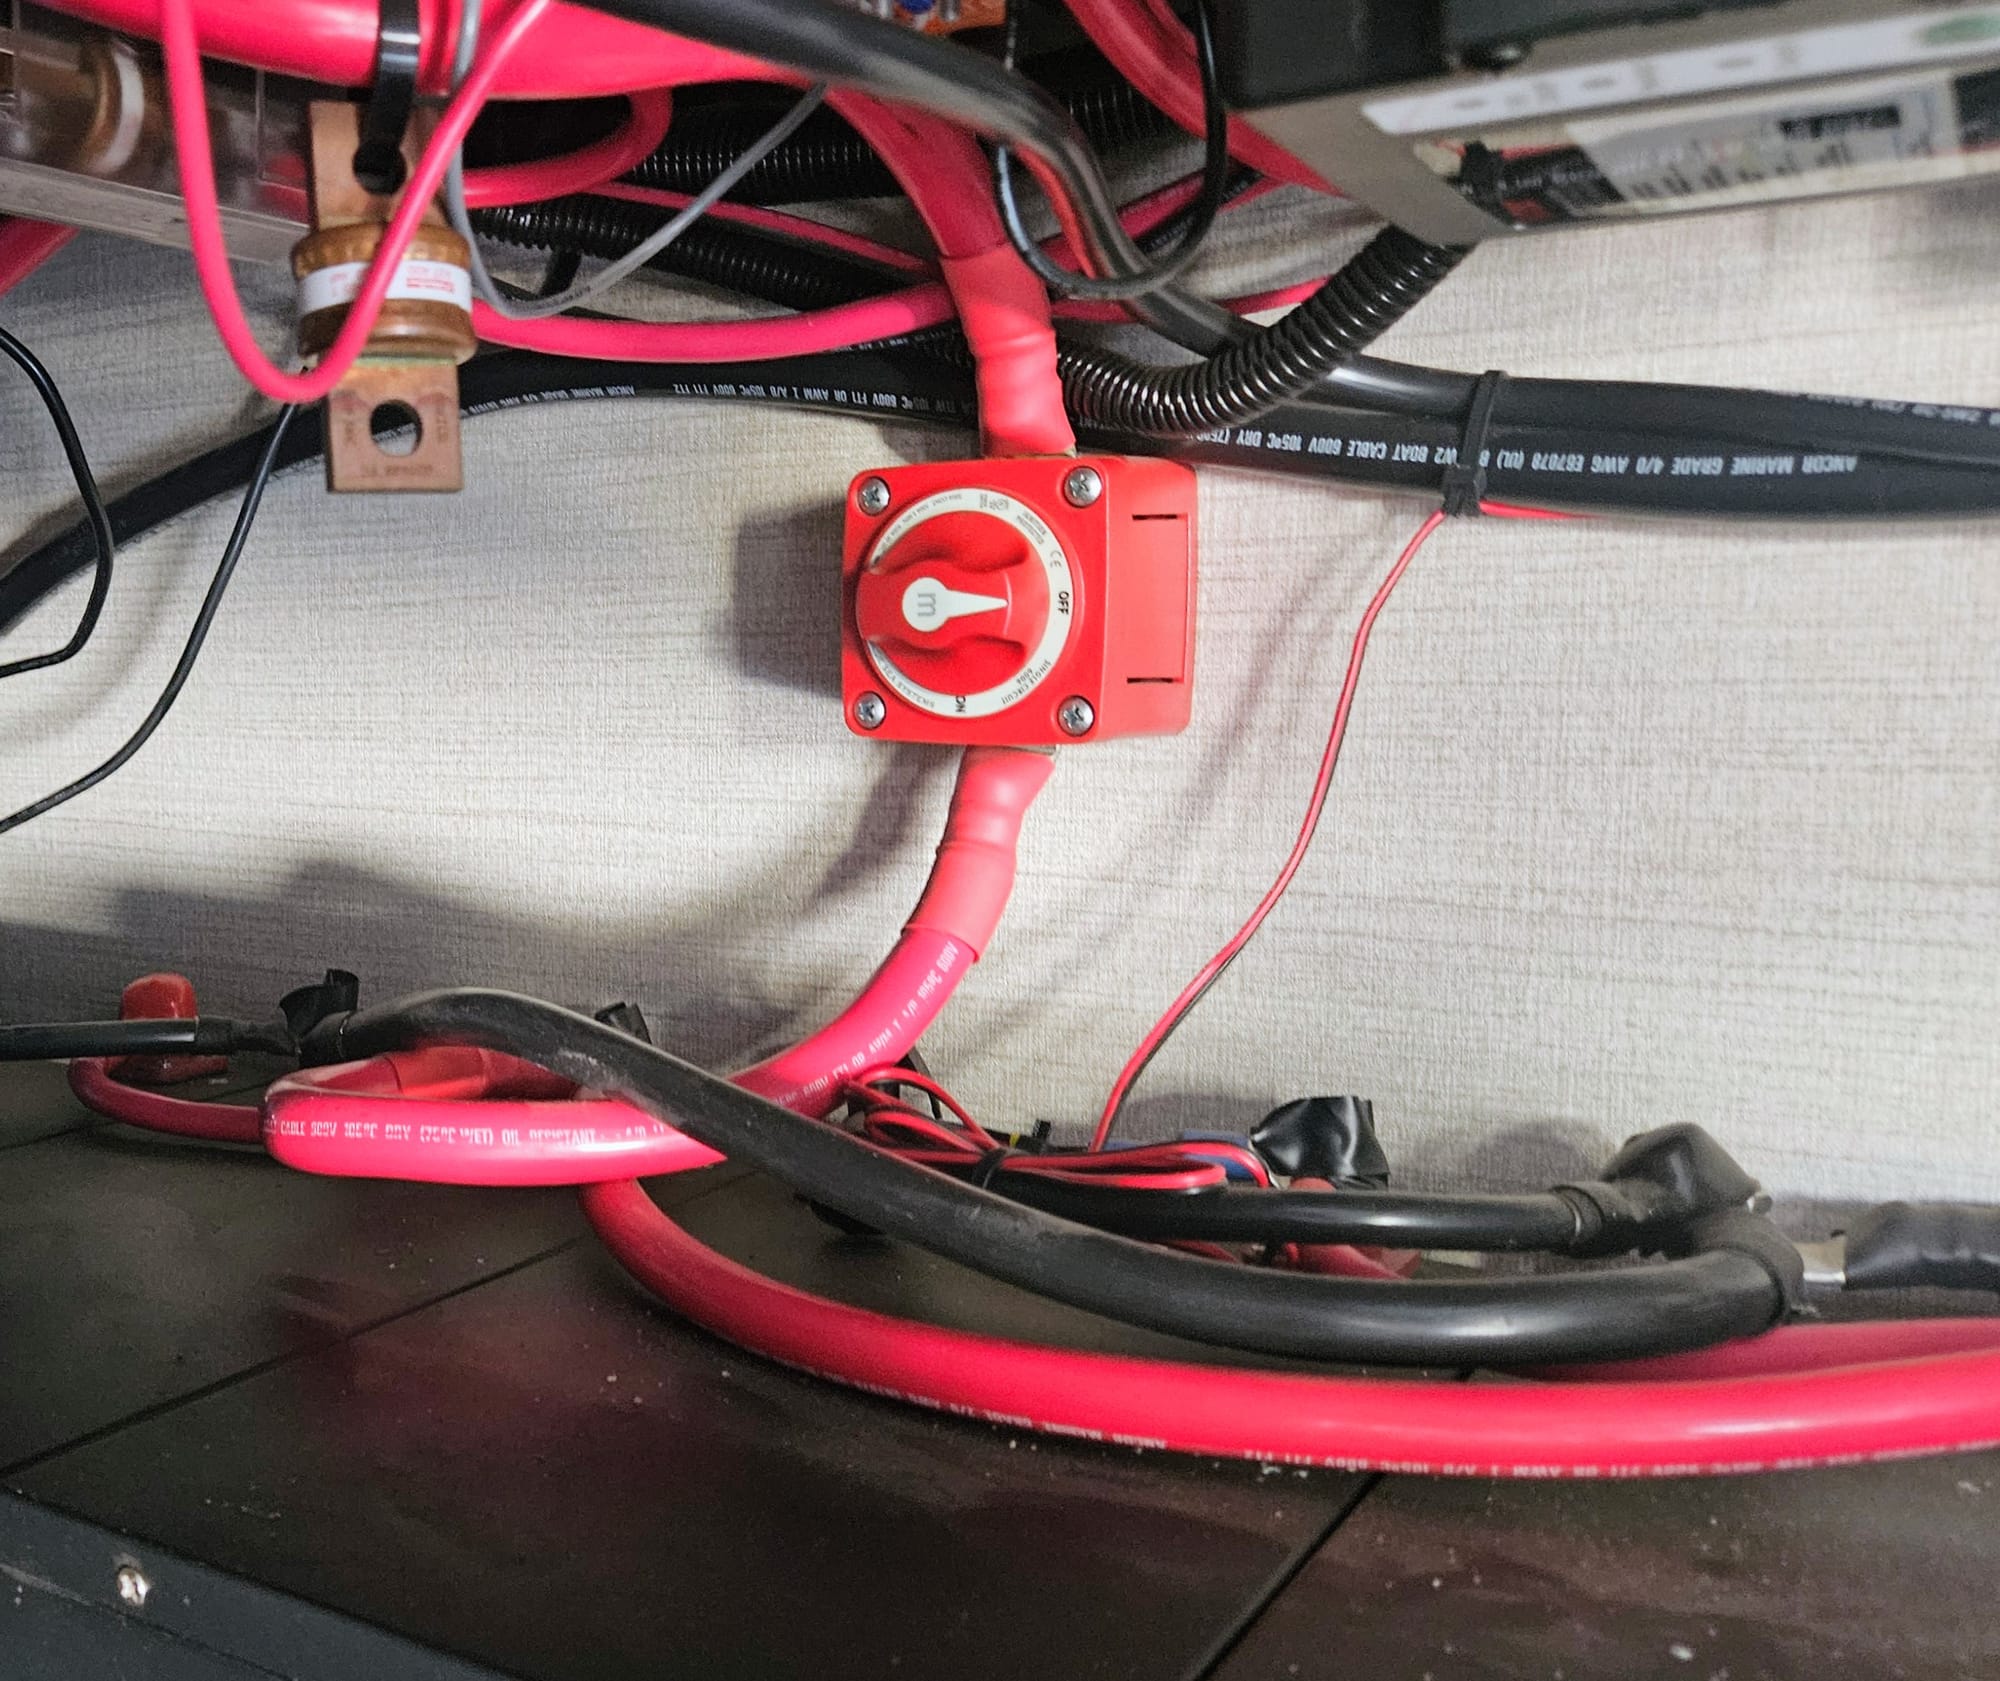
Before we left, we disconnected the batteries using the switch in our storage bay. That's when it all started to feel real, like we're closing down Buggy for the season.
How long is the season, though? We don't really know. After all, we didn't expect to be visiting an RV park in mid-August, yet there we were. We're slowly adjusting to this new chapter, where if we want to use the trailer, we can choose it. What a novel concept! Granted, we need to keep reminding ourselves that not every storage prep process will be this daunting! We'll find our groove, eventually.
Until then, though, we have Buggy's repair trip on the calendar, which means he'll be traveling but will remain in storage-mode as much as possible. What can we say? This dude is on the move a lot! Of course, we'll be covering the repairs in the blog, but before that, we have more to say, starting with our honest thoughts about Hideaway RV Resort. We went there with a purpose, but did we deem it suitable for camping, or are other Myrtle Beach campgrounds preferred? We'll be covering that in the next post.