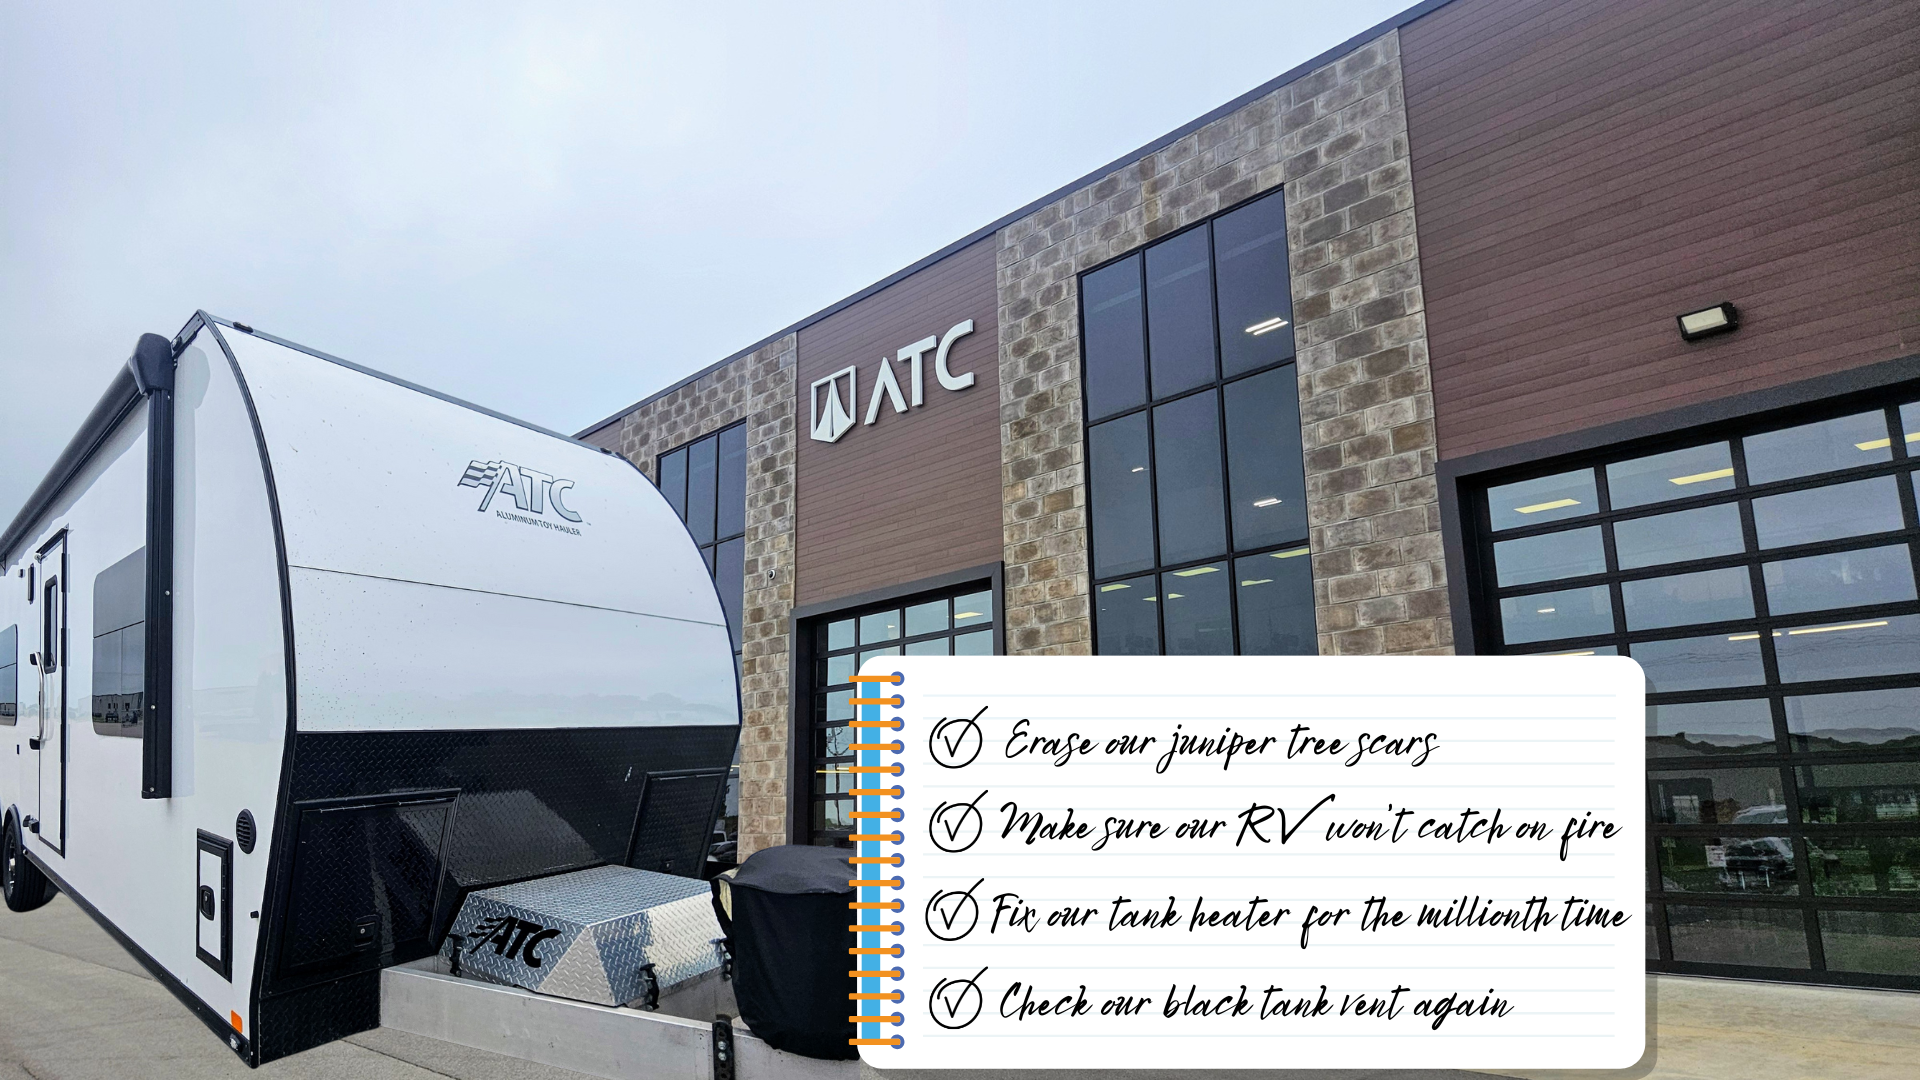
Swamping ATC with repairs AGAIN


This post contains Amazon affiliate links. We receive a small commission for qualifying items purchased through these links. Thank you for helping support our blog!
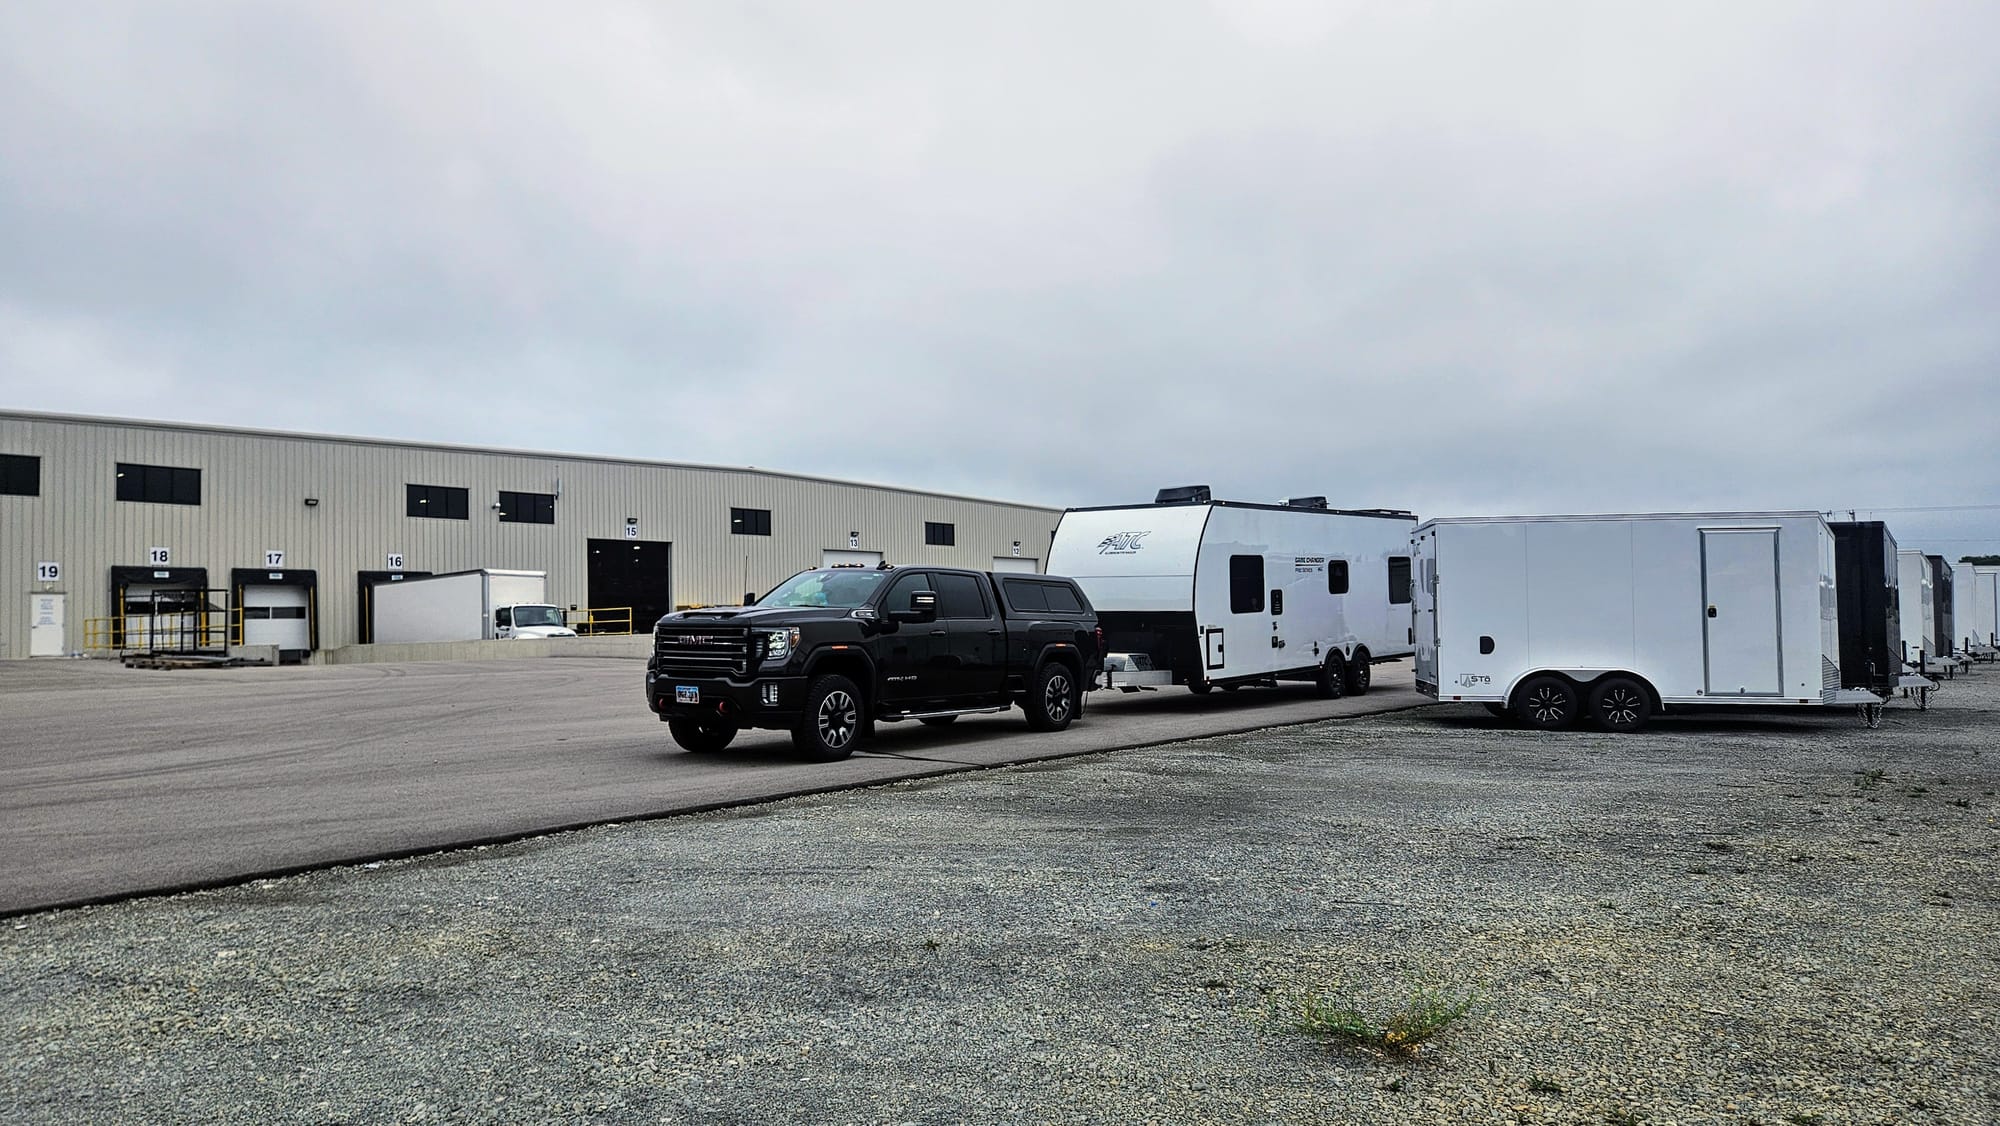
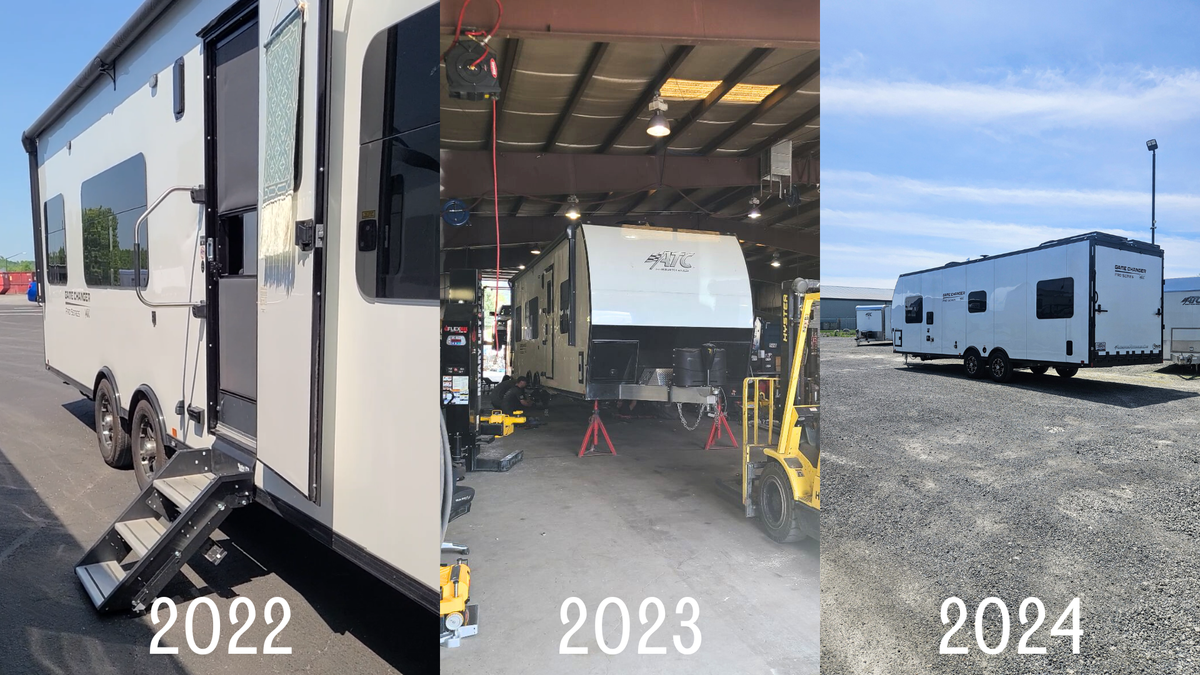
We were on the fast-track east, going from one repair appointment to the next. In early June, we stopped back at our axle manufacturer to try and figure out why we had continuous wear on our tires and horrendous creaking sounds in moist weather. Then just after the 4th of July, we were due in Nappanee, IN for more repairs at our ATC manufacturer.
We were optimistic going into Season 4, thinking we might not even need to stop in Indiana on our way back home, but that optimism was unfounded. This is the RV life, and so far this year, we had clocked almost 10,000 miles! Surely things would break, and break they did.
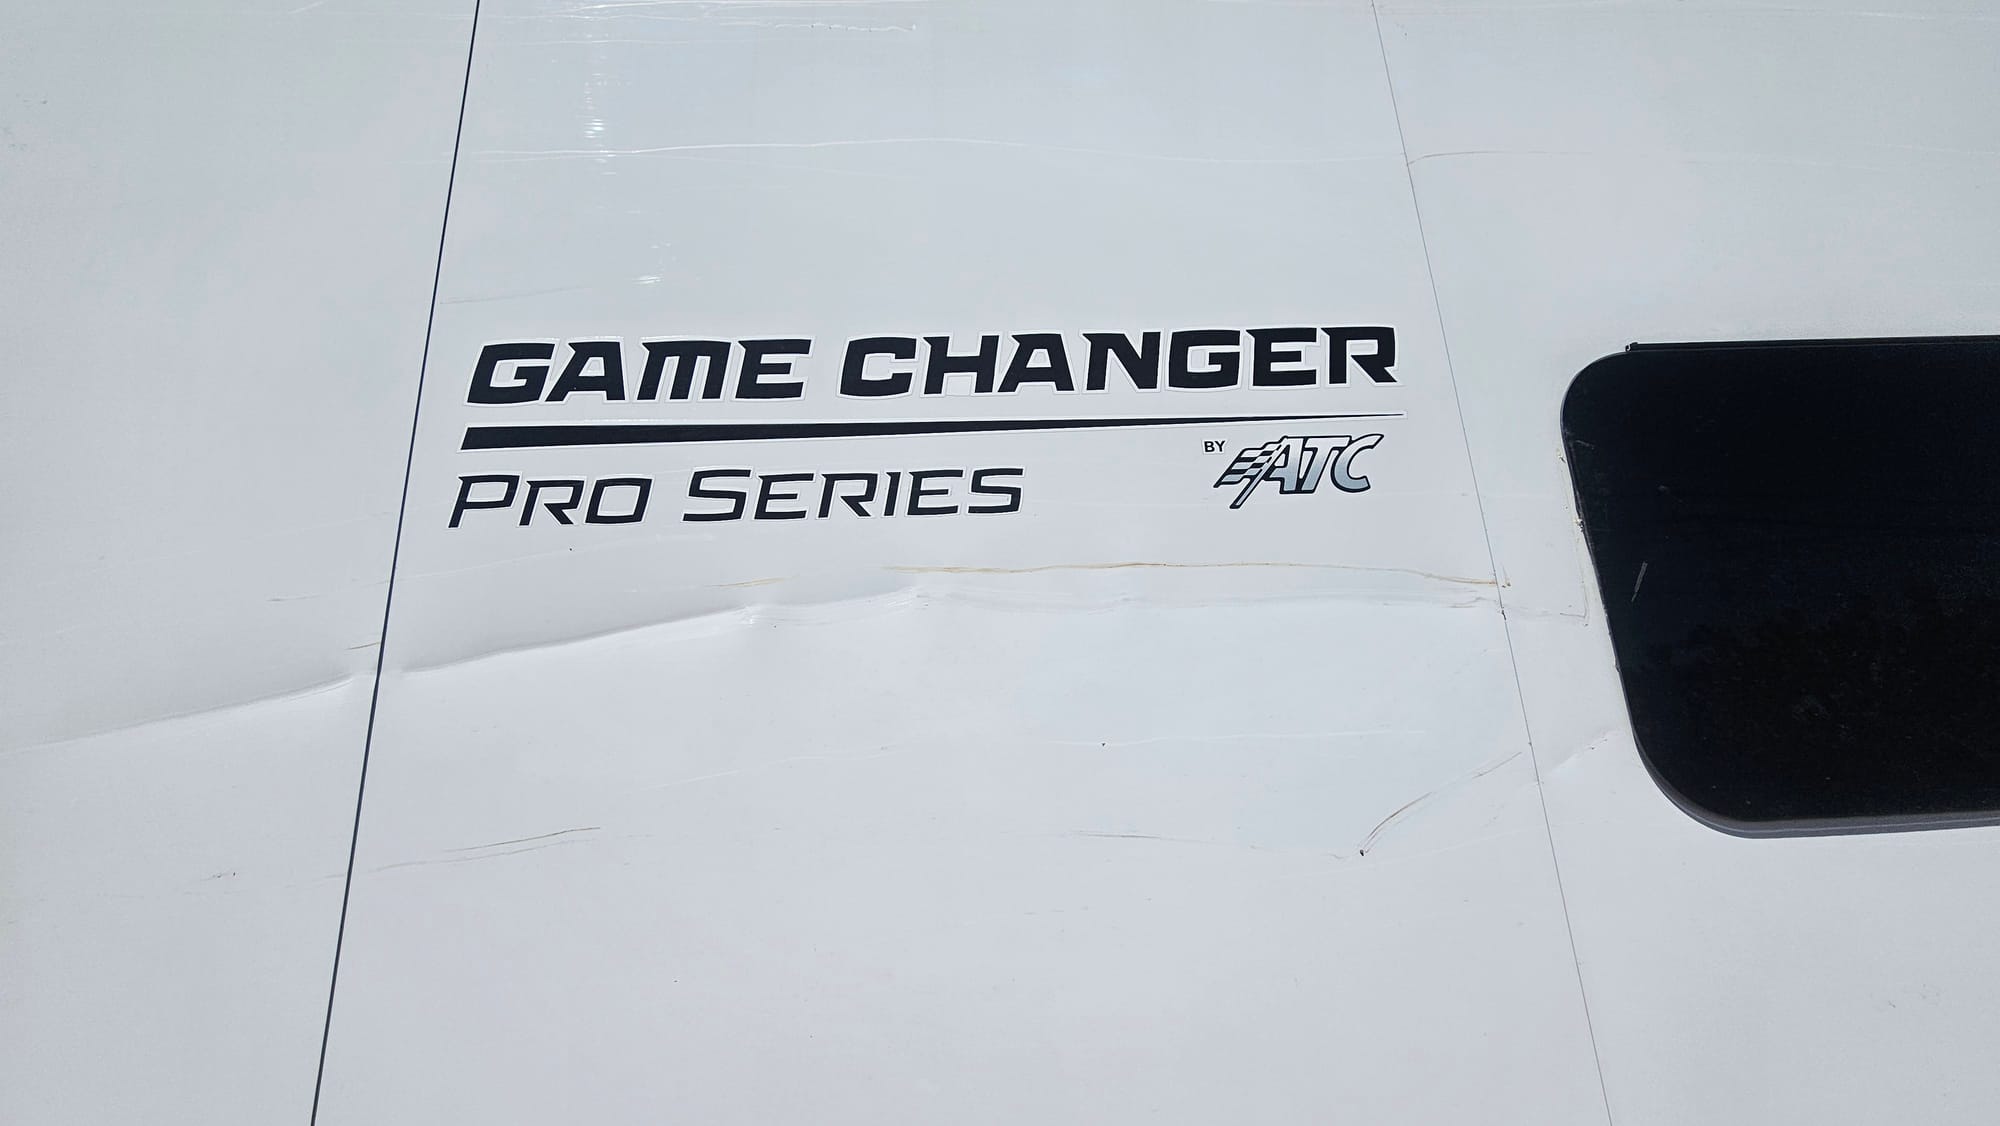
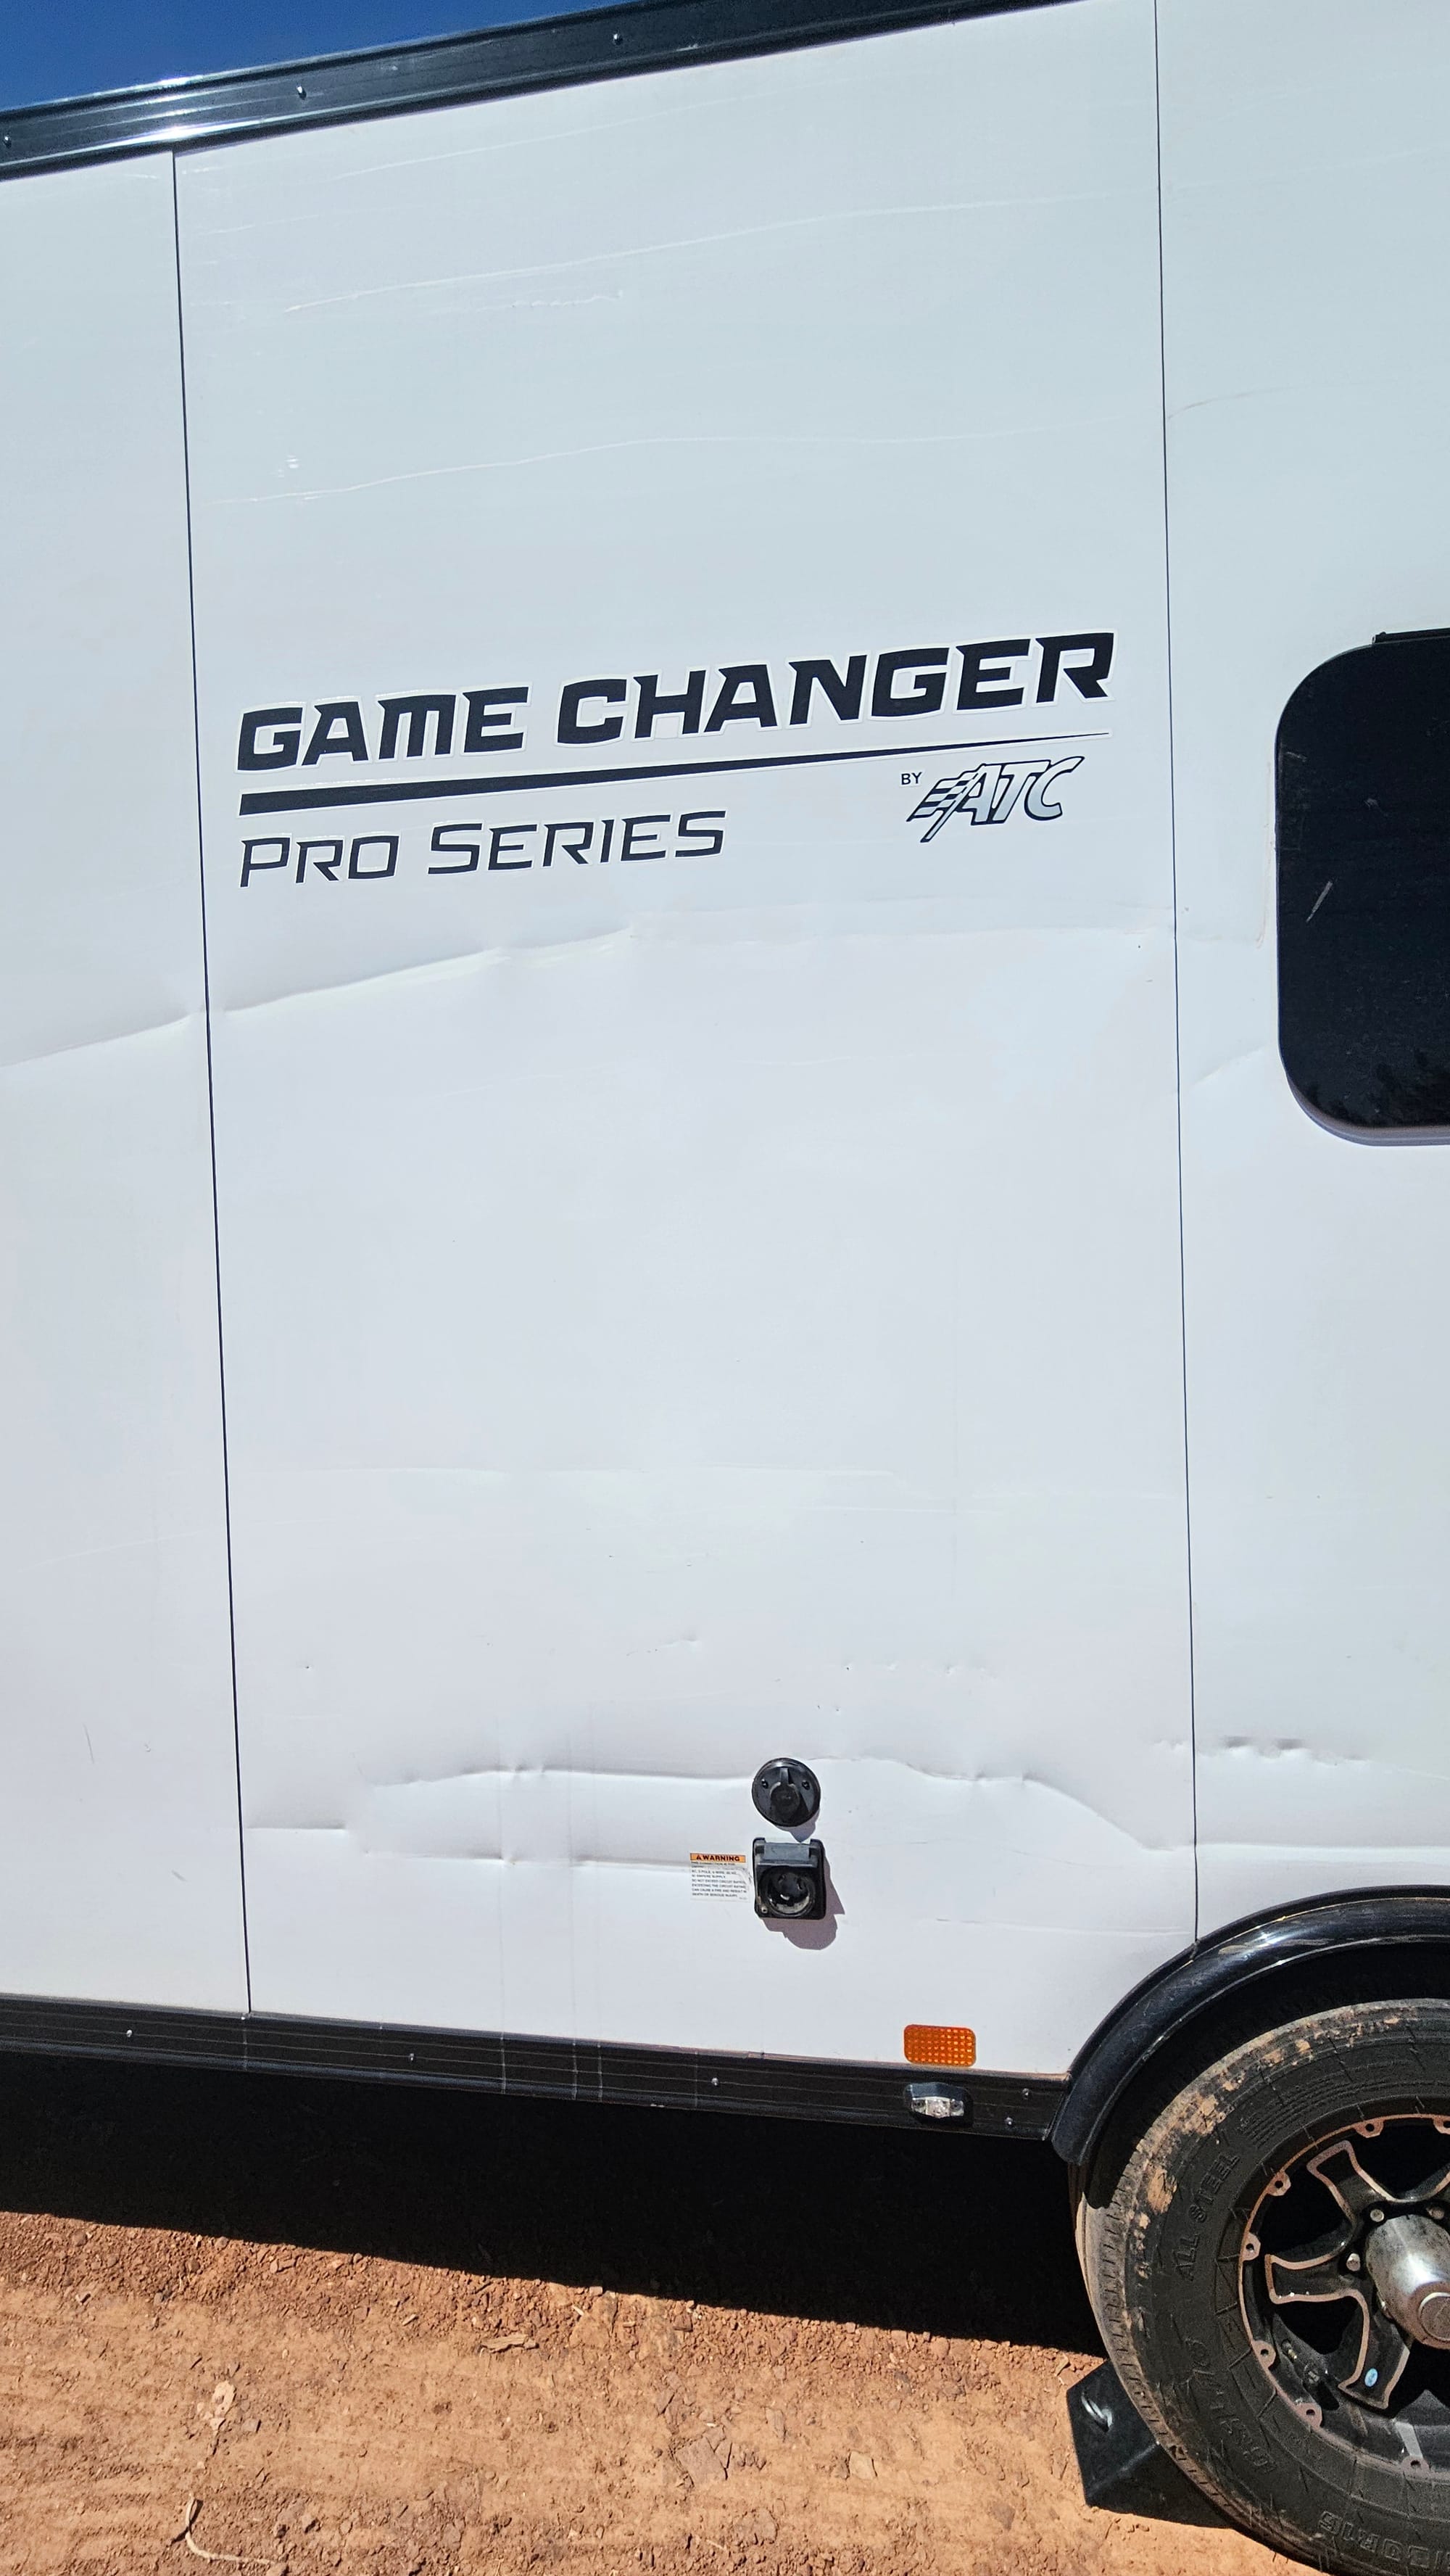
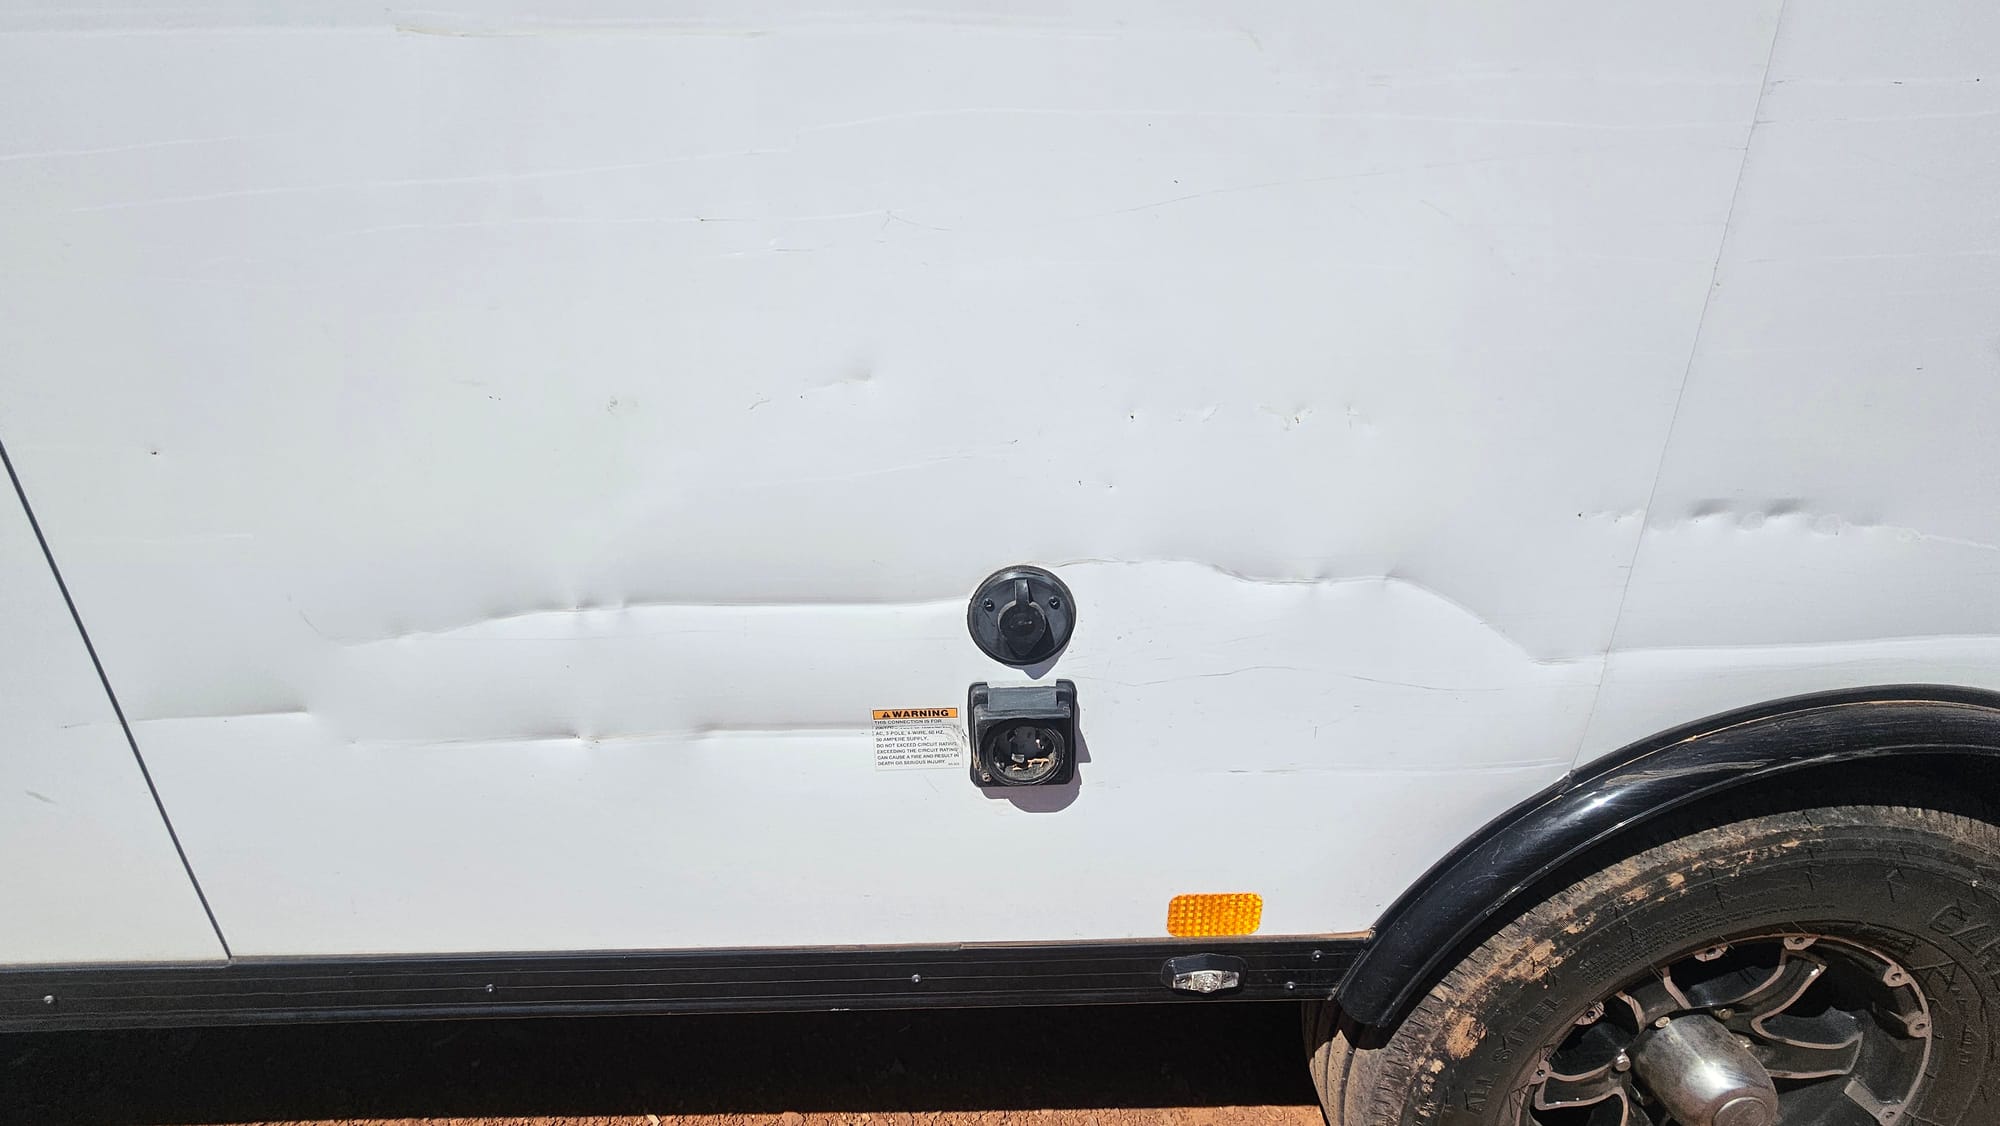
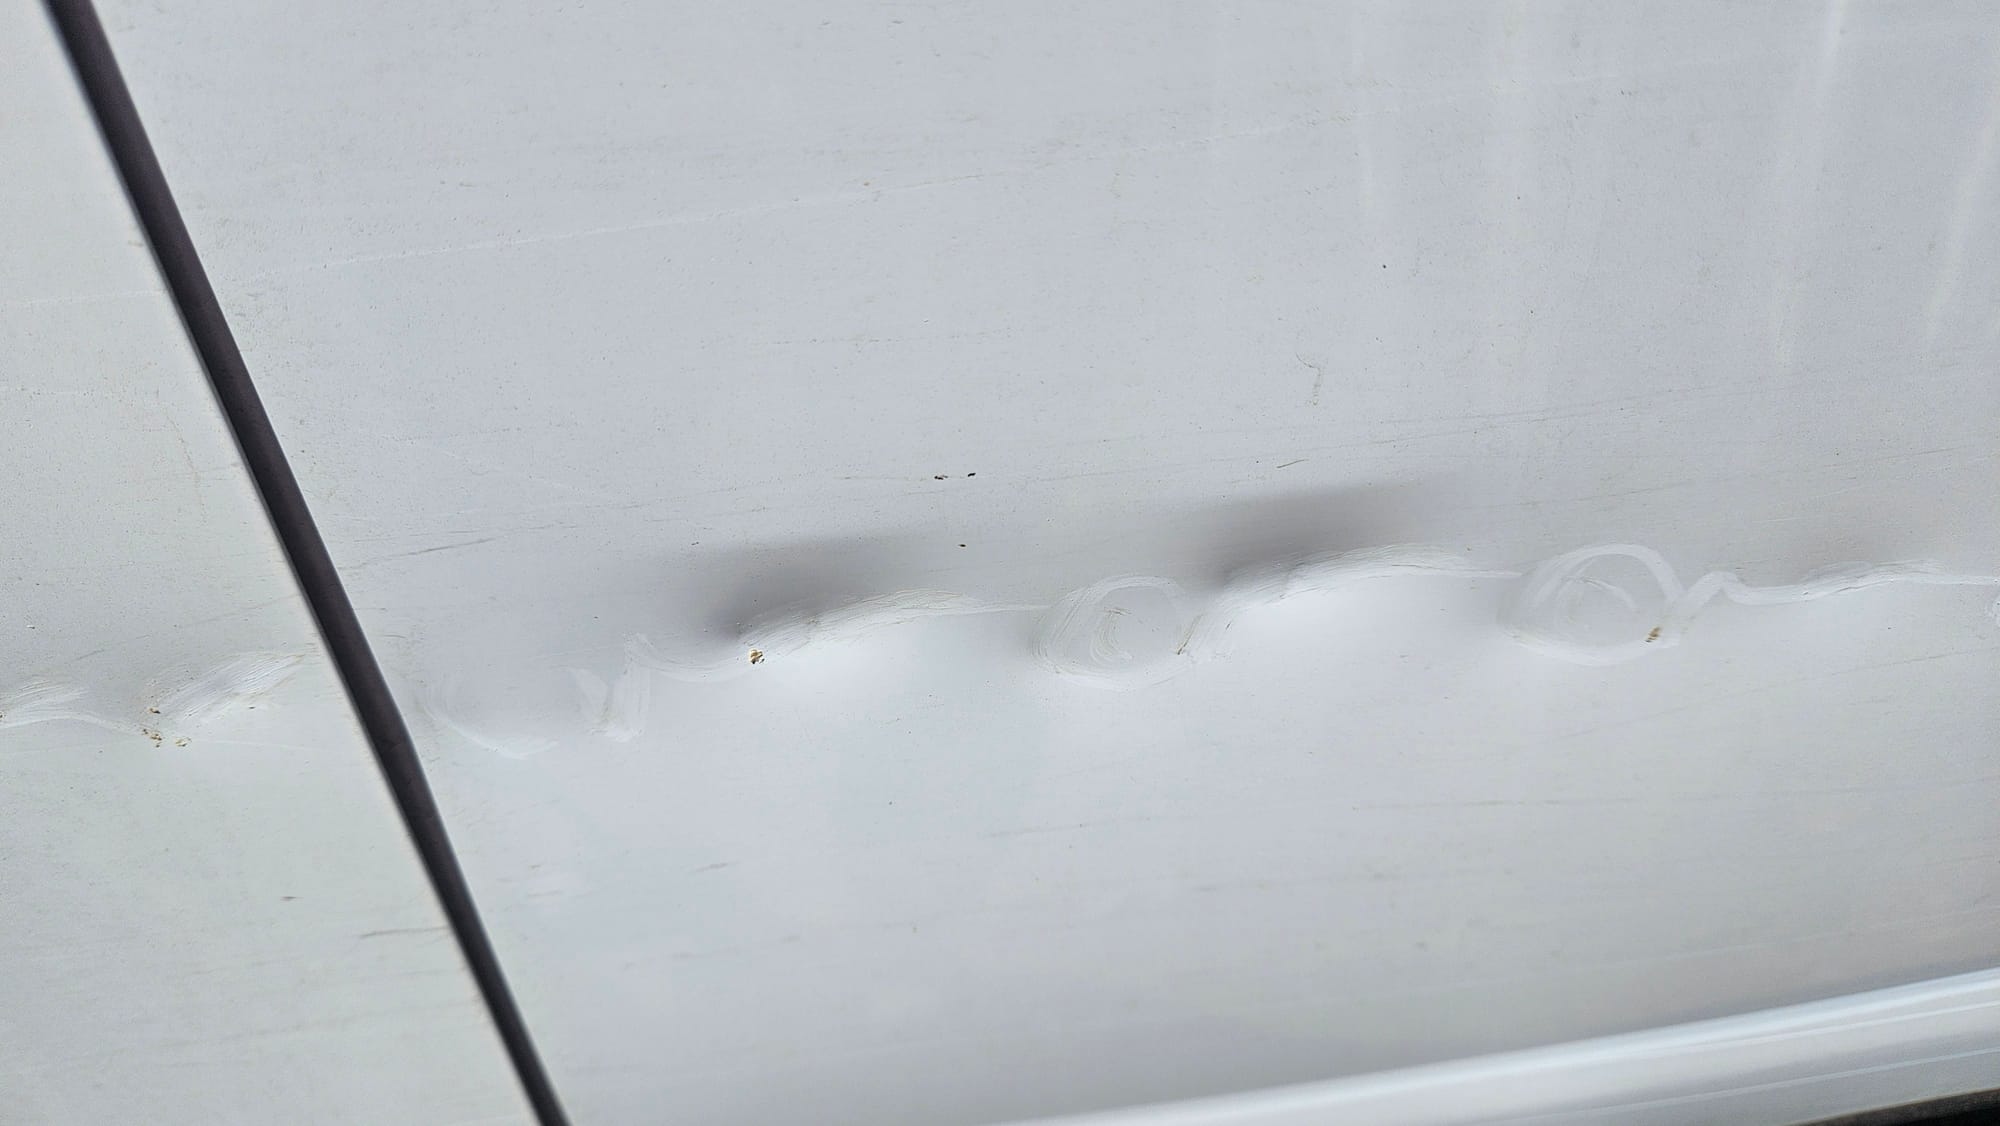
The first one was our fault, or a juniper tree's fault, depending on how you look at it. We damaged 4 panels on the side of our trailer by turning too close to sharp juniper tree branches. All the damage was cosmetic, but quite unsightly. We talked to our insurance company who deemed the incident a self-inflicted accident and said they would cover repairs. This gave us an open window to contact ATC and get an appointment on the calendar when we were heading back in that direction.
Nearly 3 months of travel happened between making the appointment and actually having our appointment, so in typical fashion, we ended up tacking on a lot more services than just the panel replacements. We always do our best to stay as organized and communicative as possible when adding more to our repairs list. We kept ATC in the loop the whole time, and a couple days before our appointment, we sent one final email that compiled all of our needed repairs, in order of importance.
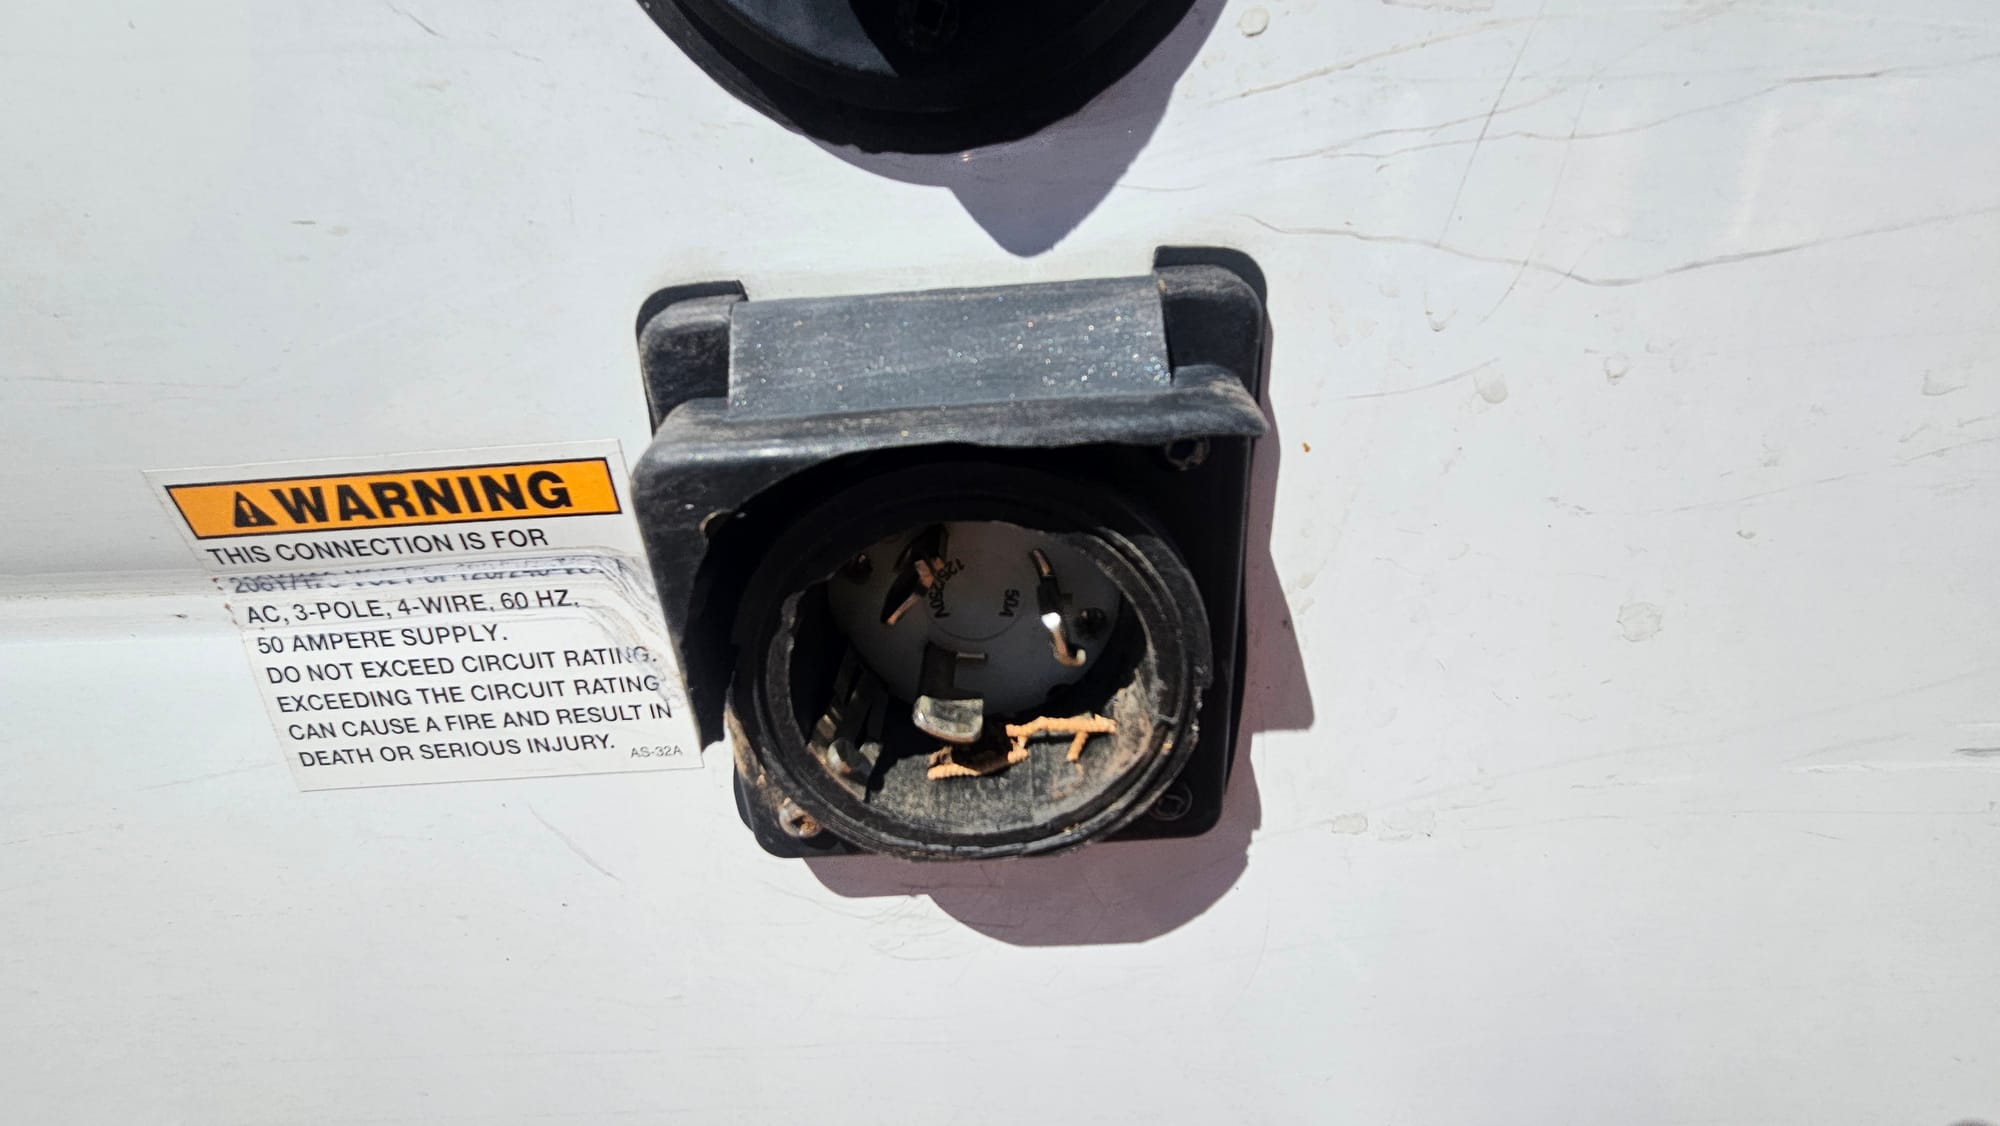
- Replace the damaged panels and the busted electrical inlet cover (which we supplied to ATC)
- Check our electric wiring behind our control panel to determine what was causing flickering and voltage fluctuations
- Replace the bathroom dimmer switch and main panel switches
- Fix a severed gray tank heater wire
- Check our tank vents again
- Fix our rear driver turn signal
- Replace our current heat vent cover with one that has a damper
- Replace some window operators and knobs
It wasn't 10 pages of tasks and explanations like last time, but we were swamping them with a lot, and they would only be keeping our trailer for 5 days. We were very clear with them that the lower priority items were ones we could do ourselves, as long as we had the know-how and necessary parts. All of this would be part of our discussion when we arrived.
Our service guy Gino has always been fantastic, checking our finalized list before our arrival and diligently going over everything before we leave the trailer with him. Every RV owner has issues with repairs and customer service, but we've always considered ourselves lucky. We can typically get our rig in for repairs in a timely fashion, and the guys always do a great job diagnosing and fixing issues. Does this mean we always come away from our appointments 100% perfect? Of course not; this is an ongoing process. But we feel secure leaving our home here, knowing it will be in good hands.

To tackle this continuous repairs list, we've established a method. We first always try to diagnose, troubleshoot, and fix anything we can on our own. Most of the time we're able to do this without issue, and these smaller and quicker fixes seldom make the blog. Then there are sometimes more pressing matters, where we need to hire a mobile tech or get an appointment somewhere immediately. Thankfully, this has only happened a handful of times. For everything else, we keep a running list for our next trip to ATC. Then, as the date of servicing gets closer, we will sometimes add quick fixes that we either hadn't gotten around to yet, or we hadn't been able to find parts for. This tag team effort has been useful. Whatever we can't do, the professionals handle from there.
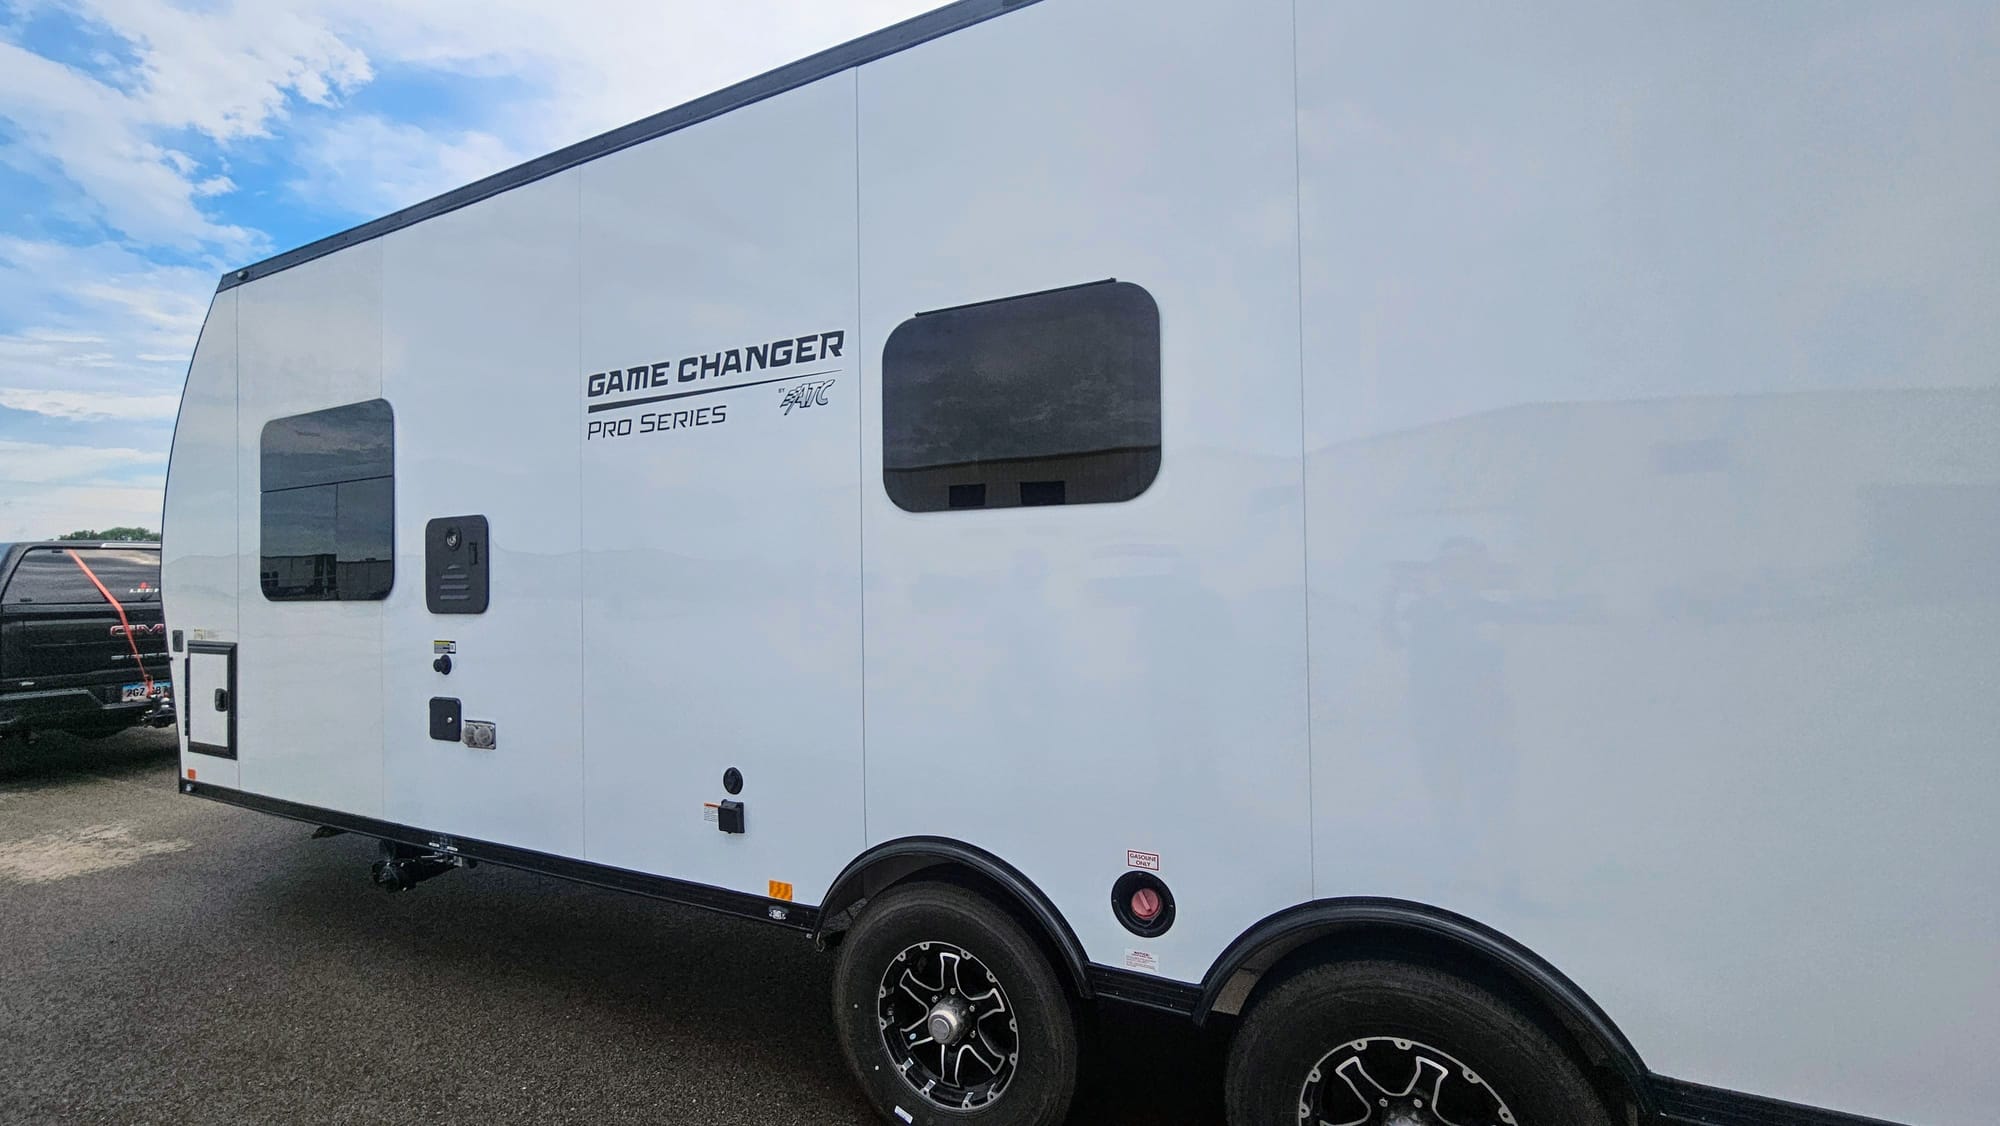
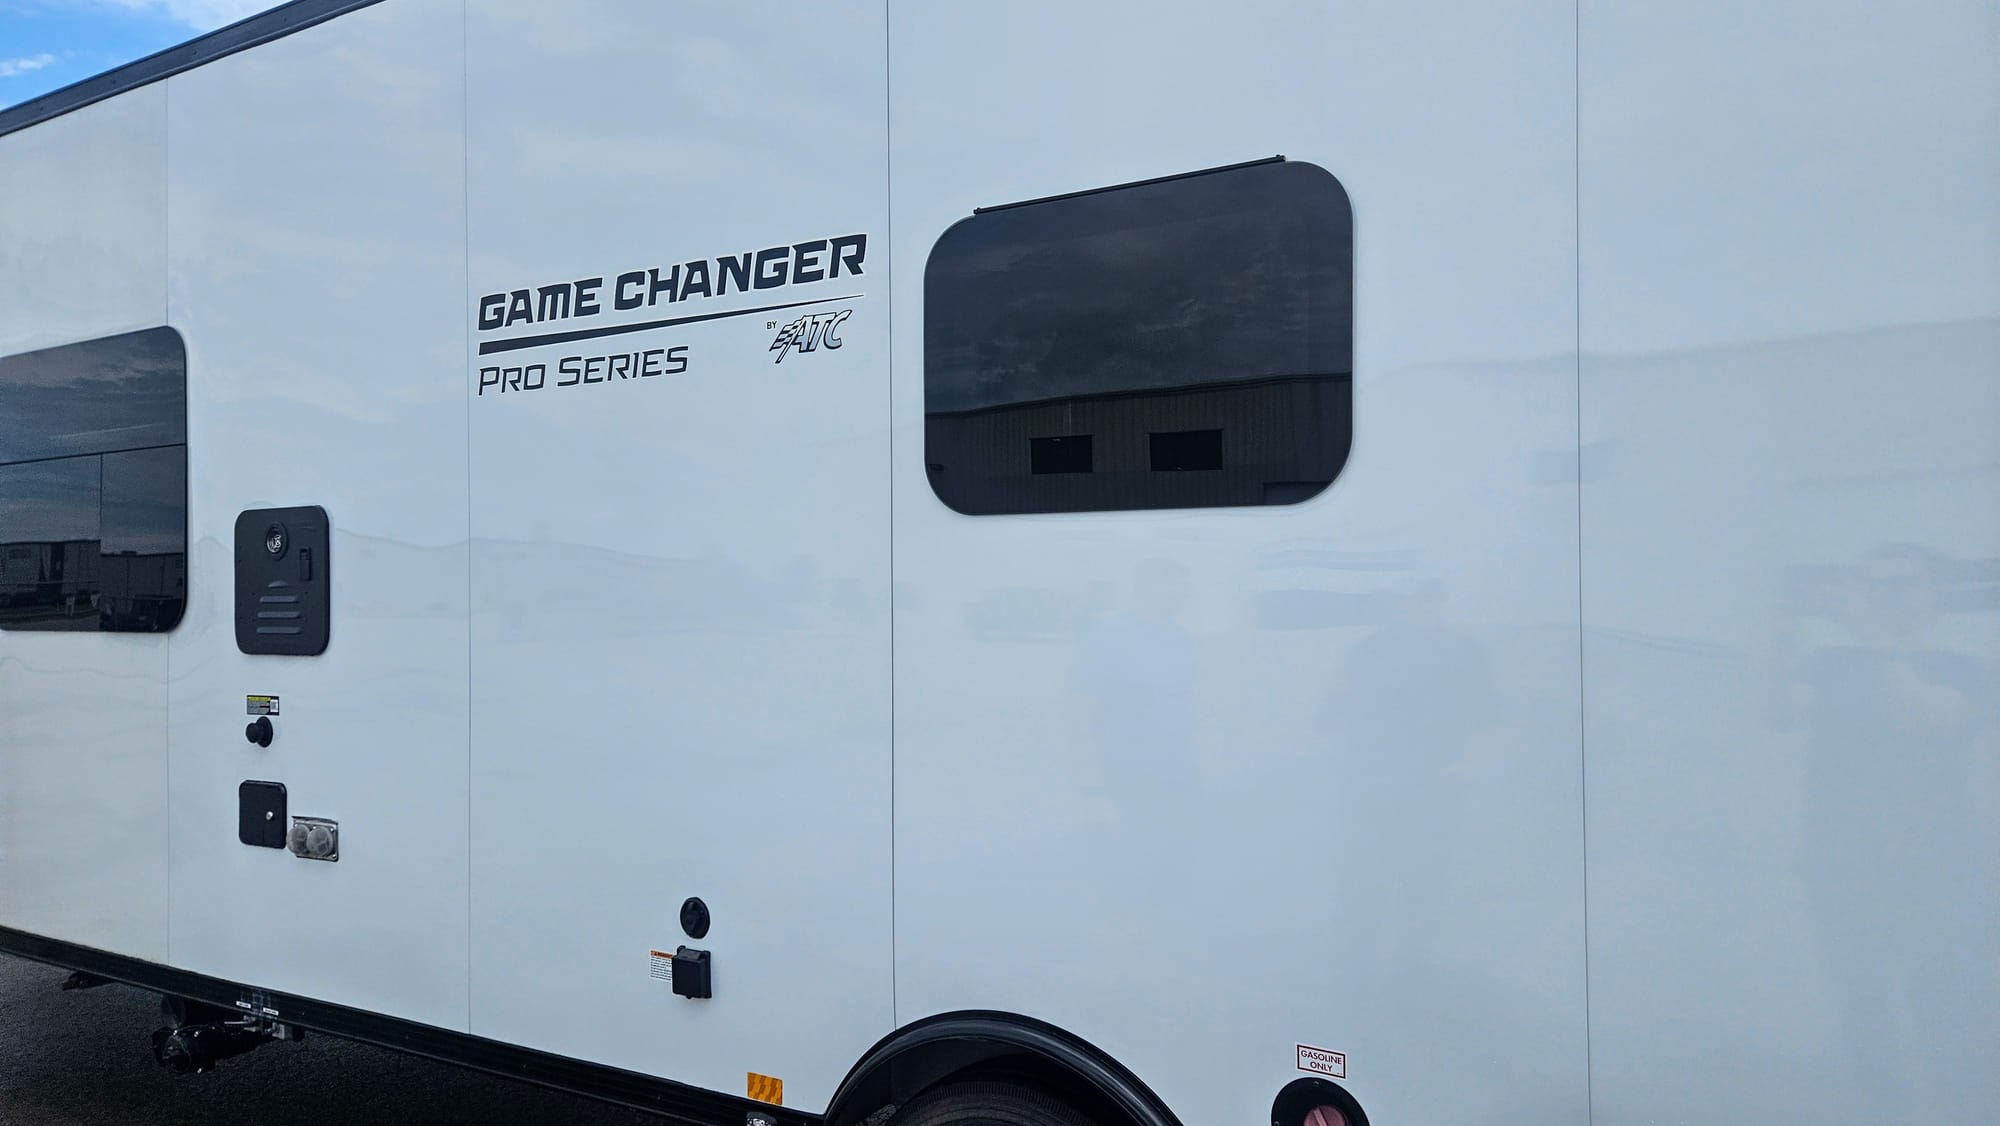
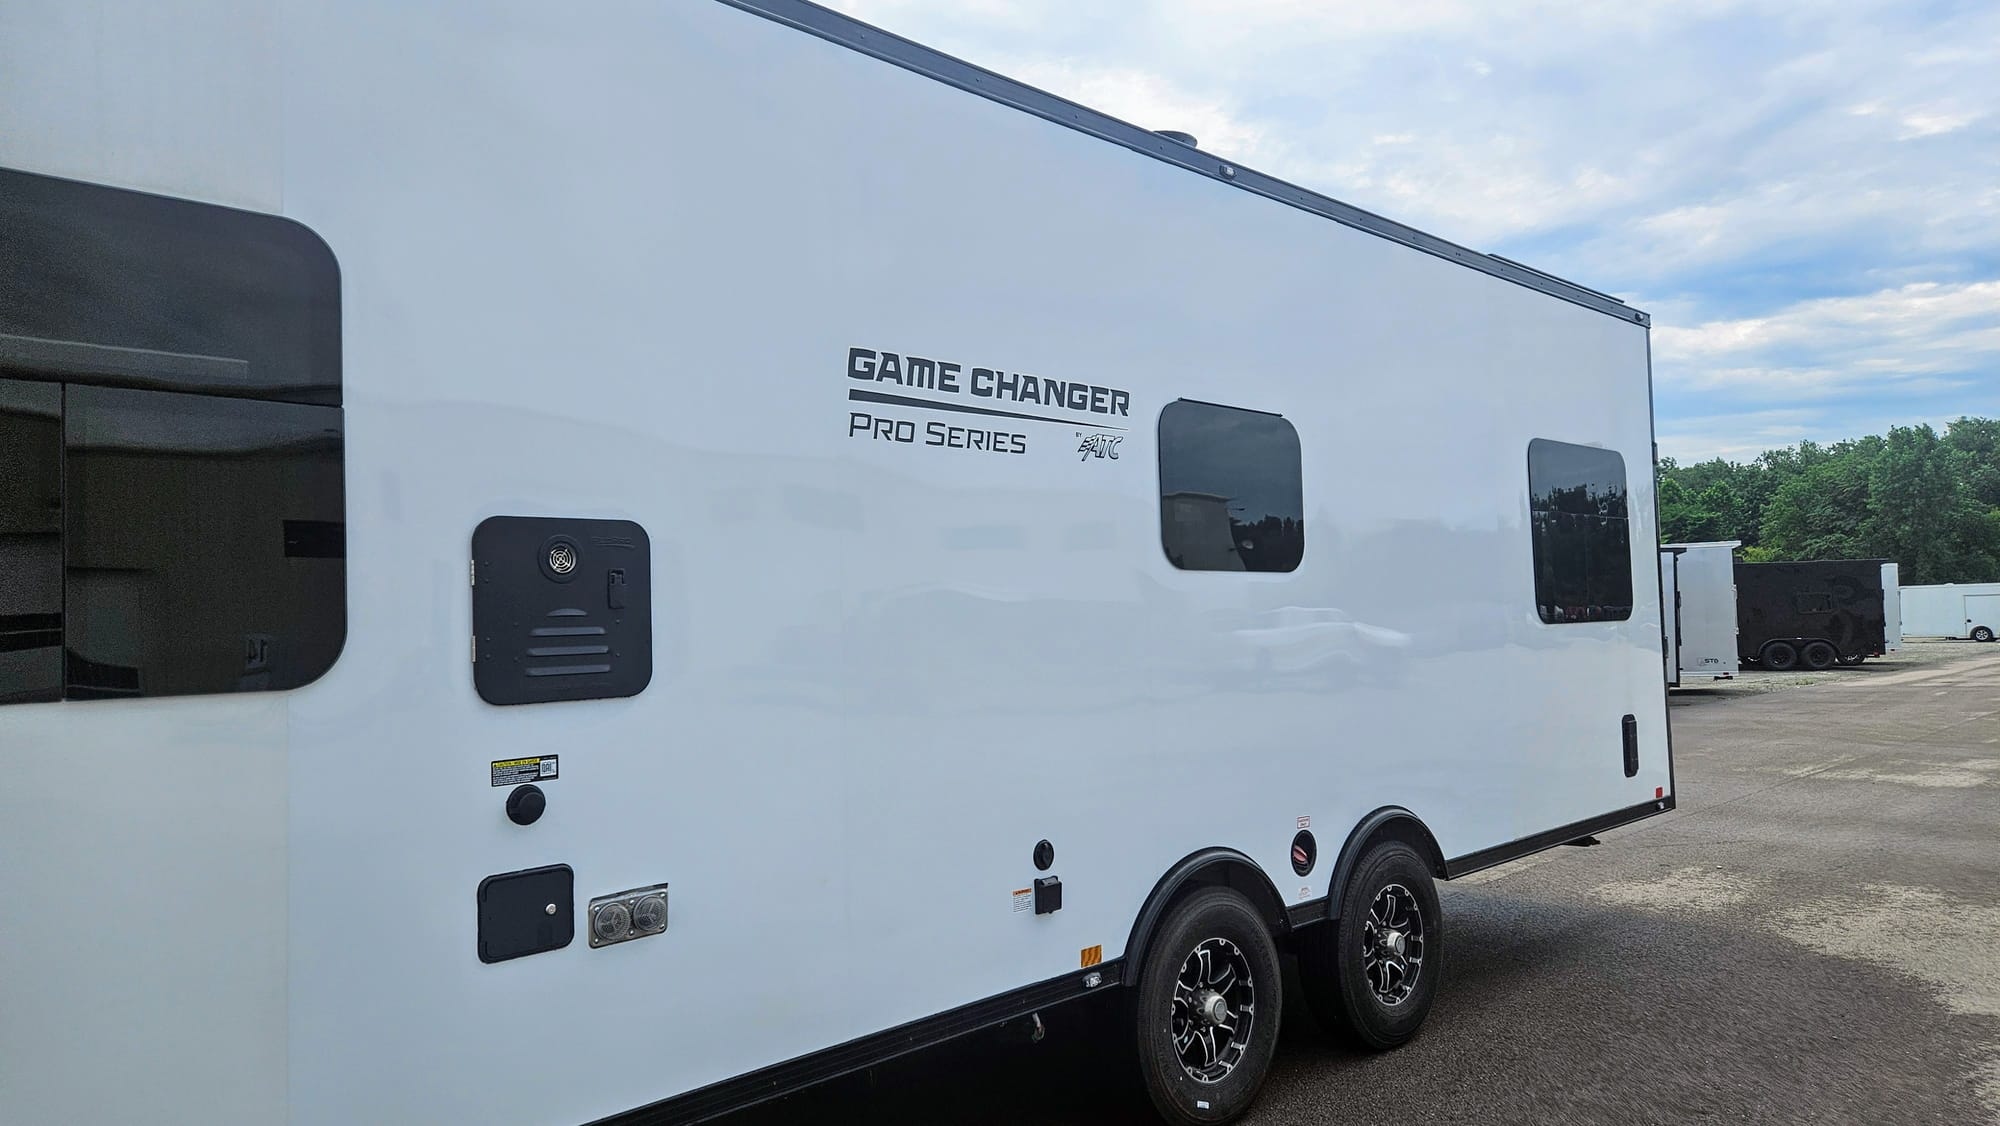
Replace the damaged panels and the busted electrical inlet cover
The diagnosis was very obviously already done, and we just needed to call in the pros to fix it. We had gotten a panel replaced once before, when we finally eliminated all evidence of our newbie mistake that ended us up in a ditch 3 days after picking up our trailer. That panel replacement went wonderfully, so we were confident that this quadruple replacement would help the business side of our trailer look good as new. No issues there! Our highest priority repair was done, giving us a huge check mark on our list.
Read the posts: Damaging our trailer on day 3 + finally replacing the damaged panel

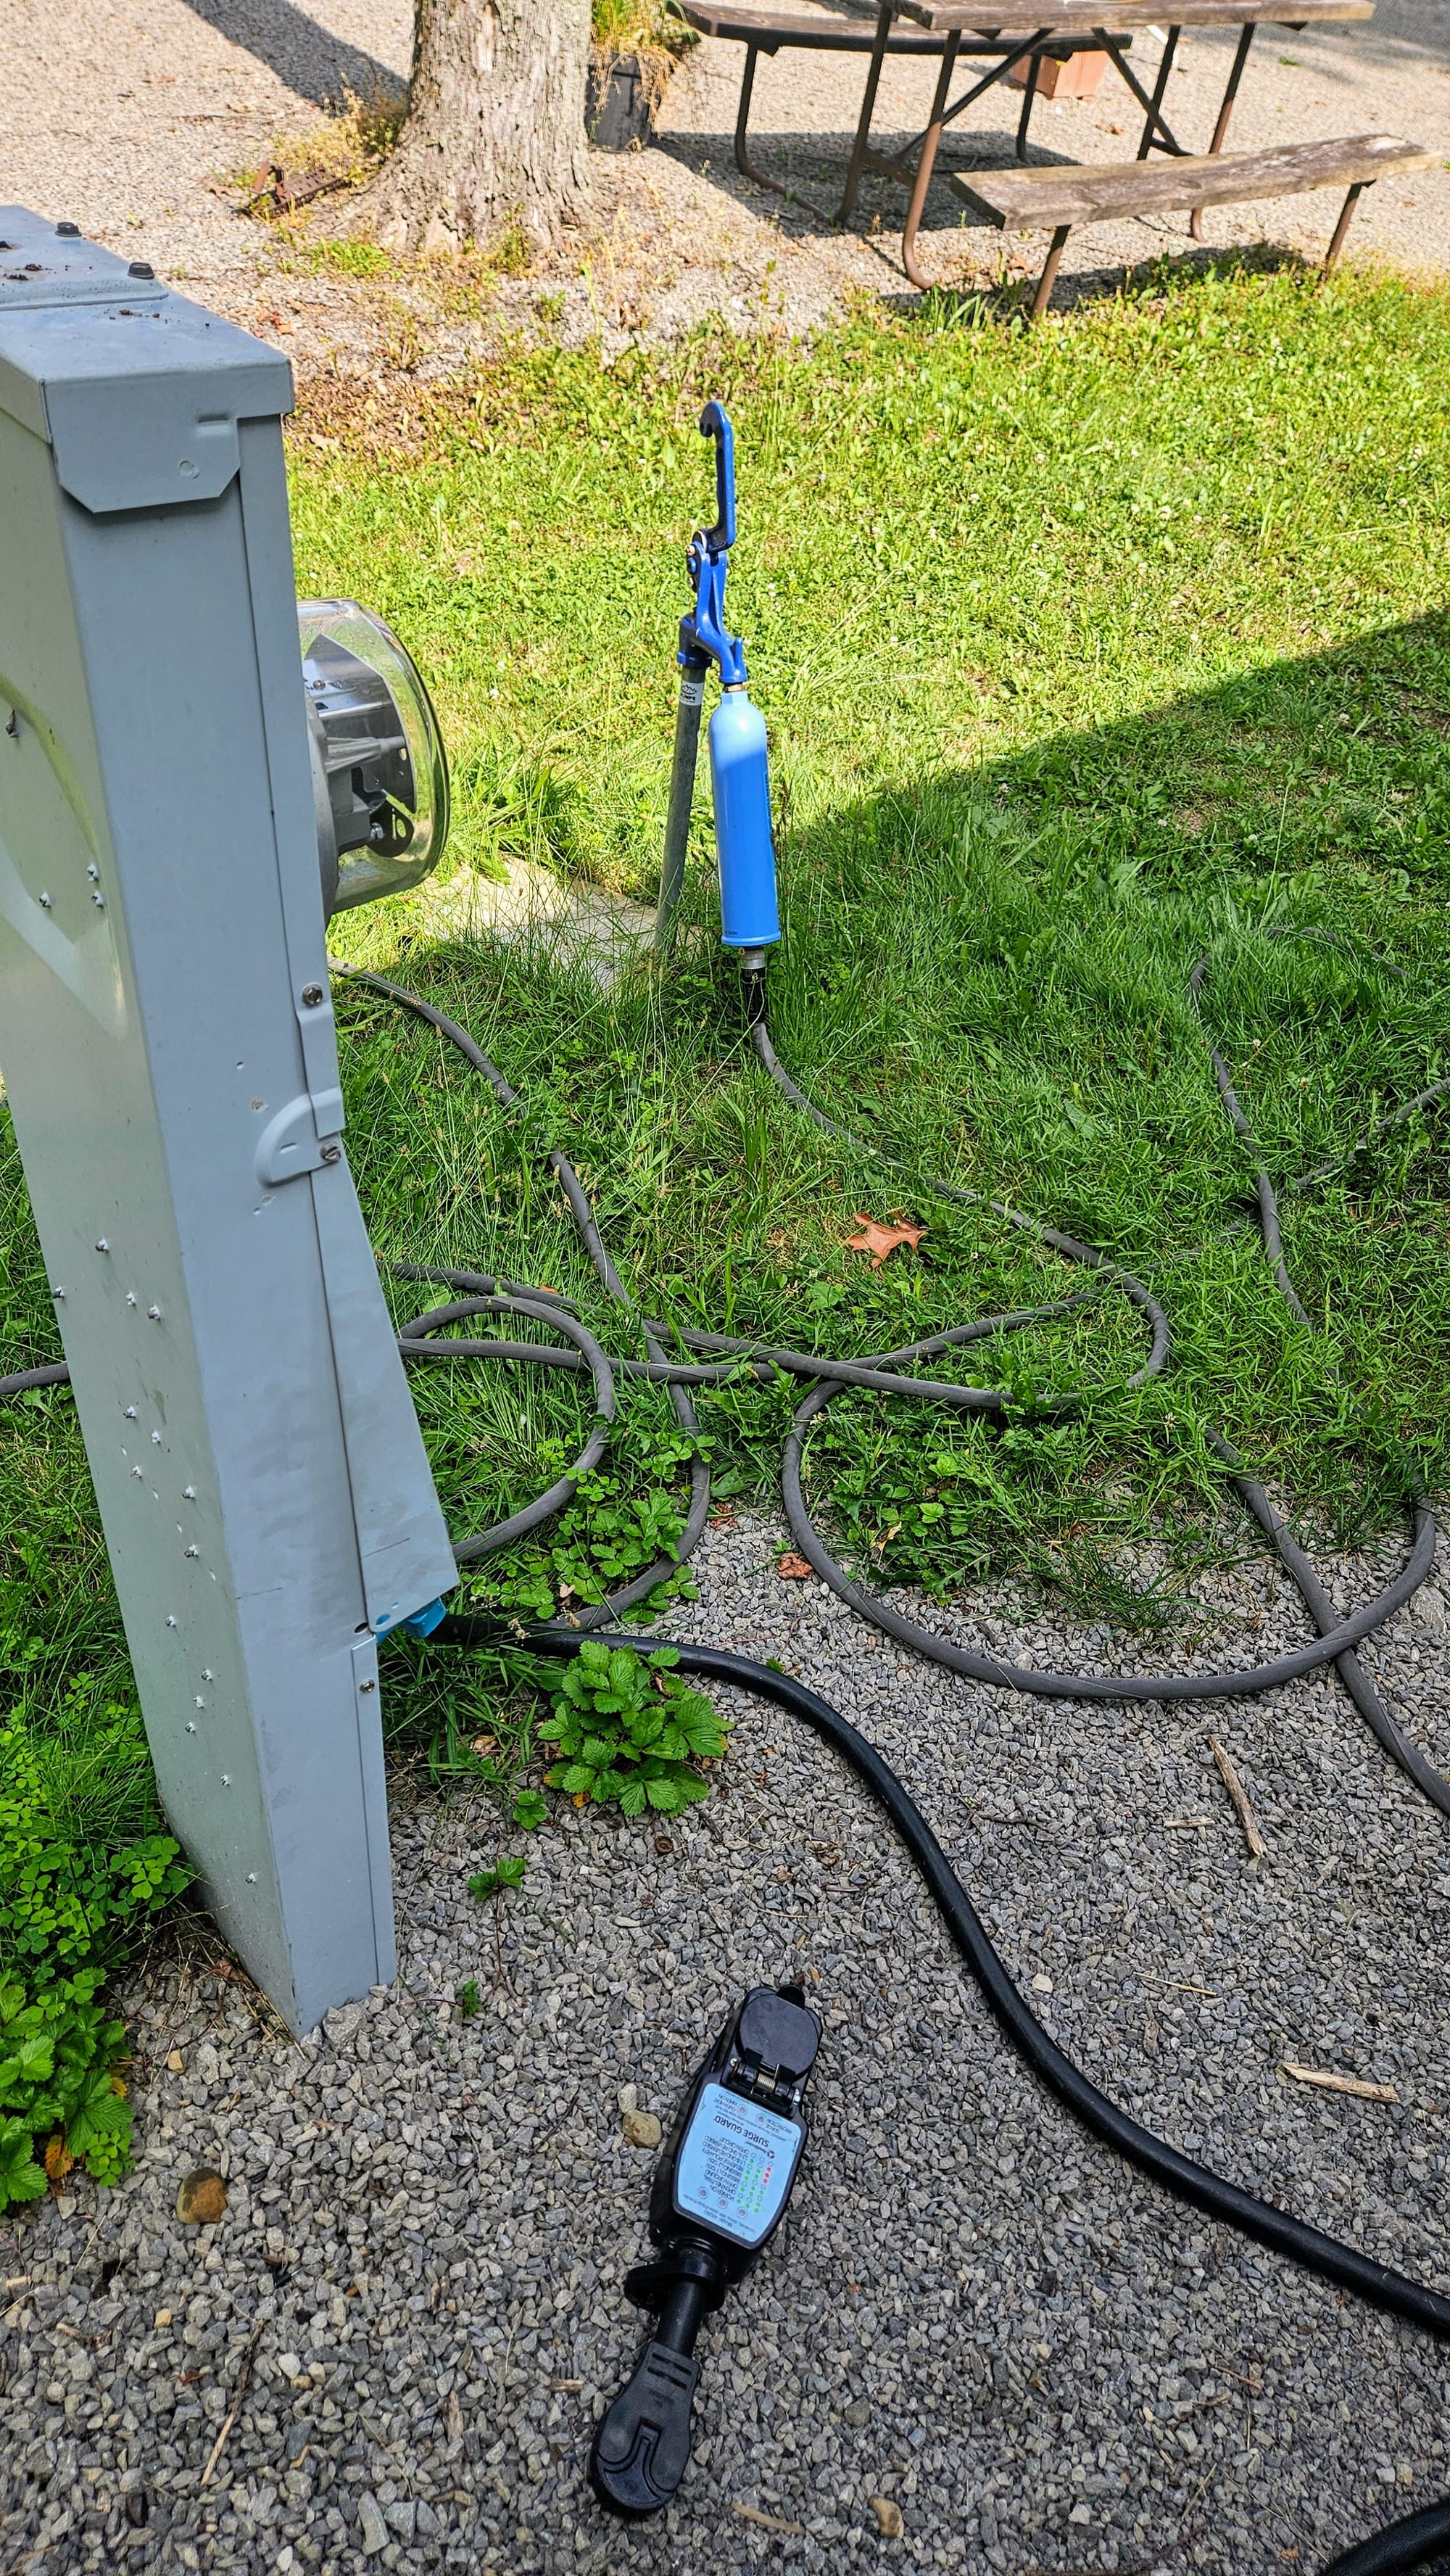
Check our tank vents again
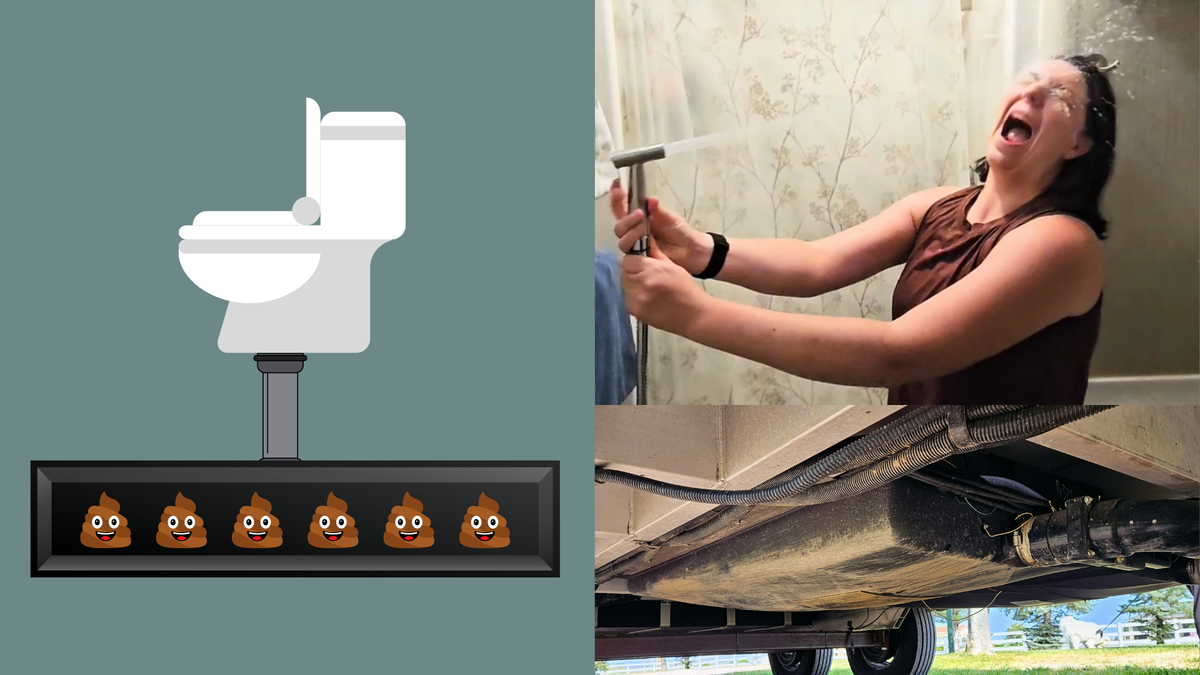
We figured since the guys needed to get up on the roof as part of the panel removal process, they should check our waste tank vents again. Our tank vent problem was a saga that we thought we had finally laid to rest, but this year we noticed a few issues with smell and noise. To quickly recap, our initial problem, which took us forever to accurately diagnose, was that our black tank vent had sunken too far into the tank, causing odorous pressure build-up and making us think we had way less space in our holding tank than we actually did. You may recall this thorough depiction, courtesy of Happy Camper:
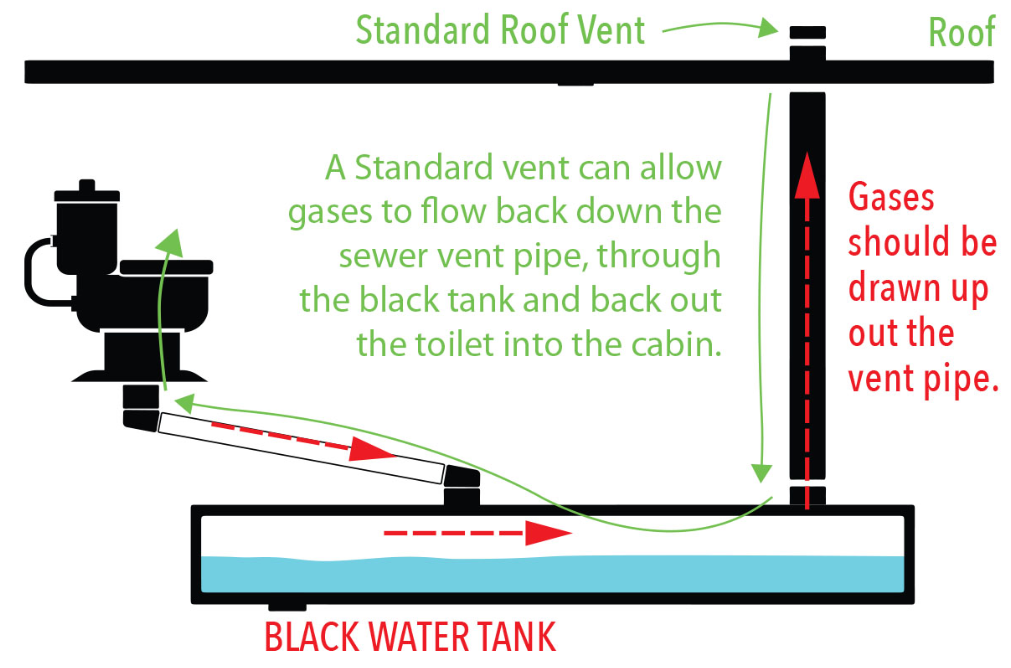
For the most part, fixing our descended vent pipe was successful, but we got nervous when we began noticing some foul smells on warmer days. Our nerves got rattled even more when we started to hear movement in the bathroom walls on windy days. Were our vent pipes loose again and moving in the breeze?
ATC checked the pipes and said they were secure, but they did notice that our rotating cyclone vent caps were looser than they should be. Could their movement have echoed through the pipes, causing us to think the pipes themselves were shimmying? Quite possible. The caps are now tightened, and it's a waiting game for us to see if the next hot and windy day brings any unwanted smells or sounds.
Read about our black tank woes:
Replace the bathroom dimmer switch and main panel switches
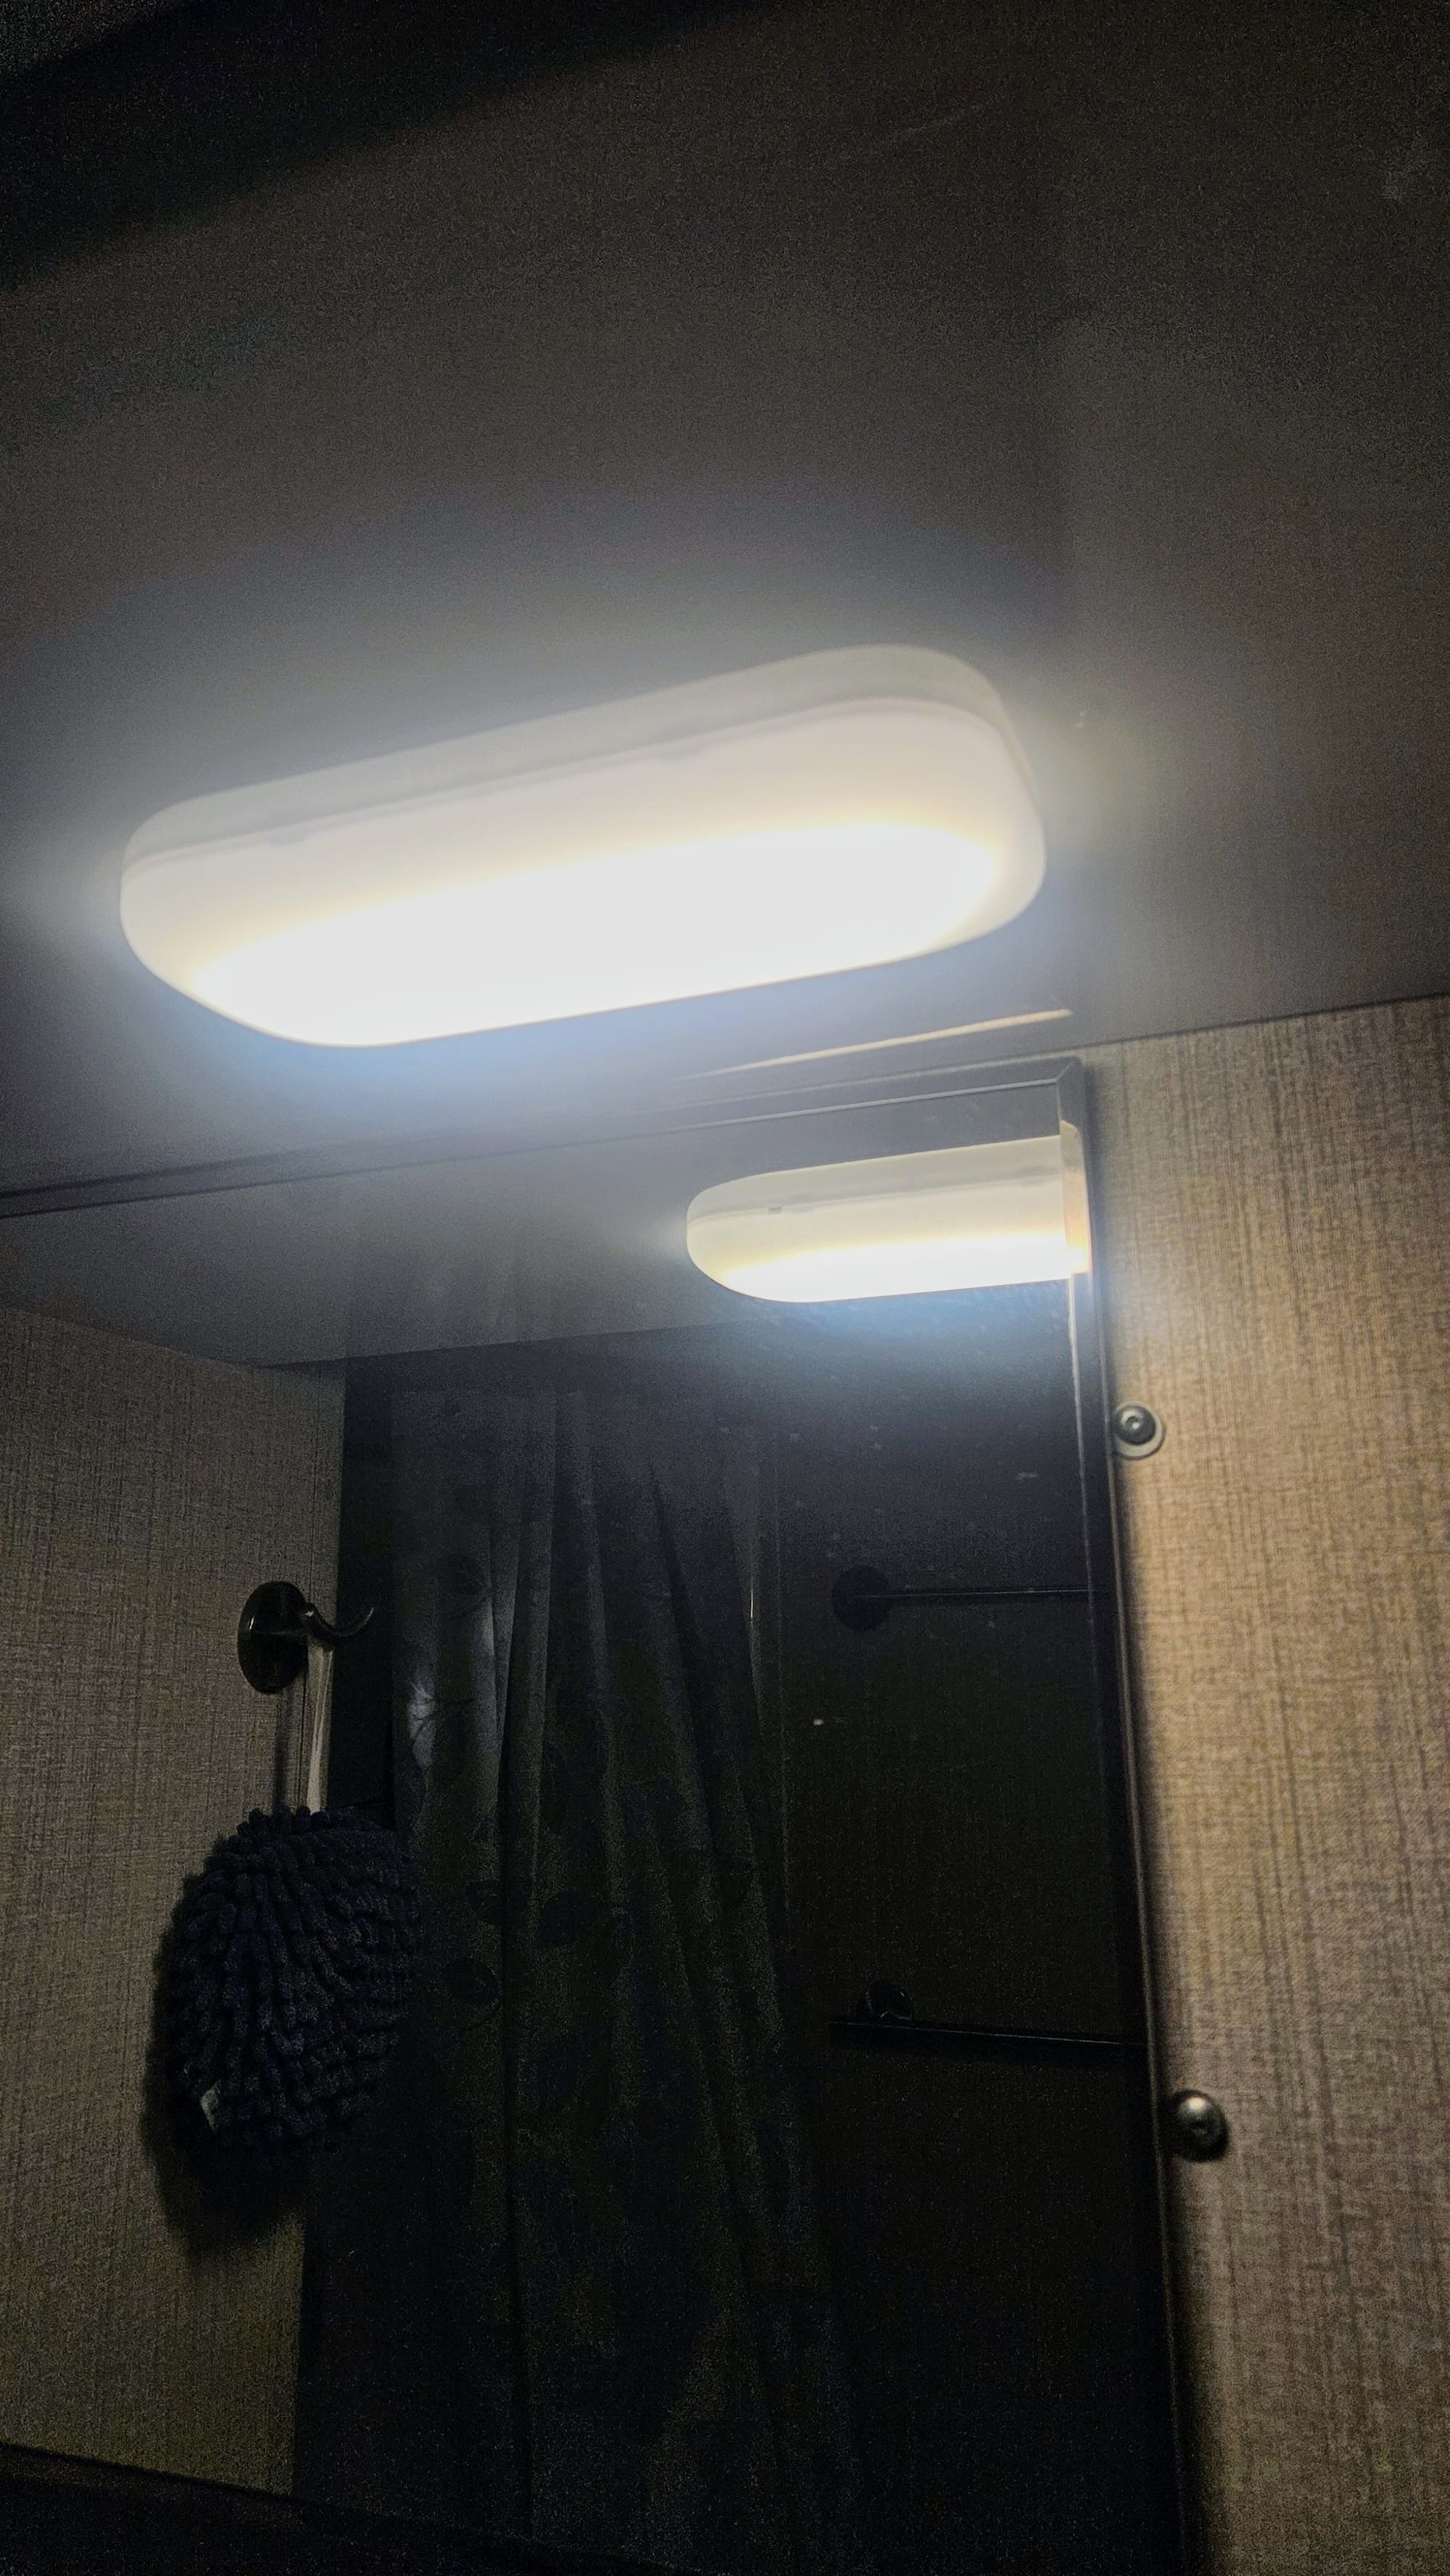
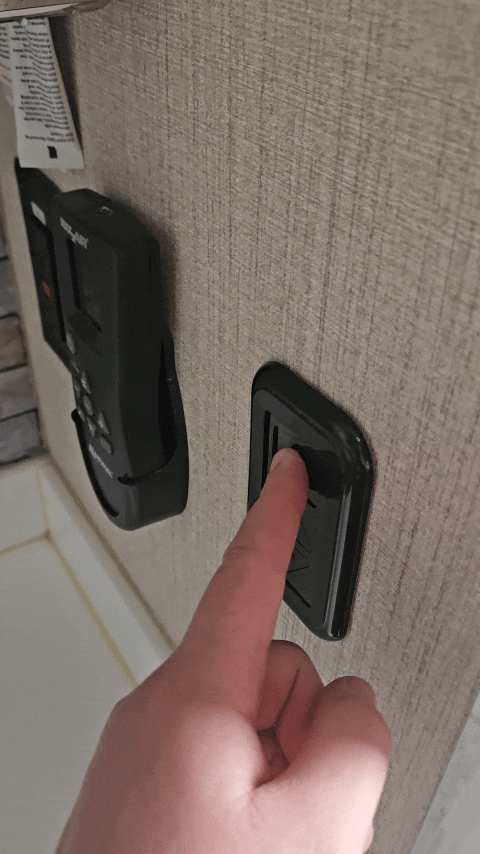
We had been traveling for months without a working bathroom dimmer switch! At first, the on/off button would get stuck, and we'd need to patiently press it several times before it would finally react. Eventually, the button went from stuck to busted. This wasn't a high priority fix because we also have an over-the-sink light, so we weren't left completely in the dark. However, the ceiling light's adjustability is very nice, especially at night when we don't want to blind our eyes with brightness, and when we shower because the light is positioned better.
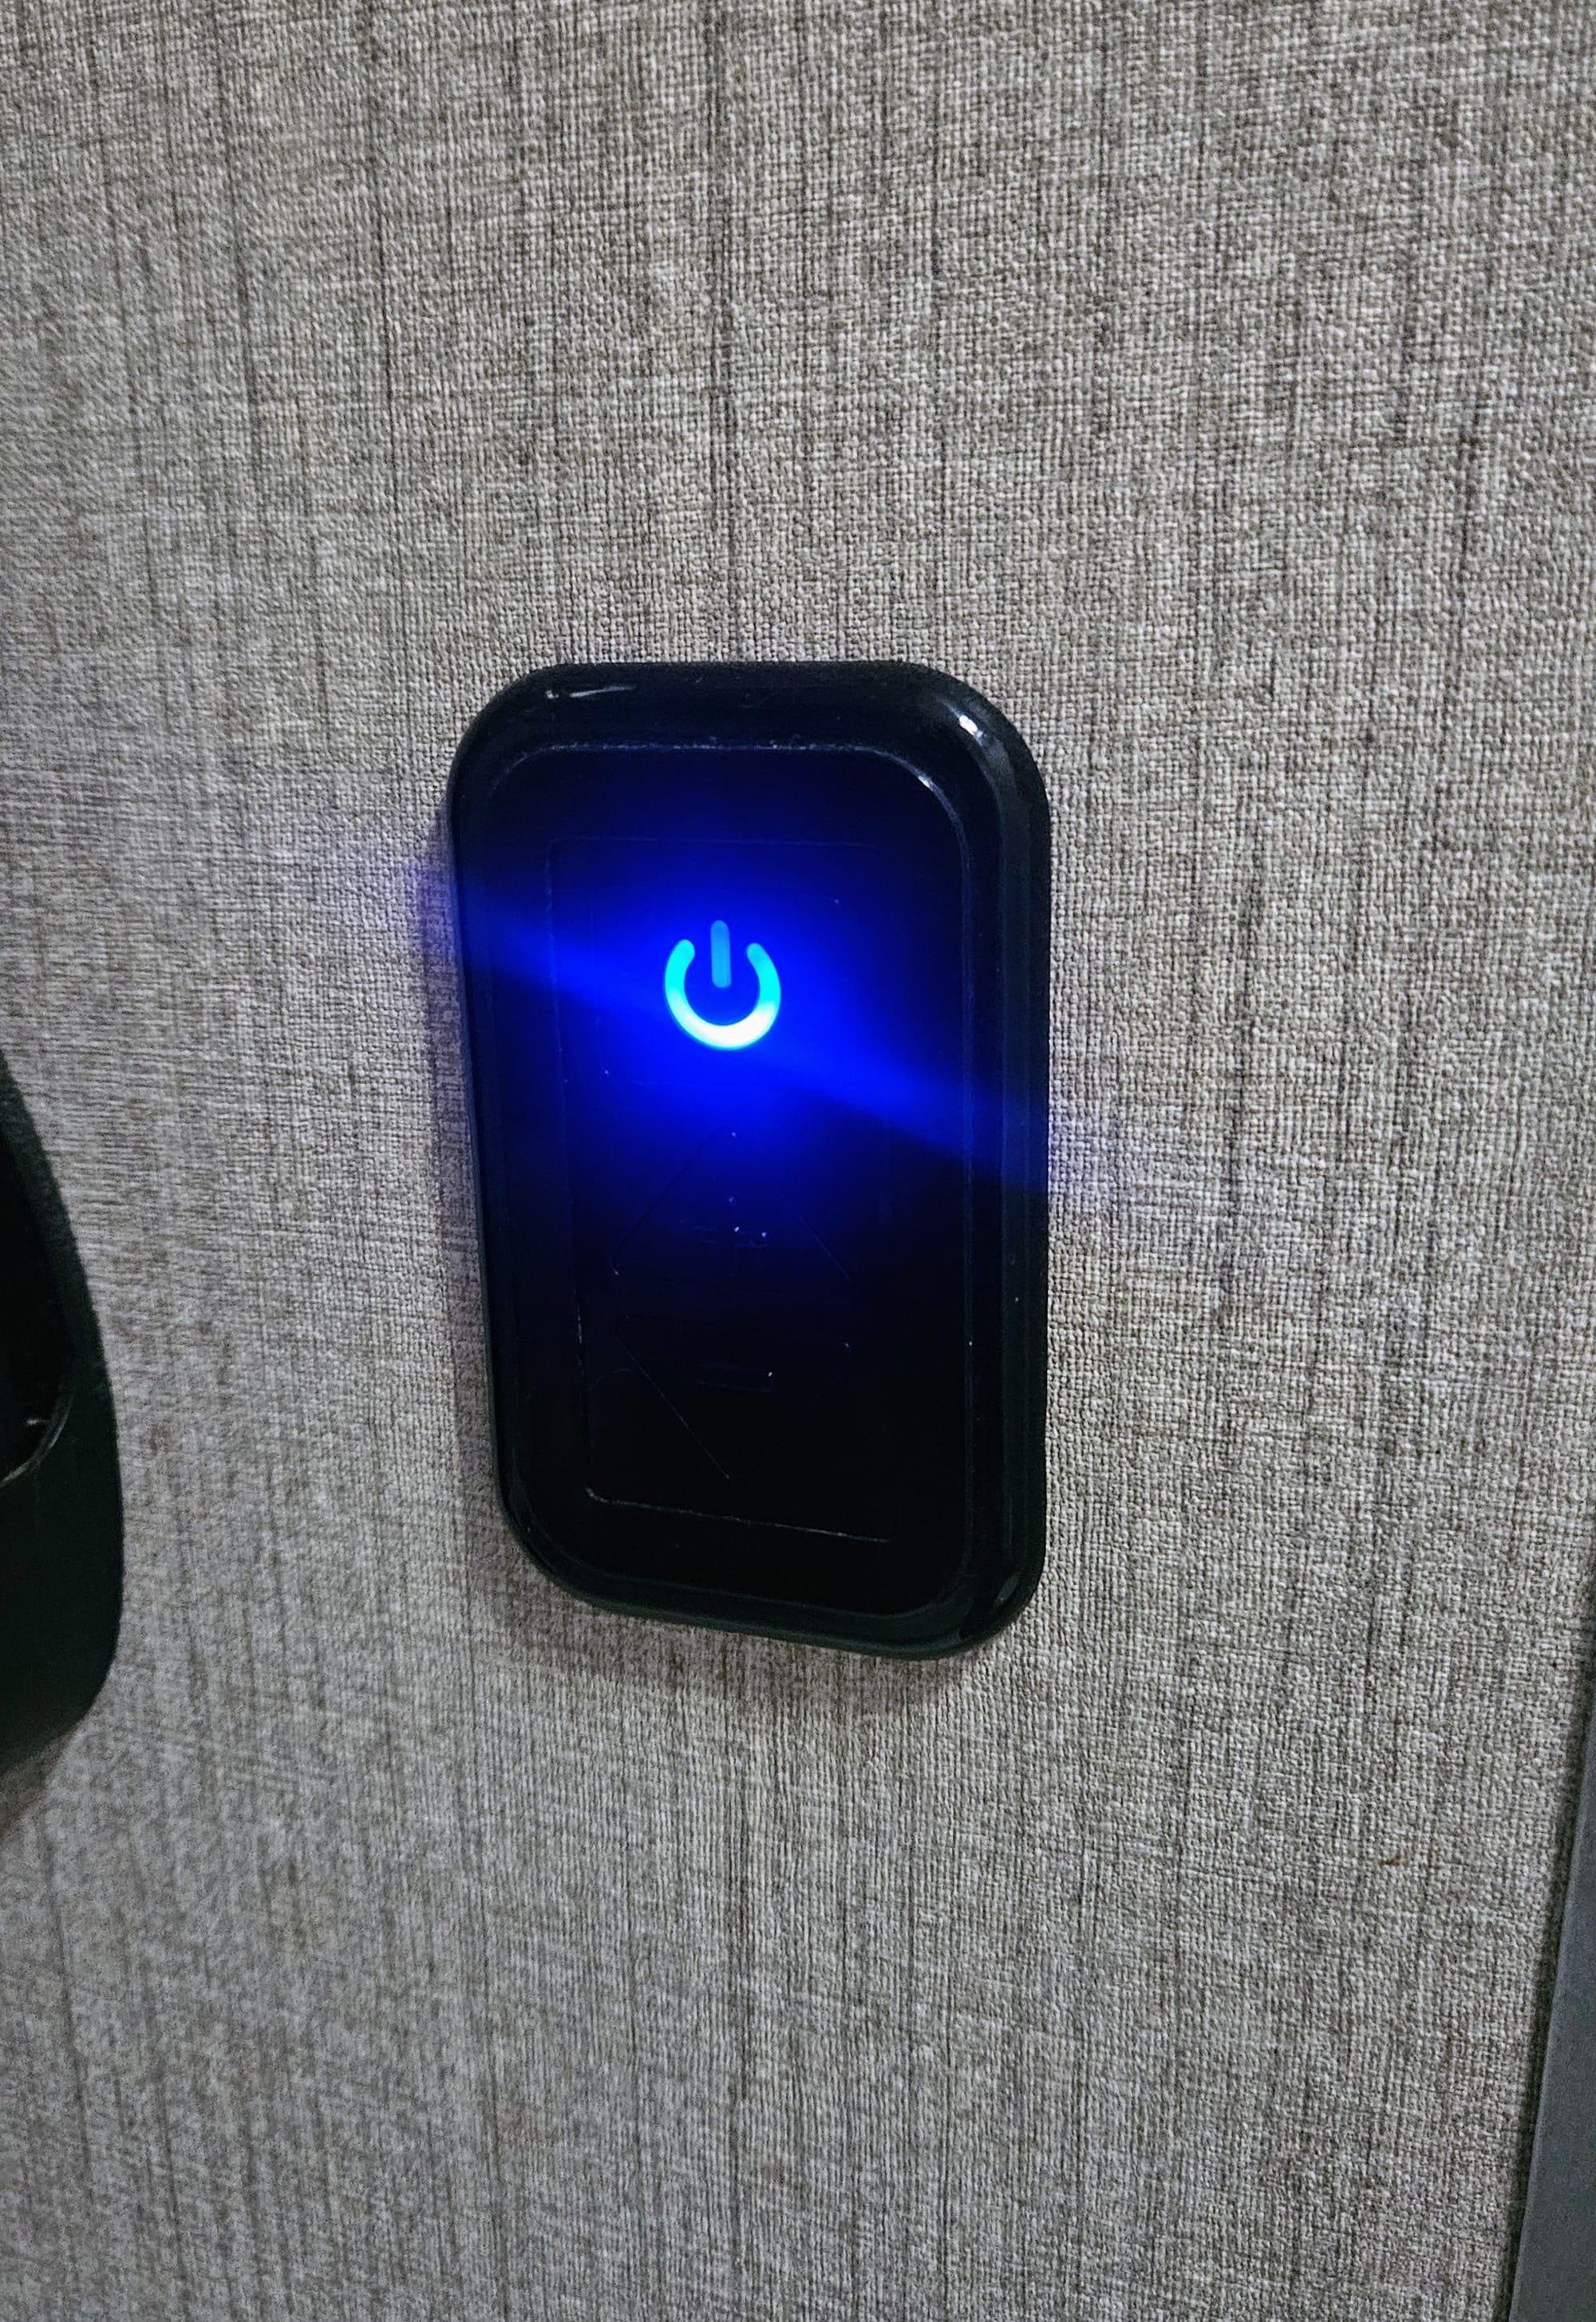
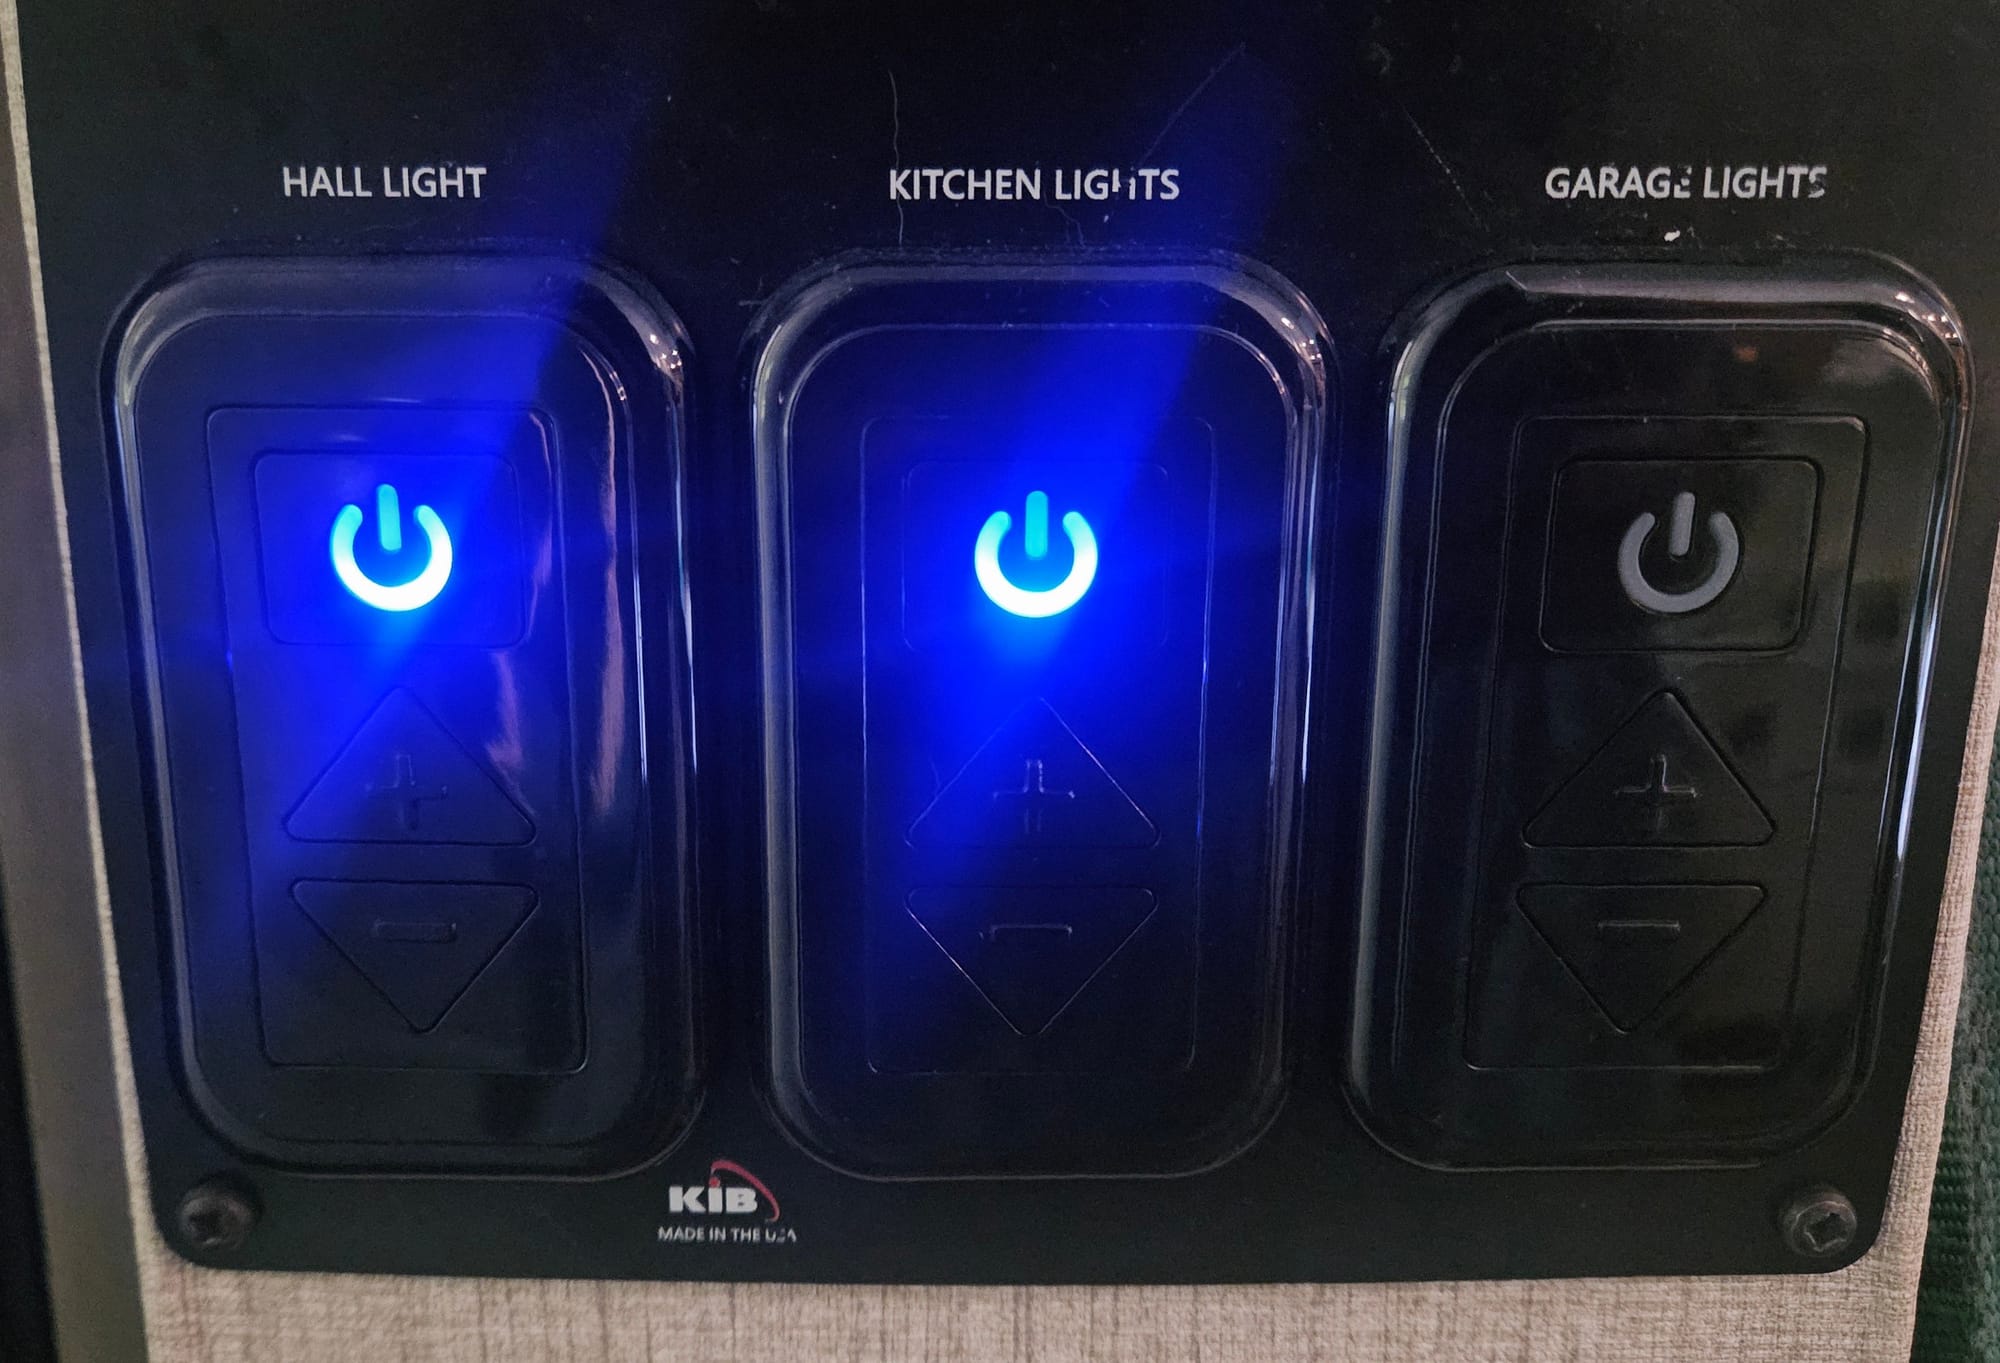
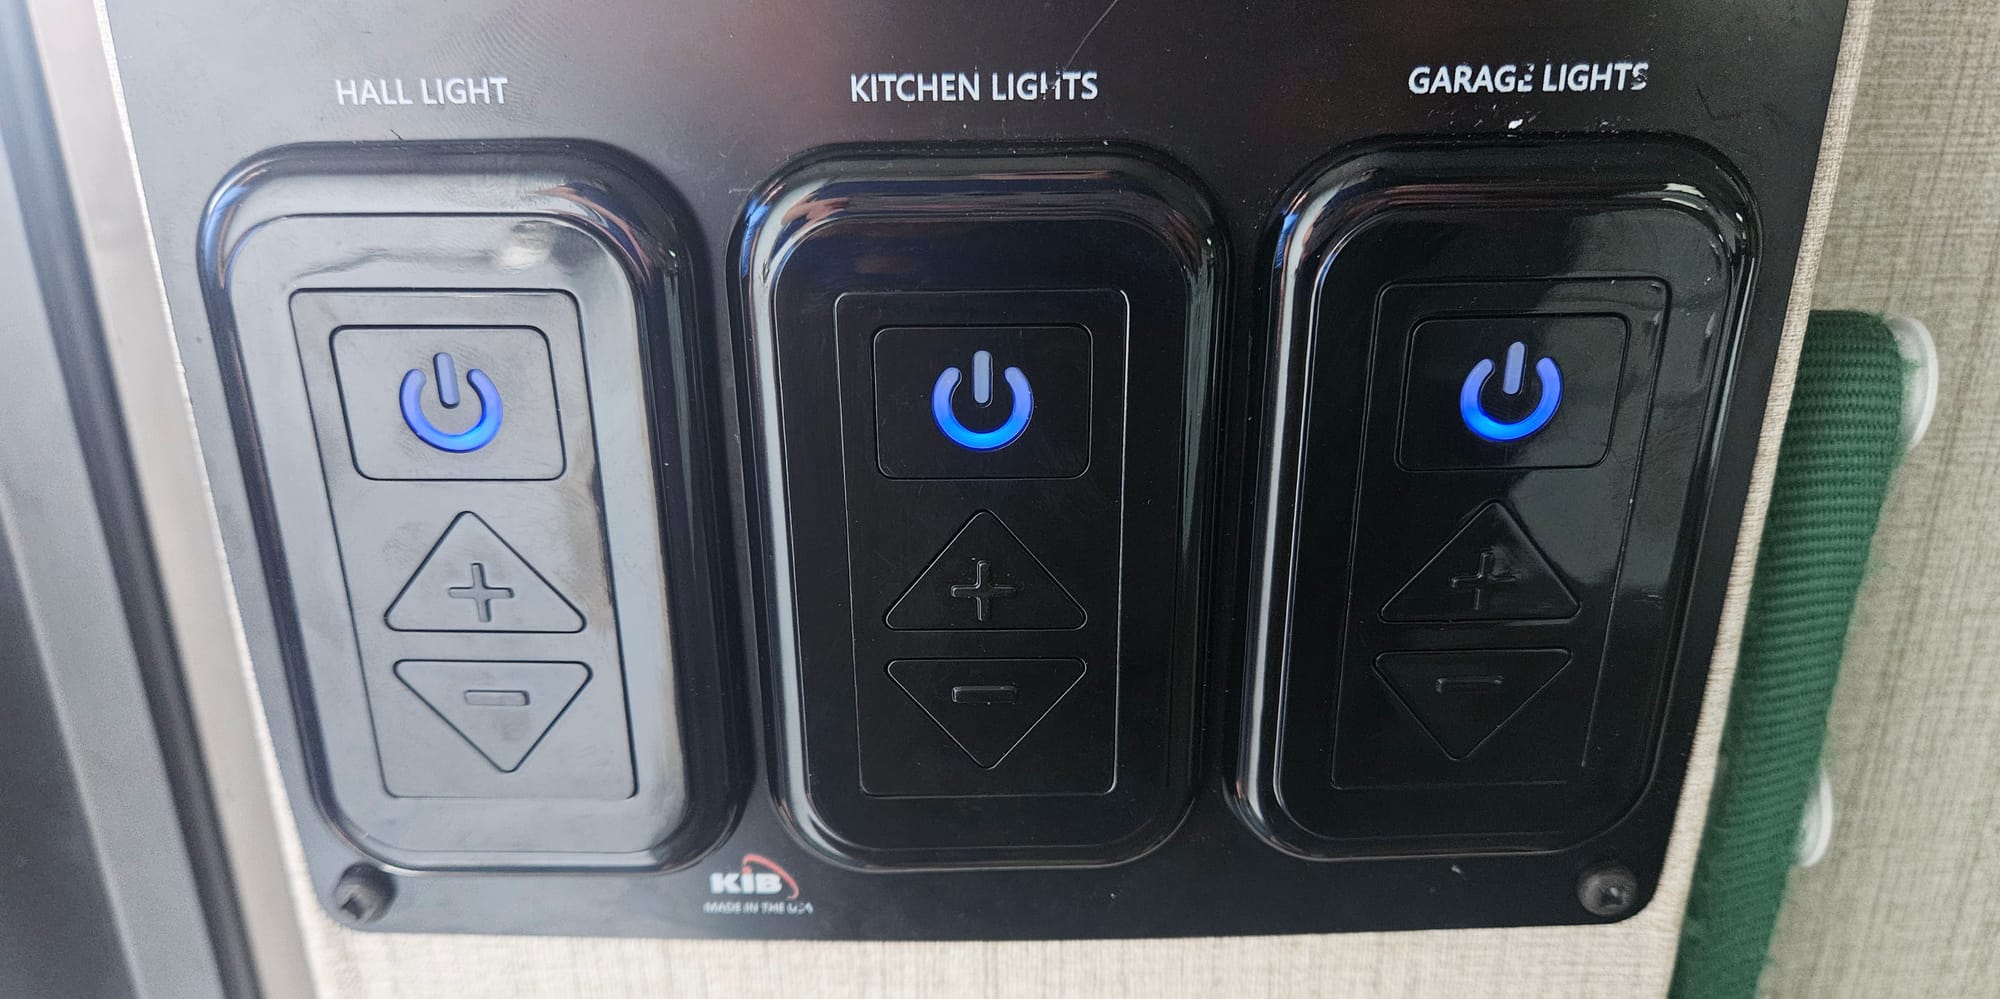
In addition to the bathroom switch, we also asked ATC to replace the panel of switches by our front door. When the dimmers are in the "off" position, a blue light illuminates so you can see the on/off button. One of our lights stopped working. Again, not a priority, but we hadn't gotten around to buying new dimmer switches to replace them ourselves, so this would be a major convenience for us to just get it done.
We thought this would be the only electrical issue to address, but our non-functioning dimmer switches became the least of our problems.
Check our electric wiring behind our control panel to determine what was causing flickering and voltage fluctuations
We aren't exactly sure when it all started, but we definitely remember when it became impossible to ignore. We would be sitting in our living room doing work, neither of us anywhere near a dimmer switch, when suddenly the lights would all brighten. Then about 20 minutes later, they'd dim. Sometimes they'd flicker. At first we thought it was our connection to our pedestal, but then it would also happen when we were off-grid. Then one night, Anthony went into the bedroom and turned on that switch, and all of the lights in the main part of the RV got brighter! We assumed that some connection was loose behind our control panel and just hoped that it wasn't dangerous.
The official diagnosis: A ground wire was loose. We asked Gino if it was a fire hazard and he said no, which was a relief because we had been traveling around with that issue for months, maybe even more than a year if we think back. We did some testing to confirm that the fix was indeed the fix, and the lights looked great. No more flickering, no more fluctuations.
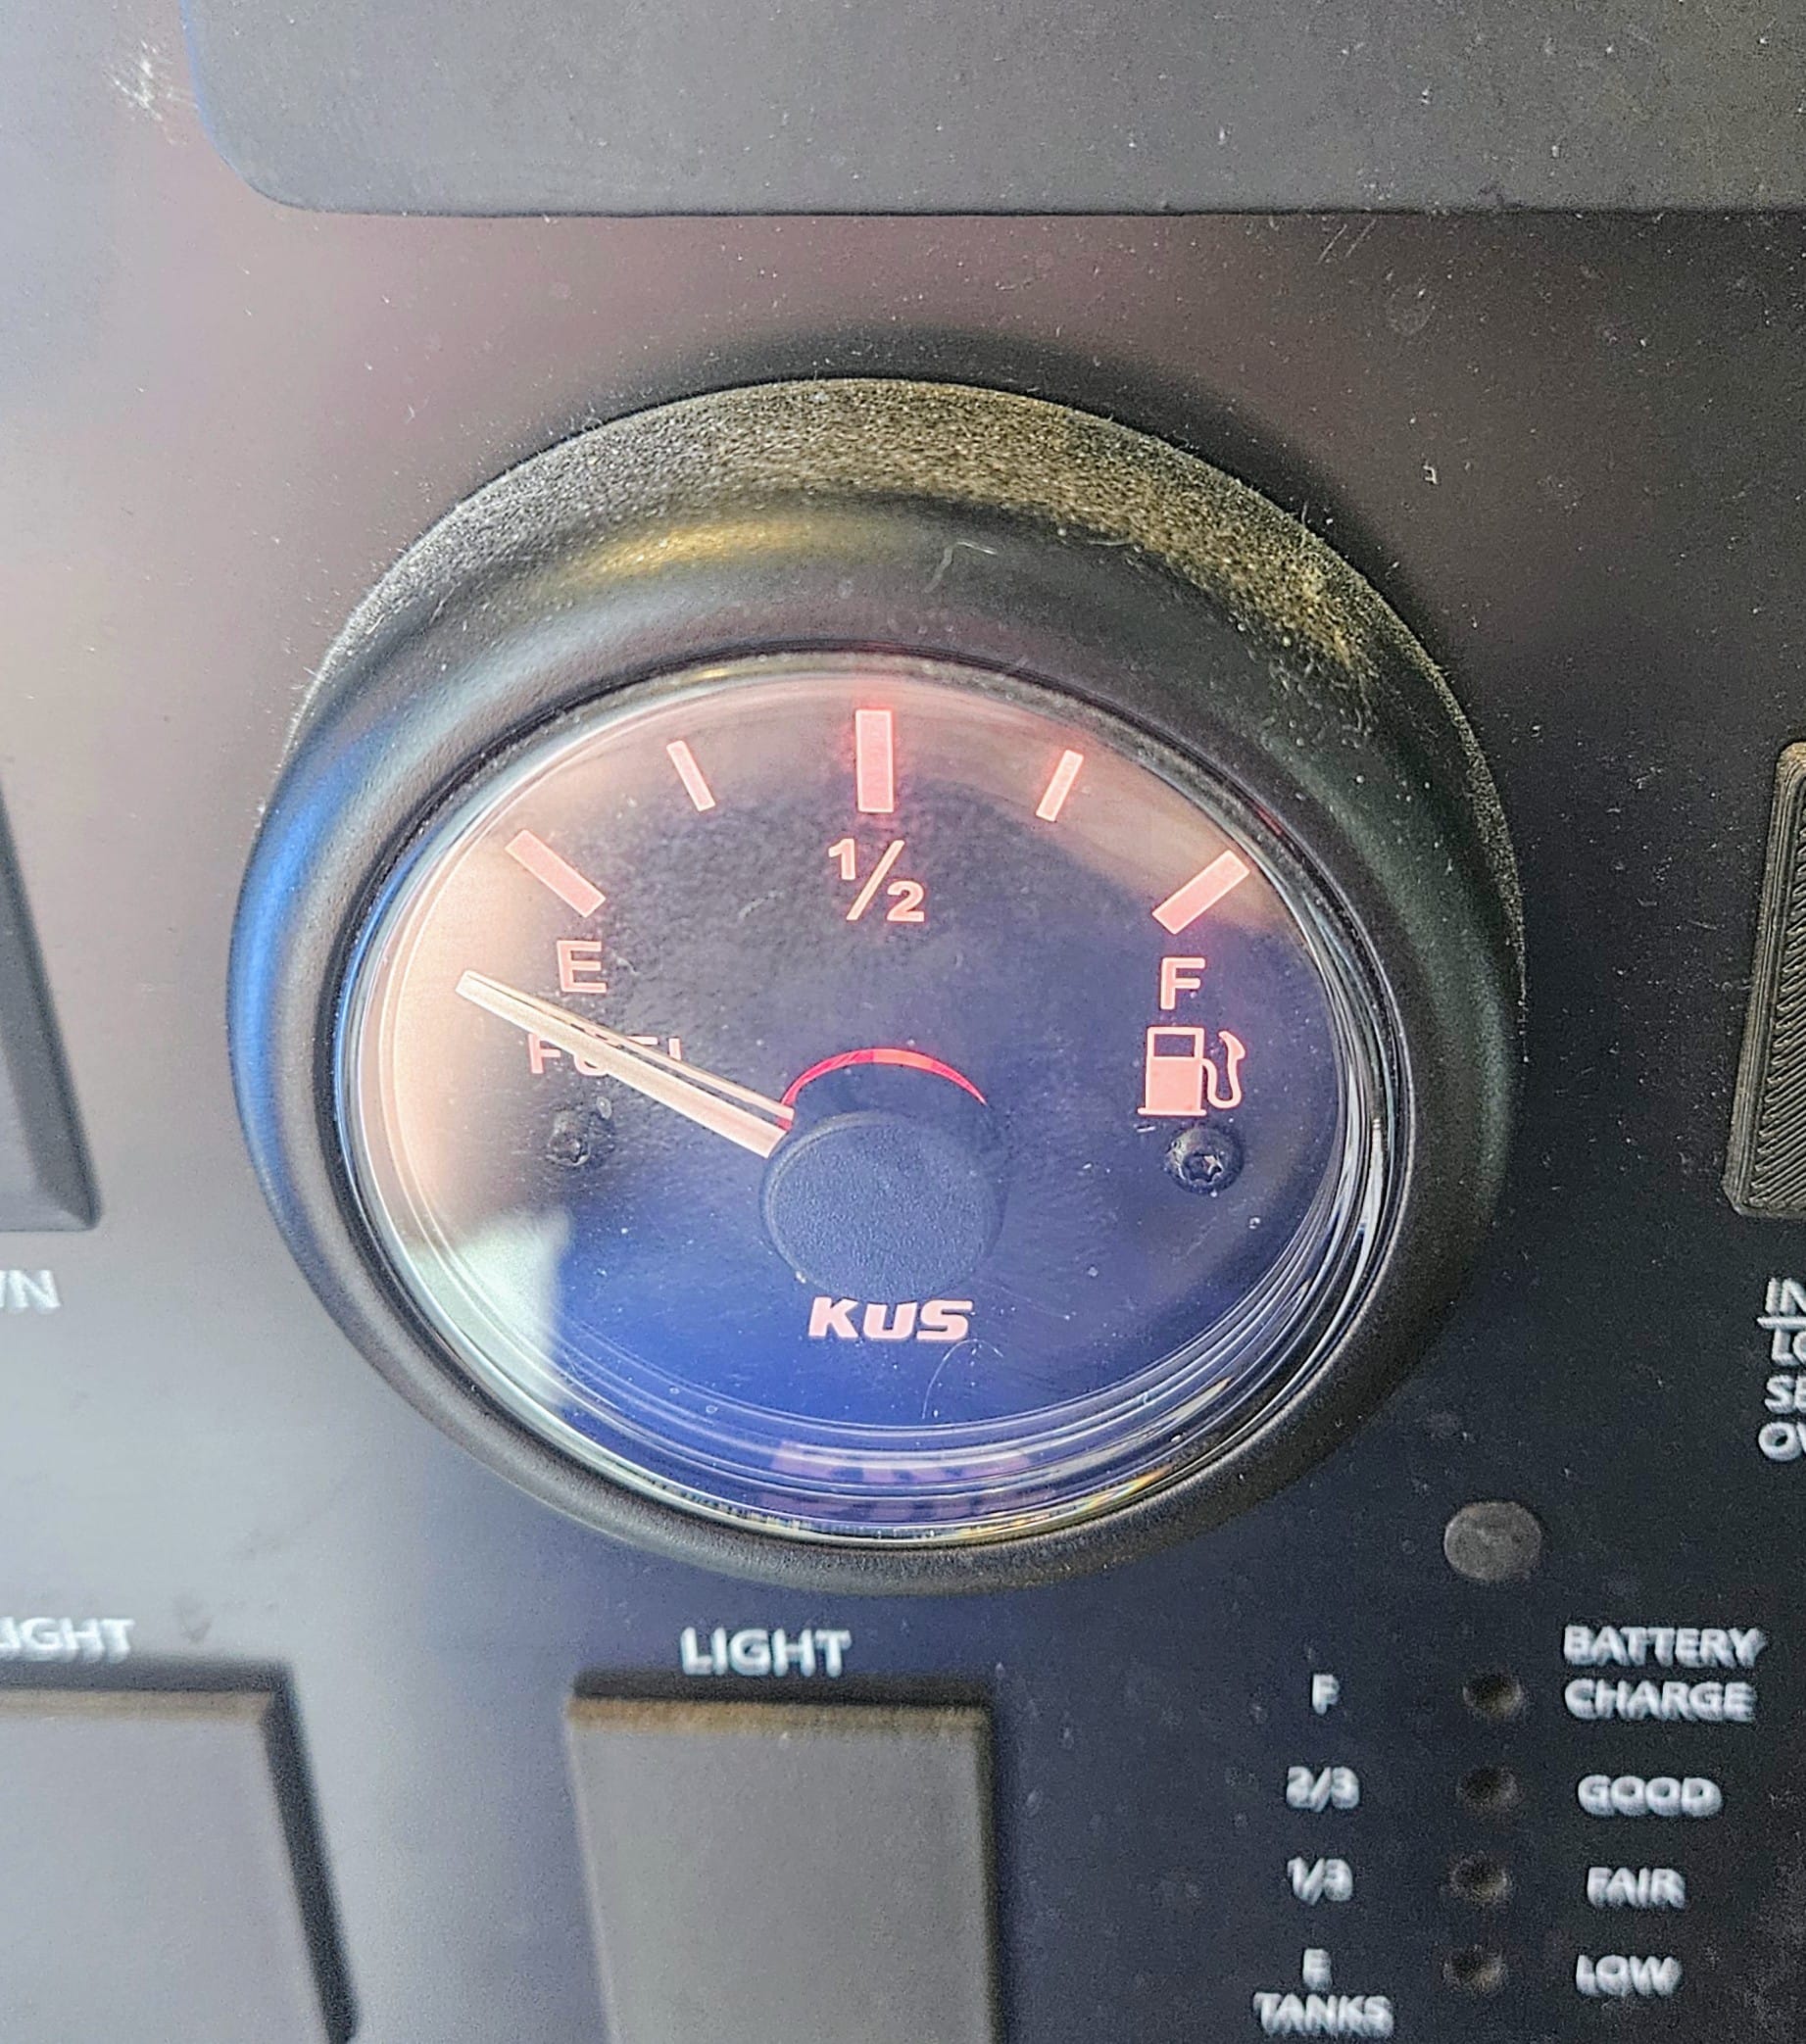
But unfortunately, the fix didn't last. A couple weeks after we got our RV back, the flickering returned. Not as much as before, but a new problem reared its ugly head. We'd try running an appropriate number of appliances for our available amperage, and we'd get a brown out. Even on 50amp at a campground, we couldn't run our usual ACs + one kitchen appliance. Our first night at our Pennsylvania campground on our way back to New England, we went to cook dinner and tripped the breaker! The 50amp electric stopped working, so we used our adaptor to switch to 30amp and alerted our campground office.

Plugged into 30amp and using only our internal backup surge protector at our PA campground
We don't know what this means for our wiring, but we hope to find out as soon as possible. We cannot be tripping breakers, especially once we get back to our Massachusetts home-base and plug into Nicole's parents' delicate electric.
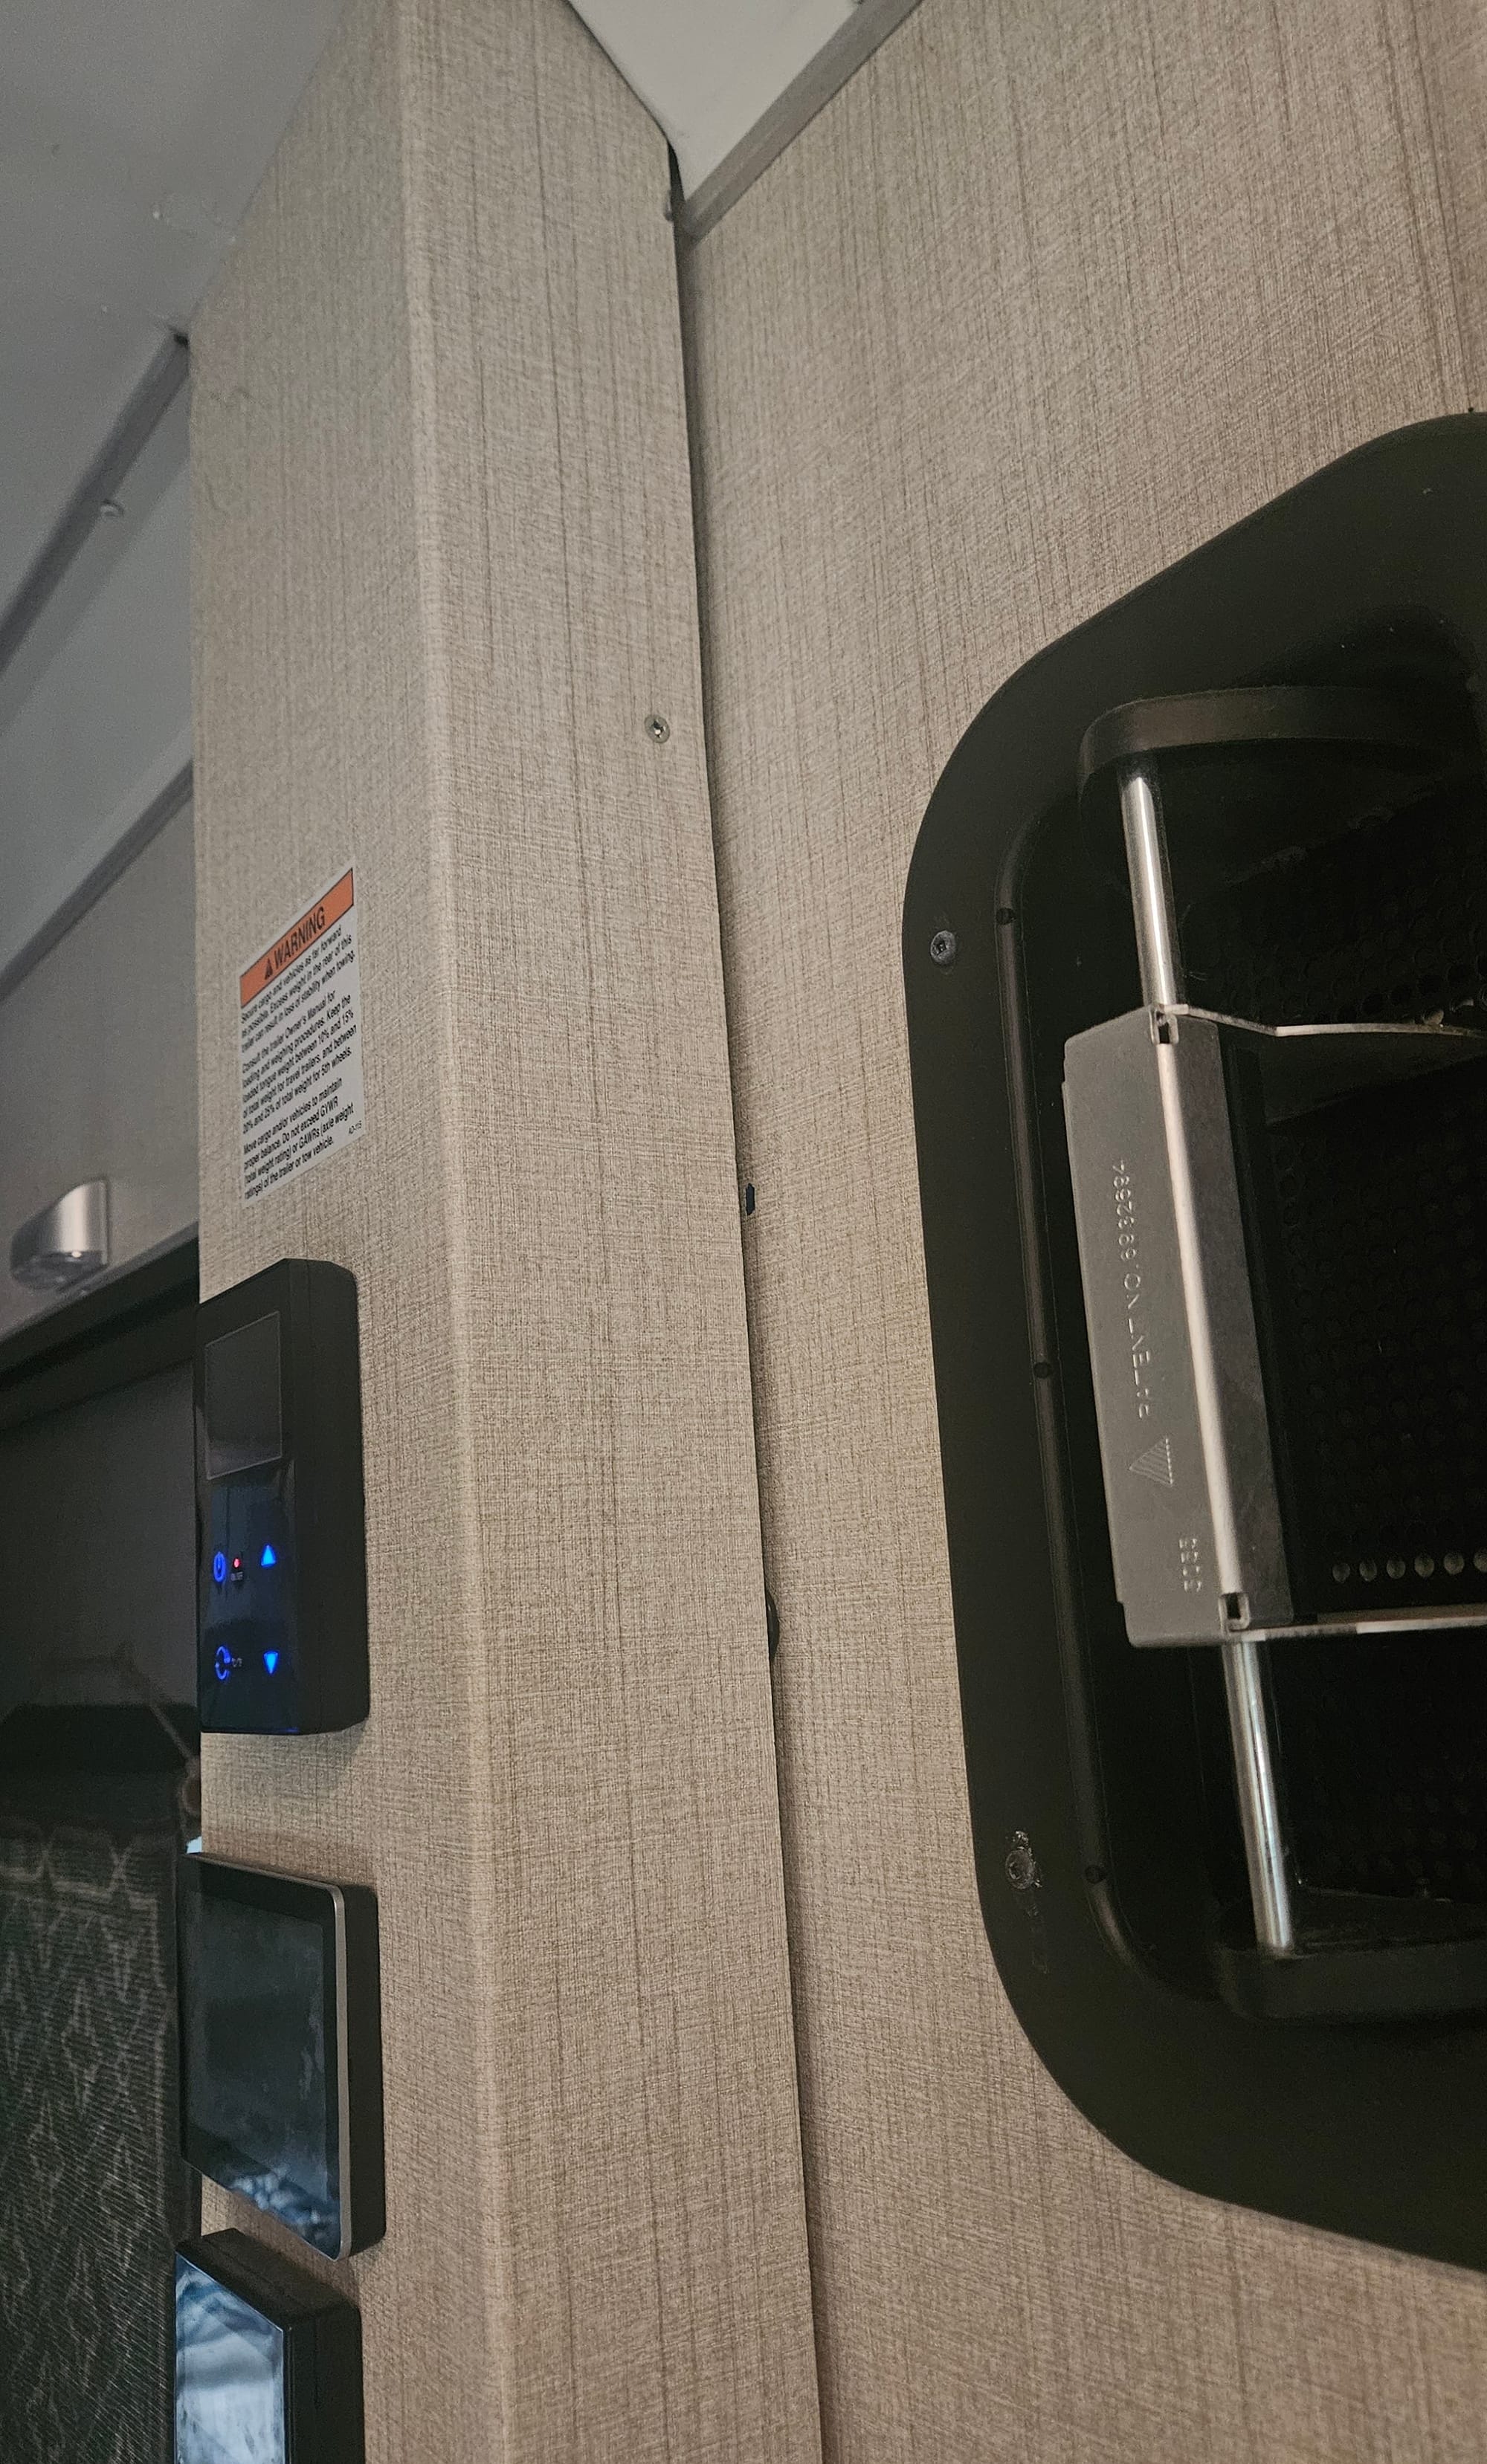
Then to make matters worse, we have noticed that the column that houses our electric is separating from the wall! Probably due to too much detaching to look behind there. We don't see any missing screws where the gap is, so we'll need to ask ATC how it's usually held in, and hopefully get it put back in place soon because now some of the wires are exposed. Safe to say this repair is officially still on our list. It's disappointing when we go in for a fix and wind up in worse shape, but we keep reminding ourselves that this problem is solvable. It just hasn't been solved yet.

Fix a severed gray tank heater wire
Sometimes in the RV life, you make a quick stop for gas and notice something amiss. This is why we always do a walkaround and hitch check at every pit stop, even if we're only stopped for a few minutes. You never know what catastrophes might arise during the rolling earthquake. Nicole had Tanner out for his potty break and noticed a loose wire hanging underneath the trailer. Anthony crouched down to inspect it and discovered that the wire to our gray tank heater had severed. How, we still don't know. We secured the wire, thanked our lucky stars that it was summertime and we wouldn't need our tank heaters for a while, and continued on our way.
ATC spliced the wire back together, and we thought the problem was solved. Then right before we left the manufacturer, we noticed something else amiss.
Our generator fuel gauge was reading empty, despite us having fuel in the tank. At first we assumed something else got knocked loose behind the panel, where the guys checked the electric. They went behind there again and saw nothing. After scratching our heads, the guys finally figured it out. Upon checking the generator itself, they noticed another severed wire, this one going from the generator to the fuel gauge. Amazing what even a smooth drive day on smooth roads can do. Thankfully, that was the extent of our under-the-rig damage, as far as we've been able to tell. Another wire spliced and we were ready to roll.
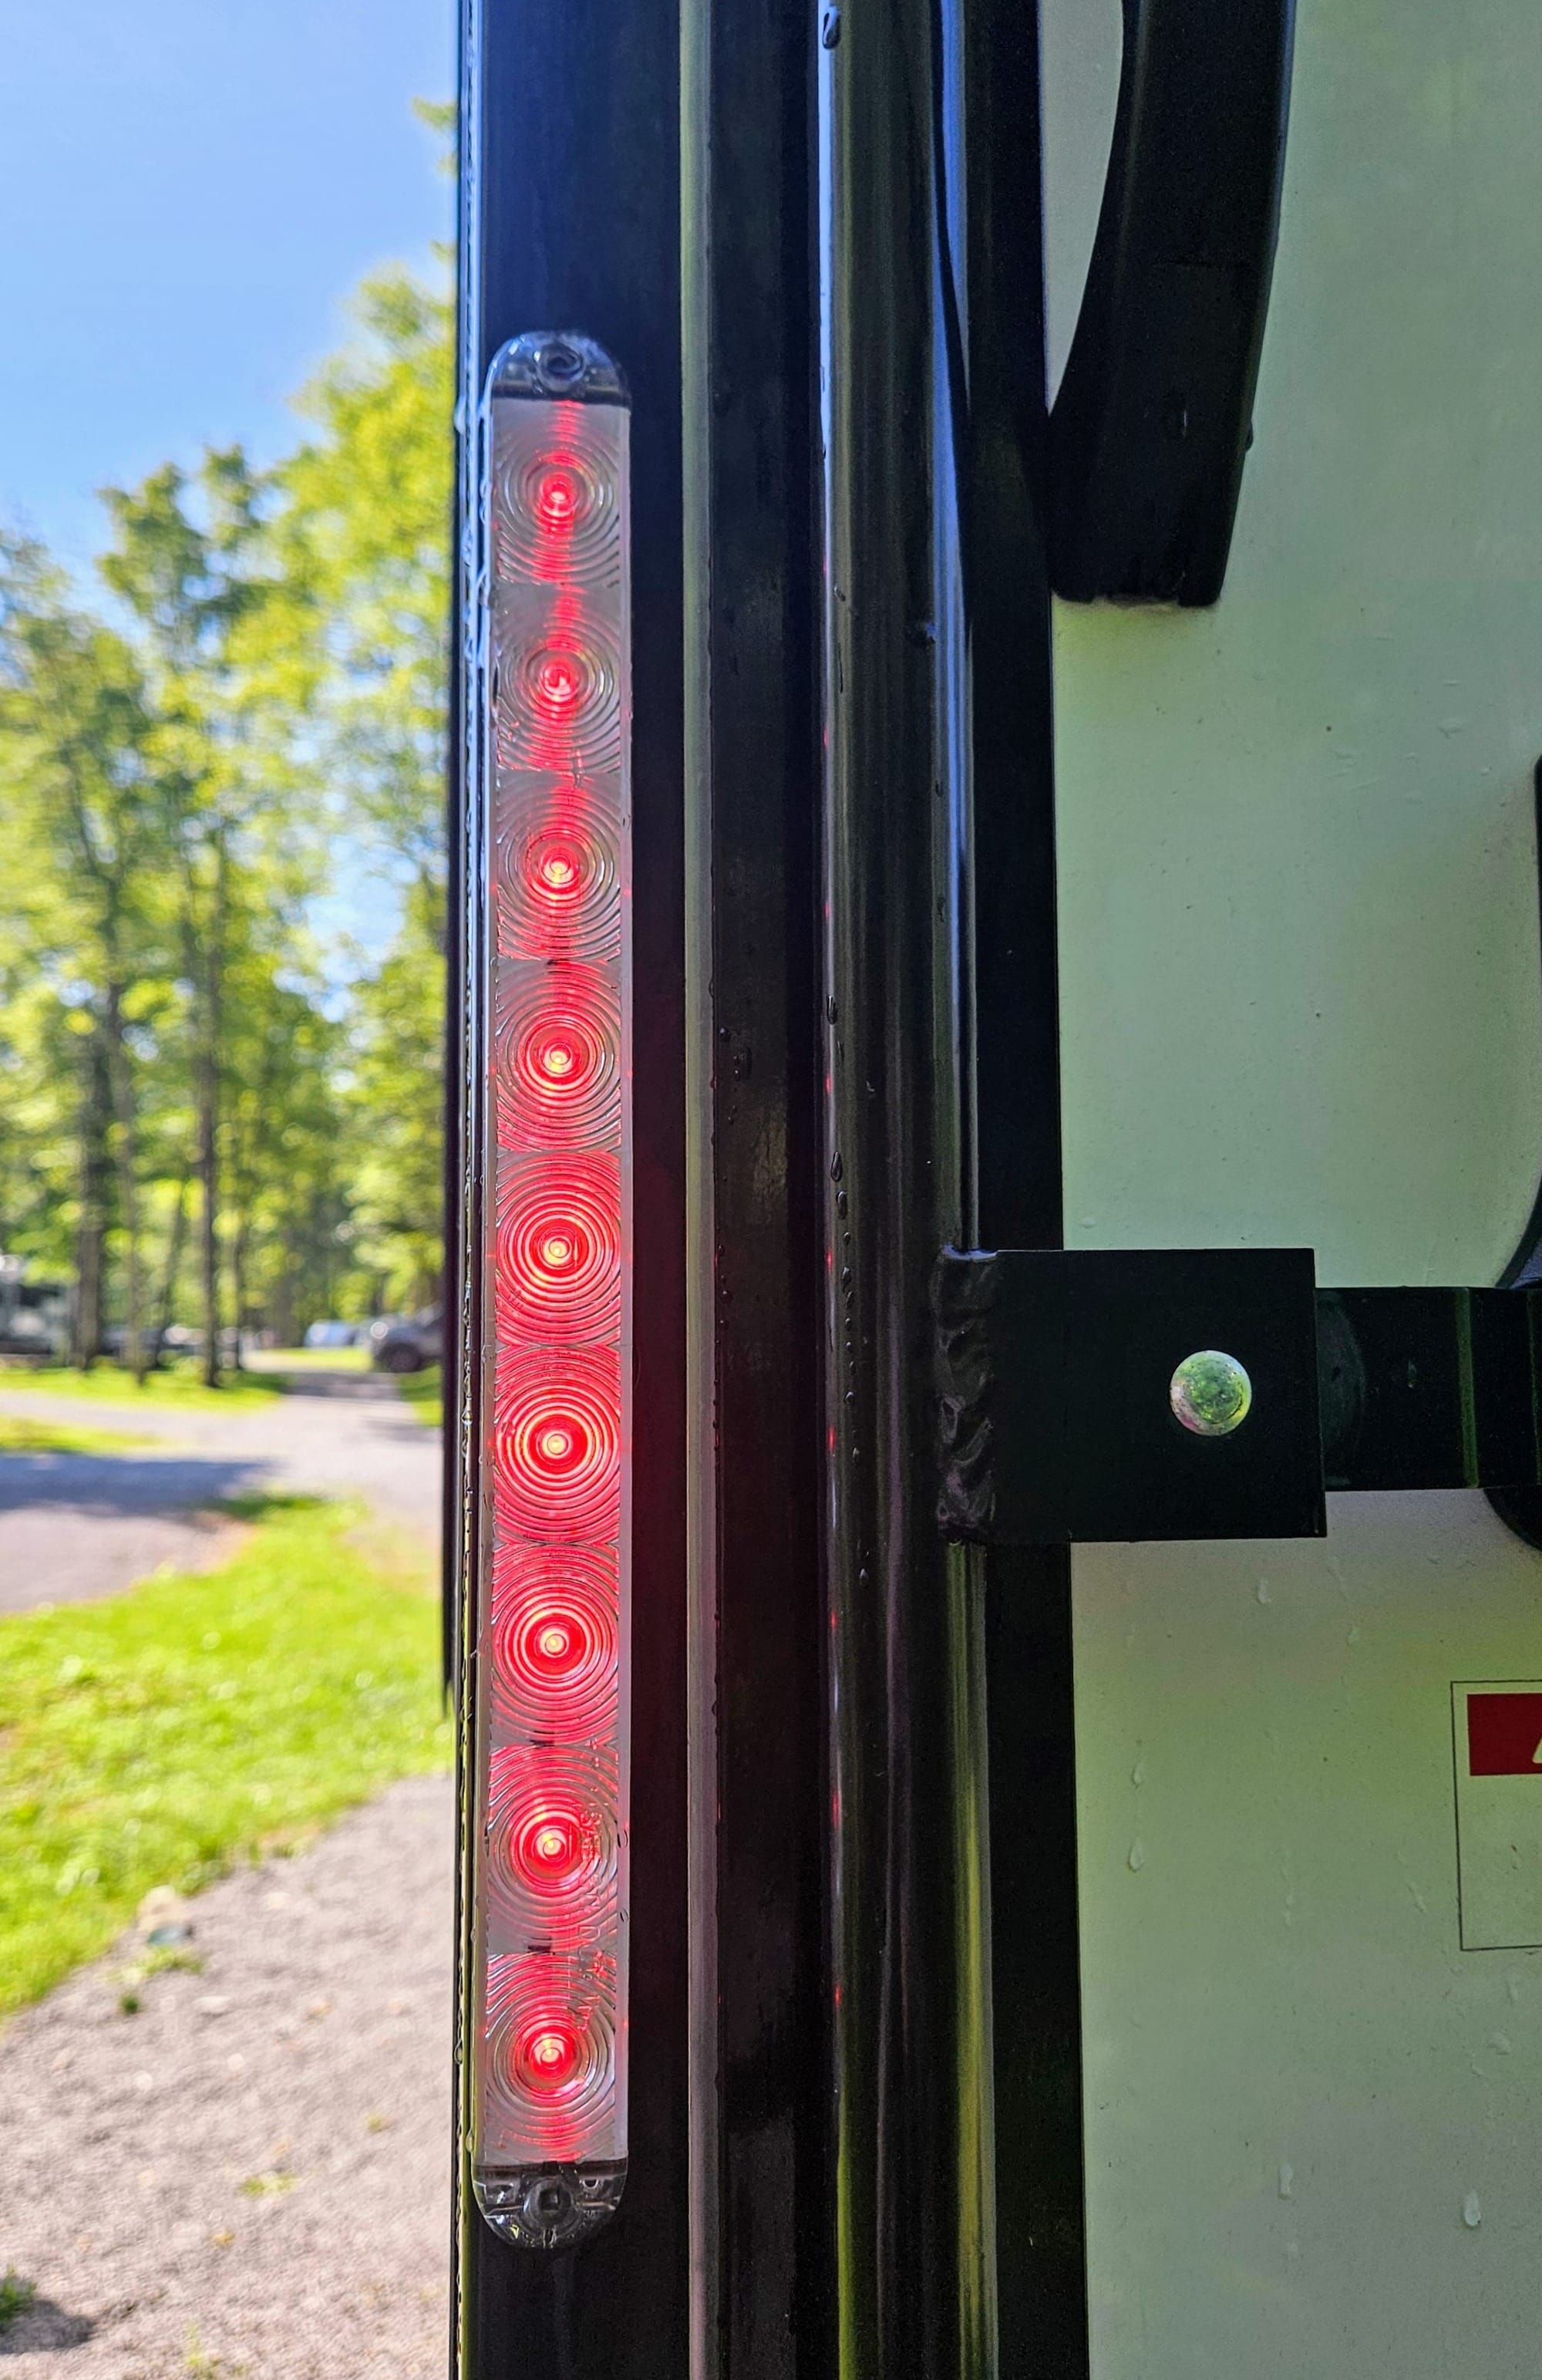
Fix our rear driver turn signal
This problem was electric-adjacent but really just a hardware issue. The plastic cover on our left tail light had cracked, so moisture could get in. When it got wet enough, two of the little bulbs in the light strip would go out. Still enough lights to alert drivers behind us what was happening, but we didn't want the issue to get worse as more moisture got in. ATC replaced the light and we have a brand new, fully intact cover. Easy peasy!
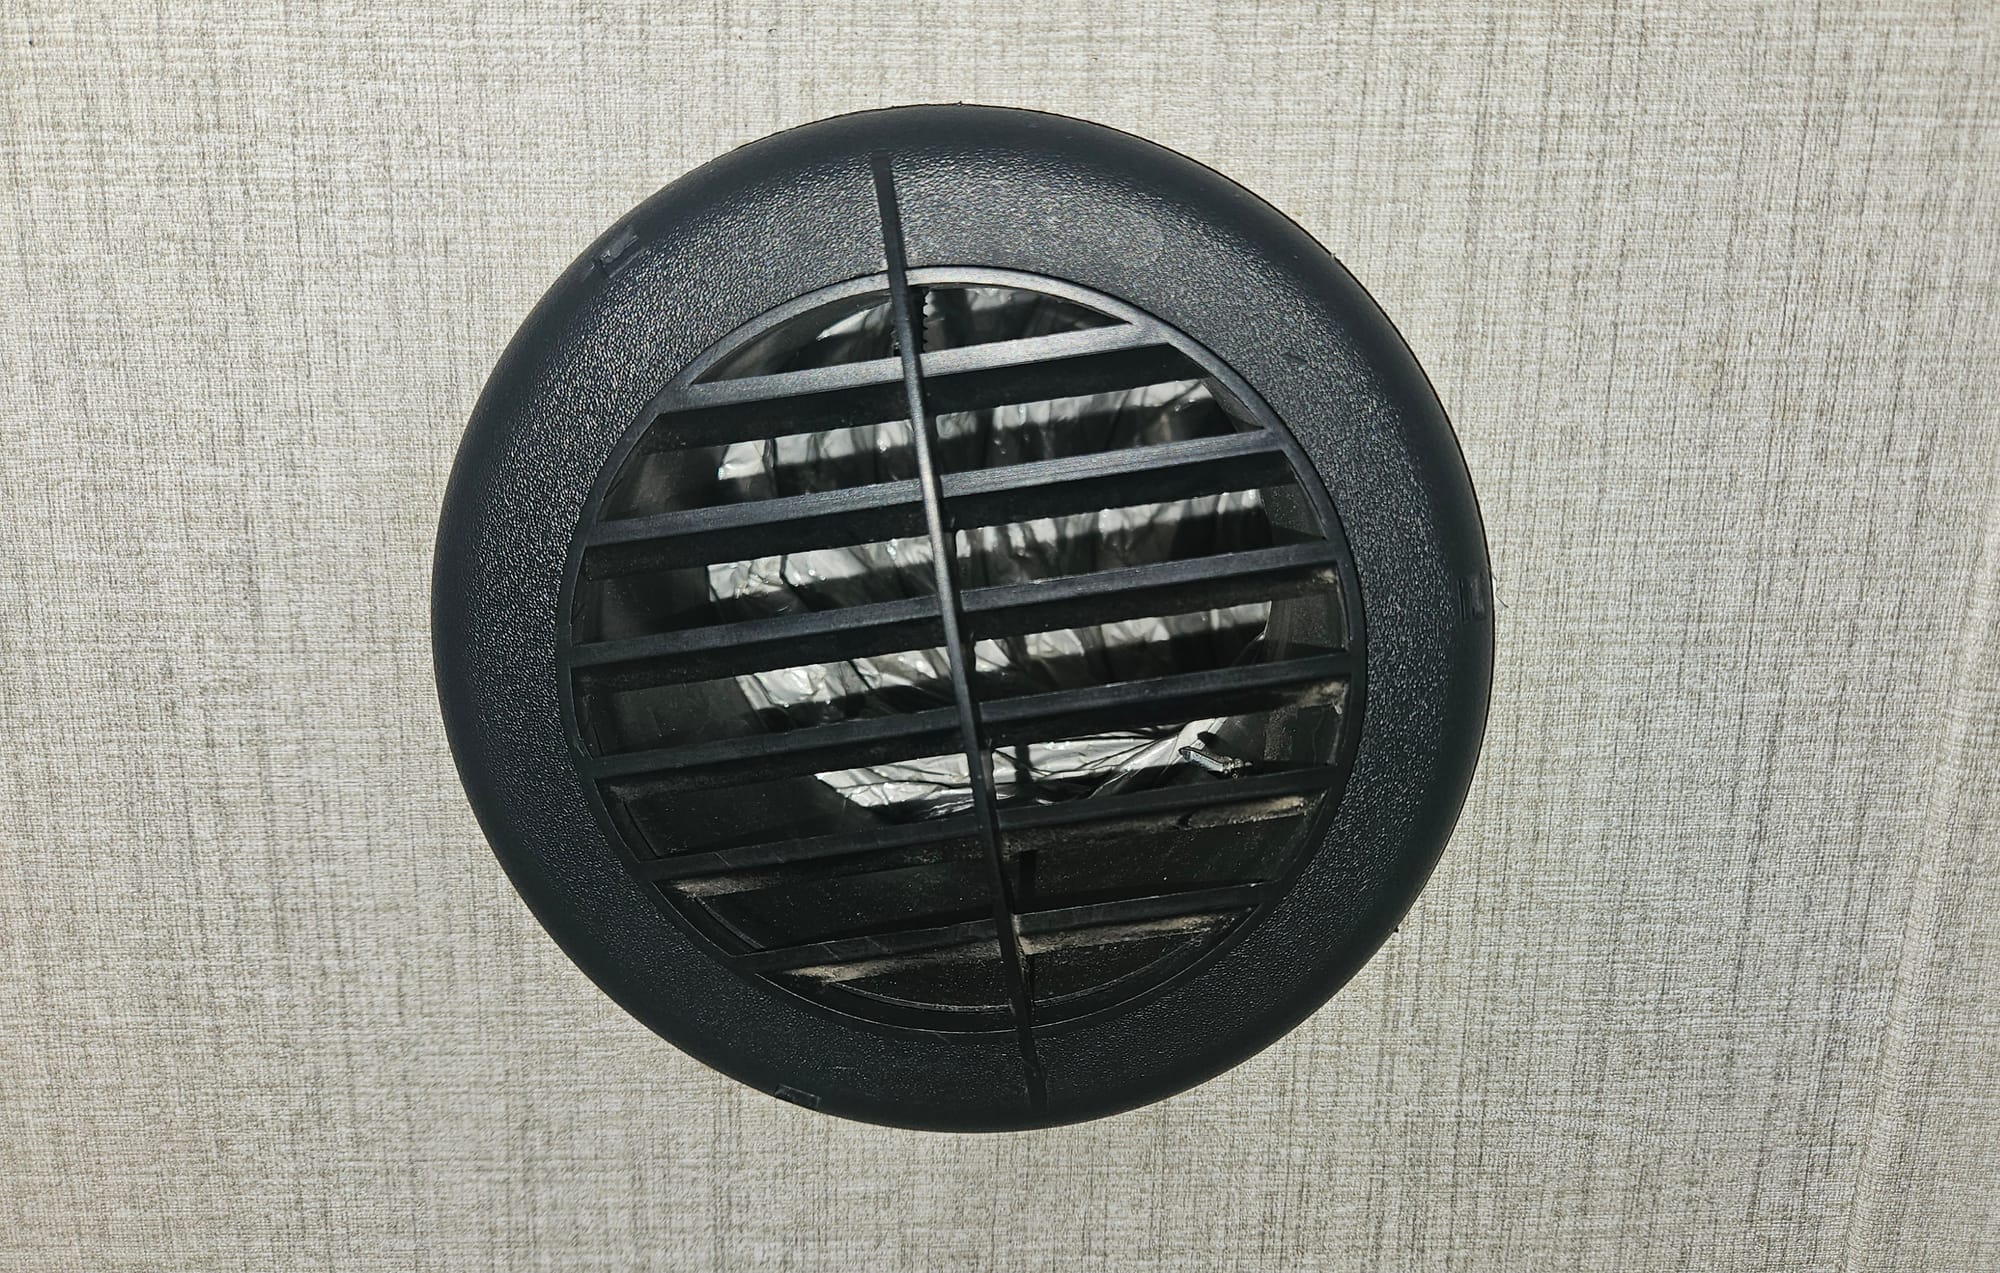
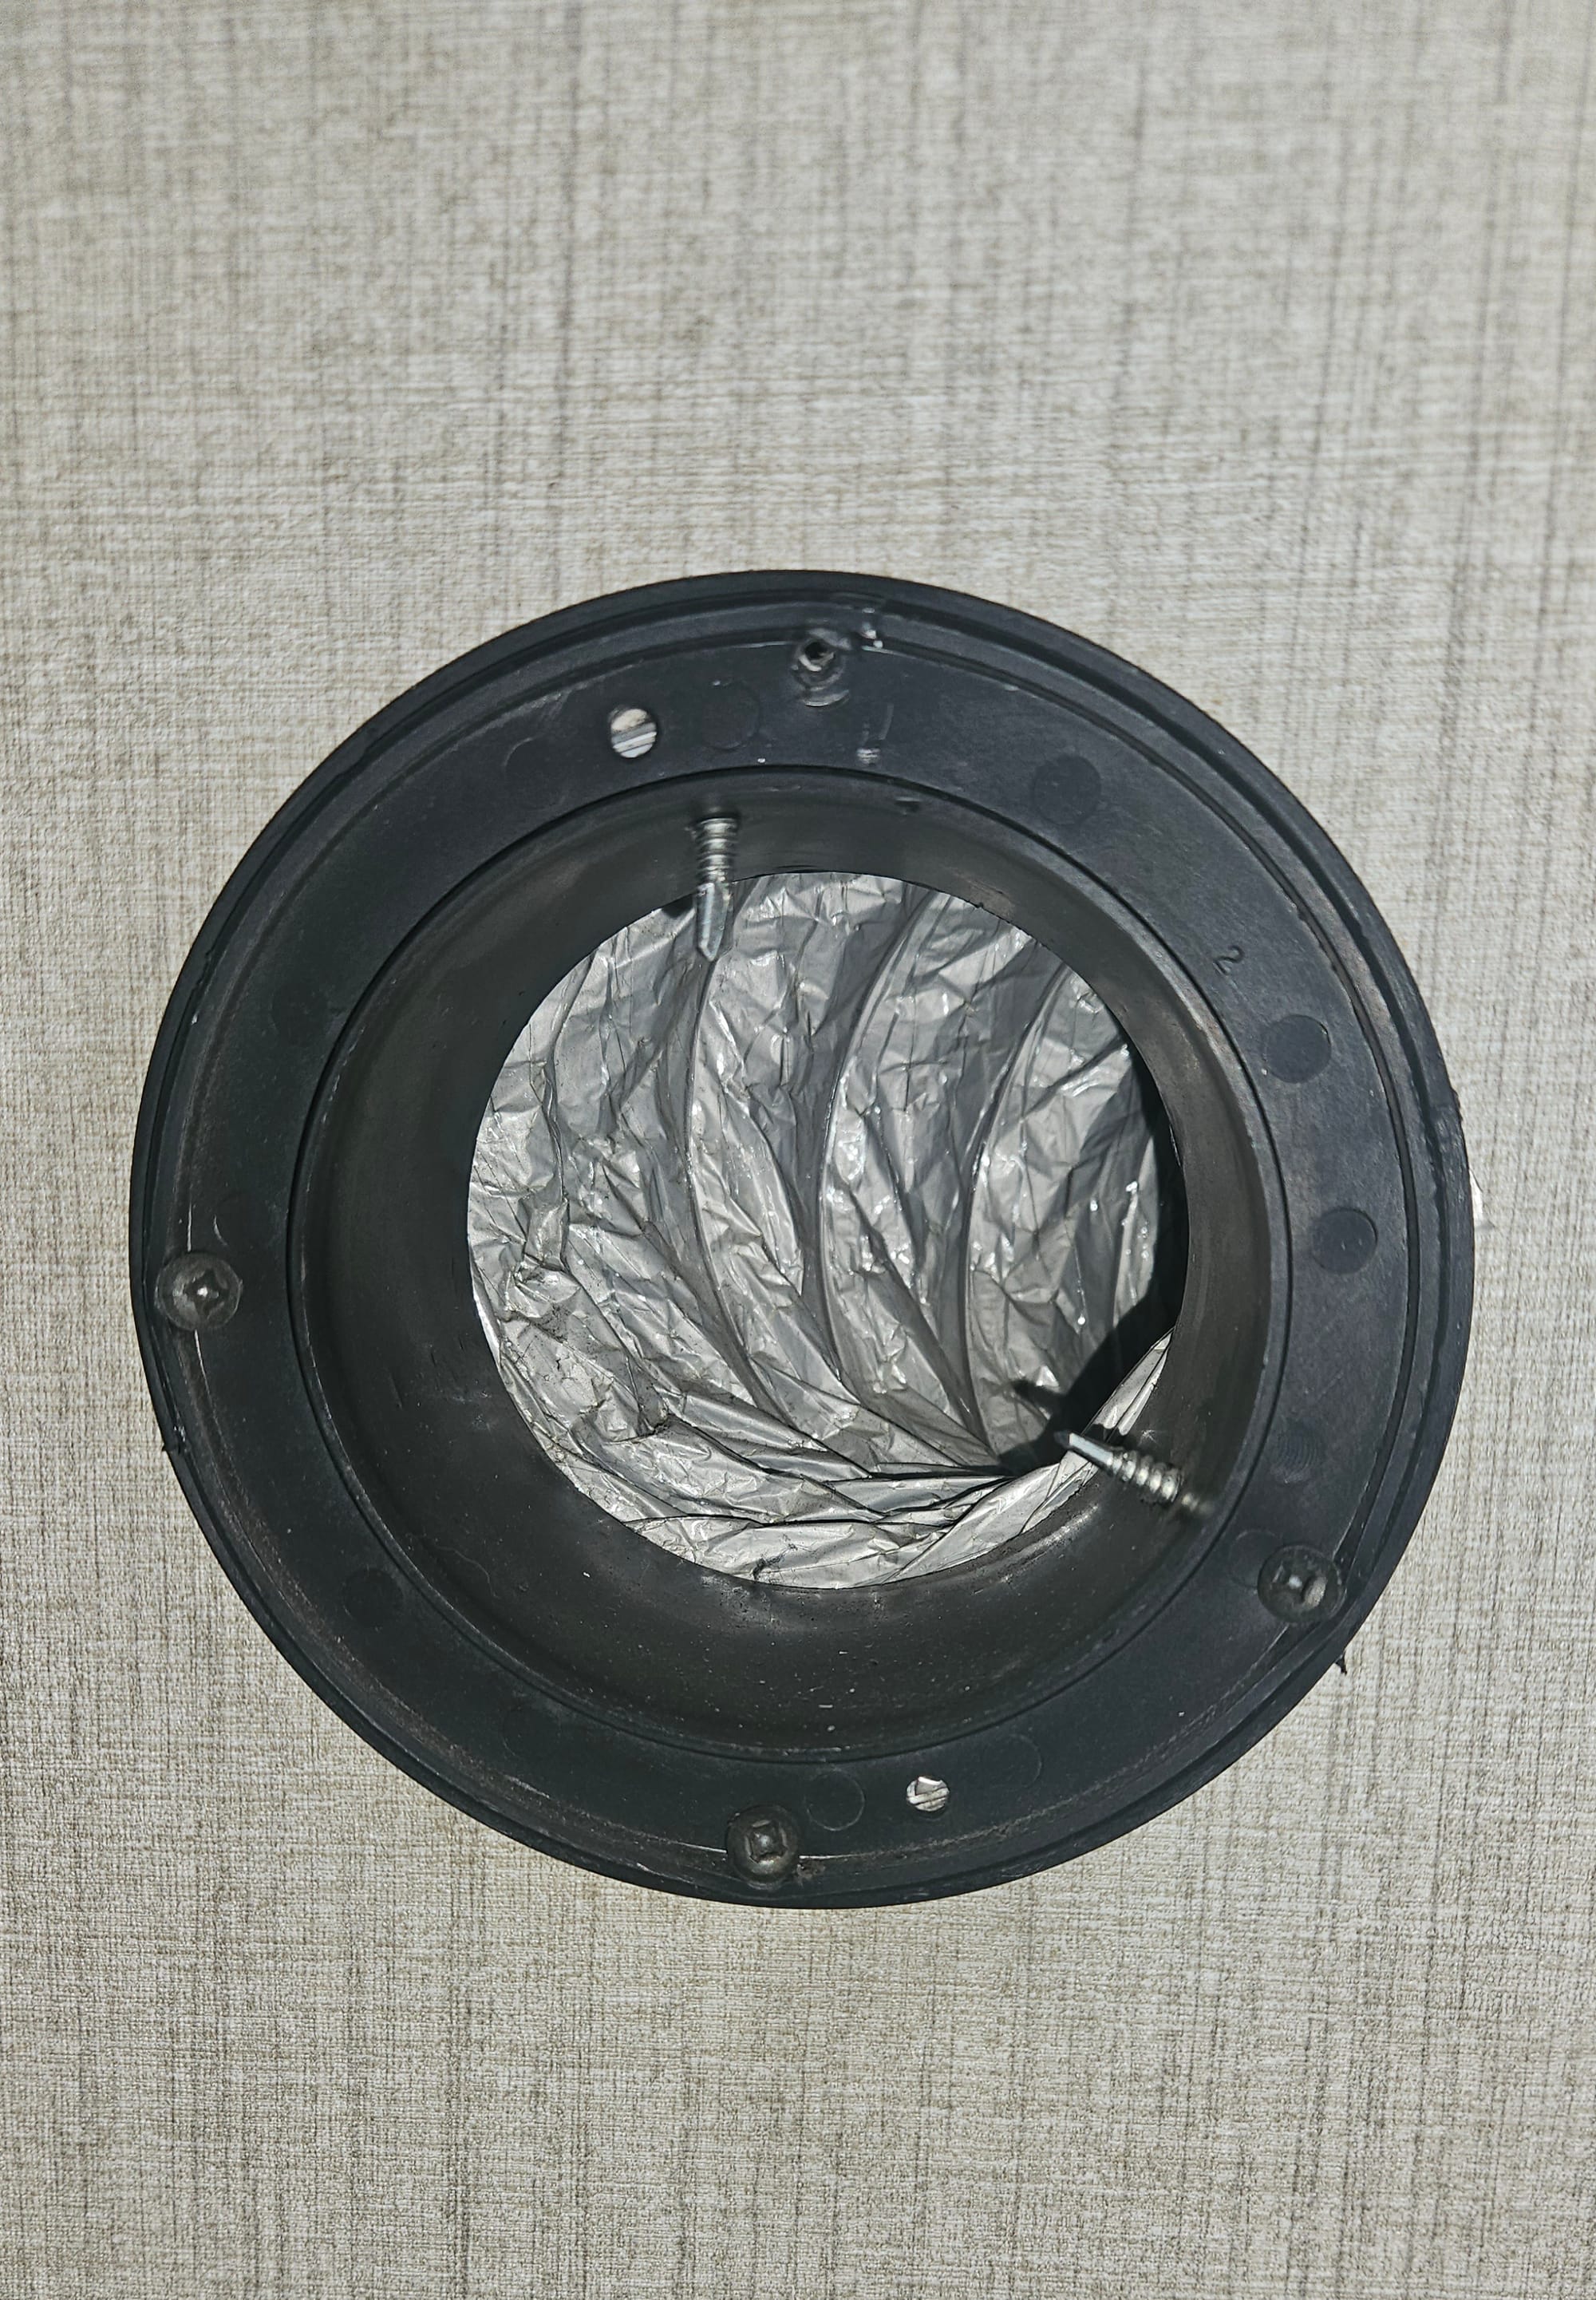
Odds and ends: Replace our current heat vent cover with one that has a damper, and replace some window operators and knobs
Last winter, we complained about the many times we didn't have heat. But when we got it back, we had the aggravation of our bedroom heating up far more than the rest of the trailer. Finally, we bought a new heat vent cover for our bedroom. This one has a damper so we don't need to let in as much heat and can divert some through the vent in the main part of the rig. A simple fix to the problem...or so we thought. When we went to replace the cover, we noticed that our heating duct was attached rather precariously with awkwardly placed screws, and we got scared that we would tear the ducting. We told Gino that we didn't really need them to replace the cover, but they could just show us what needs to be done. We haven't replaced the cover yet, but now we know how and aren't scared anymore. We just need to find a time to do it, ideally before the cold weather rolls in this fall.
Lastly, we have some knobs and arms that need replacing on our windows. This is a fairly common occurrence and used to be quite a nuisance, because in order to replace the full operating mechanism, we needed to take out rivets. But since we've done this a few times and the same windows seem to always be the culprits, we've now replaced the rivets with screws and can easily replace the mechanism. That is, when we can find the parts. We hoped that ATC would have some in stock, but they needed to order them. Once we have them, the repairs will be easy for us to do on our own.
That sums up our ATC repairs for 2025! Aside from our continued electrical issues, we'd call this service appointment a success. We got a lot of important repairs done, and we have a plan for tackling a few more. But of course, the RV life never grants us a respite from things breaking. Just weeks later, we've already discovered more items and equipment that need fixing. We've added those to our never-ending list. Thankfully, they aren't anything that would derail our plans to return to New England and enjoy the summer in our home region.