
We waited years to replace this


In our last blog post, we talked about what we accomplished on our New England to-do list. Amidst lots of travel chaos, we narrowed our focus to the most pertinent tasks that needed to be done on location, either in NH or MA. We cleared items out of storage, installed new trail cameras on our land, and got the pets their vet appointments. Off the list, though, we had a couple of repairs that we'd been waiting to tackle for months. Both needed pieces of equipment sent to a reliable mailing address, and back then, we didn't have our SC cottage yet, and so we shipped the items to our MA home-base and told Nicole's parents to hold onto them until we came back.
So why didn't these repairs make our to-do list? We honestly didn't know if we'd bother doing them on our trip, or if we'd collect the parts and haul them down to SC to deal with it later. Lots of circumstances aligned...and misaligned...that led us to the conclusion: we needed to tackle these repairs sooner than later.
We found ourselves parked at our MA home-base after leaving our 50amp campsite in search of reliable internet and cell service. Having enough electric to run our ACs was important, but not as important as having means of communication to the outside world. And, since the weather took a turn for the better, we knew we could manage a few AC-free days. The real advantage to parking at our home-base was that we were much more efficient packing things into the rig from storage. We could also tackle our repairs without needing to pick up the equipment and drive it back to a campsite.
Granted, one of the parts was very small – one of the smallest replacement parts we've ever needed. It was the other part that we didn't want to have to haul back to a campsite, let alone the whole 1000 miles back to SC! When we saw the size of the package, we were shocked.
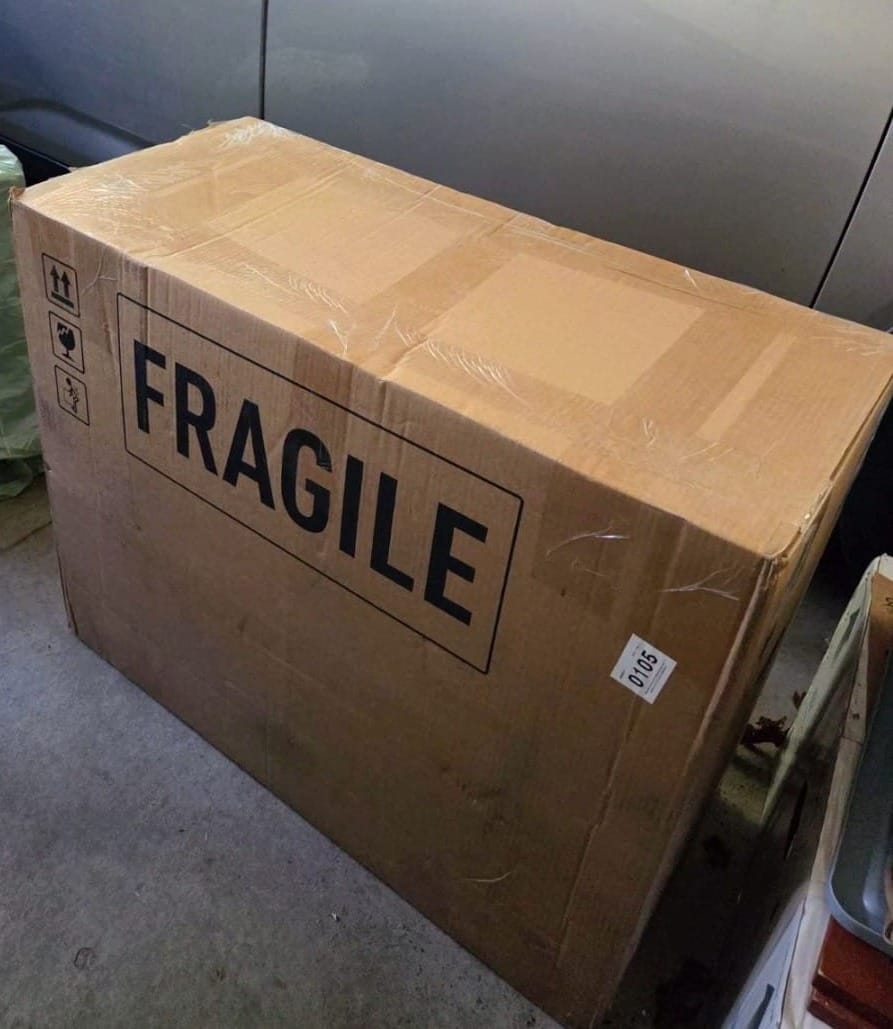
But what is it? Honestly, we wondered the same thing because the replacement part we were waiting for wasn't supposed to be that big. We'd need to wait a few days, though, before we had enough free time to open it up and check it out.
First, we got the small repair done. We can't even call it a repair, actually, because it was as simple as screwing a cap. After one of our drive days last spring, we went to unhitch and noticed that the plug cap to our electric tongue jack came off during travel. This cap covers our manual access override, which you can connect a wrench to and manually extend and retract the jack. You saw us need to use it on our previous jack last year.
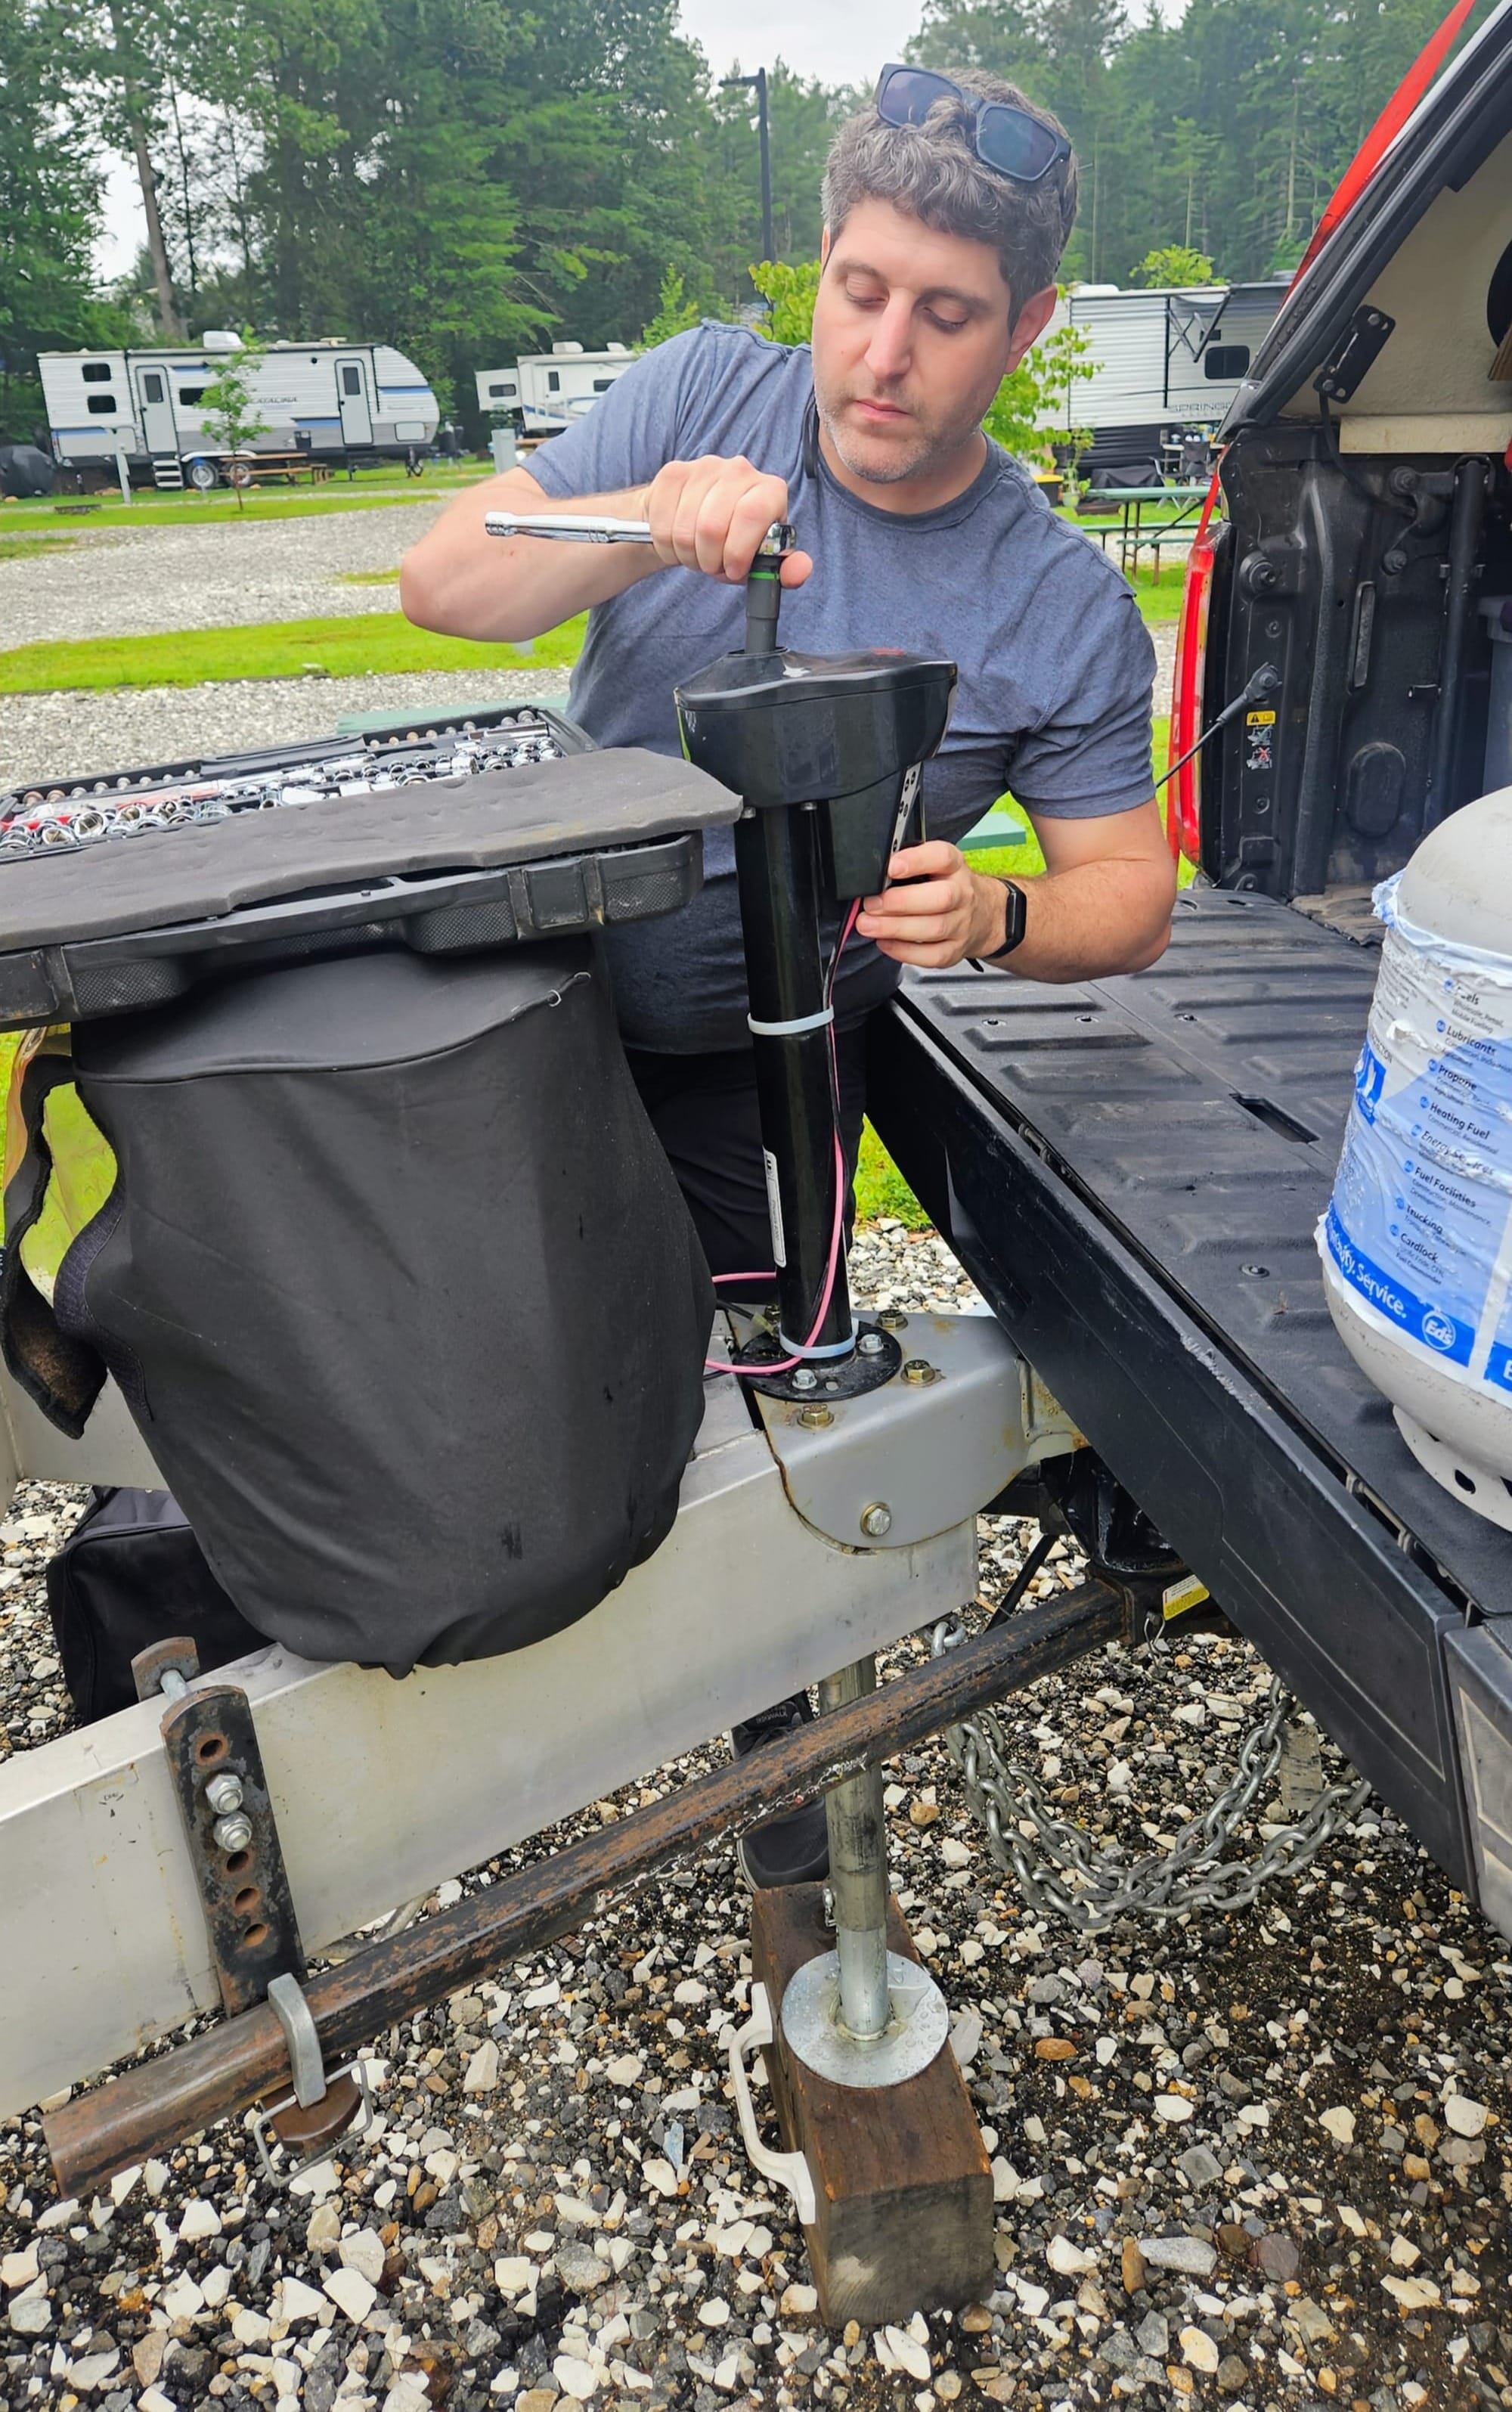
We contacted UltraFab, the company that makes our jack, and they sent us a replacement cap. This happened very early on in our travels, and so while our replacement waited patiently for us at our MA home-base, our interim solution was to cover the area with electric tape so precipitation wouldn't get in. Thankfully, we didn't need to use the override at all with this jack!
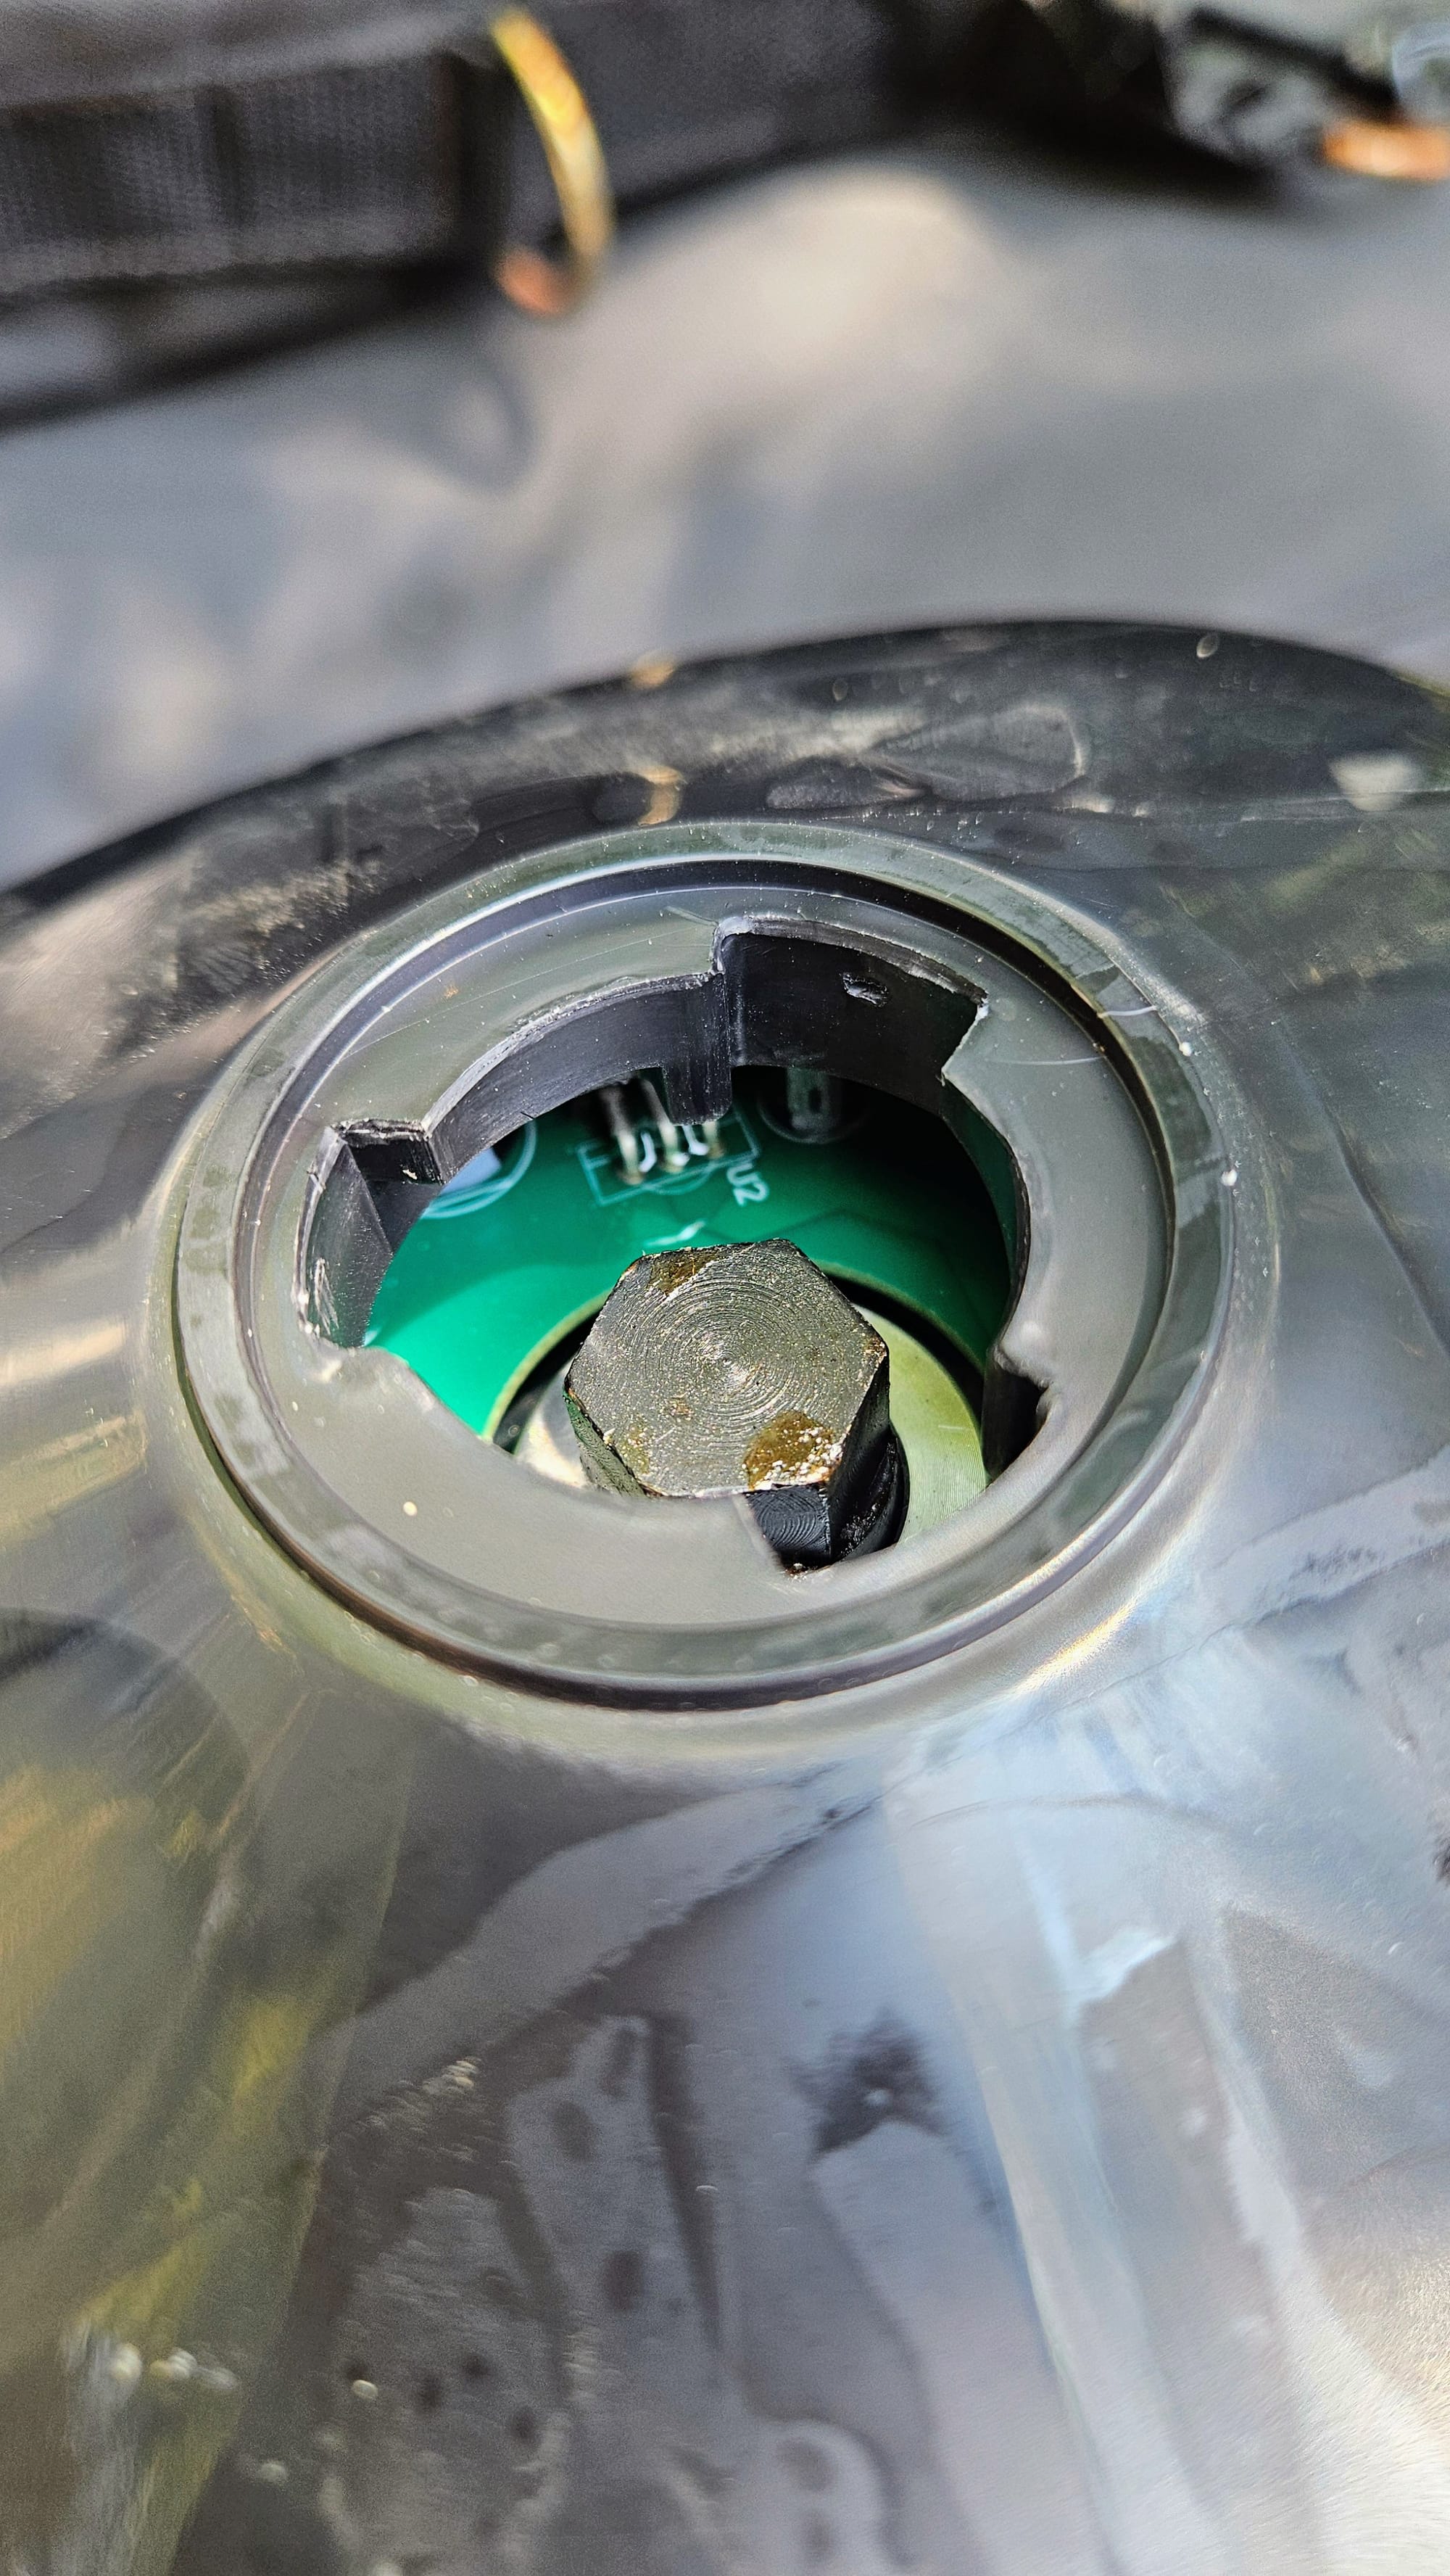
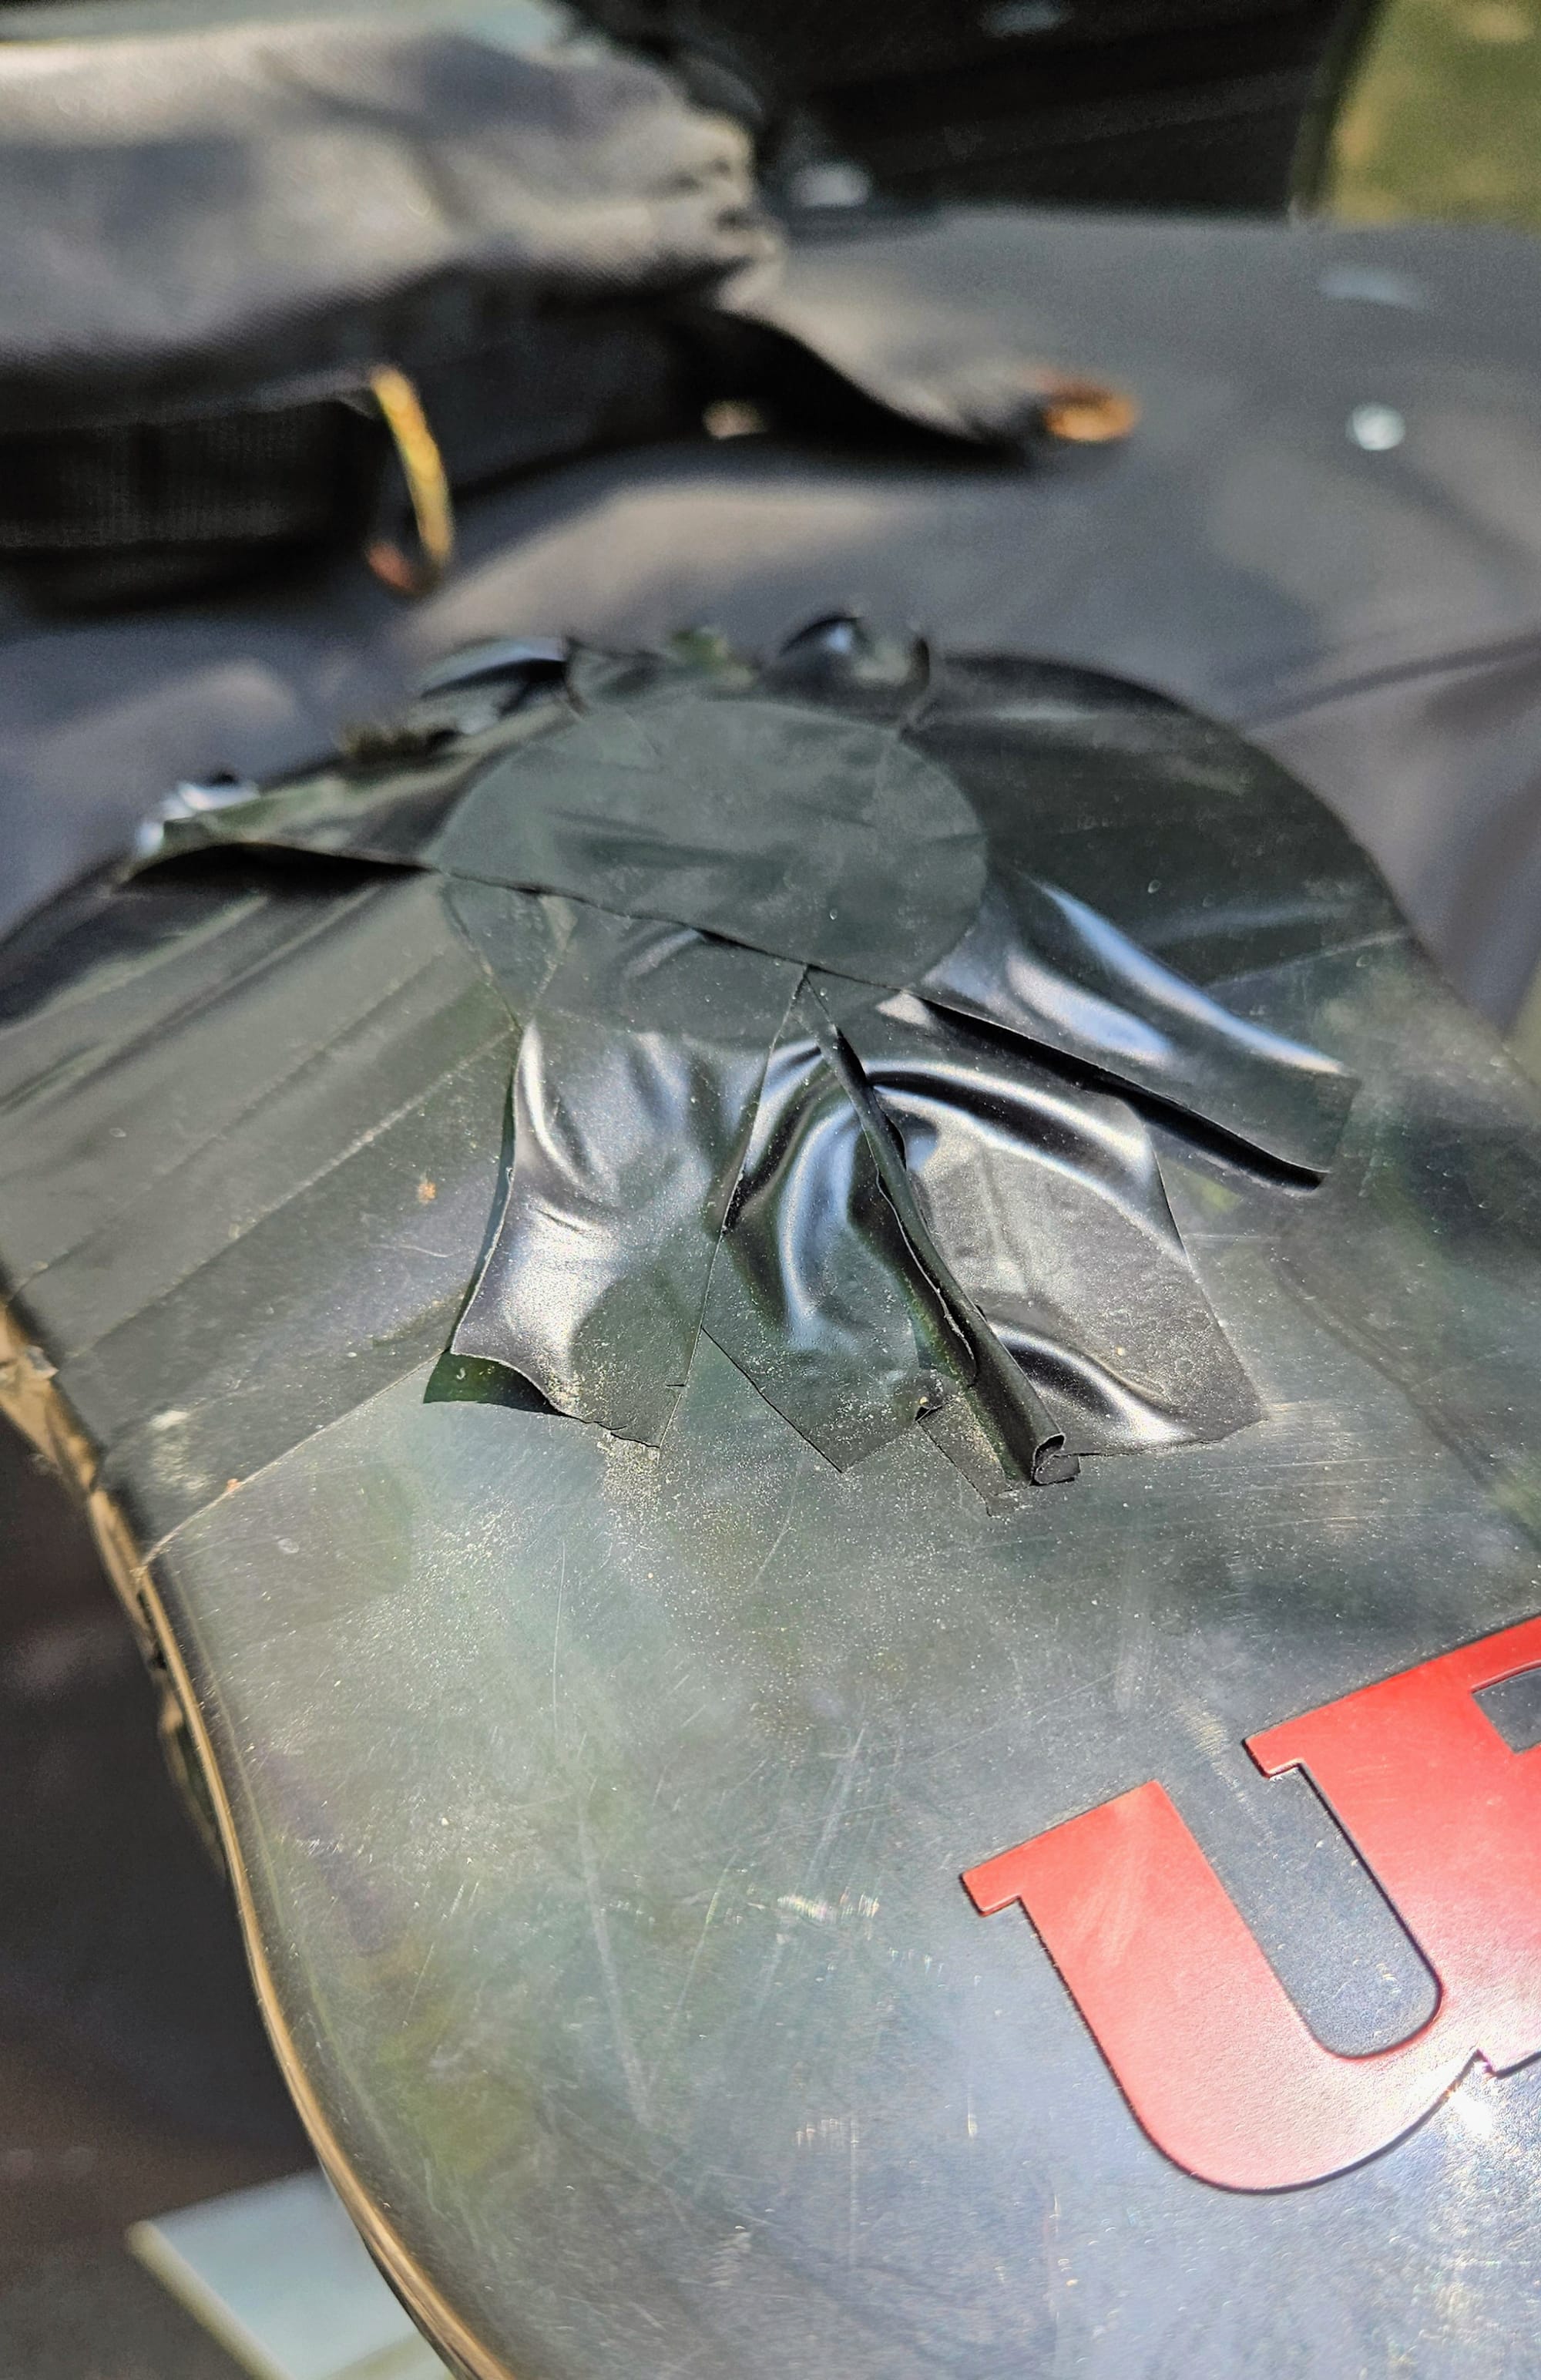
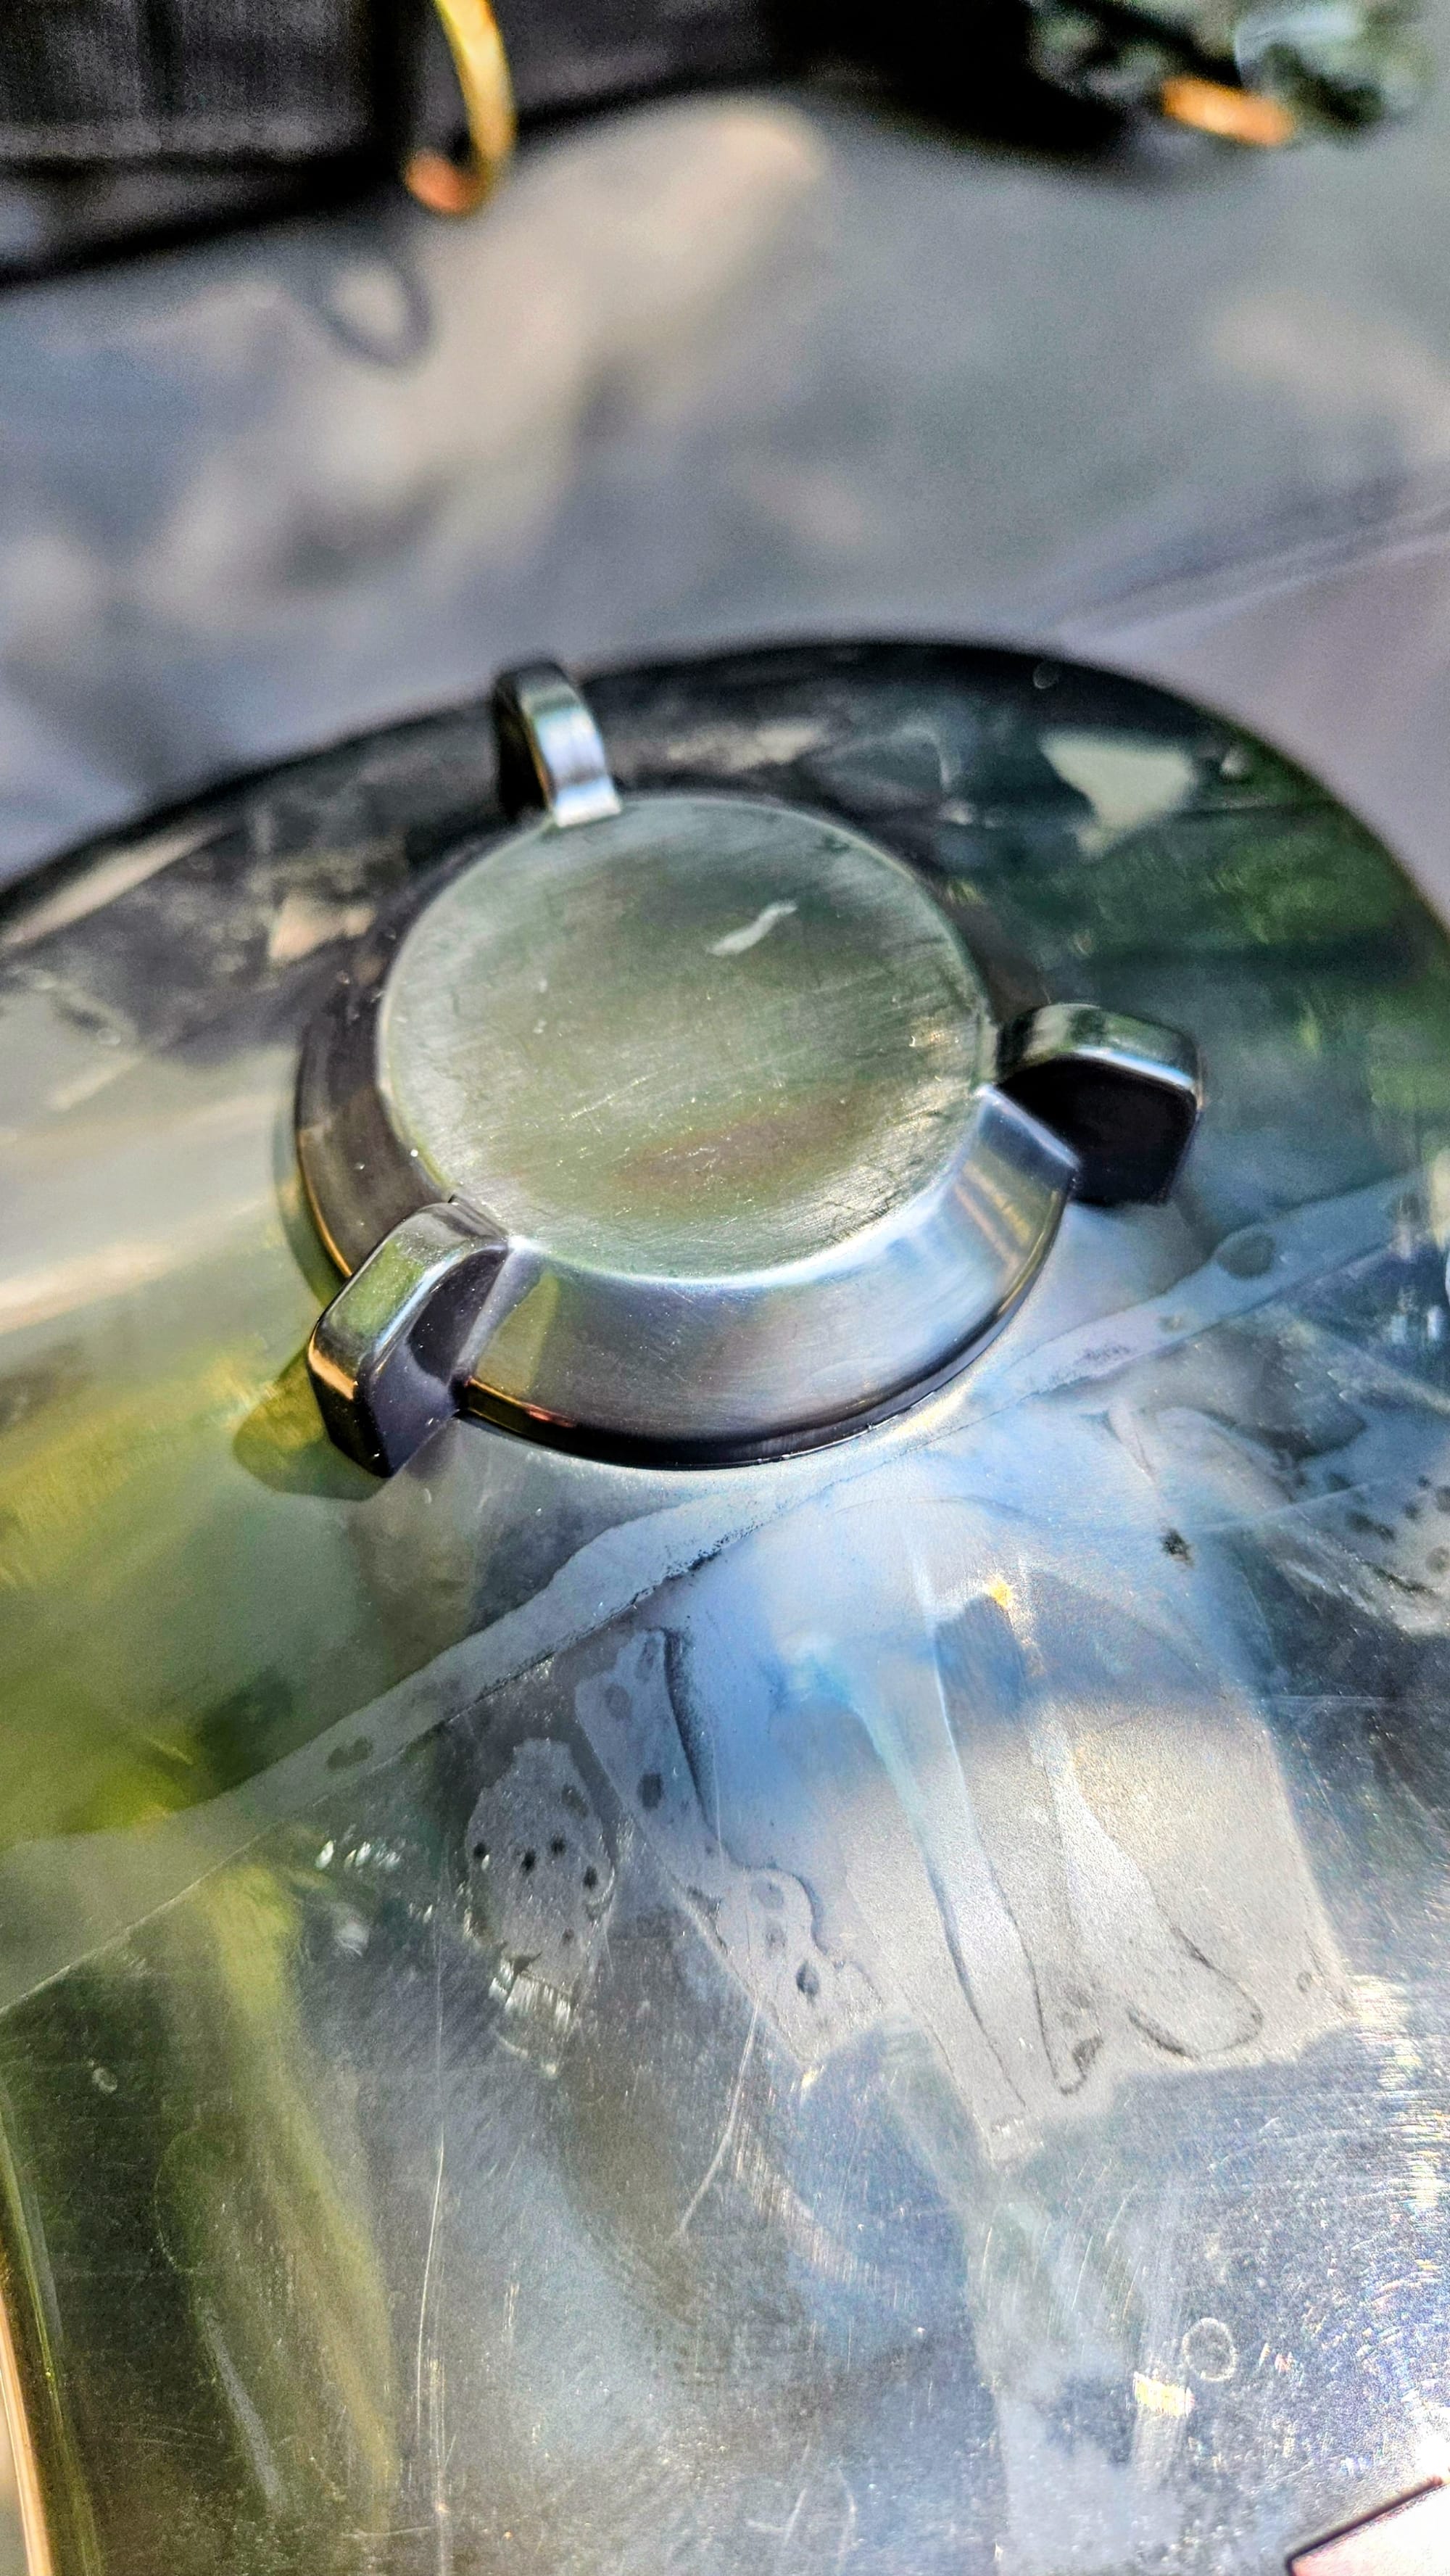
A quick screwing on of the new cap, and Jacques IV was good as new...at least aesthetically. We've stayed in some very unlevel sites this year, and while we always make sure to not extend our jack beyond its limit, we have reason to believe it's gotten slightly bent. On our past few drive days, we've heard occasional popping sounds when we extend the jack to raise the tongue off the hitch. That's what happened to our first jack. Only difference is, our first jack wasn't rated for as much tongue weight. When we switched to the UltraFab Phoenix, we purposely ordered one with 4000lb load capacity, which should be plenty for lifting our tongue. We're loyal to this jack – we call him Jacques IV because it's our 4th jack, 3rd of this model. But how many models do we need to go through before we consider switching to a different one? Jacques II cracked during shipment, so we didn't even get to connect it to our trailer. Jacques III stopped working after just 7 months. Now we're getting a possible bend after installing Jacques IV just 4 months ago! It's tough because UltraFab's customer service has been great, and when the jacks work, they're really impressive with their speed and ease of use. We'll continue using Jacques IV and see if the popping gets any worse, but since we'll be slowing our travels soon, we don't need to make any decisions right away.
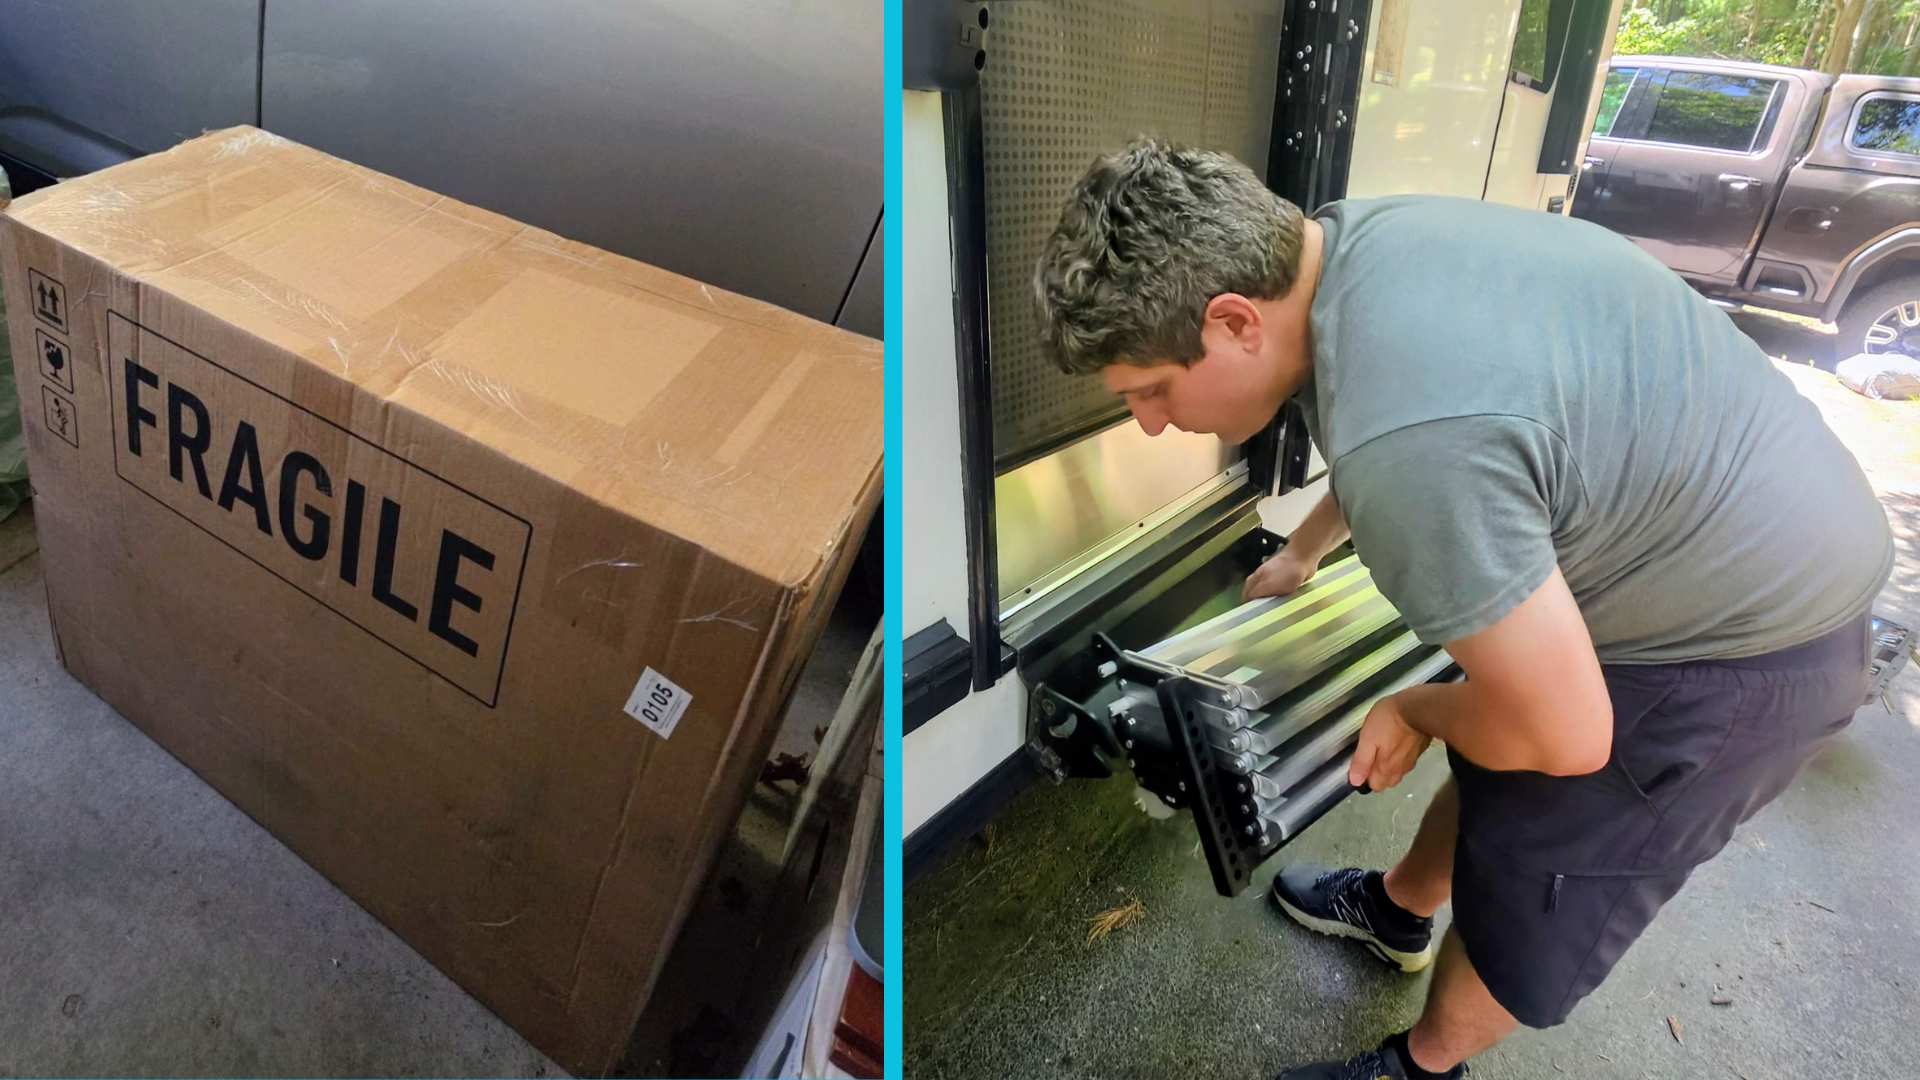
Two days before we left our MA home-base, we finally had enough free time to tackle our bigger project, starting with opening the giant box that had been invading Nicole's parents' garage for 4 months. We had been dealing with an annoying issue with our Torklift GlowSteps. We replaced our steps with the GlowStep Revolution Uprising steps in 2023, after growing beyond aggravated by our Lippert steps that came stock on our trailer. After tons of research, we decided to buy Torklifts because of their accordion-style extension, which allows them to remain stably planted on the ground at all points of extension, even in campsites with little space. We loved these steps right from the start and still do. However, as far back as we can remember, we've had to continuously replace a bolt in the bracket near the bottom step. The first time it snapped, it caused so much wiggling that a spacer between two of the brackets fell out, and there was no way for us to reinsert it. All we could do was buy a new bolt of the right size, line the brackets back up, and connect them with the bolt, without the spacer. This kept things stable for a while, before that bolt also snapped, and we needed to replace it again. Round and round we went.
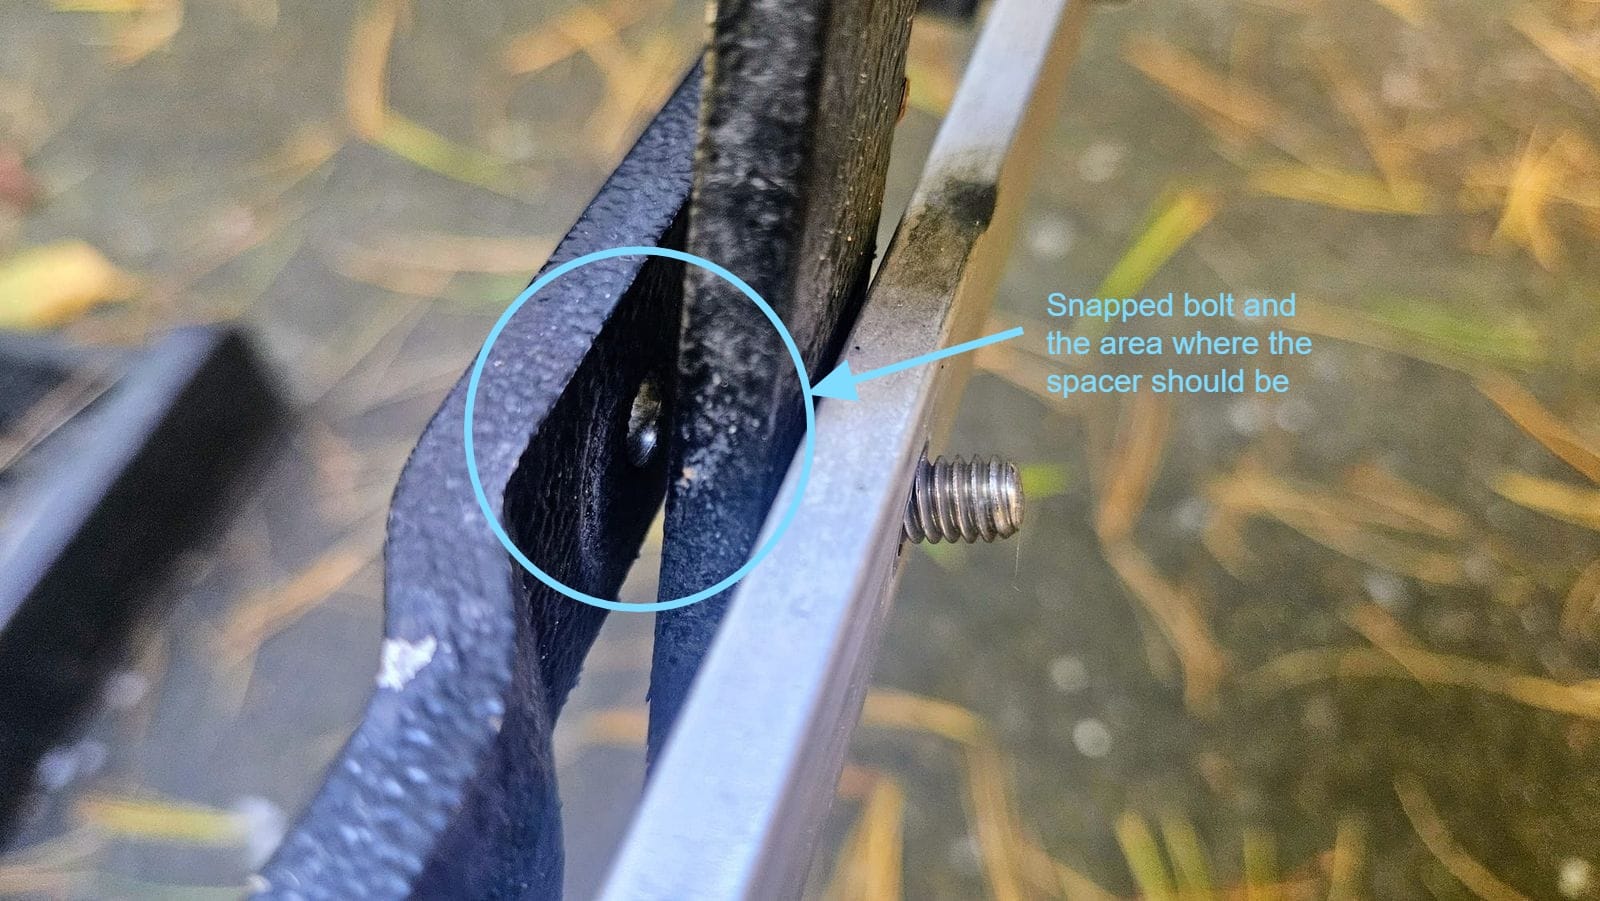
Replacing the bolt became part of our routine maintenance. It was more of a nuisance than anything, but now we had an elderly dog with mobility issues, and we started worrying about his safety.
We replaced the bolt once again before traveling the Chesapeake Bay Bridge-Tunnel; this was our pre-tunnel stop, at a plaza that happened to have an Ace Hardware. We figured why not make it a productive pit stop? But that was the day that we needed to face reality. We had started accumulating a stockpile of extra bolts because we were going through them fast. Most of the bolts were too long, which also created a safety hazard because one of us could accidentally scrape our legs on it. Our solution was a Band-Aid when these steps needed a full knee replacement.
We contacted Torklift and let them know that we had been having this issue for years at this point. We wondered if anyone else had been dealing with a similar issue, but they didn't know of any. They assured us that it shouldn't be happening, and the agreed to send us a new bottom step.
What we didn't know until we opened the package, was that they actually sent us an entirely new set of steps! They have an "add a step" feature, which means that the set of stairs can have anywhere from 3 to 6 steps. We have 4, and the 4th step is removable. Because of this, we expected them to just give us that one, but we now knew why the package was so gigantic!
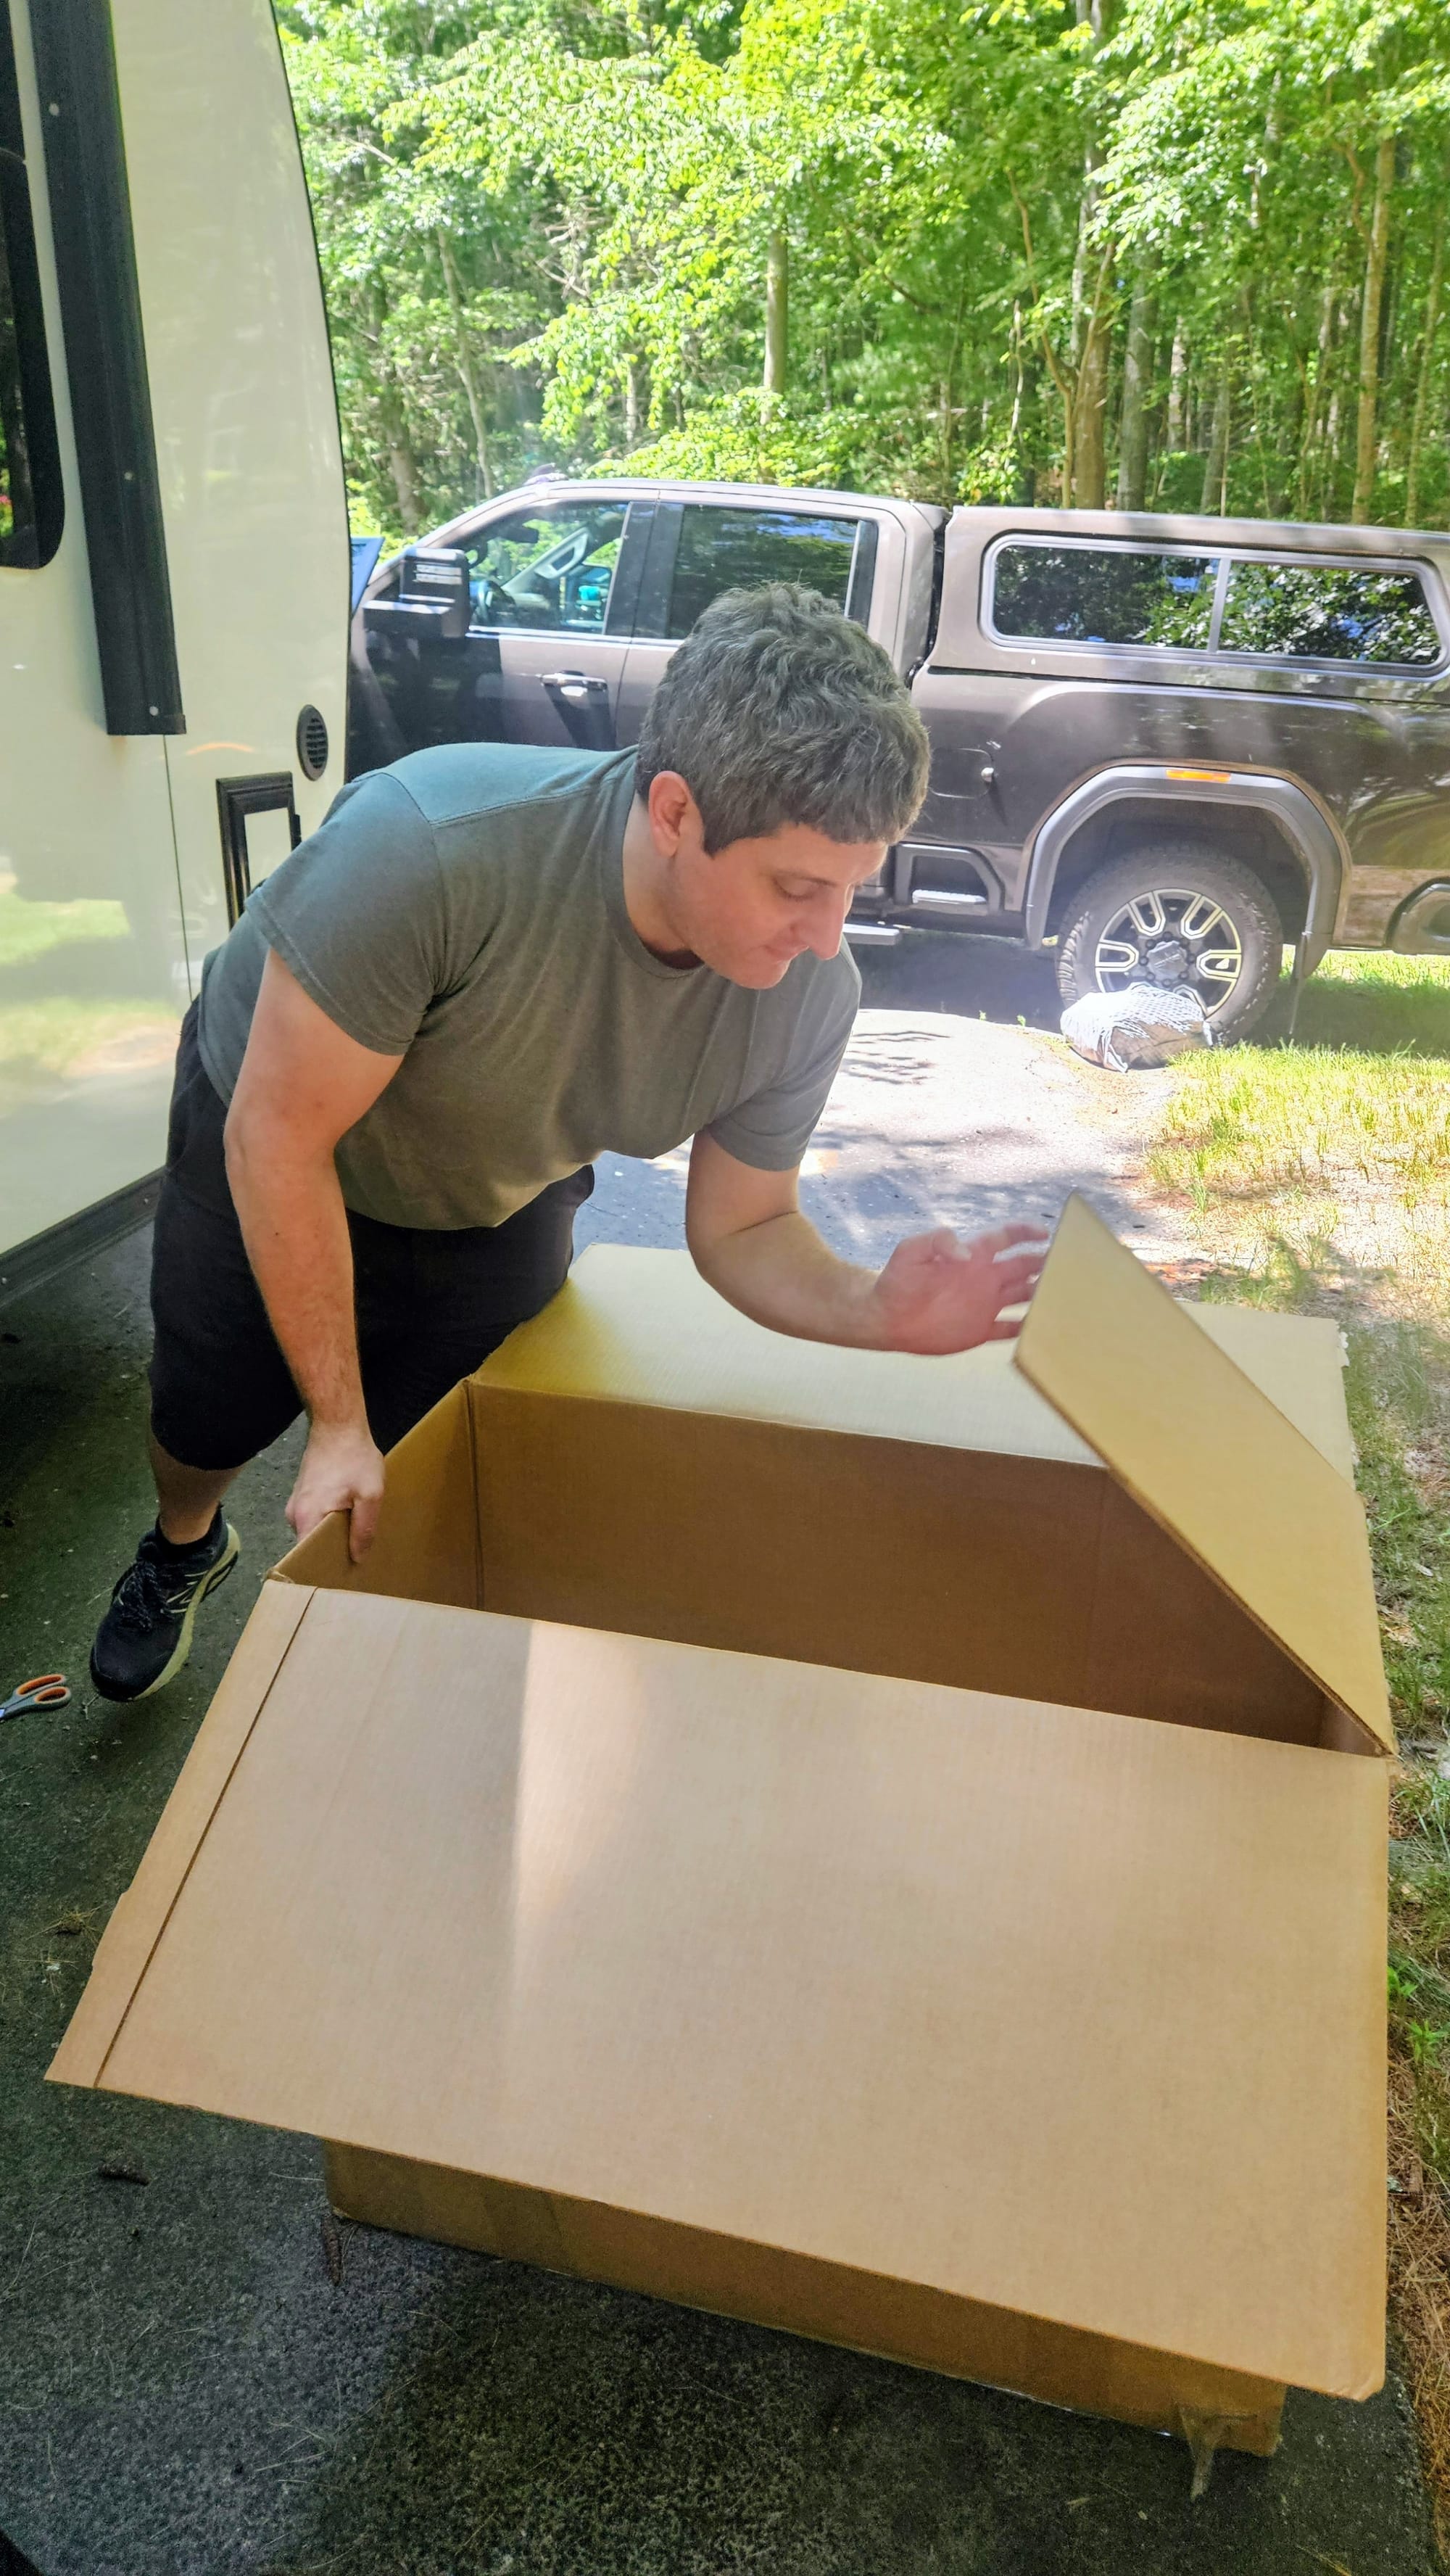
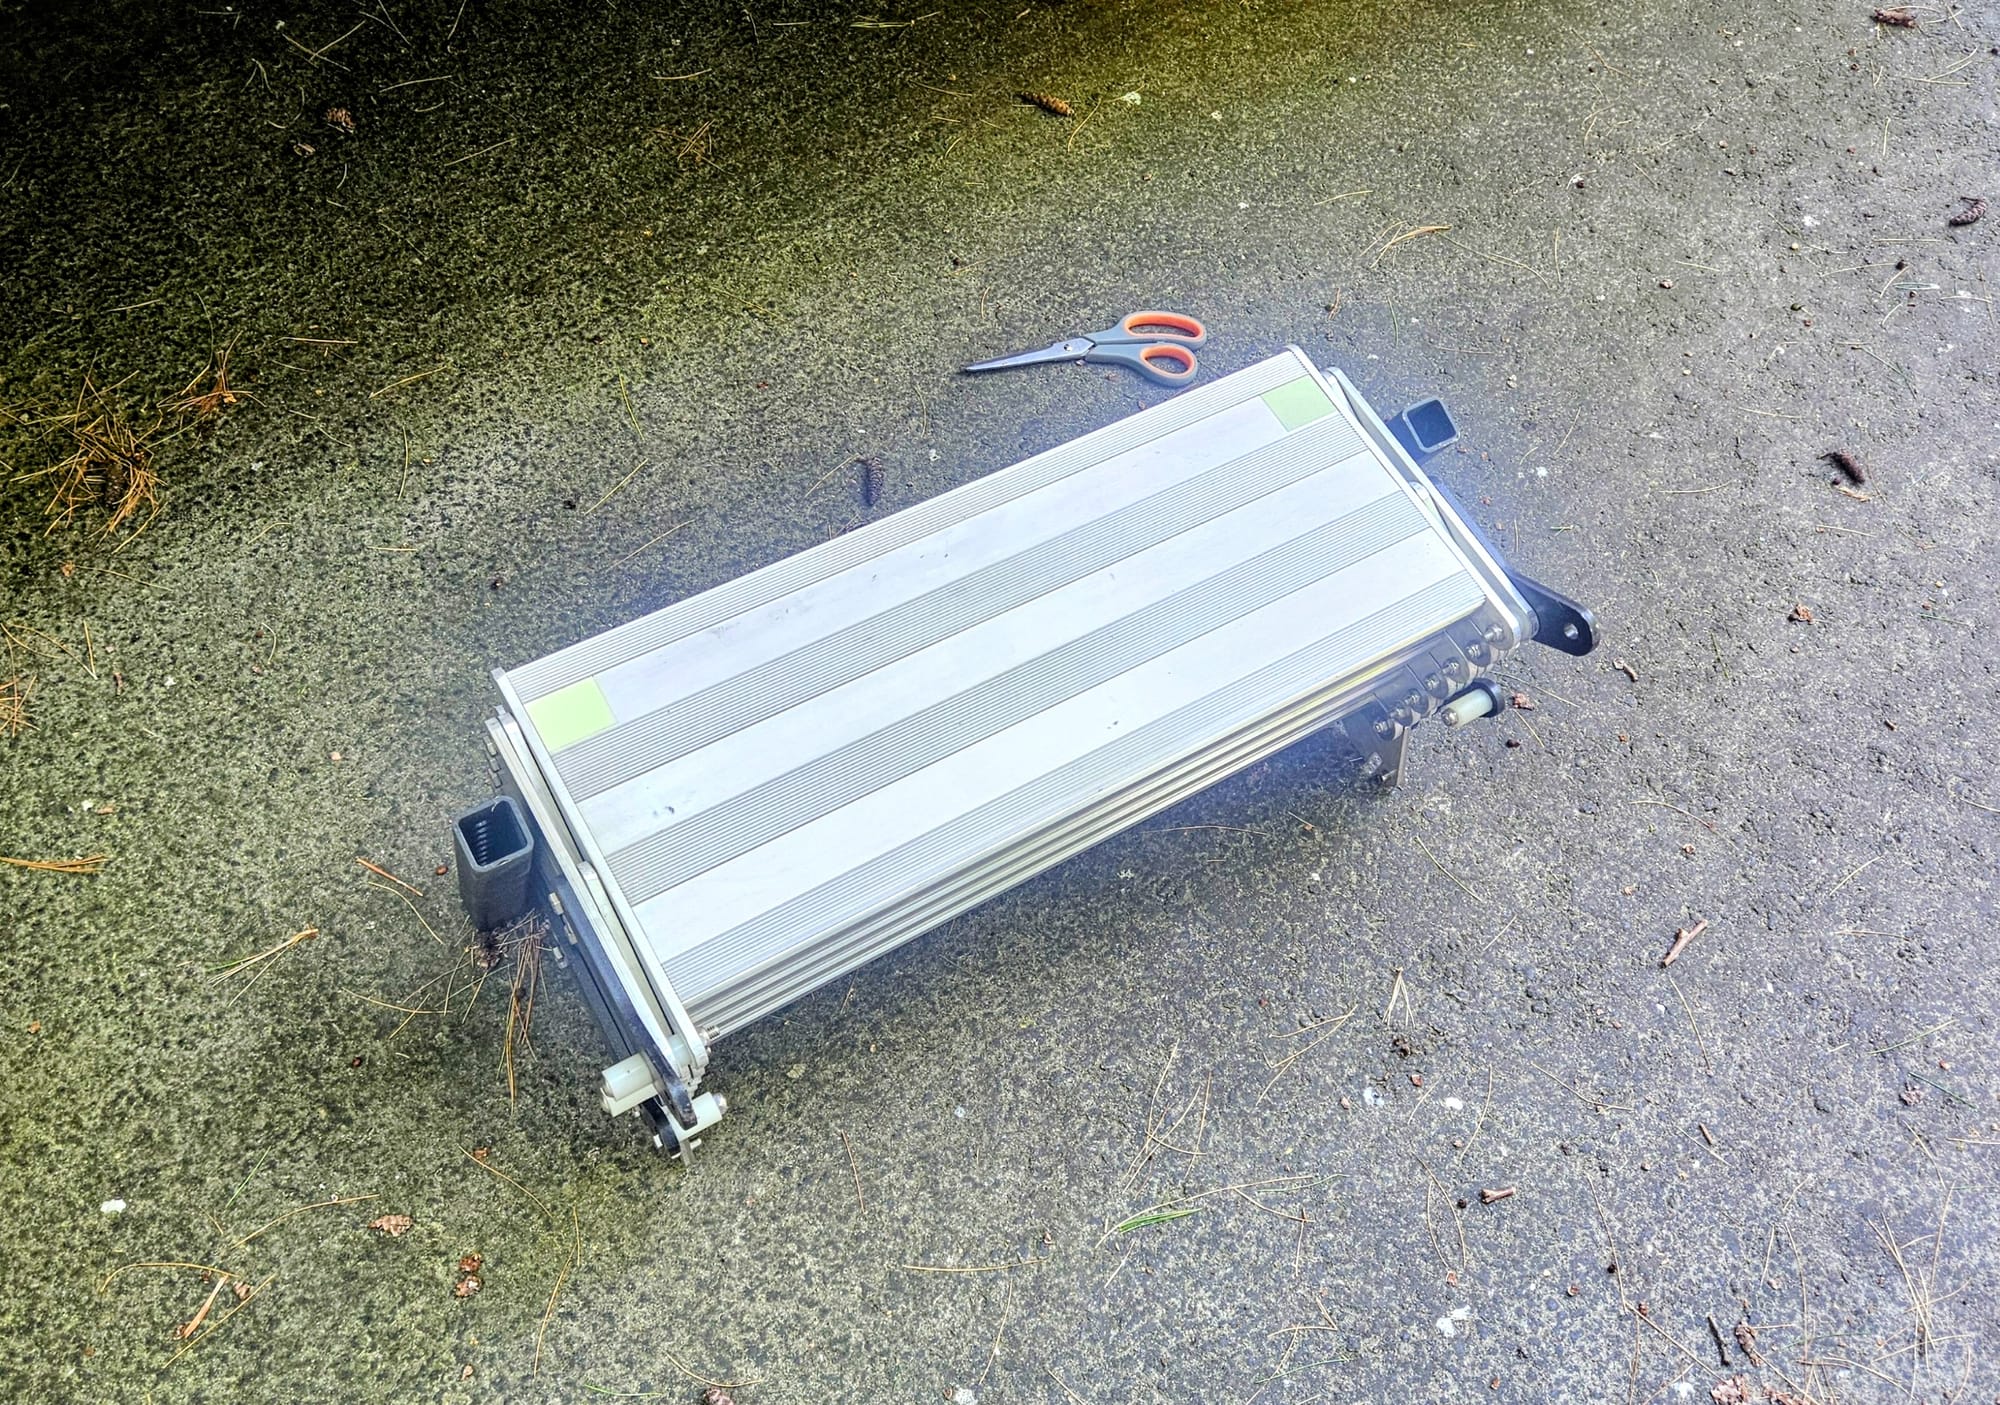
Now we just needed to figure out how to replace the entire set of steps. No instructions came with the new ones, and it was different from the initial installation, because we were keeping the baseplate on the door frame and connecting the steps at the top of the brackets. Everything seemed intuitive. There were 2 bolts on each side that needed to be removed, along with their spacers. Then we needed to slide the old steps out of the bracket and put the new ones in. The process required a couple different sizes of hex wrenches and socket wrenches.
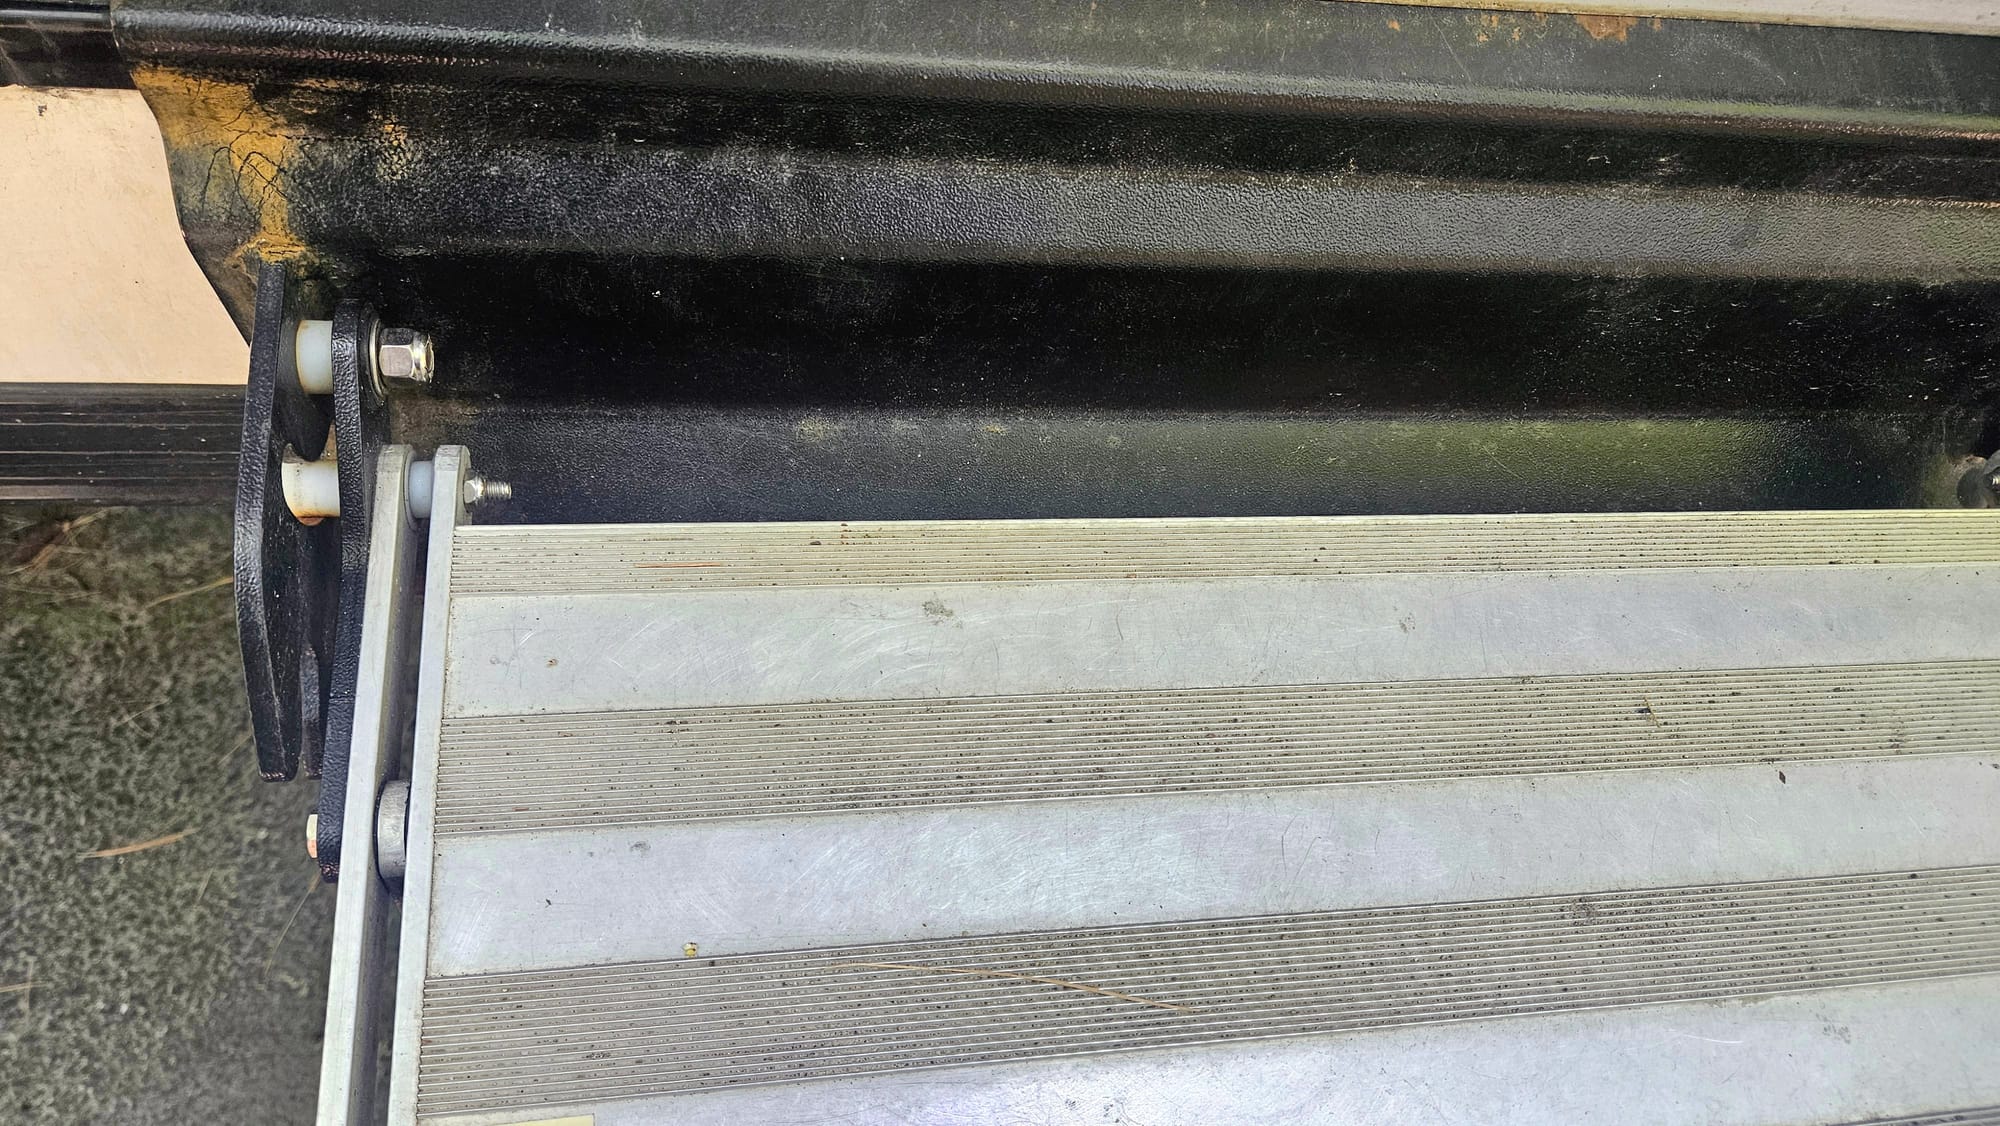
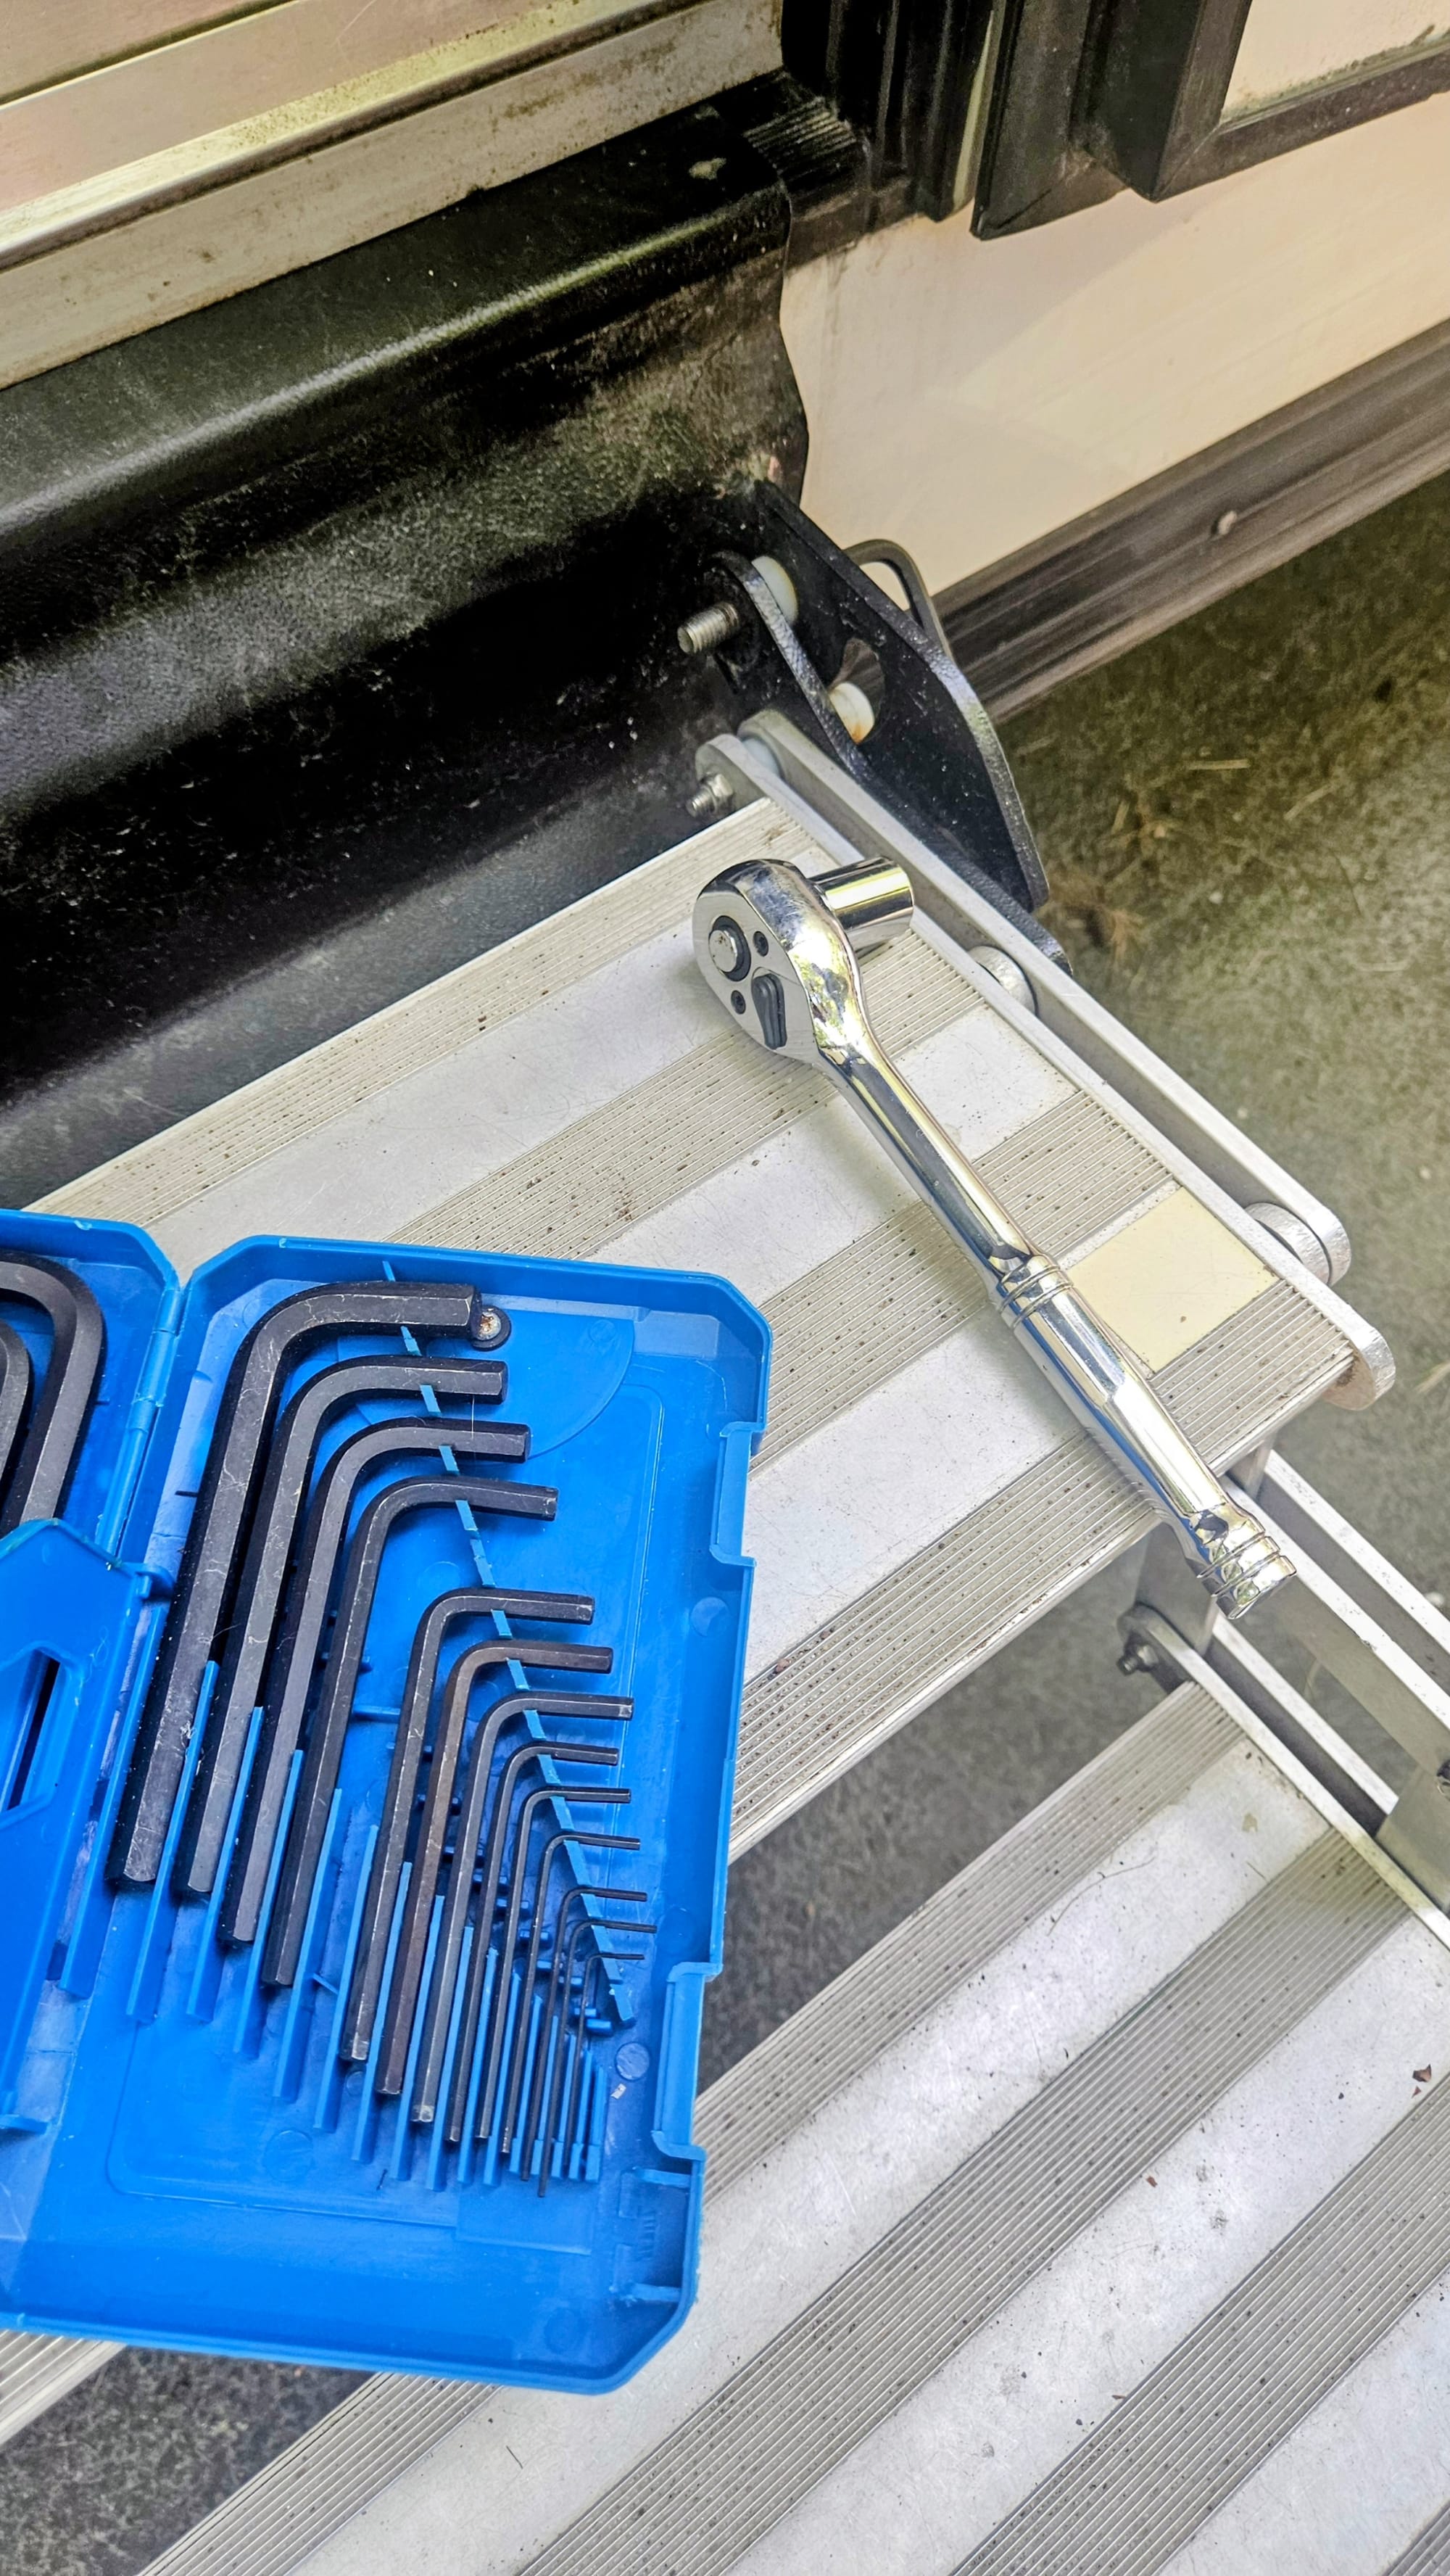
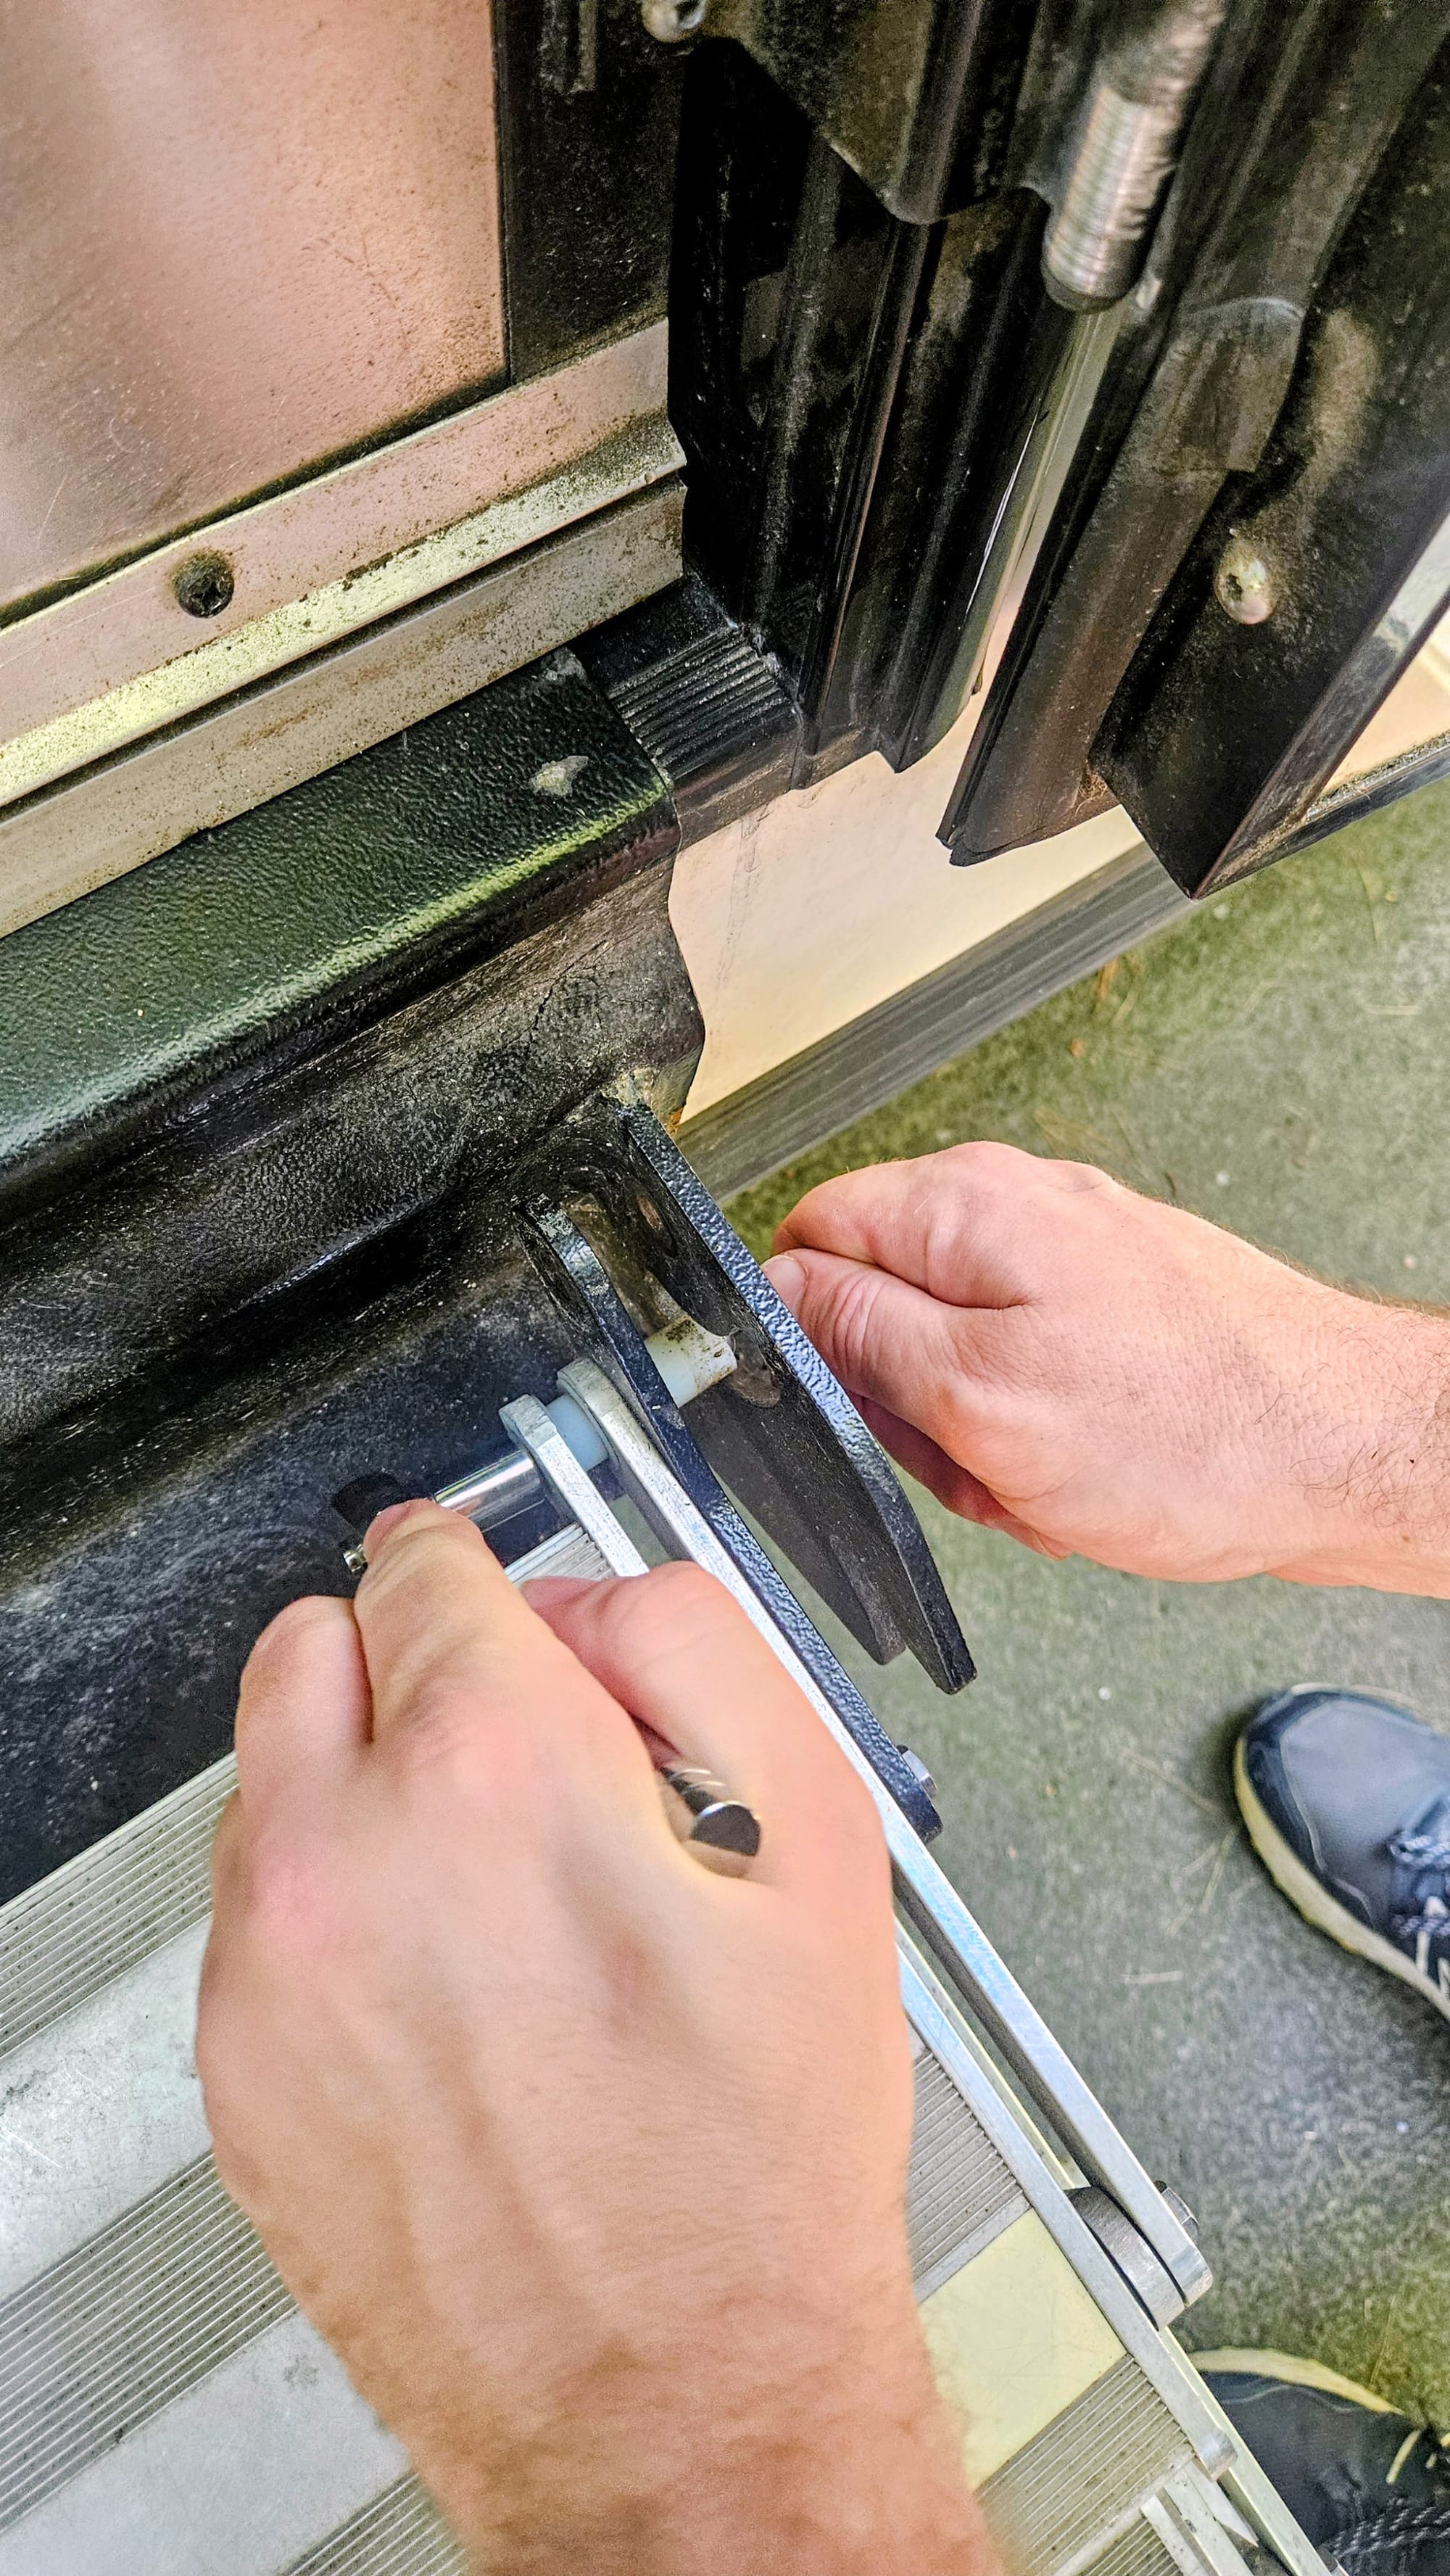
The hardest part of the install was making sure all the bolts lined up properly to their respective brackets. At first, it was easier as a 2-person job; Anthony held the steps in their retracted position while Nicole screwed in the bolts. Then once the bolts were partially in, Anthony took over while Nicole moved onto the next task.
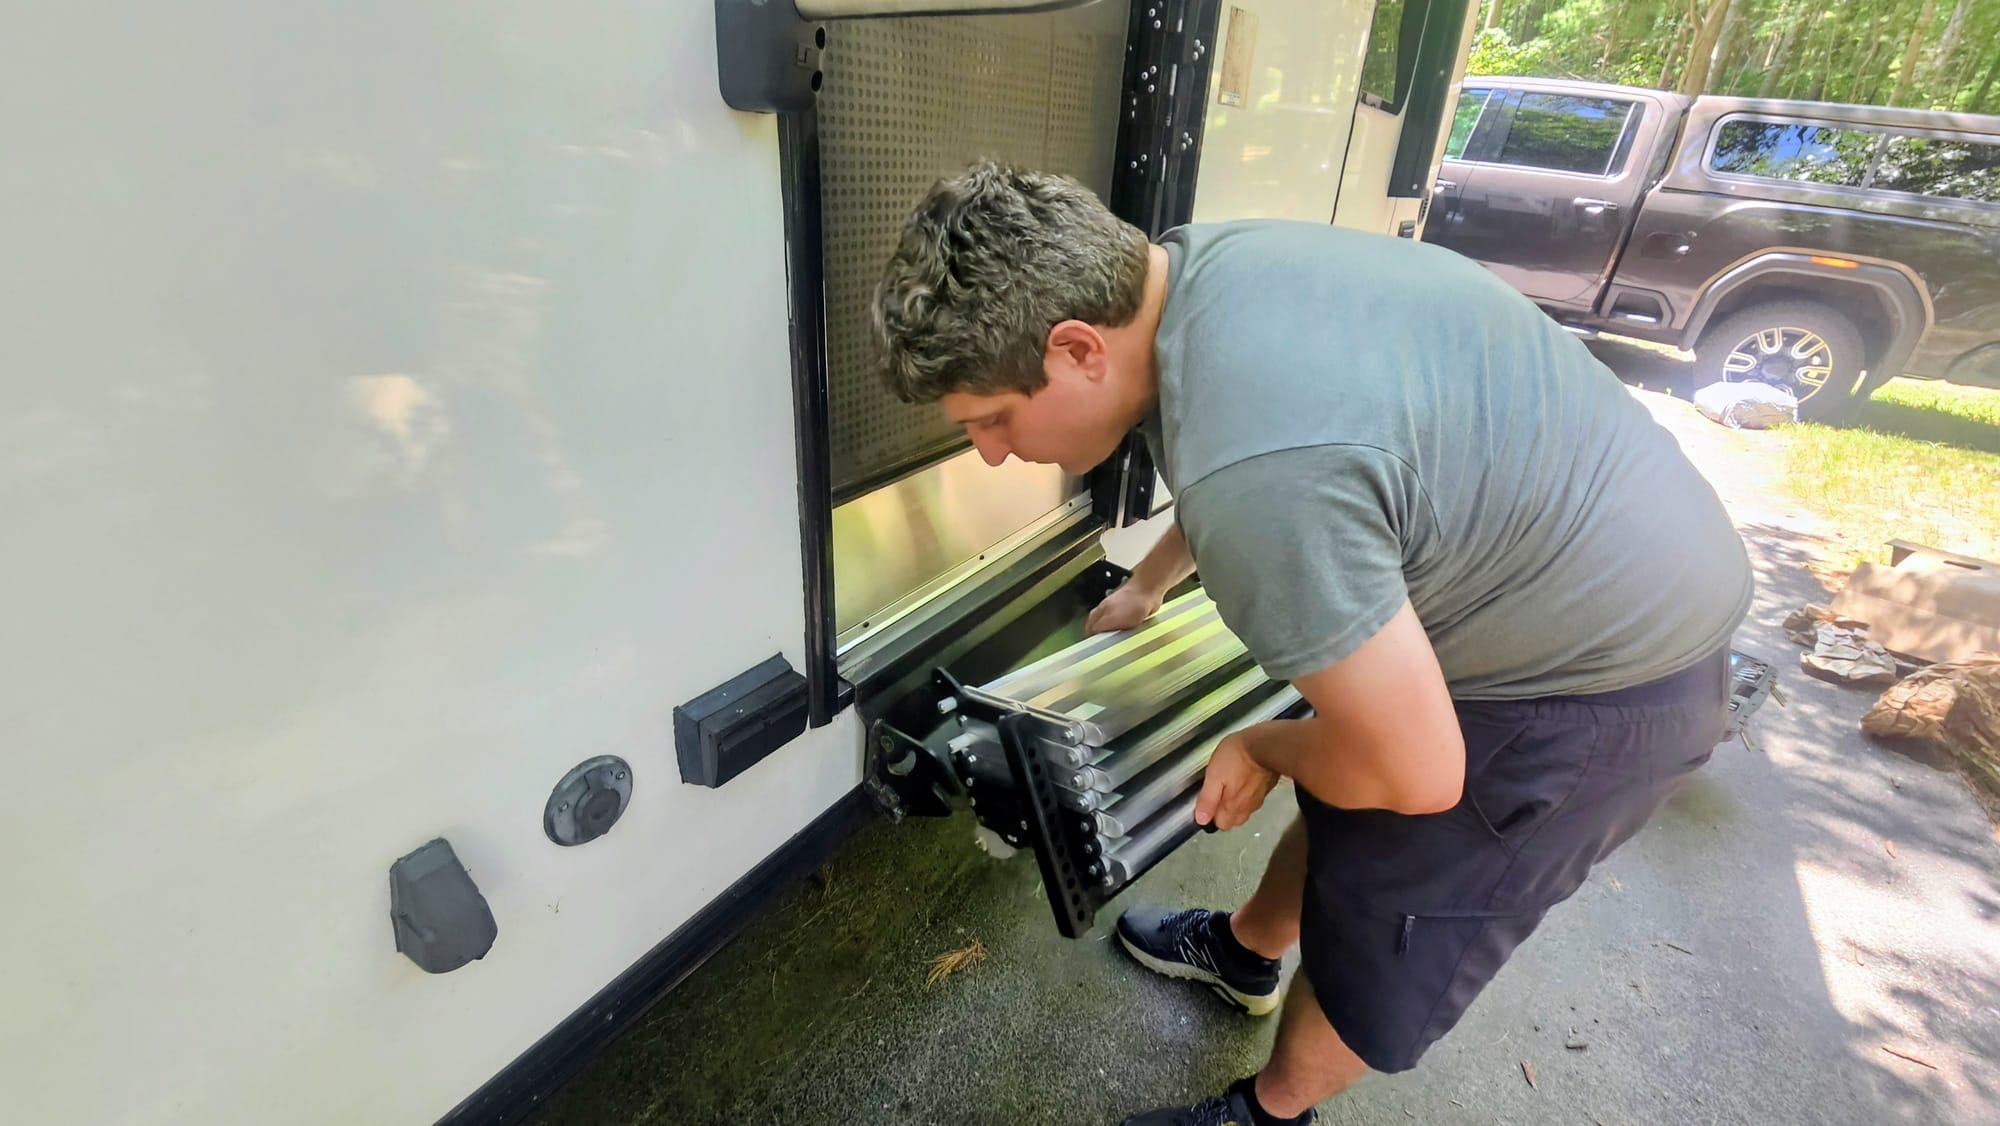
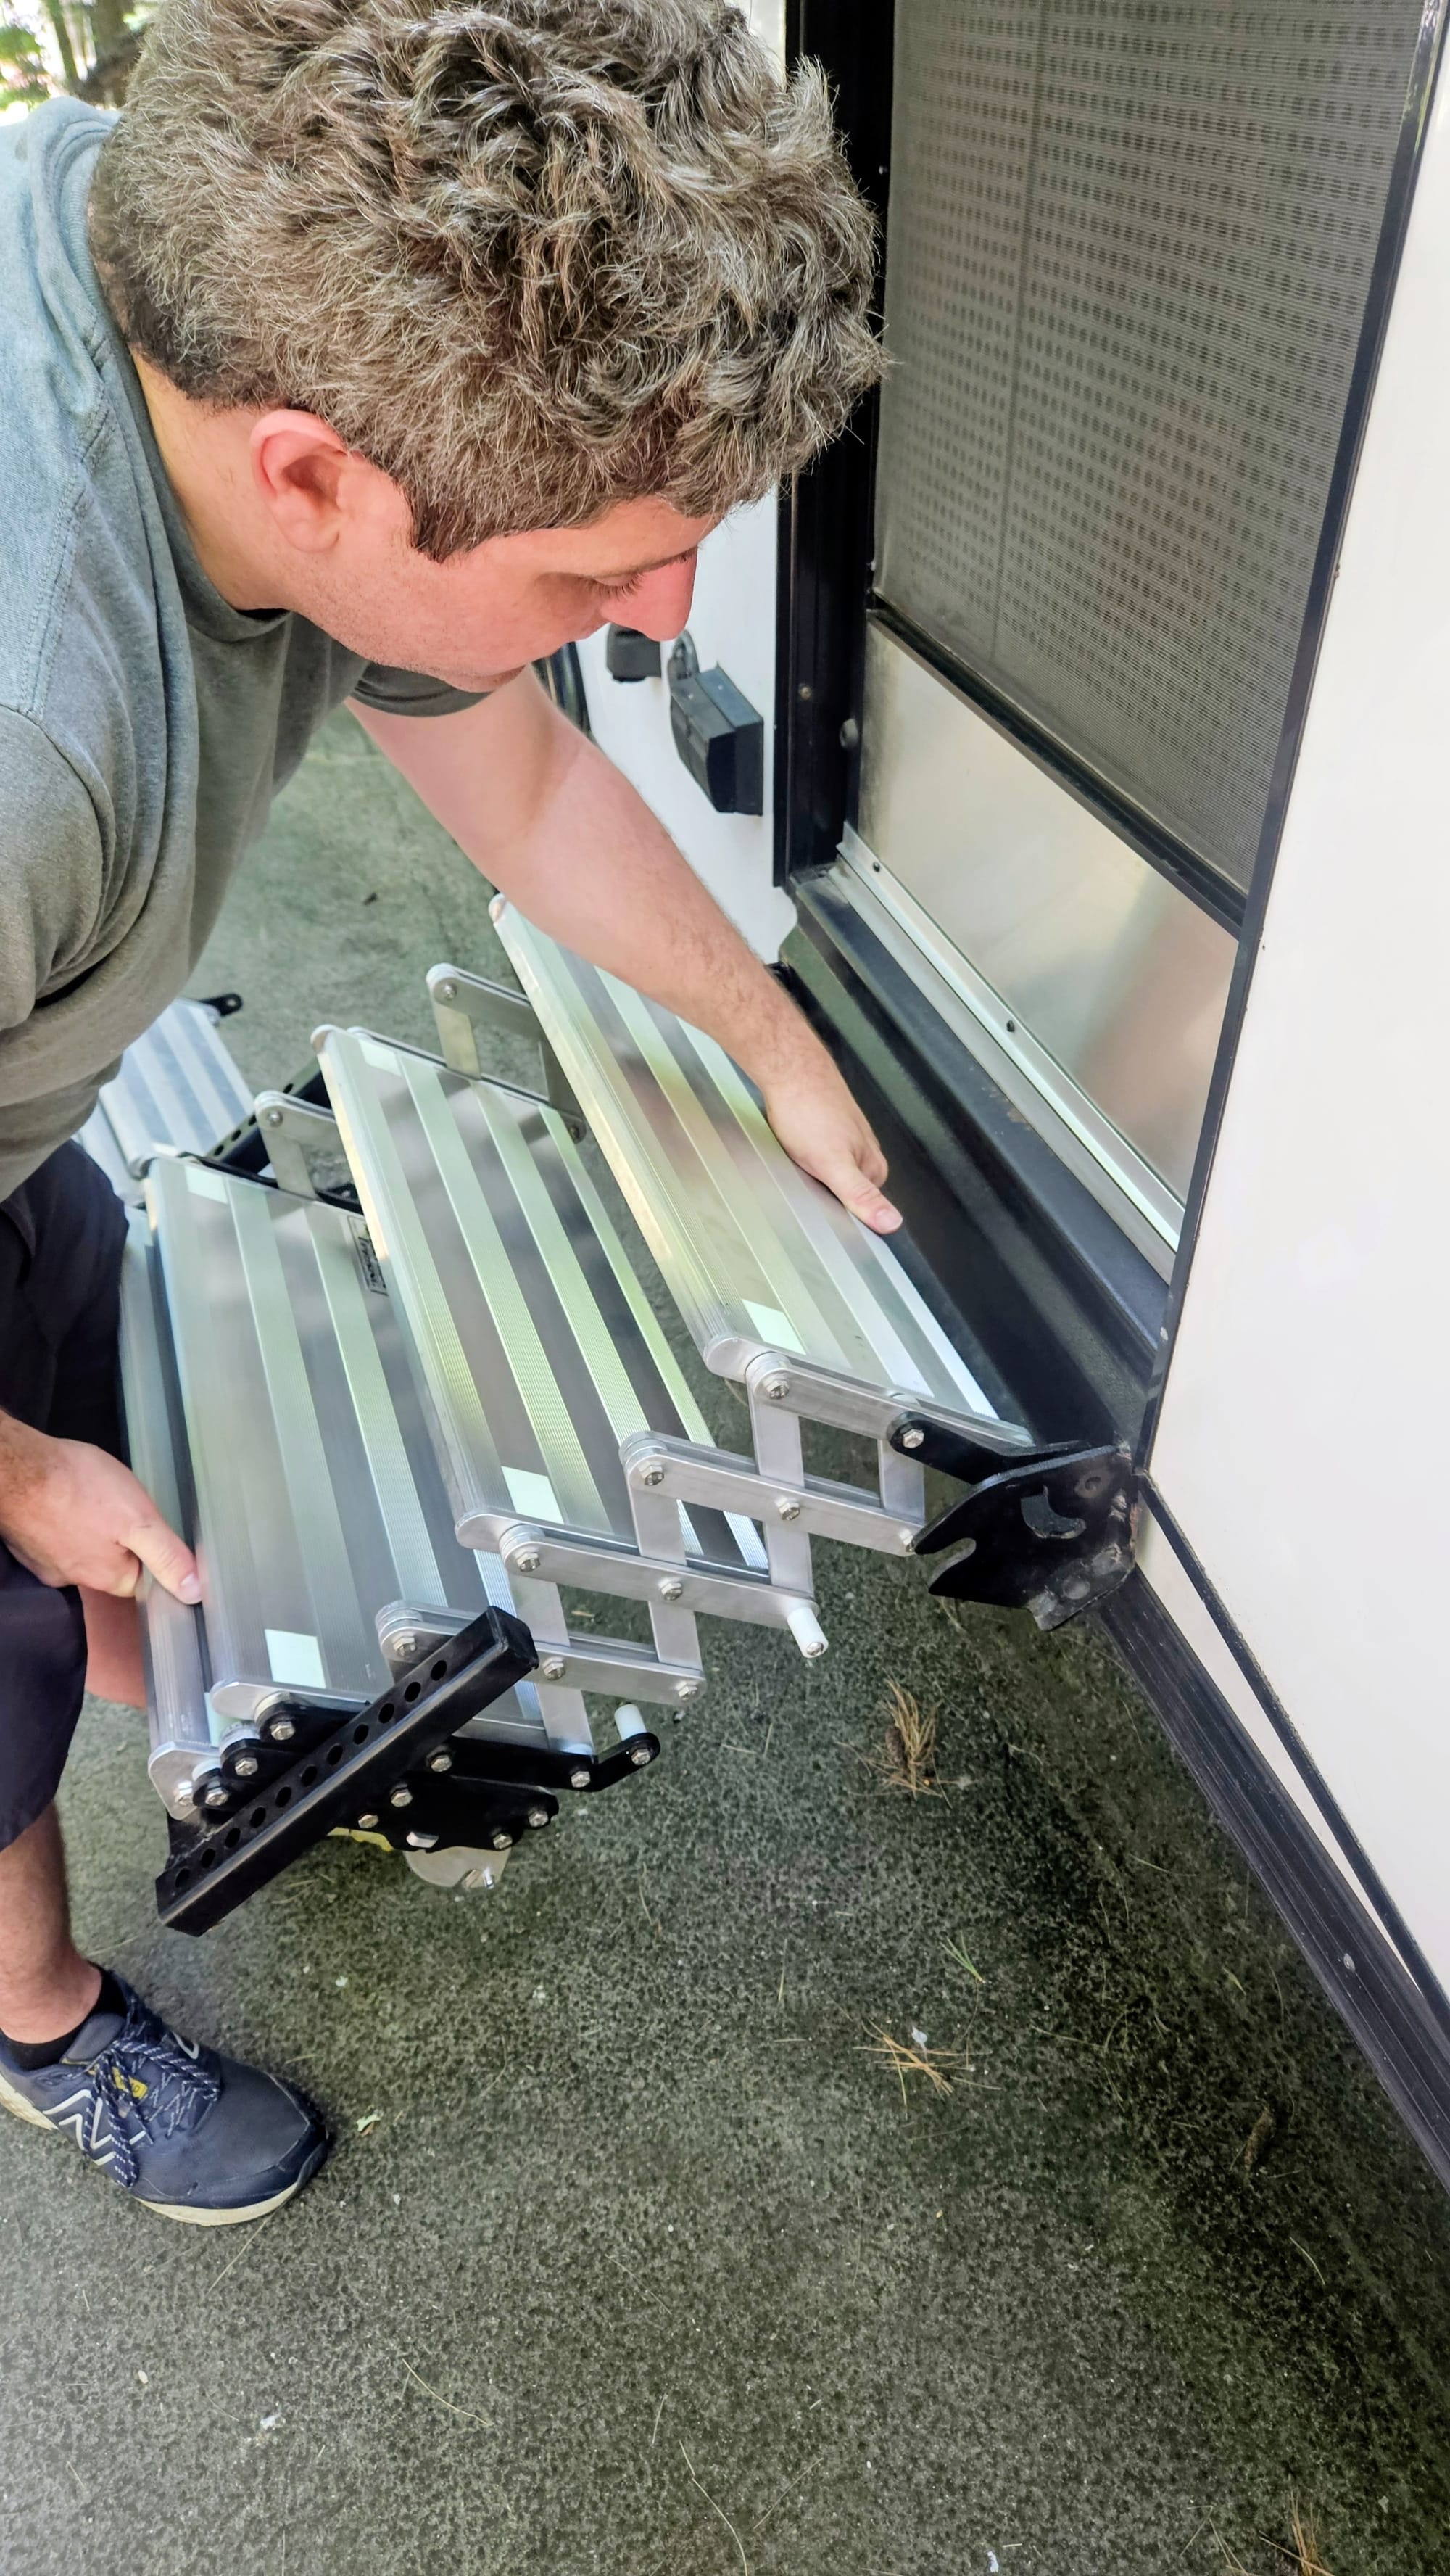
The new steps didn't come with the extendable legs, so we needed to remove them from the old set and insert them into the bottom of the new set. They connect with a very simple push button mechanism, so all Nicole needed to do was push the button in and slide the legs all the way out.
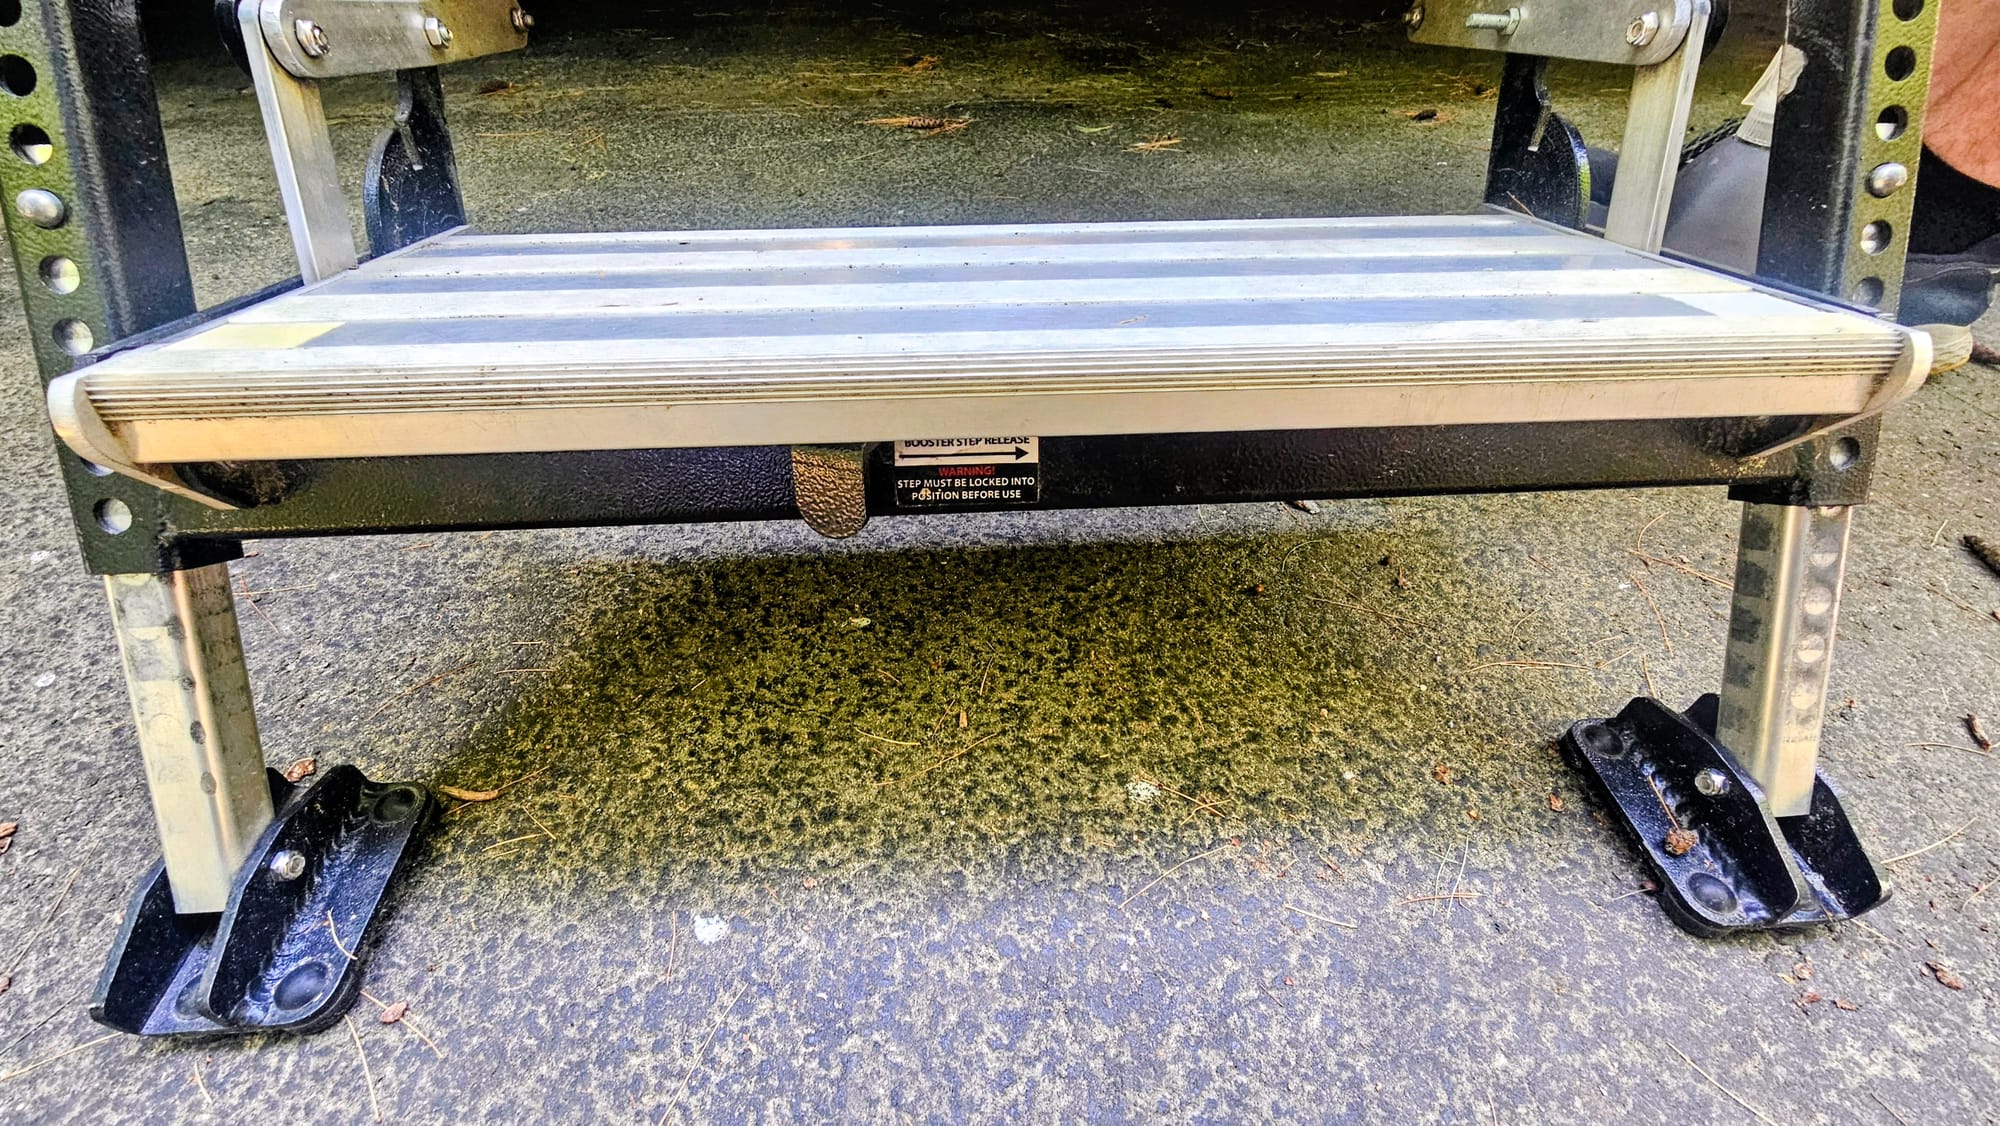
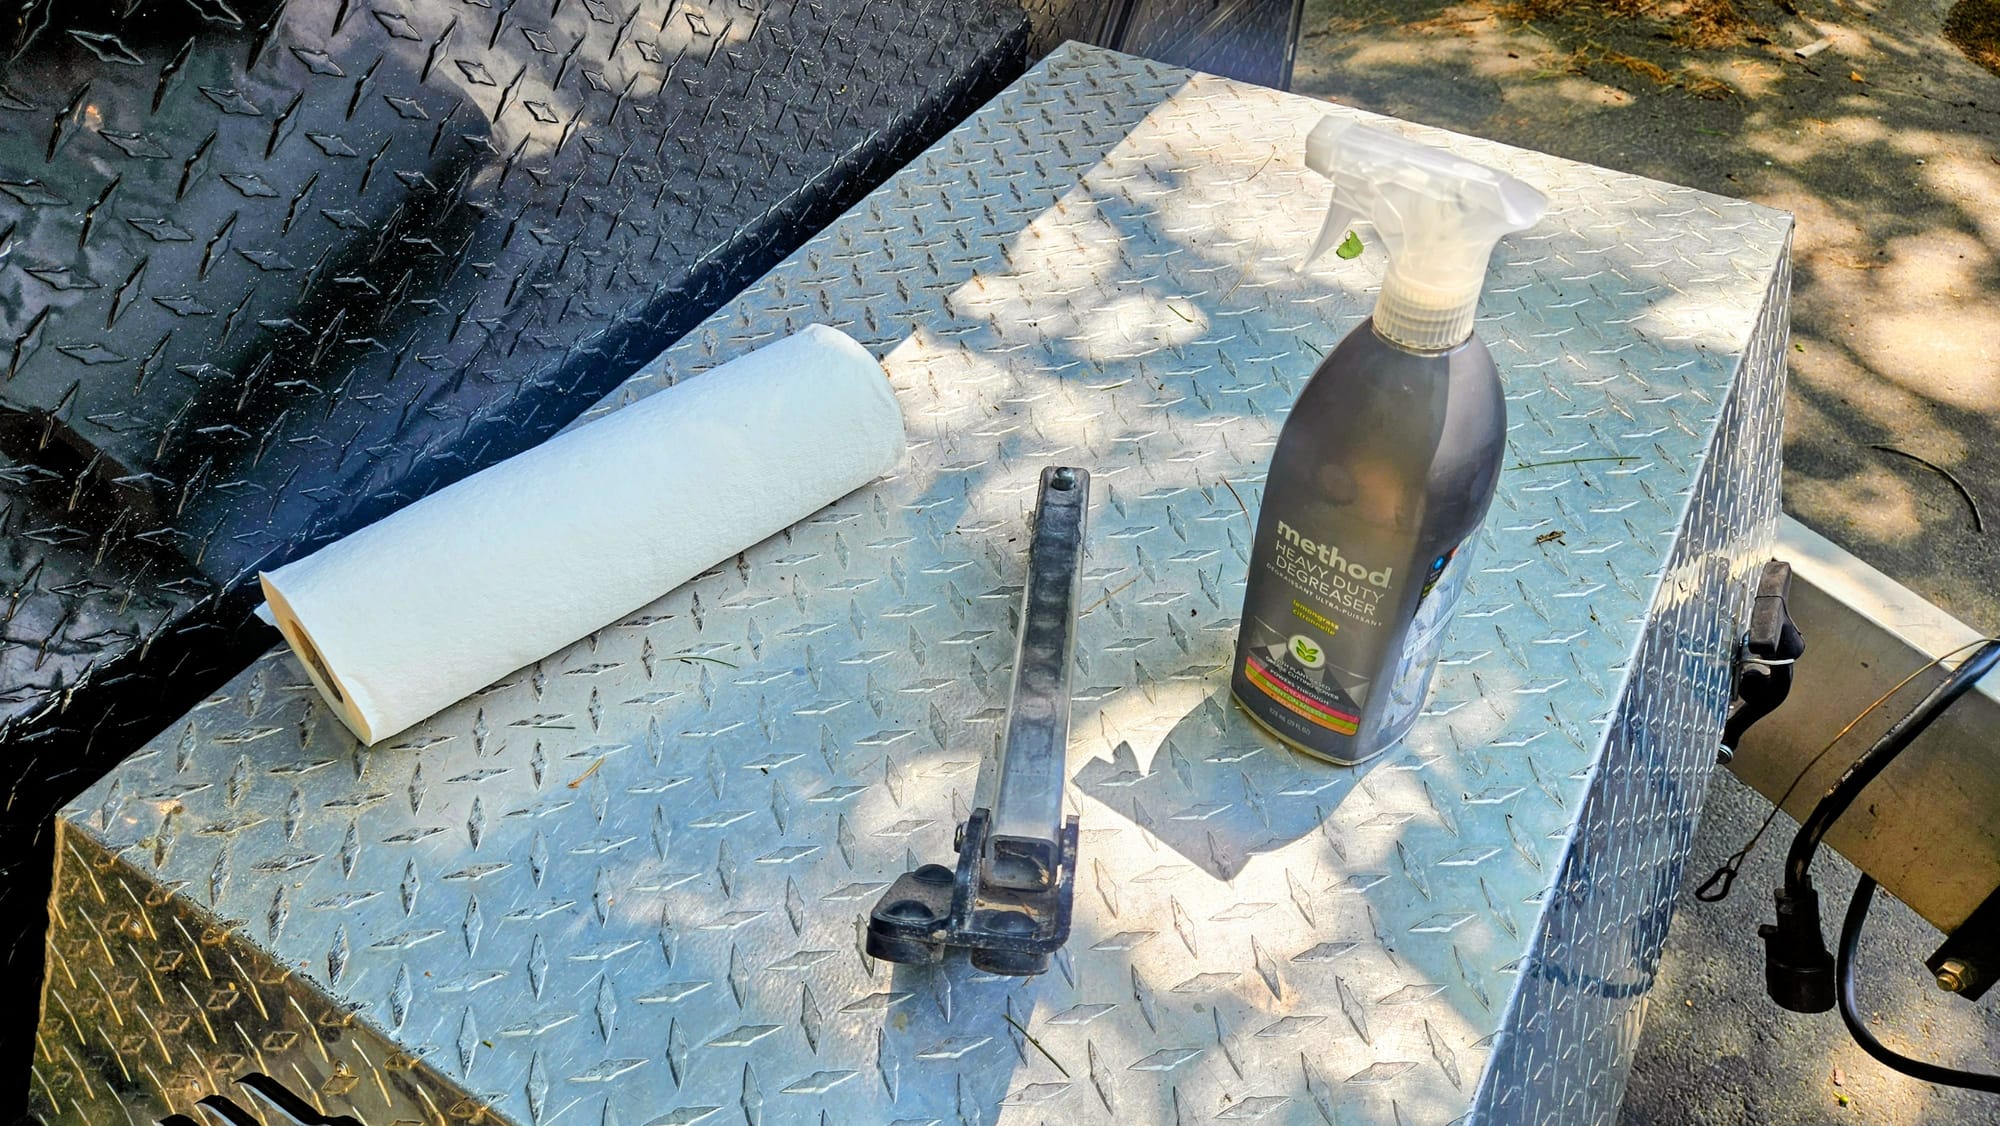
They were quite dirty, so before installing them in the new steps, Nicole used degreaser and WD-40 to clean them up and lubricate them.
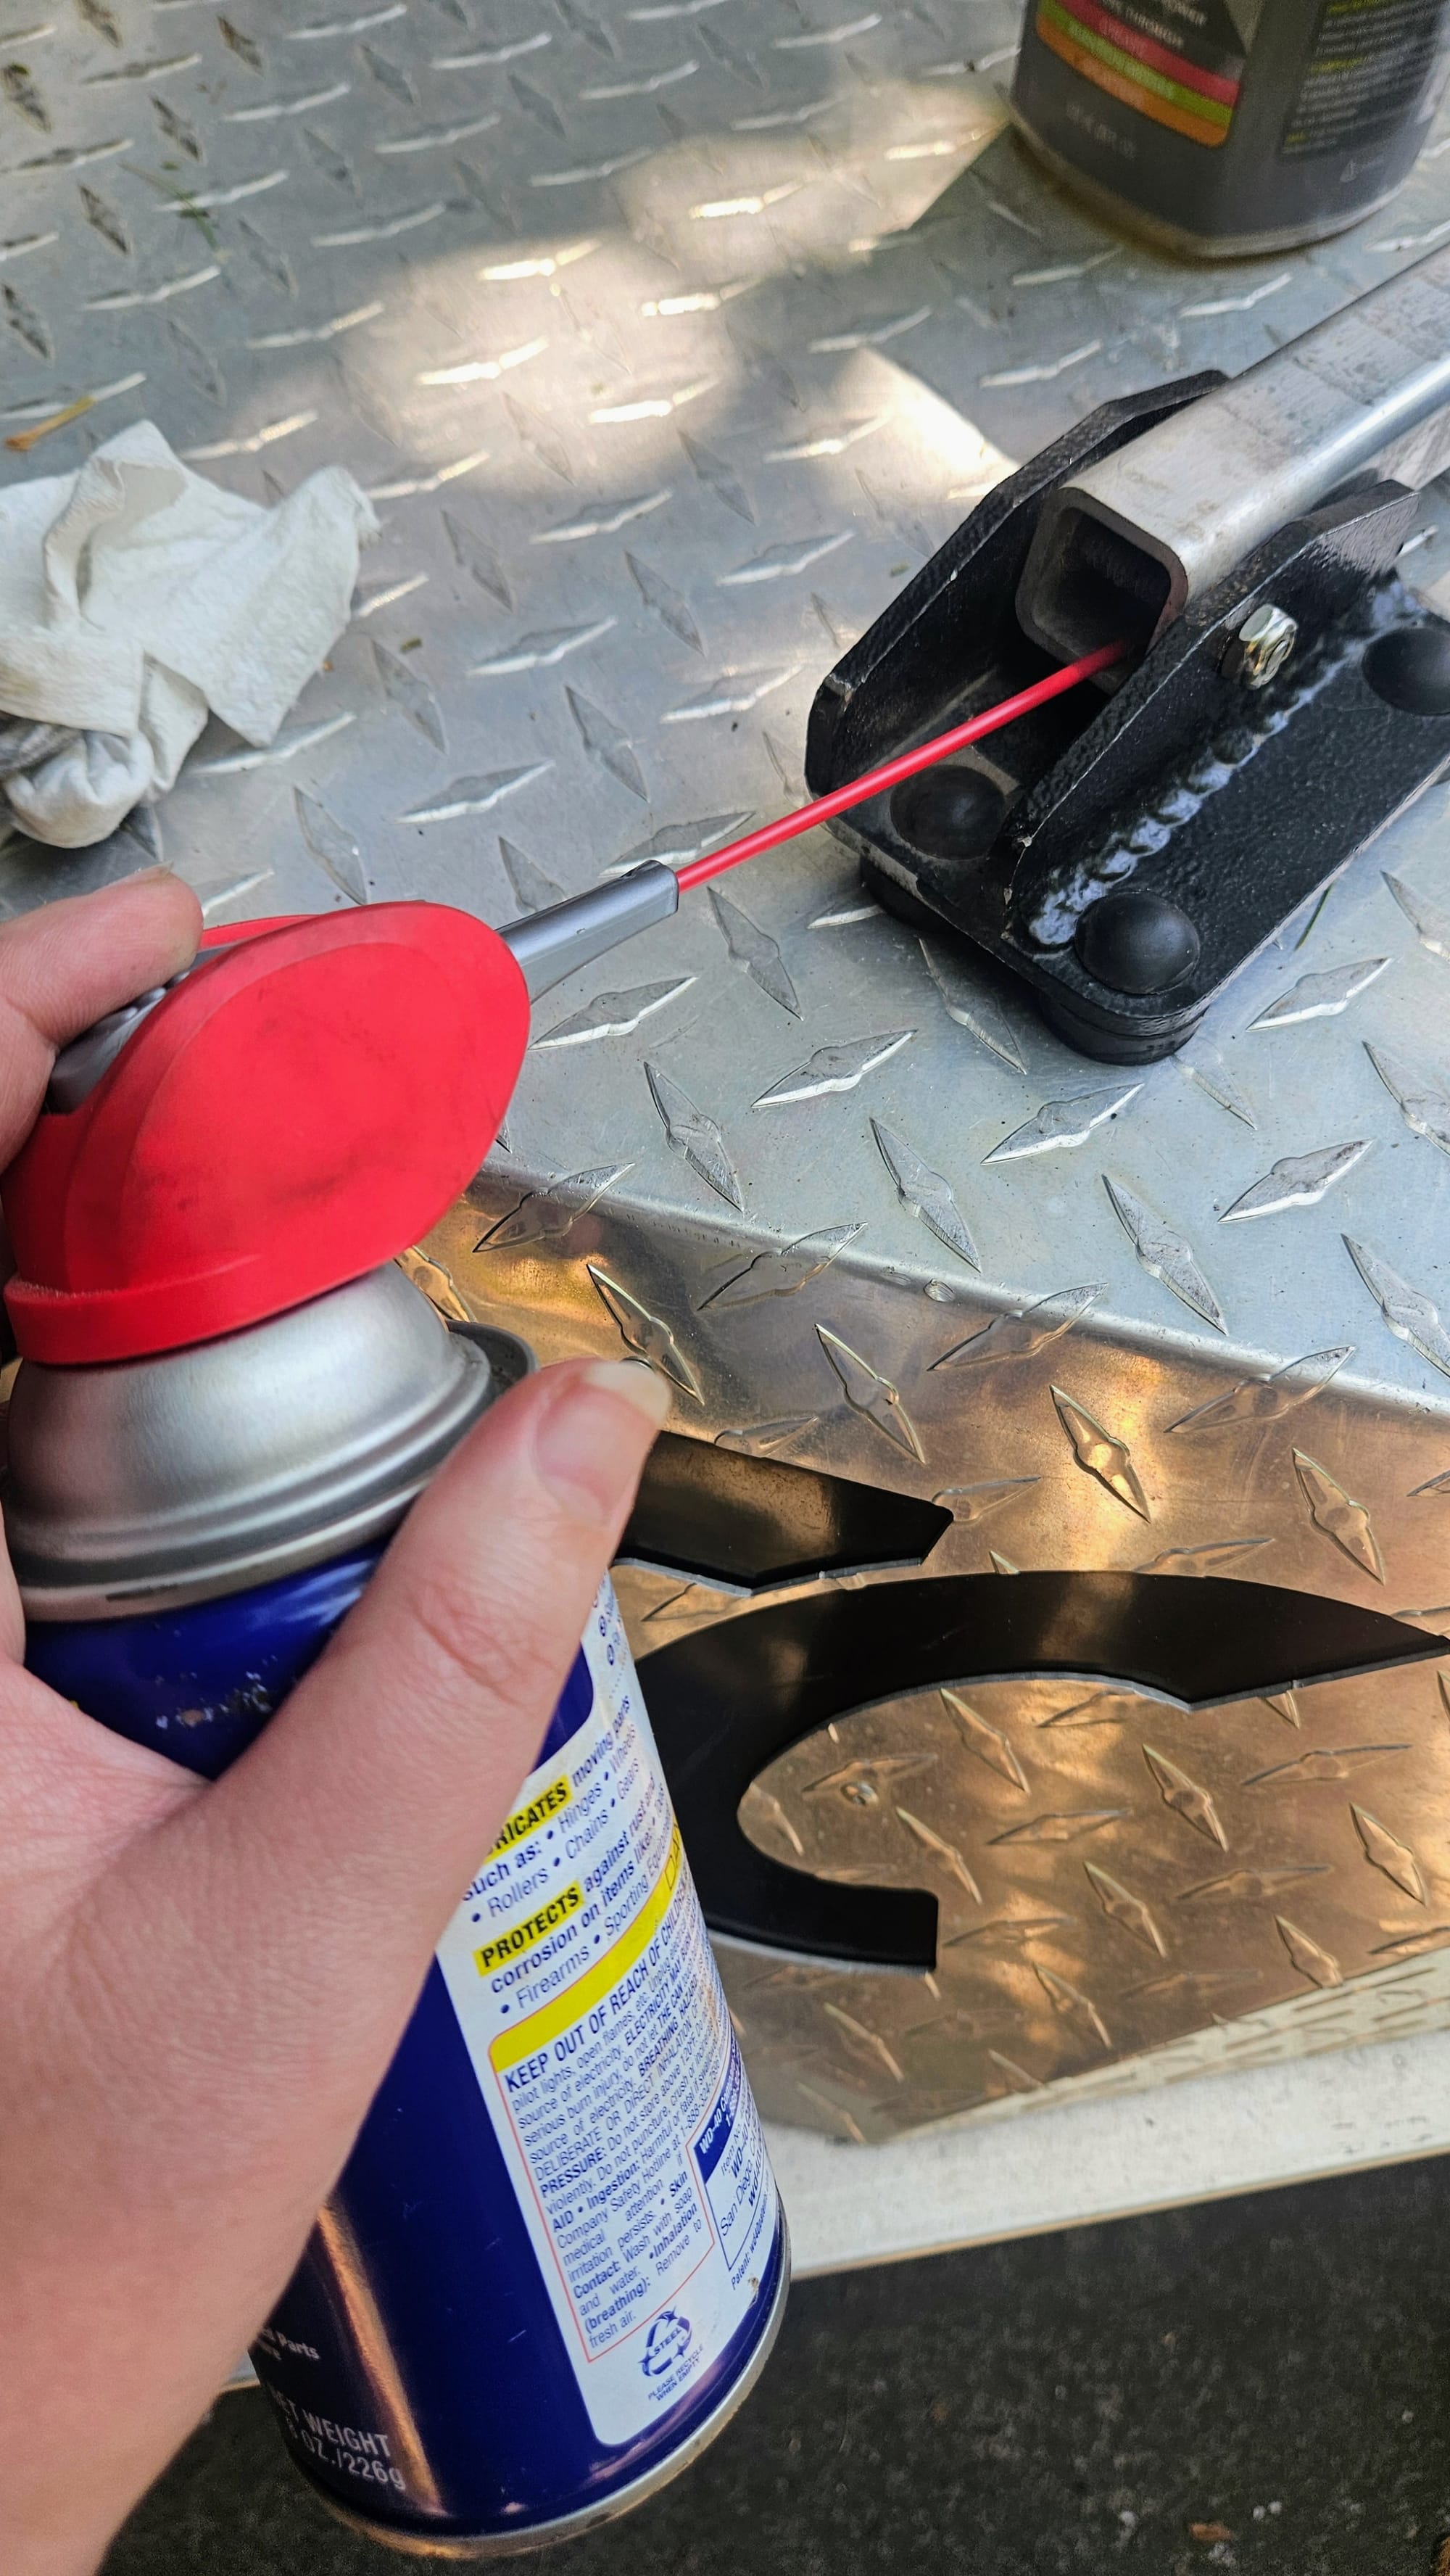
After the installation was complete, we also cleaned the baseplate on the doorframe, and we lubed all the brackets for easier extension and retraction of the steps.
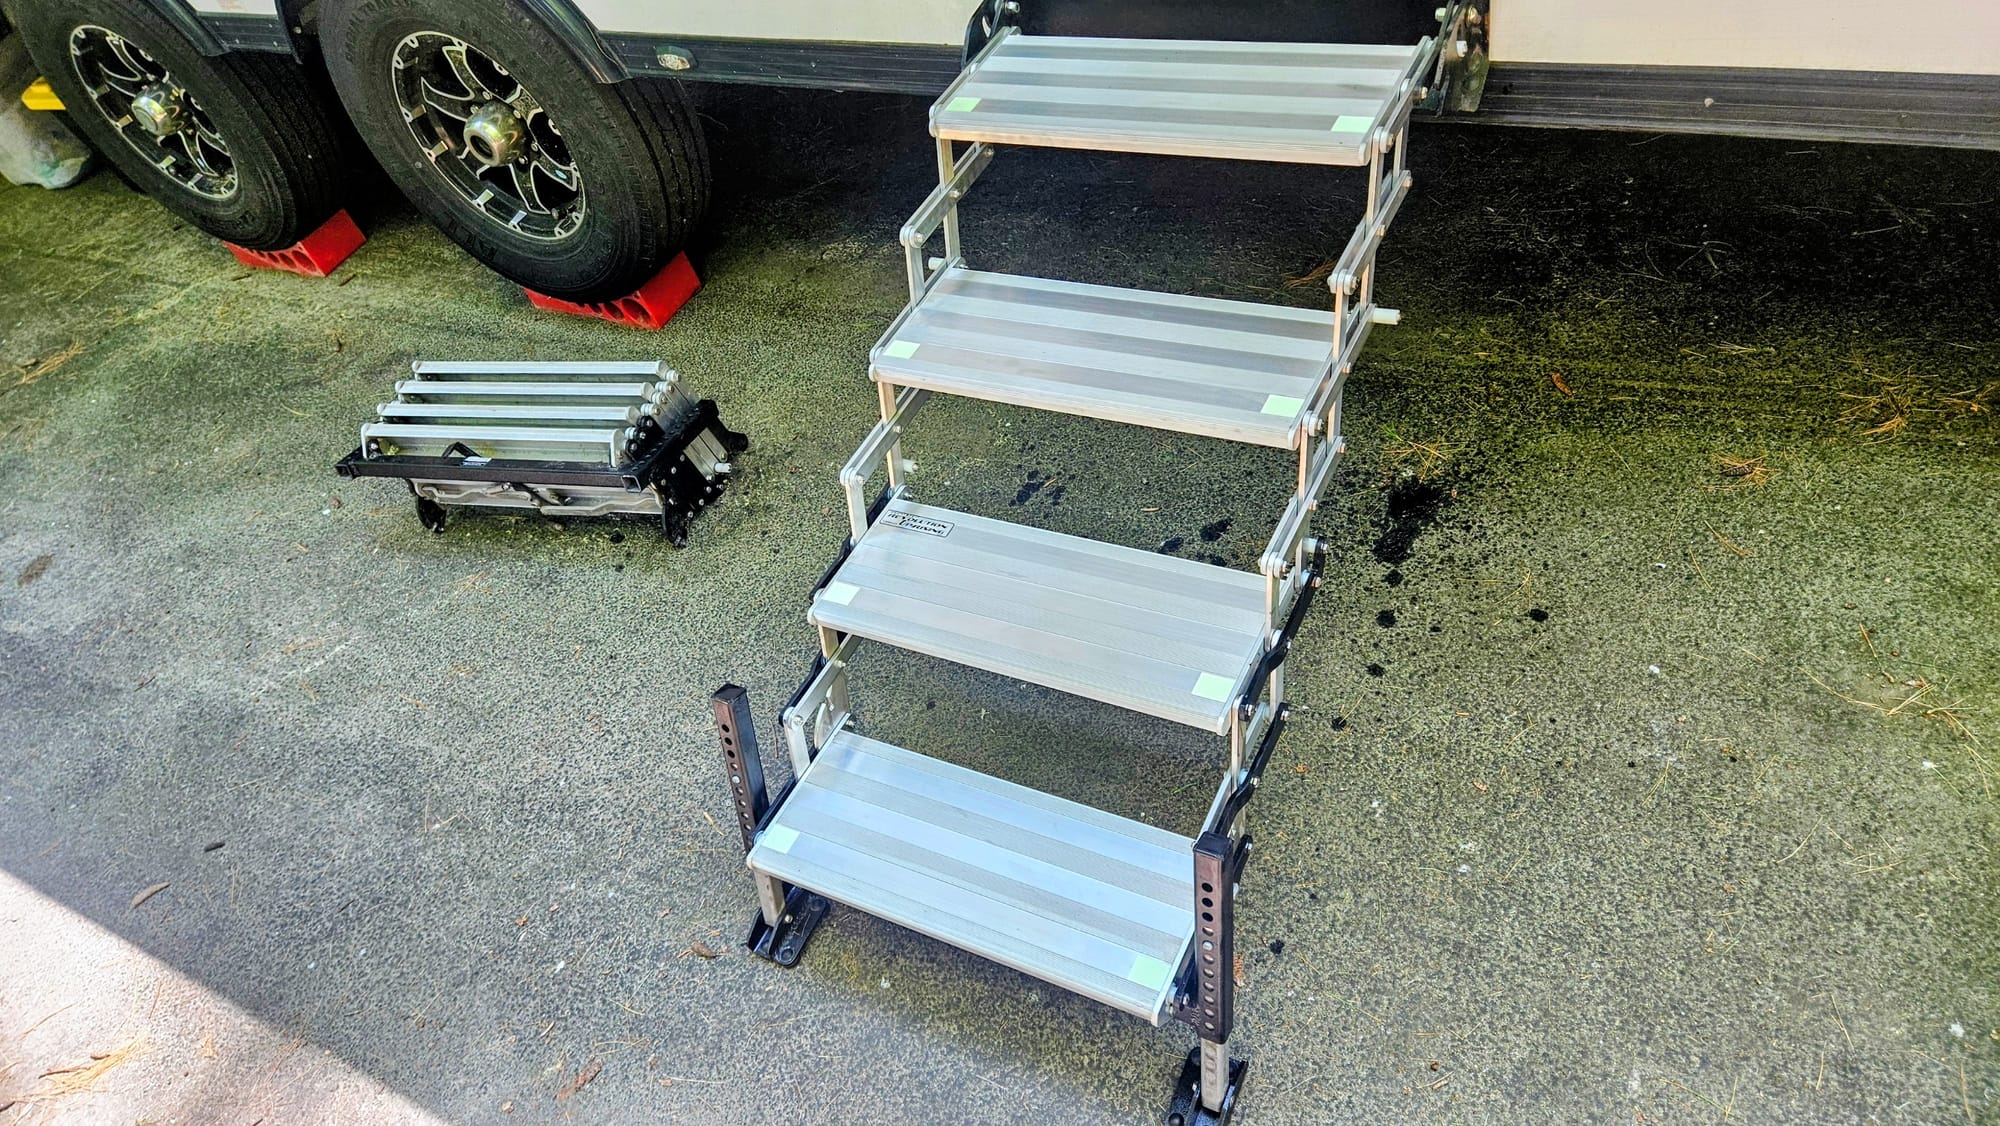
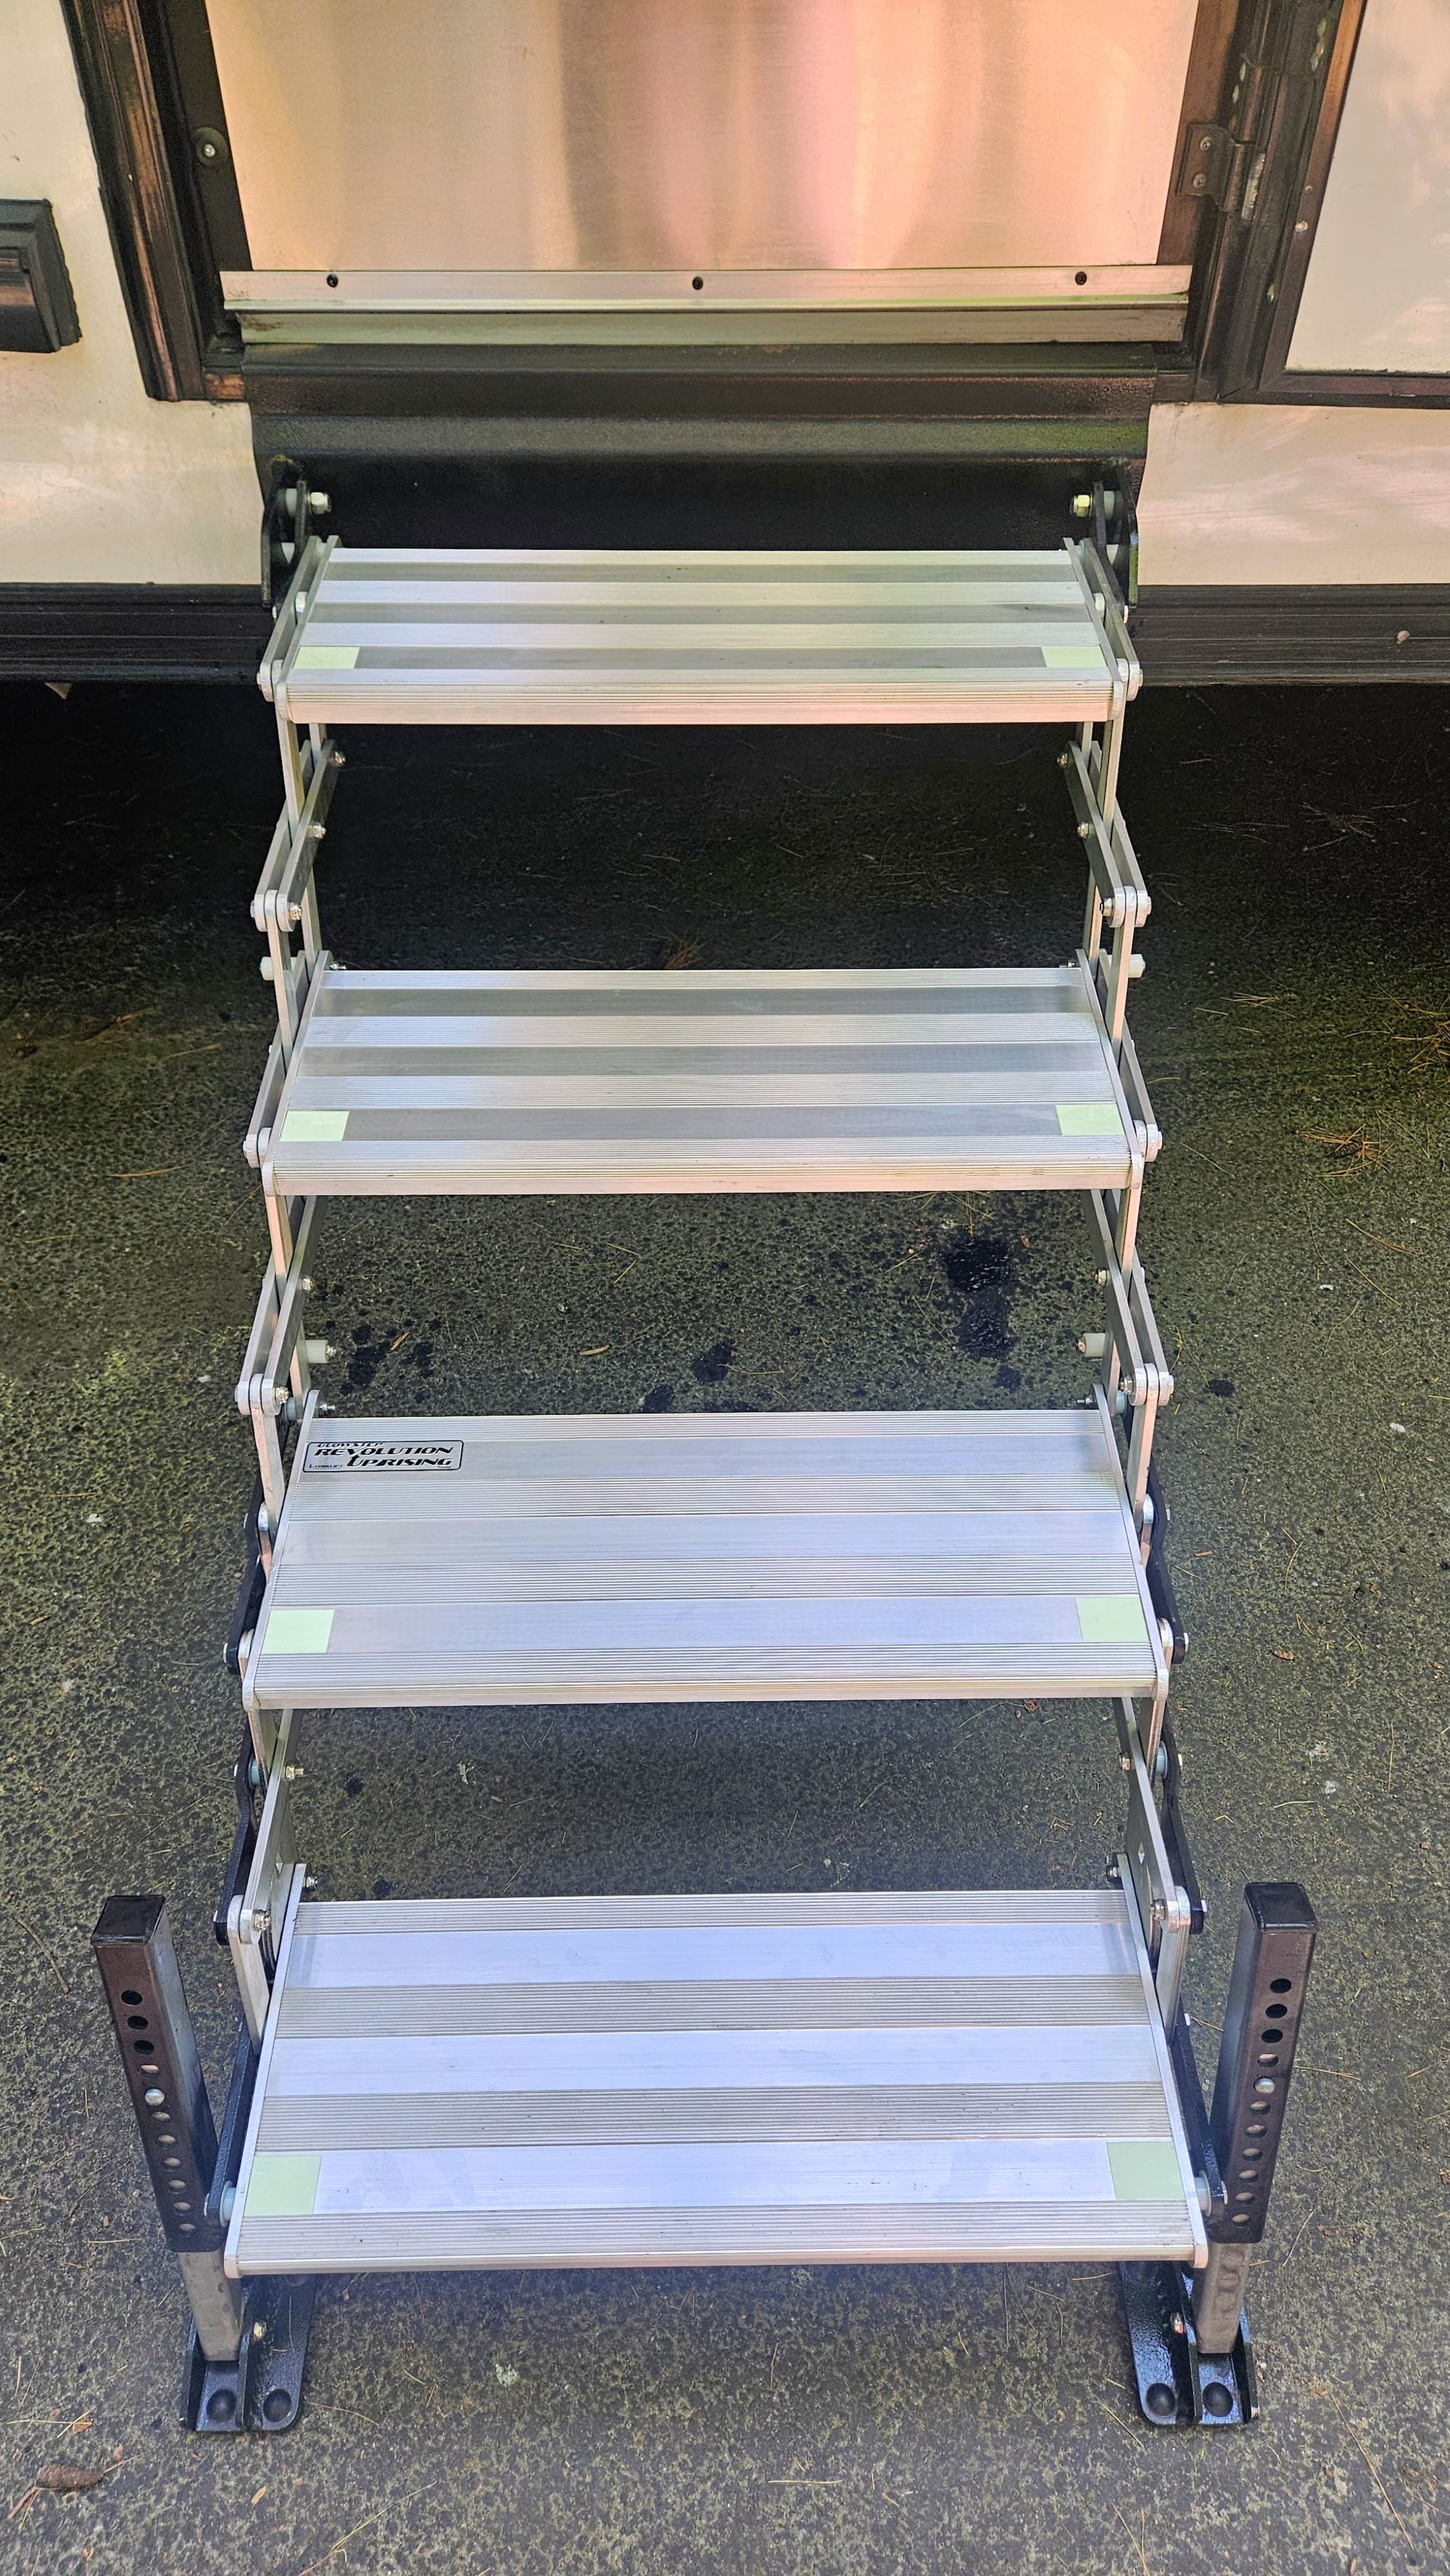
We noticed the difference in stability immediately. We remember them feeling really sturdy when we first installed them, but over time they loosened more, until the first bolt snapped and the spacer fell out. They were never the same again. We shouldn't have waited so long to get a replacement, but when full-time on the road, sometimes a quick fix is more manageable. Torklift has always been a stellar company. We've lost the top caps of the extendable legs multiple times, and every time, they quickly send out replacements at no extra cost. This though, was incredible customer service. Paying for a replacement set would have been well worth it, but the fact that they just sent it to us was above and beyond. We have every reason to believe our initial steps had a defect and these ones will hold strong, but time will tell. If you want to check out these steps for yourself, we have an Amazon affiliate link to the GlowSteps that install in a well underneath the RV. We have the uprising steps that fold up into the doorway, and these aren't available on Amazon, but you can check them out on the Torklift website.
The whole installation took us about 45 minutes, including our unboxing, finding the right tools, cleaning, and some...shenanigans.
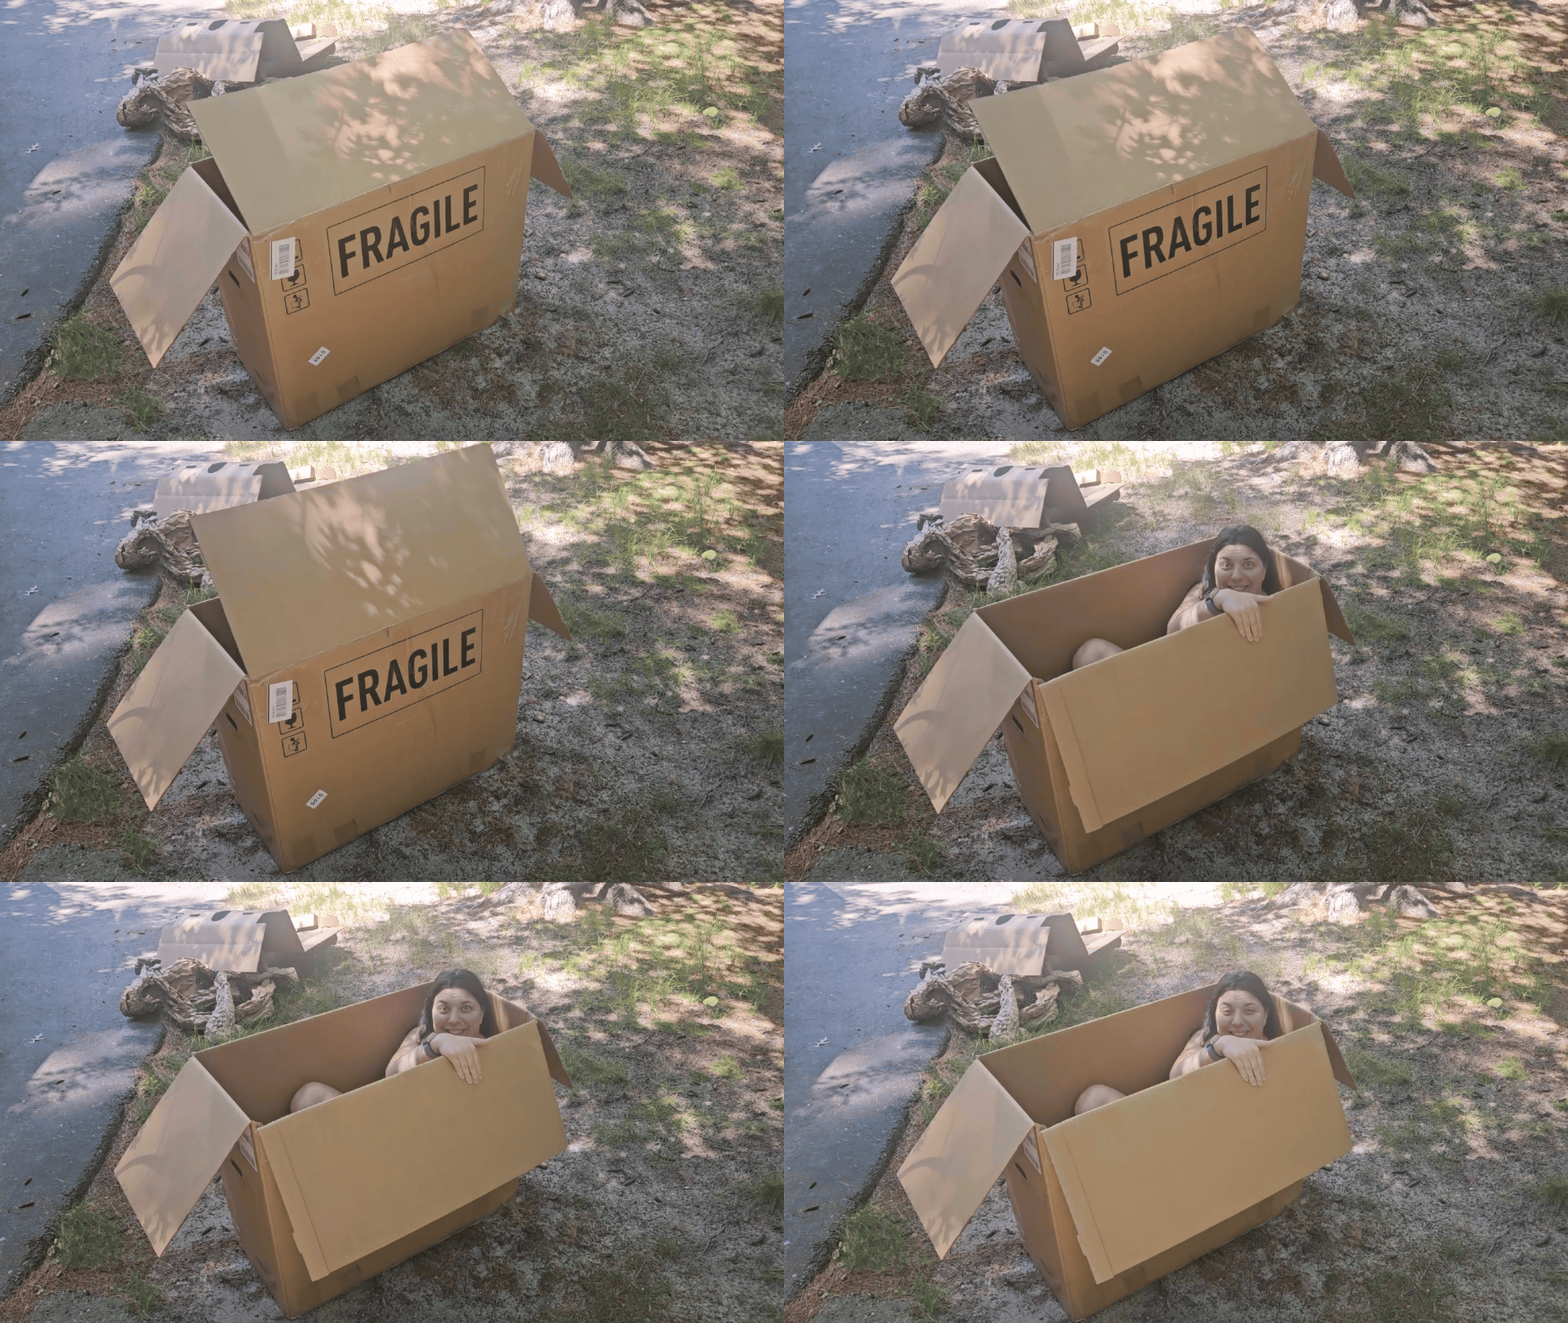
We're so happy we didn't try to lug those things all the way down to SC when the install was so quick and easy! We had enough belongings to haul, thank you very much. Speaking of which, our time in New England was coming to an end, and we still had a lot of packing and planning to do. Time for the final hustle before heading back south.